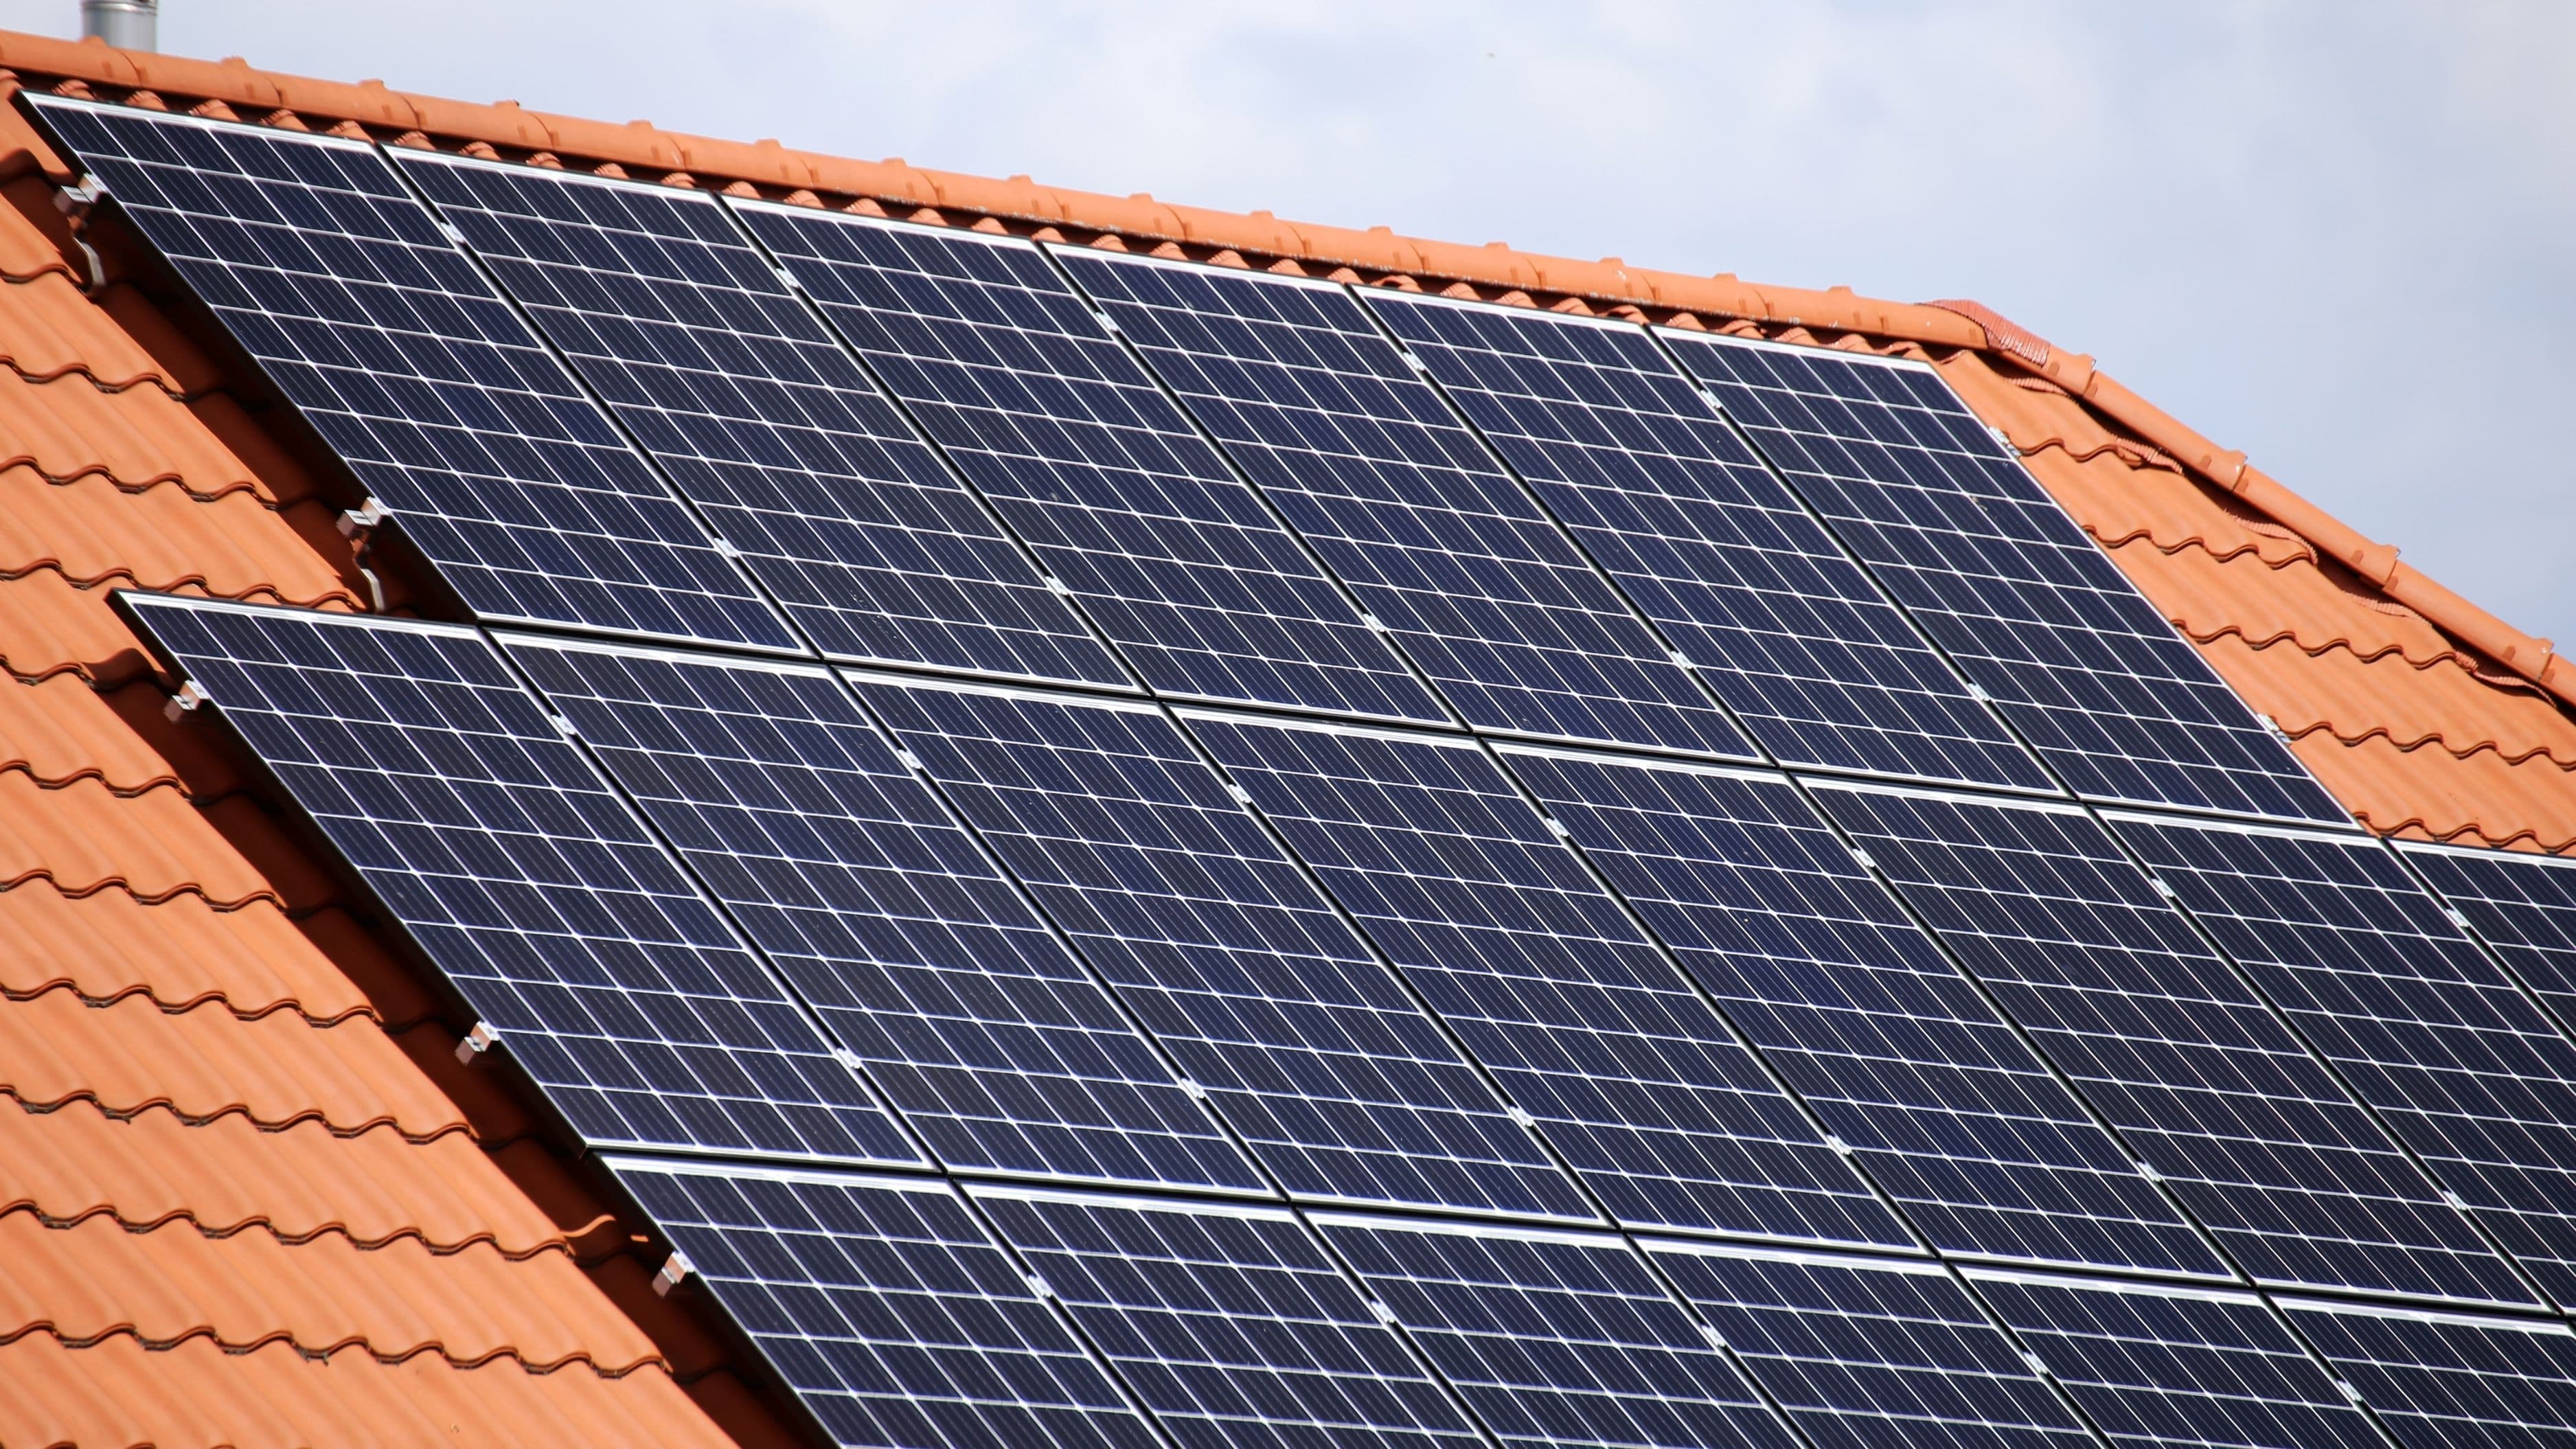
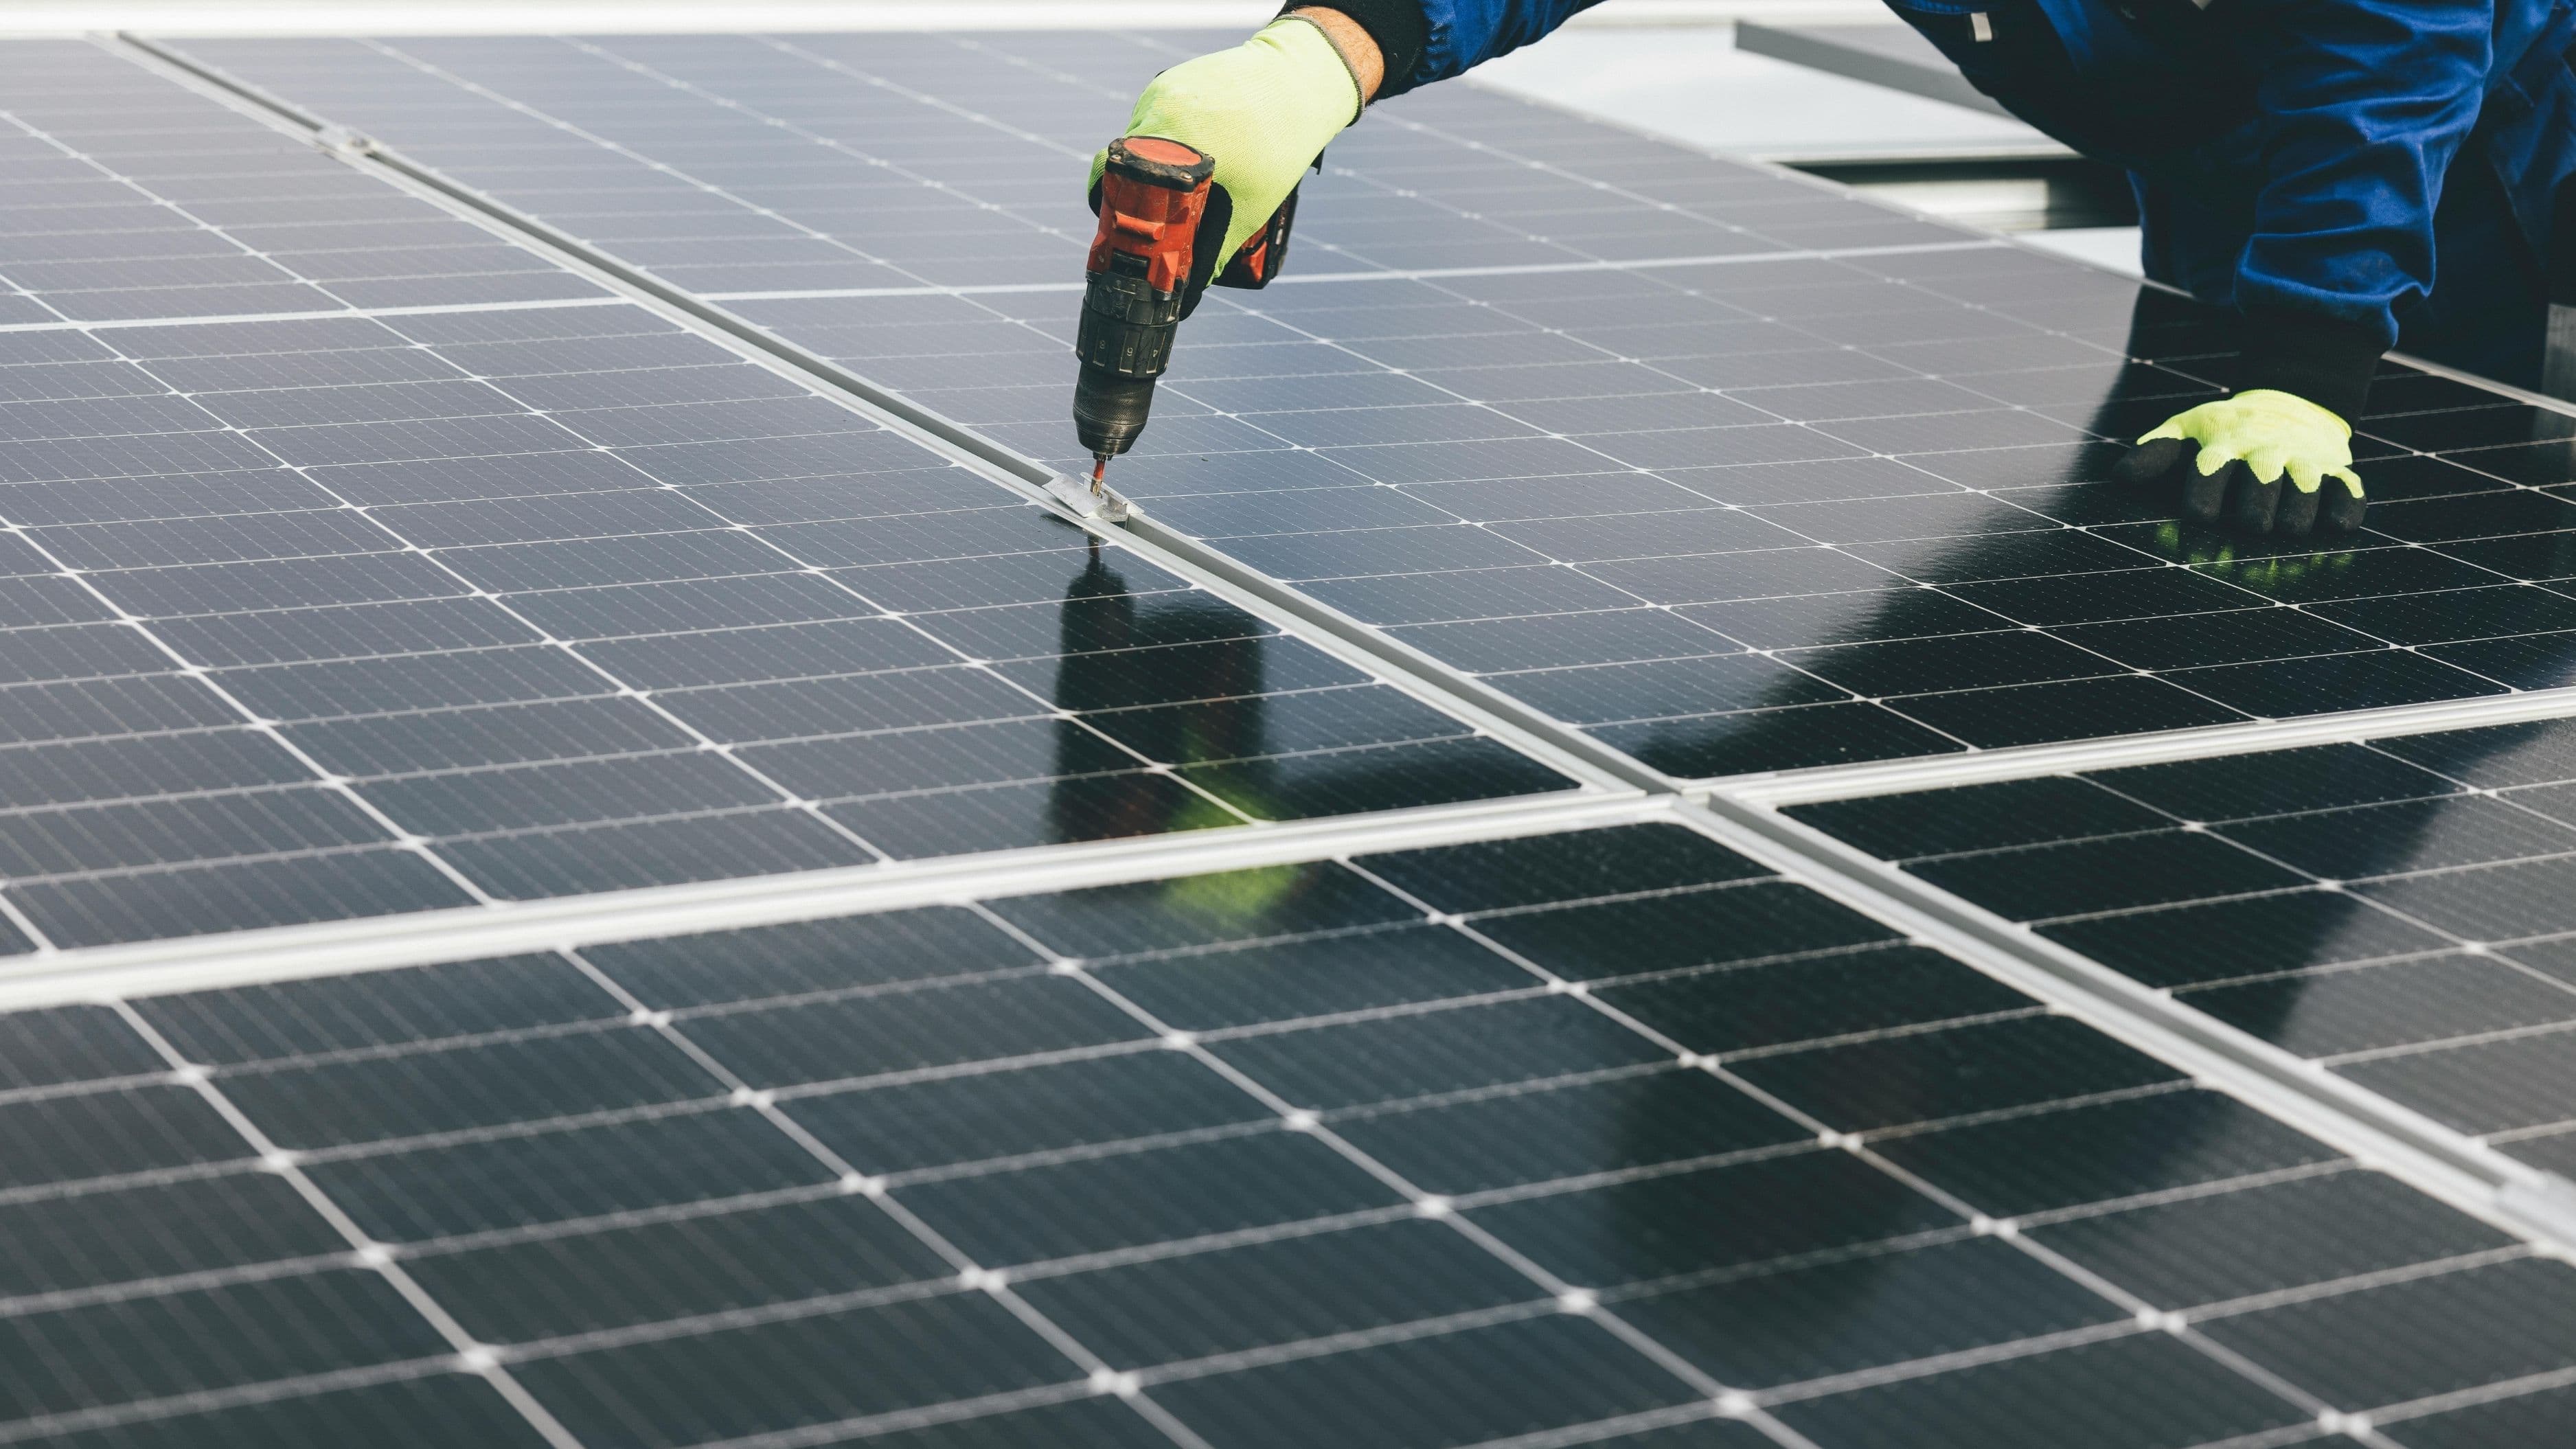
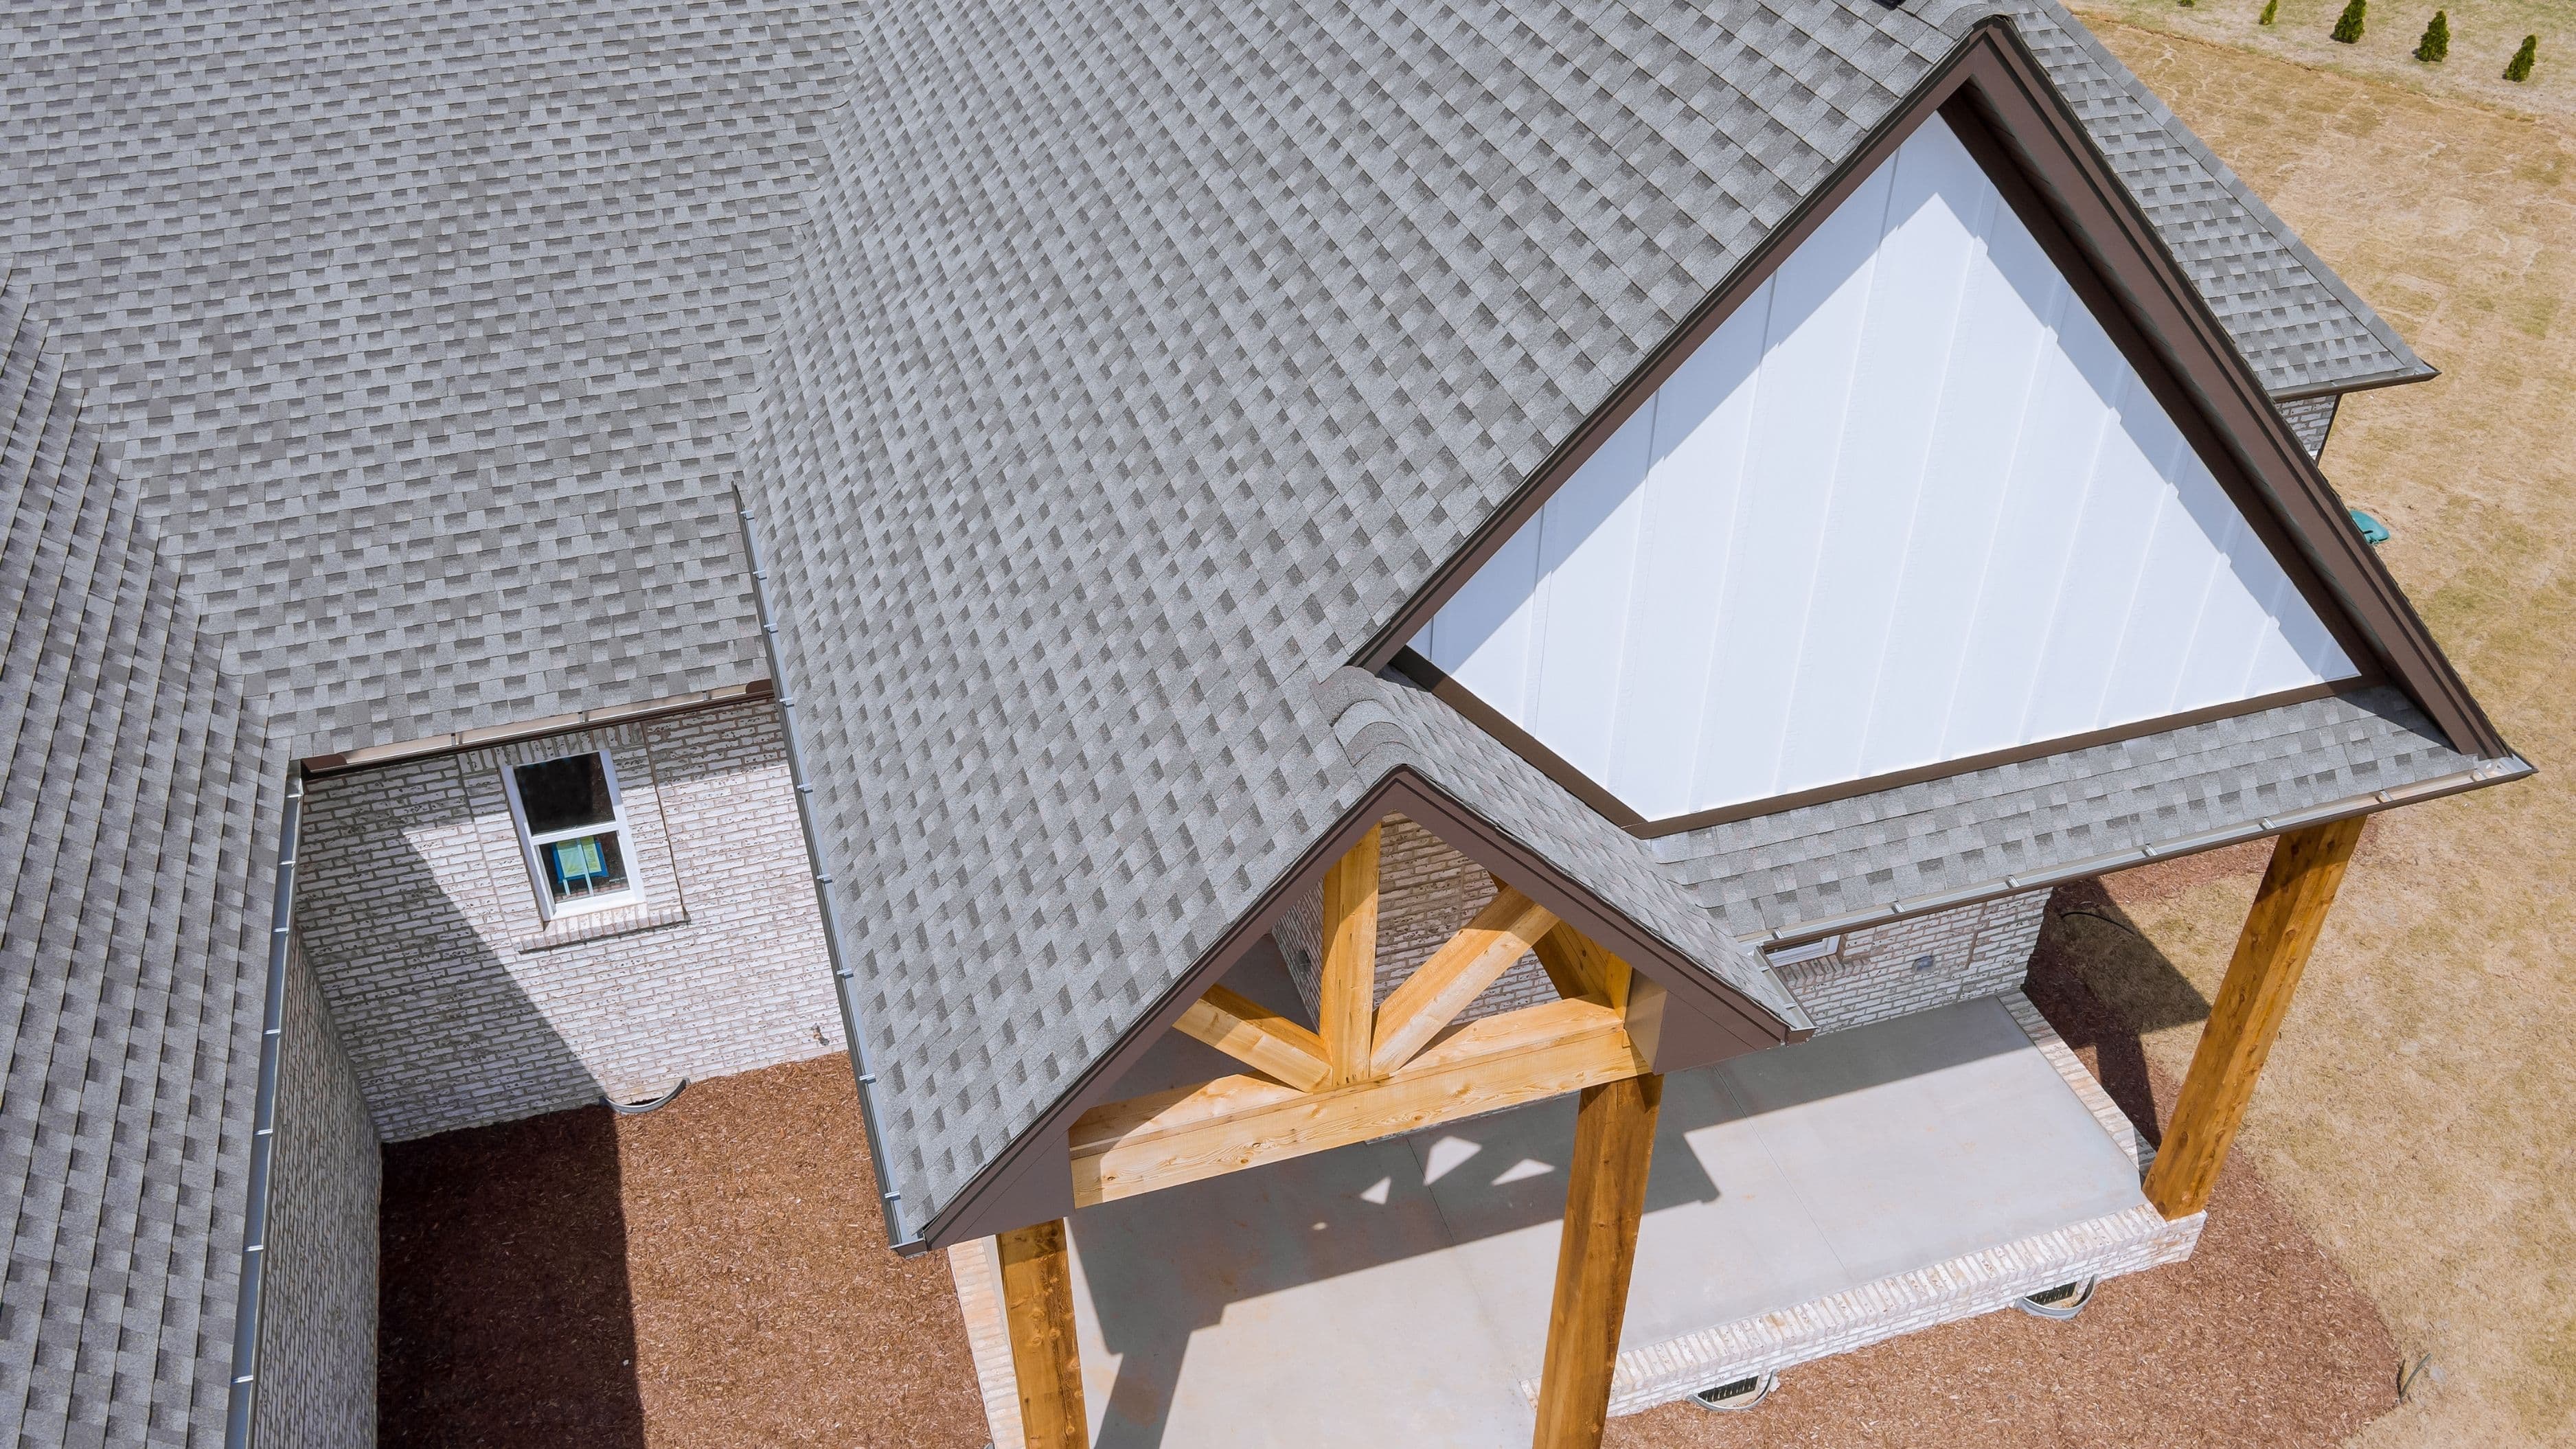
What Bird Netting for Solar Panels Actually Is
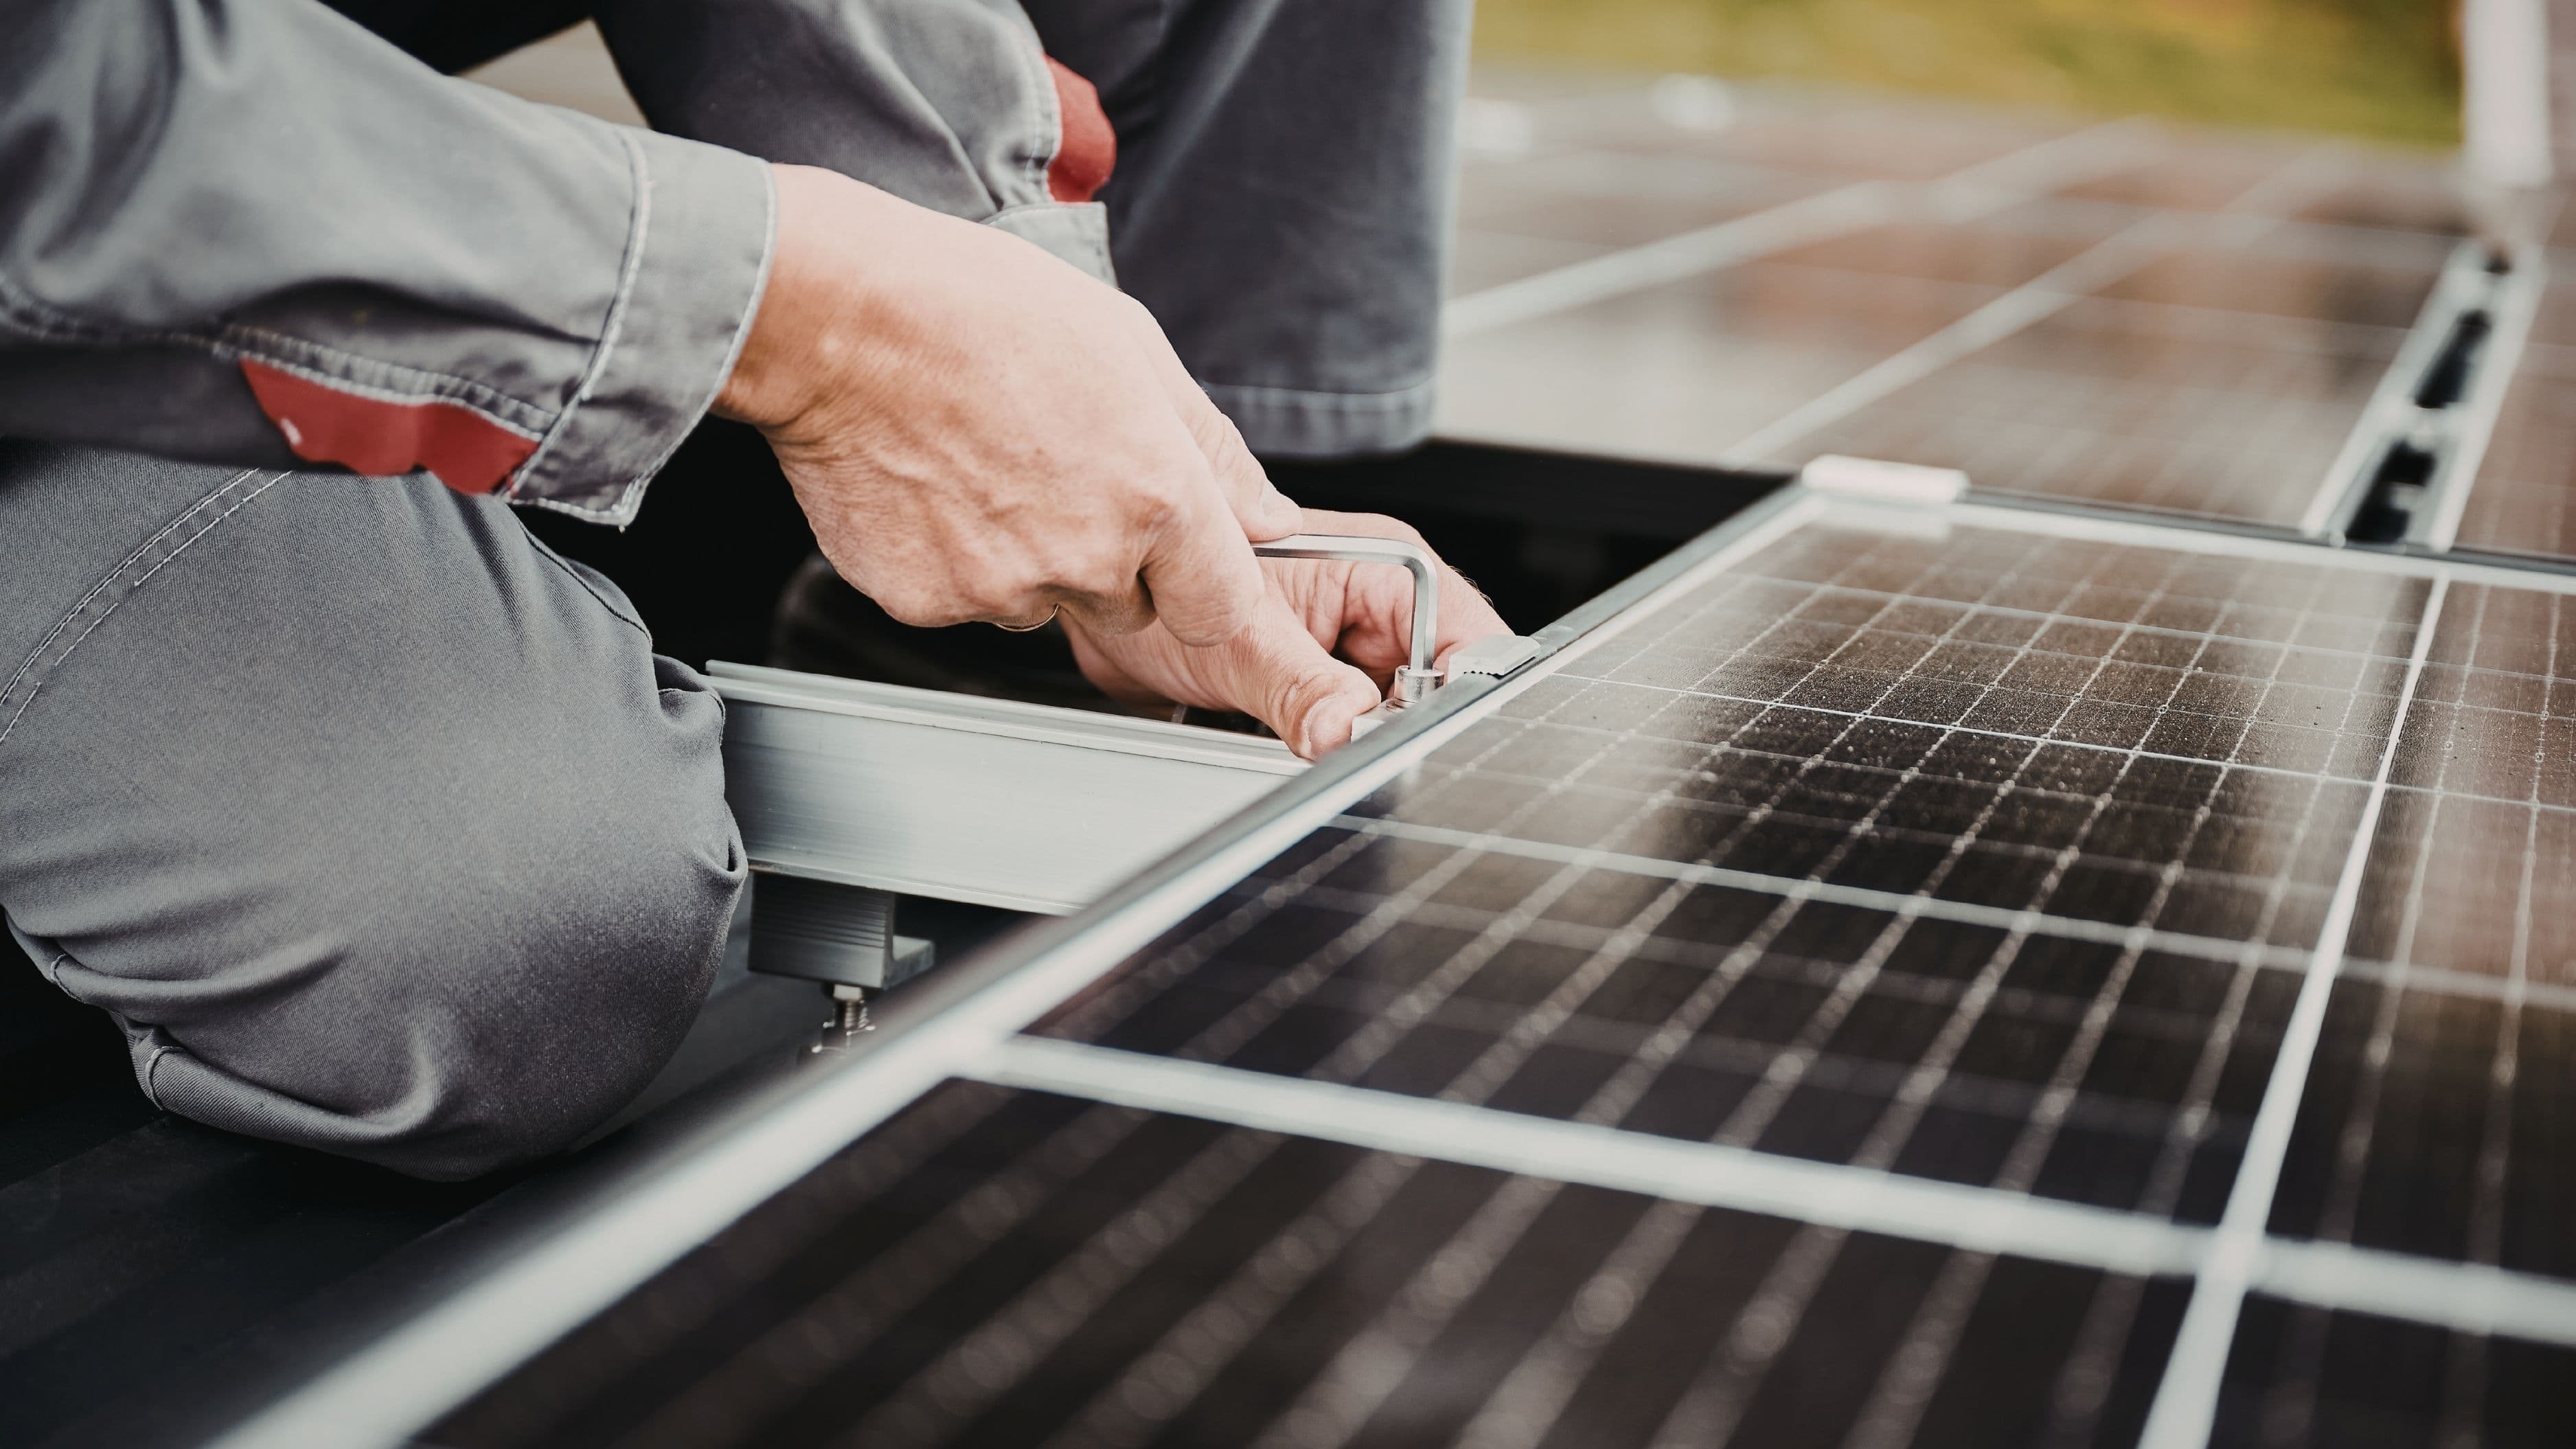
Solar panel bird netting is a purpose-made mesh barrier that runs around the perimeter of your array, closing off the gap between the bottom edge of the panels and the roof surface. It's typically made from UV-stabilized polyethylene or galvanized steel wire mesh, both designed to handle outdoor exposure without degrading quickly. The mesh attaches to the panel frames using clips or fasteners designed not to damage the panel edges, and sits flush enough that it doesn't affect airflow or panel performance.
This is distinct from other bird deterrents like plastic spikes, reflective tape, or ultrasonic devices. Netting is the only option that physically prevents access to the space under the panels rather than just making the area less appealing. For serious bird infestations, that physical barrier is the difference between a deterrent that birds eventually ignore and one that actually works.
Most residential solar bird netting kits are sold in lengths suited to standard roof arrays and include the mesh, aluminum or stainless clips, and basic installation hardware. Professional installation is also widely available through pest control companies and solar installers.
The Real Damage Birds Do Under Solar Panels
It's easy to underestimate how much damage a nesting bird colony can cause, because the problems often build gradually and aren't visible from the ground. Here's what's actually at risk.
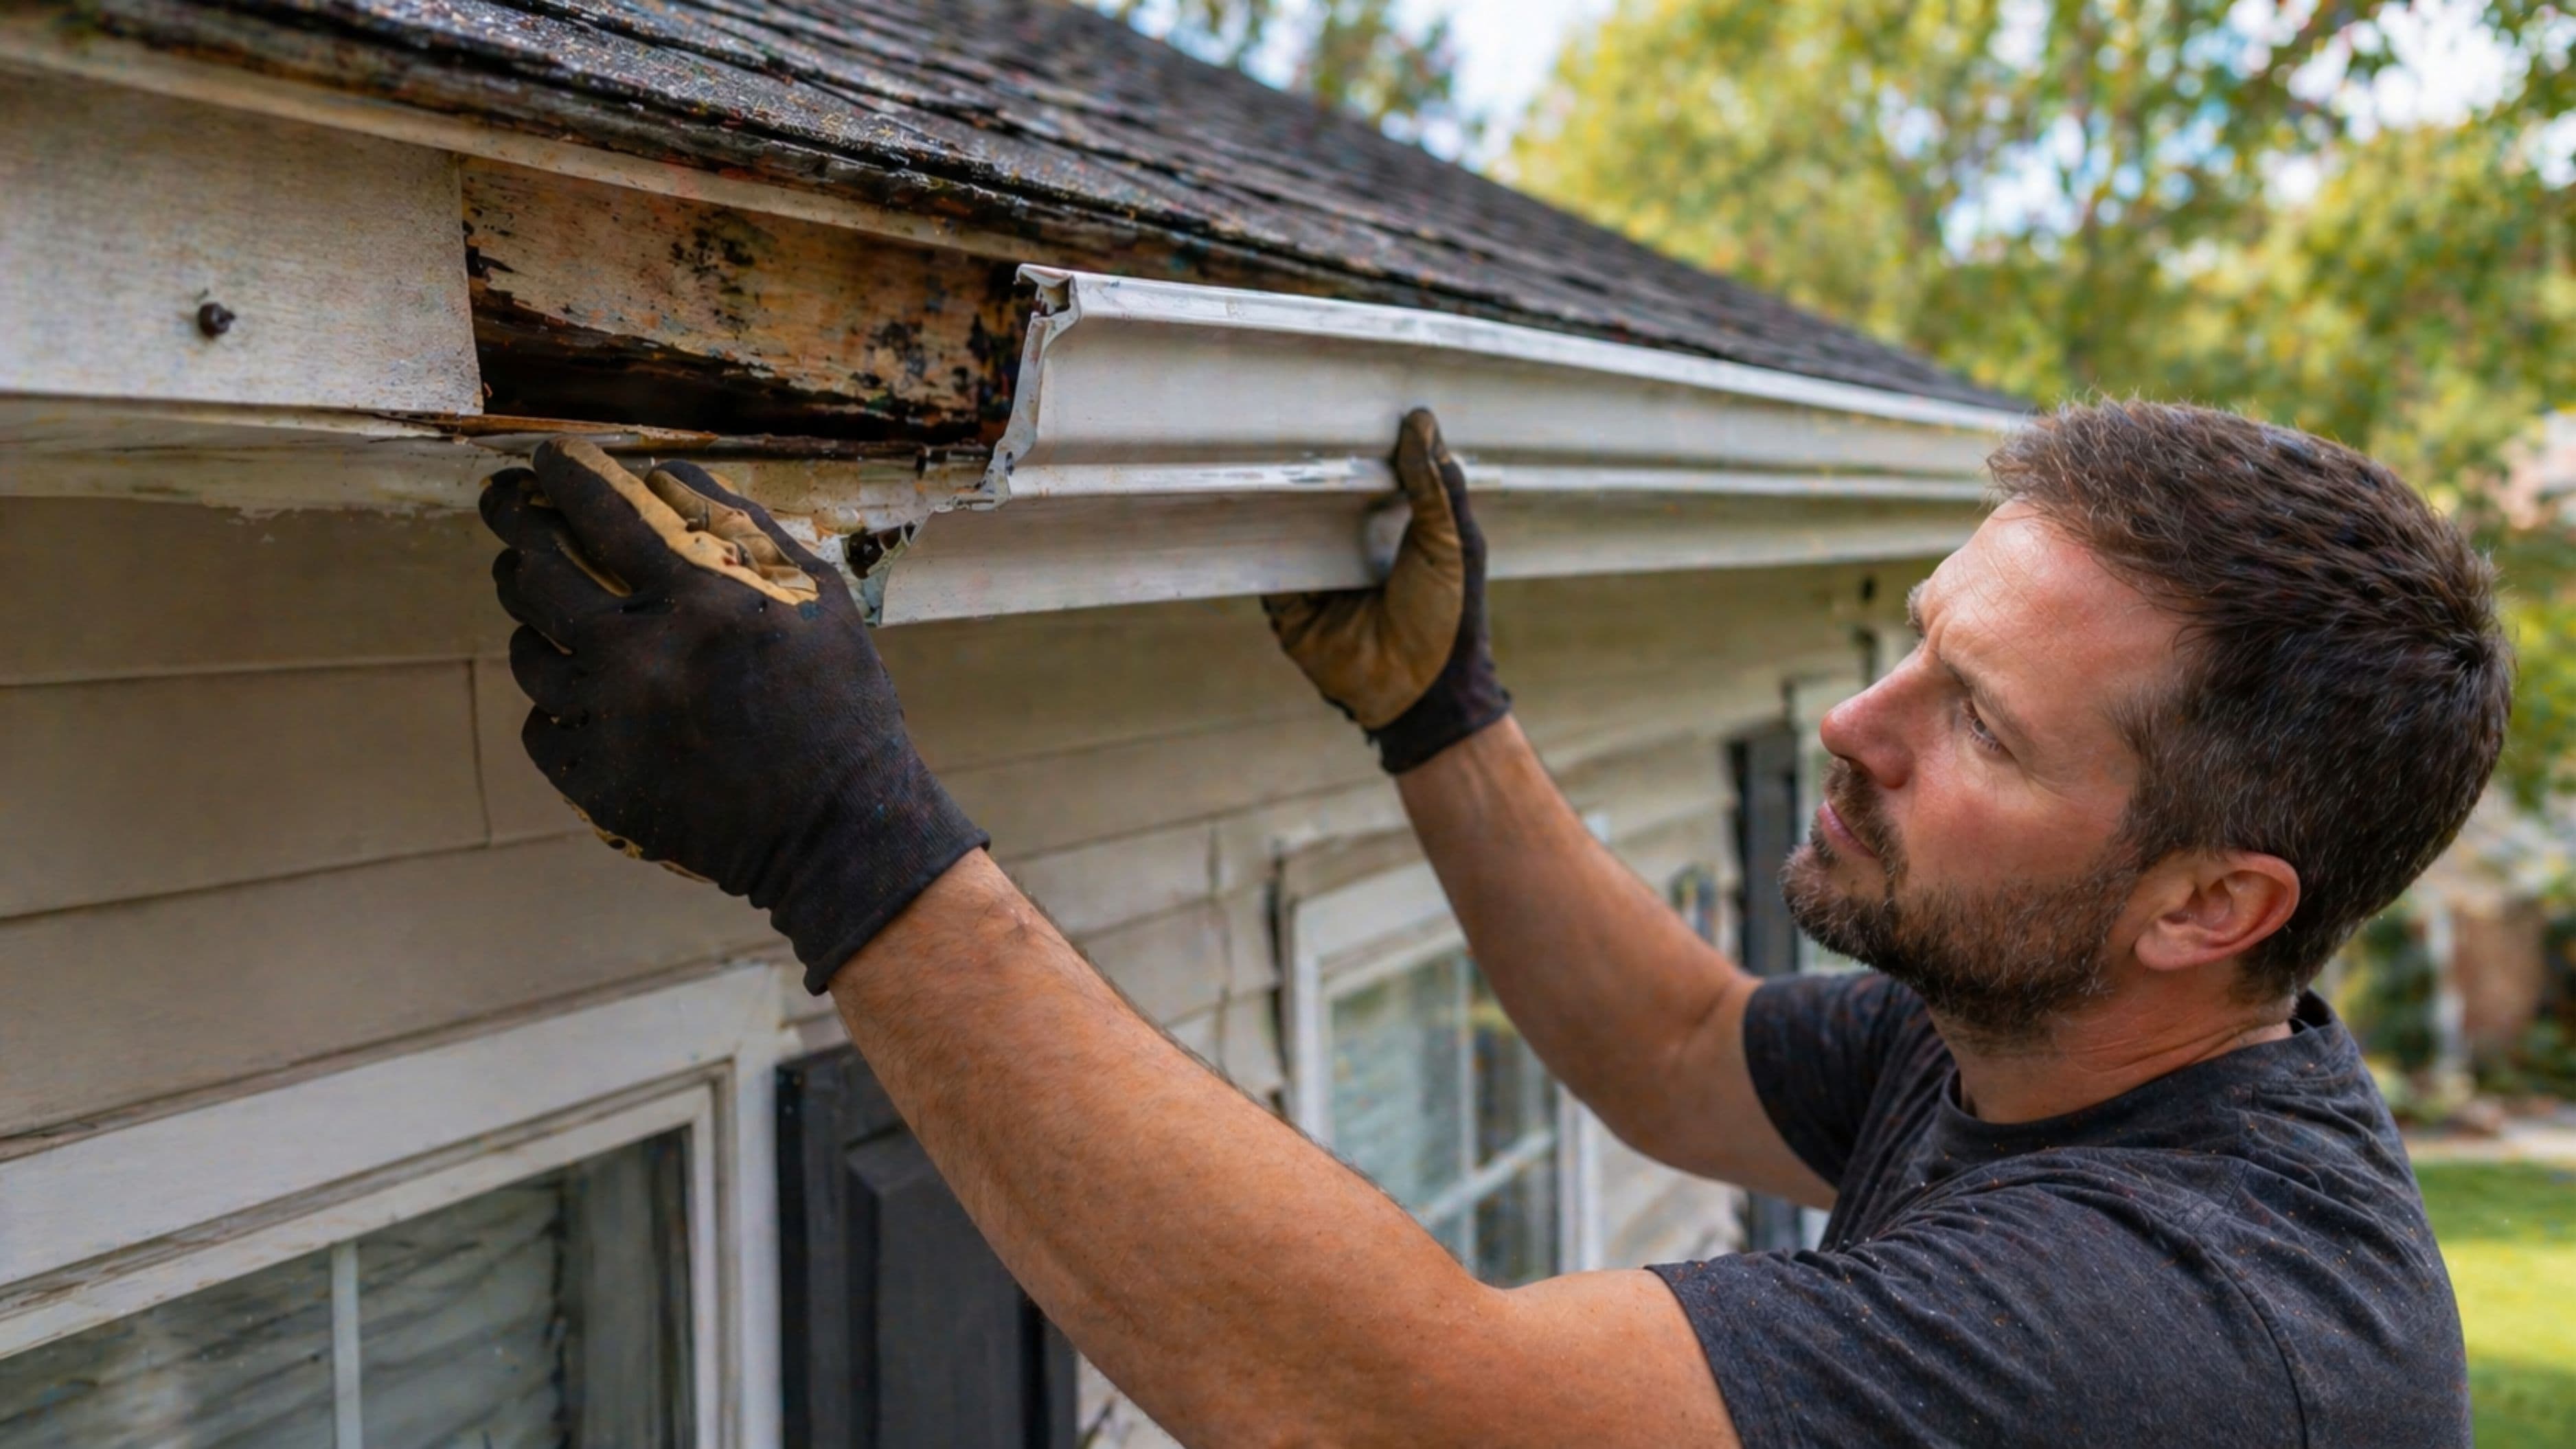
Wiring damage is the most serious concern. Birds – particularly pigeons – chew through wiring insulation as nesting material and to sharpen their beaks. The DC wiring running between your panels is exactly the kind of material they'll target. Damaged wiring causes arc faults, ground faults, and in serious cases, fire risk. Replacing damaged solar wiring is not a DIY job and is expensive.
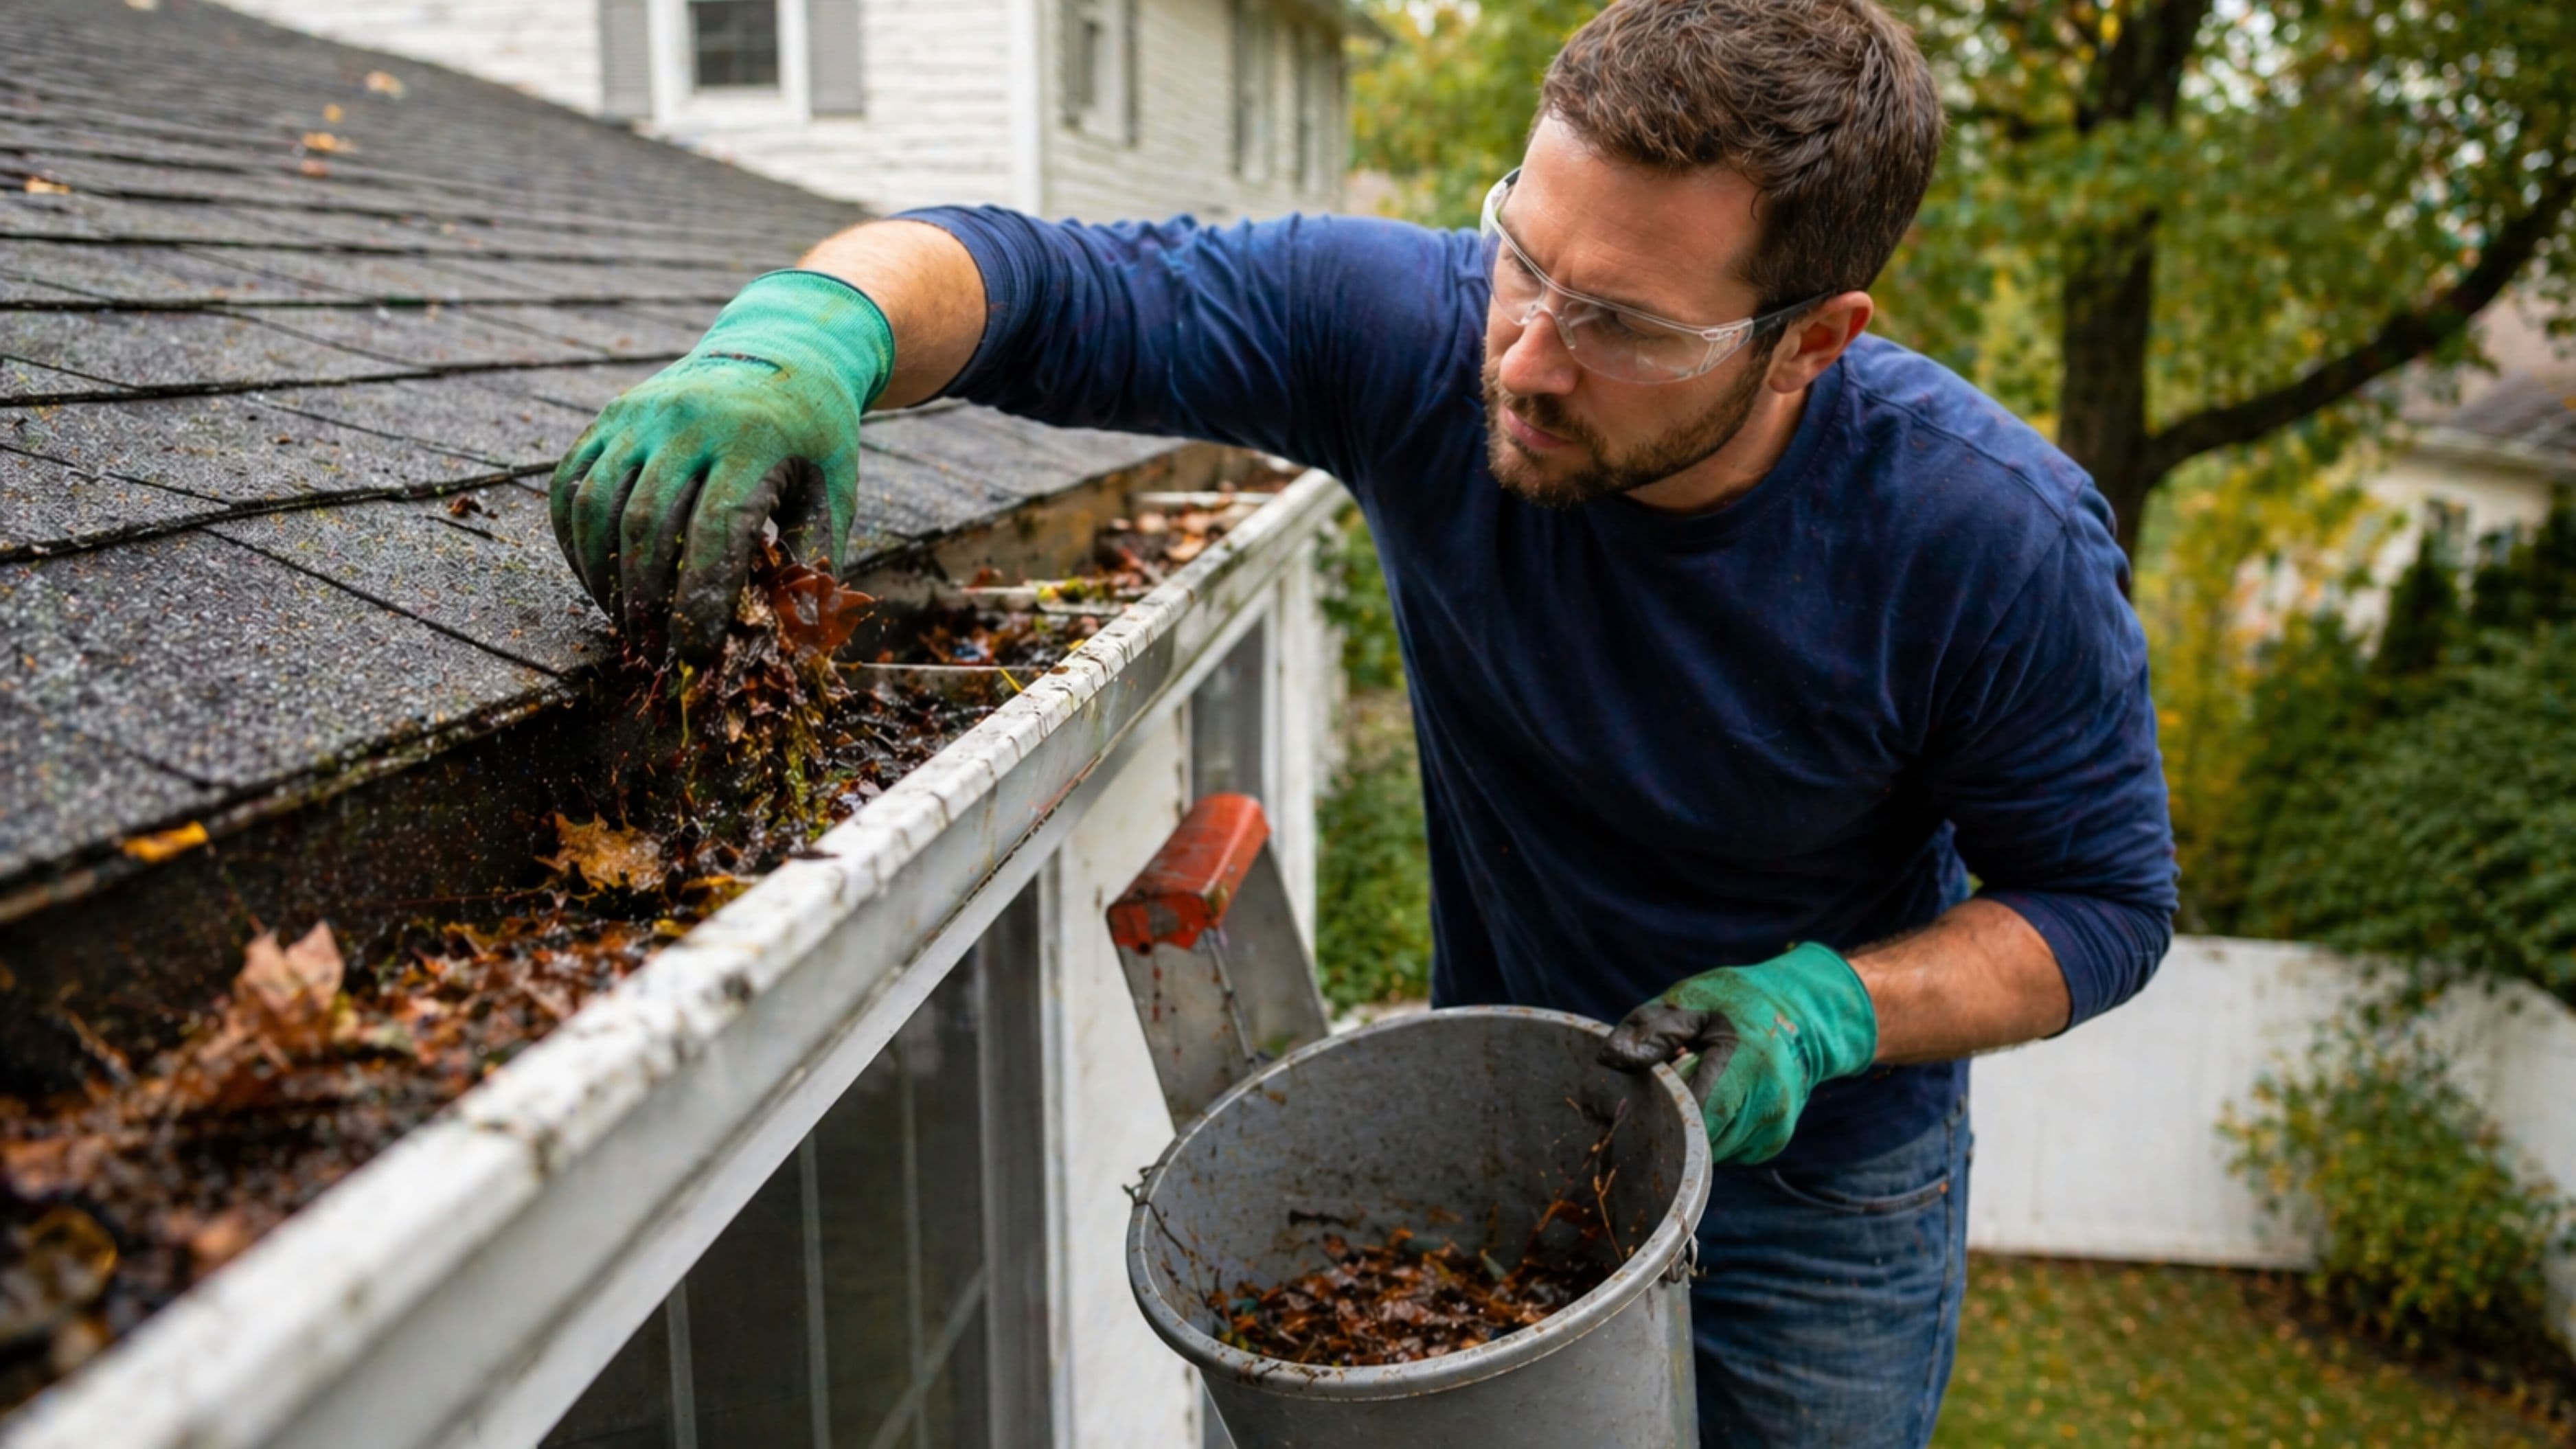
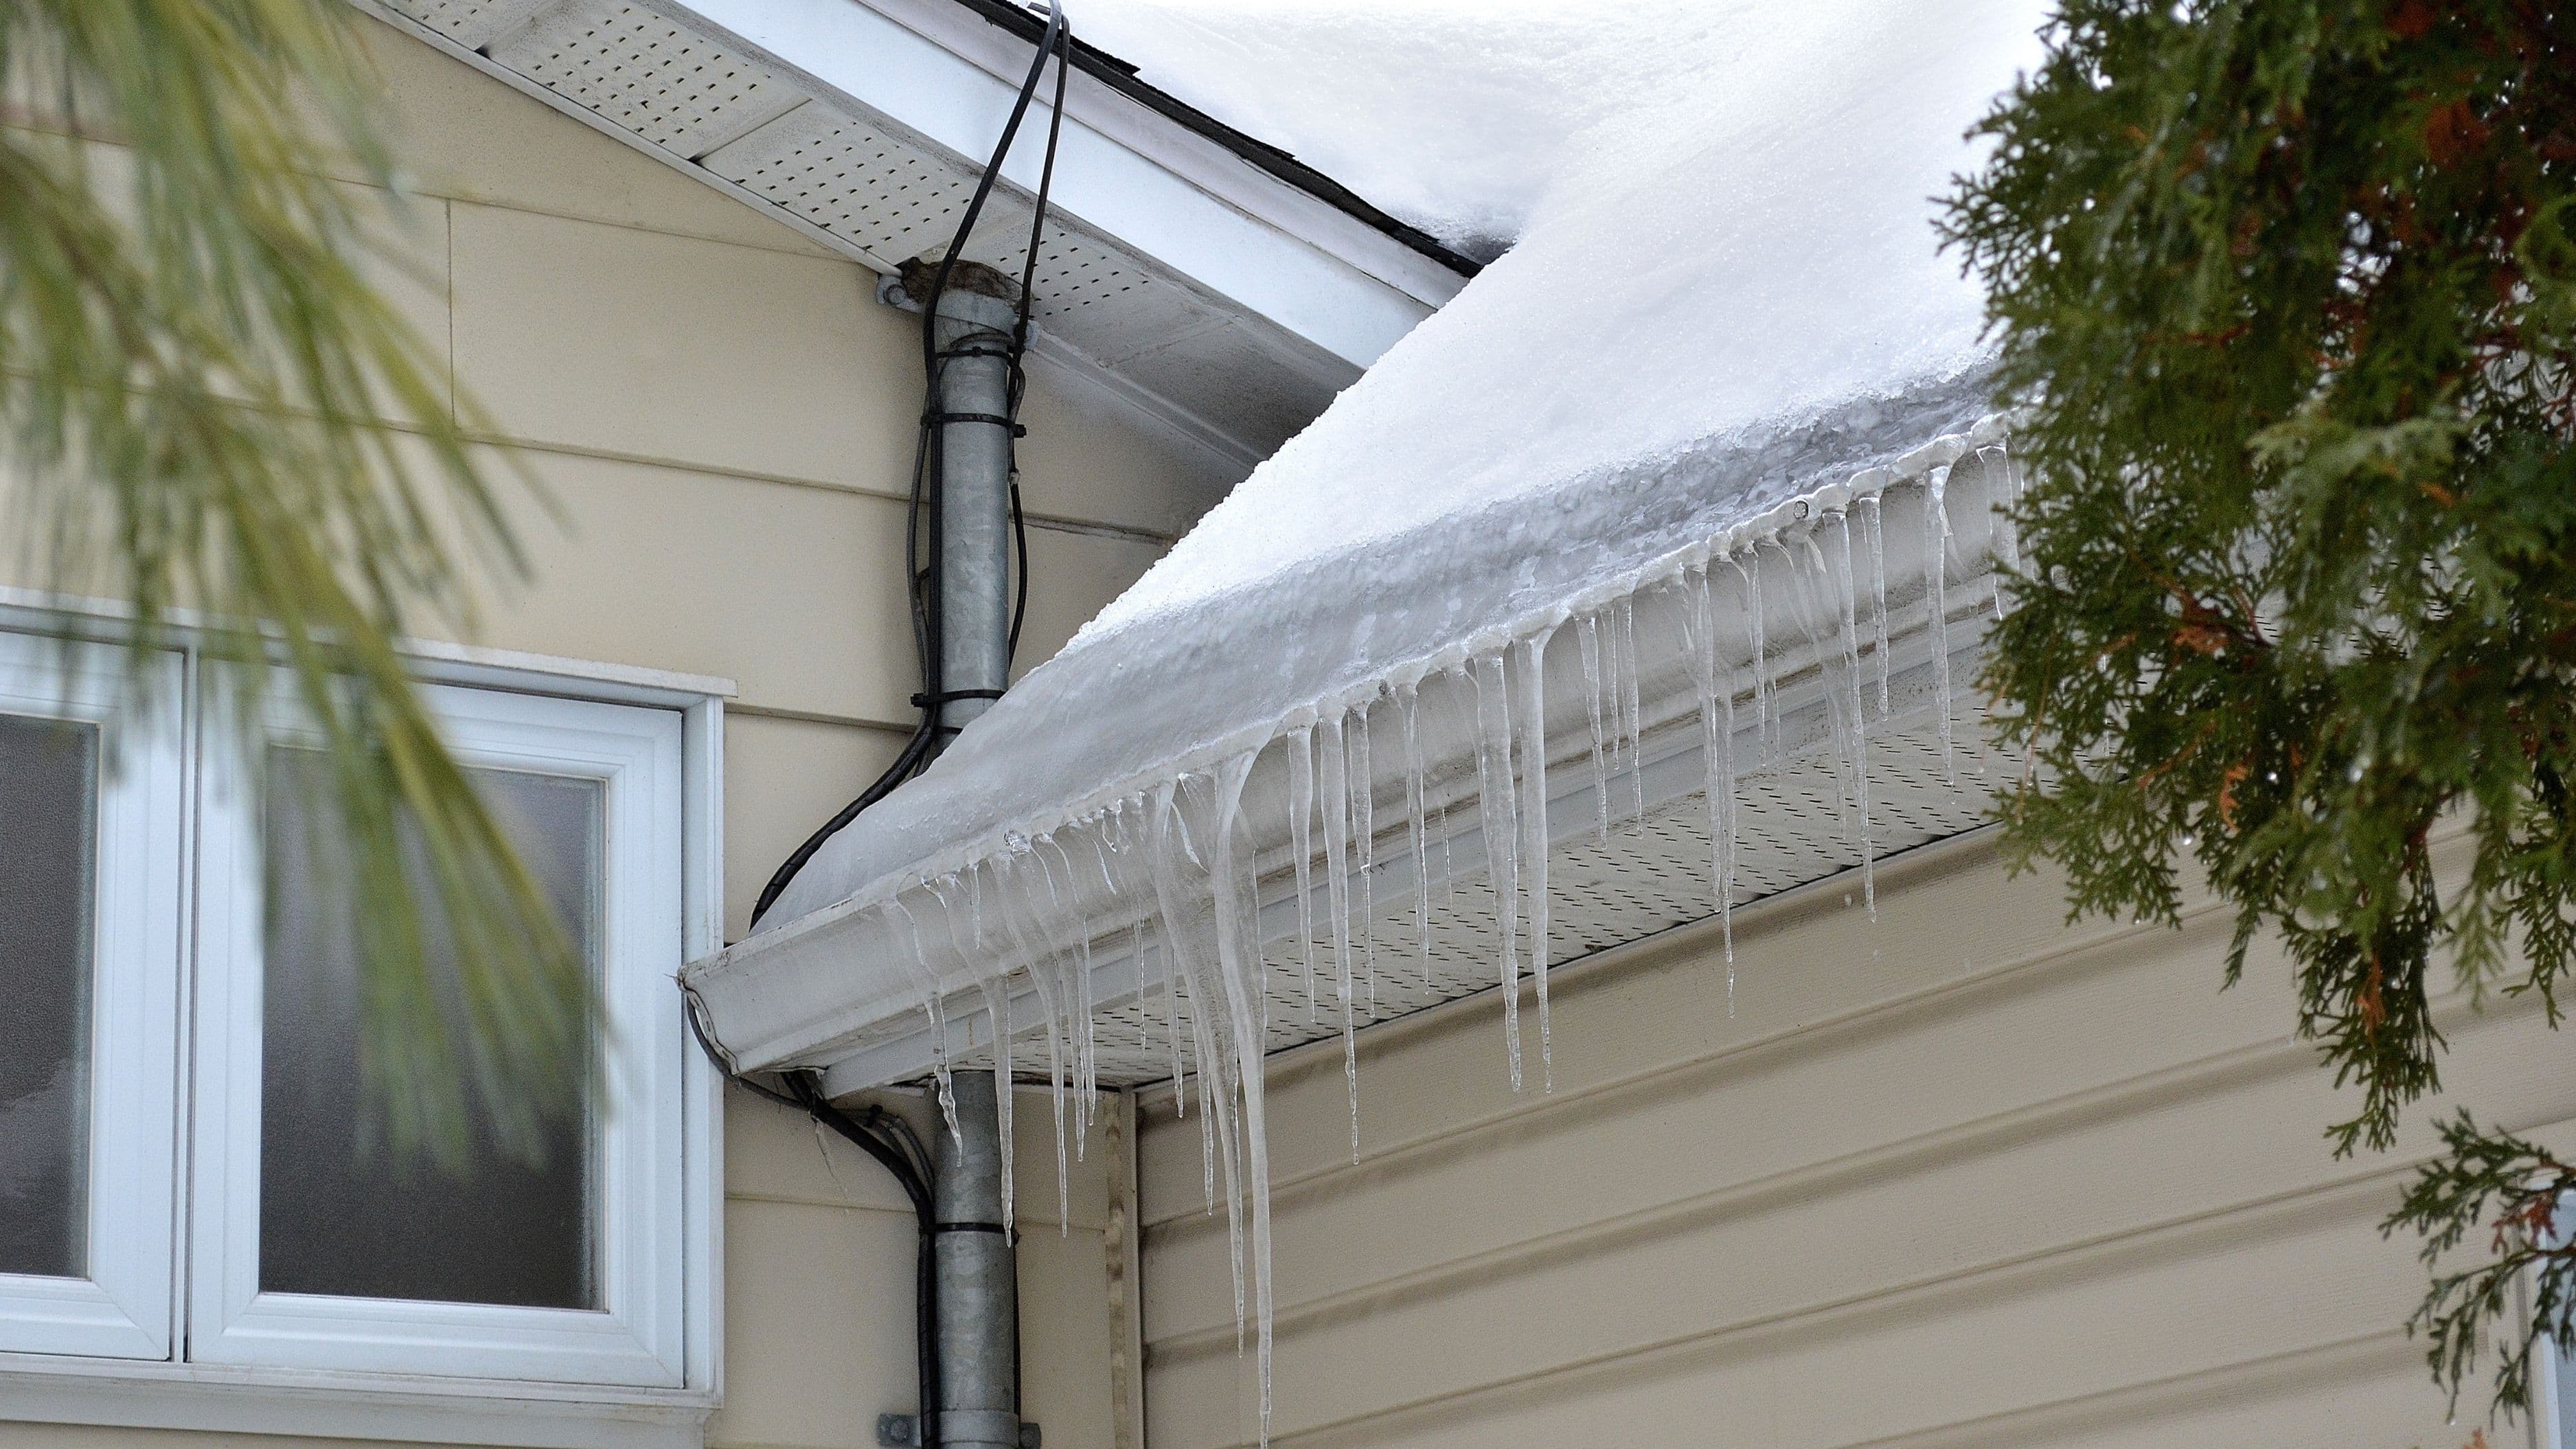
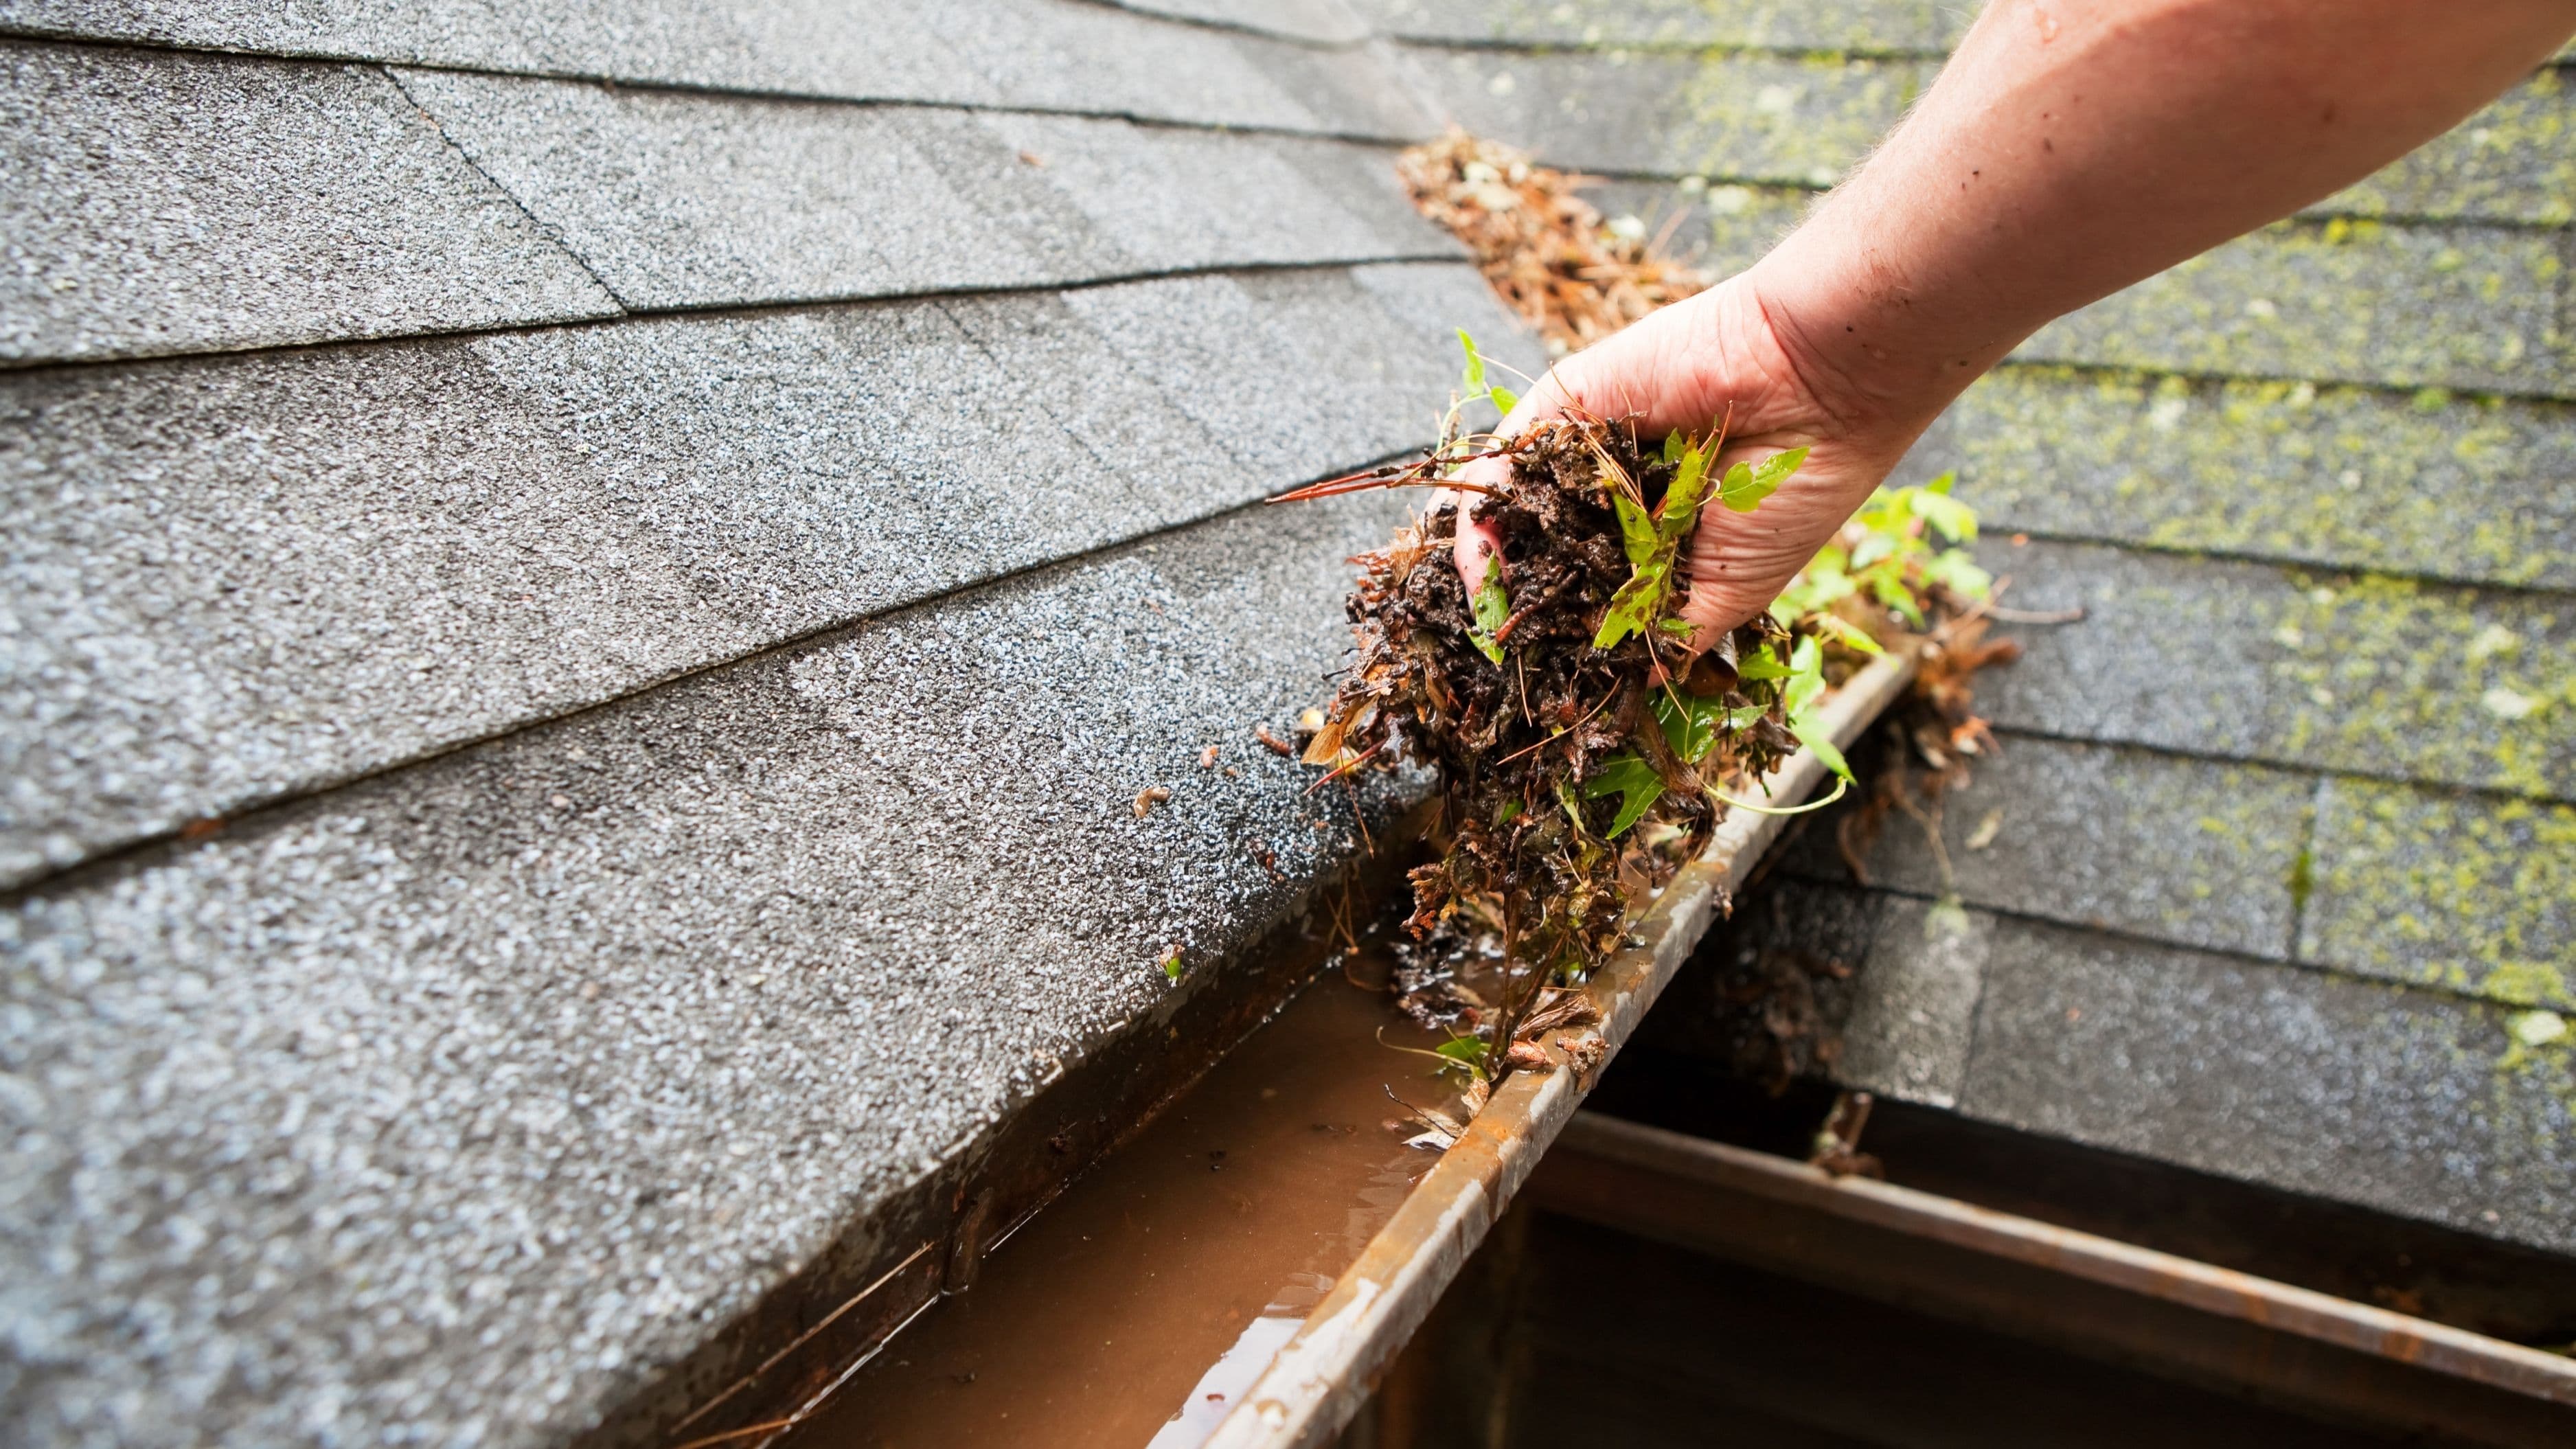
Debris accumulation under panels traps moisture against the roof surface. Leaves, twigs, and nesting material that birds haul in create a damp mat that sits directly on your roofing material for months or years. This dramatically accelerates shingle wear, can compromise flashing, and in extreme cases contributes to rot in the roof deck below.
Droppings are acidic enough to degrade roofing materials and panel frames over time. They're also a genuine hygiene and health issue – dried pigeon droppings carry pathogens that can become airborne when disturbed. If you've ever had to clean up under an established pigeon colony, you'll understand why prevention is far preferable.
Panel efficiency loss from droppings landing on panel surfaces is real but usually minor for a small number of birds. Where it becomes significant is when an established colony is regularly roosting directly on top of the panels – a scenario that's far more likely if birds have unrestricted access to nest underneath.
Noise and mess are quality of life issues that are harder to quantify but very real if you have birds nesting near bedrooms or living areas.
Does Bird Netting Affect Panel Performance?
This is a common concern and the answer is: no, when properly installed. Bird netting attaches to the panel frame perimeter and does not obstruct the face of the panels or the gap between panels and roof that allows air circulation for cooling. Proper airflow underneath panels is important for performance – panels run more efficiently when they can dissipate heat – and well-installed bird netting maintains that gap rather than blocking it.
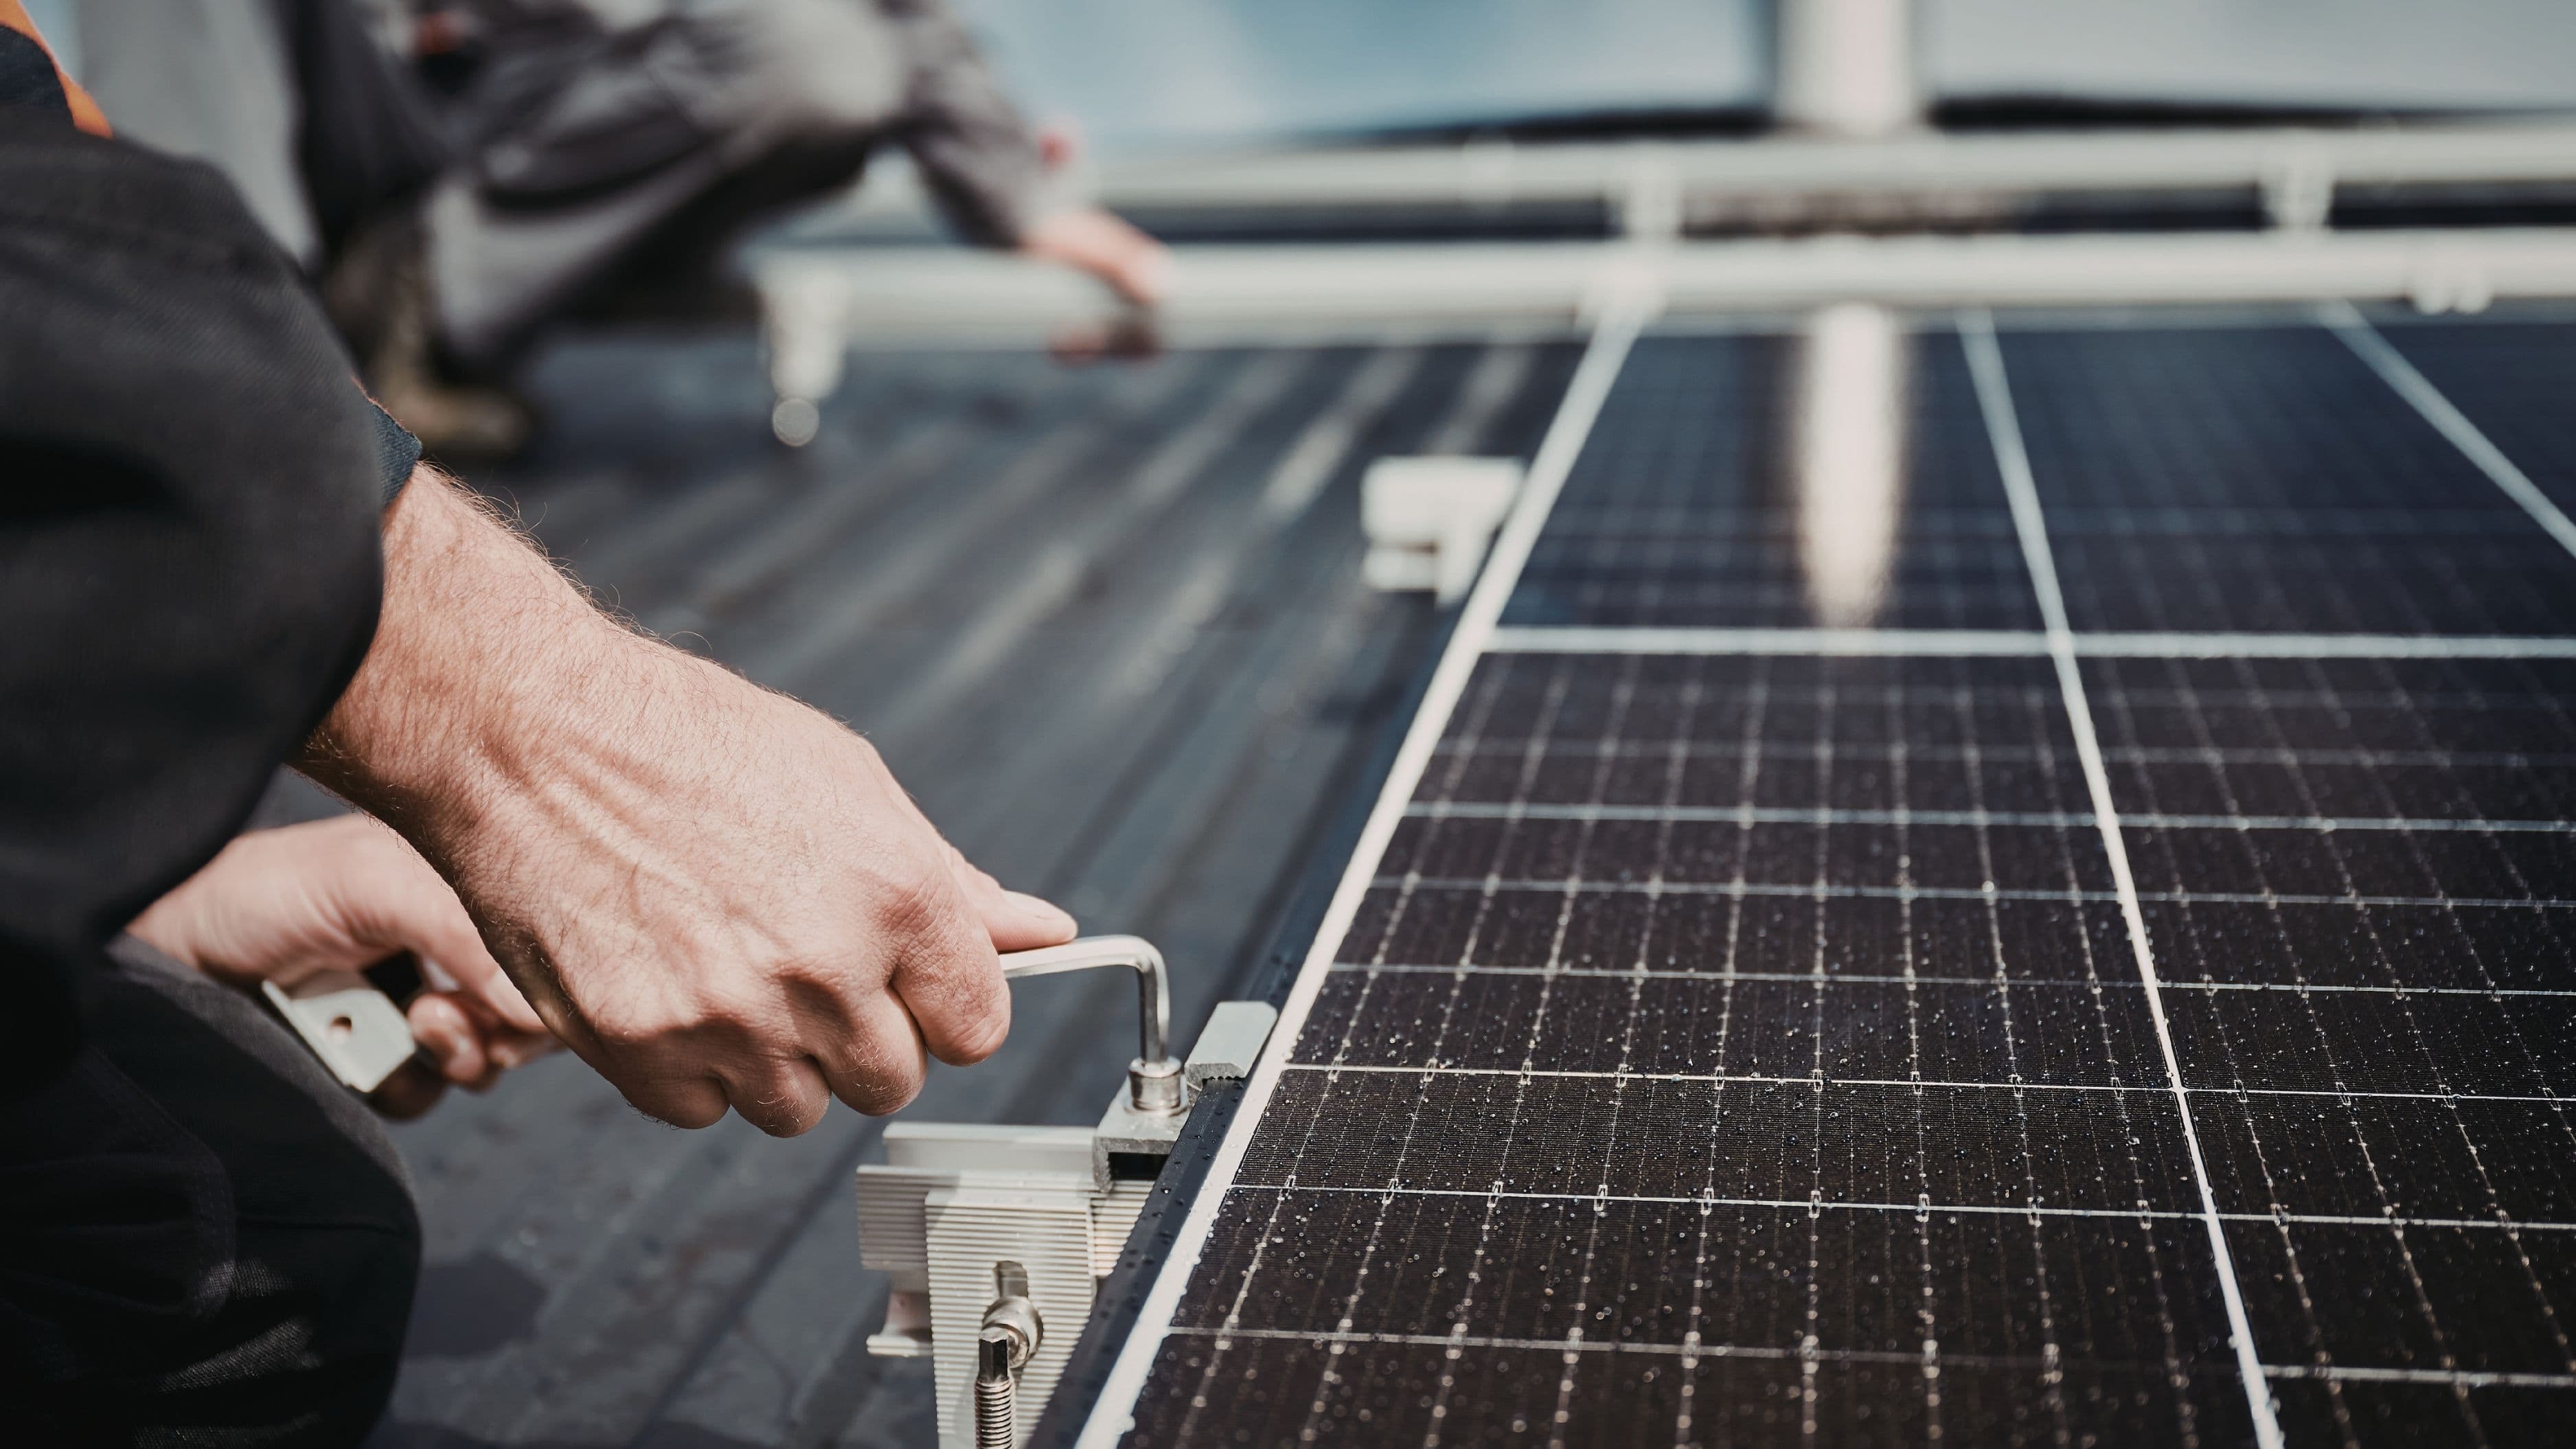
The clip systems used for solar bird netting are specifically designed to clamp onto panel frames without drilling, puncturing, or modifying the panels in any way that would affect performance or void warranties. If an installer is suggesting drilling into panel frames or the roof to install netting, that's worth questioning – it's not how quality solar bird netting systems work.
Visually, netting is low-profile enough that it's not prominently visible from street level, which matters to homeowners who care about curb appeal.
The Costs: What to Budget
Costs vary by array size, roof type, and whether you hire out or DIY. Here's a realistic range.
DIY installation: A kit for a typical residential array (10–20 panels) runs approximately $100–$250 for quality UV-resistant mesh with aluminum clips. The labor is a few hours for someone comfortable on a roof. Add basic safety equipment if you don't already own it (non-slip shoes, a good ladder, and ideally a safety harness if your roof pitch is significant).
Professional installation: Typically runs $300–$800 for a standard residential system, depending on array size and local labor rates. Pest control companies that specialize in bird exclusion often charge at the higher end but include a cleanup of any existing debris and droppings. Some solar installers offer it as an add-on service.
Cost of not installing: A single wiring repair from bird damage typically costs $200–$500 or more. Roof repairs from moisture damage caused by accumulated nesting debris can run into thousands. Against those numbers, bird netting is a straightforward return on investment in bird-prone areas.
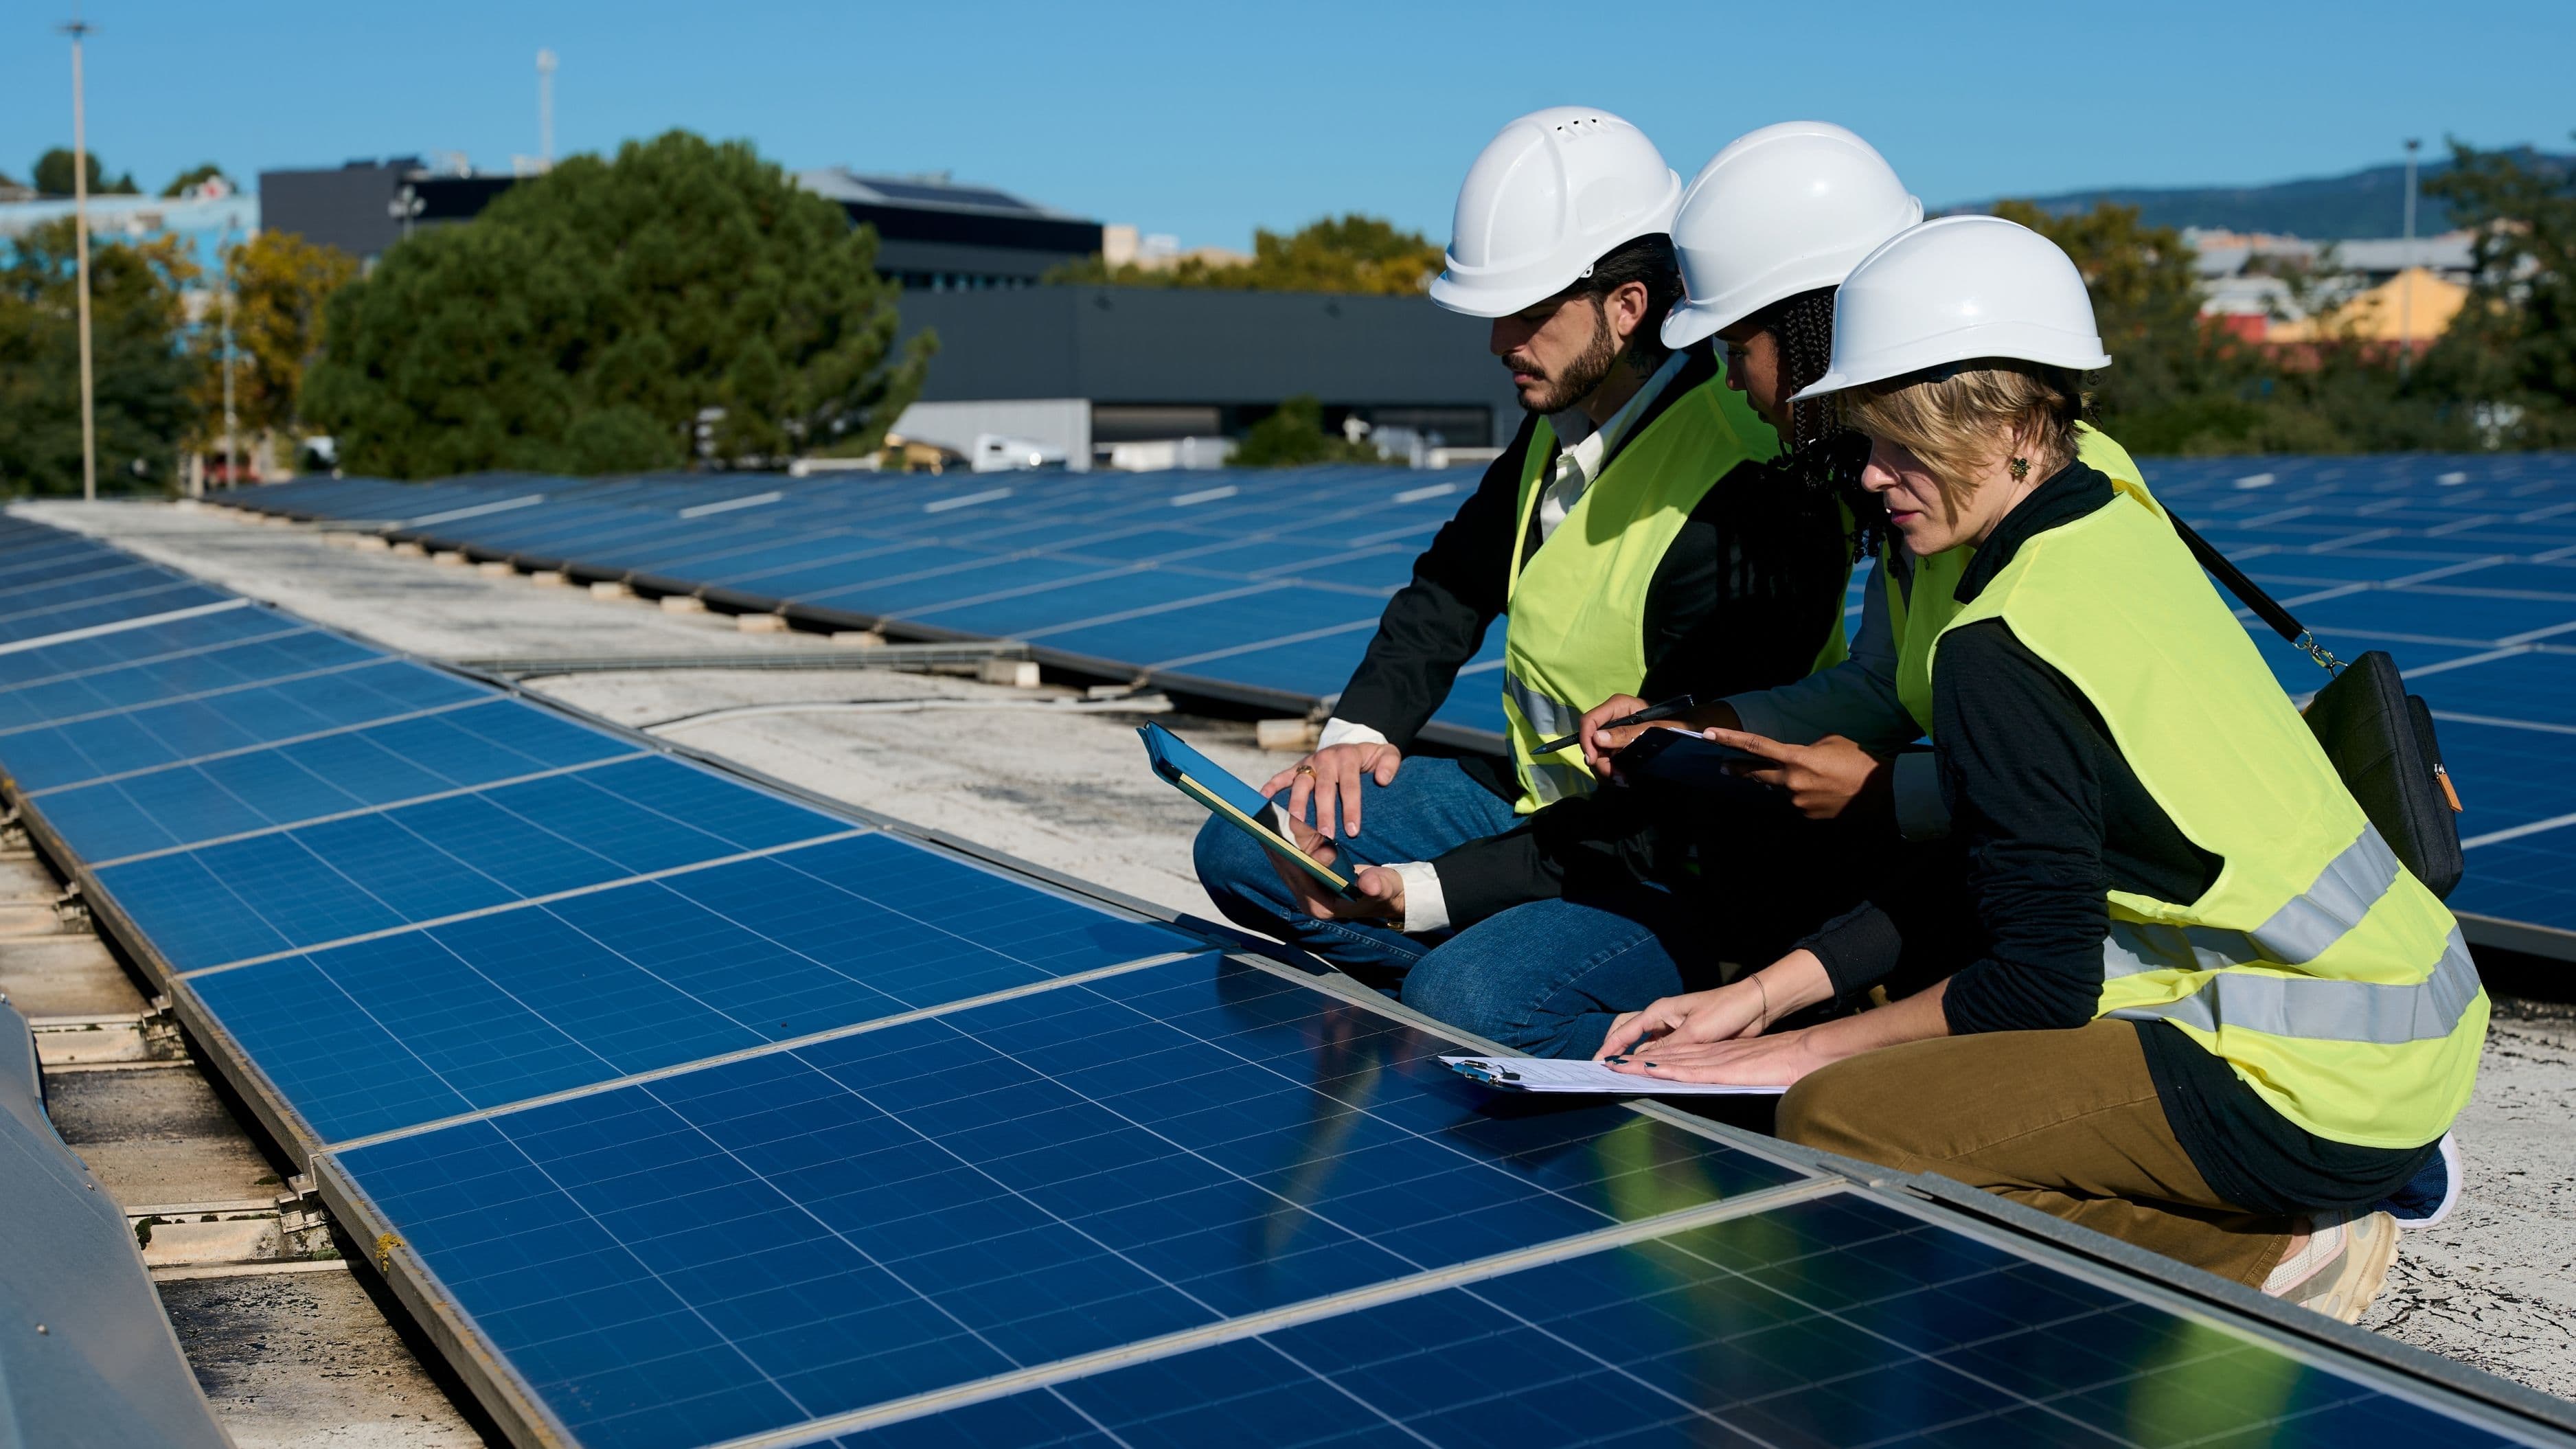
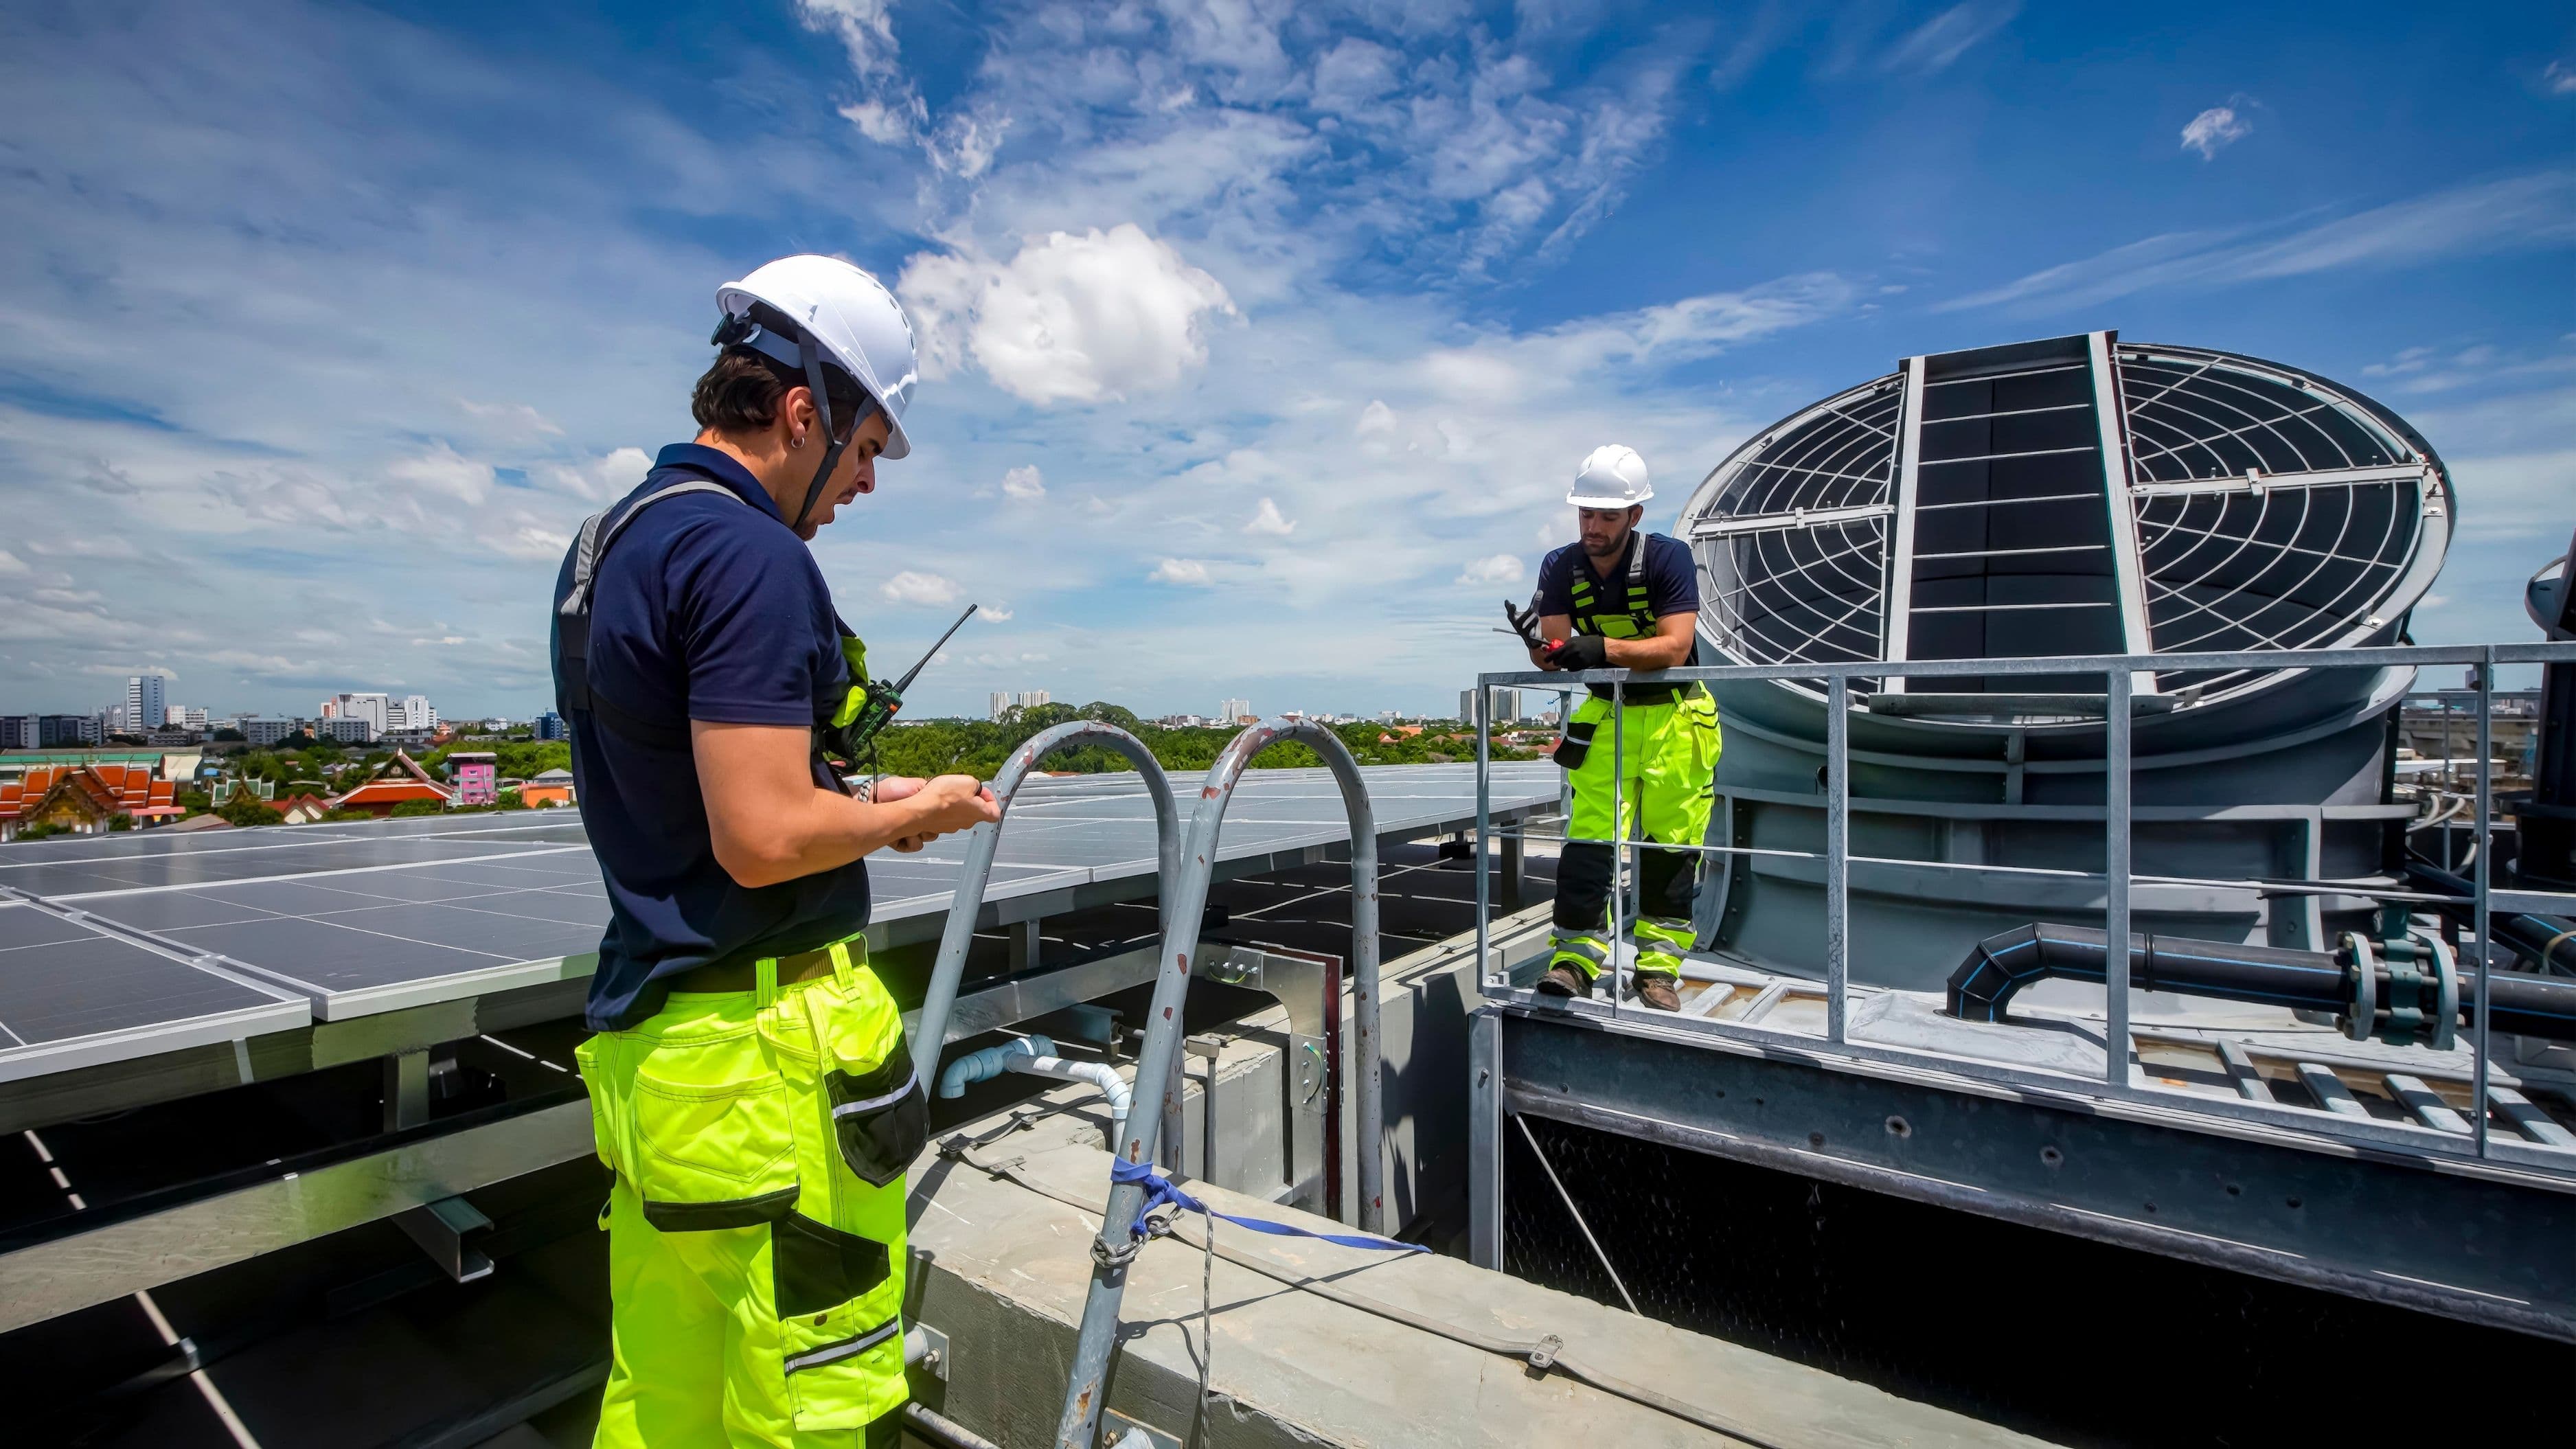
Is It a DIY Job?
For homeowners who are comfortable on a roof, bird netting is a manageable DIY project. It doesn't require electrical knowledge, no panel wiring is touched, and the clip systems used on modern netting kits are designed to be installed by non-professionals.
The main practical considerations are roof access and pitch. A single-story home with a shallow-pitch roof and easy ladder access is a very different proposition from a two-story home with a steep pitch. Be realistic about your comfort level. Roof falls are among the most common serious home injury accidents, and no amount of money saved on labor is worth that risk. If you're not fully comfortable with the roof conditions, hire it out.
The basic DIY process looks like this: measure your array perimeter, cut the mesh to length, attach clips to the panel frame edges at regular intervals (typically every 12–18 inches), thread the mesh through or attach it to the clips, and secure any overlapping sections. A helper makes this significantly easier – one person on the roof, one handing up materials.
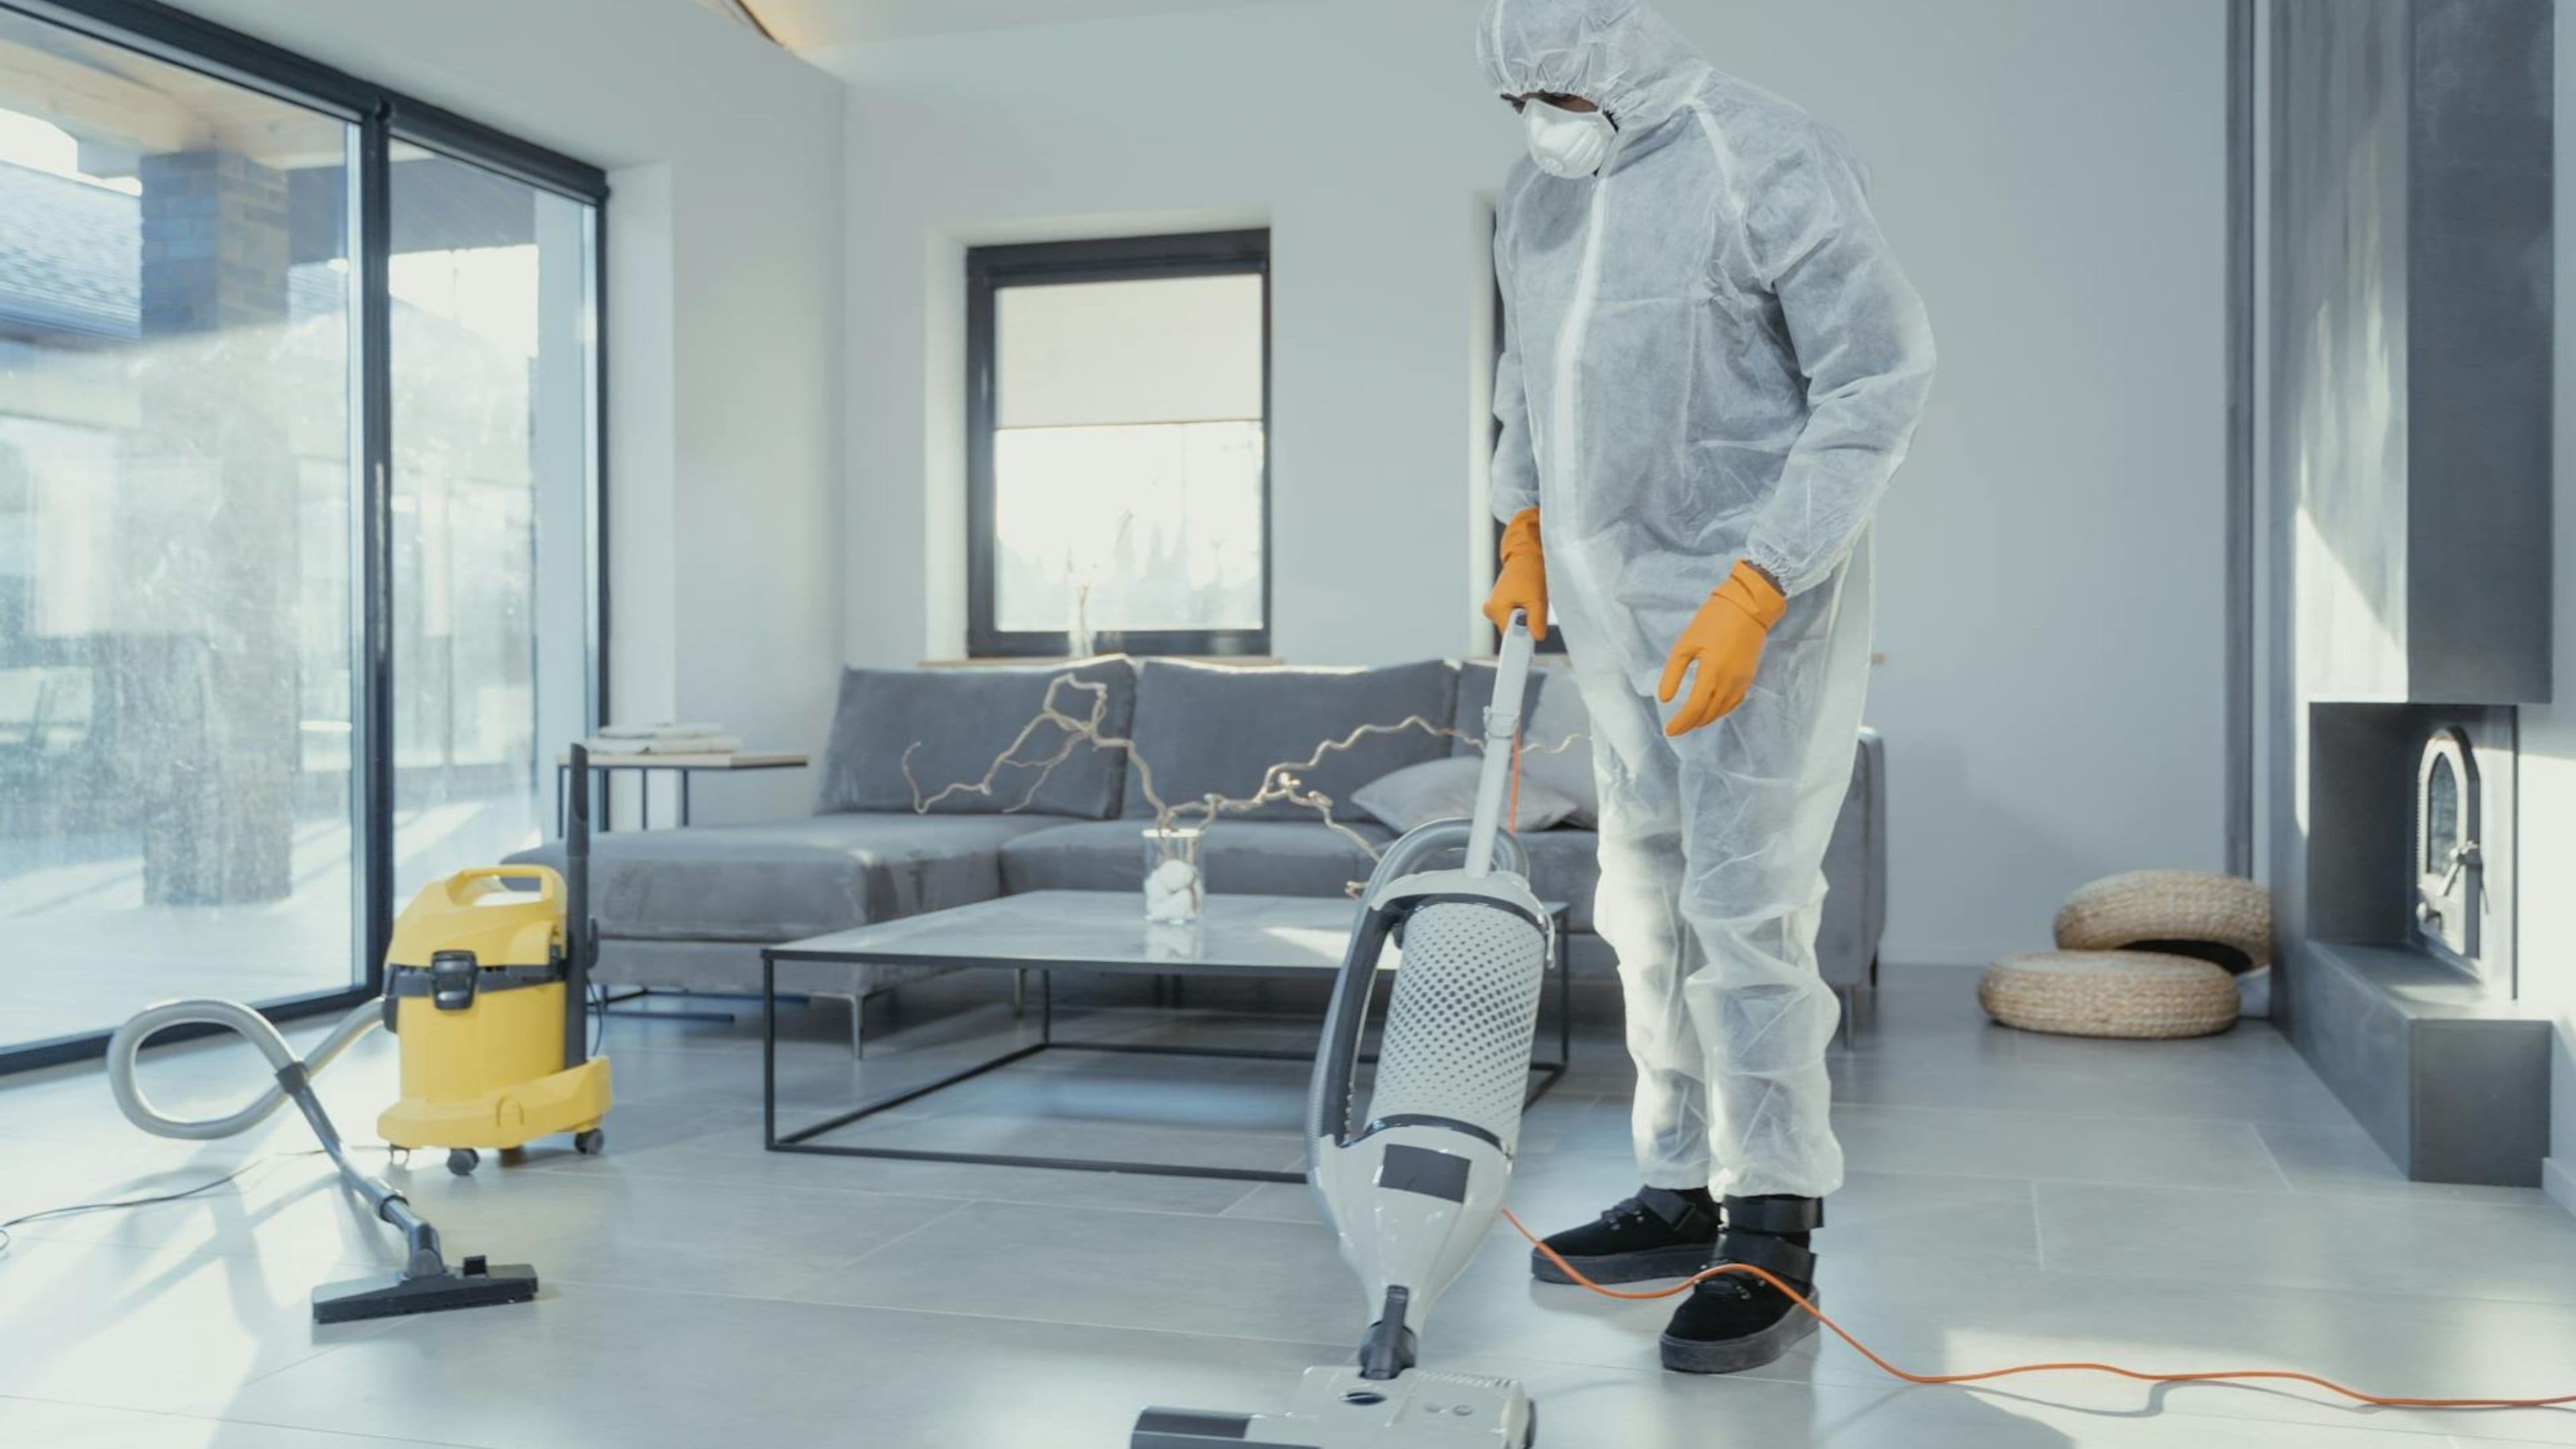
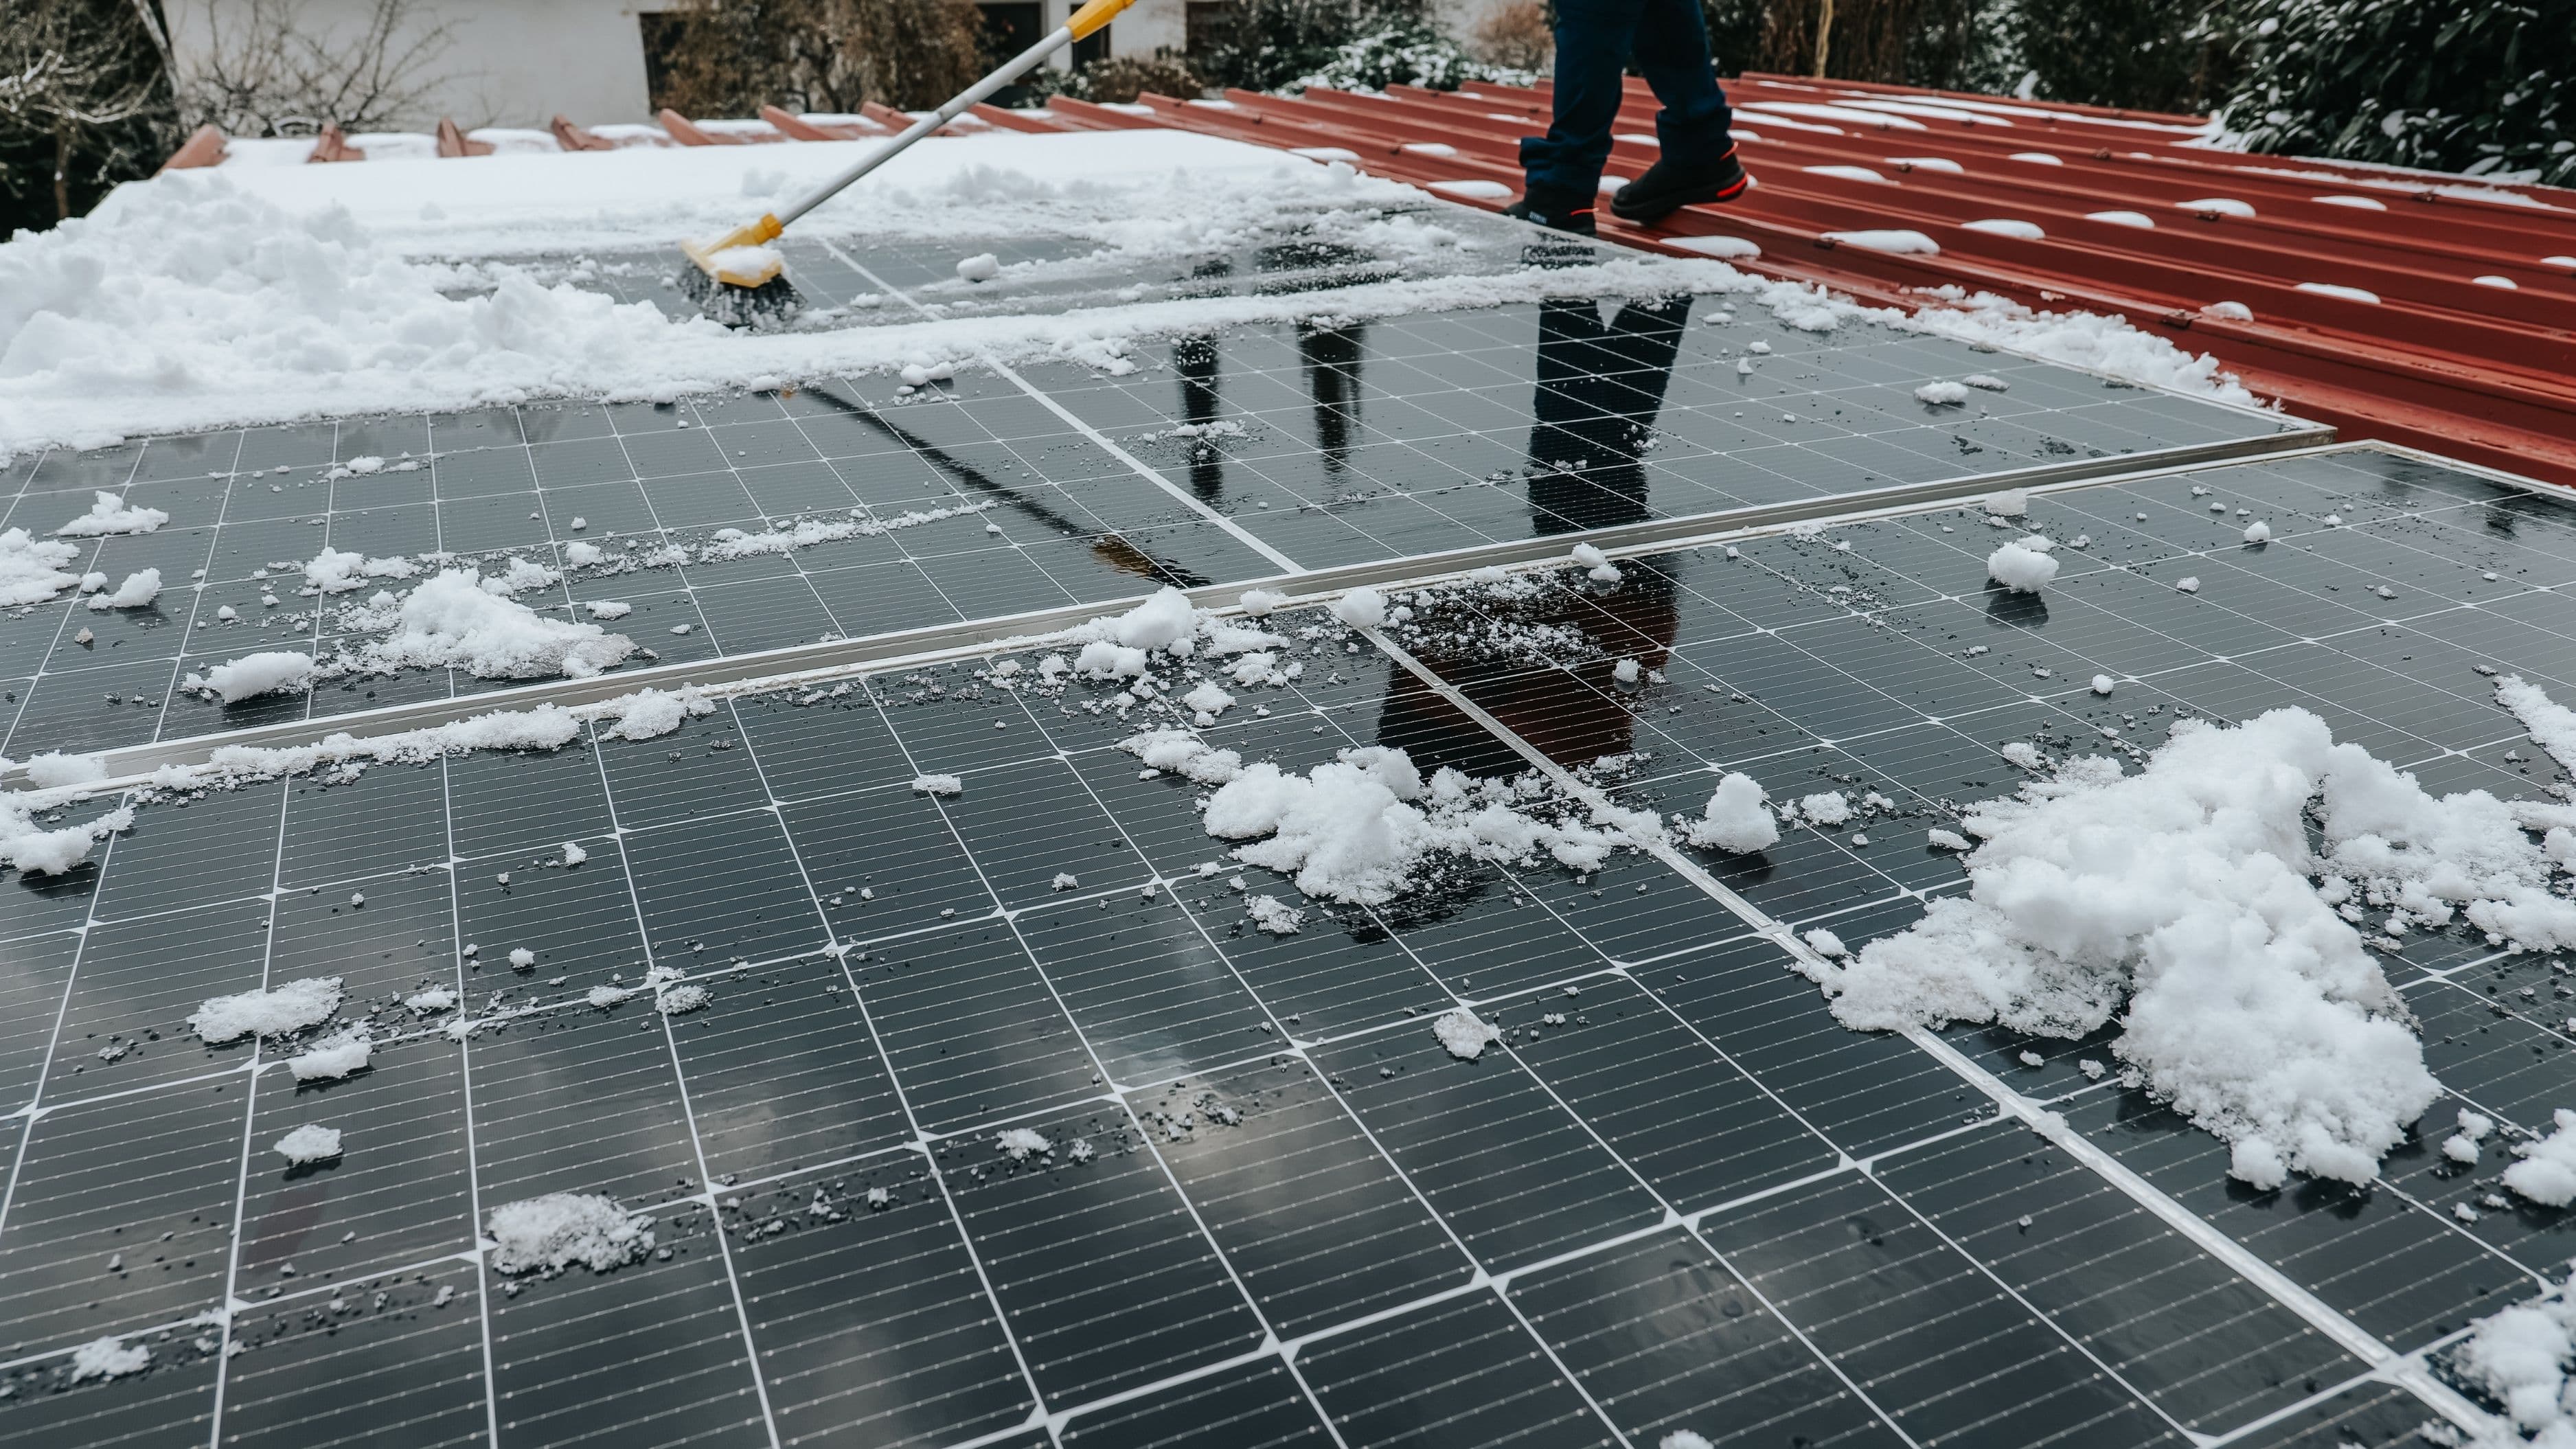
Before starting, clear any existing debris or nesting material from under the panels. This usually requires using a long brush or broom to sweep out from the edges. If there's an established colony with significant droppings buildup, wear an N95 or P100 respirator and gloves – this is a genuine health precaution, not an overcaution.
When Bird Netting Is Especially Worth It
Bird netting makes the most sense in these situations:
You've already noticed birds nesting or roosting under your panels. Once a colony establishes itself, removal becomes harder and more urgent. Netting at the first sign of activity is far easier than evicting an established colony.
You live in an urban or suburban area with a high pigeon or starling population. These are the species that most aggressively colonize solar arrays, and their populations are dense enough in most US cities that any unprotected array is a matter of when, not if.
Your array is on a south-facing or west-facing roof that gets significant afternoon warmth – exactly the conditions birds seek for nesting. North-facing or heavily shaded arrays attract less nesting activity.
You have mature trees nearby that birds already use for roosting. Proximity to established roosting sites dramatically increases the likelihood that birds will investigate your array.
When It Might Be Less Urgent
If you're in a rural area with low bird pressure, have an array that's been installed for several years with no sign of bird activity, or have a metal roof where the panel-to-roof gap is minimal, you may genuinely have lower risk. It's still not a bad investment, but it's less urgent than for a homeowner in a bird-dense urban or suburban environment.
Flat commercial-style roof installations where panels are ground-mounted or mounted with substantial clearance have a different risk profile and may need a different solution than standard perimeter netting.
Alternatives Worth Knowing
Bird netting is the most effective option for preventing nesting access, but it's not the only product on the market. A few others worth knowing:
Critter guards are solid metal skirt panels rather than mesh, designed to attach to the panel frame perimeter and present a completely solid barrier. They tend to be more expensive than mesh netting but are more durable and look somewhat cleaner. They serve the same function as netting for bird exclusion purposes.
Bird spikes along panel edges or roof ridges can reduce perching and discourage roosting but don't physically block access underneath panels. They work better as a supplement to netting than as a standalone solution for under-panel nesting.
Reflective deterrents – tape, pinwheels, reflective discs – have limited effectiveness against established bird populations. Birds habituate to them quickly. They're not a substitute for a physical barrier.
Common Mistakes to Avoid
Installing netting without first clearing existing nests is counterproductive. Birds already inside the enclosed space will be trapped and will die, creating a worse mess than you started with. Always clear debris and check for active nesting before sealing the perimeter.
Using cheap mesh not rated for UV exposure is a common mistake with DIY kits. Standard garden netting will degrade in two to three years of sun exposure, leaving you with brittle fragments that are both ineffective and a pain to clean up. Spend the extra money on UV-stabilized mesh rated for outdoor use.
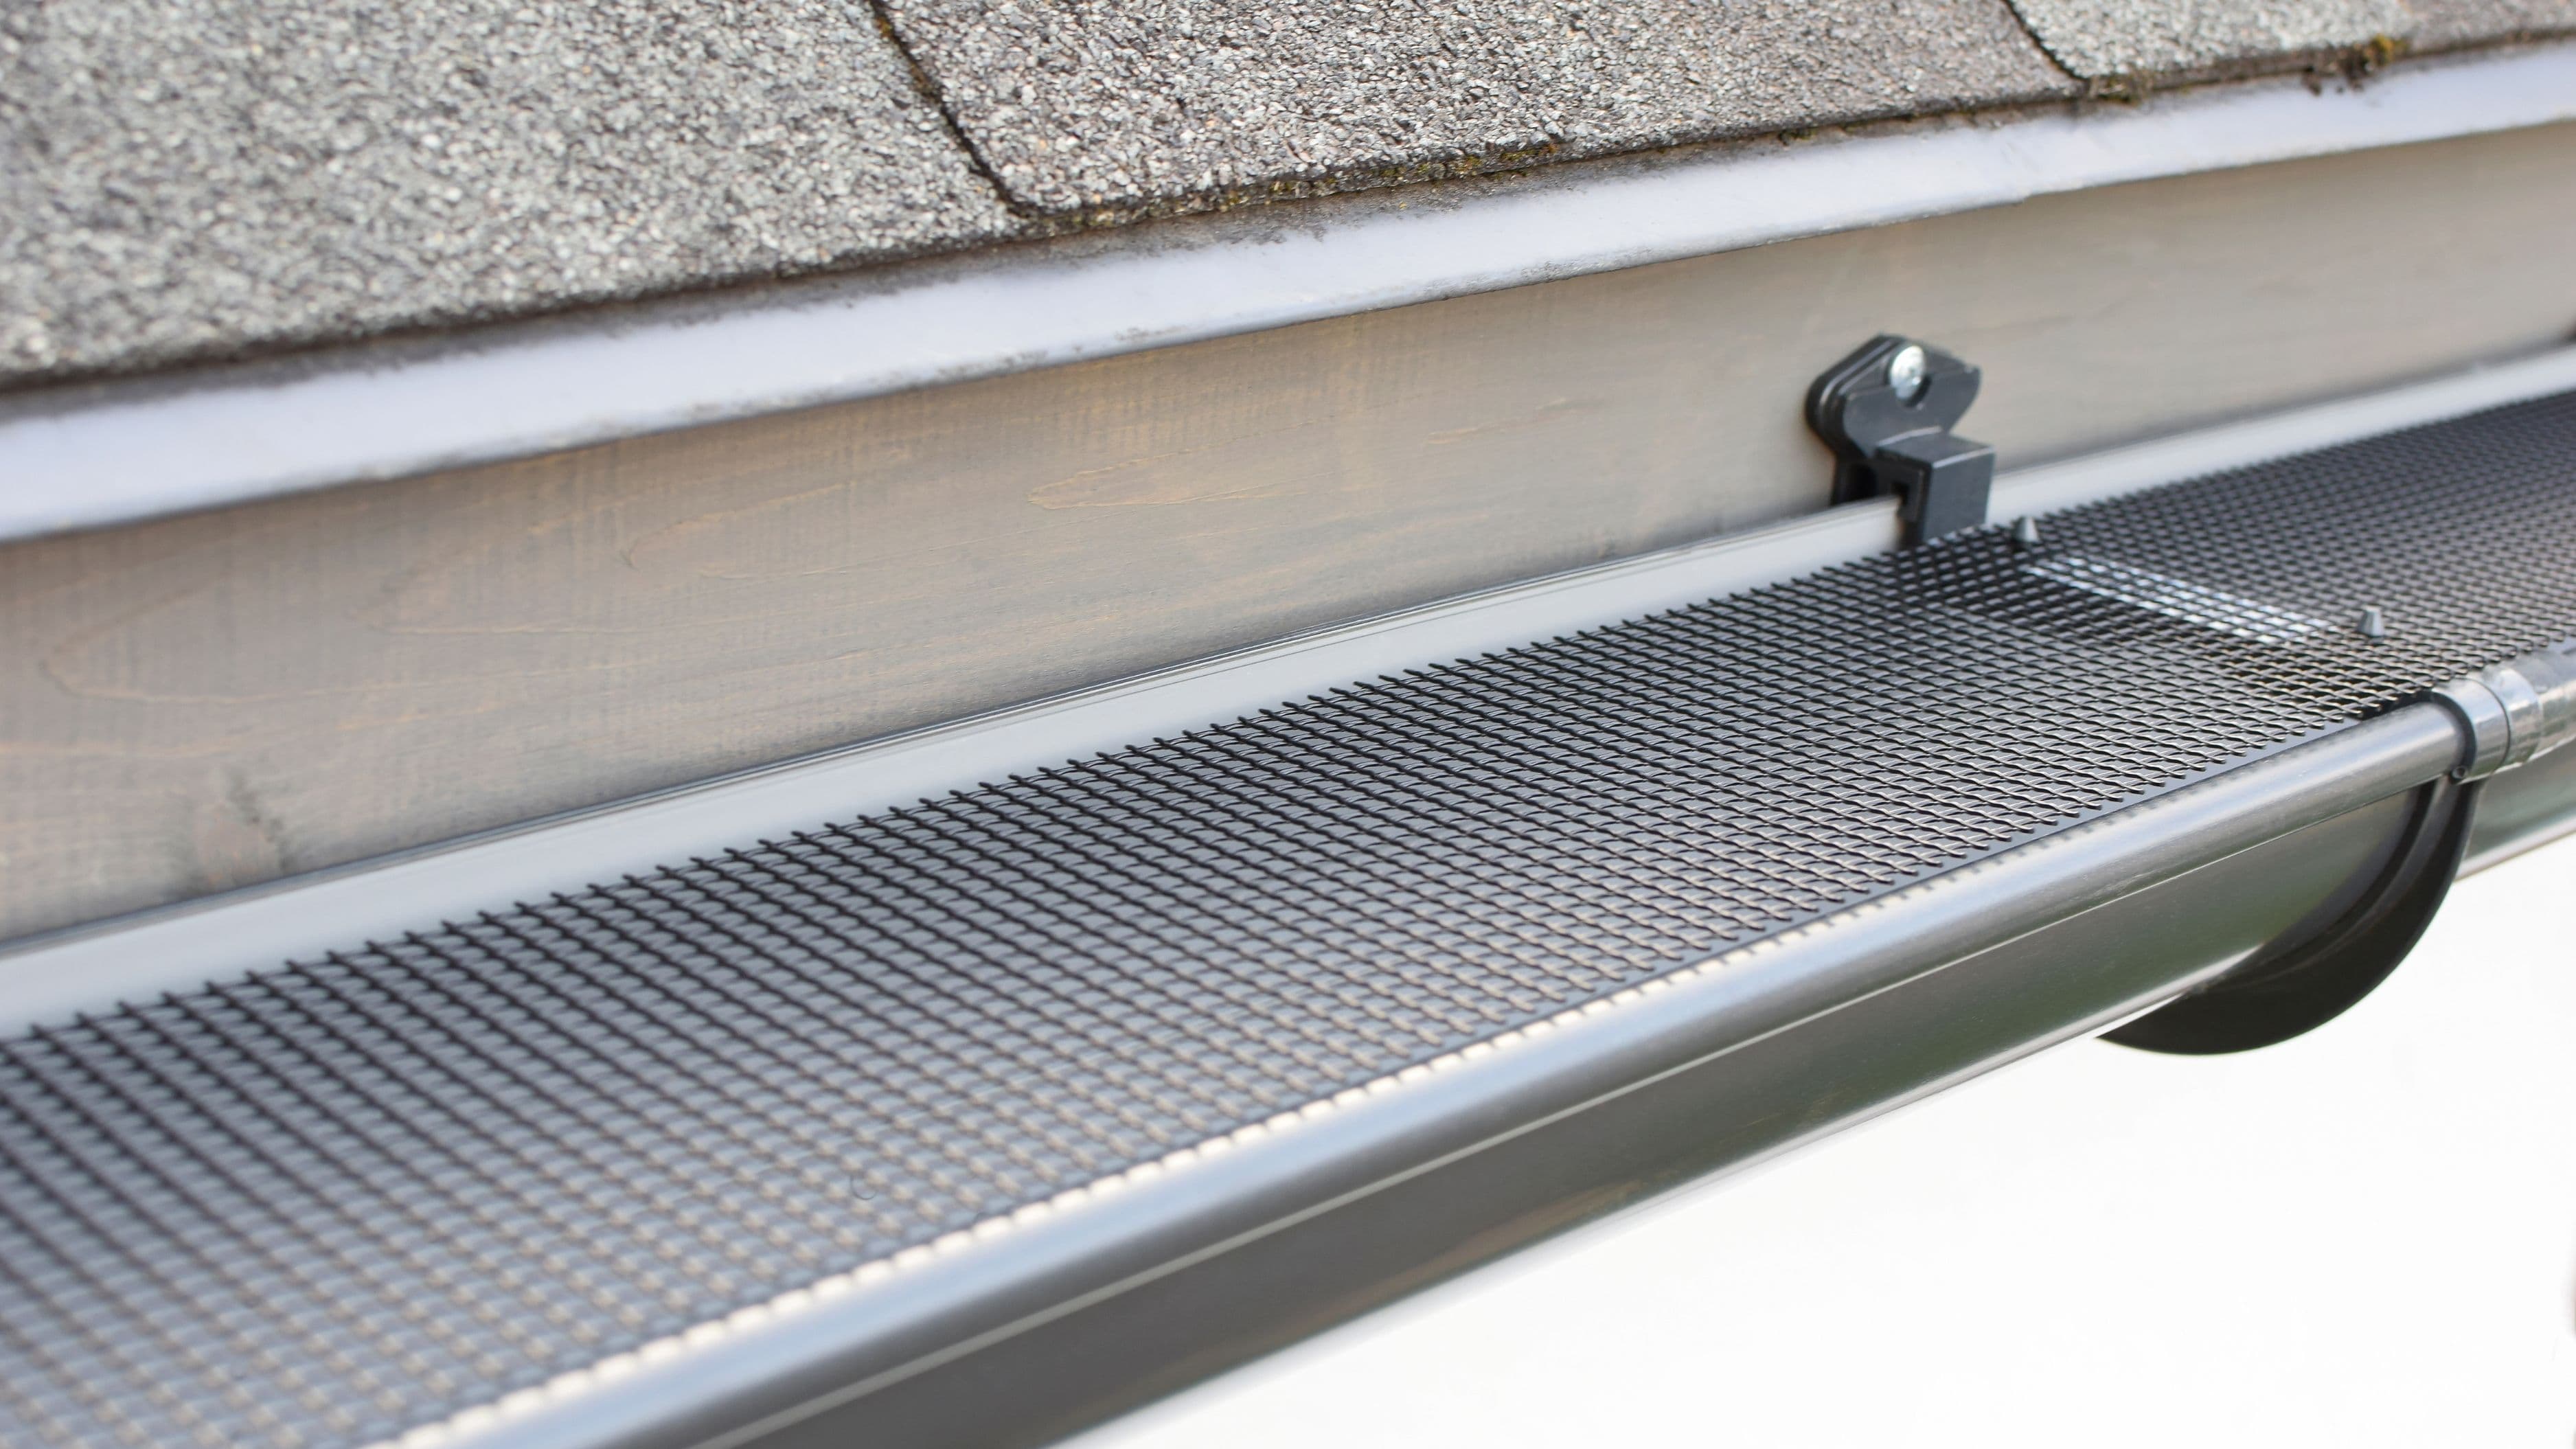
Installing clips too far apart allows birds to push through gaps. Follow the manufacturer's spacing recommendations, typically every 12–18 inches. Wider spacing is tempting when you're on the roof wanting to finish, but it's a shortcut that will cost you later.
Ignoring the roof condition before installing. Netting locks in whatever is under your panels for the life of the system. If your roofing material needs attention – cracked shingles, loose flashing, compromised sealant around mounts – address that before the netting goes in, not after.
FAQ
Will bird netting void my solar panel warranty? Not if it's installed using clip systems that don't modify the panels. Check your warranty terms, but virtually all residential solar panel warranties are silent on or explicitly allow perimeter deterrents that don't involve drilling or mechanical modification to panel frames.
How long does solar bird netting last? Quality UV-stabilized polyethylene mesh is typically rated for 7–10 years. Galvanized steel mesh lasts longer. Either should outlast multiple years of service before needing replacement.
Can I install netting on any roof type? Yes, though the installation approach varies slightly. Shingle, tile, metal, and flat membrane roofs all accommodate solar bird netting systems. Some roof types make walking and accessing the panel perimeter trickier – that's a roof safety consideration more than a netting compatibility one.
What if birds are already nesting under my panels? Wait until nesting season is over before sealing the perimeter – it's illegal under the Migratory Bird Treaty Act to disturb active nests of most bird species. Clear the debris thoroughly once nesting is complete, then install the netting before the next season begins.
Will netting keep out squirrels too? Yes, for the most part. Solar bird netting is effective against squirrels as well, which is a secondary benefit worth noting. Squirrels can cause similar or worse wiring damage than birds.
For most homeowners with an established solar array in a suburban or urban area, bird netting is not a luxury – it's sensible protection for a significant investment. The cost is modest relative to what it protects, the installation is manageable for a capable DIYer, and the alternative is waiting until damage has already been done. Get it done before nesting season, clear anything that's already accumulated underneath, and your array will be protected for the long haul.
📚 Sources
U.S. Fish & Wildlife Service – Migratory Bird Treaty Act Overview – https://www.fws.gov/law/migratory-bird-treaty-act-1918
National Renewable Energy Laboratory – Soiling and Shading Effects on PV Systems – https://www.nrel.gov/docs/fy12osti/54525.pdf
Solar Energy Industries Association – Rooftop Solar Best Practices – https://www.seia.org/research-resources/solar-industry-research-data
Centers for Disease Control and Prevention – Histoplasmosis and Bird or Bat Droppings – https://www.cdc.gov/histoplasmosis/environment/index.html
This Old House – How to Keep Birds Off Solar Panels – https://www.thisoldhouse.com/solar-alternative-energy/reviews/bird-netting-solar-panels
🔍 Explore Related Topics