Share:

Loading...

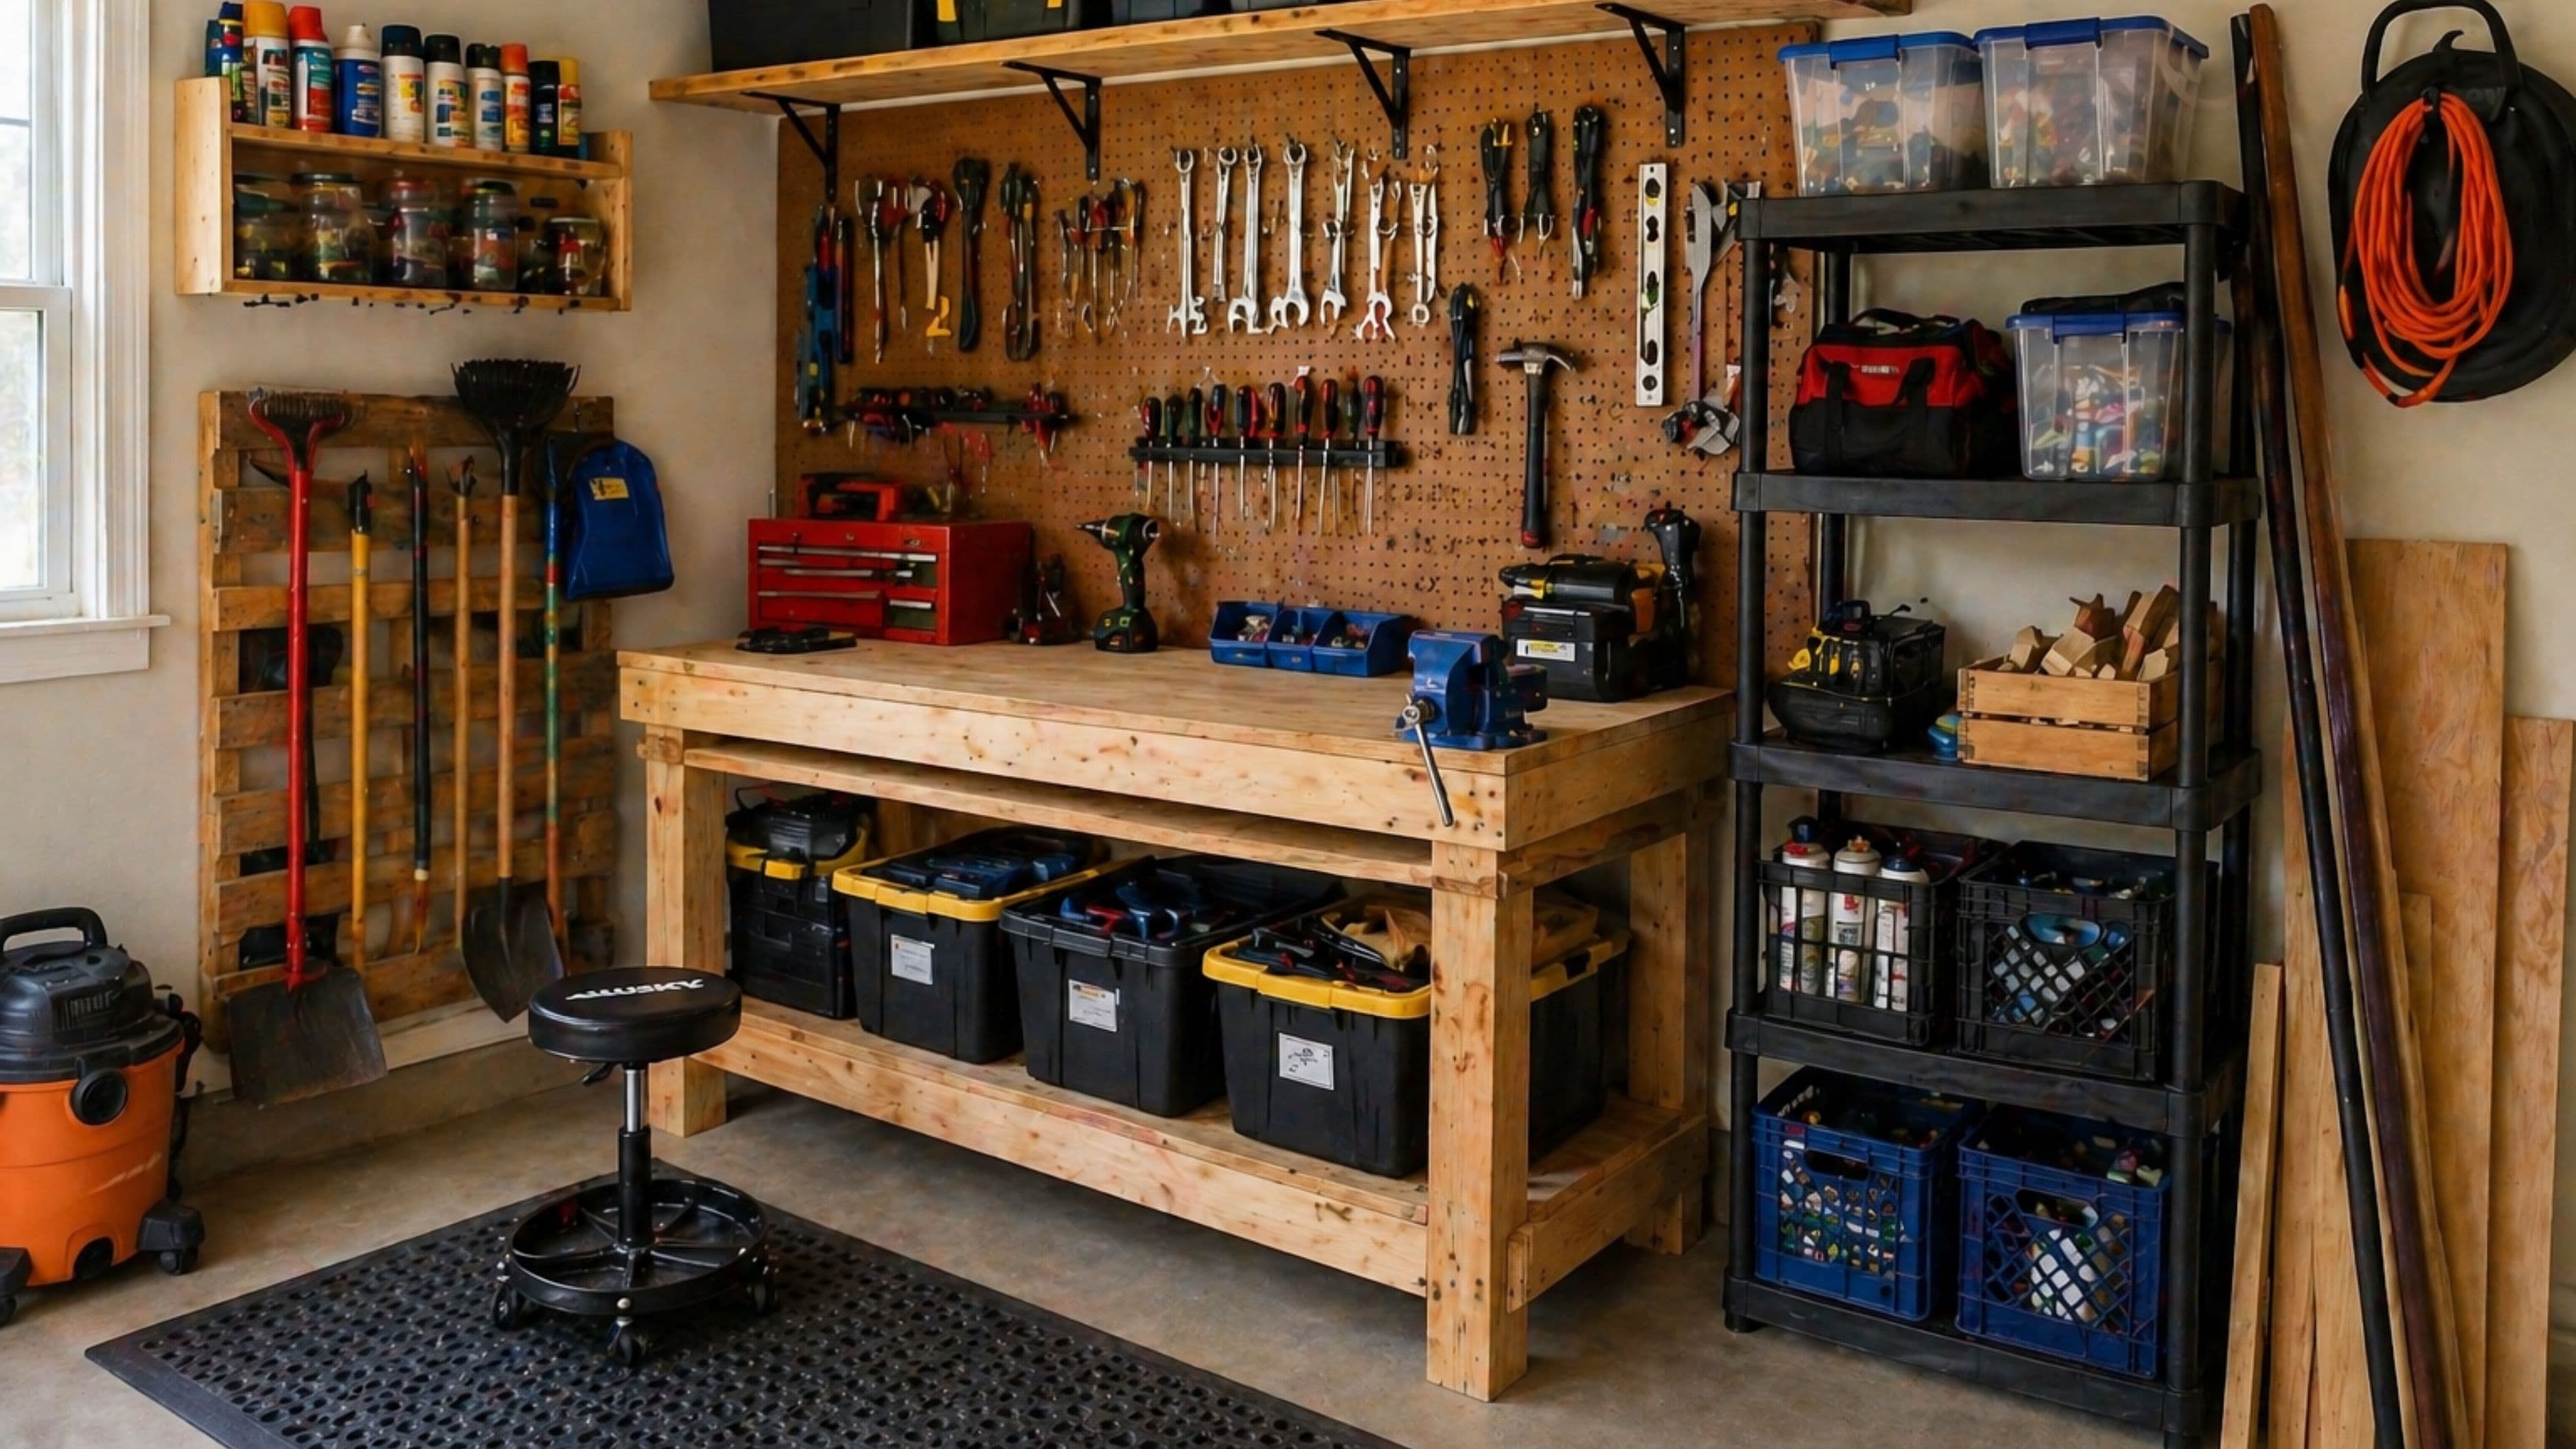
If your garage or workshop has tools scattered across every surface, hanging off random hooks, or buried in a pile you dig through every time you need a drill bit, a French cleat wall might be the most satisfying project you tackle this year. It's one of those builds that looks impressive, costs less than you'd expect, and genuinely transforms how a space works – without requiring advanced carpentry skills or a truck full of specialty tools.

A French cleat system is essentially a wall covered in angled wooden strips. Anything you hang on it – shelves, bins, tool holders, even a pegboard panel – can be repositioned in minutes without touching a screw. You build it once, and then the wall adapts to whatever you need it to be.
Estimated difficulty: Beginner to intermediate
Estimated time: 4–6 hours for a standard one-car garage wall section
Estimated cost: $80–$200 depending on wall size and plywood choice
Getting the materials list right before you start saves you at least one trip back to the hardware store. Here's what a typical French cleat wall build requires.
Materials:
3/4-inch plywood (the wall cleats and hanging cleats are both cut from this – don't go thinner or they'll flex under load)
2.5-inch or 3-inch coarse-thread wood screws (for attaching wall cleats to studs)
1.5-inch brad nails or short screws (for assembling holder accessories)
Optional: wood glue if you're building accessories with multiple layers
Tools:
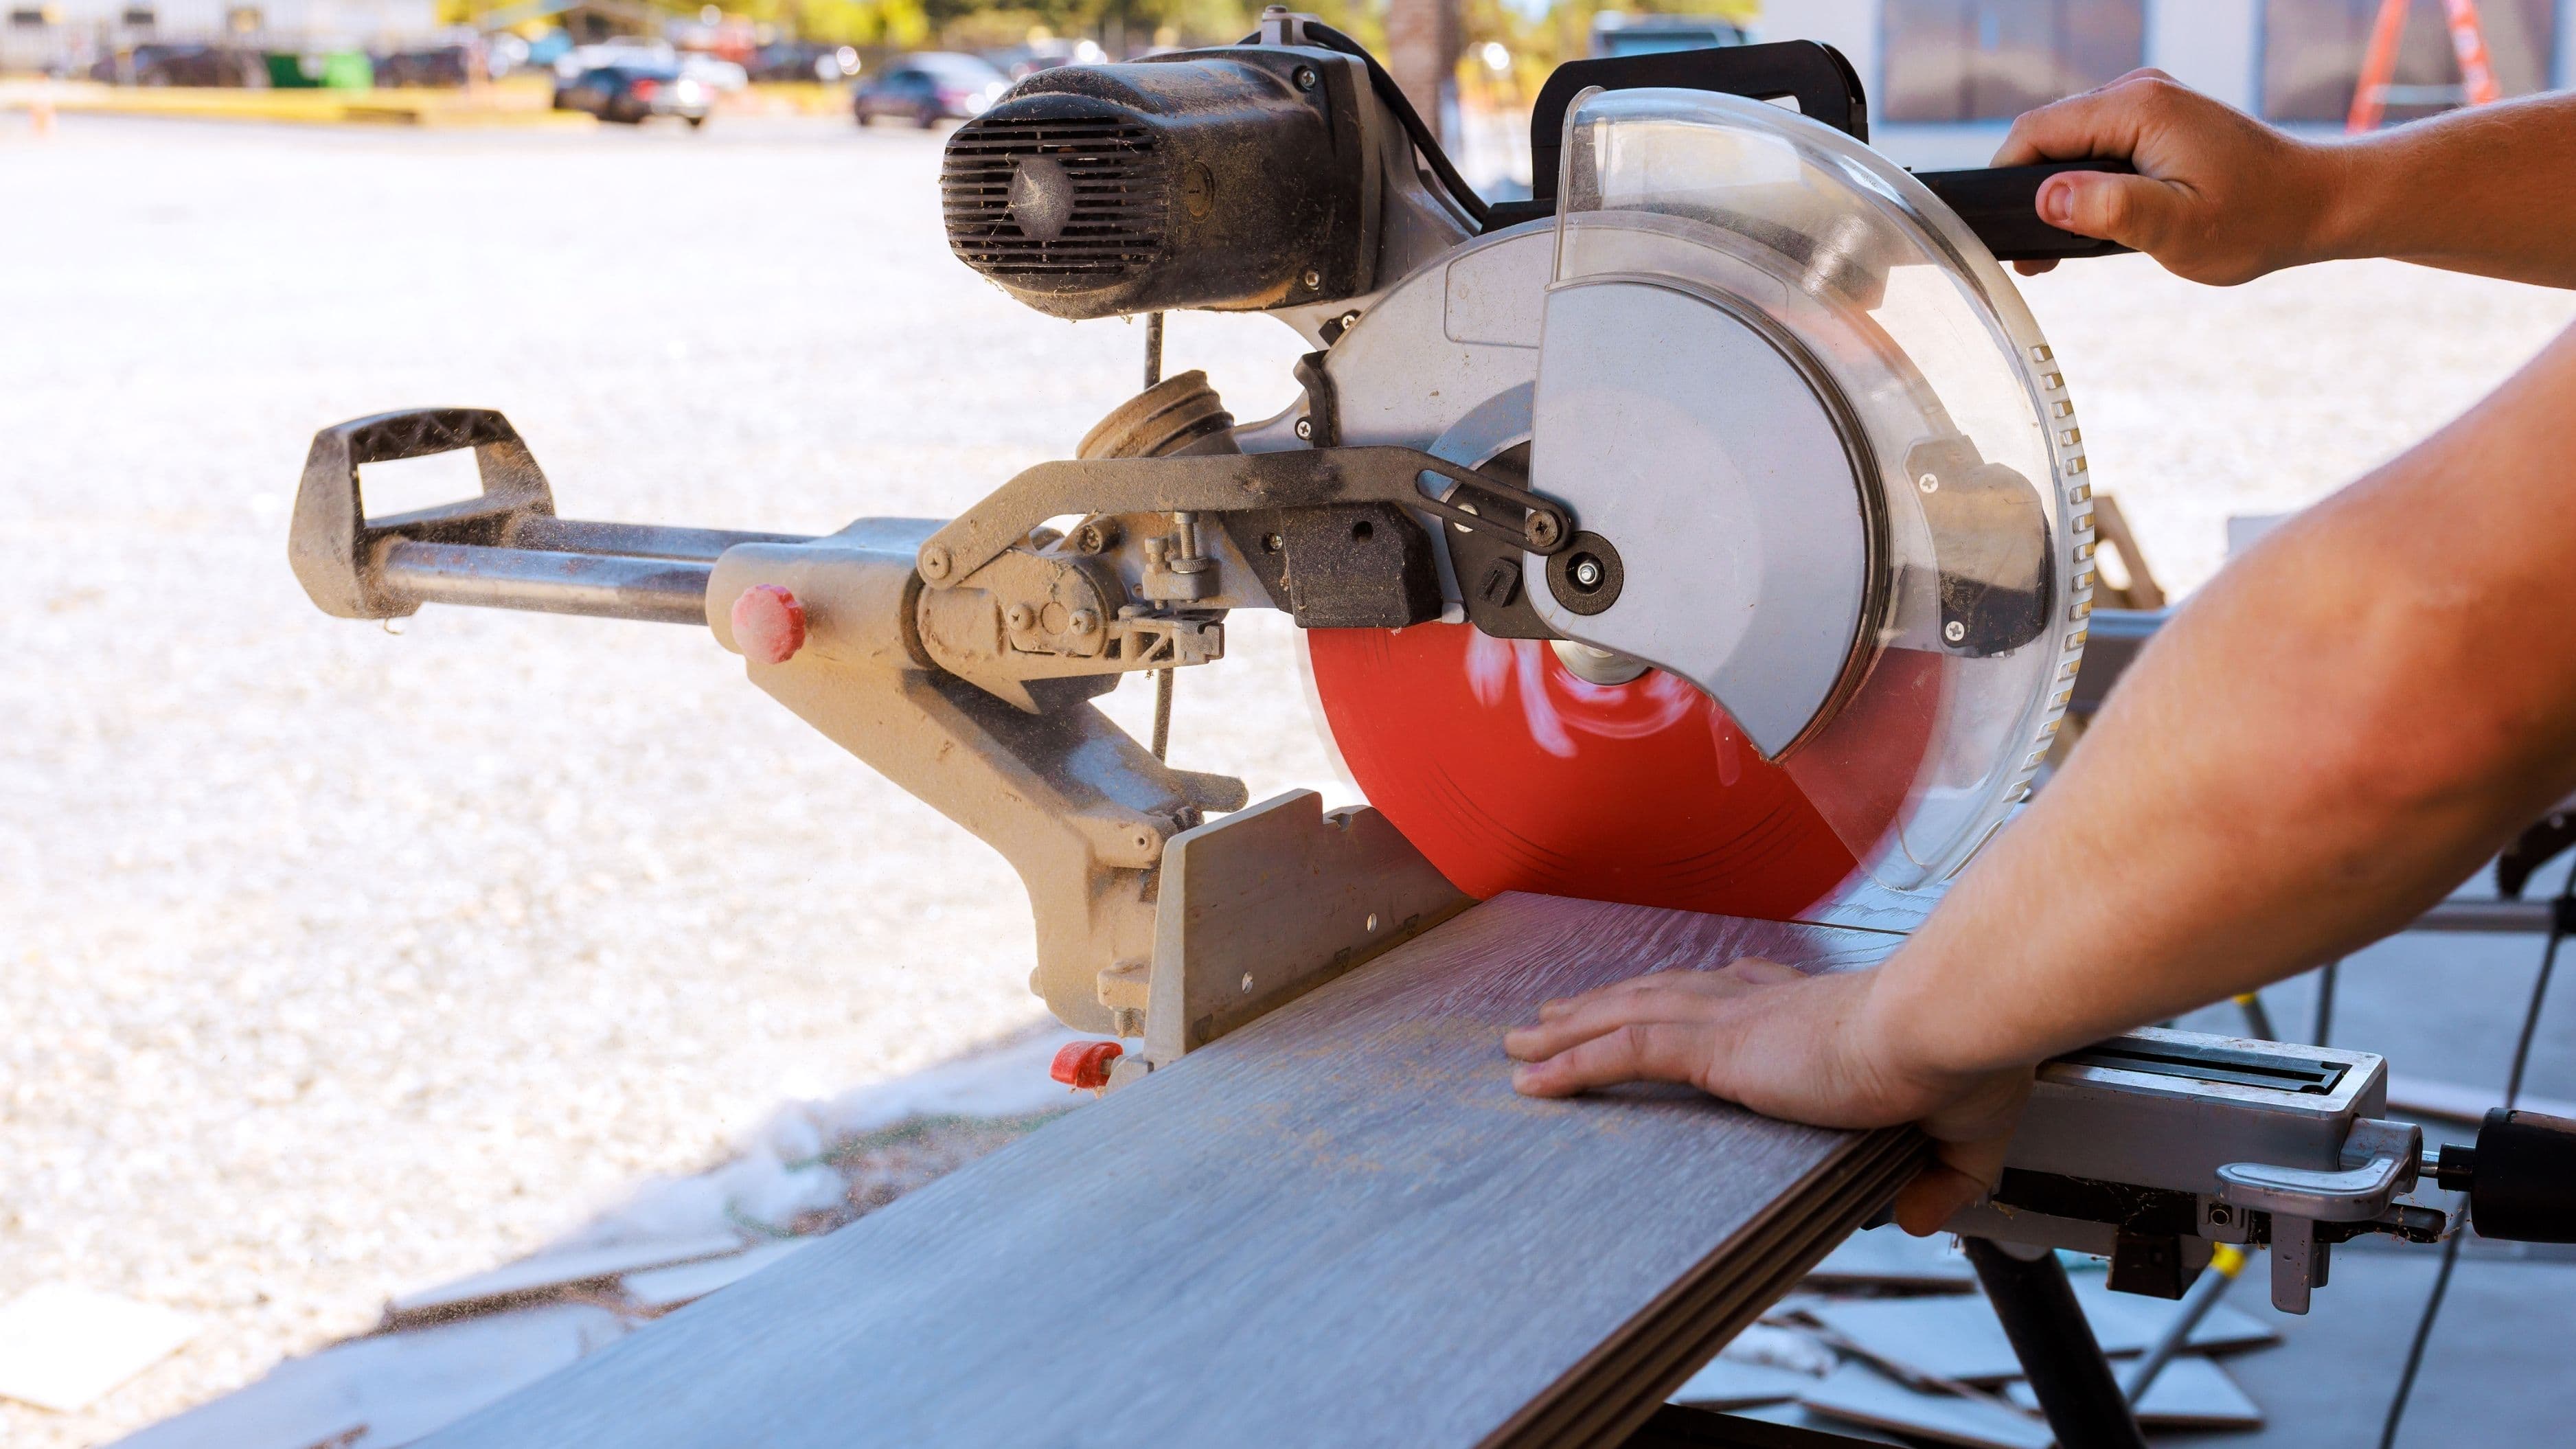
Table saw or circular saw with a straightedge guide (you need consistent 45-degree bevel cuts – a table saw makes this easier, but a well-set circular saw works fine)
Drill/driver
Stud finder
Level – a 4-foot level if you have one, or a shorter one with a chalk line
Tape measure and pencil
Safety glasses and hearing protection
The 45-degree angle is the heart of the whole system. One edge of each cleat is cut to 45 degrees, and the wall cleats and hanging cleats interlock at that angle. It sounds fussier than it is once you see it in practice.
Before you cut anything, spend a few minutes planning where the cleat system will go and how large you want it. Most people cover the full width of a wall from about waist height to as high as they can comfortably reach – typically a 4 to 6-foot tall section. You can also go floor to ceiling if you want maximum flexibility, though you'll need a step stool for the upper rows.
Mark the top and bottom boundaries of your planned cleat area on the wall with a pencil line. Use your level to make sure these lines are actually horizontal – walls look level but often aren't. Next, use your stud finder to locate every stud across the wall and mark their positions. Most walls in US homes have studs 16 inches on center, sometimes 24 inches. Every cleat you mount to the wall needs to hit at least two studs to be safe under real working load – no drywall anchors, no exceptions.
The wall cleats are typically cut 3–4 inches wide. You're ripping long strips from a sheet of 3/4-inch plywood, then beveling one edge of each strip at 45 degrees. You can do both cuts in one pass if your table saw fence is set up correctly, or make two passes – first rip to width, then tilt the blade to 45 degrees and bevel the edge.
A full 4x8 sheet of plywood ripped into 3.5-inch strips gives you roughly 13 strips per sheet. For a typical single-car garage wall section (8 feet wide, 4 feet tall), you'll need around 12–15 strips for the wall and additional material for your hanging accessories. Two sheets of plywood is usually enough to cover the wall cleats and get you started on accessories.
If you're using a circular saw, clamp a straight board to the plywood as a fence guide for each cut. Freehand cuts on long plywood strips will wander and produce cleats that don't sit flush against the wall – worth taking the extra few minutes to set up properly.
Safety note: Bevel cuts send the offcut flying in the direction of the blade tilt. Make sure your setup is secure before running a bevel cut, and keep hands well clear of the blade path.
Start at the top of your planned area and work down. Take your first strip and position it with the 45-degree bevel facing upward and away from the wall – the angled face should slope toward you at the top of the strip. This is the orientation that allows the hanging pieces to hook over and down into the wall cleat. If you get this backward, nothing will hang properly, so double-check before you drive the first screw.
Hold the strip against the wall at your top line and level it carefully. Drive 2.5-inch or 3-inch screws through the cleat and into each stud it crosses. Two screws per stud is good practice. Once the first strip is up and confirmed level, use it as your reference for everything below it.
The spacing between strips determines how much vertical adjustability you'll have for your hanging accessories. A 1.5-inch gap between the bottom of one strip and the top of the next is standard and gives you approximately 2-inch vertical adjustability on where accessories can sit. Tighter gaps mean more adjustability; wider gaps mean less. Keep it consistent across the wall – consistent spacing makes the finished system look intentional and makes building accessories more predictable.
Work your way down the wall, strip by strip, checking level on each one. The whole wall doesn't need to be perfectly level across all strips as long as each individual strip is level – small cumulative errors don't affect function.
The wall is just the foundation. The real satisfaction comes from building accessories tailored to exactly what you own. Each accessory has a "hanging cleat" on its back – a strip of plywood cut with the 45-degree bevel facing downward and toward the wall, which is the mirror image of the wall cleats. When you hook an accessory over a wall cleat, the two 45-degree faces interlock and gravity locks it in place.
A basic shelf is the easiest starting point. Cut a piece of plywood to your desired shelf width and depth (12 inches deep is useful for most workshop purposes). Cut a hanging cleat the same width as the shelf and glue and screw it along the back top edge with the bevel facing down and outward. That's the entire build. The shelf hooks over any wall cleat and can hold significant weight – a properly built 12-inch shelf with a full-width hanging cleat attached to a stud-mounted wall cleat will hold 50+ pounds without issue.
A bin rail is the next most useful addition. Rip a strip of plywood slightly narrower than a hanging cleat and cut shallow notches in it to hold wire bins or small plastic containers. Mount a hanging cleat on the back and you have a rail that holds a dozen small parts bins in easy reach.
A tool-specific holder is where you start customising for your actual tools. A drill holder is just two pieces of plywood cut to cradle the body and handle of a drill. A chisel rack is a strip with appropriately sized holes drilled to accept each handle. Measure your tools and cut for them specifically – this is where French cleat systems beat every off-the-shelf storage solution.
With the wall mounted and your first few accessories built, the system reveals itself quickly. Hang your accessories, load them with tools, and stand back. You'll almost certainly move a few things around immediately – that's the point. French cleats are meant to be rearranged as your needs change, not set once and left forever.
As you build more accessories over time, leave a strip or two of open wall space as a staging area for work-in-progress or tools you're actively using. The most common mistake people make after building a French cleat wall is filling every inch of it immediately and then having no flexibility left. Build to about 70–80% capacity and you'll have a system that keeps working for you.
Using 1/2-inch plywood instead of 3/4-inch. It's lighter and cheaper, but it flexes noticeably under load and the bevel edge is narrower, which reduces the interlocking contact area. Stick with 3/4-inch for both the wall and the hanging accessories.
Skipping stud location and using drywall anchors. A loaded French cleat wall puts real force on the fasteners. Drywall anchors will eventually pull through under repeated loading and rearranging. Screwing into studs is non-negotiable for anything holding heavy tools.
Bevels going the wrong way. If the wall cleat bevel slopes toward the wall at the top (instead of away from the wall), your hanging pieces won't seat properly. Mark the "top, away" face of each wall cleat with a pencil before you mount it so you don't confuse yourself mid-build.
Making accessories too narrow for the hanging cleat. A hanging cleat that's narrower than about 6 inches can torque and tip under load. For small accessories like single-tool holders, use a wider cleat than you think you need, or add a second lower cleat to the back of the accessory for stability.
Not checking level on the first strip. Every strip that follows references the one above it visually. If the first strip is off by even a small amount, the error accumulates down the wall. Take your time on the first strip and save yourself frustration later.
Do I need a table saw to build a French cleat wall? A table saw makes the bevel cuts much easier and more consistent, but it's not required. A circular saw with the blade tilted to 45 degrees and a clamped straightedge guide will produce clean, usable cuts. Take your time with setup – consistency matters more than the specific tool you use.
How much weight can a French cleat wall hold? A properly built system – 3/4-inch plywood cleats screwed into studs with 2.5-inch screws – can hold several hundred pounds across a wall section. Individual accessories are typically limited by the width of their hanging cleat and the number of studs they span, not by the cleat system itself. A full-width shelf hitting two studs will safely hold more than most people ever put on a shelf.
Can I build a French cleat wall if my studs are 24 inches on center instead of 16? Yes, but each wall cleat will hit fewer studs per run, so use three screws per stud instead of two to increase pull-out resistance. The system works fine at 24-inch stud spacing.
What's the best plywood to use? For most garages and workshops, standard construction-grade pine plywood is perfectly adequate and the cheapest option. If you want a cleaner look, sanded plywood or birch plywood finishes better and has fewer voids, but at higher cost. There's no structural advantage to premium plywood for this application.
Can I paint or finish the wall cleats? Yes. Many people paint the wall cleats a single colour and paint the accessories a contrasting colour to make the system look more finished. Painting doesn't affect function. If you're painting, do it before mounting – it's much easier to paint strips on sawhorses than to cut in around mounted cleats.
How do I handle outlets or switches in the middle of my planned cleat area? Notch around them. Cut your cleat strips to stop a few inches short of the outlet on each side, leaving the box fully accessible. You can add a short vertical piece to bridge the gap visually if you want, but most people just leave the gap – it's a workshop, not a furniture showroom.
A French cleat wall is one of those rare DIY projects that's genuinely easier than it looks and more useful than you expect. Once it's up, you'll find yourself building accessories for it well into the future – which is exactly the kind of project that makes a garage or workshop feel like it actually belongs to you.
Family Handyman – How to build a French cleat tool wall: https://www.familyhandyman.com/project/french-cleat/
Fine Homebuilding – Garage storage with French cleats: https://www.finehomebuilding.com/project-guides/garages/french-cleat-storage
This Old House – Workshop storage solutions: https://www.thisoldhouse.com/garages/21017523/workshop-storage
Bob Vila – How to use a stud finder: https://www.bobvila.com/articles/how-to-use-a-stud-finder/
Popular Mechanics – Workshop organisation ideas for your garage: https://www.popularmechanics.com/home/tools/tips/a17991/workshop-organization/