
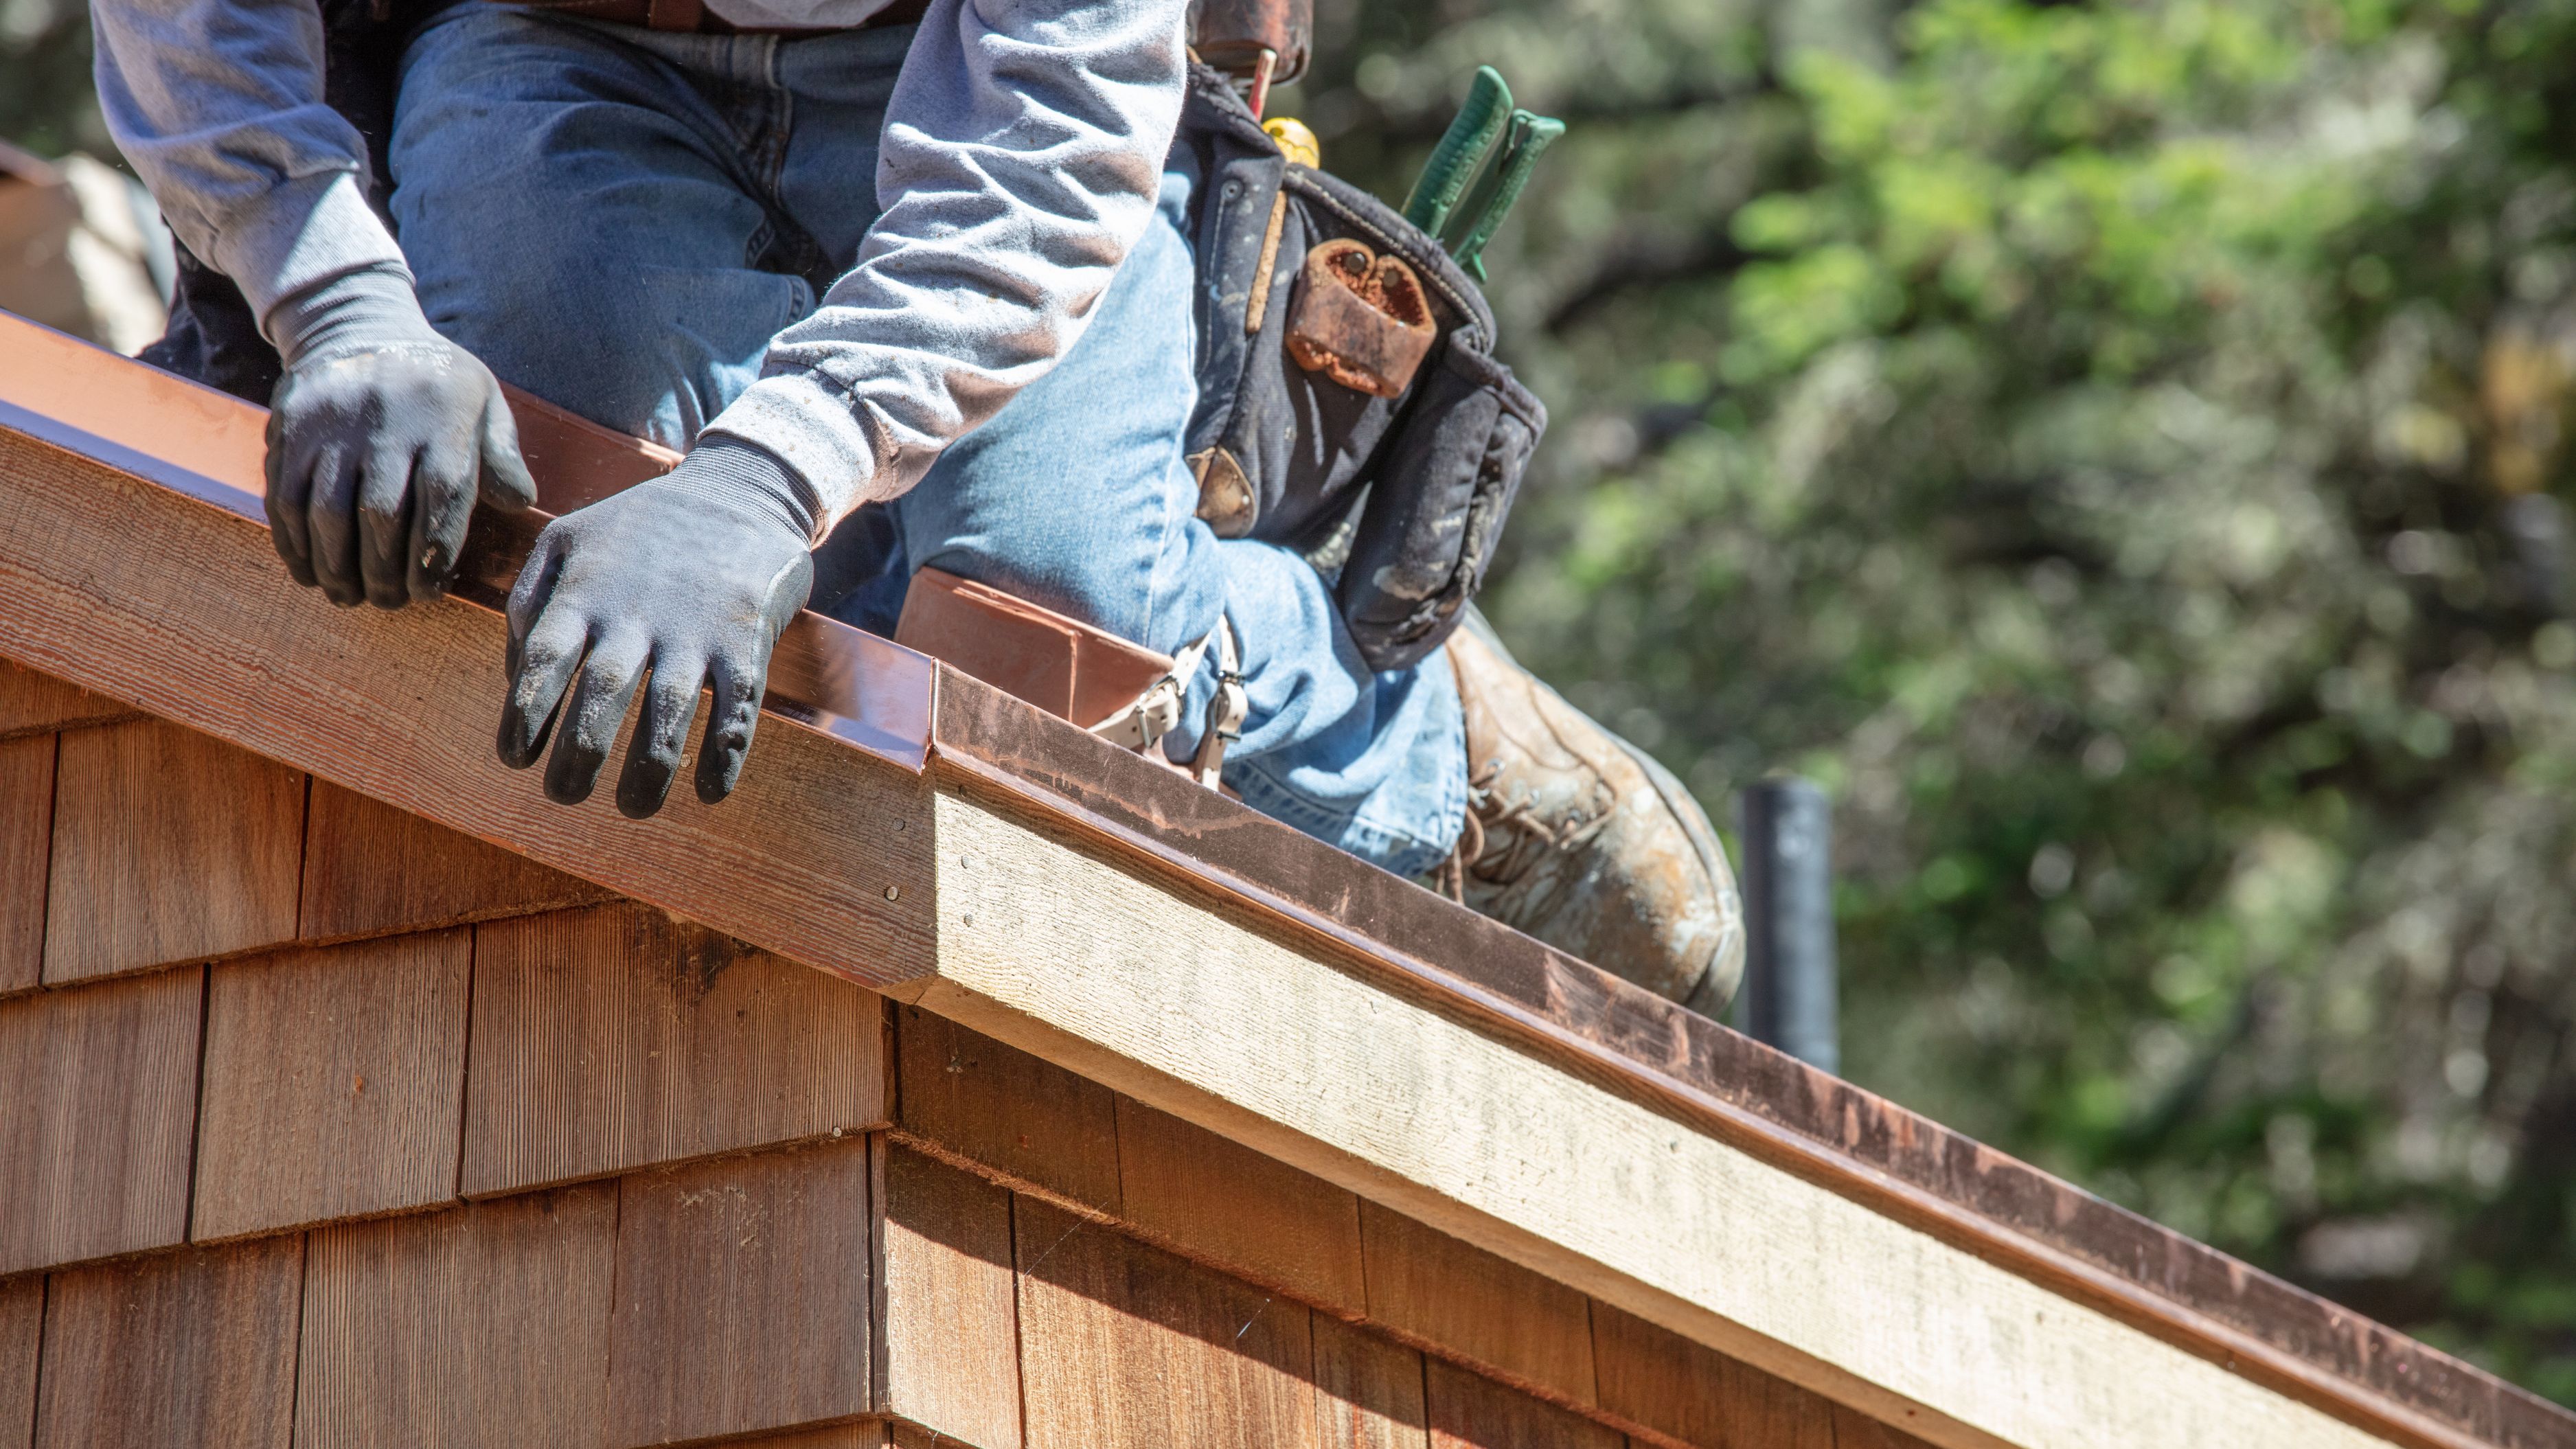
The good news is that checking flashing condition is something most homeowners can do safely from the ground or a ladder, without climbing onto the roof itself, and catching problems early is a lot cheaper than repairing water damage later.
What You'll Need
A pair of binoculars for ground-level inspection, a sturdy ladder if you're comfortable getting closer, work gloves, and a flashlight if you're checking flashing in an attic space from the underside. That's genuinely the whole list for a basic inspection; you don't need specialty tools to spot the warning signs.
Step 1: Start With a Ground-Level Visual Scan
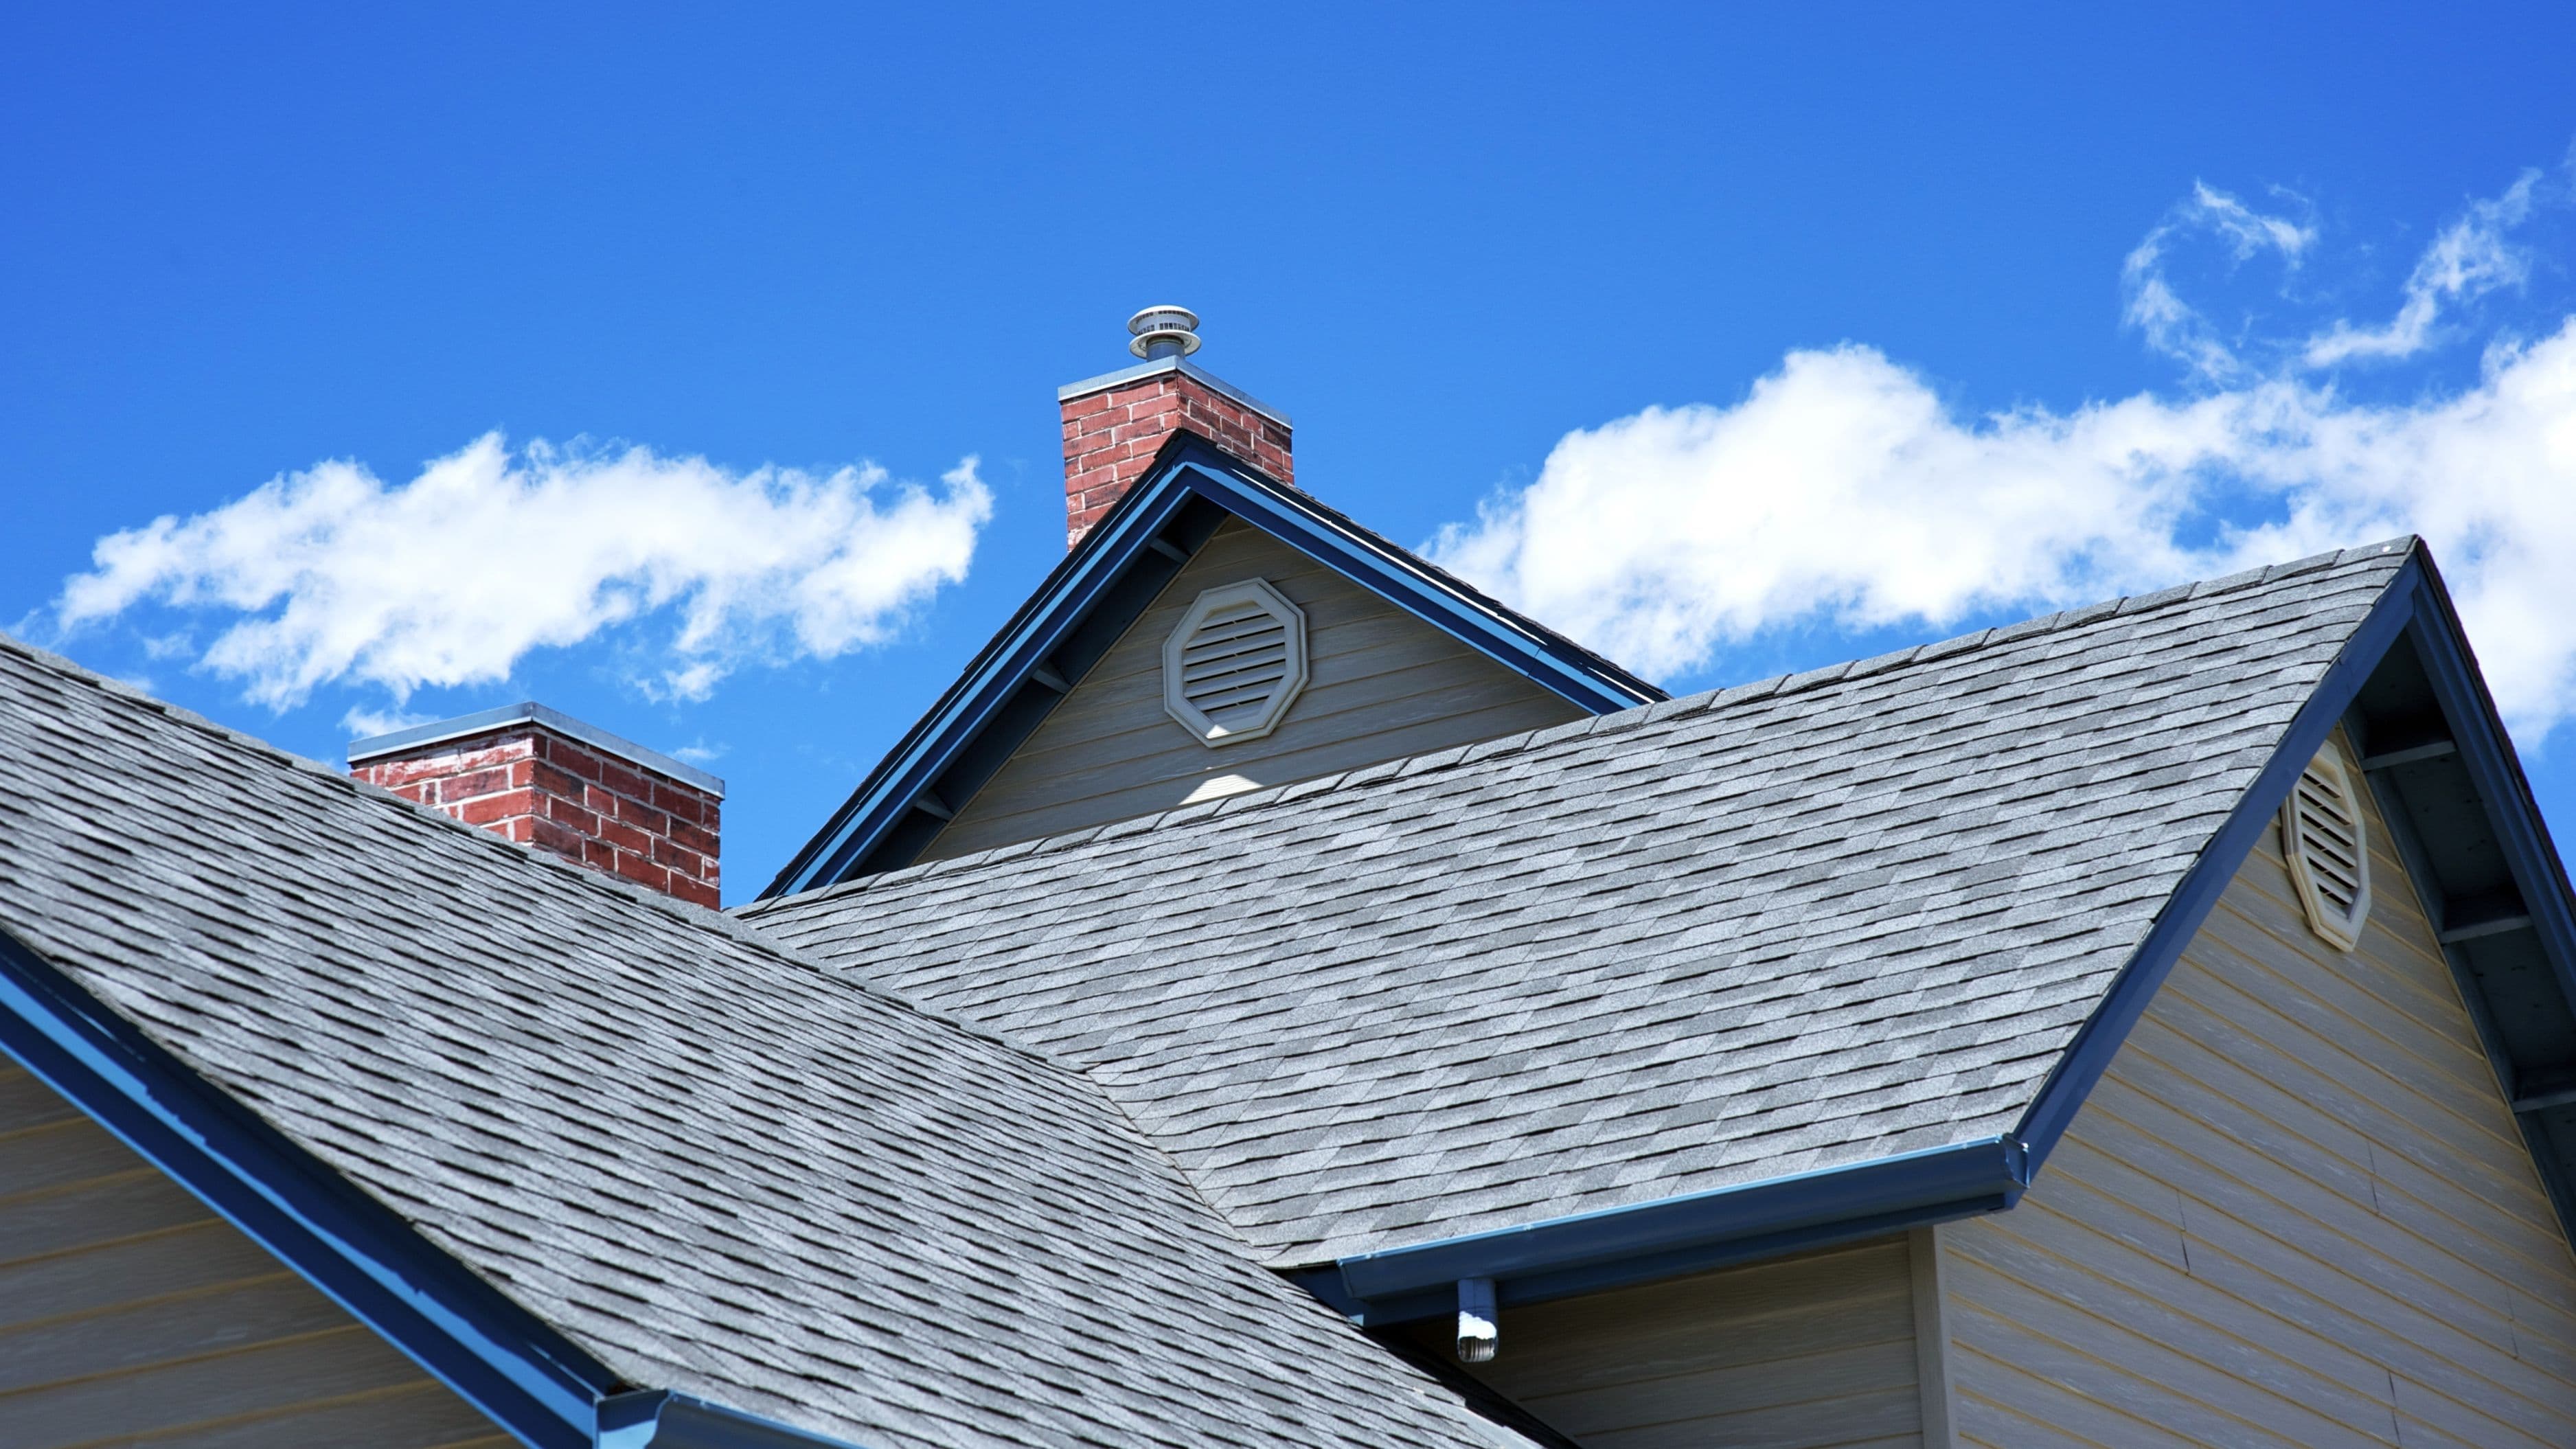
Before climbing anything, walk the perimeter of your house and use binoculars to scan the flashing around your chimney, roof vents, and any wall-to-roof junctions. You're looking for obvious discoloration, streaking (a sign water has been running somewhere it shouldn't), or visibly bent or lifted metal edges.
This step alone catches a surprising number of issues, and it's the safest way to do a first pass before deciding whether closer inspection is worth the ladder trip.
Step 2: Check for Rust and Corrosion Up Close
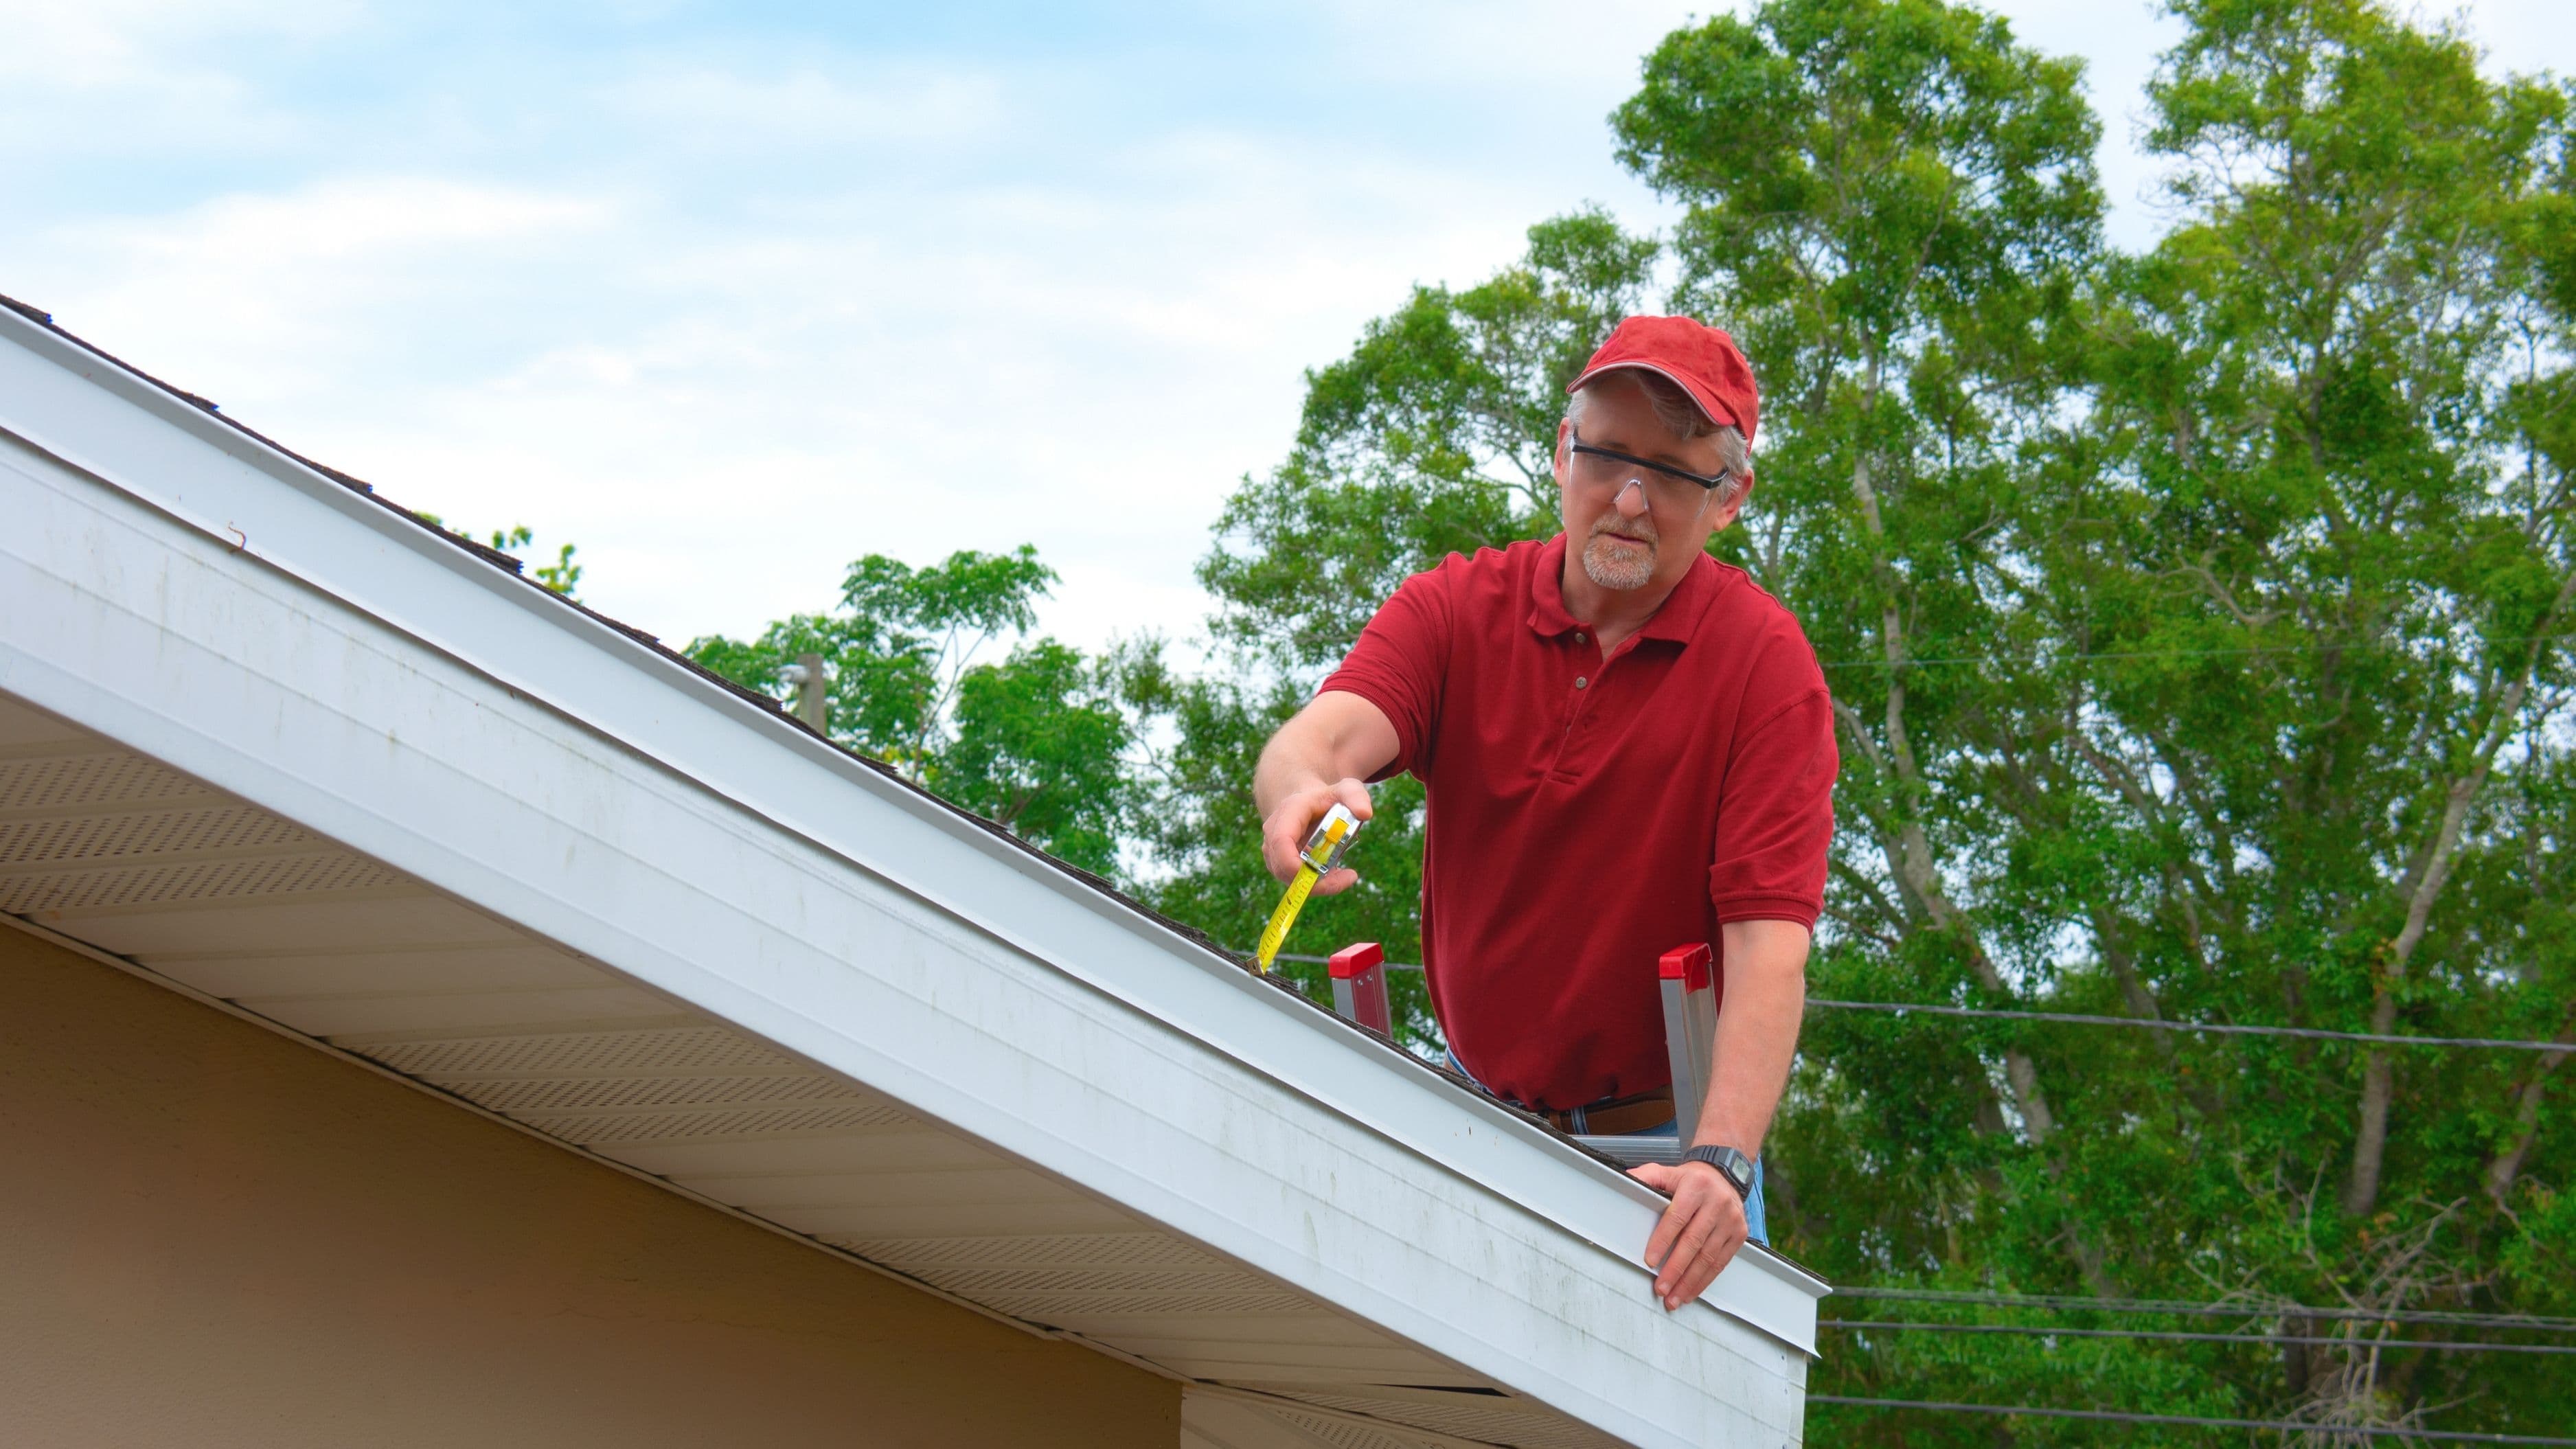
If you're comfortable on a ladder, get close enough to examine the flashing material directly. Rust typically starts as small orange-brown spots and spreads outward over time. Early-stage rust on galvanized steel flashing is a maintenance item, not an emergency, but it should be addressed before it progresses to actual holes or significant material loss.
Pay particular attention to flashing where two different metals meet, like aluminum flashing against a steel vent pipe. Different metals in direct contact can accelerate corrosion through galvanic reaction, so these junctions often show rust before flat, uniform-material sections do.
Step 3: Look for Gaps, Lifting, and Separation
Flashing should sit tight against the surfaces it's sealing, with no visible daylight or gaps at the seams. Over time, thermal expansion and contraction, wind, and general aging can cause flashing to lift slightly at the edges or pull away from the surface it's meant to seal.
Run your gloved hand gently along accessible flashing edges (only if you can do so safely without leaning or overreaching on the ladder) to feel for looseness. A section that moves or flexes under light pressure has likely lost its seal or fastening and needs attention.
Step 4: Inspect the Sealant Around Flashing Edges
Most flashing installations use a sealant or caulk at the edges to reinforce the water barrier. This sealant degrades faster than the metal itself, typically needing reapplication every five to ten years depending on climate and sun exposure. Cracked, chalky, or missing sealant around otherwise intact flashing is a common early failure point, and it's one of the easiest issues to fix yourself with a tube of roofing-grade sealant.
Step 5: Check From the Attic If You Have Access
If your attic space allows access near the roofline, checking the underside of flashing points from inside during daylight hours can reveal water staining, mold, or actual light coming through gaps that aren't obvious from outside. This is often the most reliable way to catch leaks that haven't yet shown up as visible ceiling damage in living spaces below.
What to Avoid
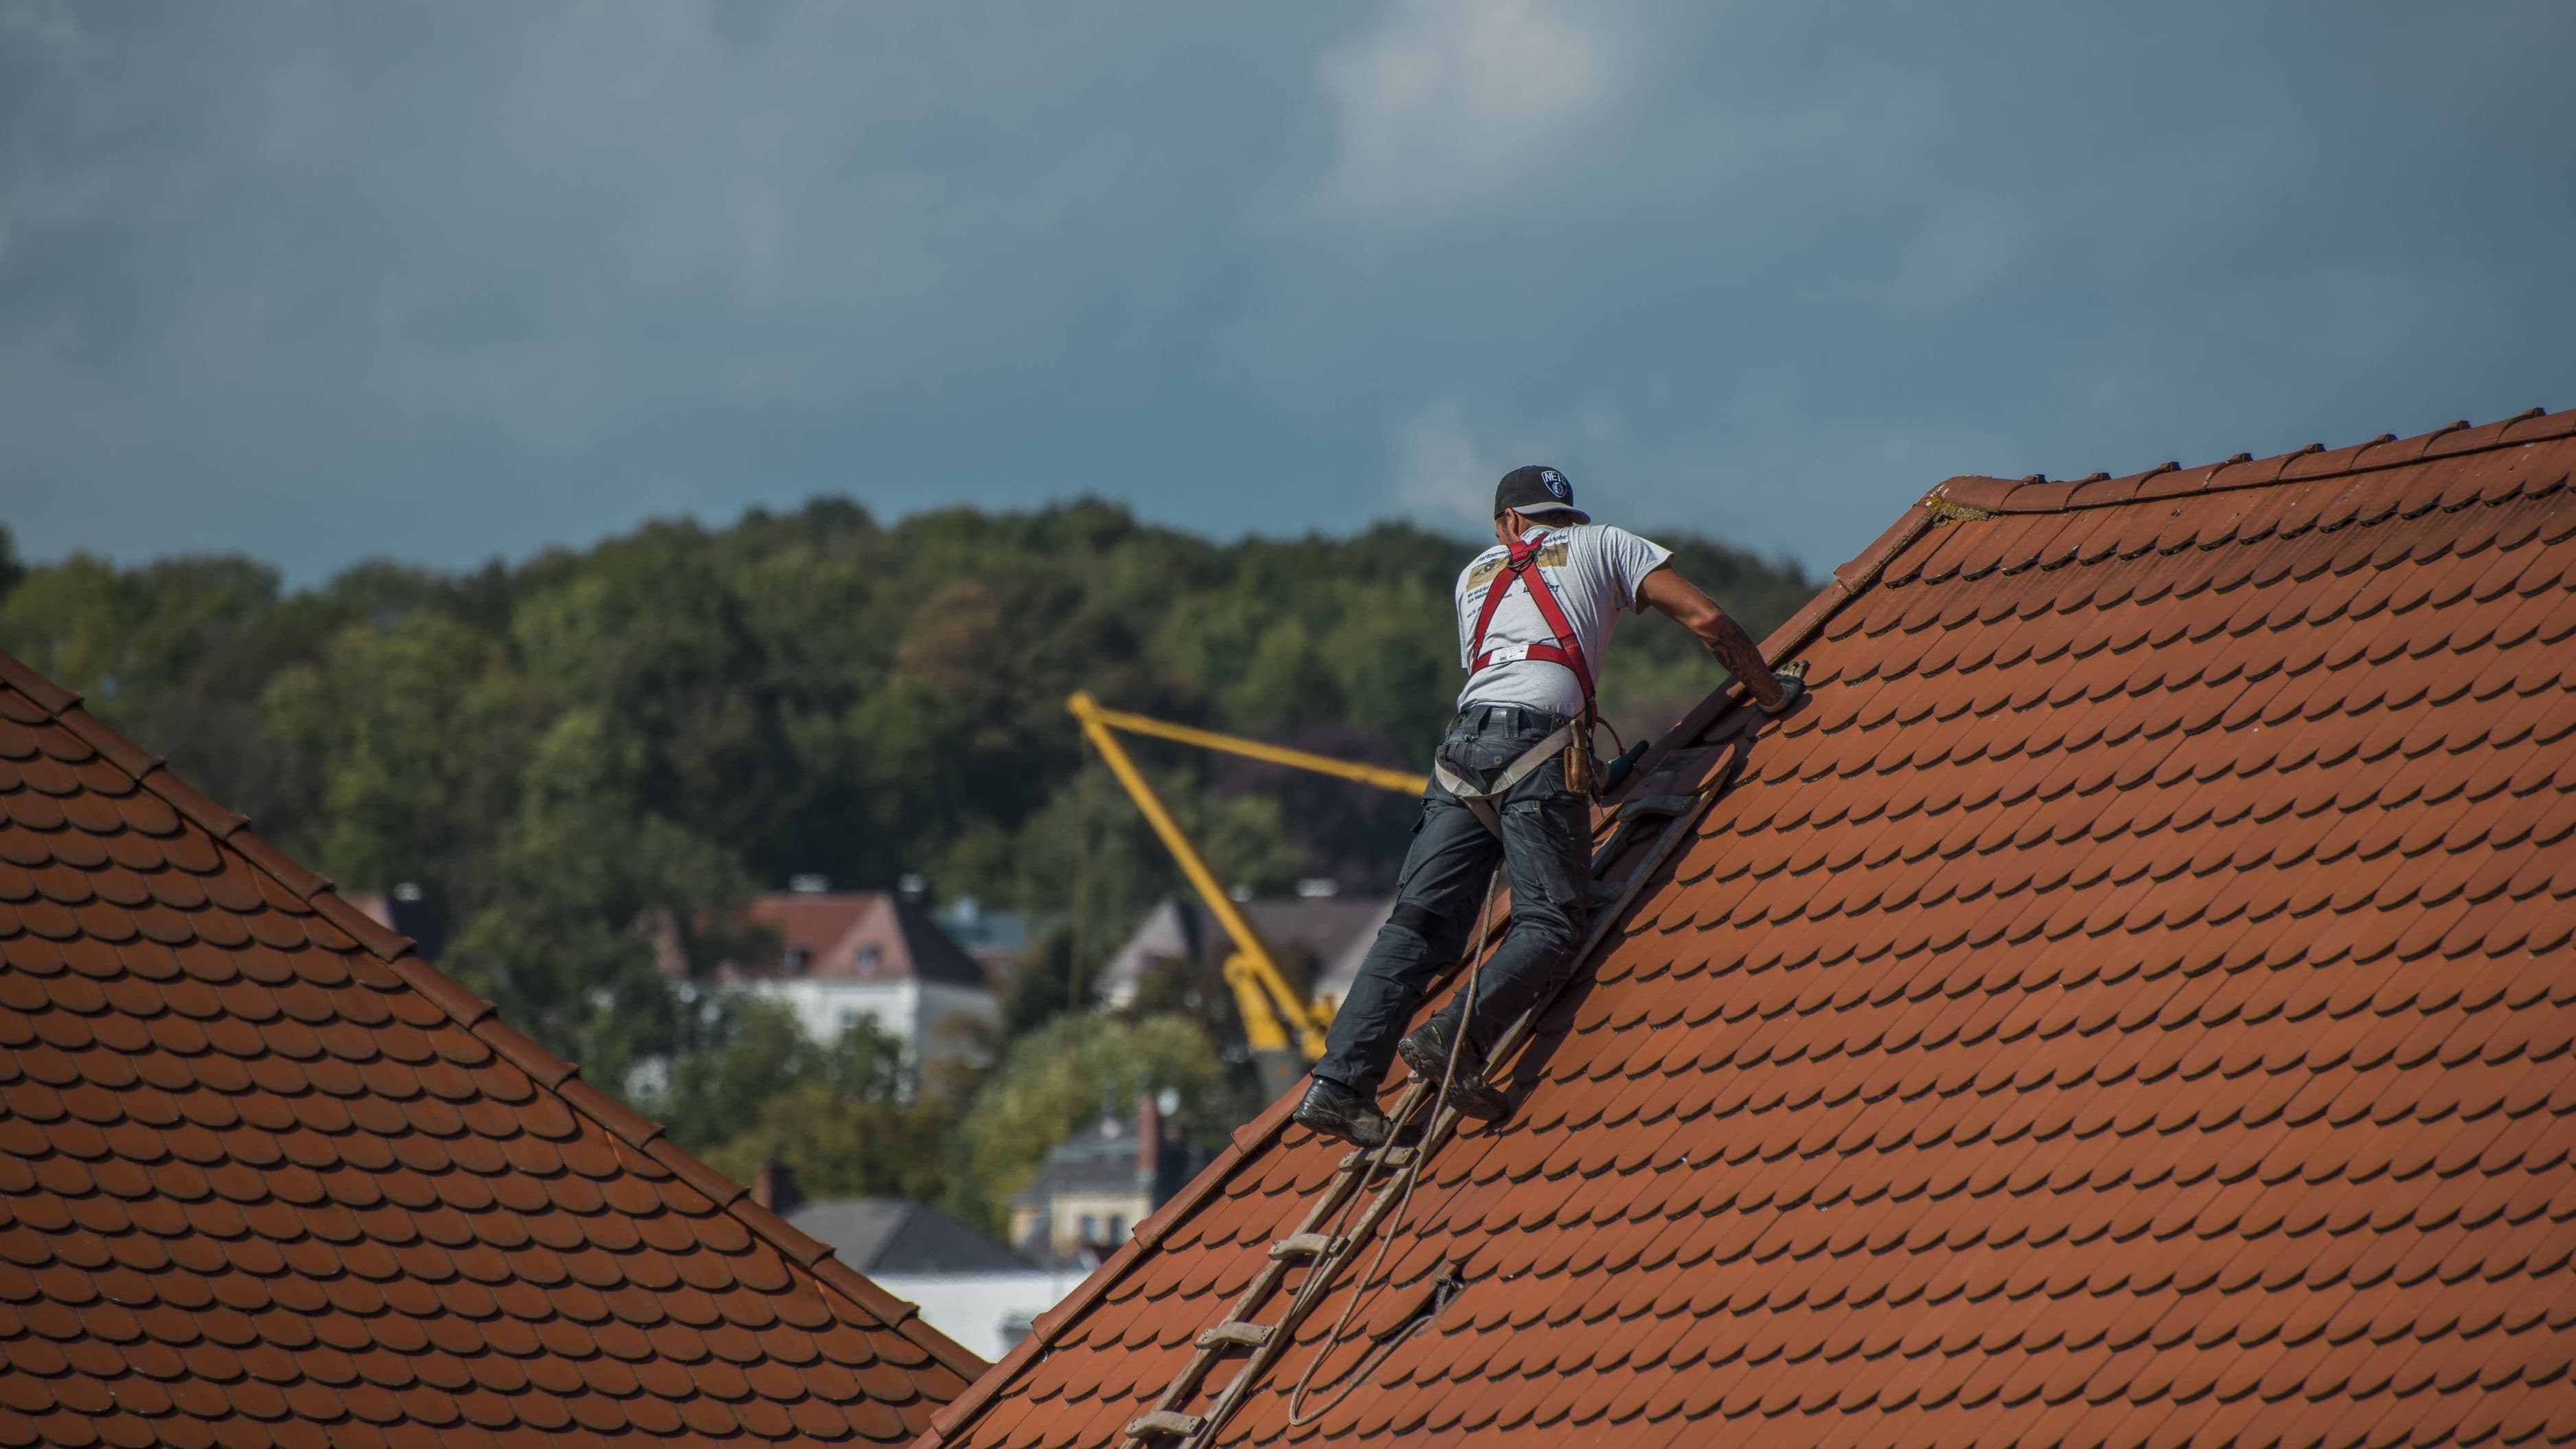
Don't walk directly on your roof to inspect flashing unless you have proper roofing safety equipment and experience. Roof surfaces, especially around flashing points, are often the least stable footing on a roof, and falls from roofs are a leading cause of home DIY injuries.
Don't ignore small rust spots because "it's not leaking yet." Rust is progressive, and by the time flashing actually leaks, the underlying repair is usually more extensive and expensive than it would have been at the early rust stage.
Don't apply sealant over active rust without addressing the corrosion first. Sealant applied over rust tends to fail faster since it's not bonding to a stable surface, giving you a false sense of security while the underlying problem continues.
When to Call a Professional
If you find flashing that's significantly rusted through, sections that have come completely loose or fallen away, or you're not comfortable with ladder height around your roofline, this is a reasonable point to call a licensed roofer rather than attempting the repair yourself. Flashing repair around chimneys in particular often requires proper integration with the surrounding roofing material to maintain a real waterproof seal, which isn't always achievable with a DIY patch.
Cost for a professional flashing repair typically runs $300–$800 depending on complexity and roof accessibility, while full flashing replacement around a chimney can run higher. Getting ahead of small issues with your own inspection is what keeps you in the lower end of that range instead of facing a full replacement.
FAQ
How often should I check my roof flashing? Twice a year is a reasonable cadence, generally in spring and fall, plus an extra check after any major storm with high winds or hail.
Can I repair minor flashing rust myself? Light surface rust can often be treated with a wire brush to remove loose material, a rust-inhibiting primer, and fresh sealant, but this is a maintenance measure, not a fix for significant corrosion or structural gaps.
Is flashing sealant a permanent fix? No, sealant is a maintenance item that typically needs reapplication every five to ten years, and it should be viewed as ongoing upkeep rather than a one-time solution.
📚 Sources
Roof flashing maintenance and inspection guidance – https://www.nachi.org/roof-flashing.htm
Home ladder safety guidelines – https://www.osha.gov/ladders