This guide covers exactly how to clean your solar panels the right way – what to use, what to avoid, when to clean, and when to step back and call a professional instead.
Before You Start: Safety First
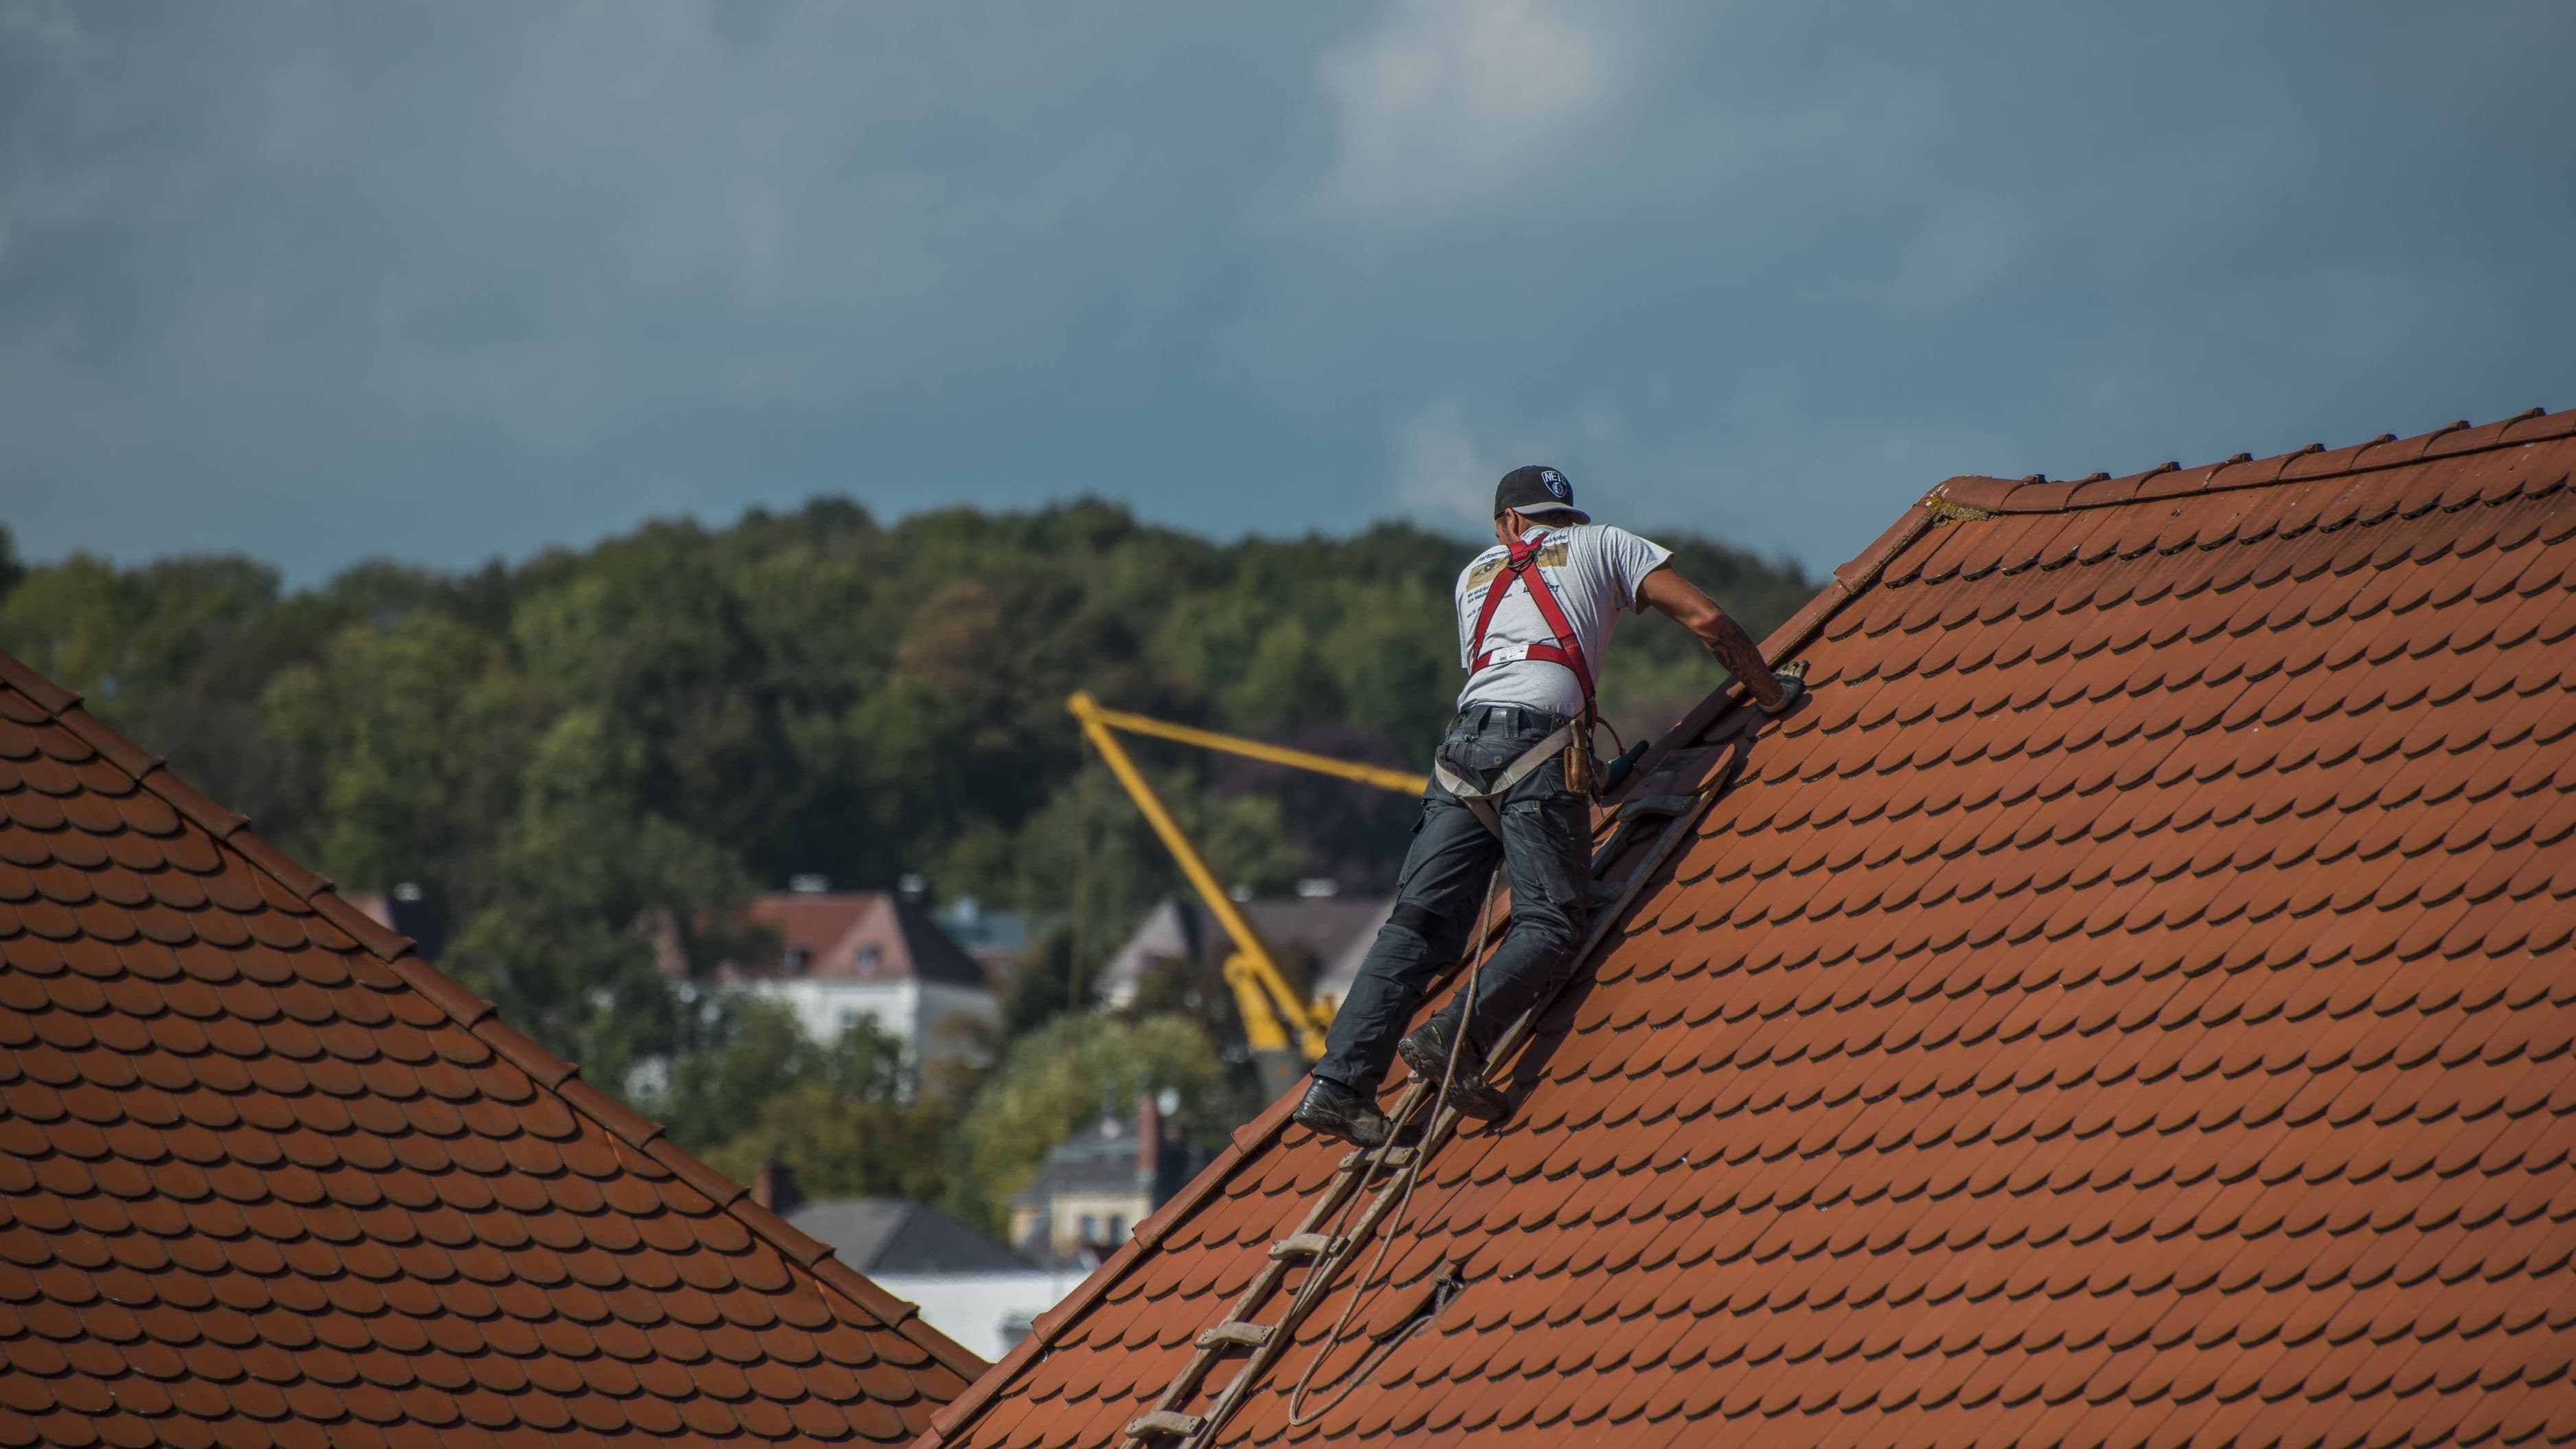
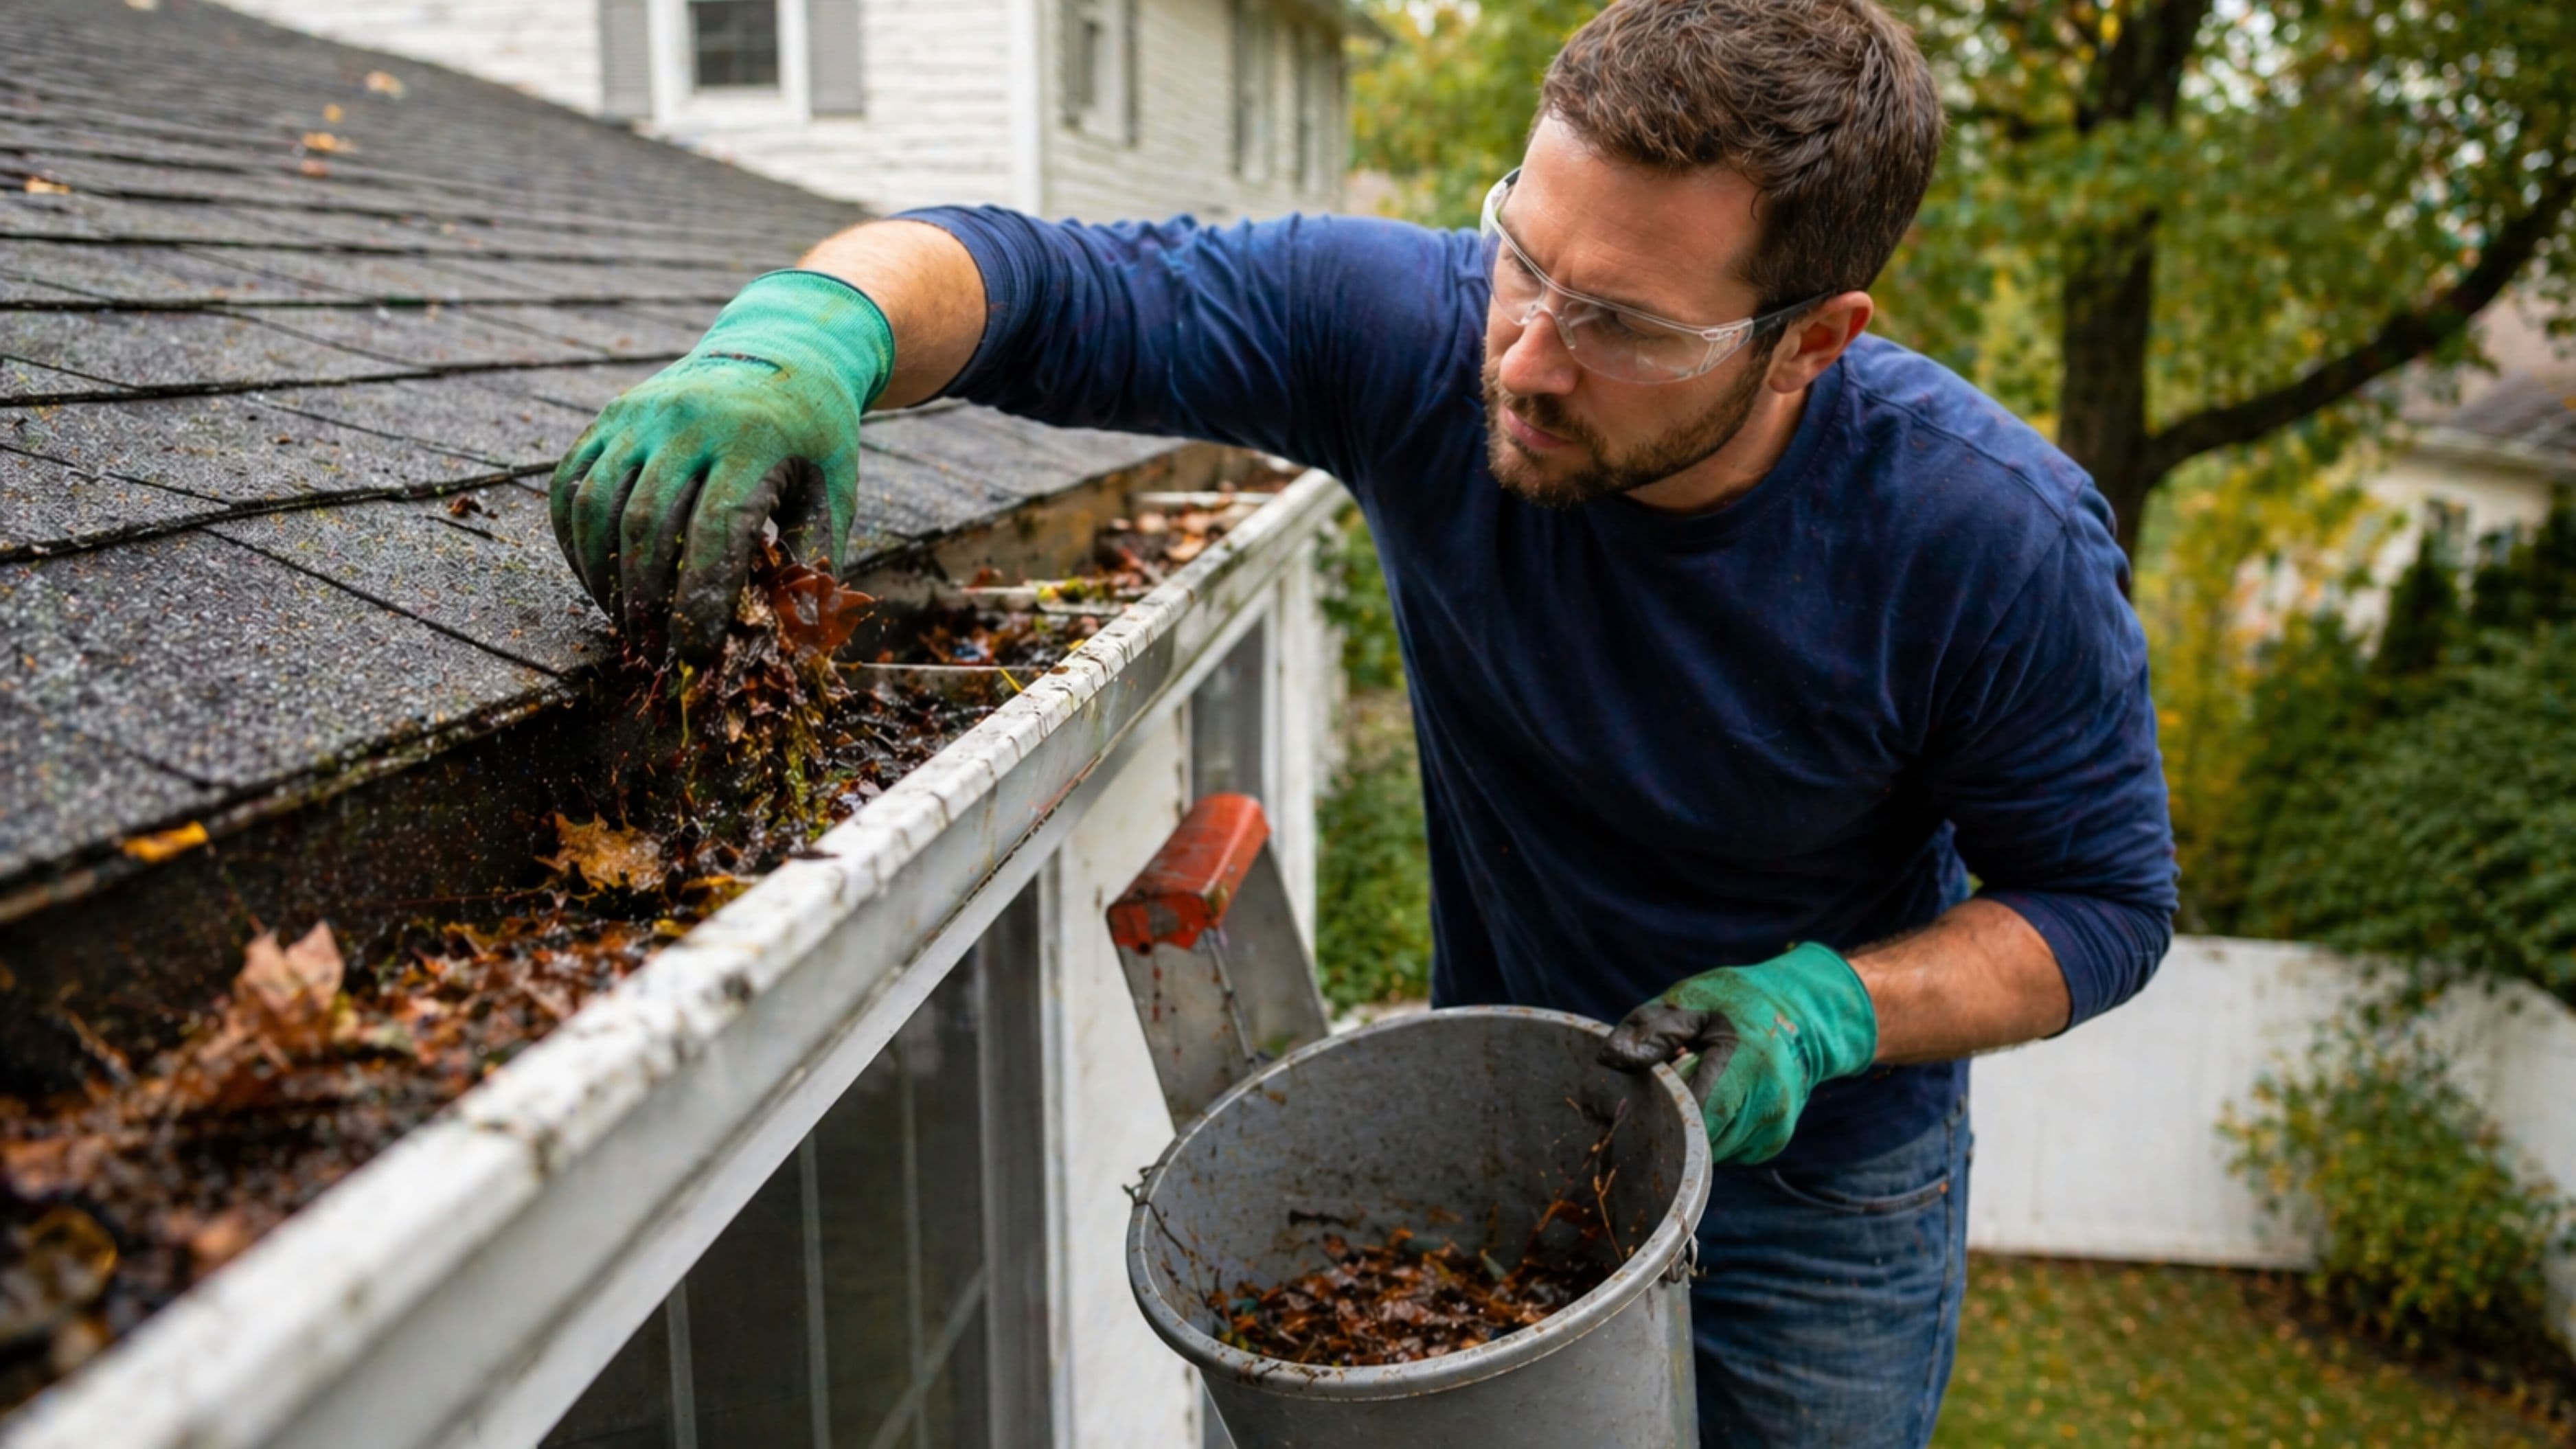
The most important consideration with solar panel cleaning isn't the panels themselves – it's your safety. Panels are almost always mounted on roofs, and working at height is where DIY jobs go wrong. Before you do anything else, honestly assess your access situation.
If your panels are on a low-pitched single-story roof that you can comfortably reach from a ladder, and you have experience working safely at height, DIY cleaning is reasonable. If your panels are on a steep pitch, a multi-story roof, or any surface where you wouldn't feel completely comfortable, hire a professional. A cleaning service typically costs $100–$300 and takes less than an hour. That's cheap compared to a fall injury or a roofing repair.
Safety rules before you start:
Tools and Materials You'll Need
You don't need any specialised equipment for this job. Most of what you need is probably already in your home.
For ground-level or low-access cleaning, a garden hose with a standard nozzle and an extension pole with a soft brush or squeegee head will handle most jobs. For on-roof cleaning, a soft-bristled brush or sponge, a bucket of plain water, and a squeegee for streak-free finishing are all you need. Microfibre cloths work well for detail work around panel edges and frames.
What you don't need – and should specifically avoid – is soap, detergent, bleach, abrasive scrubbers, steel wool, high-pressure washers, and any chemical cleaner not specifically rated for solar panel use. These can etch or cloud the glass surface, strip anti-reflective coatings, leave residue that actually attracts more dirt, or force water into seals and junction boxes.
What to use:
What not to use:
When to Clean Your Solar Panels
Timing matters for both effectiveness and panel safety. Avoid cleaning panels in the middle of a hot sunny day for two reasons: first, the glass surface gets extremely hot and cold water hitting hot glass can cause thermal shock, which stresses the glass and seals over time. Second, water evaporates quickly in the heat and is more likely to leave mineral deposits behind.
The best times to clean are early morning before the panels heat up, late afternoon once they've cooled down, or on a mild overcast day. Early morning also has a practical advantage – overnight dew has already softened many deposits, making them easier to remove with less scrubbing.
Check your local forecast before you clean. Cleaning panels the day before heavy rain is wasted effort – the rain will rinse them for free. Cleaning them right after a dry, dusty or high-pollen period is the highest-value timing.
In terms of frequency, most homeowners need to clean their panels one to two times per year. In dry, dusty climates (Southwest U.S., for example), or areas with heavy tree pollen or nearby agricultural activity, two to three times a year is more appropriate. If you notice a visible coating of grime or bird droppings, clean as needed regardless of schedule.
Step-by-Step: Cleaning From the Ground
If your panels are reachable with an extension pole from the ground or from a safely positioned ladder, this is the safest and most convenient approach.
Step 1: Check the panels visually. Before you start, look at what you're dealing with. General dust and pollen clean off easily with plain water. Bird droppings, sap, or caked-on debris may need a brief soak to loosen before scrubbing.
Step 2: Rinse with a gentle stream of water. Use a garden hose with a standard nozzle – not a high-pressure setting. Direct the water across the panel surface to loosen and float off loose dust and dirt. Let the water do the initial work before you introduce any scrubbing.
Step 3: Scrub gently with a soft brush. Attach a soft-bristled brush or microfibre pad to your extension pole and work across the panel surface in straight strokes. Don't use circular motions, which can grind grit into the glass and leave fine scratches. Apply light, even pressure – you're not scrubbing grout here. Most surface grime lifts easily with minimal force.
Step 4: Rinse thoroughly. After scrubbing, rinse the entire panel surface again with the hose to wash away any loosened debris. Make sure no dirty water pools and dries on the panel, as this leaves deposits behind.
Step 5: Let it dry, or squeegee. In most cases you can simply let the panels air dry. If you have hard water (water with high mineral content), air drying can leave white mineral spots that slightly reduce light transmission. In this case, use a clean squeegee to remove most of the water before it dries, or use distilled or deionised water for the final rinse.
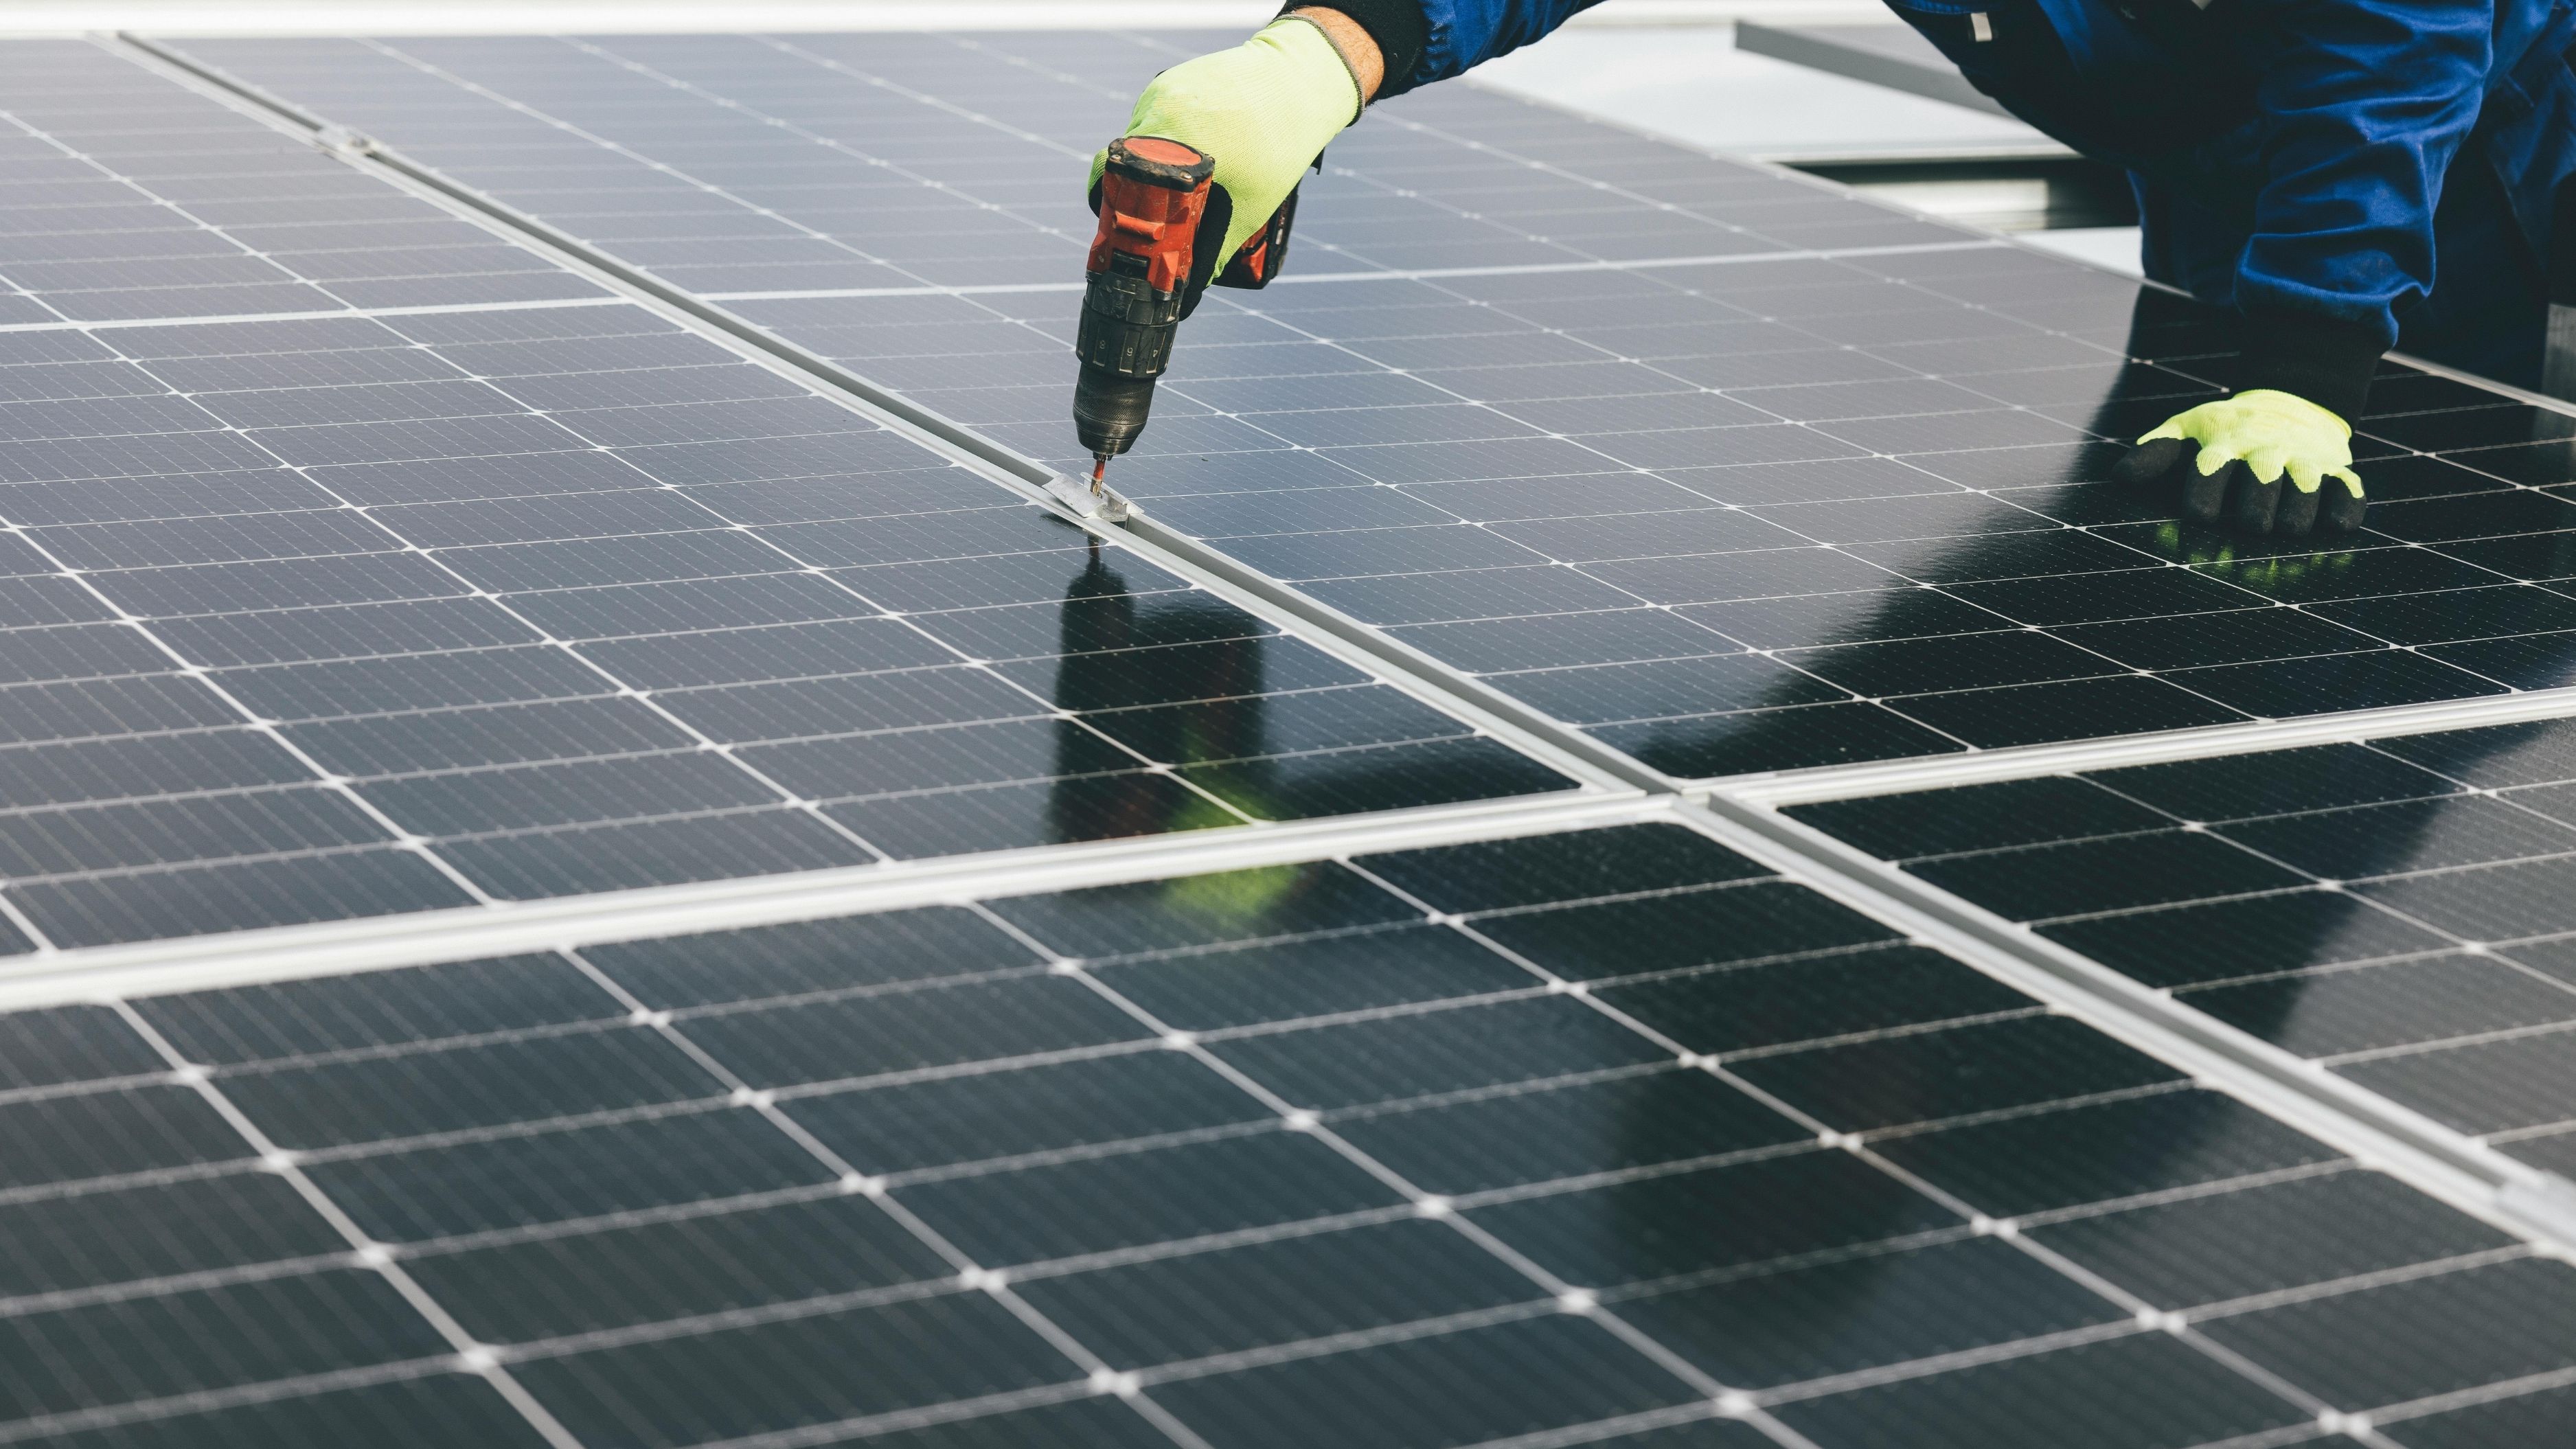
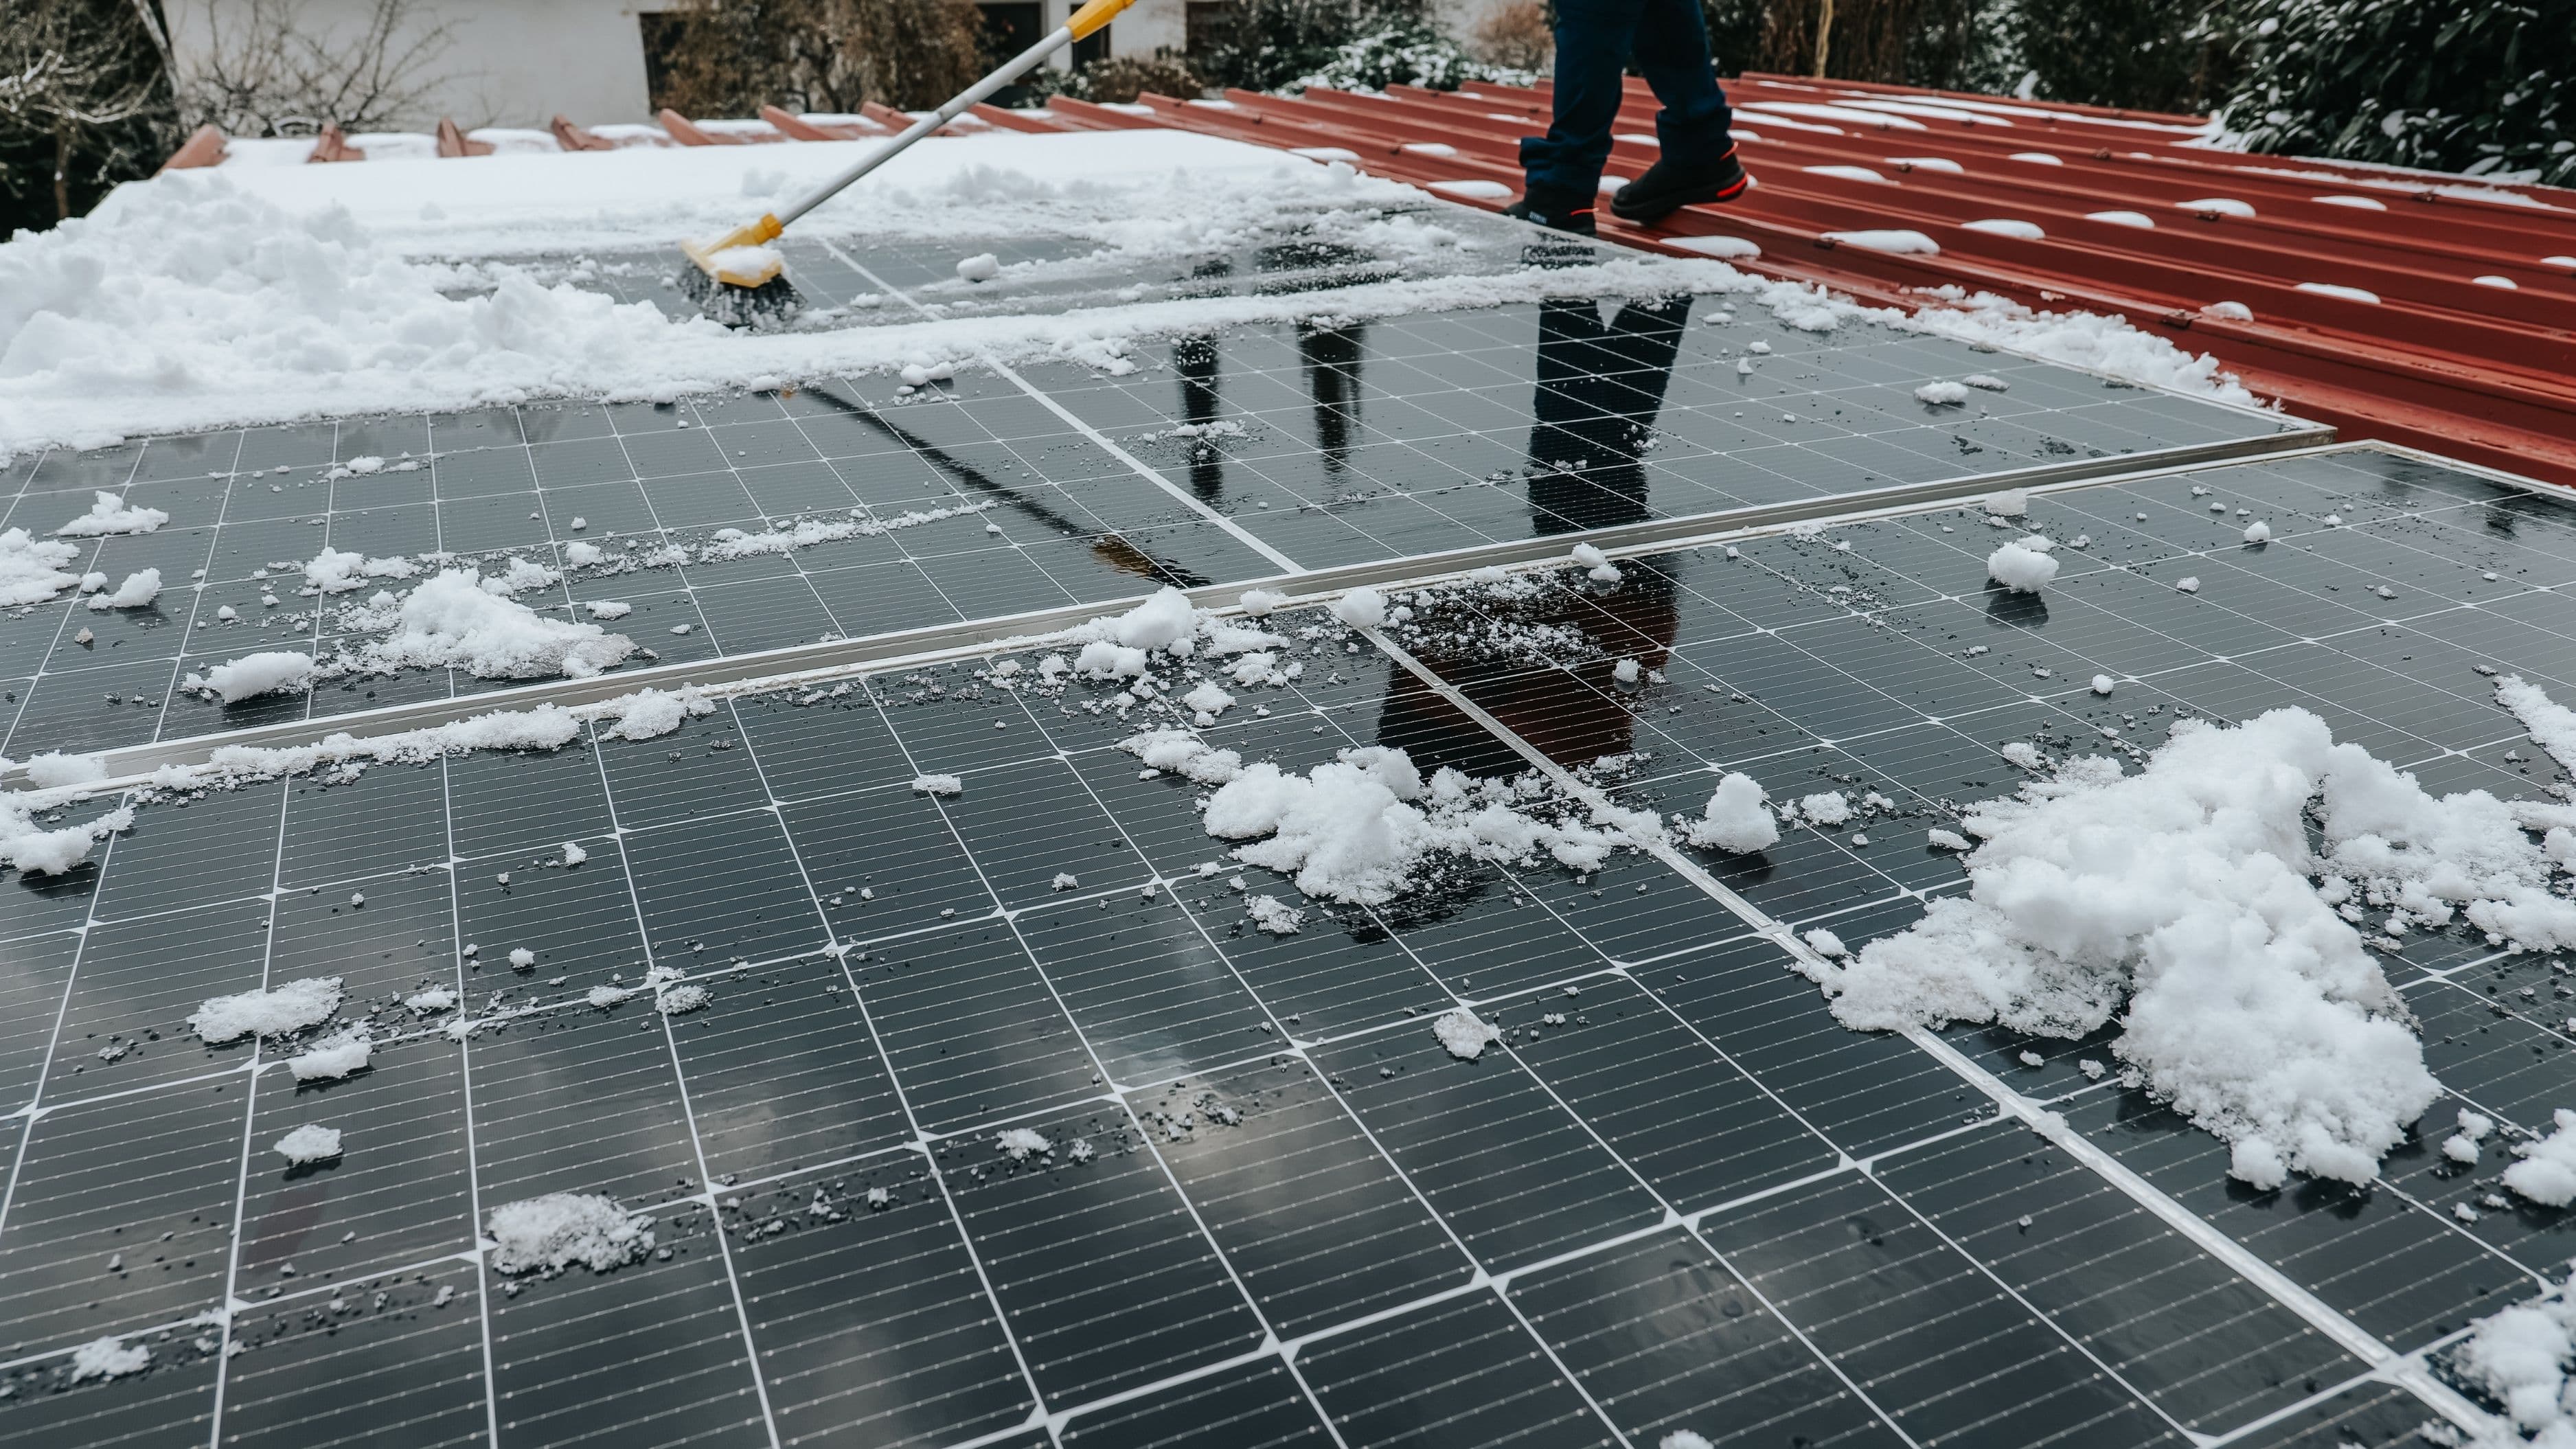
Step-by-Step: Cleaning On the Roof
If your panels require direct roof access, the process is the same but with more attention to safety and access.
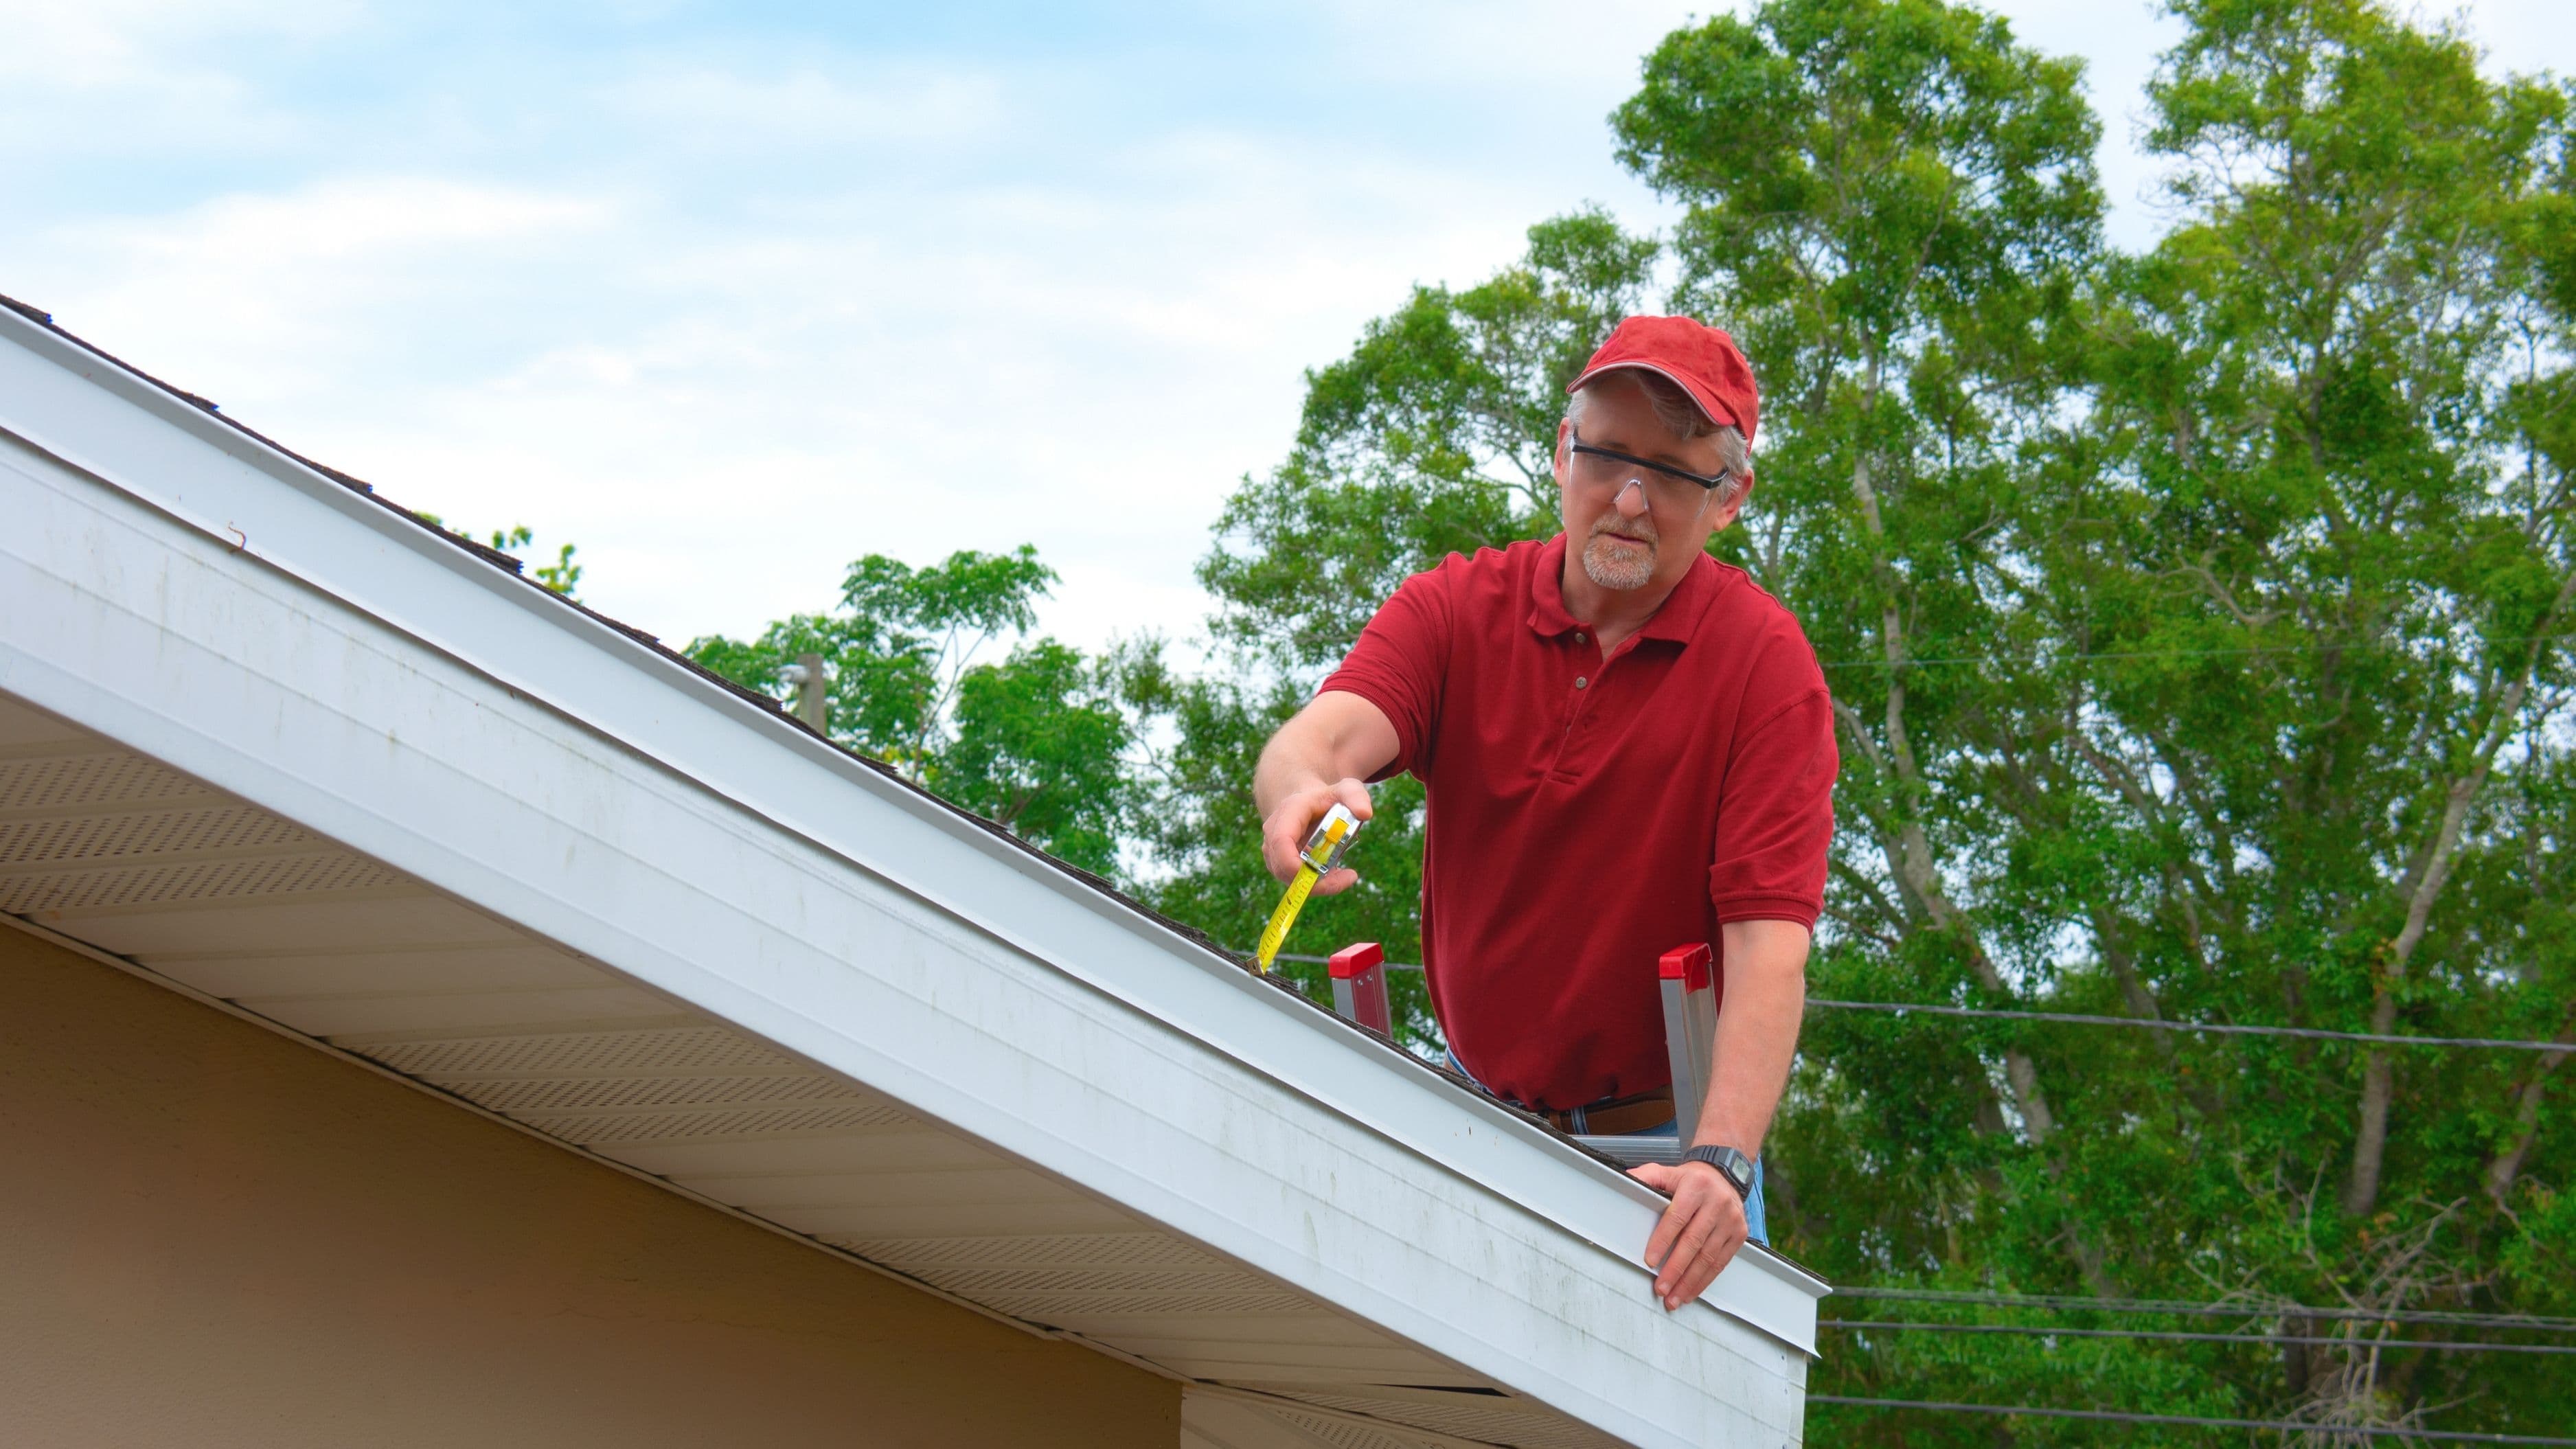
Step 1: Set up your ladder safely and bring everything up in one trip. Have your bucket, brush, squeegee, and any other tools ready before you go up. You don't want to be climbing up and down repeatedly.
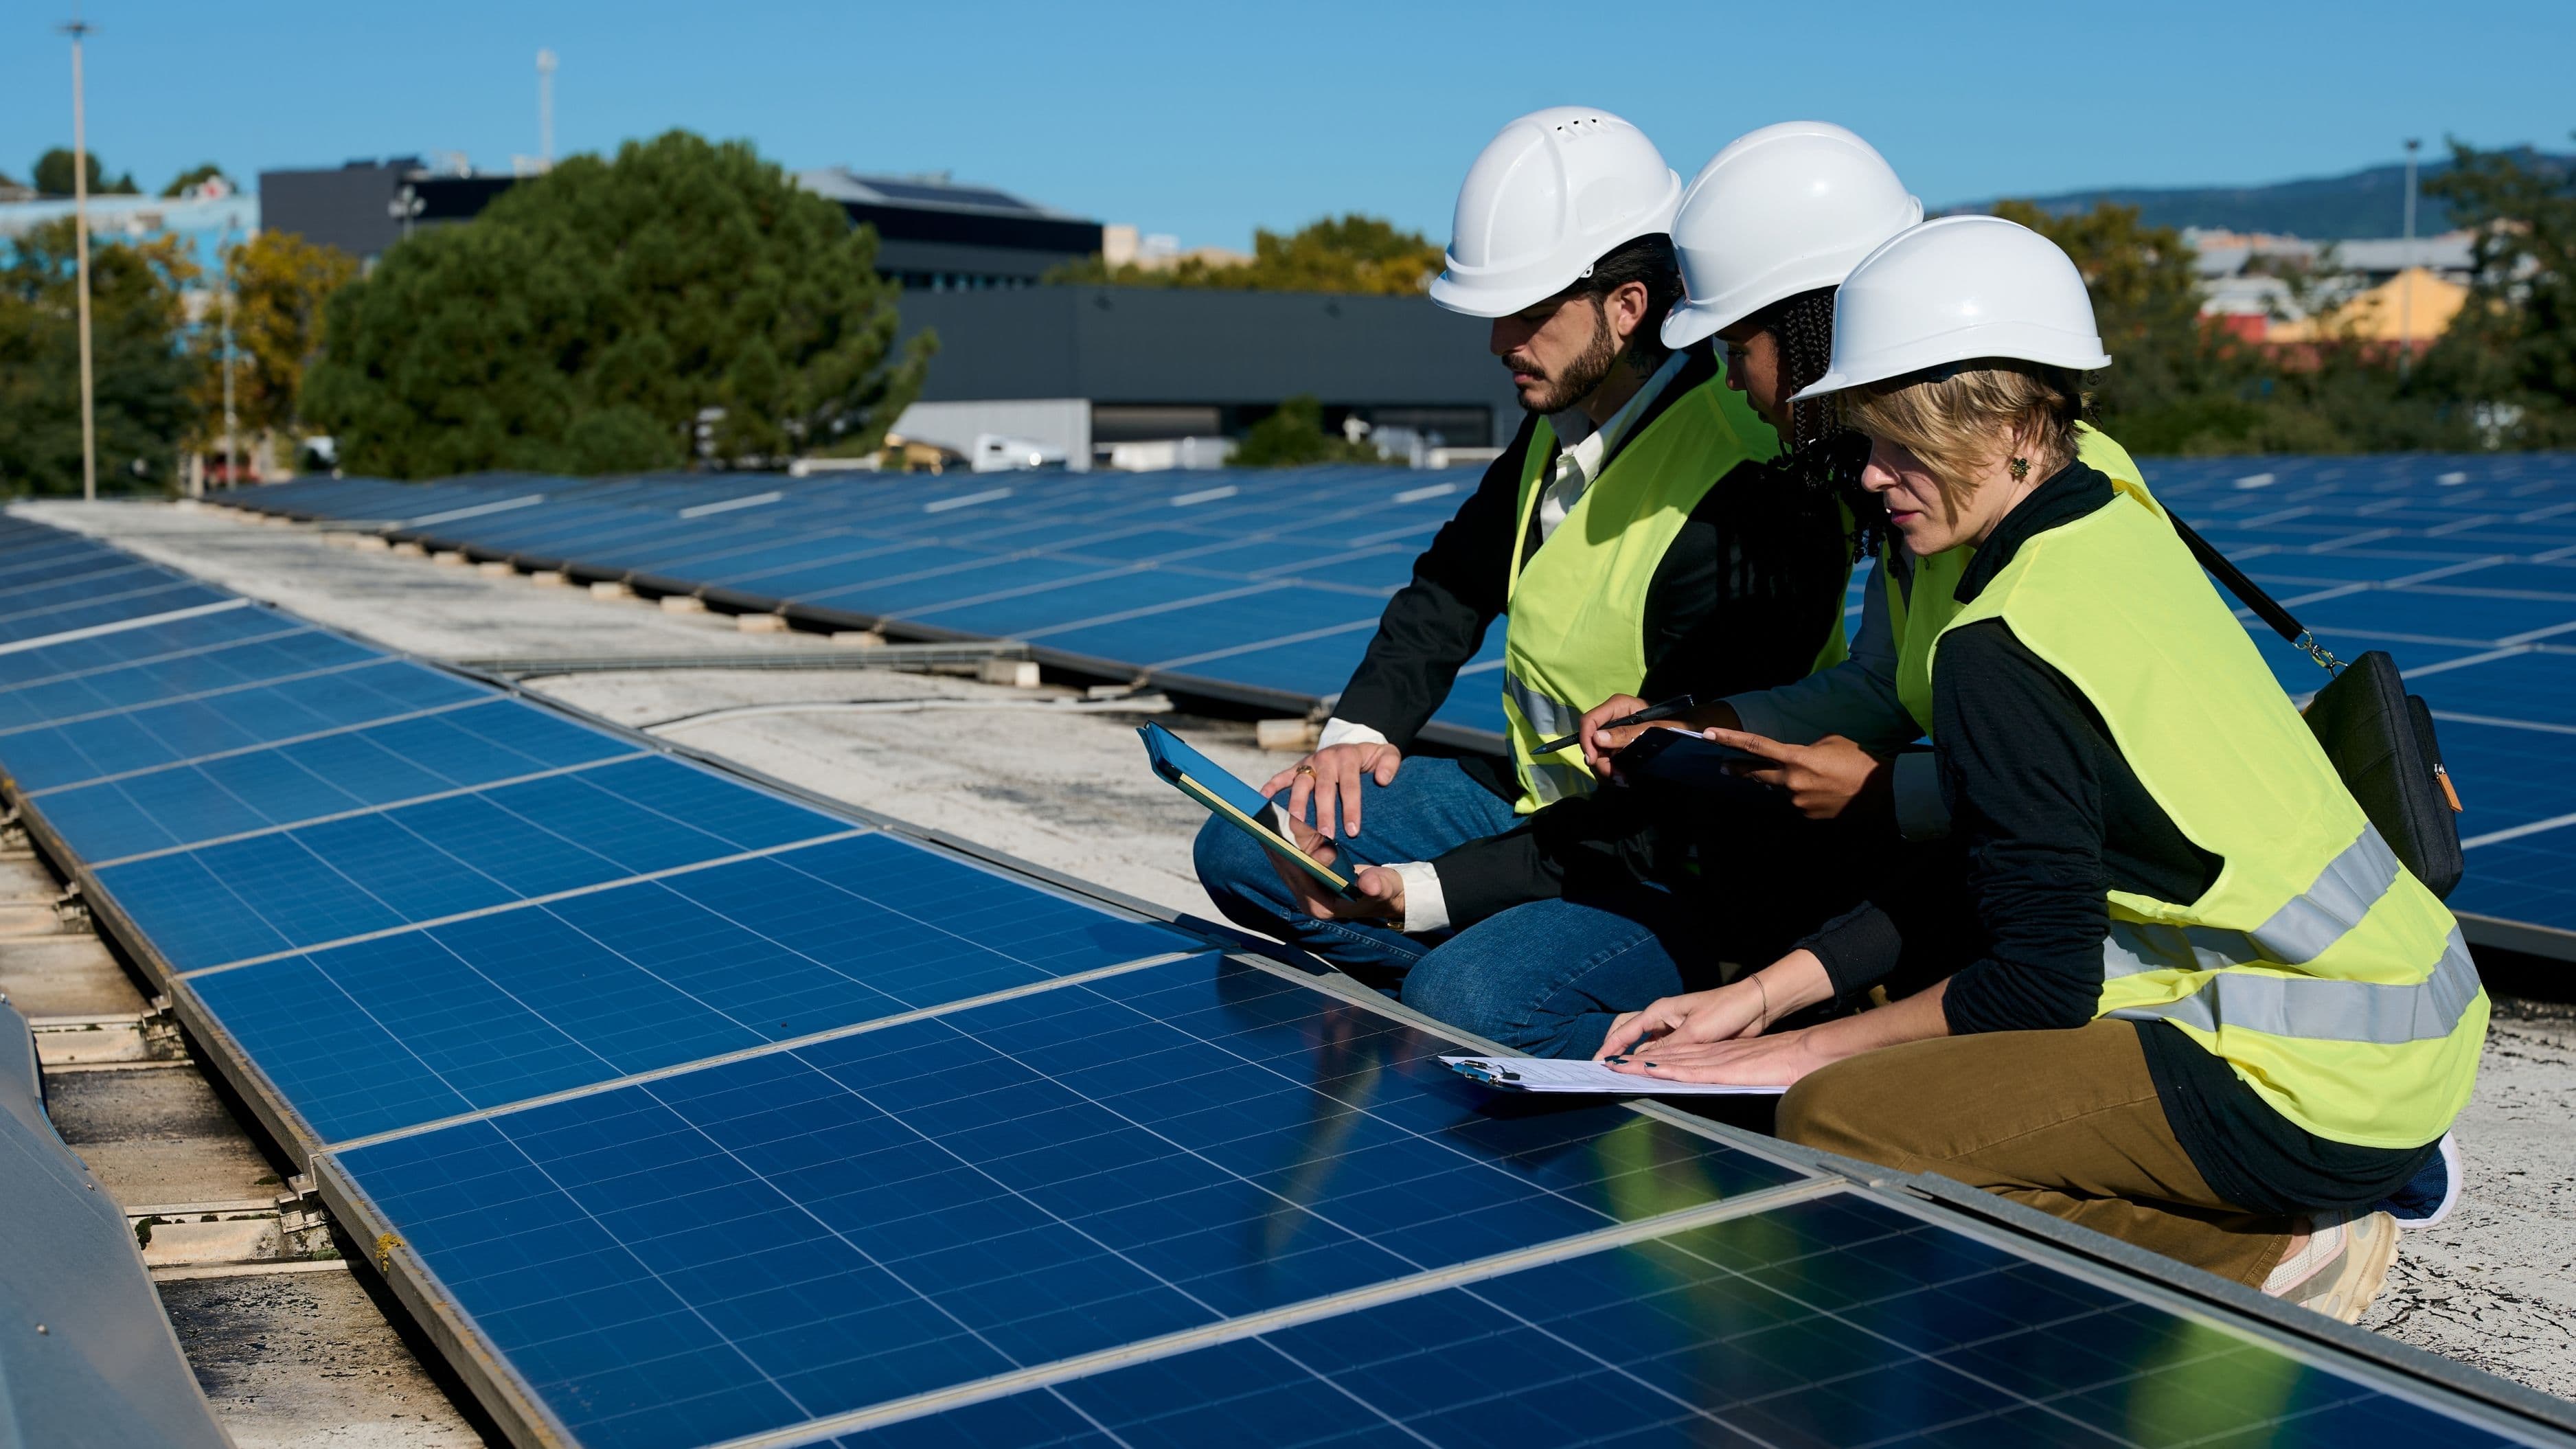
Step 2: Assess the panel surface before touching it. Look for any cracked glass, damaged frames, or areas where the panel laminate appears to be lifting or delaminating. If you see any of these, don't clean the panel and call your installer instead – water getting into a compromised panel can cause electrical issues.
Step 3: Dampen the panel surface first. Wet the glass with water from your bucket or a spray bottle before scrubbing. This prevents any dry grit from being dragged across the surface during the brush stroke.
Step 4: Scrub with straight, parallel strokes. Work from top to bottom using a soft brush or microfibre sponge. Light pressure only. Rinse your brush frequently to avoid redistributing dirt.
Step 5: Rinse and squeegee. Pour clean water over the panel or use a water bottle to rinse, then squeegee from top to bottom with a clean rubber blade. Wipe the squeegee blade between passes with a clean cloth.
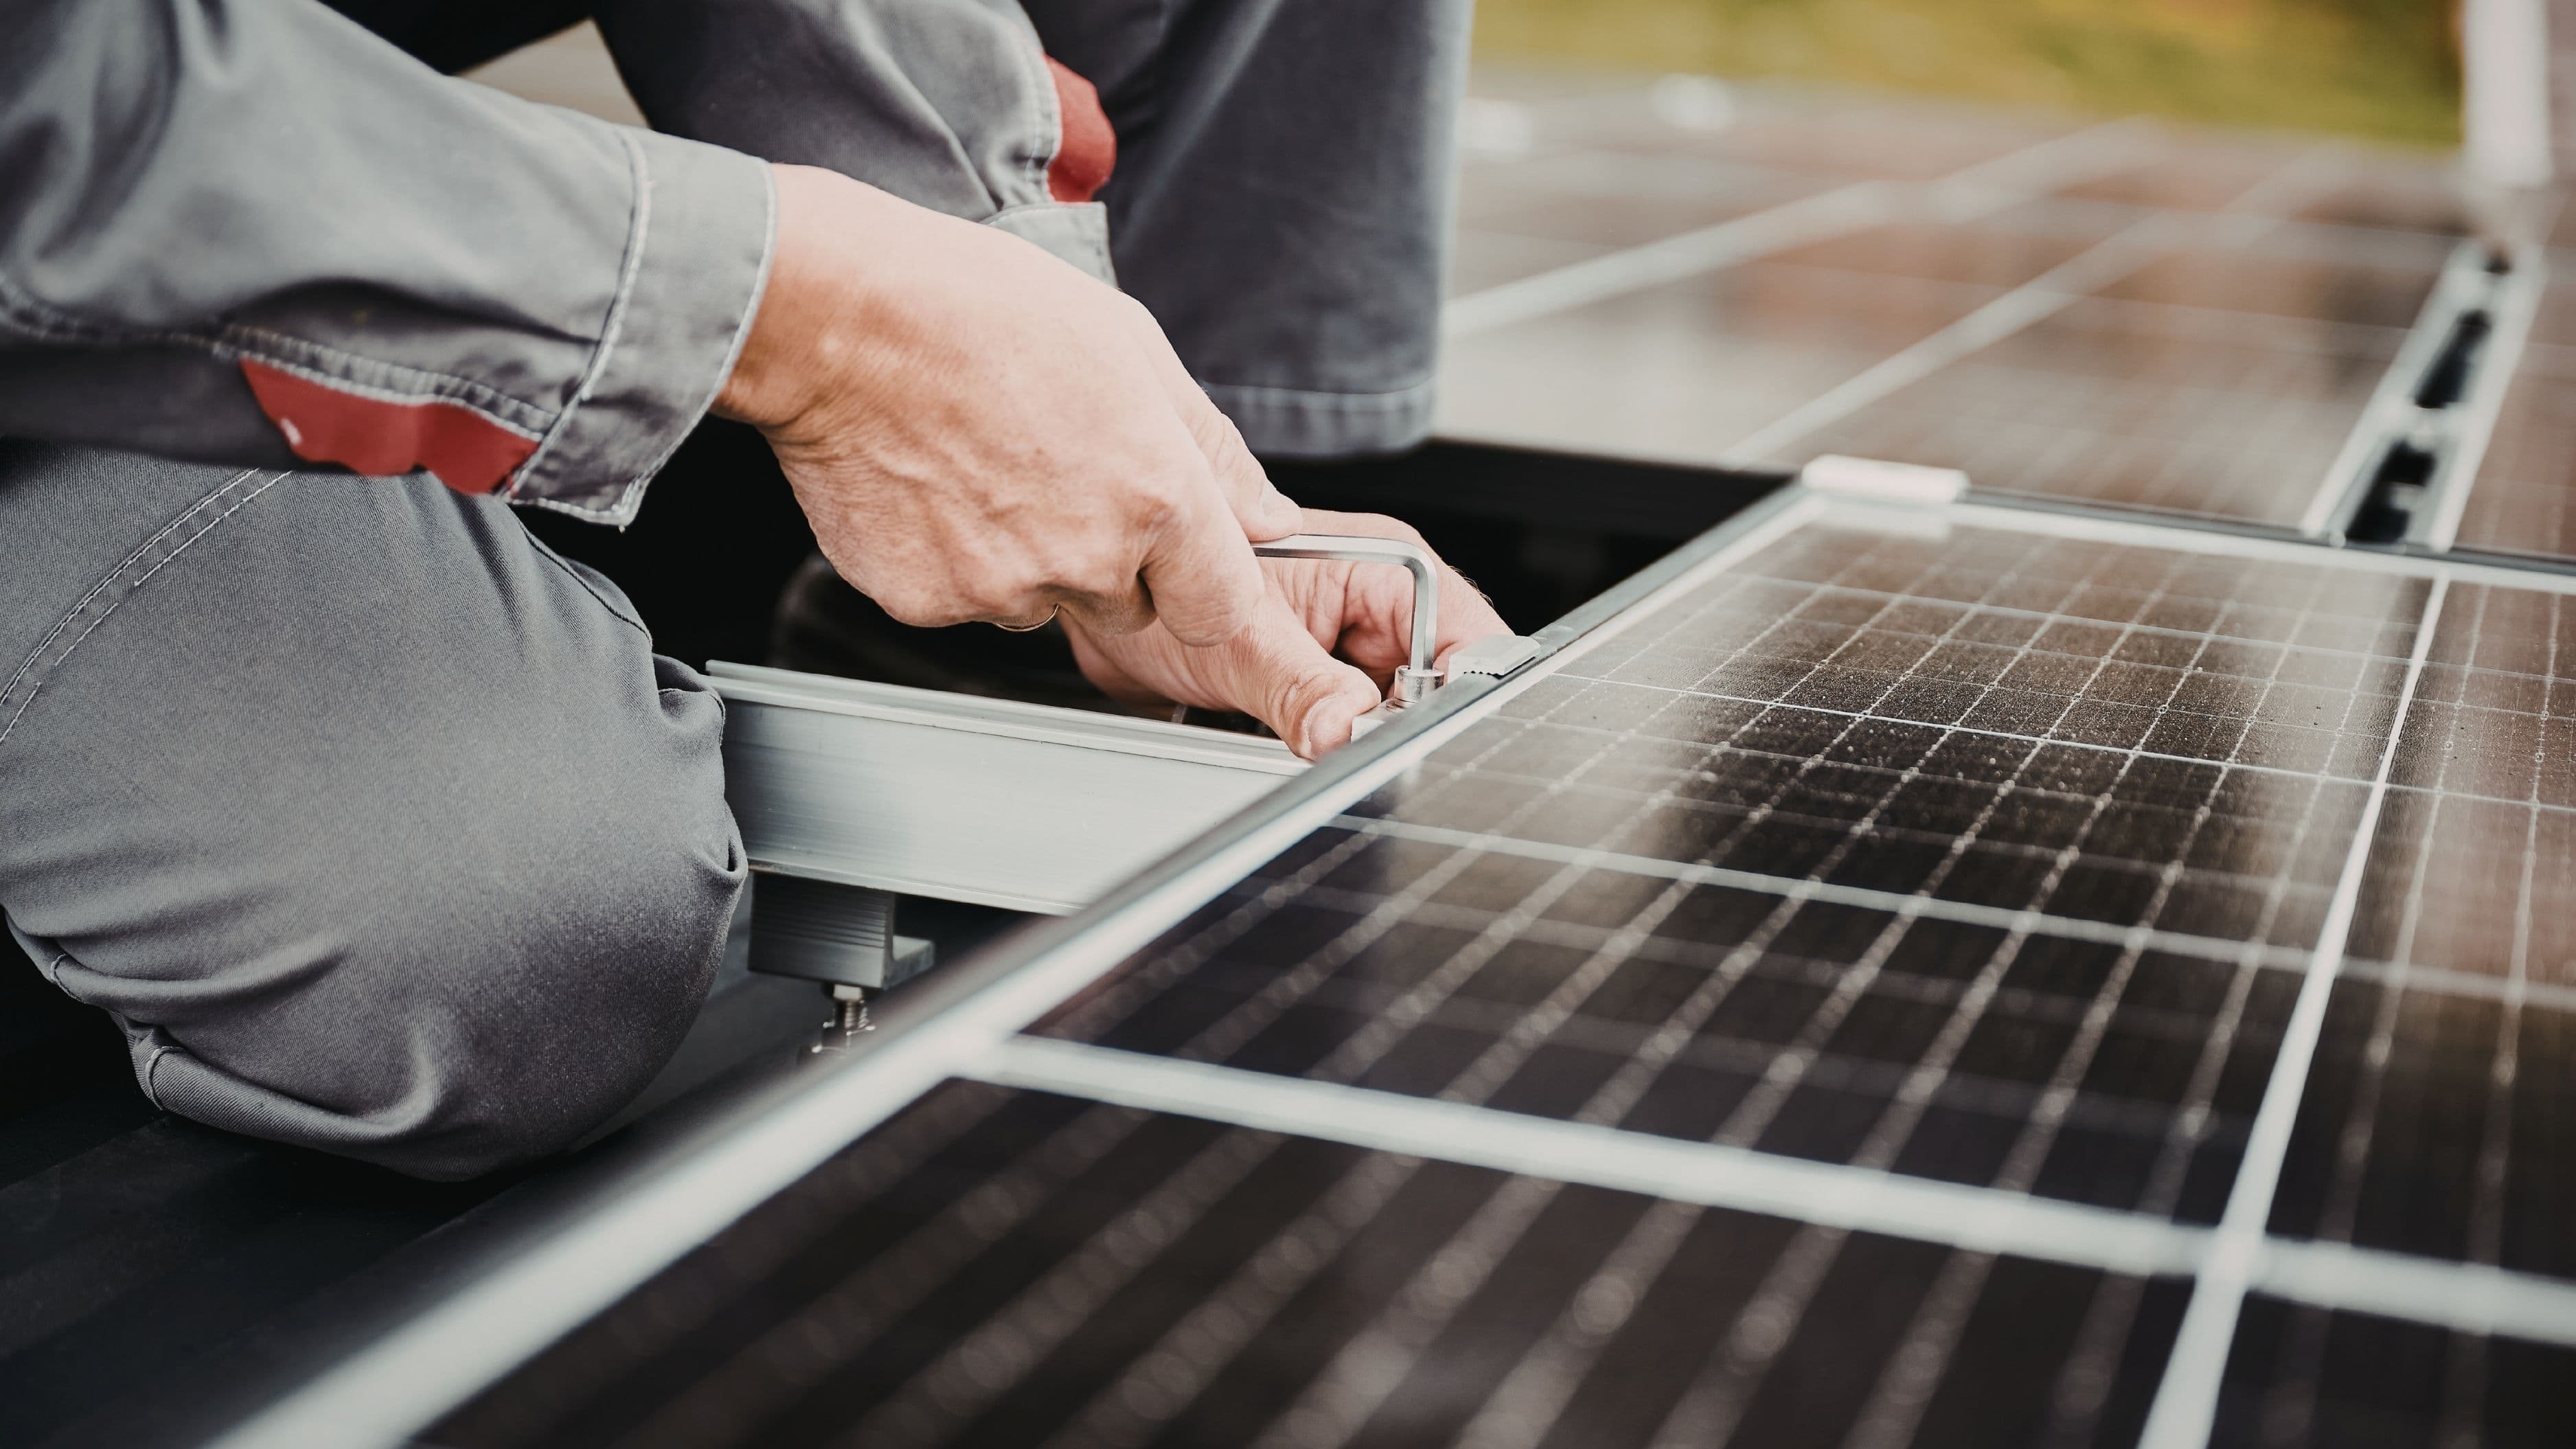
Step 6: Wipe the frame. Grime accumulates in the aluminium frame channels and can eventually hold moisture. Wipe the frame edges and channels with a damp microfibre cloth while you're up there.
Dealing With Stubborn Deposits
General dust and pollen are straightforward. A few specific types of deposits need a bit more attention.
Bird droppings are acidic and can etch glass over time if left long enough, so they're worth removing promptly. Soak the area with water for a few minutes to soften the deposit before scrubbing. Never scrape dried droppings with anything hard – soak them until they can be wiped away gently.
Tree sap is stubborn. A small amount of isopropyl alcohol on a soft cloth can dissolve sap without damaging the glass – apply it to the sap directly, let it sit for a minute, then wipe gently. Rinse the area with plain water afterwards. Don't use this approach across the whole panel, just on the specific deposit.
Hard water mineral deposits (white chalky spots) from previous cleanings or rain in hard-water areas can be removed with a solution of equal parts white vinegar and water applied with a soft cloth. Rinse thoroughly with clean water afterwards. Alternatively, switching to distilled or deionised water for your cleaning eliminates the problem entirely going forward.
Industrial fallout or heavy grime near construction sites, roads, or industrial areas may require a solar panel-specific cleaning product. These are available from solar supply companies and are formulated not to damage glass coatings. Follow the product instructions carefully.
Hard Water: A Common Problem Worth Addressing
If you live in an area with hard tap water, standard cleaning can make mineral deposit problems worse rather than better. Each time you rinse with hard water and let it air dry, the minerals are left behind on the glass surface. Over multiple cleaning cycles, this builds up into a visible white haze that reduces light transmission and is difficult to remove.
The simplest solution is to use a squeegee to remove standing water before it dries after every cleaning, which prevents minerals from being deposited. For a streak-free final result, rinse with distilled or deionised water purchased from a hardware store or grocery store. A de-ionising filter that attaches to your garden hose is a cost-effective option if you clean your panels regularly – these filter out the minerals before the water reaches the panel surface.
What About Automated Cleaning Systems?
Some homeowners install automated panel cleaning systems – devices that run a rinse cycle on a timer, similar to a drip irrigation system for your roof. These are more common in commercial and agricultural solar installations but are available for residential use. They're useful in very dusty environments where frequent manual cleaning is impractical.
For most residential homeowners, one or two manual cleans per year is sufficient and more cost-effective than installing automated equipment. If you're in a genuinely extreme environment – a dry desert climate, near a gravel road, or adjacent to agricultural fields – it's worth getting a quote and doing the math.
When to Skip the DIY and Call a Pro
Some situations call for a professional cleaner rather than a DIY approach. If your roof pitch is steep or your panels are on a second or third story, the fall risk isn't worth it. If your panels have visible damage that you noticed during your inspection, stop and call your installer before any water is introduced. If your panels are connected to a commercial or large residential system with complex panel arrangements that require specialist access equipment, a professional service makes more sense.
Professional panel cleaning services typically charge $100–$300 for a standard residential system and take 30–60 minutes. Many solar installers offer this as part of an annual maintenance service, which may also include an inverter check and system performance review. If you're not comfortable on the roof, that package is worth the cost.
Common Mistakes to Avoid
Cleaning panels with soap or detergent is the most frequent mistake homeowners make. It seems logical to add soap for a better clean, but it leaves a residue film that actually traps more dust and can reduce the anti-reflective coating's effectiveness over time. Plain water does the job on its own for routine cleaning.
Using a pressure washer is another common error. The high-pressure stream can force water into the panel junction boxes and MC4 connectors, causing electrical faults. It can also damage the frame seals and in some cases crack tempered glass if directed at an angle. Standard garden hose pressure is all you need.
Cleaning during the hottest part of the day risks both thermal shock and rapid evaporation that leaves mineral deposits behind. And skipping the inspection before cleaning means you might introduce water into a panel that's already damaged – always look before you start.
FAQ
How often should I clean my solar panels? For most homes, one to two times per year is sufficient. In dusty, dry climates or areas with heavy pollen and bird activity, two to three times a year keeps output at its best. After major dust storms, wildfire smoke events, or heavy pollen seasons, clean as needed.
Will rain clean my solar panels? Partially. Light rain rinses loose dust but typically doesn't remove bird droppings, pollen residue, or caked-on grime. After extended dry periods, the first rain often leaves a muddy residue as it mixes with accumulated dust. Rain is a supplement to cleaning, not a replacement for it.
Can I use a Windex or glass cleaner on solar panels? It's not recommended. Most glass cleaners contain ammonia or other chemicals that can damage anti-reflective coatings and leave streaks that attract more dirt. Plain water handles routine cleaning without any chemical risk.
Do solar panels need to be turned off before cleaning? You don't need to shut down the system to clean the glass surface, but you should never spray water directly into the inverter, junction boxes, or any electrical connections. Clean only the glass and the aluminium frame, and keep water away from all electrical components.
How do I know if my panels need cleaning? The easiest check is to look at your monitoring app. If production is running consistently lower than the same period last year and your system otherwise seems healthy, dirty panels are the first thing to rule out. Visually, you'll often be able to see a dusty coating or obvious deposits from ground level.
📚 Sources
U.S. Department of Energy – Homeowner's Guide to Going Solar: https://www.energy.gov/eere/solar/homeowners-guide-going-solar
National Renewable Energy Laboratory – Soiling Losses in PV Systems: https://www.nrel.gov/docs/fy19osti/73687.pdf
EnergySage – How and When to Clean Solar Panels: https://news.energysage.com/cleaning-solar-panels/
Solar Energy Industries Association – Solar Panel Maintenance: https://www.seia.org/initiatives/solar-panel-maintenance
Lawrence Berkeley National Laboratory – Soiling of Photovoltaic Modules: https://eta.lbl.gov/publications/soiling-photovoltaic-modules-review
🔍 Explore Related Topics