Share:

Loading...

A dryer that tumbles but doesn't heat is one of the most common appliance problems homeowners run into – and the good news is that it's also one of the most fixable without professional help. The drum spinning normally tells you the motor is fine. The lack of heat almost always points to one of a handful of specific components, most of which cost between $5 and $40 and can be swapped out in under an hour with basic tools.
This guide walks you through the most likely causes in order from easiest to check first, so you're not pulling the machine apart before you've ruled out the simple stuff.
The fix depends on your dryer type. Electric dryers heat using one or two metal heating elements powered by a 240V circuit. Gas dryers heat using a gas burner ignited by an igniter and controlled by gas valve coils. The troubleshooting path differs for each, so it's worth confirming which type you have before proceeding. If your dryer plugs into a large four-prong (or older three-prong) outlet, it's electric. If there's a gas line connected to the back, it's gas.
Both types share some components – the thermal fuse, the cycling thermostat, and the high-limit thermostat – and those are usually the first things to check on either type.
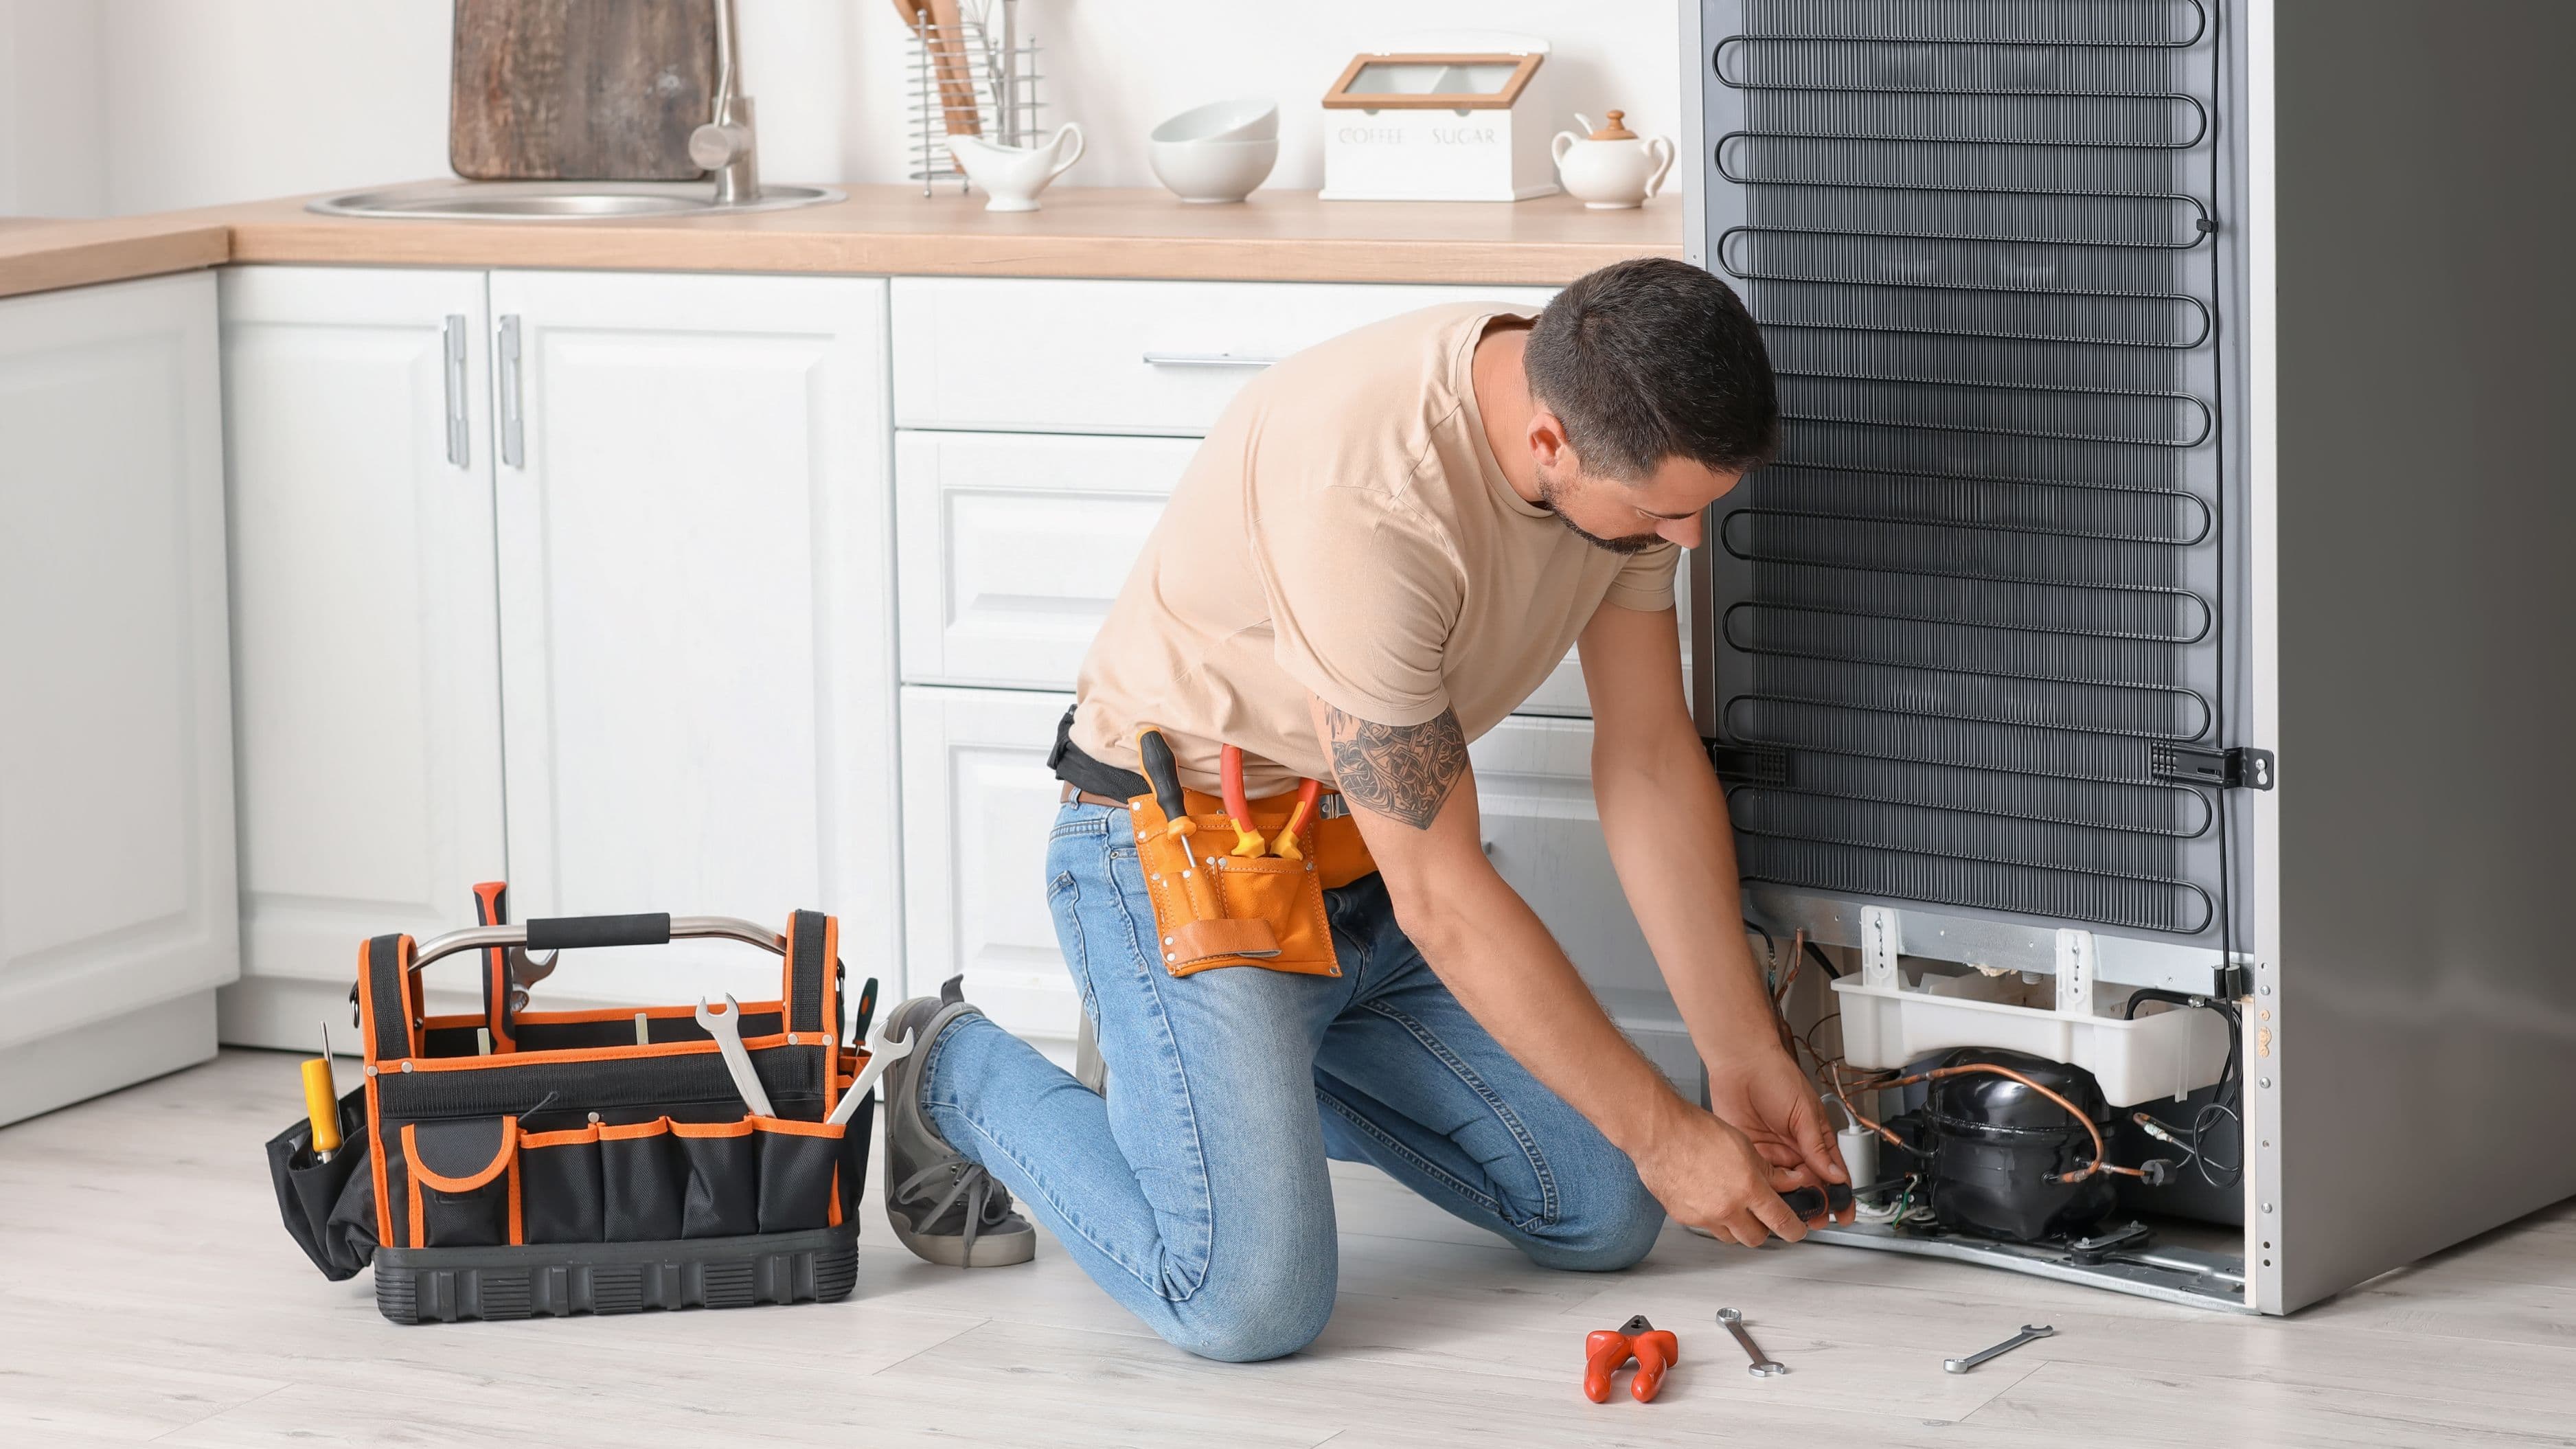
You don't need a lot to diagnose and fix a no-heat dryer. A multimeter is the most important tool – it lets you test components for continuity so you know for certain whether something has failed rather than guessing. Basic models cost $15–$25 and are worth having for any appliance troubleshooting. Beyond that, you'll need a nut driver or socket set (typically ¼" and 5/16"), a Phillips head screwdriver, and a flat-head screwdriver. Having your model number handy before you order any parts will save you a return trip – it's usually on a sticker inside the door frame or on the back panel.
Before you touch anything inside the dryer, unplug it from the wall outlet completely. For electric dryers, also consider flipping the circuit breaker for the dryer circuit as a secondary precaution – 240V can cause serious injury. For gas dryers, turn off the gas supply valve behind the machine before moving it or accessing the back panel. Never work on an appliance while it's powered.
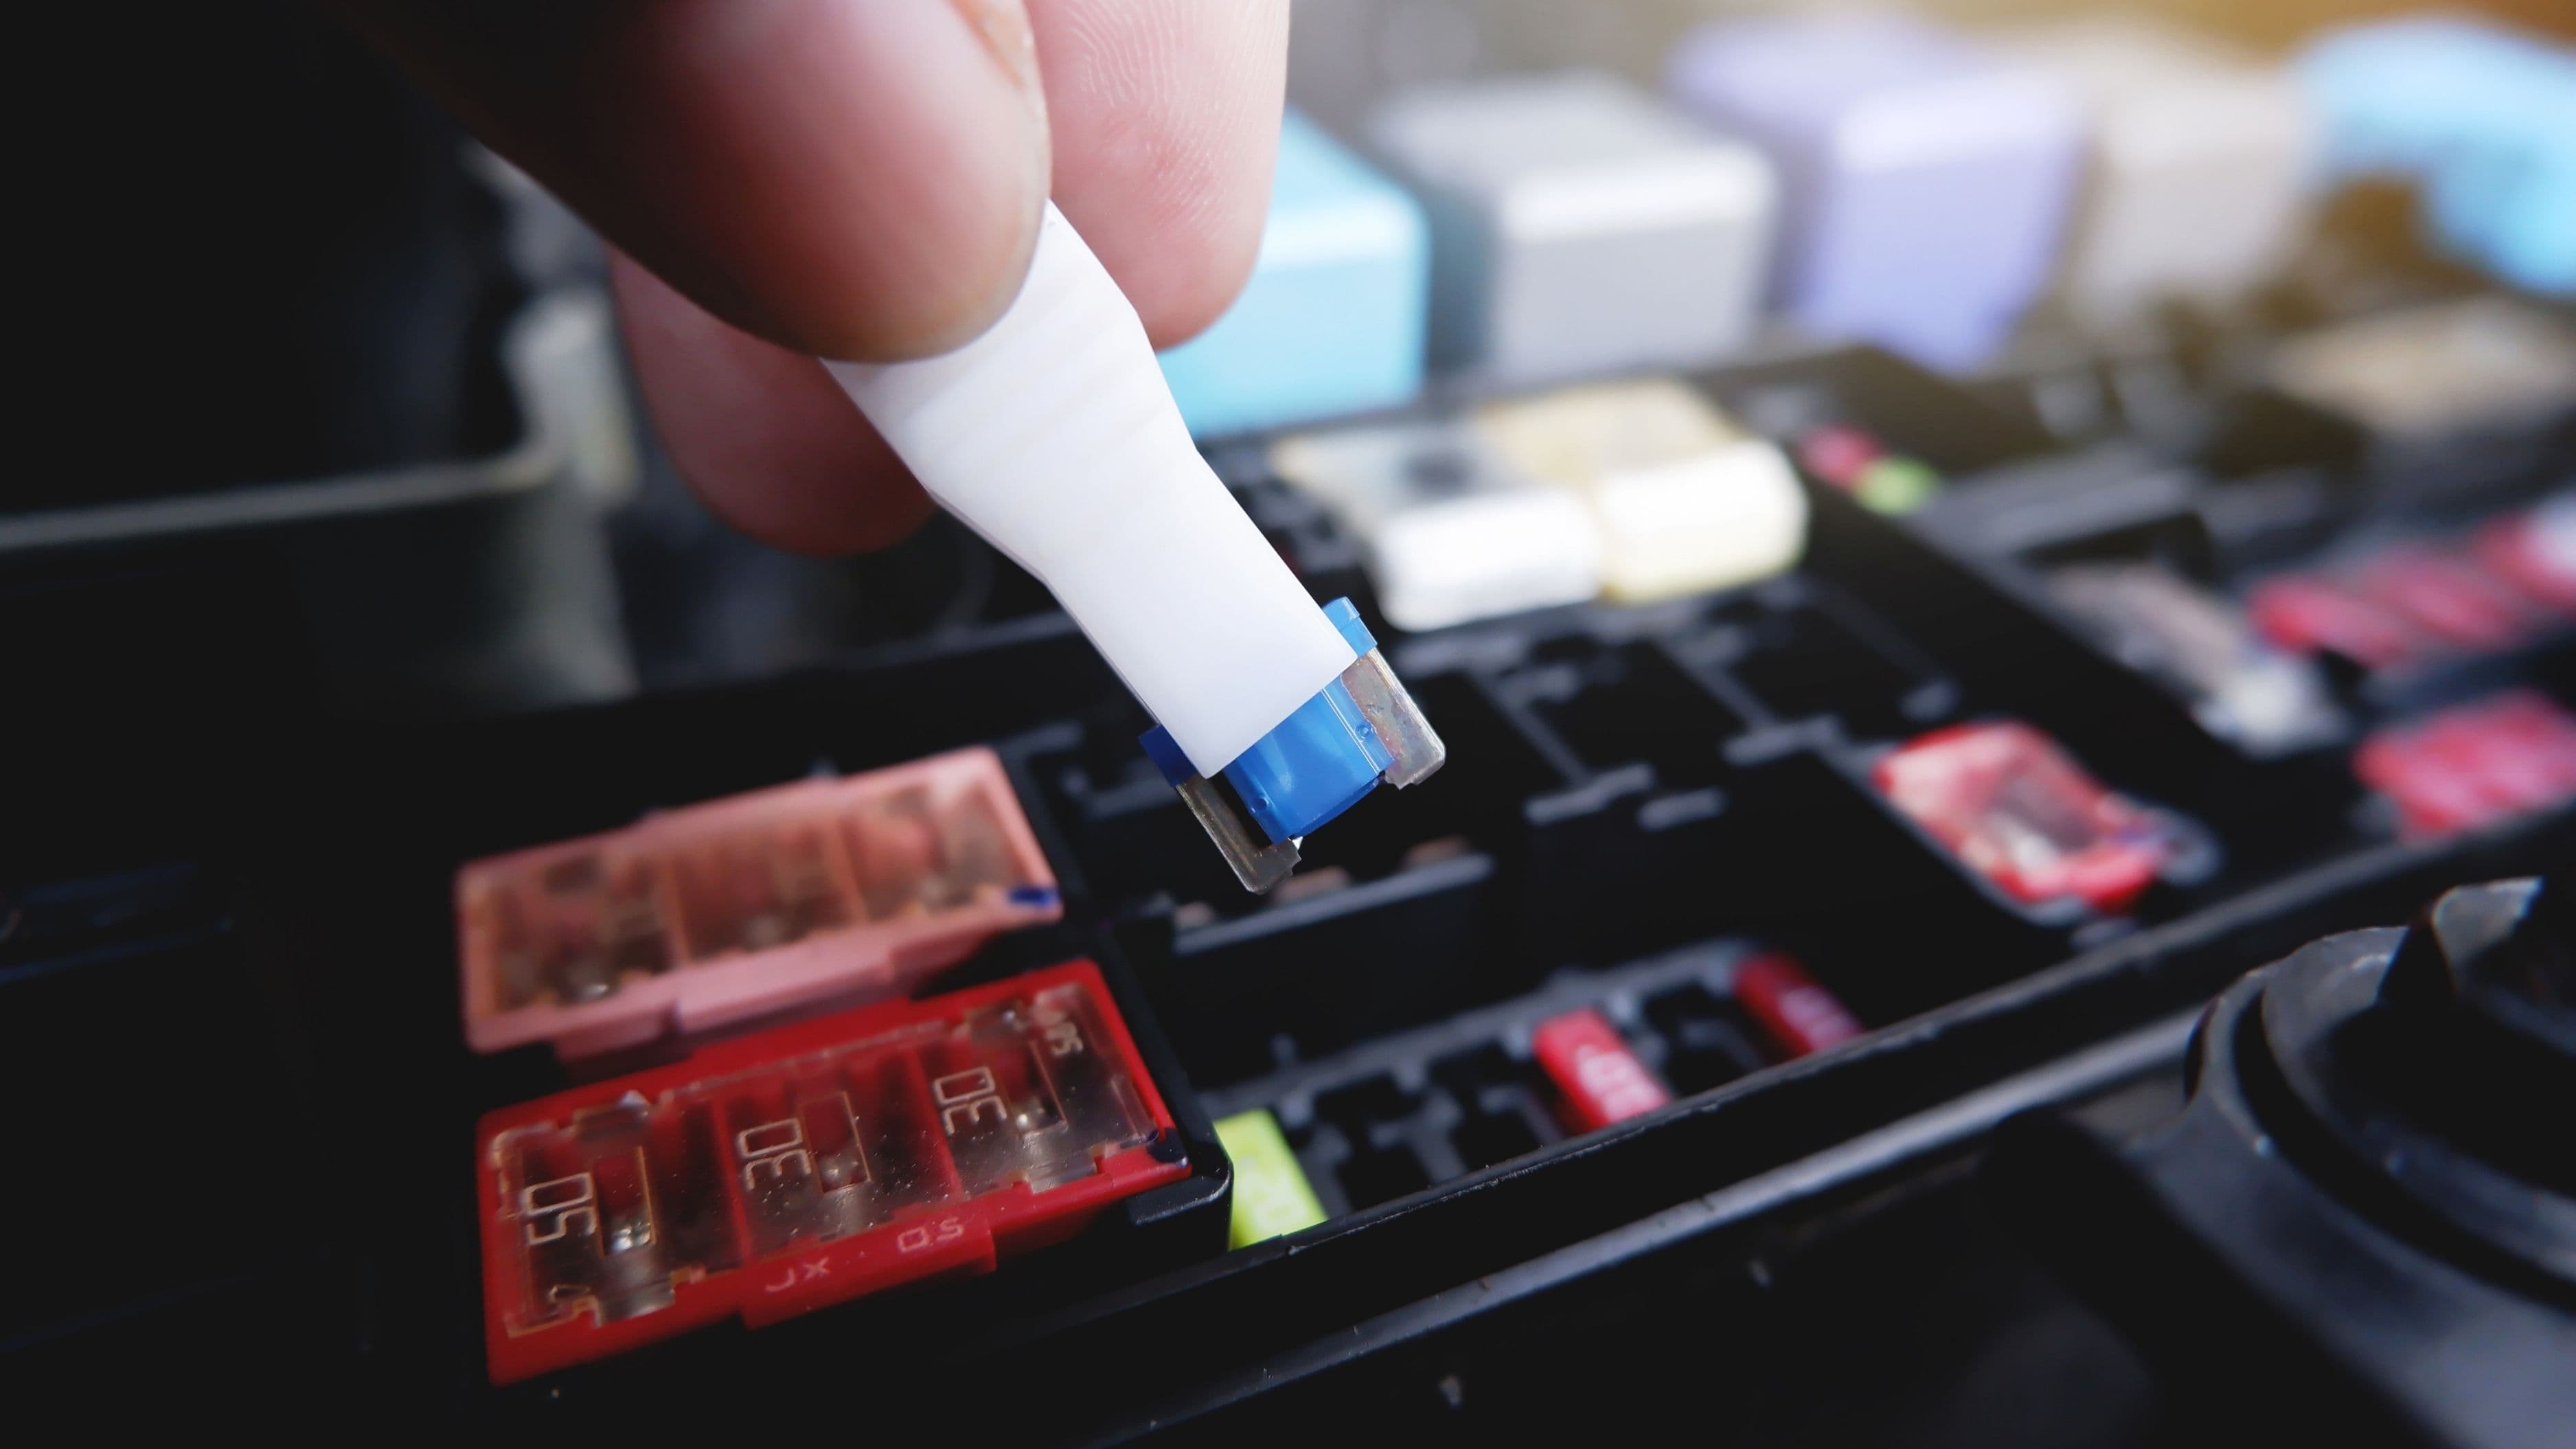
This one catches people off guard. An electric dryer uses a double-pole circuit breaker – two connected breakers that share a single 240V circuit. It's possible for one leg of that double breaker to trip while the other stays on, which supplies enough power to run the motor (120V) but not enough to power the heating element (which needs the full 240V). The result is exactly what you're seeing: a dryer that tumbles but doesn't heat.
Go to your electrical panel and look for the dryer breaker. Even if it doesn't appear to be tripped, reset it by flipping it fully to the OFF position and then back to ON. This resets both legs of the circuit simultaneously. If the breaker was the problem, your dryer will heat normally after this. If the breaker trips again immediately or shortly after you resume drying, that indicates an electrical issue that needs a licensed electrician's attention – don't keep resetting it.
A severely restricted exhaust vent is one of the leading causes of no-heat situations because most dryers have a high-limit thermostat that cuts off heat when the exhaust temperature gets dangerously high. If lint has accumulated in the vent duct over months or years, the dryer overheats, the thermostat trips, and heat stops – sometimes permanently until the thermostat is replaced, sometimes just until the dryer cools down (and then it overheats again).
Disconnect the dryer duct from the back of the machine and the wall outlet. Run your hand inside to feel for lint buildup. Use a long-handled duct brush (available at hardware stores for $15–$25) or a vacuum with an extended hose to clear out the full length of the duct. Also check the exterior vent cap outside your home – a flap that won't open properly is a common restriction point. While you're at it, verify the duct run itself: flexible plastic duct should ideally be replaced with rigid metal duct if it hasn't been already. Plastic duct crushes easily, traps more lint, and is a fire hazard over time.
If the vent was heavily clogged, cleaning it may restore heat if the thermal cutoff just tripped temporarily. If the no-heat issue continues after cleaning, you'll likely need to replace the thermal fuse as well – more on that in the next step.
The thermal fuse is a one-time safety device that blows permanently if the dryer overheats. Once it fails, it doesn't reset – it has to be replaced. It's a small, inexpensive component (typically $5–$15) and it's the single most common cause of a no-heat dryer. Nearly every dryer has one.
On most dryers, the thermal fuse is located on the exhaust duct inside the back panel or on the heating element housing. To access it, unplug the dryer, pull it away from the wall, and remove the back panel (usually held by a row of screws around the perimeter). You'll see the thermal fuse – a small cylindrical or oval component with two wires attached. Disconnect the wires, set your multimeter to continuity mode, and touch the probes to the two terminals on the fuse. A functional thermal fuse will show continuity (the meter beeps or reads close to zero ohms). A blown fuse shows no continuity – it's an open circuit. If it's blown, replace it with an exact-match part for your dryer model.
One important thing: if your thermal fuse blew, it blew for a reason. Replacing the fuse without clearing the vent restriction that caused the overheating in the first place will just blow the new fuse again, often quickly. Always address the root cause first.
If the circuit breaker is fine, the vent is clear, and the thermal fuse is intact, the heating element itself may have failed. Electric dryer heating elements are coiled resistance wire housed in a metal frame. Over time – especially in dryers that run long cycles or dry heavy loads regularly – the coil can develop a break, which opens the circuit and kills the heat. The element can also partially fail, where a secondary safety thermostat on the housing trips without the element wire physically breaking.
The heating element is located inside the back panel or behind the drum, depending on the dryer model. Once accessed, disconnect the two wires running to the element and test across the terminals with your multimeter set to continuity or resistance. A functional element will show continuity and a resistance reading (typically 8–12 ohms, but check your model's specifications). An open reading with no continuity means the element has failed. Replacement elements for common brands typically cost $20–$50 and the replacement process involves removing the element housing, swapping the component, and reinstalling.
Gas dryers heat using a burner system that requires two things to work: an igniter to light the gas and gas valve coils (also called gas valve solenoids) to open the valve and allow gas flow. Both components fail relatively often, and both are inexpensive to replace.
The igniter is a fragile ceramic and metal component that glows orange-hot to ignite the gas. You can sometimes diagnose a failed igniter visually – if you open the access panel at the front bottom of the dryer and run a cycle, you'll see the igniter glow (if it works) or stay dark (if it doesn't). If the igniter glows but the gas doesn't ignite and no flame appears, the gas valve coils are the more likely failure point. If the igniter doesn't glow at all, test it with your multimeter – a working igniter shows continuity; a failed one does not.
Gas valve coils are small solenoid valves that open the gas supply when electrically activated. Most gas dryers have two or three of these coils on a single valve body. They're inexpensive (typically $15–$30 for a set) and relatively straightforward to replace – the coils clip onto the valve body and connect via a wiring harness. It's common practice to replace all the coils at the same time since they tend to fail around the same age.
The cycling thermostat regulates the operating temperature inside the drum by cycling the heat on and off throughout the drying cycle. If it fails in the open position, it breaks the circuit to the heating element or burner and the dryer runs cold. Unlike the thermal fuse, a cycling thermostat is a resettable component – but it can fail permanently, requiring replacement.
The cycling thermostat is usually mounted on the blower housing or exhaust duct inside the dryer. Test it the same way as the thermal fuse: disconnect the wires, set your multimeter to continuity, and test across the terminals at room temperature. A functioning cycling thermostat should show continuity when cold. If it shows no continuity, it has failed open and needs replacement. Parts typically cost $10–$25.
Skipping the vent cleaning before replacing parts is the most common mistake in this repair. A clean vent is the prerequisite for all the thermal components working as intended – if you replace a thermal fuse and don't clear the restriction that blew it, you'll be back at square one in a week.
Ordering parts without confirming your model number is the second most common issue. Thermal fuses, heating elements, and thermostat specifications vary between dryer models even within the same brand. A part that looks identical may have different temperature ratings or connector configurations. Always look up your exact model number before ordering.
Failing to test components before replacing them wastes money and time. A multimeter test takes two minutes and confirms whether a component has actually failed. Without testing, you're guessing – and it's easy to replace the wrong part.
Most no-heat repairs are well within beginner-to-intermediate DIY range. The cases where a professional makes more sense are: a circuit breaker that keeps tripping (electrical issue that needs an electrician, not an appliance repair), a dryer that's still under manufacturer warranty (DIY repair may void coverage), any gas supply issue beyond the dryer's internal components (gas line problems require a licensed professional), and situations where you've replaced the most common components and the problem persists without a clear diagnosis.
A service call typically costs $80–$150 for the visit and diagnosis, with parts and labor on top of that. For a dryer that's less than 8–10 years old, a repair almost always makes financial sense. For an older machine, compare the repair estimate to the cost of a replacement before committing.
How do I know if my dryer is electric or gas? Electric dryers plug into a large 240V outlet with four prongs (or three prongs on older installations) – the outlet is noticeably larger than a standard household outlet. Gas dryers have a standard 120V power cord plus a gas line connected to the back of the machine. If you're unsure, check the back of the dryer for a gas line connection.
Can I replace the thermal fuse without a multimeter? You can, but it's not ideal. The thermal fuse is inexpensive enough that replacing it on suspicion isn't a big financial risk. However, if the fuse isn't the problem, you've replaced a part unnecessarily and still haven't found the actual issue. A multimeter confirms the diagnosis in two minutes and is worth having for any future appliance troubleshooting.
My dryer heats sometimes but not consistently – is that a different problem? Intermittent heat often points to a failing cycling thermostat, a partially clogged vent that causes the high-limit thermostat to trip periodically, or a heating element that has a partial break that makes and breaks contact with movement. Run through the vent cleaning and thermostat tests first.
How long does this repair typically take? For the most common fix – thermal fuse replacement – plan on 30–45 minutes including accessing the back panel, testing, and reassembly. A heating element replacement typically takes 45–75 minutes. Having the right tools and the replacement part in hand before you start keeps the job efficient.
What's the average cost to DIY this repair vs. hiring a technician? A thermal fuse costs $5–$15 and a heating element costs $20–$50 – so most DIY repairs land in the $10–$60 range for parts. A professional repair for the same issue typically runs $150–$300 including the service call, labor, and parts markup. The DIY savings are substantial, which is why this particular repair is one of the better ones to tackle yourself.
U.S. Consumer Product Safety Commission – Clothes Dryer Fire Safety – cpsc.gov/Safety-Education/Safety-Education-Centers/Clothes-Dryers
RepairClinic – Dryer Not Heating Troubleshooting Guide – repairclinic.com/RepairHelp/How-To-Fix-A-Dryer/14-5-262620-/Dryer-not-heating
Whirlpool – Dryer Not Heating: Causes and Solutions – whirlpool.com/blog/washers-dryers/dryer-not-heating.html
Family Handyman – How to Replace a Dryer Heating Element – familyhandyman.com/project/how-to-replace-a-dryer-heating-element
U.S. Fire Administration – Clothes Dryer Fires in Residential Buildings – usfa.fema.gov/downloads/pdf/statistics/v13i7.pdf