The good news: refilling expansion joints is a straightforward DIY job that takes a few hours and costs very little. You don't need specialized equipment or concrete experience. If you can caulk a bathtub, you can do this.
What You'll Need
Gathering everything before you start makes the job go smoothly. Here's what you'll need for a typical residential driveway:
Materials:
Self-leveling polyurethane joint sealant (Sika 1a or NP-1 are reliable options for driveways)
Backer rod foam (closed-cell, in a diameter slightly larger than your joint width)
Joint cleaner or concrete cleaner (optional but recommended for dirty joints)
Masking tape or painter's tape
Tools:
Pressure washer or stiff-bristle brush
Utility knife or flathead screwdriver
Wire brush
Caulk gun
Scissors or a utility knife to cut backer rod
Shop vacuum or leaf blower
Putty knife or margin trowel for cleanup
Estimated cost: $30–$80 for materials depending on driveway length and number of joints. A single tube of self-leveling sealant covers approximately 10–15 linear feet of a 1/2-inch-wide joint.
Estimated time: 2–4 hours including prep and cleanup. Add drying/curing time of 24–48 hours before driving on the joint.
Difficulty level: Beginner to intermediate. No special skills required.
Step 1: Understand What You're Working With
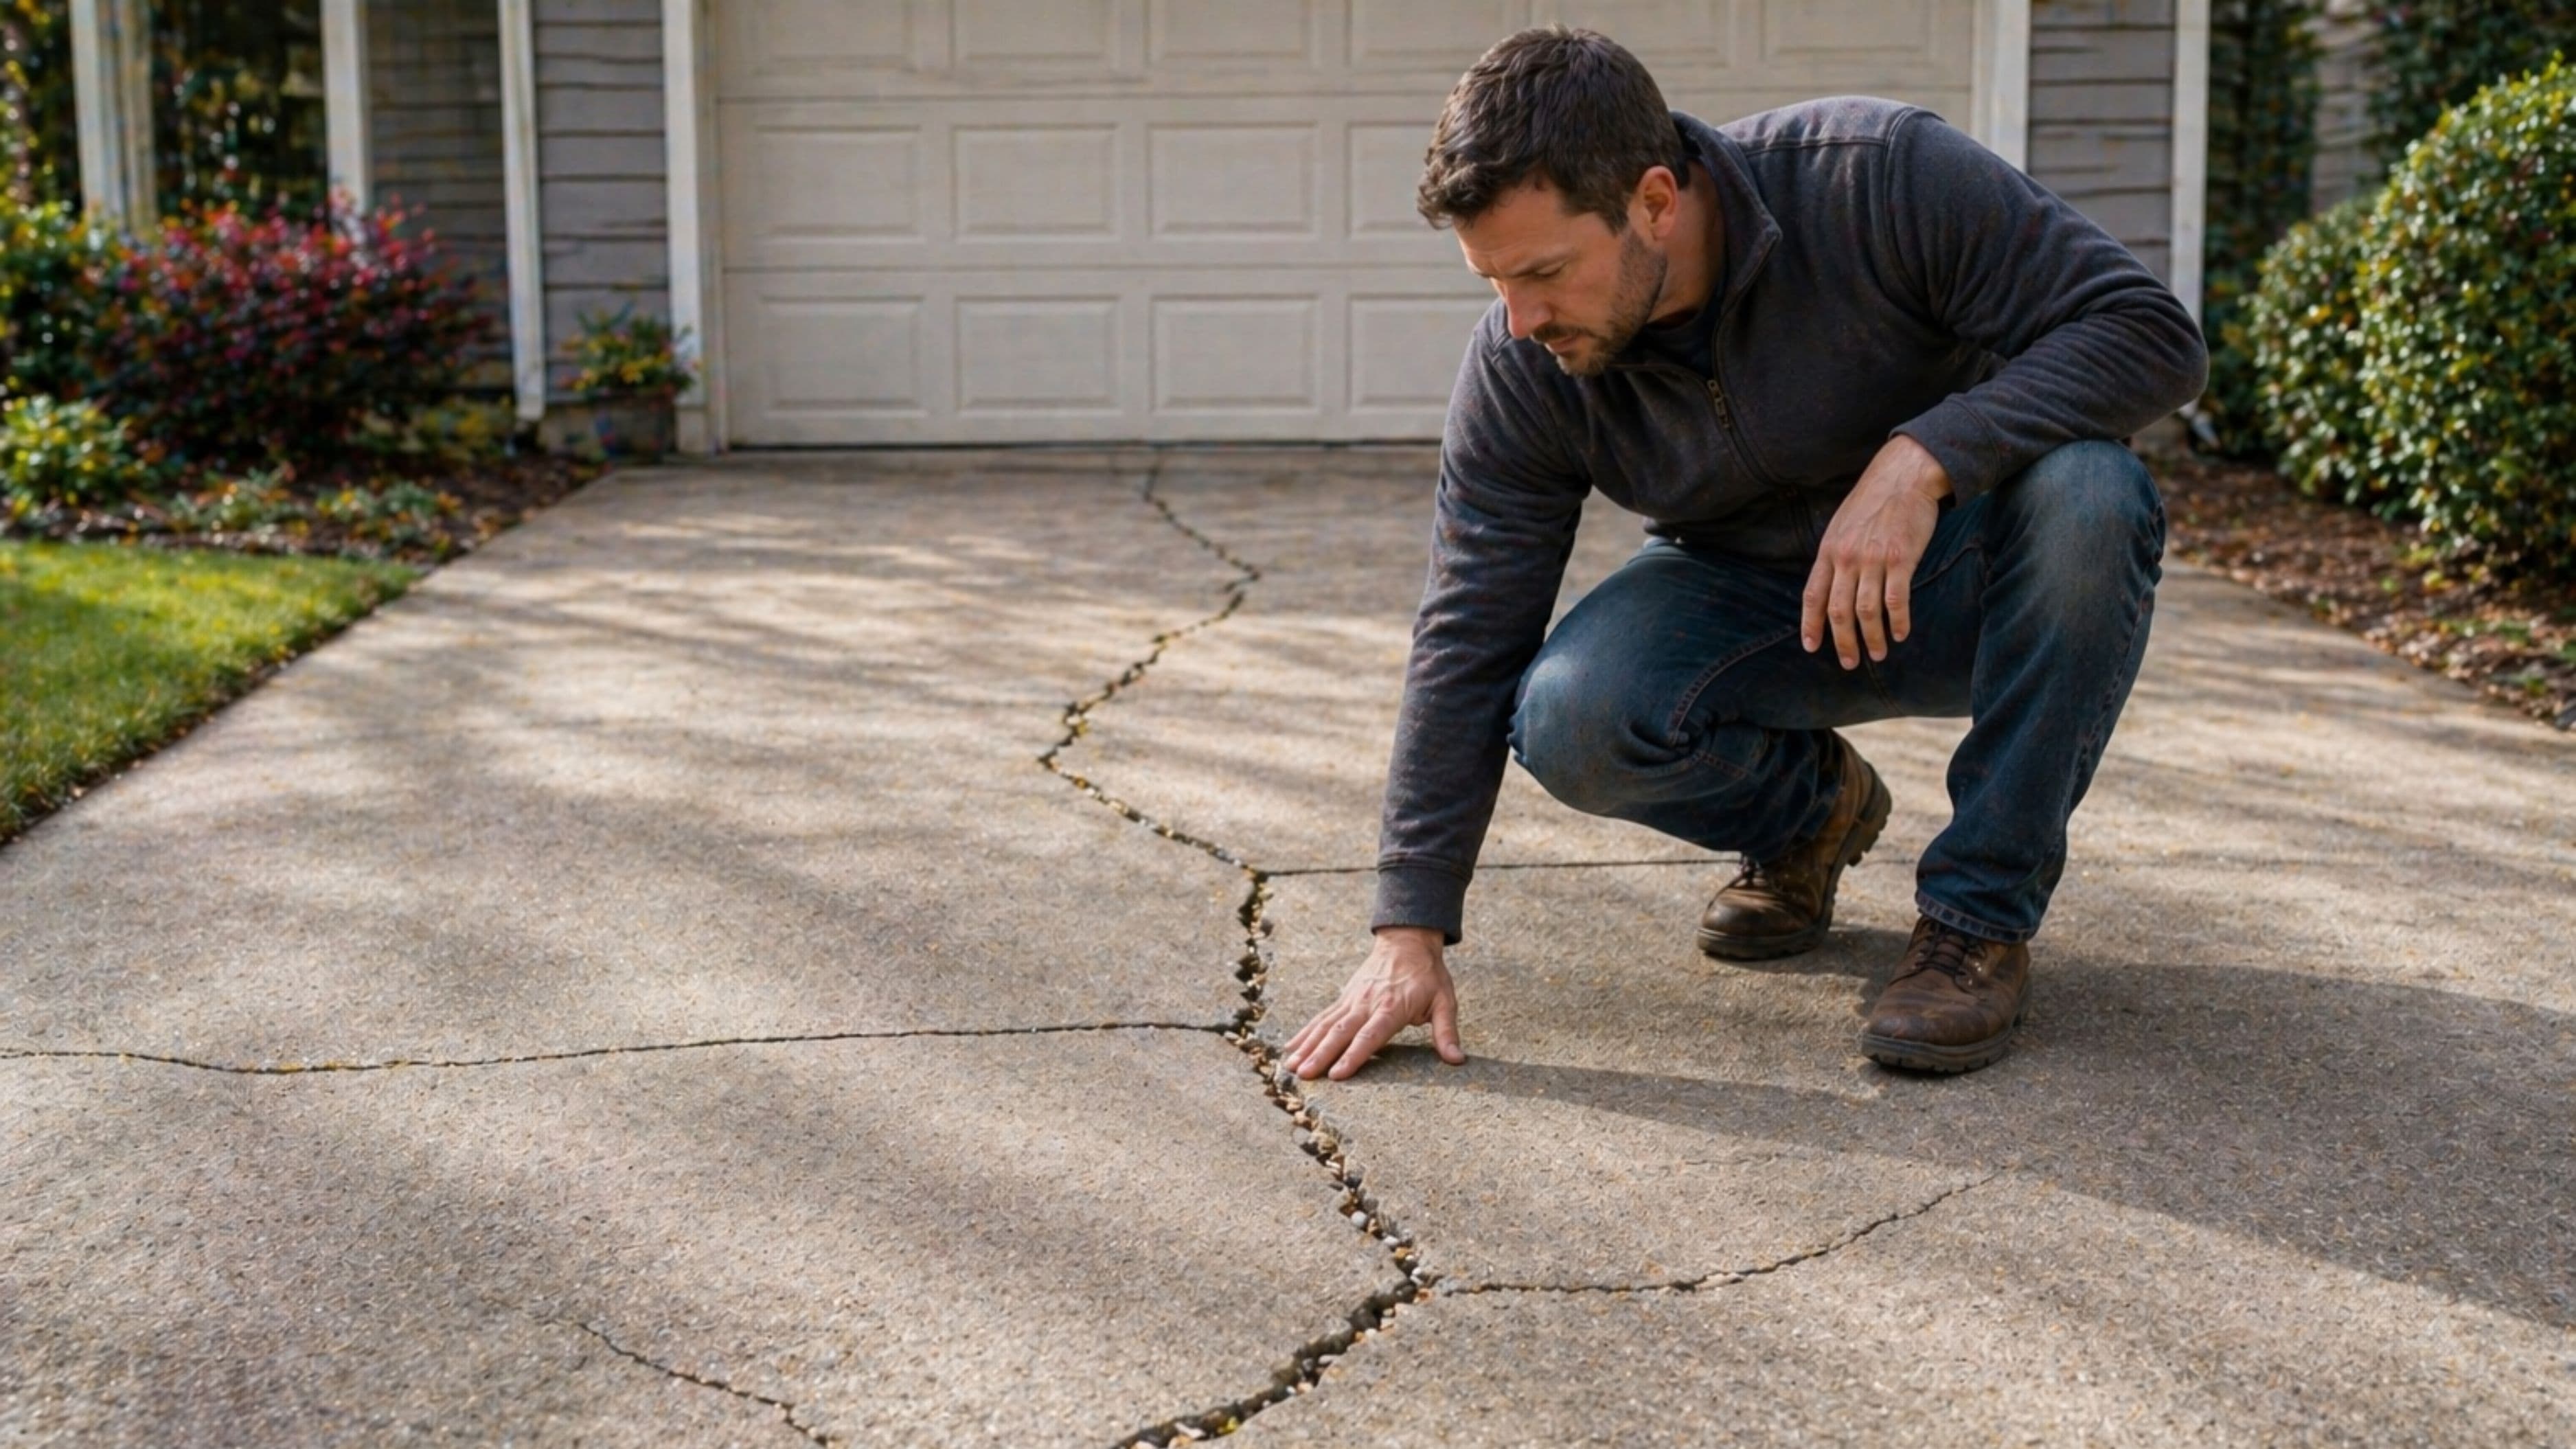
Before you start removing anything, take a few minutes to assess the joints. Expansion joints in concrete driveways are typically 1/4 inch to 3/4 inch wide and were originally filled with a compressible material – sometimes tar-impregnated fiber board, sometimes foam backer, sometimes a rubberized sealant. If the joint still has solid material in it that's holding firm, you may not need to remove it entirely – just clean the top and apply a fresh sealant layer over it.
If the filler is crumbling, hollow, or has shrunk below the surface by more than 1/4 inch, it needs to come out. Running your finger along the joint and pressing gently tells you immediately how solid the existing fill is. If it compresses easily or breaks apart, plan to remove it.
Also check the width of each joint, since they're not always consistent. A joint wider than 3/4 inch may need a wider backer rod or a different sealant product. Measure the widest point and buy accordingly.
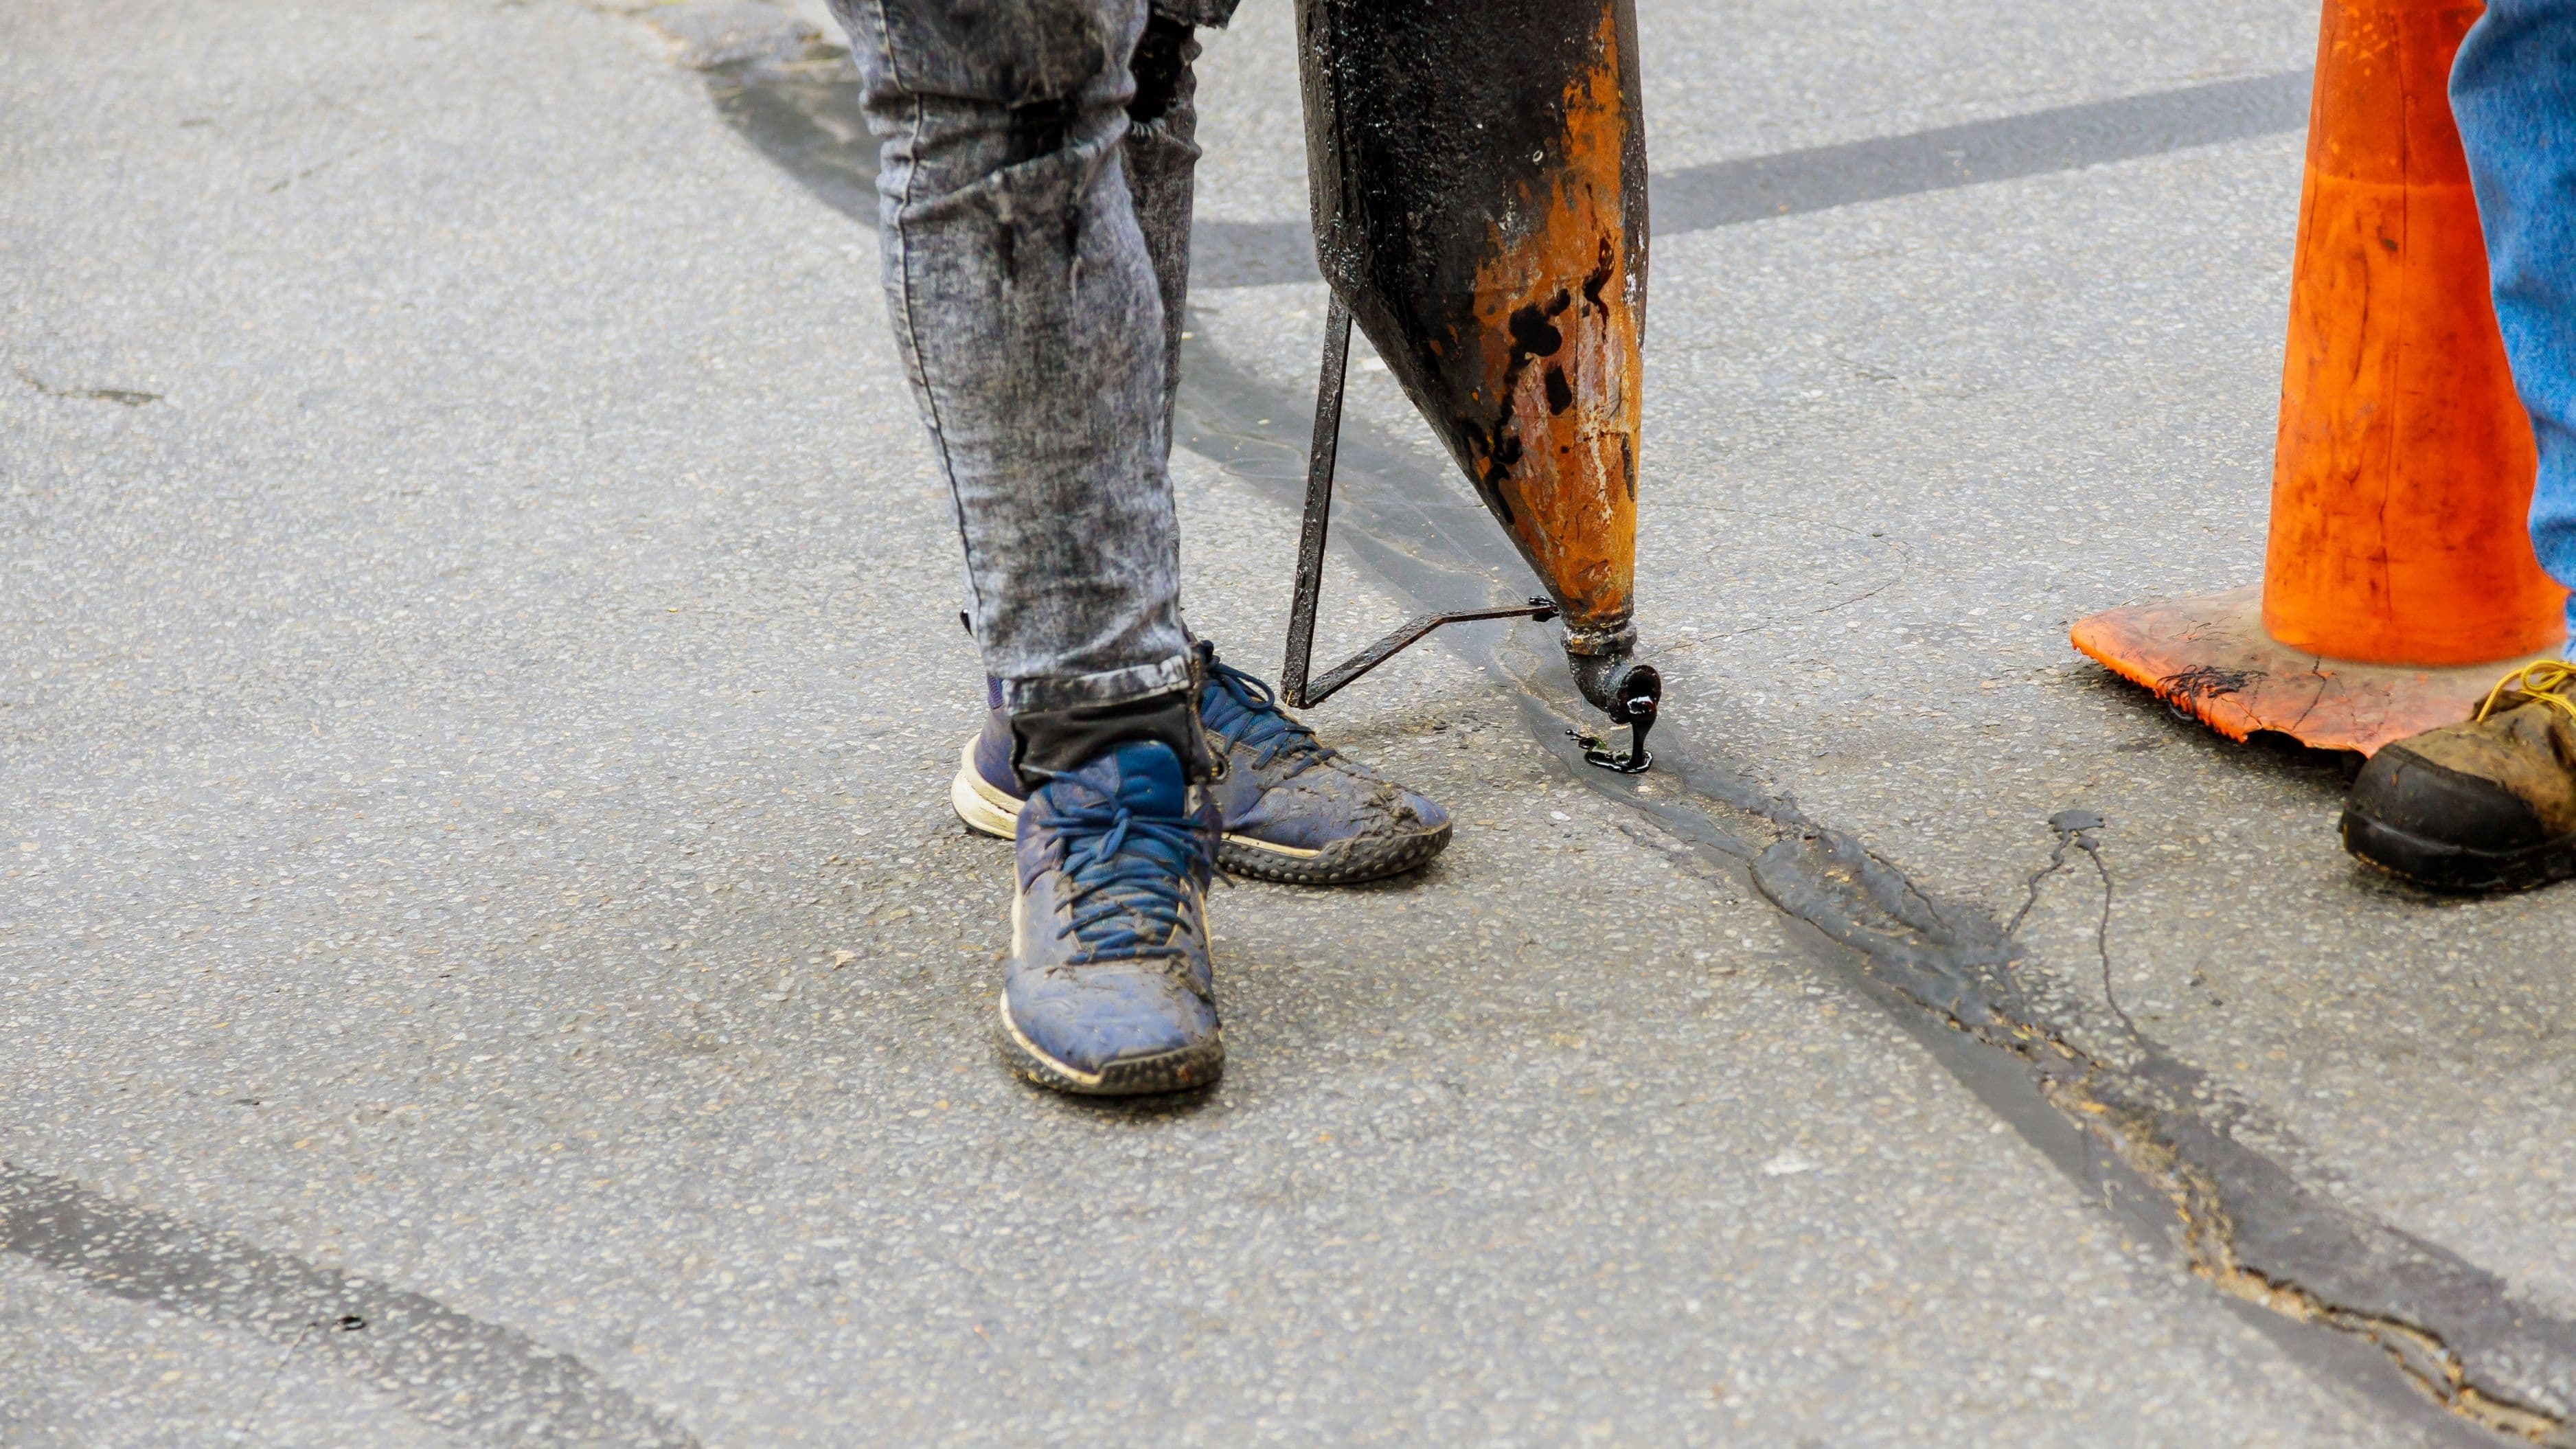
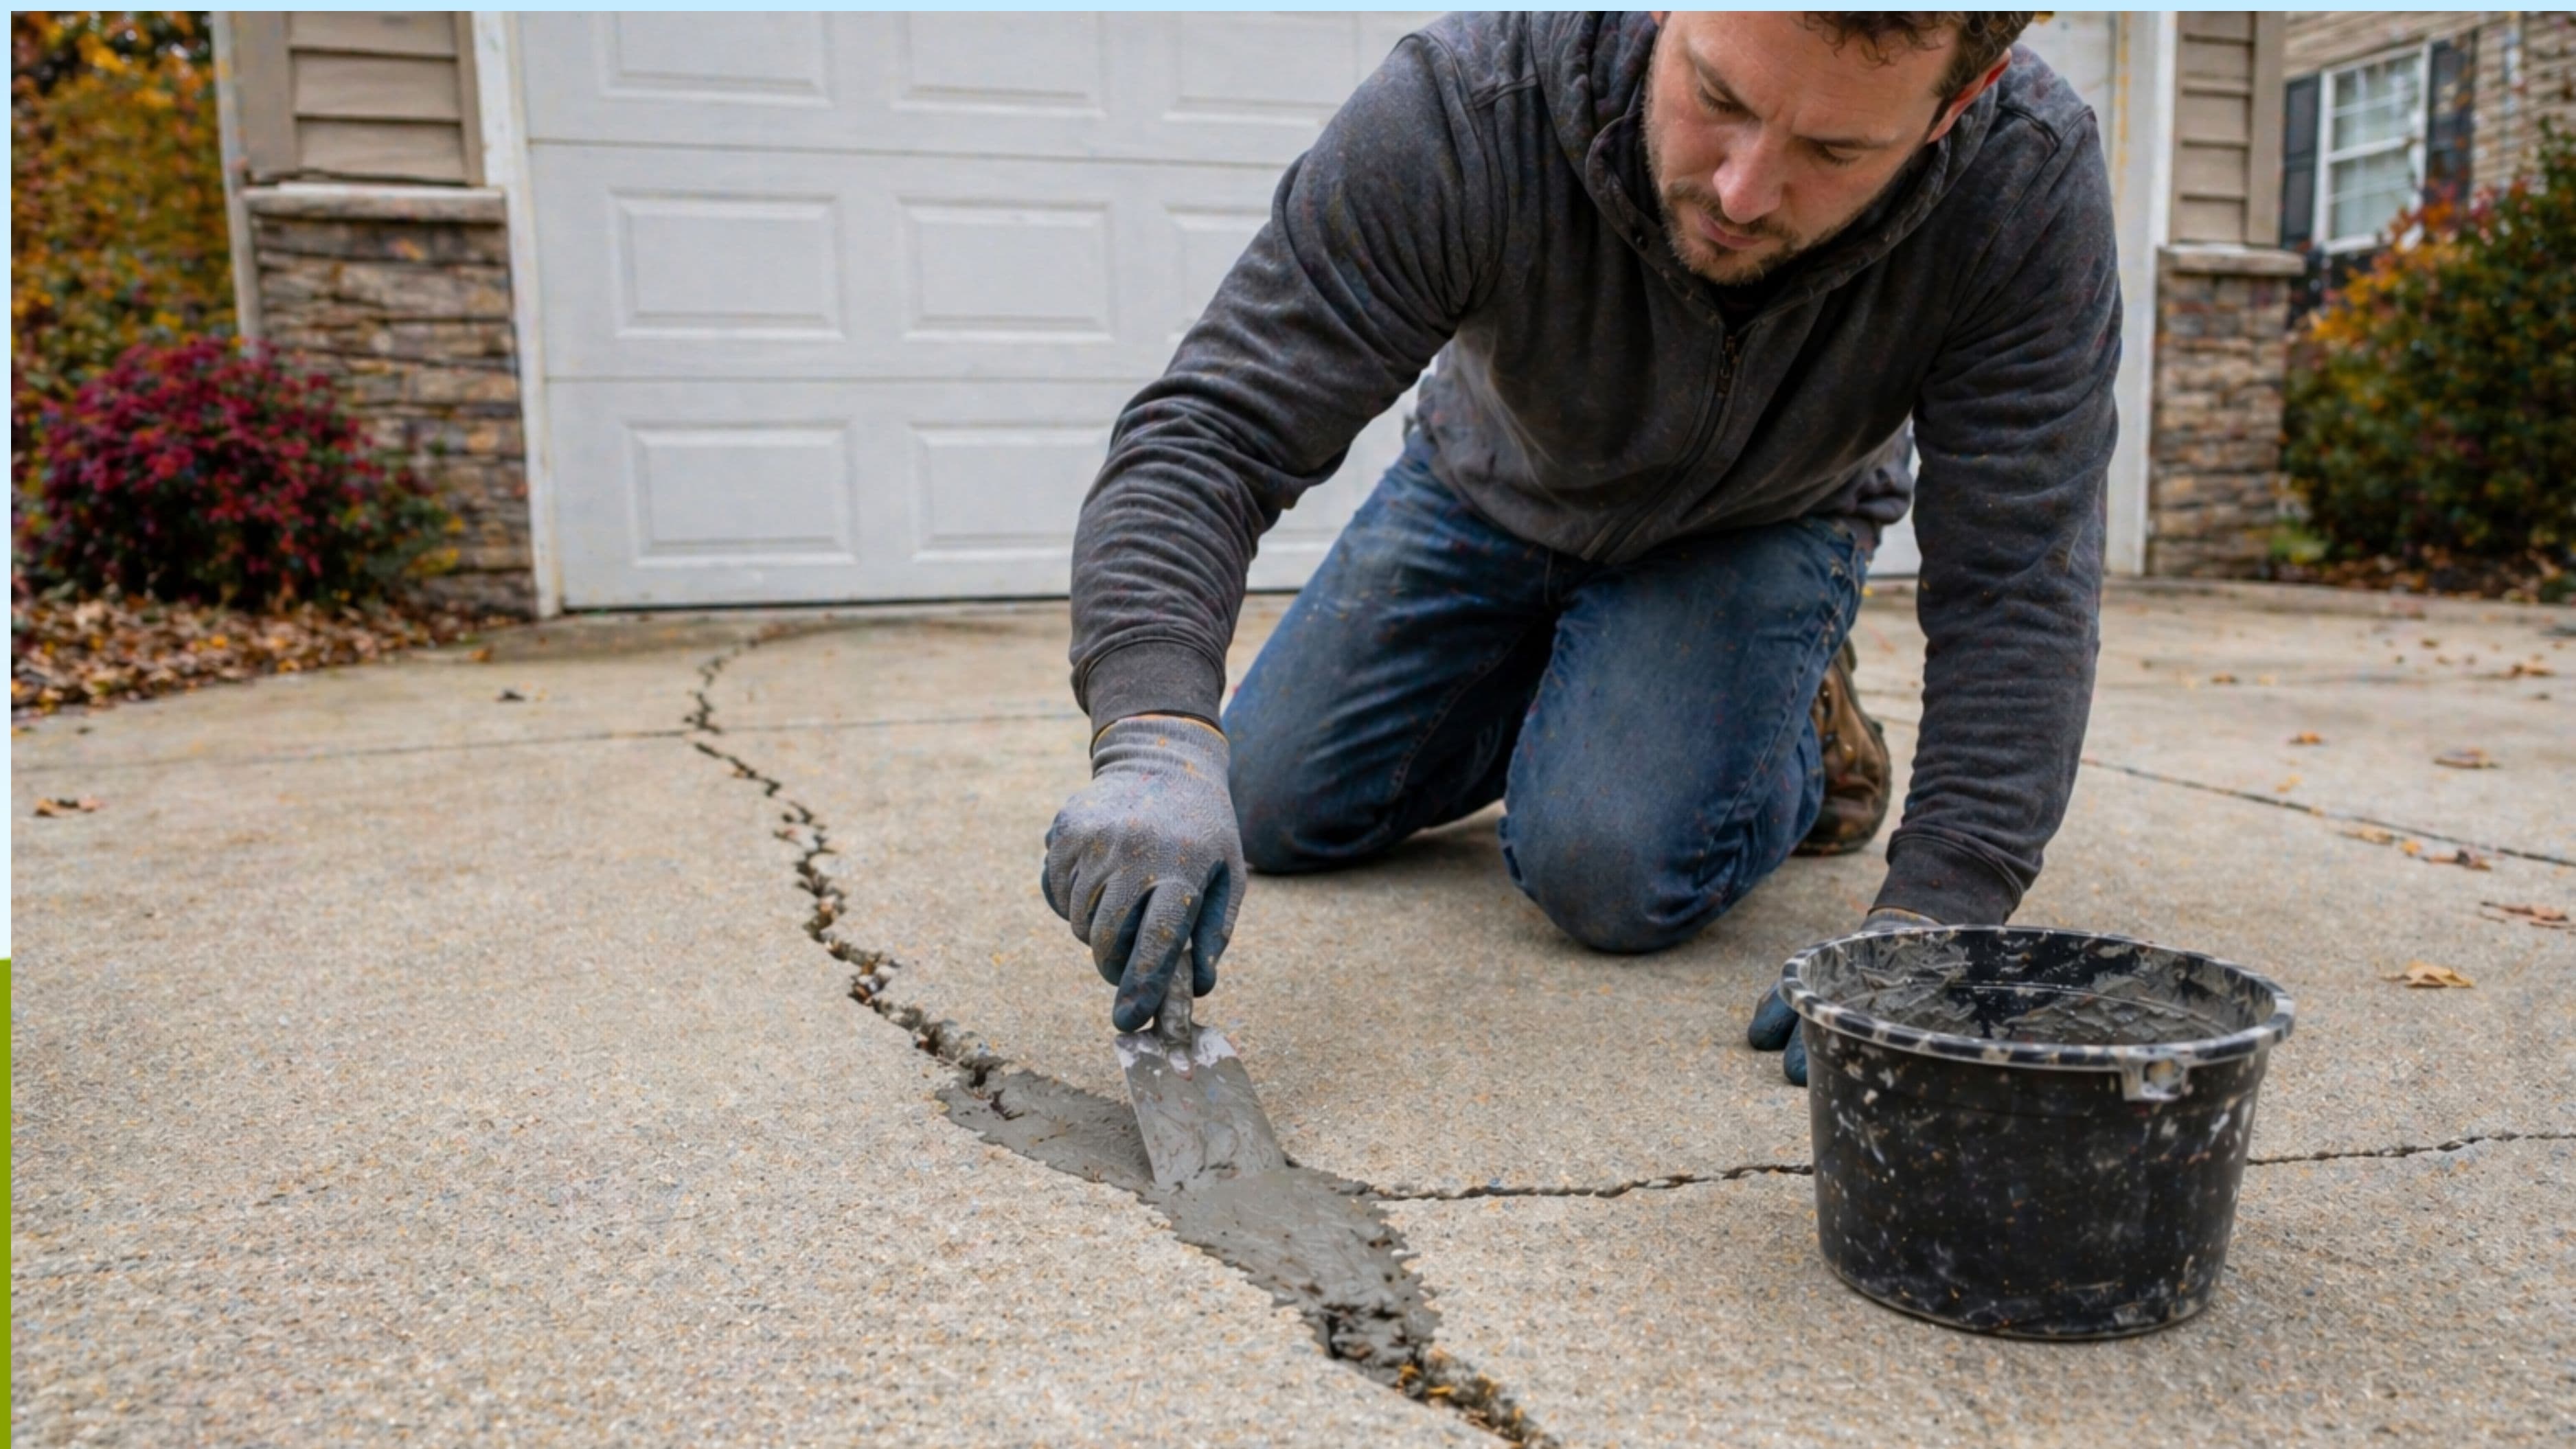
Step 2: Remove the Old Filler Material
This is the most labor-intensive part of the job, and doing it thoroughly is what separates a repair that lasts five years from one that lasts five months.
Use a flathead screwdriver, putty knife, or chisel to work out any loose or degraded filler material from the joint. For old tar-fiber board that's still partially intact, a reciprocating saw with a wood blade run along the joint can cut it into sections for easier removal. Work carefully – you're not trying to widen the joint or damage the concrete edges, just clear out what's loose and failing.
Once the bulk of the old material is out, go over the joint thoroughly with a wire brush. This clears fine debris and roughens the concrete edges, which helps the new sealant bond. Then blow out or vacuum the joint completely – any dust, sand, or loose debris left in the bottom will prevent the sealant from adhering properly. A leaf blower or shop vacuum works well here. If the joint has weeds or roots growing in it, pull them out and treat the area with a diluted white vinegar solution or a targeted concrete-safe herbicide, then let it dry completely.
For particularly dirty or oily joints, a quick scrub with concrete cleaner diluted in water and rinsed thoroughly adds meaningful adhesion improvement. Let the joint dry for at least a few hours – ideally overnight – before moving to the next step.
Step 3: Install the Backer Rod
Backer rod is a closed-cell polyethylene foam rope that you press into the joint before applying sealant. It serves two purposes: it controls the depth of the sealant so you don't waste material filling the entire joint depth, and it creates a proper joint geometry for the sealant to flex correctly under thermal movement.
The rule for backer rod sizing is to go slightly wider than the joint. For a 1/2-inch joint, use 5/8-inch or 3/4-inch backer rod. The interference fit keeps it in place without adhesive. Press it in using your finger or a blunt tool – a tongue depressor or the handle of a screwdriver works fine – until the top of the foam sits approximately 1/4 inch below the concrete surface. That 1/4-inch depth gives the sealant enough material to bond and flex without being flush with the surface, where it's more vulnerable to traffic wear.
Cut the backer rod with scissors or a utility knife at joints that end at a curb, expansion point, or wall. Don't stretch or compress the rod significantly as you install it – it should sit naturally in the joint at its relaxed diameter.
If the joint is very shallow (less than 1/2 inch deep) or if it's been filled solid and you're applying sealant over an existing firm substrate, you can skip the backer rod and apply the sealant directly.
Step 4: Tape the Edges
This step is optional but strongly recommended for a cleaner finish. Run painter's tape along both edges of the joint, pressed firmly against the concrete surface. Leave a gap of about 1/8 inch between the tape edge and the joint – you want the sealant to overlap slightly onto the concrete for a proper bond, but the tape keeps the excess from spreading onto the surface.
Taping takes an extra 10–15 minutes but eliminates the tedious cleanup of sealant smeared across the driveway surface, and it gives the finished joint a much cleaner, more professional look.
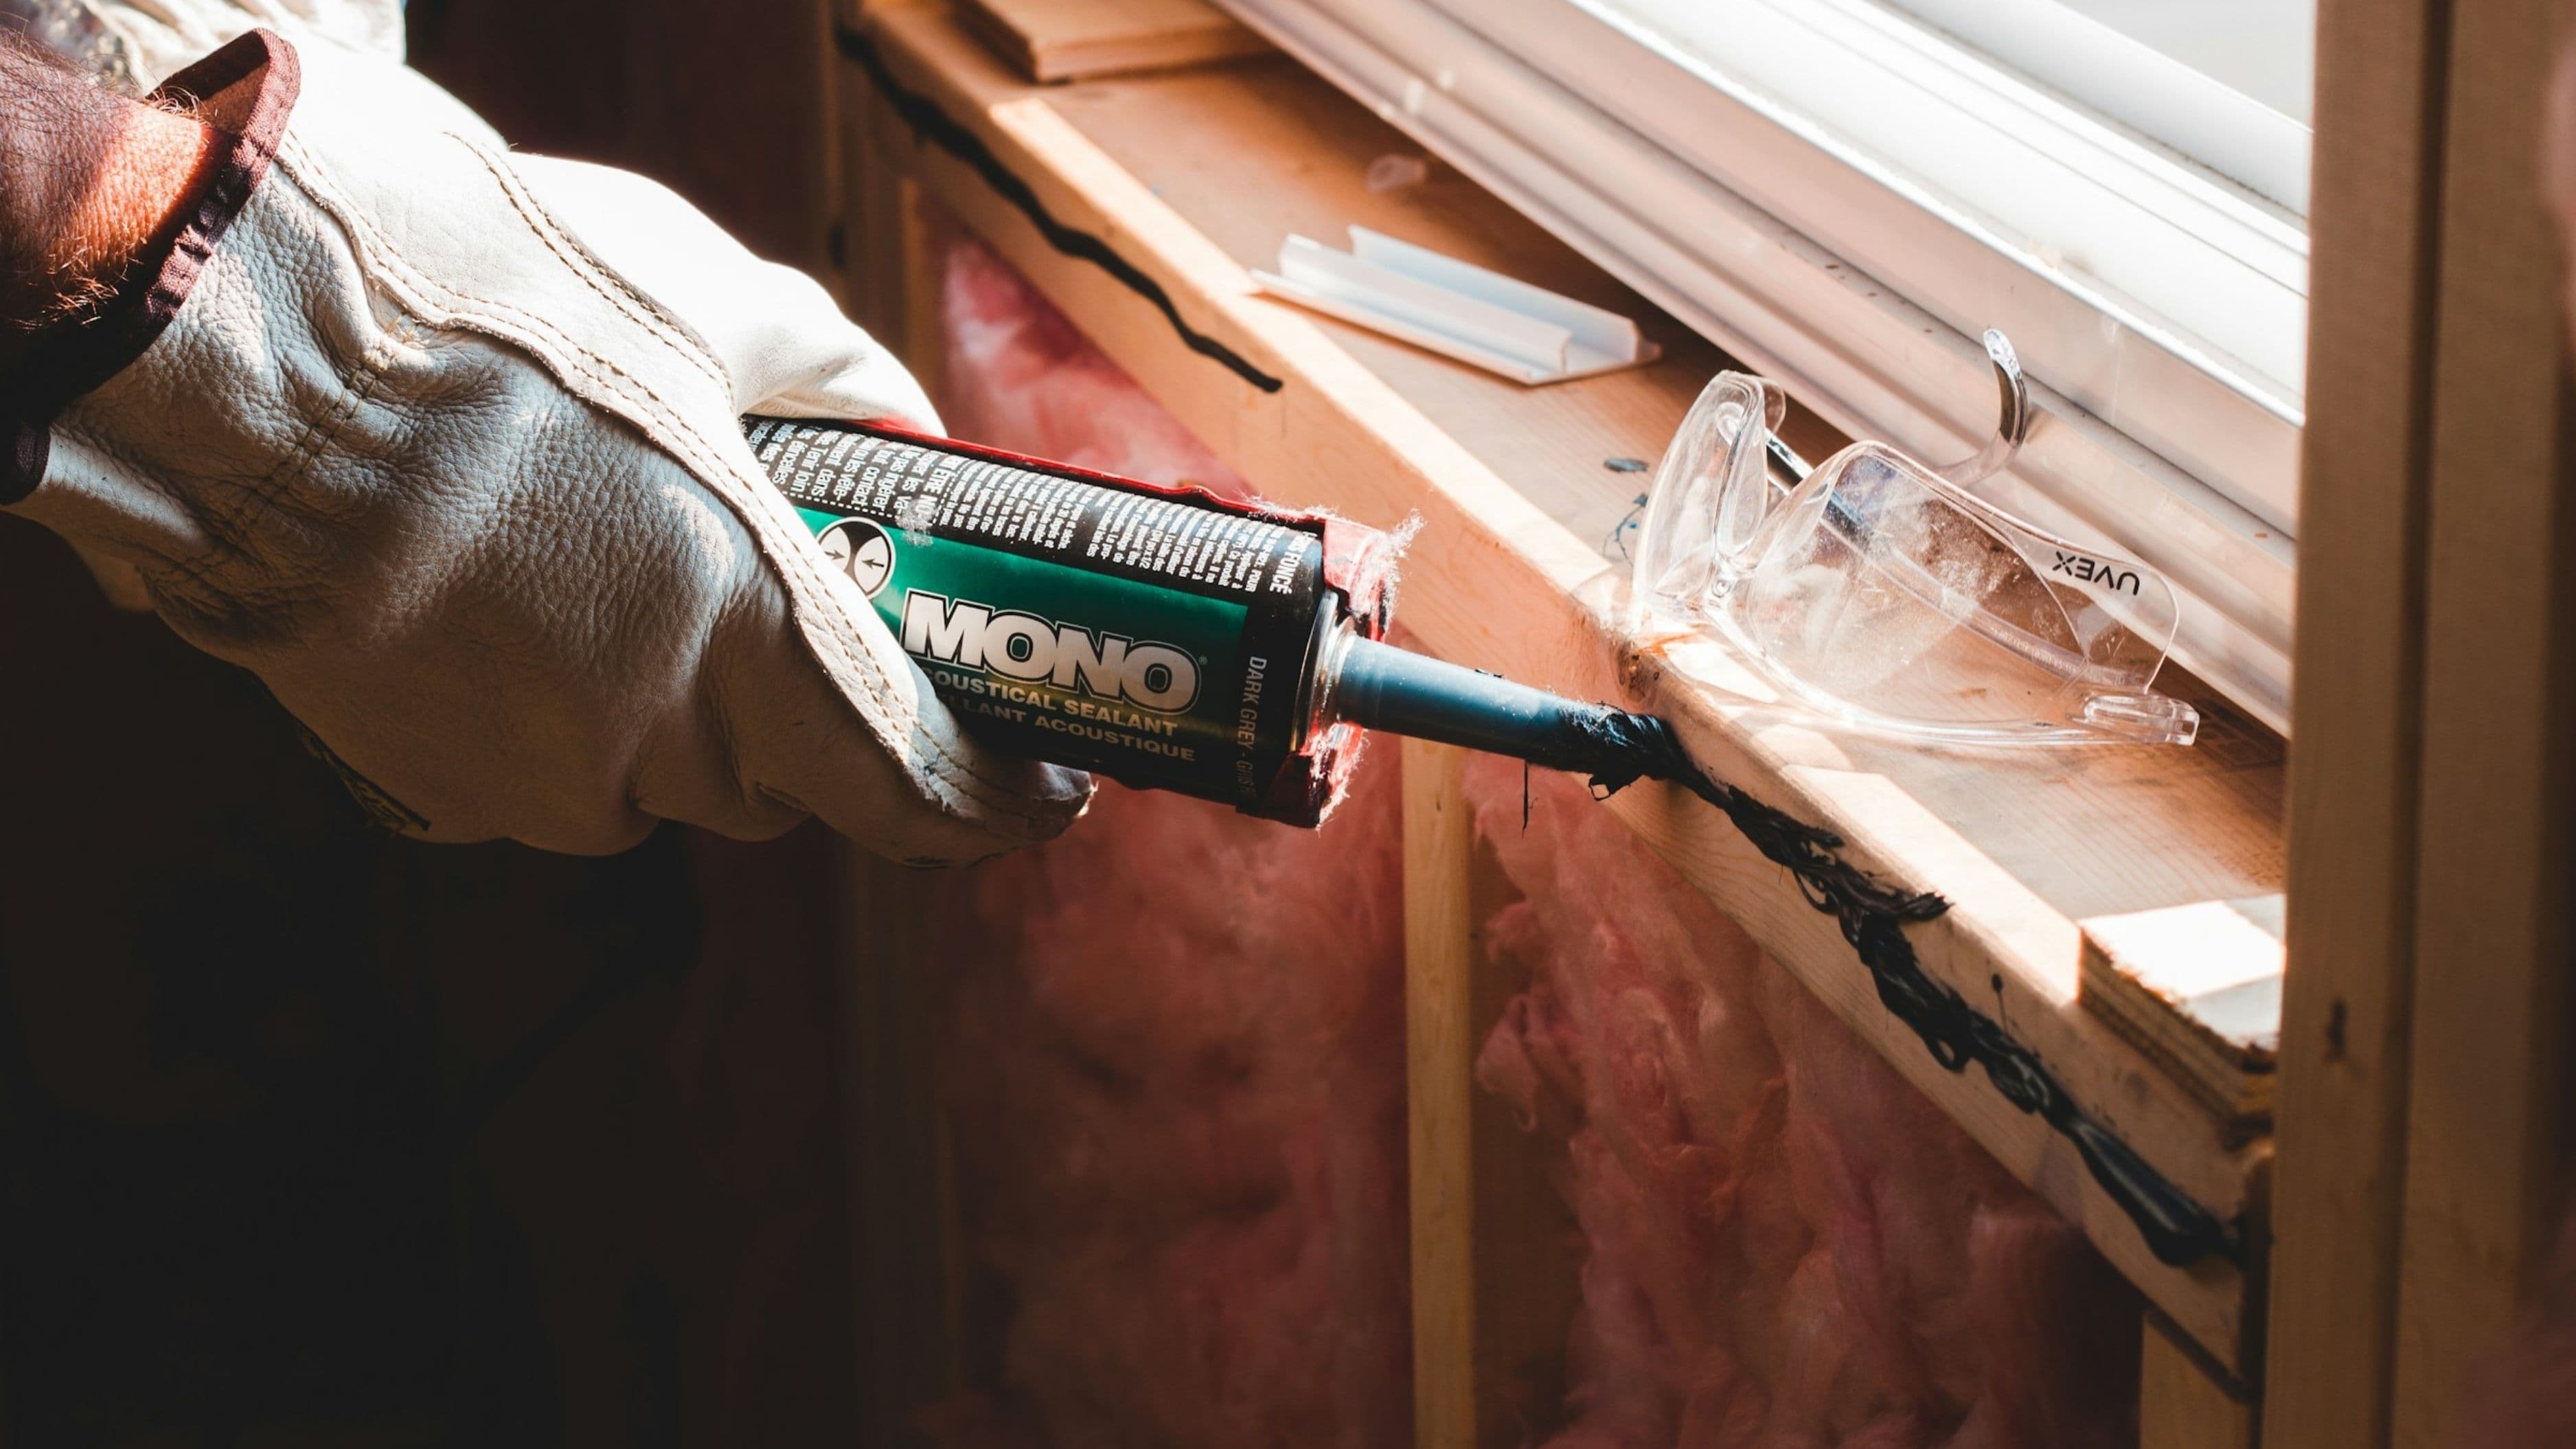
Step 5: Apply the Self-Leveling Sealant
Self-leveling polyurethane sealant is the right product for horizontal concrete joints. Unlike standard caulk, self-leveling sealant flows into the joint and levels itself flat without tooling. It bonds to concrete, remains flexible through thermal cycles (which is the whole point of the expansion joint), and is durable under vehicle traffic once cured. Do not use standard silicone caulk for this application – it doesn't bond reliably to concrete and won't hold up under wheel loads.
Cut the tip of the sealant tube at a 45-degree angle to create an opening slightly smaller than the joint width. Load it into your caulk gun and apply at a steady pace, keeping the tip just below the surface and moving smoothly along the joint. The sealant will self-level, but try to apply it evenly to avoid large bubbles or low spots. Fill to just slightly above the concrete surface – it will settle as it levels.
For long joints or large volumes of sealant, work in sections of 5–8 feet at a time so you can address any issues before the product starts to skin over.
If you see bubbles forming as the sealant settles, they'll usually self-resolve within a few minutes. If a bubble persists, pop it gently with a toothpick or the tip of your utility knife and smooth lightly with a gloved finger.
Step 6: Remove the Tape and Allow to Cure
Pull the painter's tape while the sealant is still wet – don't wait for it to skin over or the tape will pull the sealant with it. Pull at a low angle (almost parallel to the surface) slowly and steadily for the cleanest edge.
Any sealant that got onto the concrete surface can be cleaned up immediately with a rag and a small amount of mineral spirits before it cures. Once cured, polyurethane sealant is significantly harder to remove, so catch it while it's fresh.
Self-leveling polyurethane sealant typically skins over within 1–2 hours and is pedestrian traffic-ready within 8 hours. Full cure for vehicle traffic is typically 24–48 hours – check the product data sheet for your specific sealant. Keep vehicles off the treated joints for the full cure time, and keep the area dry during that window.
Safety Notes
Polyurethane sealant contains isocyanate compounds that can irritate skin and respiratory passages. Work in a well-ventilated area, wear nitrile gloves throughout, and avoid prolonged skin contact. If you're working in an enclosed garage or covered area, open doors and windows for airflow. Solvent-based concrete cleaners also require ventilation – read the product label and follow the manufacturer's guidance.
If you're using a pressure washer for cleaning, keep the wand moving and maintain appropriate distance to avoid etching the concrete surface or blowing out the joint edges.
Common Mistakes to Avoid
Skipping the prep work is by far the most common reason DIY joint repairs fail within a year. Sealant applied over dusty, dirty, or damp concrete won't bond properly and will peel out. The prep – cleaning, drying, and deburring the joint edges – is what makes the repair durable.
Using the wrong sealant is the second major mistake. Silicone caulk, latex caulk, and regular masonry caulk are not appropriate for horizontal expansion joints that carry vehicle loads. Self-leveling polyurethane is the correct product. It costs a few dollars more per tube but is not interchangeable with general-purpose caulks.
Overfilling the joint is another common error. The goal is to fill flush with or very slightly below the concrete surface – not to create a raised bead that protrudes above it. A raised sealant bead gets sheared by vehicle tires over time and fails significantly faster than a flush or slightly recessed fill.
Forgetting to use backer rod in deep joints wastes material and can create a joint that's too thick in cross-section, which affects flexibility. Sealant performs best at a width-to-depth ratio of approximately 2:1 – meaning a 1/2-inch-wide joint should have sealant about 1/4 inch deep. Backer rod creates that geometry automatically.
When to Call a Professional
If your "expansion joints" are actually structural cracks that have formed in the slab itself – irregular in width, running diagonally, or showing vertical displacement where one side is higher than the other – this repair guide doesn't apply. Structural slab cracks, especially those accompanied by heaving or settlement, indicate a substrate problem that surface repair won't fix. A concrete contractor should assess the cause before you do any remedial work.
Similarly, if the concrete slab has significant spalling (surface flaking and deterioration) around the joint edges, or if slabs are rocking visibly when driven over, the problem is beyond sealant maintenance and warrants a professional evaluation.
FAQ
How often do expansion joint sealants need to be replaced? Quality polyurethane joint sealant in a residential driveway typically lasts 5–10 years depending on climate, traffic loads, and UV exposure. Driveways in climates with significant freeze-thaw cycling will see faster deterioration than those in mild climates. Inspect the joints annually and plan to reseal when you see the sealant cracking, pulling away from the joint edges, or shrinking below the surface.
Can I use asphalt crack filler in concrete expansion joints? No – asphalt-based fillers are not compatible with concrete as a bonding substrate and will fail quickly. They're also not designed for the thermal movement that expansion joints accommodate. Use self-leveling polyurethane sealant formulated for concrete.
My joints are filled with the original fiber board material and it's still intact. Do I need to remove it? If the original fiber board filler is firm and sitting close to the surface, you don't necessarily need to remove it. Clean the joint thoroughly, let it dry, and apply a backer rod and sealant layer over the existing material. The sealant bonds to the concrete edges and creates the waterproof seal – the fiber board substrate is fine to leave in place.
The joint is very wide – more than an inch. Can I still DIY this? Joints wider than 1 inch can be sealed with the same materials, but you'll need wider backer rod and more sealant volume. For joints approaching 2 inches or wider, consider consulting a concrete contractor – very wide joint movement can indicate slab settlement or other issues worth assessing before sealing.
Is one tube of sealant enough for a typical driveway? A standard 29-ounce tube covers approximately 10–15 linear feet of a 1/2-inch joint at proper depth. Measure your total joint length and calculate accordingly, then buy one extra tube to have on hand. Running short mid-job and having to wait for another trip to the hardware store is a common frustration that's easy to avoid.
📚 Sources
Portland Cement Association – Concrete Driveways: Design and Construction: https://www.cement.org/learn/concrete-technology/concrete-construction/driveways
Federal Highway Administration – Joint Sealing for Concrete Pavements: https://www.fhwa.dot.gov/pavement/concrete/pubs/hif17010.pdf
Sika Corporation – Sikaflex Self-Leveling Sealant Product Data Sheet: https://usa.sika.com/en/construction/sealants/concrete-sealants/sikaflex-1a.html
This Old House – How to Seal Concrete Expansion Joints: https://www.thisoldhouse.com/concrete/21017281/how-to-seal-concrete-expansion-joints
University of Minnesota Extension – Concrete Maintenance for Homeowners: https://extension.umn.edu/yard-and-garden-news/concrete-maintenance
🔍 Explore Related Topics