This guide walks you through a systematic approach to detecting hidden leaks – from a quick water meter test you can do in ten minutes to room-by-room checks that cover the most common problem spots in any home.
What You'll Need
You don't need any special tools to find most household leaks. A few basic items will cover you for every check in this guide:
Flashlight
Paper towels or dry tissue paper
Pencil or painter's tape (for marking meter readings)
Food coloring (for toilet leak test)
Moisture meter (optional but useful – runs $20–40 at most hardware stores)
A moisture meter is worth having if you suspect a leak inside a wall or under a floor. It reads moisture content through drywall, wood, or tile without you having to cut anything open, and it can quickly confirm whether an area is actually wet or just stained from an old issue that's already dried.
Step 1: Start With the Water Meter Test
Before you inspect anything inside the house, go straight to your water meter. This single test tells you whether you have an active leak somewhere in your home's plumbing – before you've even figured out where to look.
Find your water meter (usually near the street in a covered box, or on the side of the house in some regions). Write down the exact reading – every digit including the low-flow indicator, which is typically a small dial or triangle that spins when even a tiny amount of water is moving through the meter. Now go inside and make sure every water source is completely off: no running dishwashers, no ice makers cycling, no irrigation systems, no one using the bathroom. Leave everything off for at least 30 minutes, then go back and check the meter.
If the low-flow indicator has moved, or if the overall reading has changed even slightly, you have an active leak somewhere. This test doesn't tell you where the leak is, but it confirms one exists and gives you a reason to keep investigating. If the meter hasn't moved at all, you likely don't have an active supply line leak – though you could still have drain line issues or intermittent leaks that only appear under certain conditions.
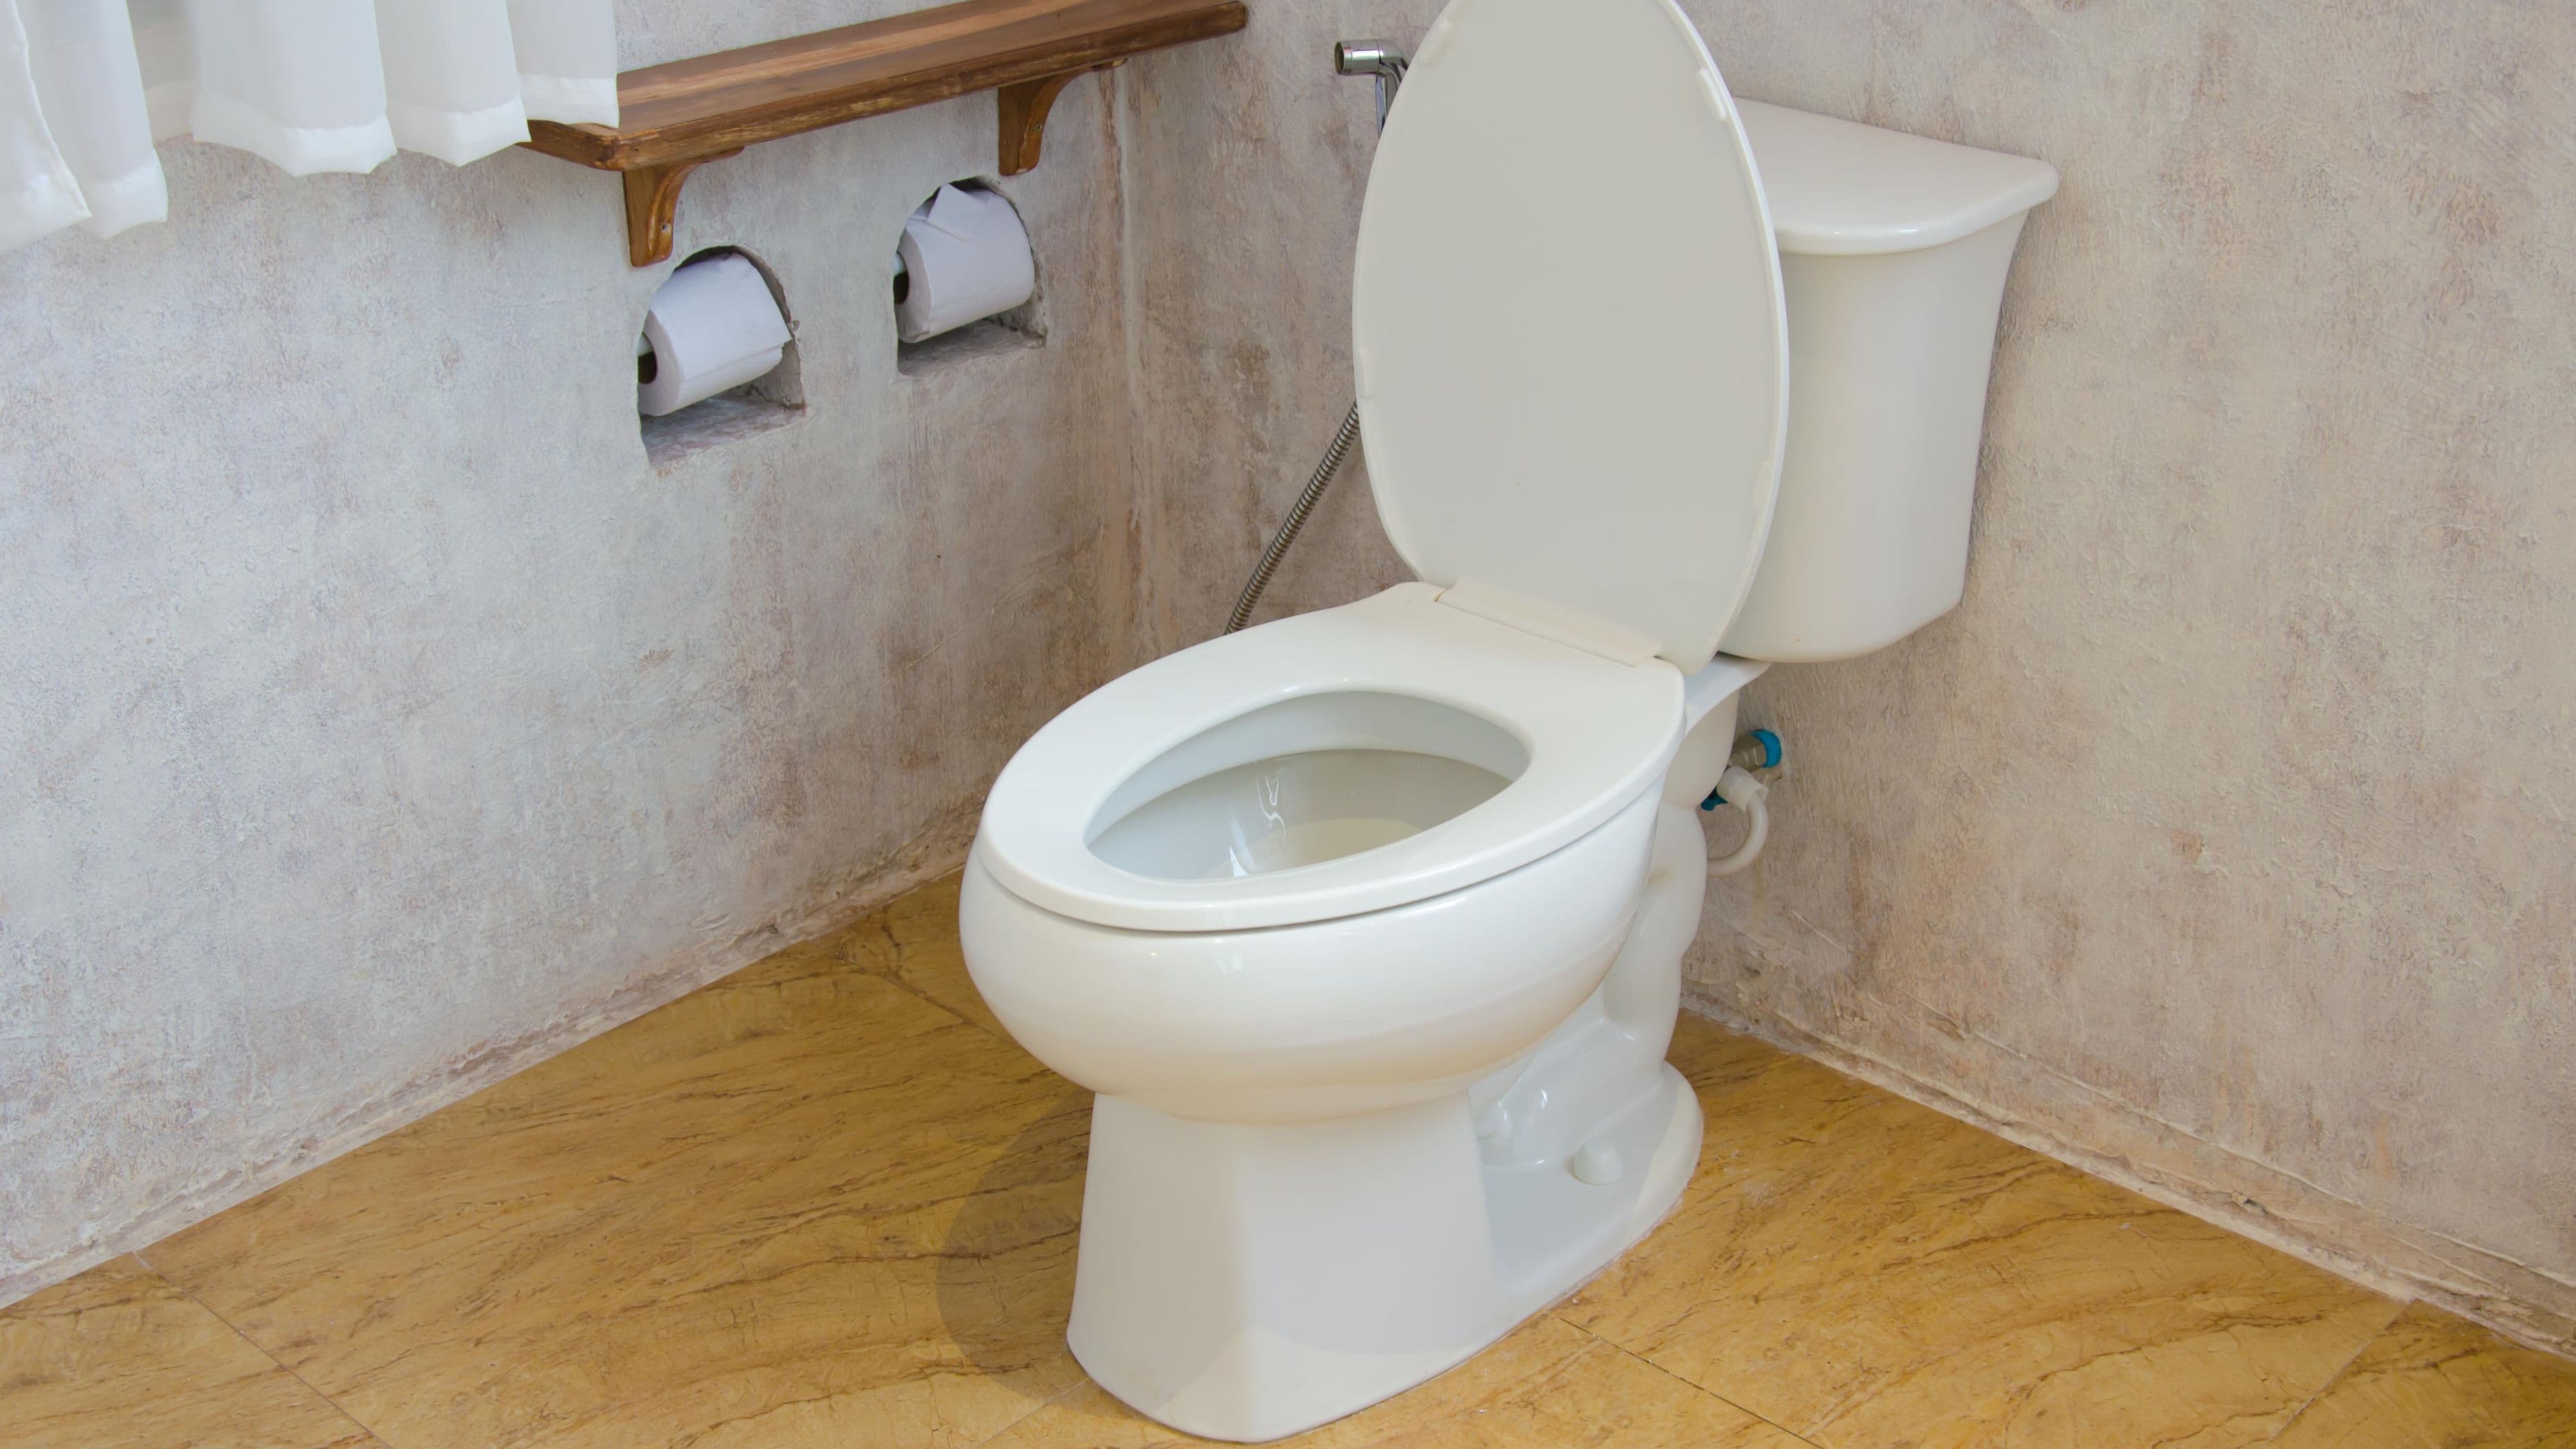
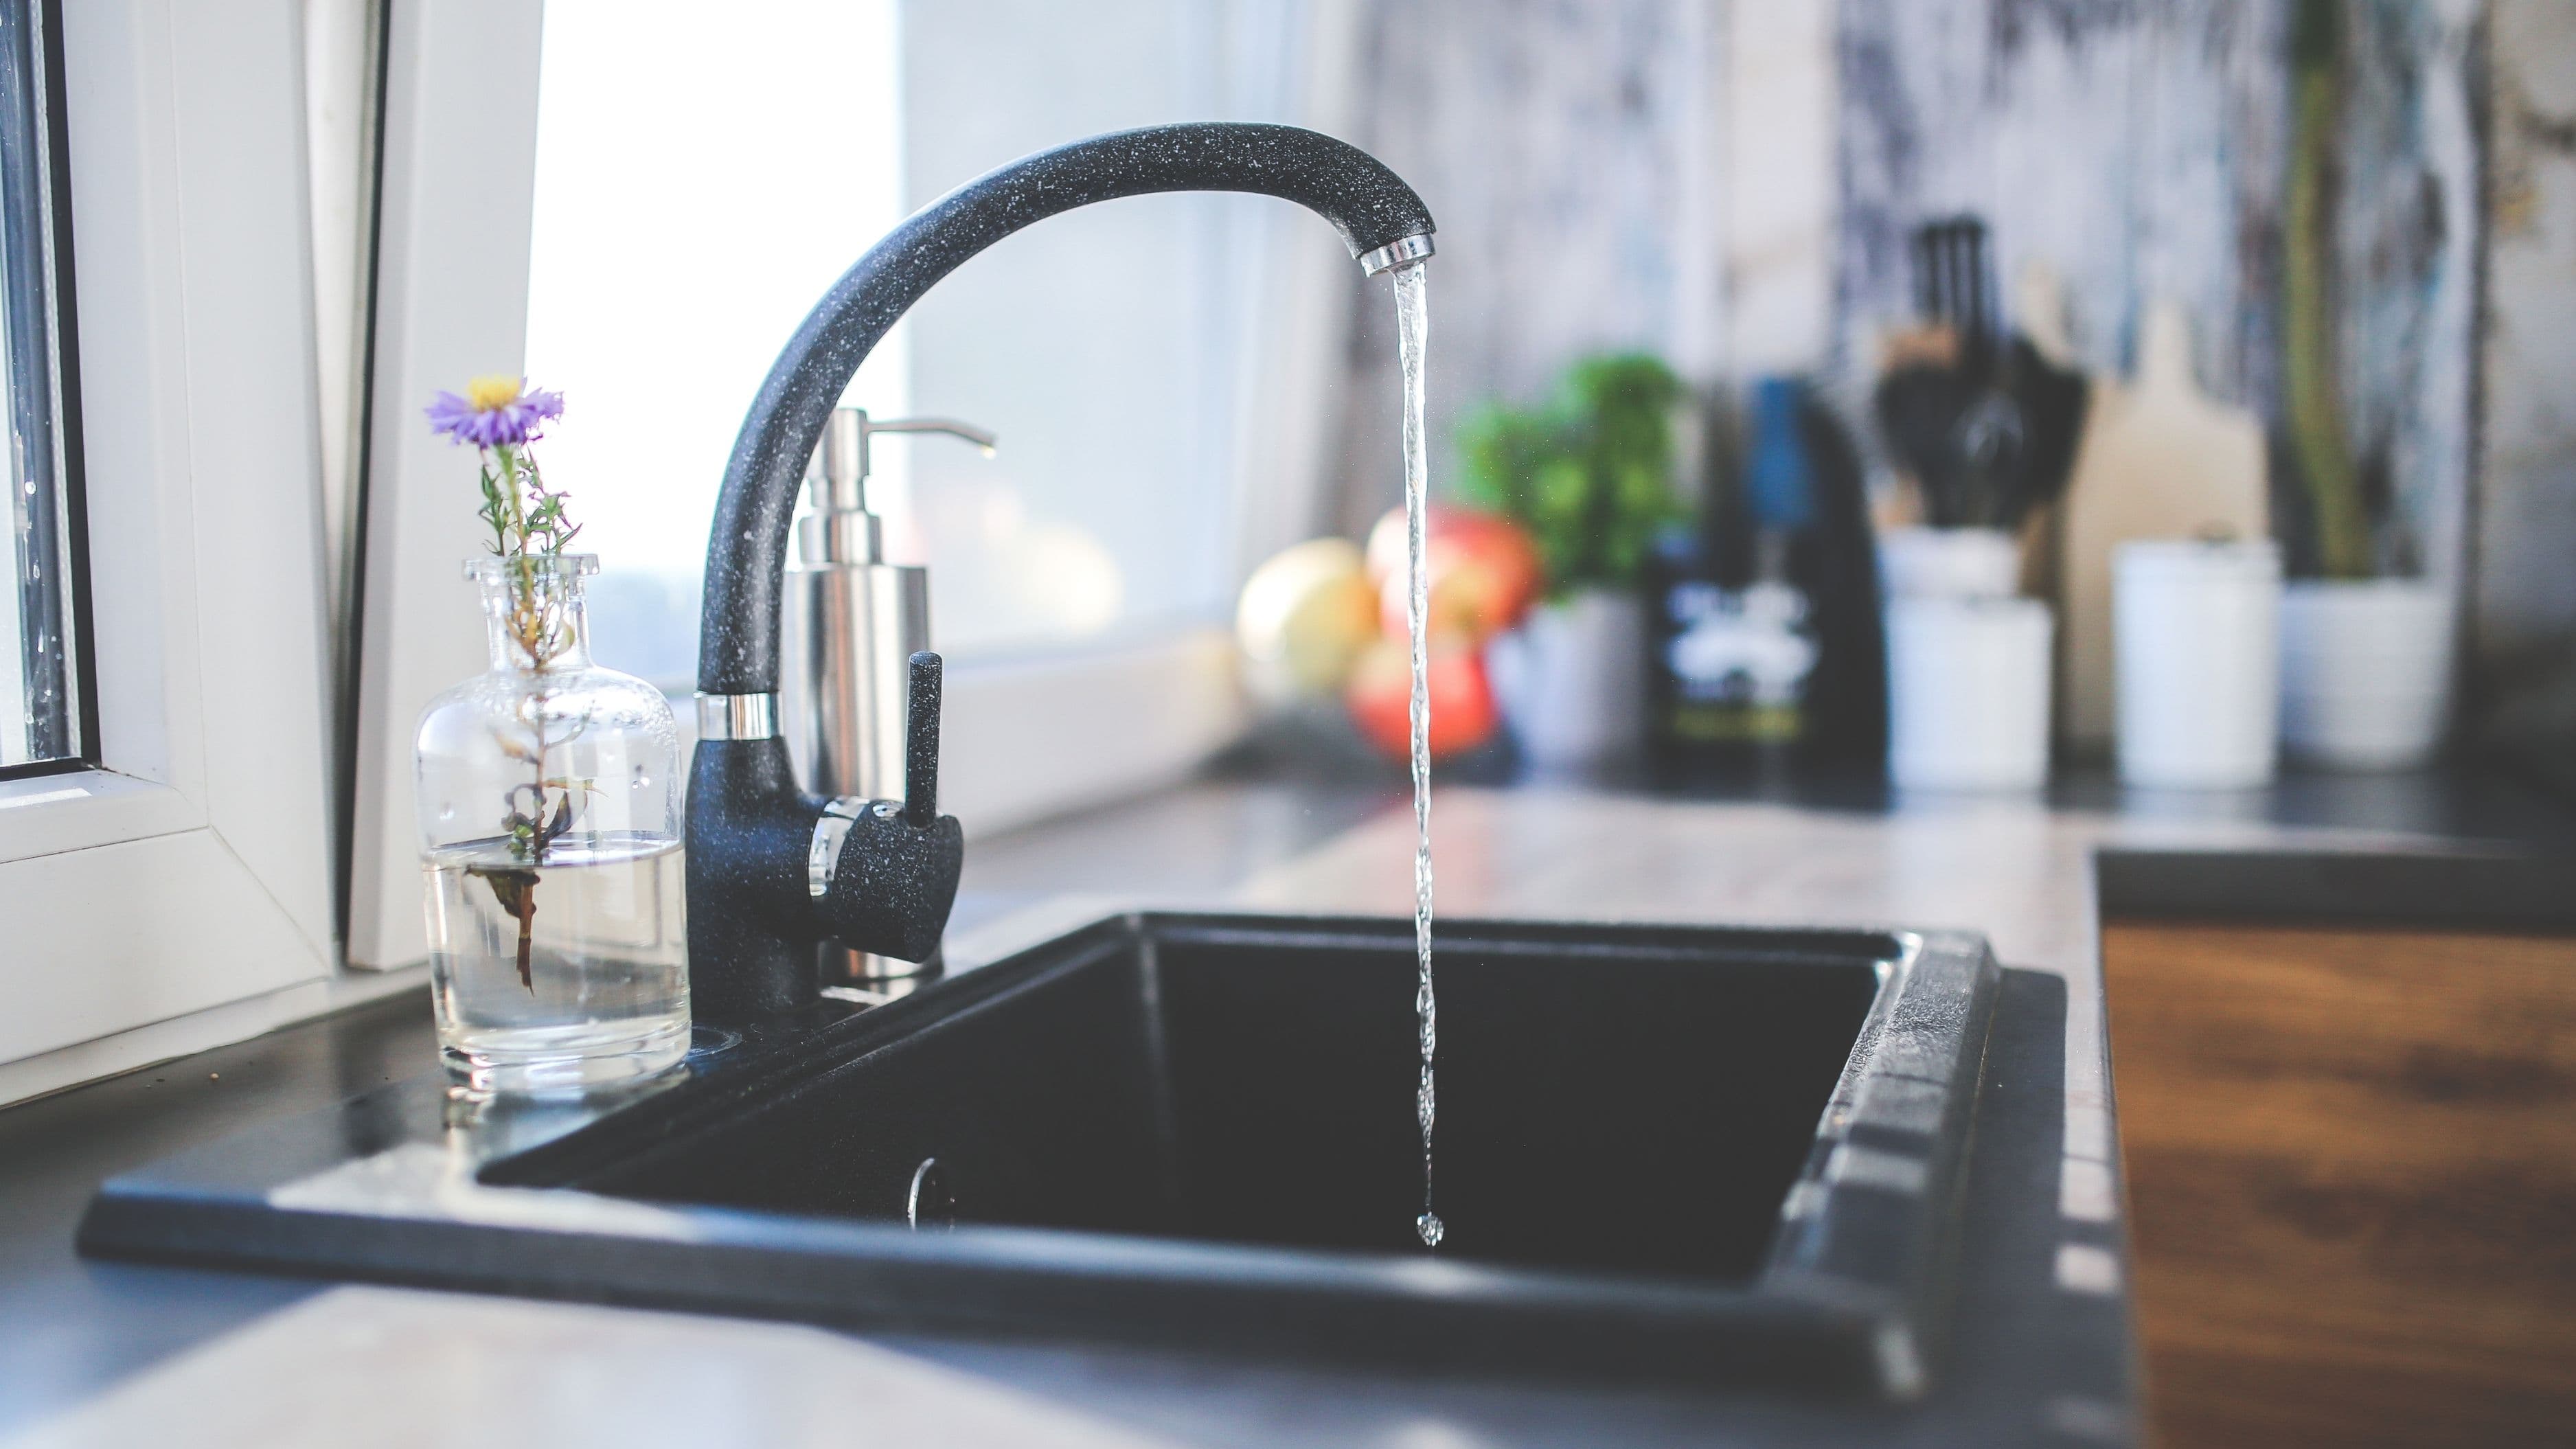
Step 2: Check Every Toilet in the House
Toilets account for a surprisingly large share of hidden household water loss. A flapper valve that doesn't seal properly can waste 200 gallons of water a day while making no visible puddle and no sound you'd notice over background noise. The fix is usually a $5 flapper replacement, but first you need to know the leak is there.
The easiest test requires nothing but food coloring or a dye tablet (hardware stores sell these for exactly this purpose). Lift the tank lid, add 8–10 drops of food coloring, and wait 15 minutes without flushing. Then look in the bowl. If you see color in the bowl water without having flushed, the flapper is leaking and water is silently draining from the tank into the bowl and down the drain. Do this test for every toilet in the house – a leaky flapper is just as likely in a guest bathroom that's rarely used as in the main one.
While you have the tank lid off, also look for visible water dripping or running down the outside of the tank onto the floor. A toilet that's sweating heavily due to condensation can mimic a leak to the untrained eye, but actual water on the floor around the base of the toilet – especially if it smells musty – usually means the wax ring seal has failed and needs replacement.
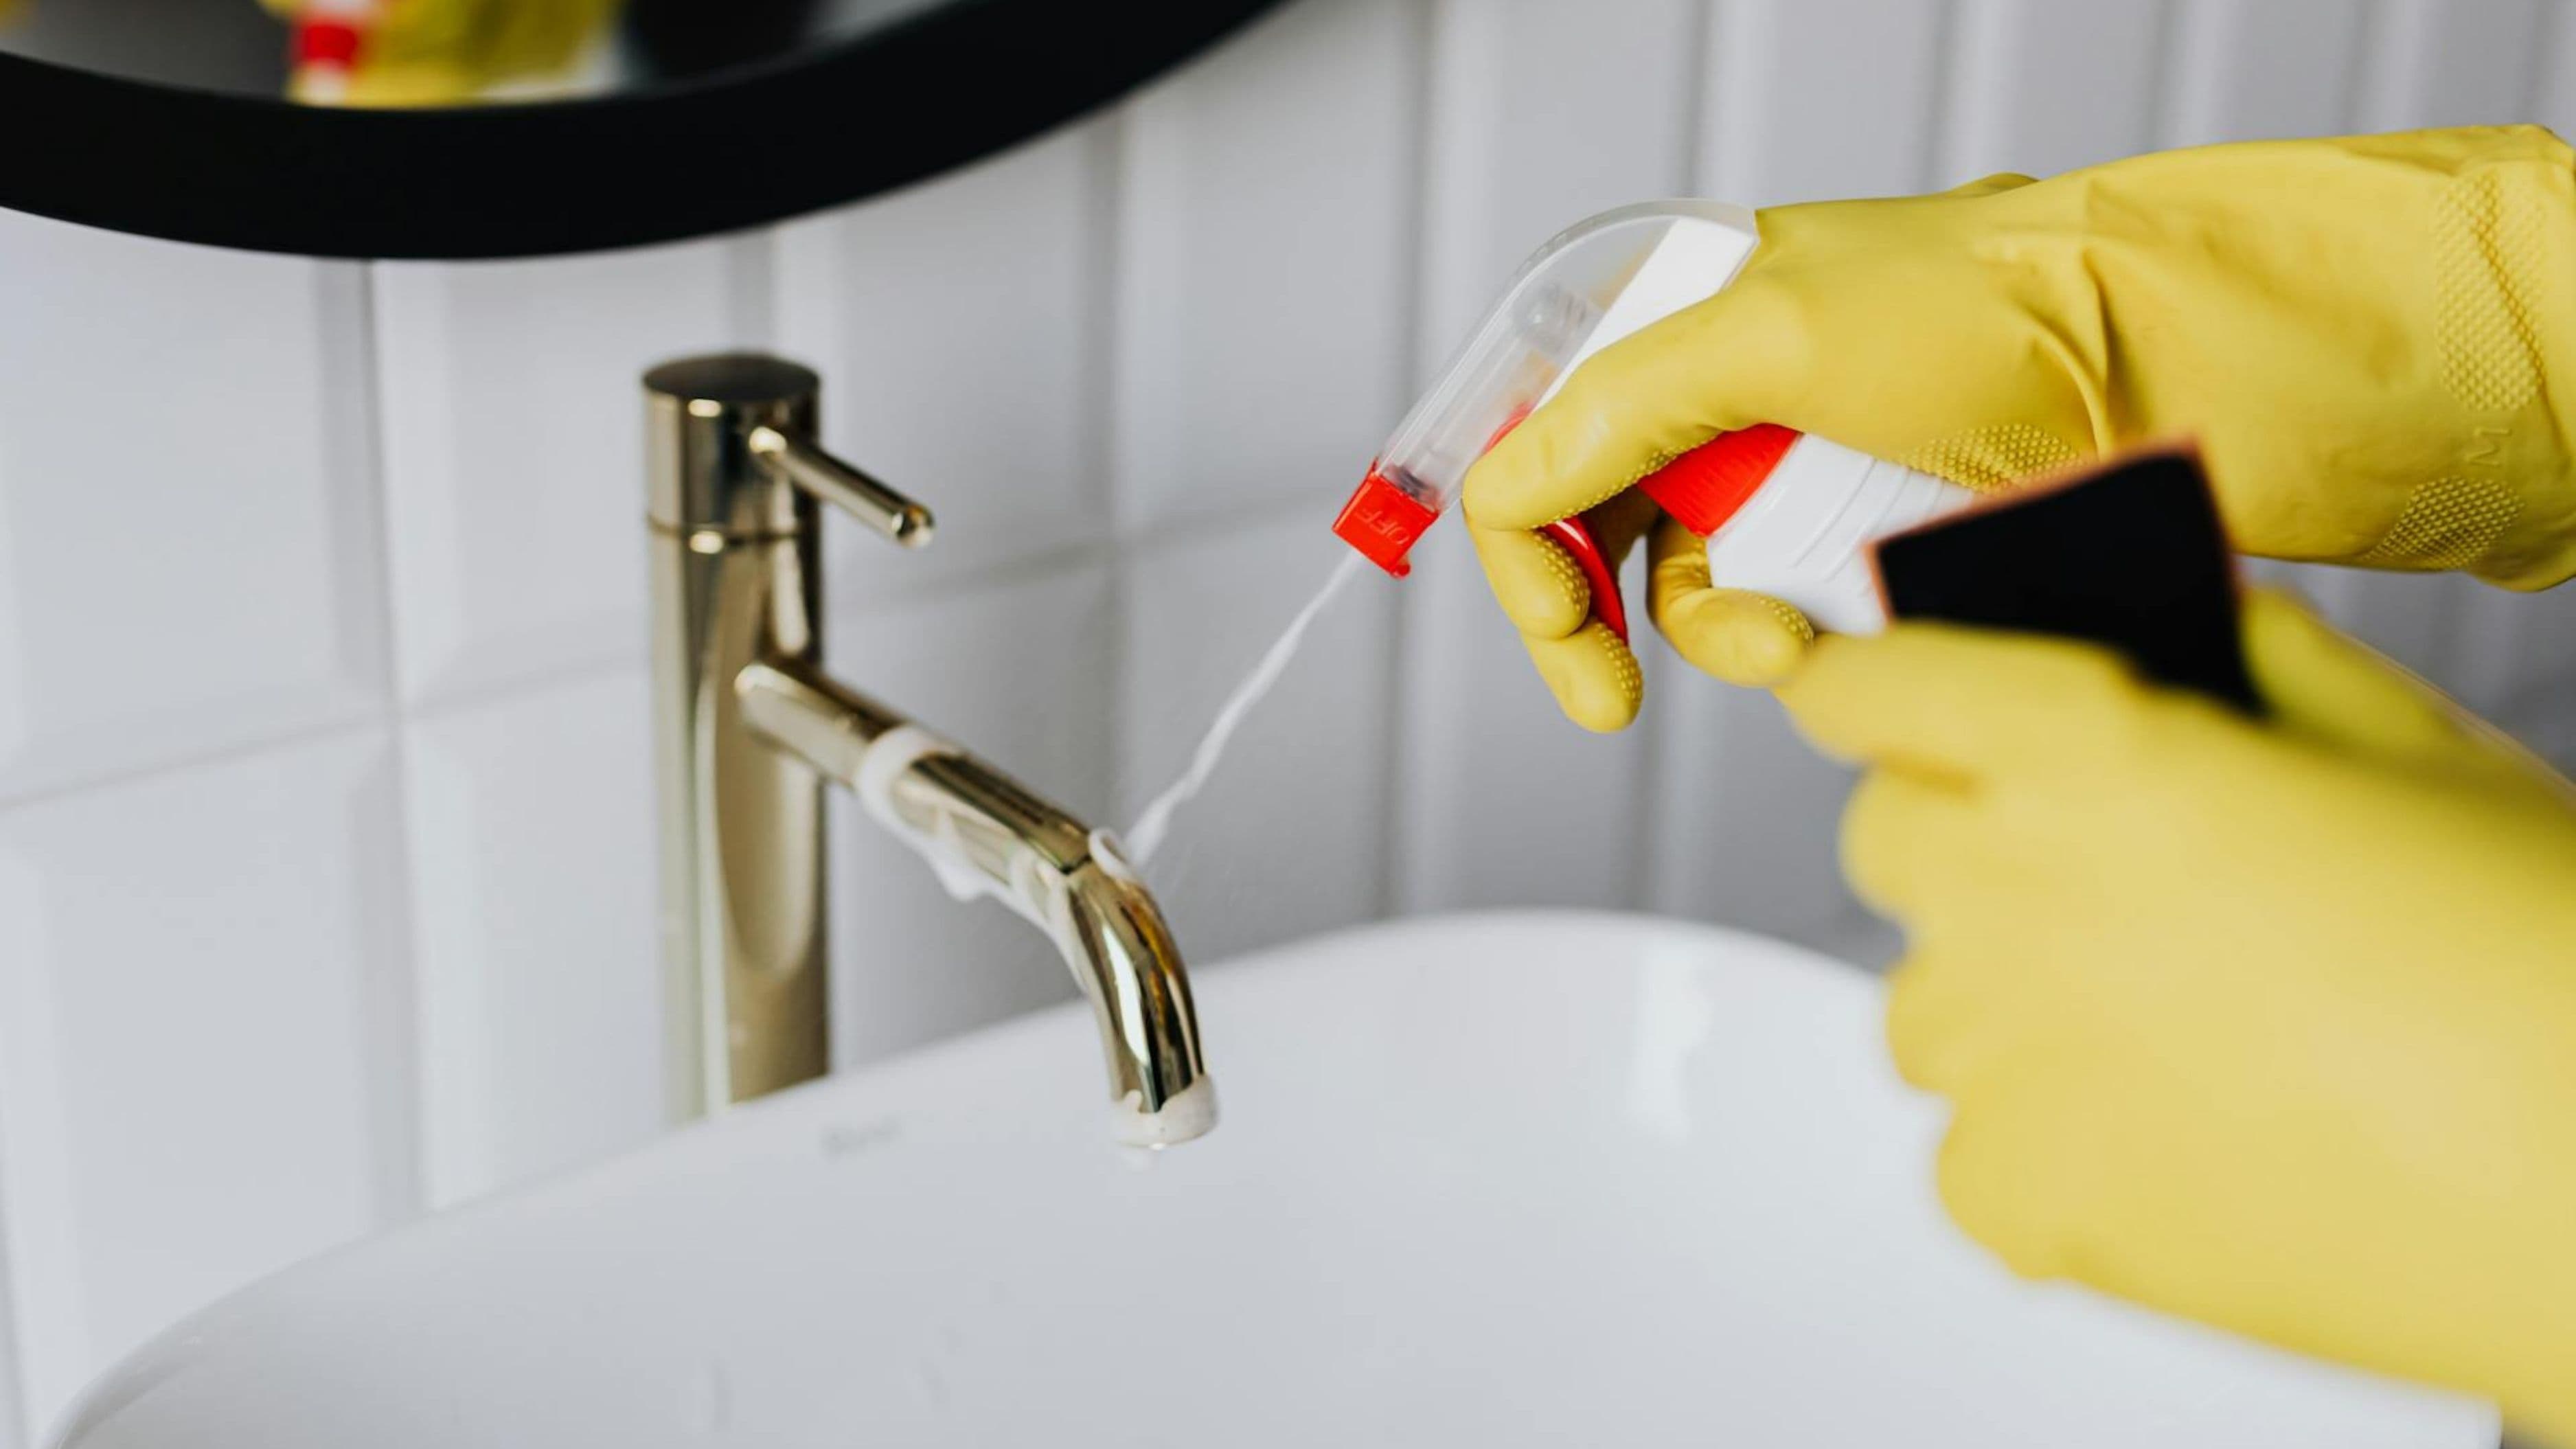
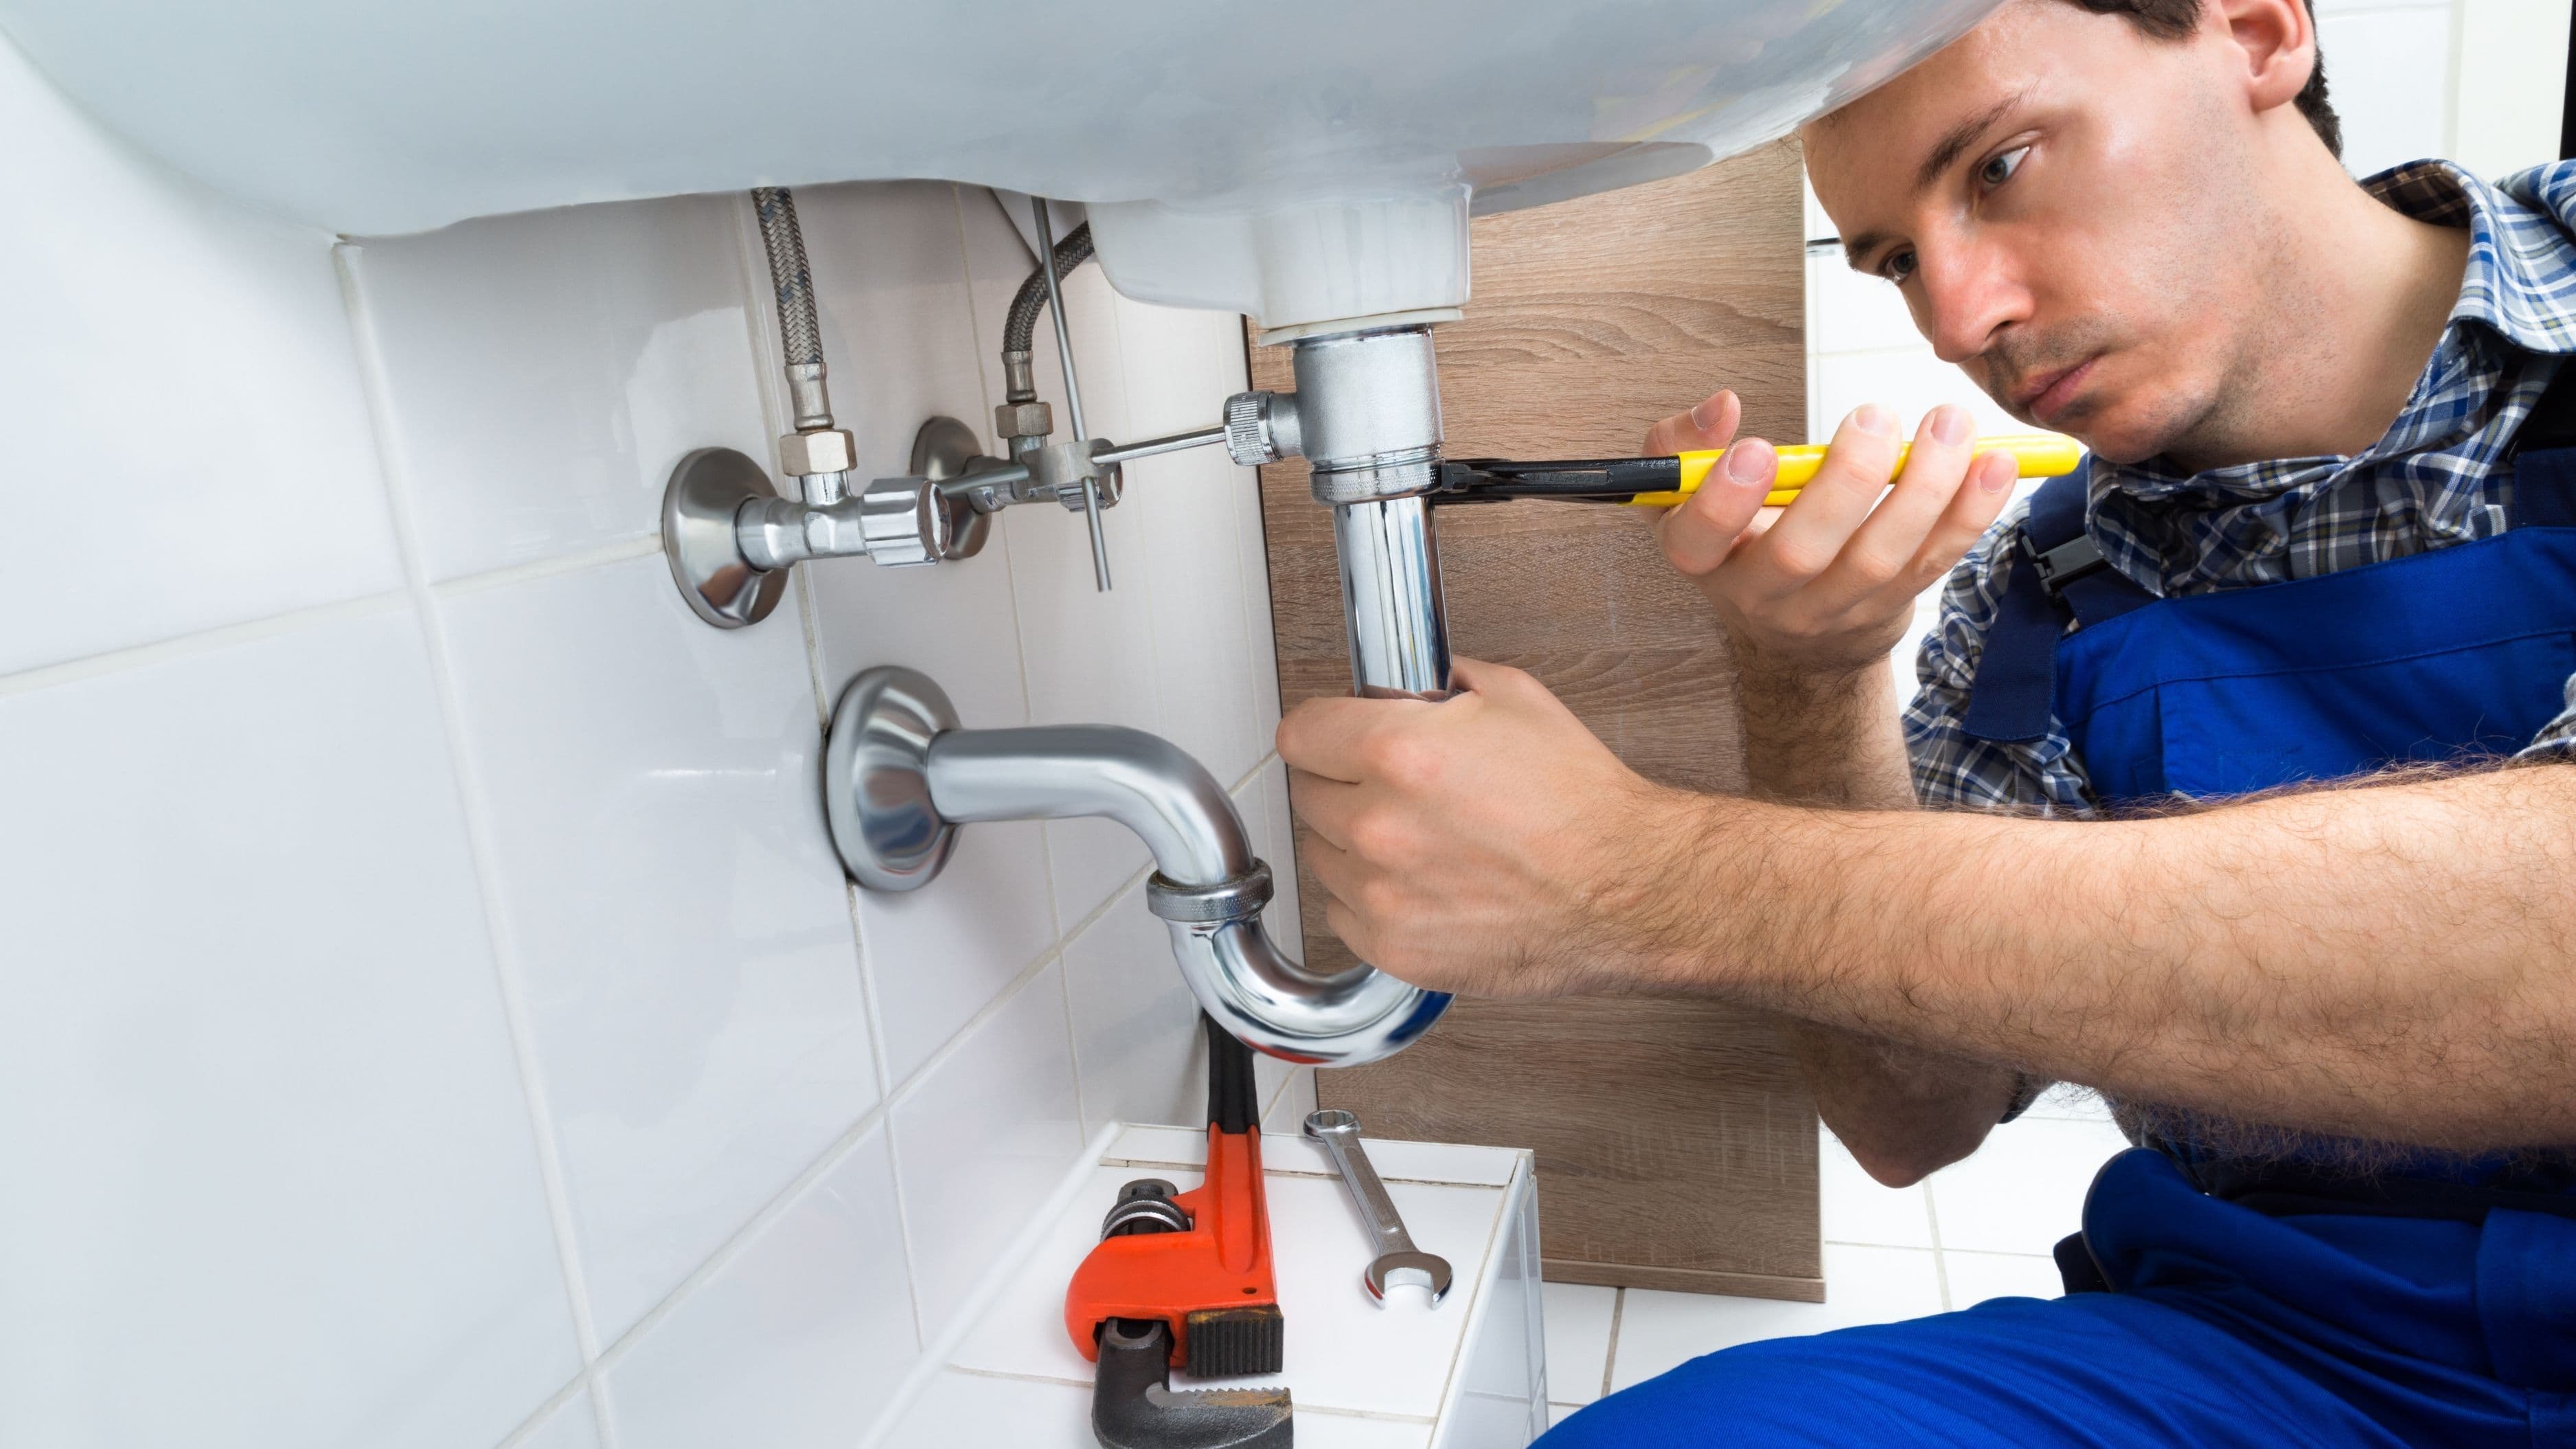
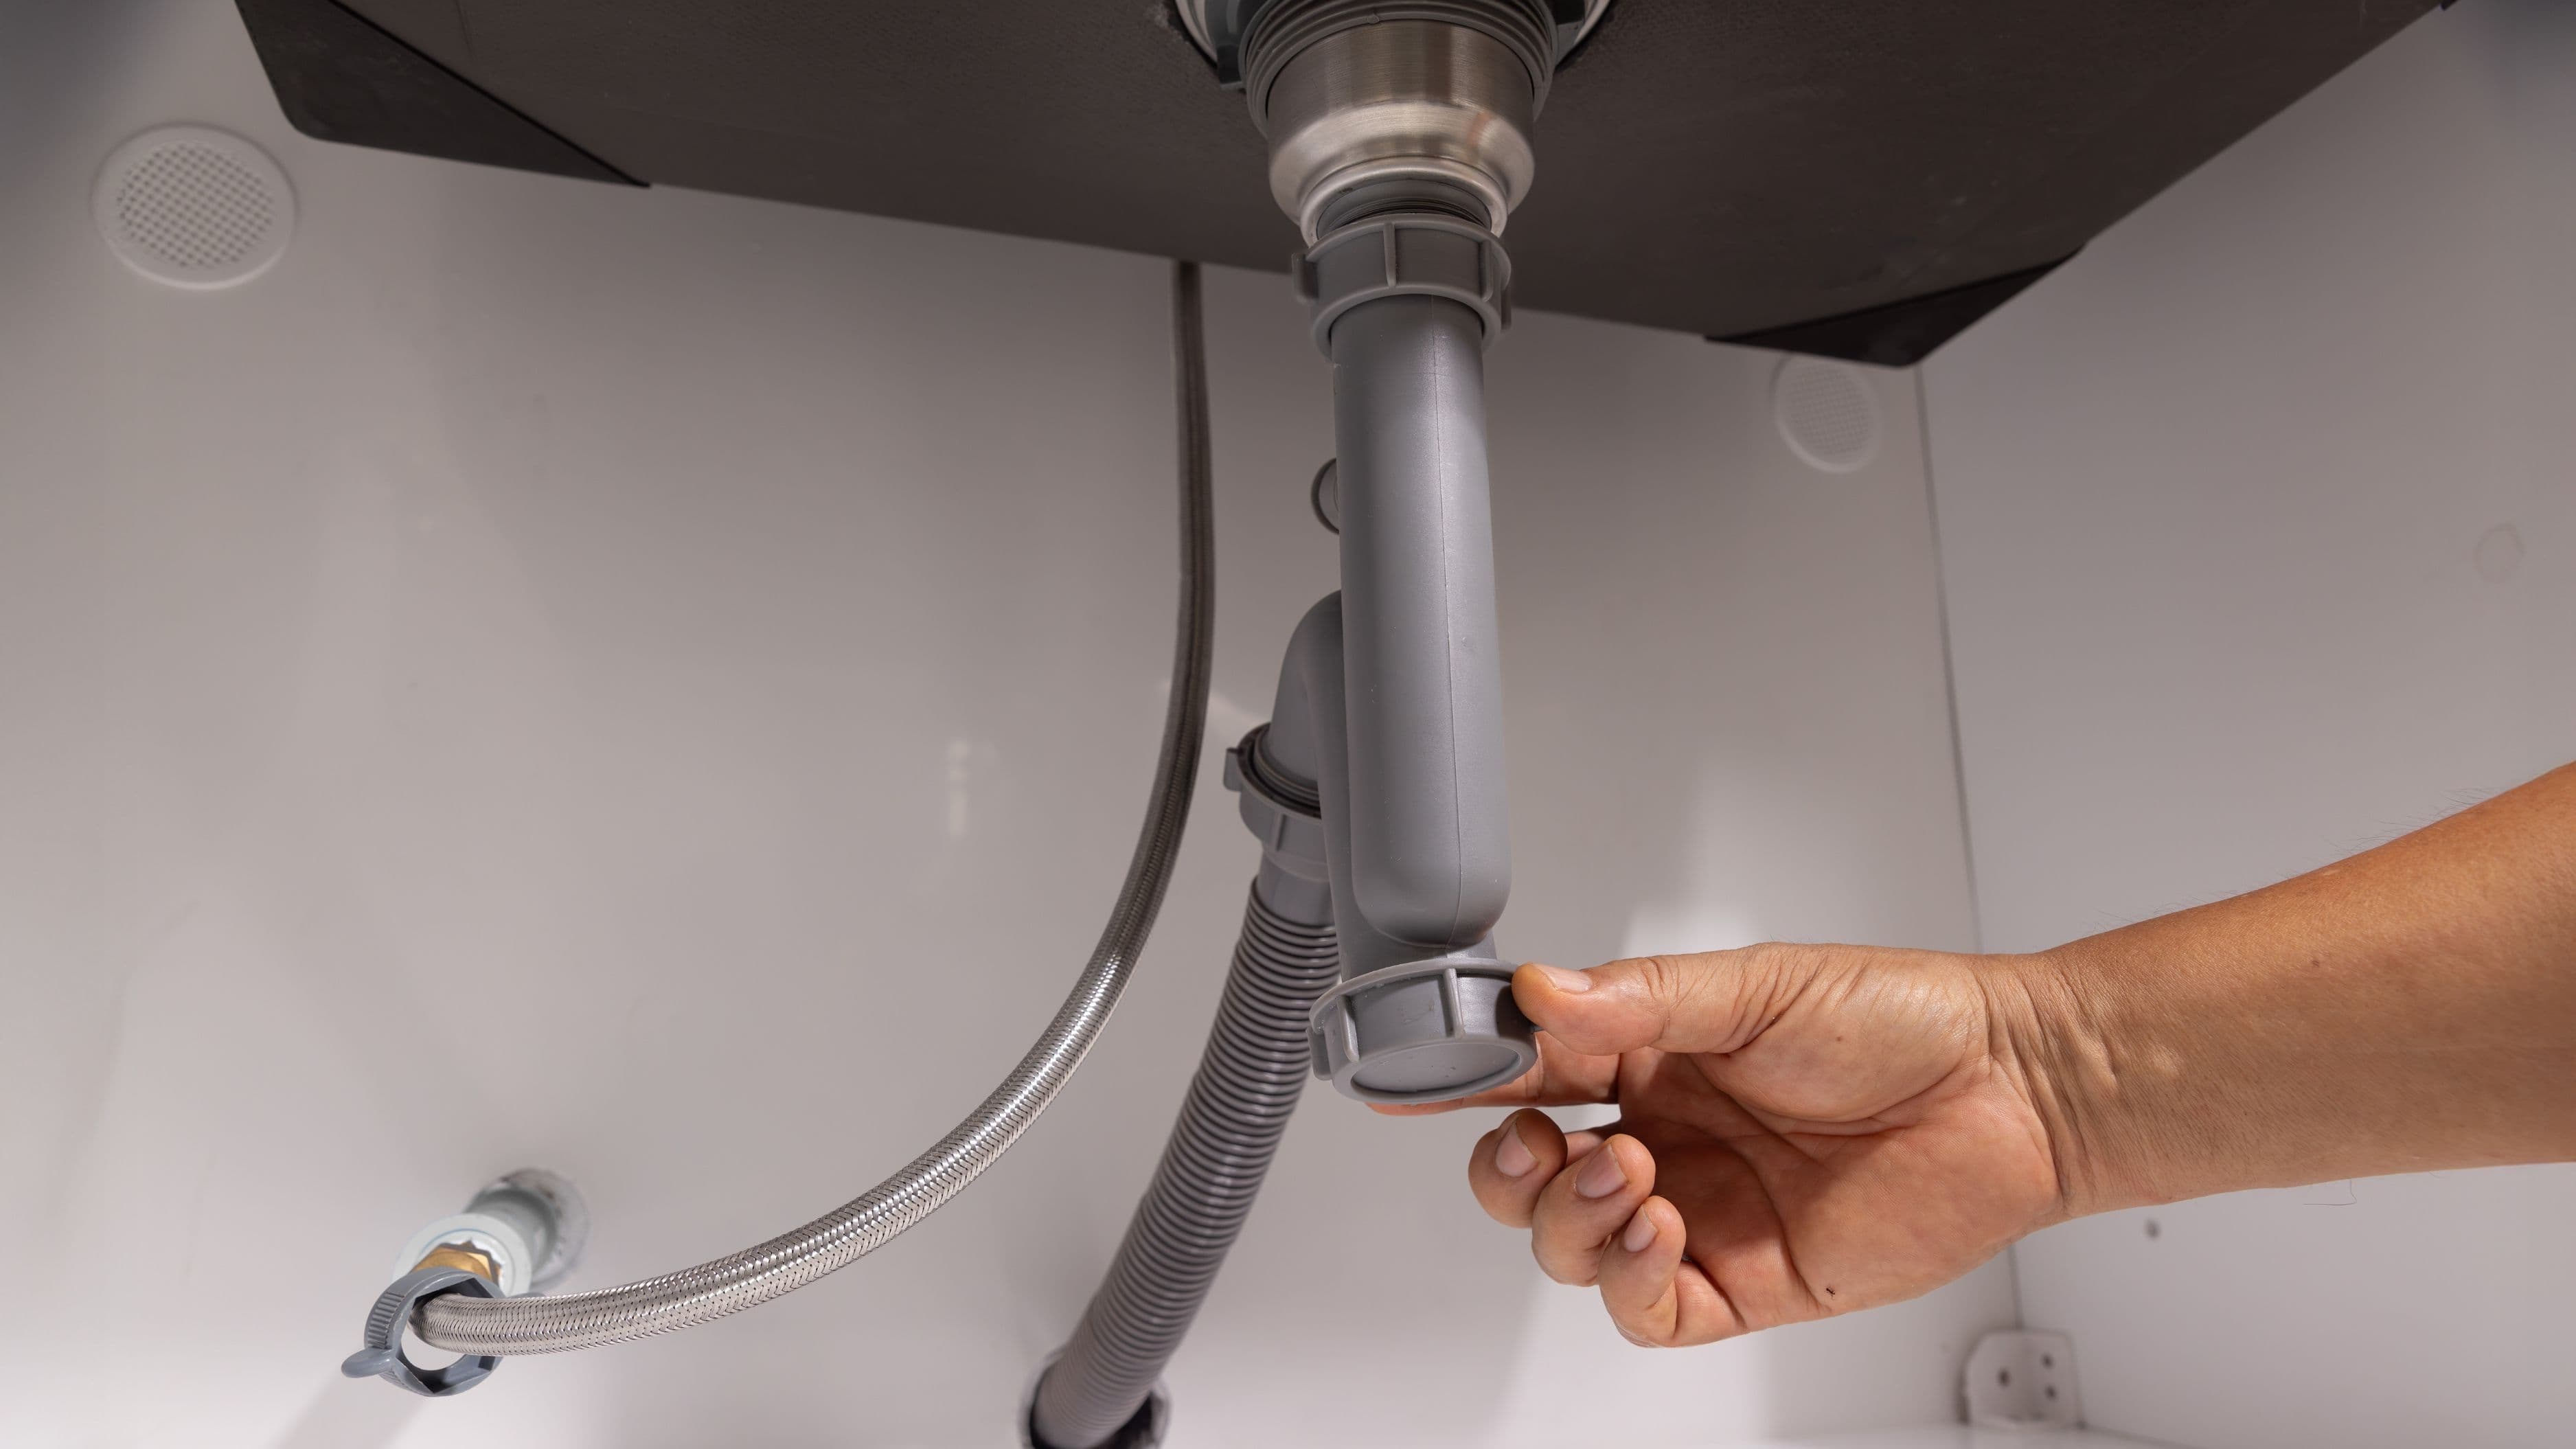
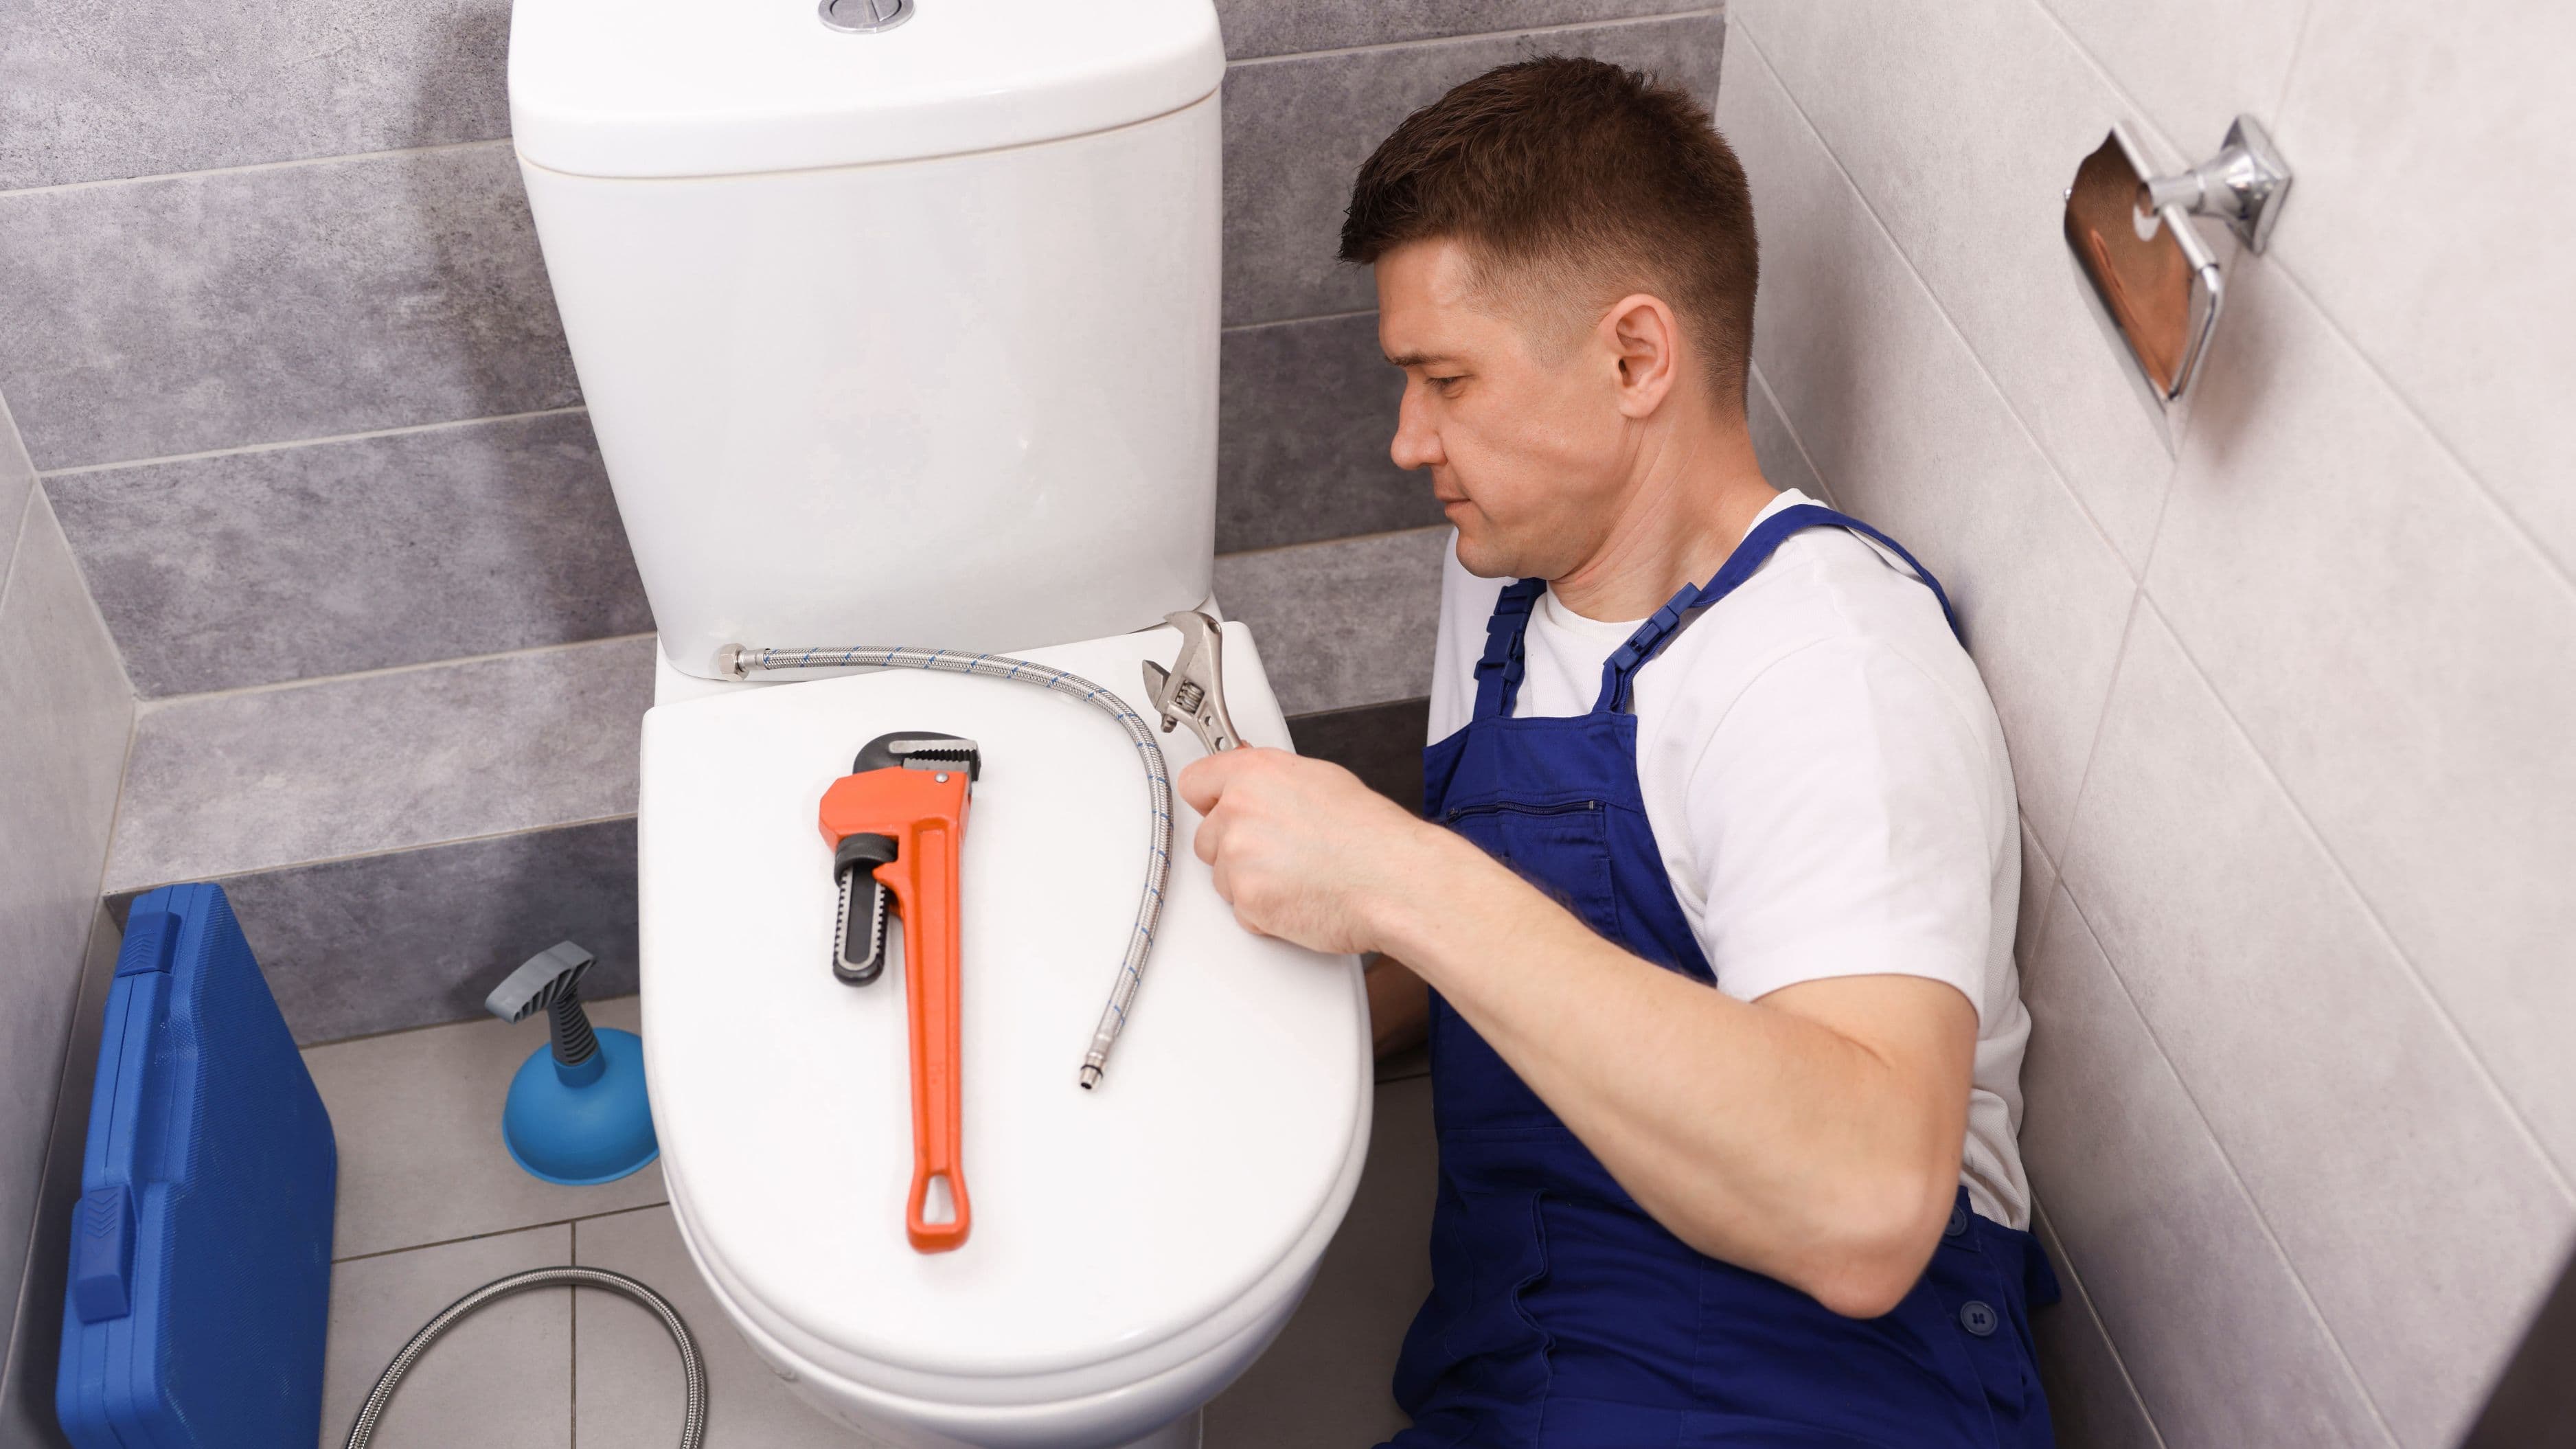
Step 3: Inspect Under Every Sink
Under-sink cabinets are where slow drip leaks hide most effectively. The confined, dark space means a slow drip from a supply line fitting or a drain pipe connection can go unnoticed for months, especially if the cabinet is packed with cleaning supplies.
Empty the cabinet completely and use your flashlight to inspect every connection: the hot and cold supply lines running up to the faucet, the P-trap and drain connections, and the shut-off valves. Look for any white mineral crust or greenish staining around fittings – both are signs of previous or ongoing moisture. Run your finger along the back of each fitting and around the drain connections. Even a very slow drip will leave a wet residue that your finger will pick up even if you can't see it by eye.
Run the faucet for a minute while you watch the drain connections – some drain leaks only appear when water is actively flowing. Dry the entire area with paper towels first so any new moisture is immediately visible. While you're in there, also check the cabinet floor and the back wall for any soft spots, warping, or discoloration in the wood – these indicate water has been sitting there long enough to do structural damage to the cabinet itself.
Step 4: Check the Water Heater
Water heaters are responsible for a significant number of hidden leak calls, and they often fail slowly rather than all at once. A small drip from a pressure relief valve or a corroded fitting at the top of the tank can run down the side and pool under the unit, hidden beneath it for months before you notice rust staining on the floor.
Look around the base of the water heater for any rust-colored staining, moisture, or white mineral deposits on the floor or on the tank itself. Check the connections at the top – both the cold water inlet and the hot water outlet – for any crusting or dripping. The temperature and pressure relief valve (the one with a lever and a pipe running down toward the floor) should be dry. If it's wet or dripping, it's either releasing pressure as designed because the water pressure in your home is too high, or it's failing and needs replacement. Either way, it warrants attention.
If your water heater is in a closet or utility room, check the floor around it carefully. Some units sit on a drain pan – if that pan has water in it, the tank is leaking from somewhere and the drip is collecting there rather than spreading. That's actually helpful containment, but it's also a sign the heater may be near the end of its life.
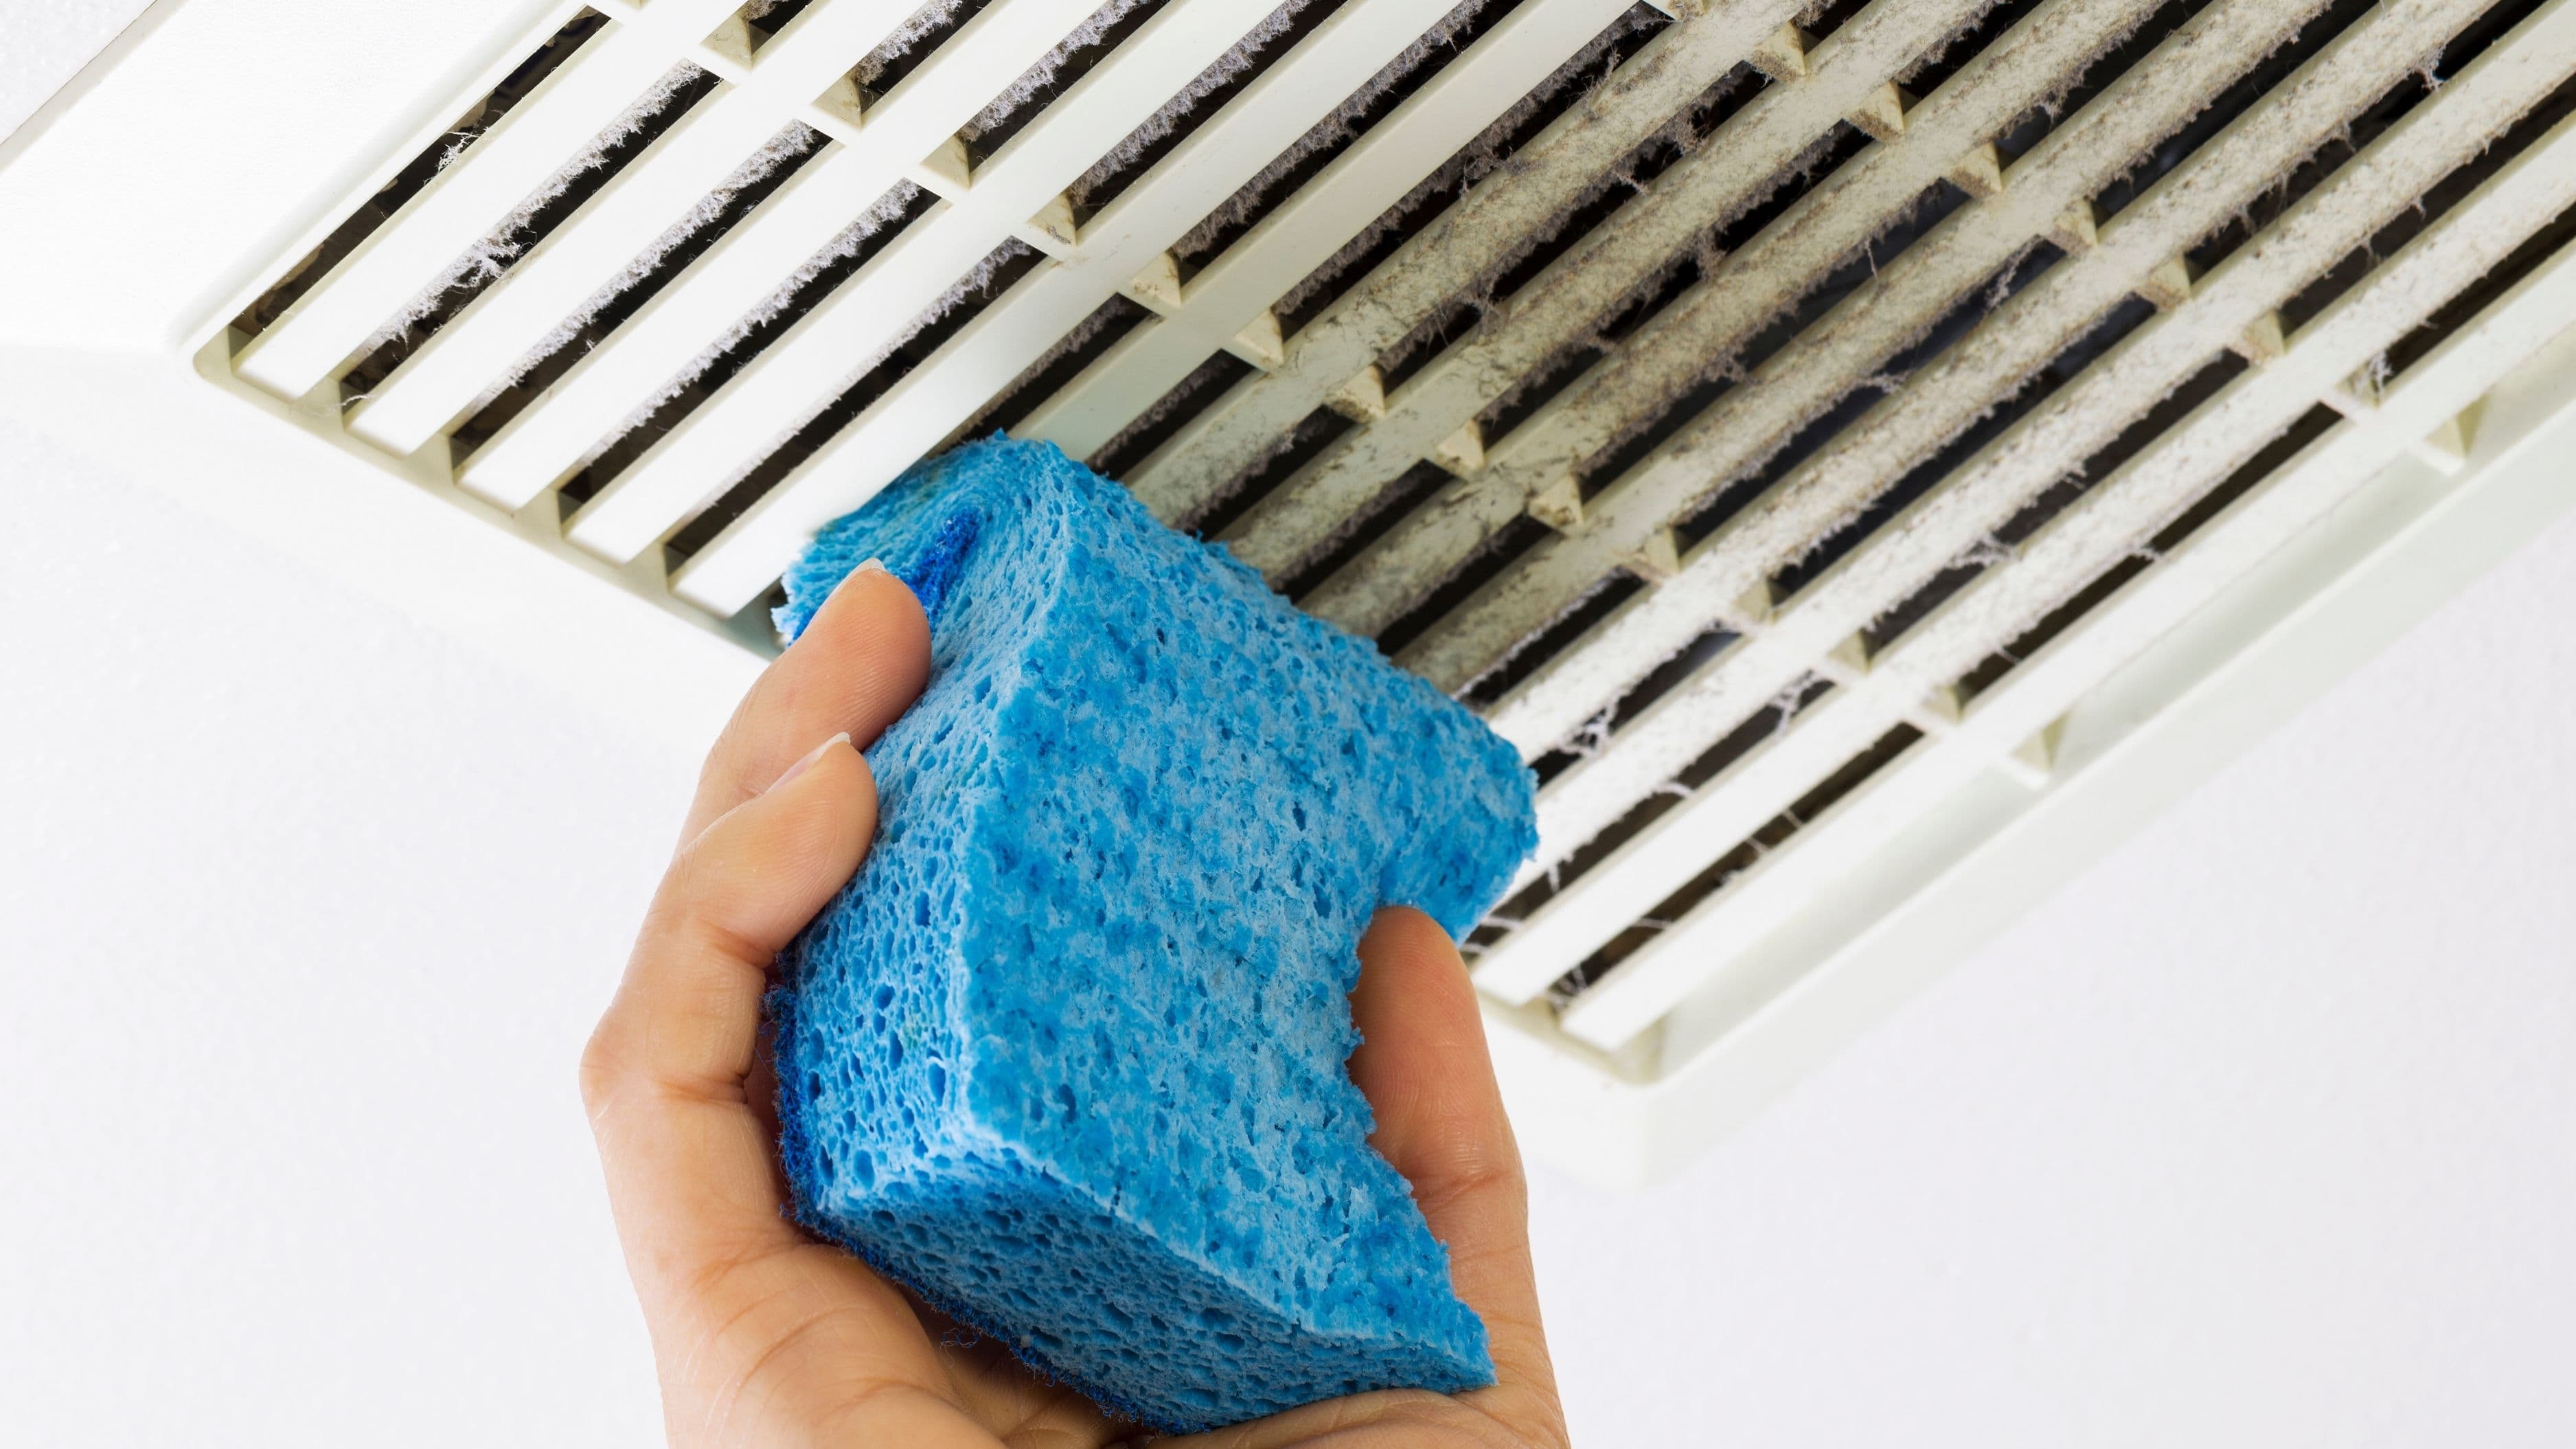
Step 5: Look for Wall and Ceiling Leak Signs
Not every leak announces itself with a visible drip. Many hidden leaks inside walls or above ceilings show up through secondary signs that are easy to miss if you're not looking for them.
Paint that's bubbling, peeling, or showing a yellowish or brownish stain is almost always a moisture problem. It might be from a roof issue above, a supply line inside the wall, or a drain from an upstairs bathroom. Run your hand over any discolored patches – soft or spongy drywall means active moisture is still present. Firm, dry drywall with staining usually means the leak has stopped but the damage is done.
Musty odors in a room with no obvious moisture source are a reliable indicator of hidden dampness. Mold doesn't need much water to grow – a persistently wet area inside a wall cavity is enough to produce a distinctive earthy smell that you'll notice when you enter the room even if you can't see any visible problem.
If you have a moisture meter, this is where it earns its cost. Run it along the wall in the area of discoloration, a few inches above and below the stain. A reading above 17% in drywall or above 19% in wood framing indicates active moisture that needs to be traced to its source.
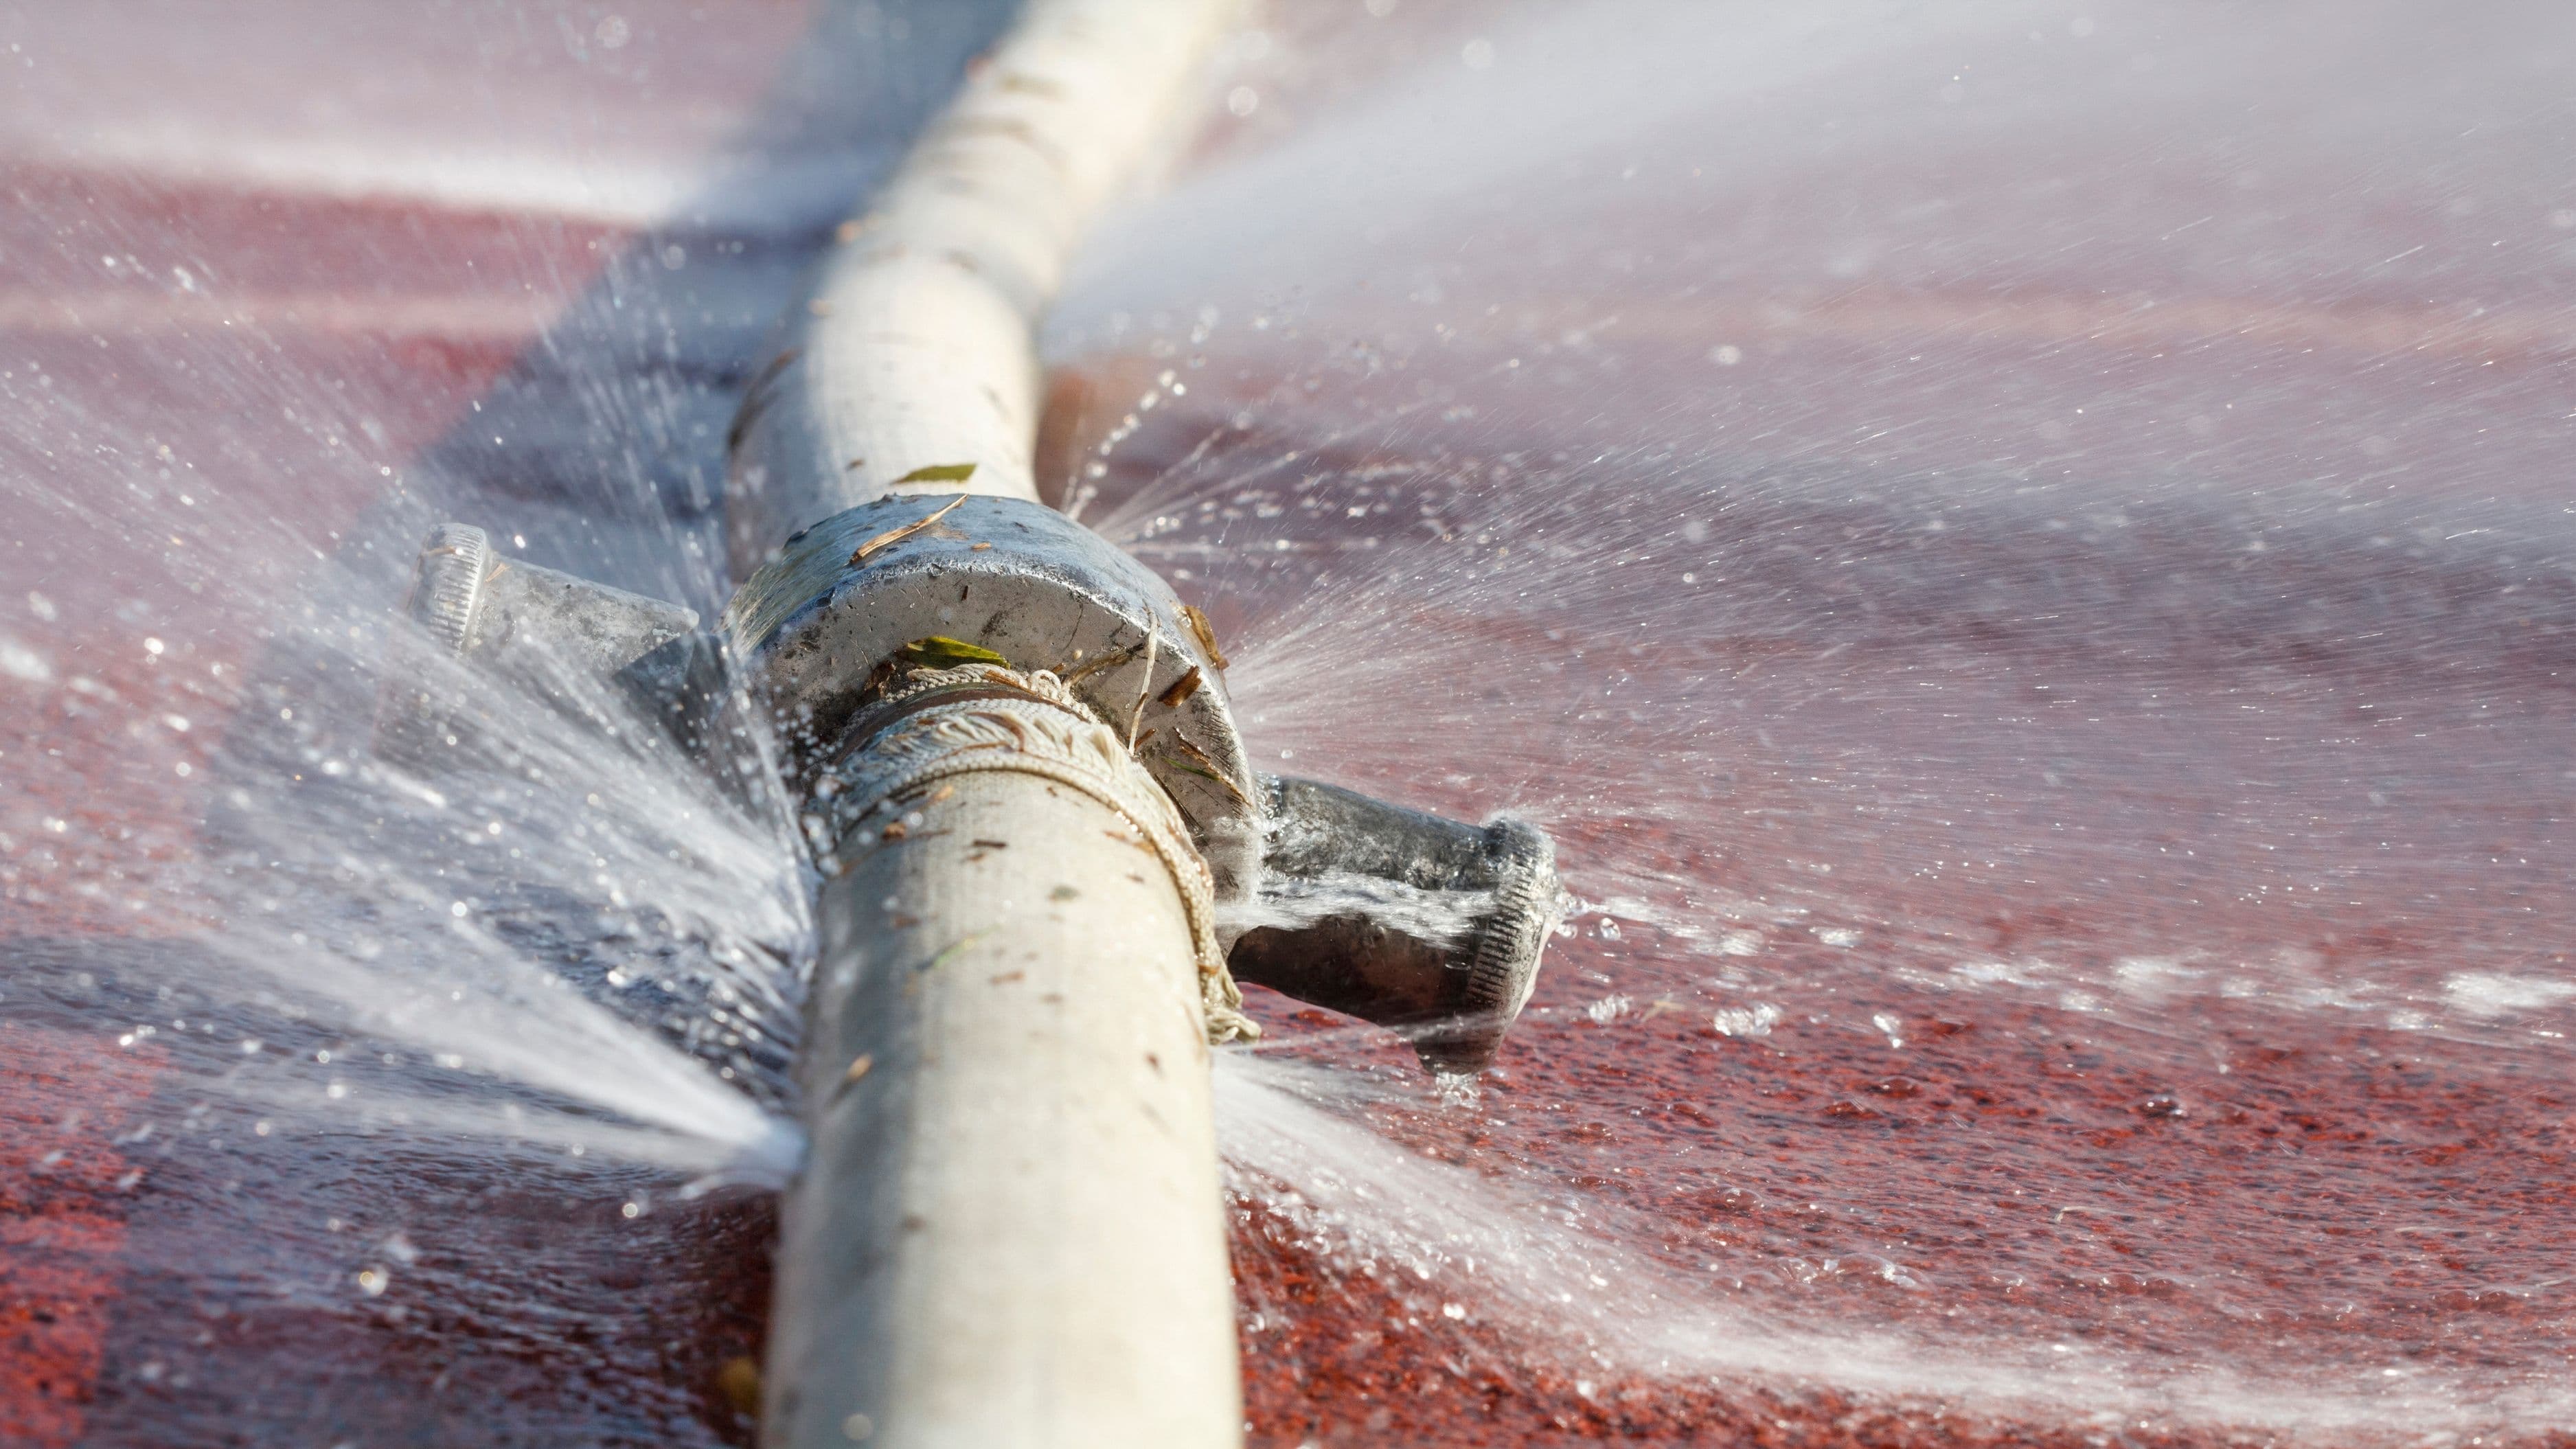
Step 6: Don't Forget Outdoor Lines and Appliances
Hose bibs (outdoor faucets) are frequently overlooked in a leak investigation because they're outside the living space. A bib with a worn washer can drip slowly against the exterior wall, and if the connection behind the wall isn't fully sealed, that drip makes its way inside and appears as mysterious dampness near an exterior wall in a bathroom or utility room.
Turn each hose bib fully on, then fully off, and watch the spout for 30 seconds. Any continued dripping indicates a washer that needs replacing – a simple DIY fix that takes about 15 minutes with a wrench and a replacement washer from the hardware store. Also check the connection where the bib meets the house for any weeping or crust buildup.
If you have a refrigerator with an ice maker or water dispenser, pull it away from the wall and check the supply line – typically a thin braided stainless or plastic line running from the wall valve to the back of the fridge. These can develop slow leaks at the compression fittings that only show up as a faint water mark on the floor behind the appliance.
When to Stop DIYing and Call a Plumber
Most of the detection work in this guide is completely DIY-friendly. Finding the leak is usually straightforward. What to do once you've found it depends on what you're dealing with.
A dripping faucet, a failed flapper, a leaking supply line under a sink, or a worn hose bib washer are all reasonable DIY repairs for a beginner with basic tools. A leak inside a wall, a failed wax ring on a toilet, a corroded water heater connection, or anything involving the main supply line requires either a higher skill level or a licensed plumber – attempting those repairs without experience can turn a modest water issue into a larger and more expensive one.
If your water meter test confirmed an active leak but you've checked all the obvious spots and can't find the source, call a plumber who offers leak detection services. Many use acoustic detection equipment or thermal imaging cameras that can pinpoint a leak location through walls and floors without any demolition. The service call is worth the cost compared to the alternative of tearing out drywall speculatively.
Common Mistakes to Avoid
The biggest mistake homeowners make is seeing a small stain and waiting to see if it gets worse. Water damage compounds over time – a slow drip that causes a small stain today is softening the framing and feeding mold behind the wall whether or not the visible stain grows. If you see a moisture sign, treat it as an active problem until you've confirmed otherwise.
Using paper towels to "check for dampness" in a poorly lit area often produces false negatives because the moisture level is too low to transfer clearly. A moisture meter eliminates this ambiguity. It's also worth remembering that not all water stains are current – a previous leak that was repaired may have left permanent discoloration on drywall. The moisture meter reading tells you whether the problem is old or ongoing.
Finally, don't rely solely on your water bill to detect leaks. A modest leak from a supply line fitting can add $30–50 per month to your water bill, but if you don't have a consistent baseline to compare against – or if your usage varies seasonally – that increase is easy to miss or attribute to other causes.
FAQ
How do I know if my water meter test result means a big leak or a small one? The size of the movement on the meter during your 30-minute test gives you a rough sense. If the main reading has moved by a measurable amount (more than a few units), you likely have a significant leak. If only the low-flow indicator has moved slightly, it may be something minor like a slow toilet flapper. Either way, it warrants a thorough inspection.
My drywall has a stain but the moisture meter reads dry – is it still a problem? If the moisture meter reads dry and you can't find any active drip source, the stain is likely from a past leak that has since dried. Keep an eye on it over the next few weeks, especially after heavy rain or after heavy appliance use. If it darkens or grows, the leak is still active under certain conditions.
Can a slab leak cause hidden water damage? Yes, and slab leaks are among the most serious – and hardest to detect without professional equipment. Signs include warm spots on an otherwise cool floor, unexplained increases in your water bill, the sound of running water when everything is off, or cracks appearing in flooring. If you suspect a slab leak, call a licensed plumber immediately. This is not a DIY repair.
How often should I run the water meter test as a preventive measure? Once or twice a year is a reasonable routine for most homeowners. Many plumbers suggest running it seasonally – particularly in spring (when outdoor irrigation often resumes) and fall (before the heating season, when pipe movement from temperature changes is most likely to stress connections).
What's the best way to monitor for leaks long-term without checking manually? Smart water leak detectors – small sensors you place under sinks, behind appliances, and near water heaters – alert your phone when they detect moisture. They run $15–40 each and are one of the most cost-effective home protection investments available. A whole-home water flow monitor (installed at the main shutoff) can detect abnormal usage patterns and shut off the water automatically if a burst pipe is detected.
One Final Note
Hidden water leaks are almost always cheaper to deal with when they're caught early. The inspection steps in this guide take less than an hour to complete and cost nothing beyond a flashlight and food coloring. Running them once a year – and paying attention to the early warning signs like musty smells, unexplained stains, and rising water bills – is the kind of routine maintenance that saves most homeowners from a very unpleasant and expensive surprise.
📚 Sources
U.S. Environmental Protection Agency – Fix a Leak Week: Leak Facts – https://www.epa.gov/watersense/fix-leak-week
Insurance Institute for Business & Home Safety – Water Damage and Leaks – https://ibhs.org/research-topics/water/
American Red Cross – Prevent Water Damage in Your Home – https://www.redcross.org/get-help/how-to-prepare-for-emergencies/types-of-emergencies/water-damage.html
U.S. Geological Survey – Water Questions and Answers: How much water does a leaking toilet use? – https://www.usgs.gov/special-topics/water-science-school/science/water-qa-how-much-water-does-leaking-faucet-or-toilet-waste
International Association of Certified Home Inspectors – Plumbing Inspection Guide – https://www.nachi.org/plumbing.htm
🔍 Explore Related Topics