You can locate the source of most residential roof leaks without ever leaving the ground or the attic. Here's how to do it systematically.
What You'll Need
This isn't a complex investigation, but having the right tools at hand makes the process faster and more accurate:
A flashlight or headlamp (the brighter the better)
A tape measure
Chalk or painter's tape for marking
A garden hose with a helper (optional, for the water test)
A moisture meter (optional but useful – available at most hardware stores for $20–$40)
Your phone for photos
Step 1: Start in the Attic After a Rain
The best time to look for a roof leak is during or immediately after a rainstorm. Pull on some old clothes, grab a bright flashlight, and get into the attic. Your eyes should be looking for three things: active dripping, water stains, and dark or discolored wood.
Water stains on the underside of the sheathing (the flat plywood panels that make up the roof deck) often appear as tan or dark rings – they look similar to a coffee ring on a table. Mold or mildew growth shows up as black or greenish patches and indicates a slow, recurring leak rather than a new one. Wet or soft insulation is another clear indicator of where moisture is entering or pooling.
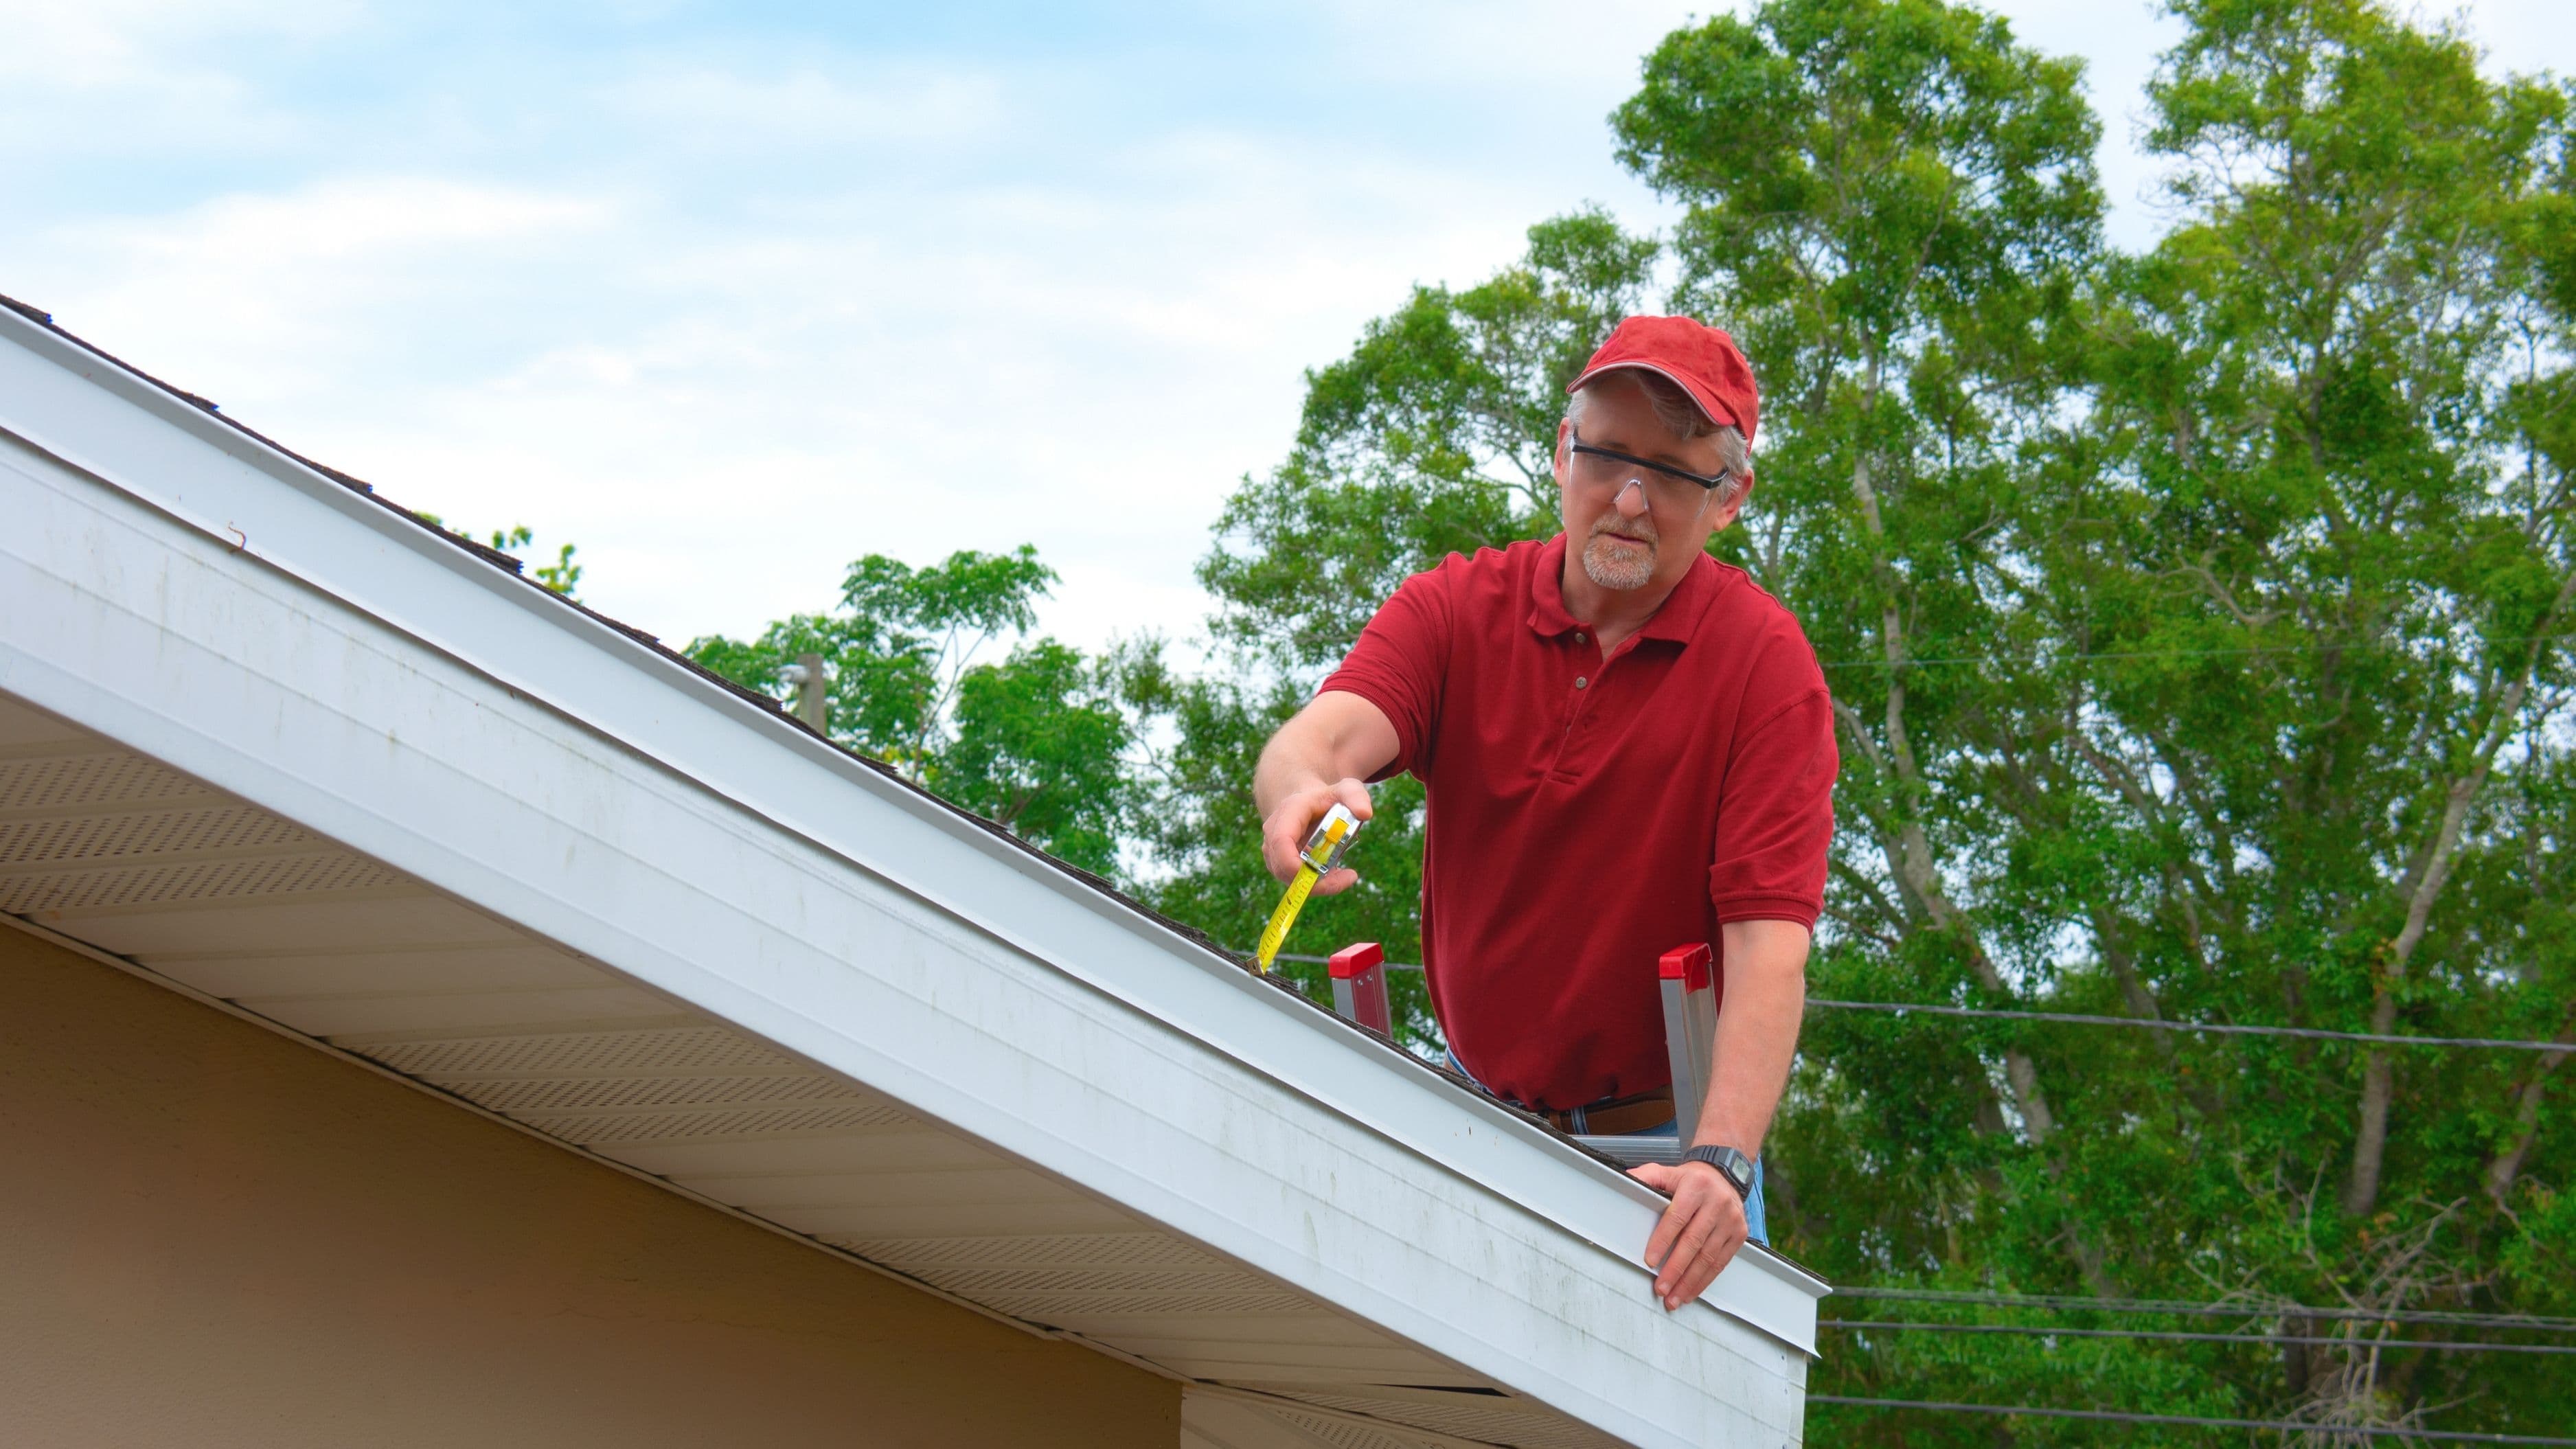
When you find a wet or stained area, mark it with chalk or tape and take photos. Then measure its distance from the nearest gable wall, ridge, or structural landmark you can also identify from inside the house below. That reference measurement is how you'll connect the attic location to a specific spot on the roof exterior.
Step 2: Trace the Water Path Uphill
Water runs downhill. This sounds obvious, but it's easy to forget when you're staring at a stain on the attic floor or the ceiling below. The actual leak entry point is almost always uphill from where the water appears – sometimes by several feet, sometimes by much more.
If you find a wet spot on the attic floor insulation or a drip pattern on a rafter, follow the wood upward toward the ridge. Look for where the wet or stained wood begins. That's the entry zone. From there, think about what's directly above it on the exterior – a roof penetration (pipe, vent, skylight, chimney), a valley where two roof planes meet, a flashing transition, or a field area of shingles.
The most common leak sources, roughly in order of frequency, are: deteriorated or improperly installed flashing around chimneys, skylights, and pipe boots; cracked or missing caulk around vent pipes; lifted or damaged shingles in areas of mechanical wear; and clogged valleys where debris causes water backup. Keep those in mind as you trace the path.
Step 3: Inspect From the Ground With Binoculars
Before anyone considers climbing up, do a thorough visual inspection from the ground using binoculars. Walk the full perimeter of the house and look at the roof slope in sections. You're looking for:
Missing, curled, or cracked shingles – shingles that are lifting at the edges or showing bare spots where the granules have worn away
Flashing issues – flashing is the metal trim around chimneys, skylights, pipe vents, and where the roof meets a wall; look for visible gaps, rust streaks, or pulled-away sections
Ridge condition – the ridge cap runs along the peak of the roof; missing or damaged ridge shingles are a frequent entry point
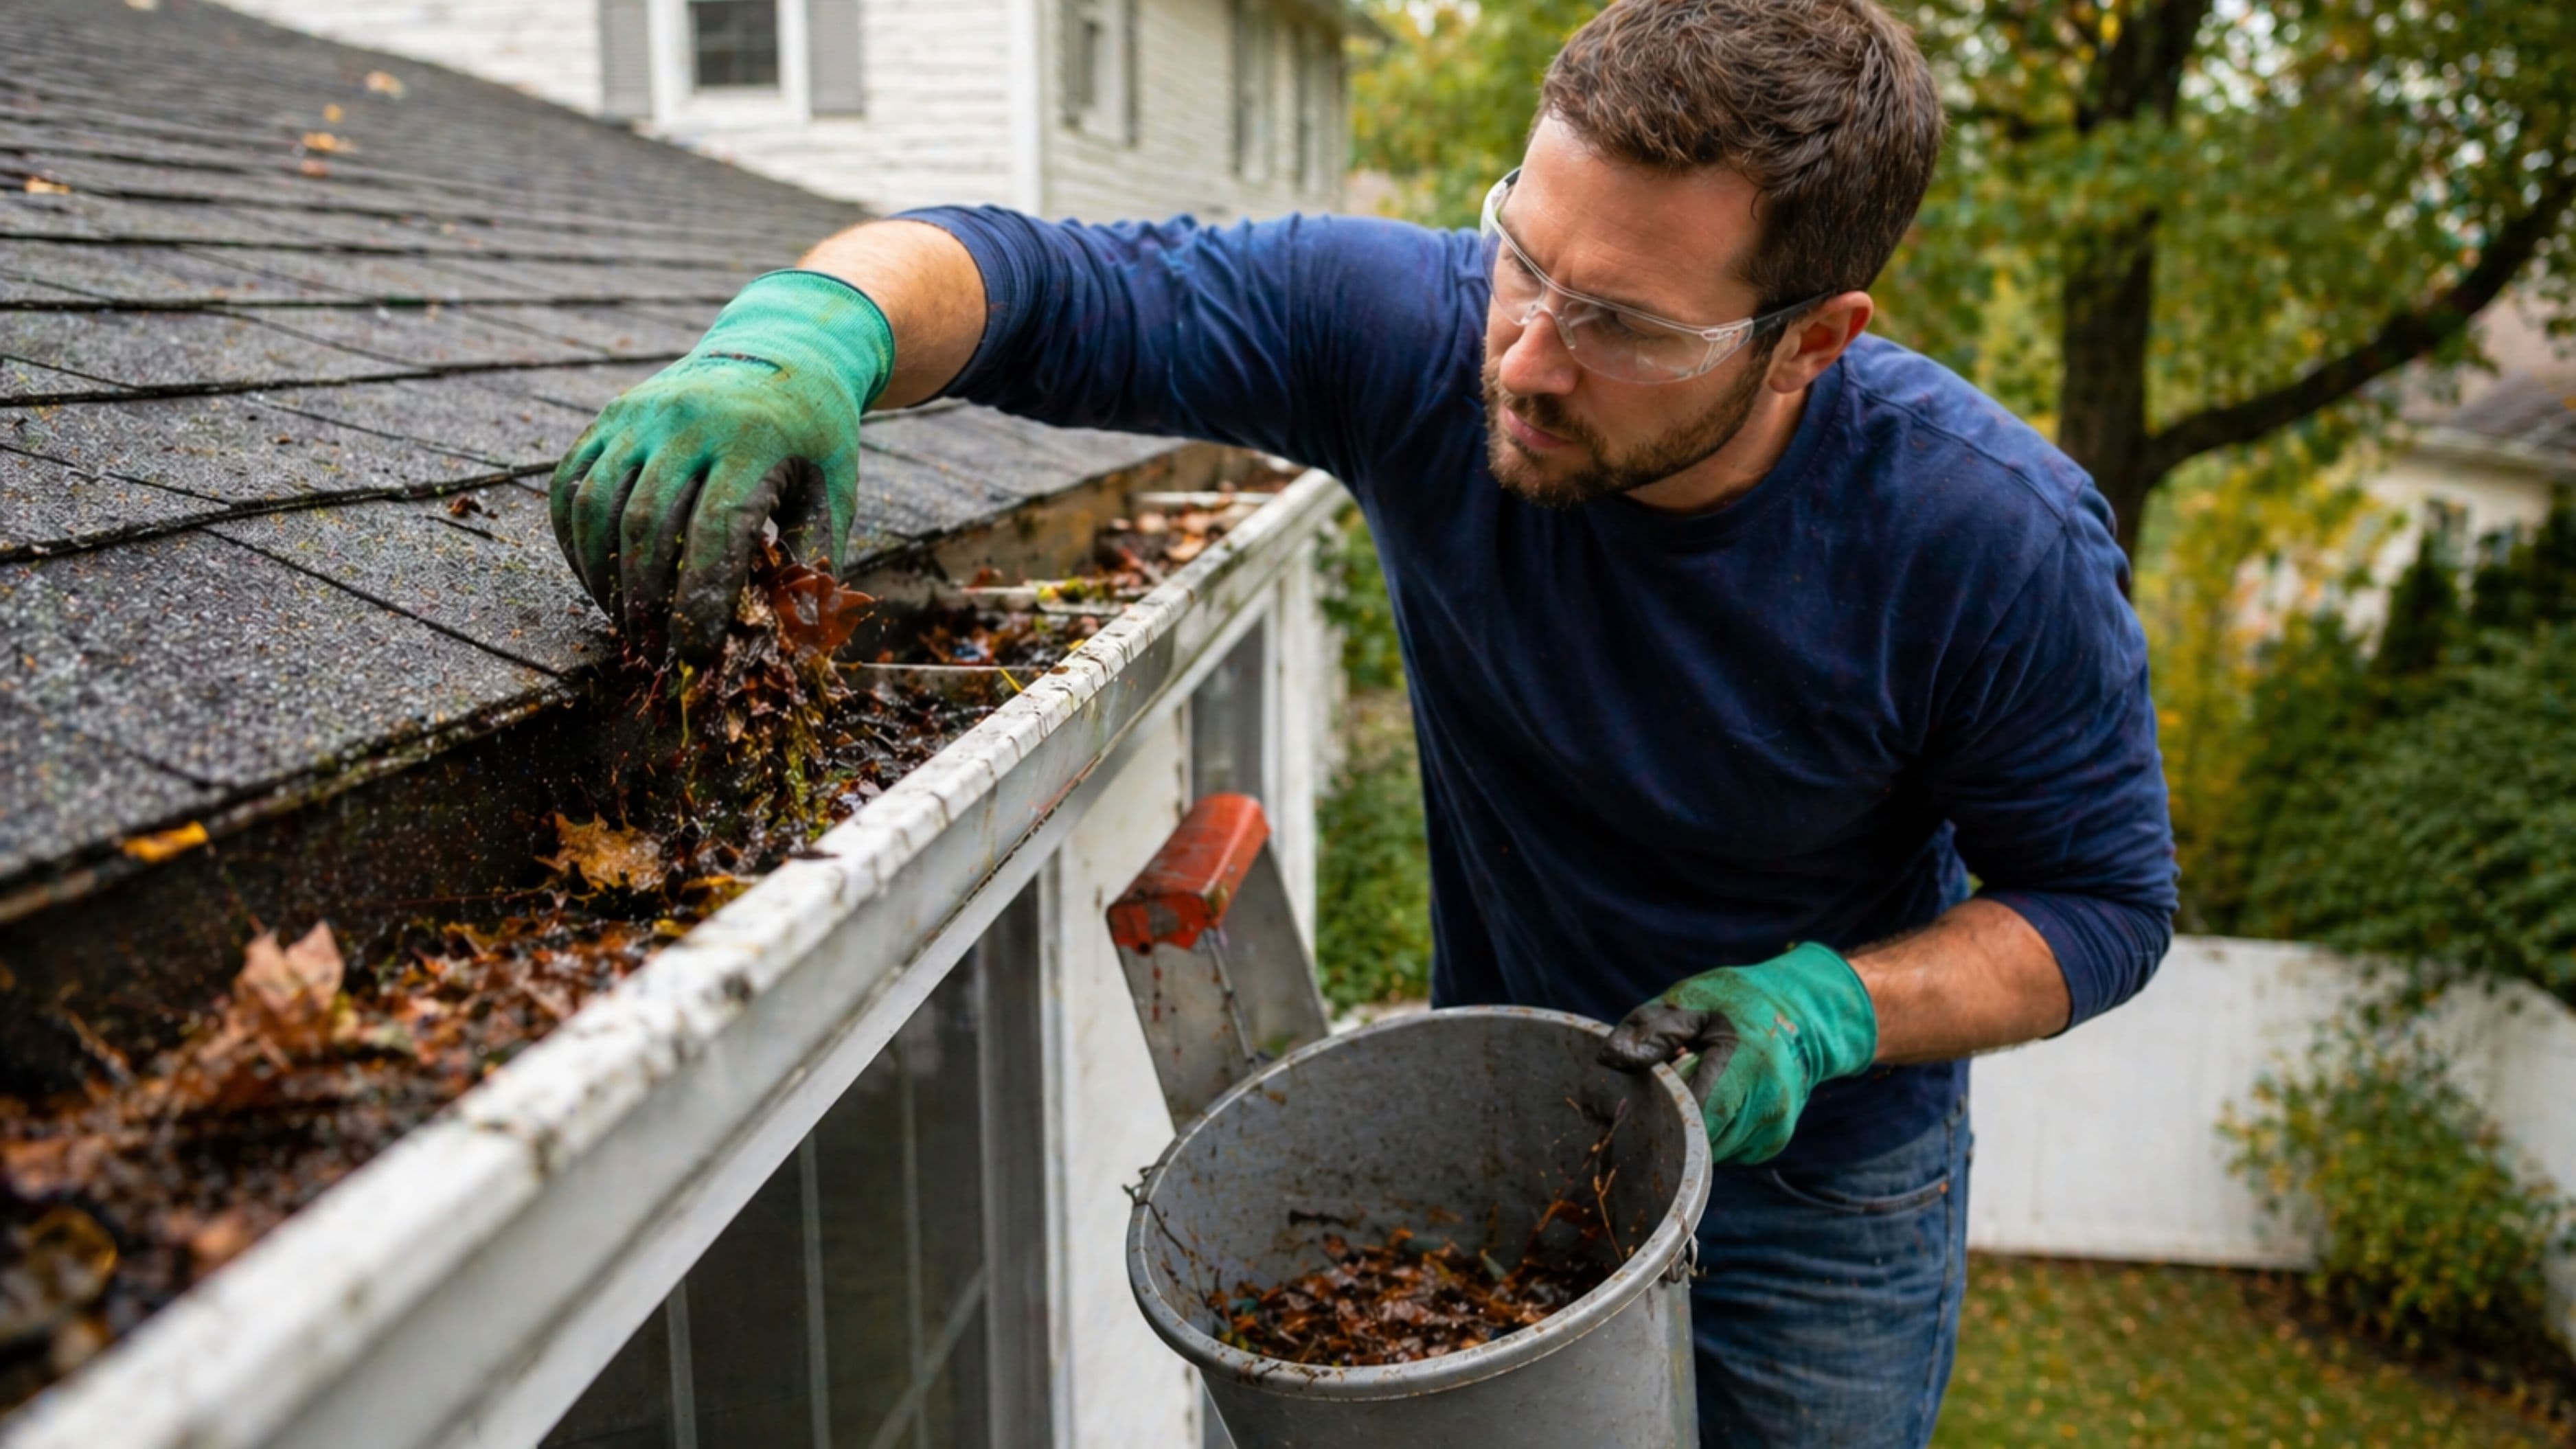
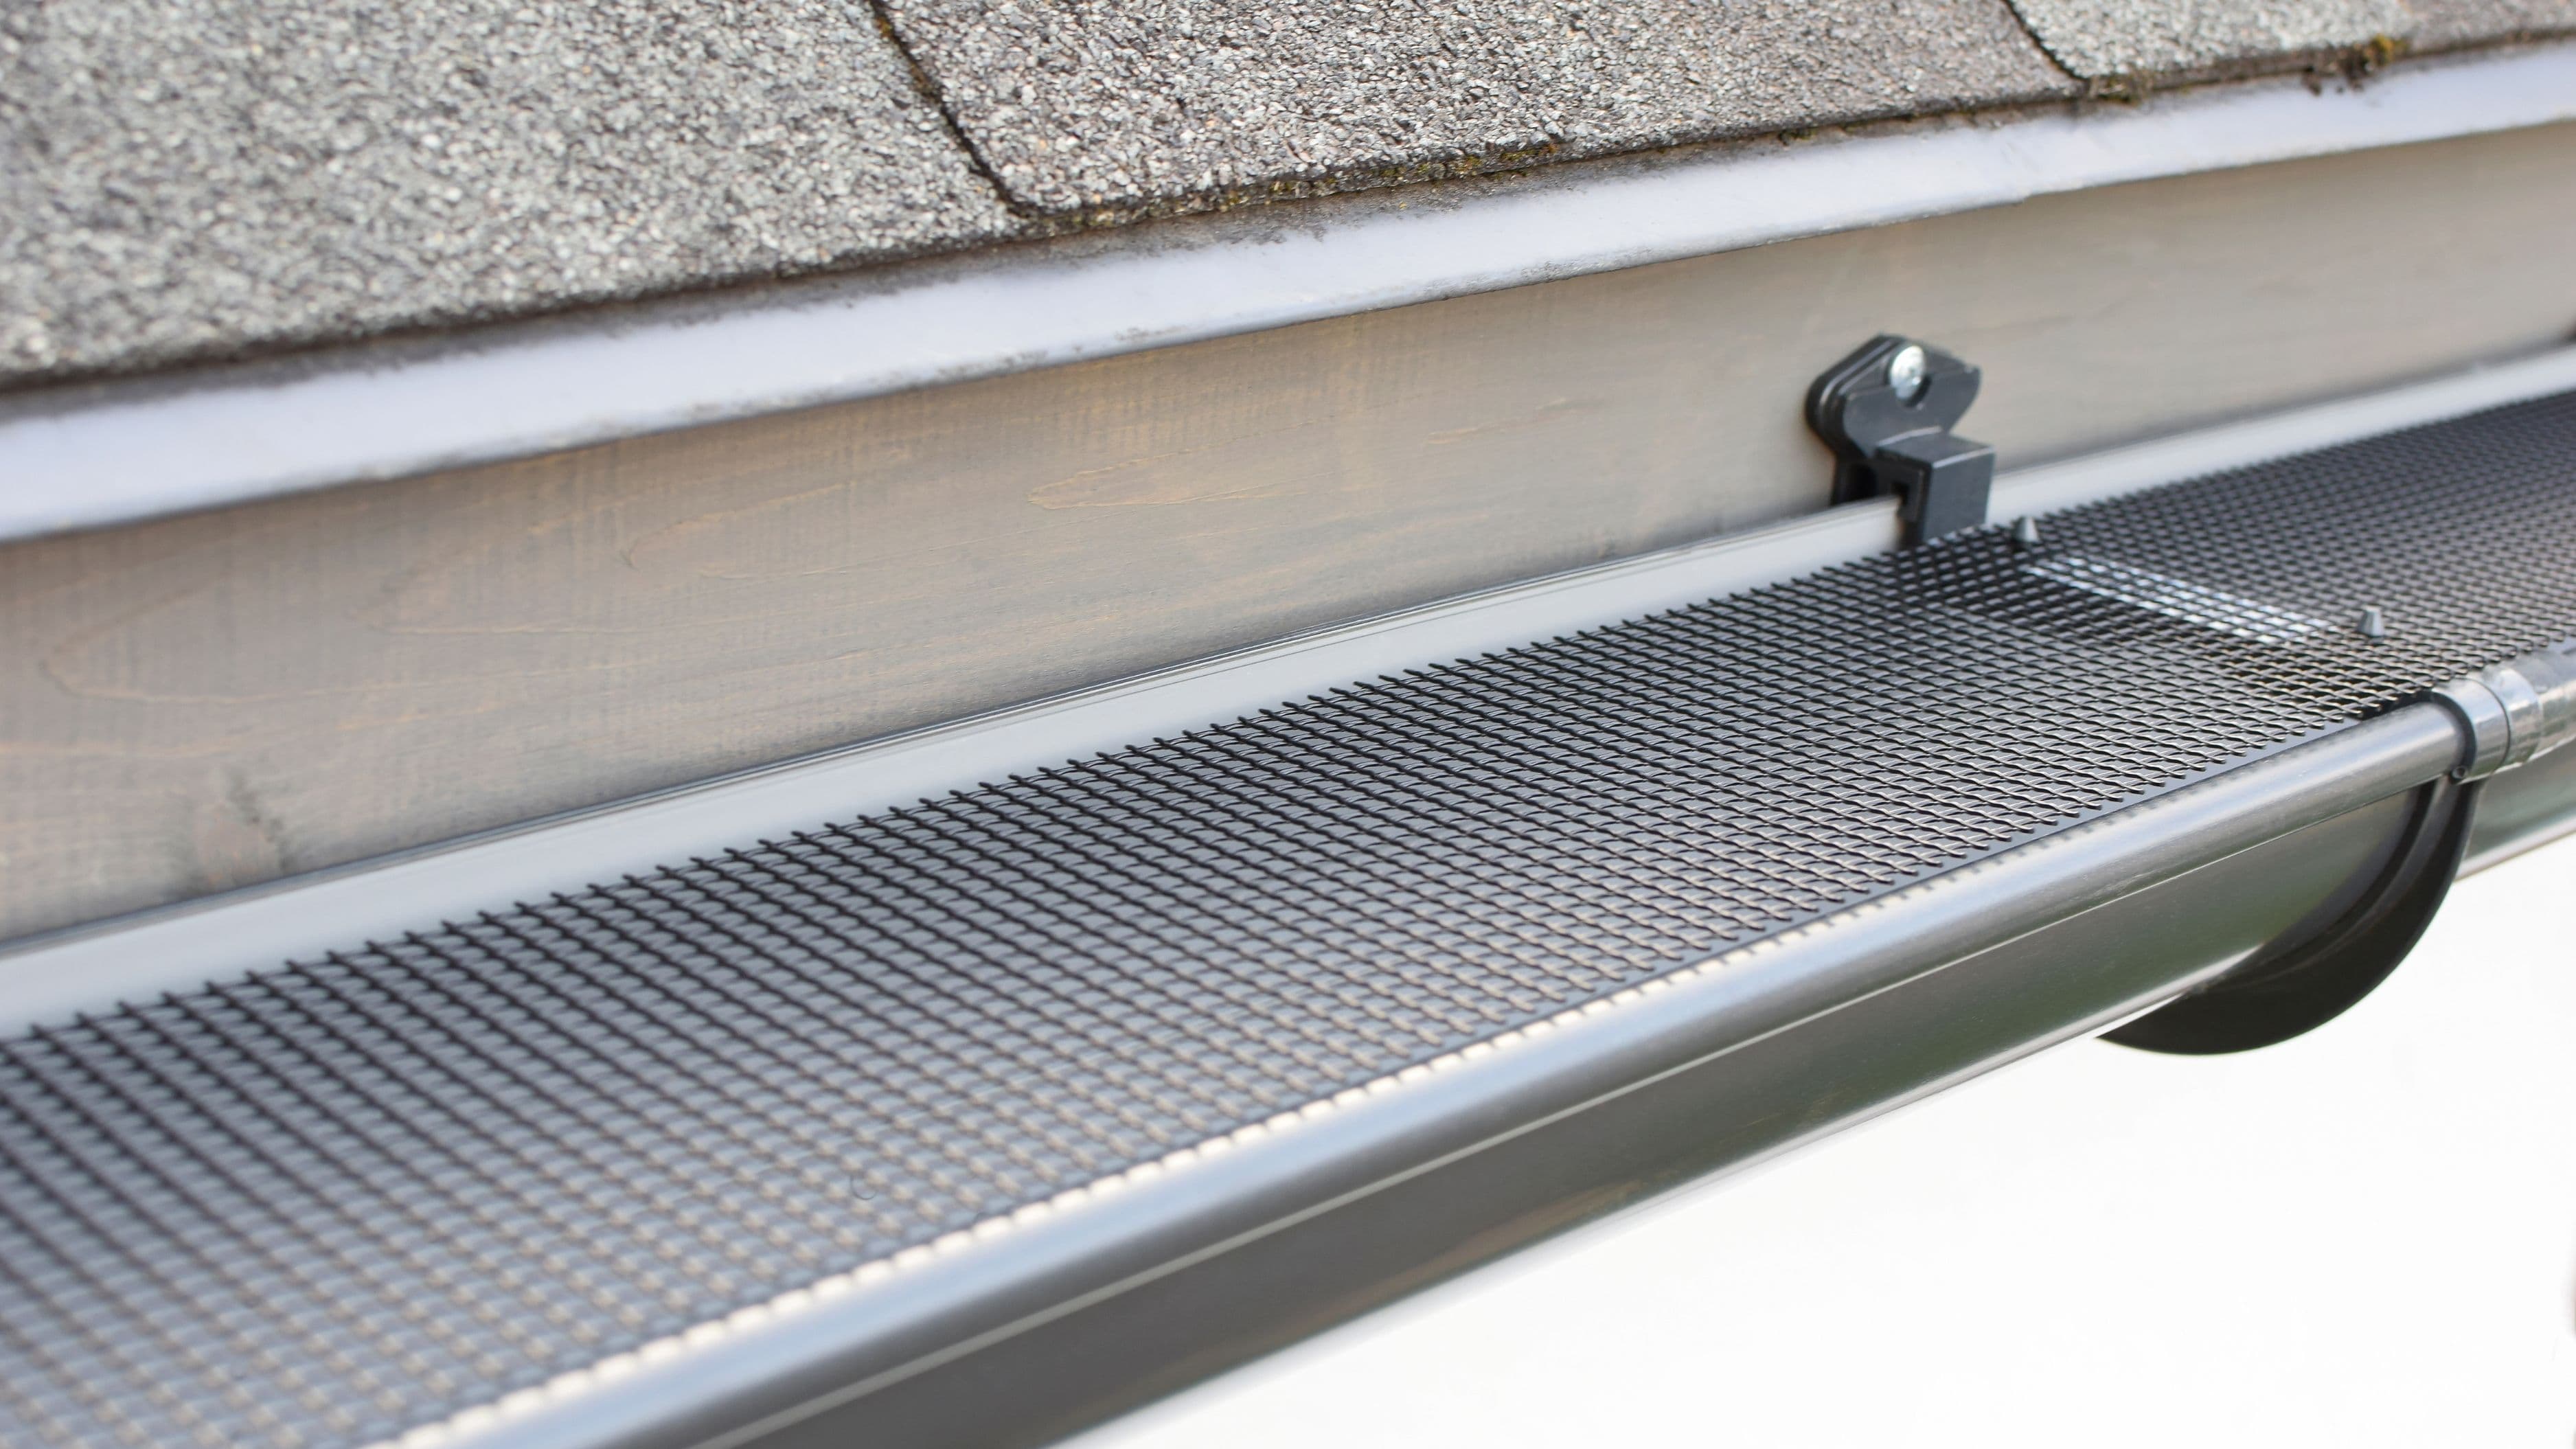
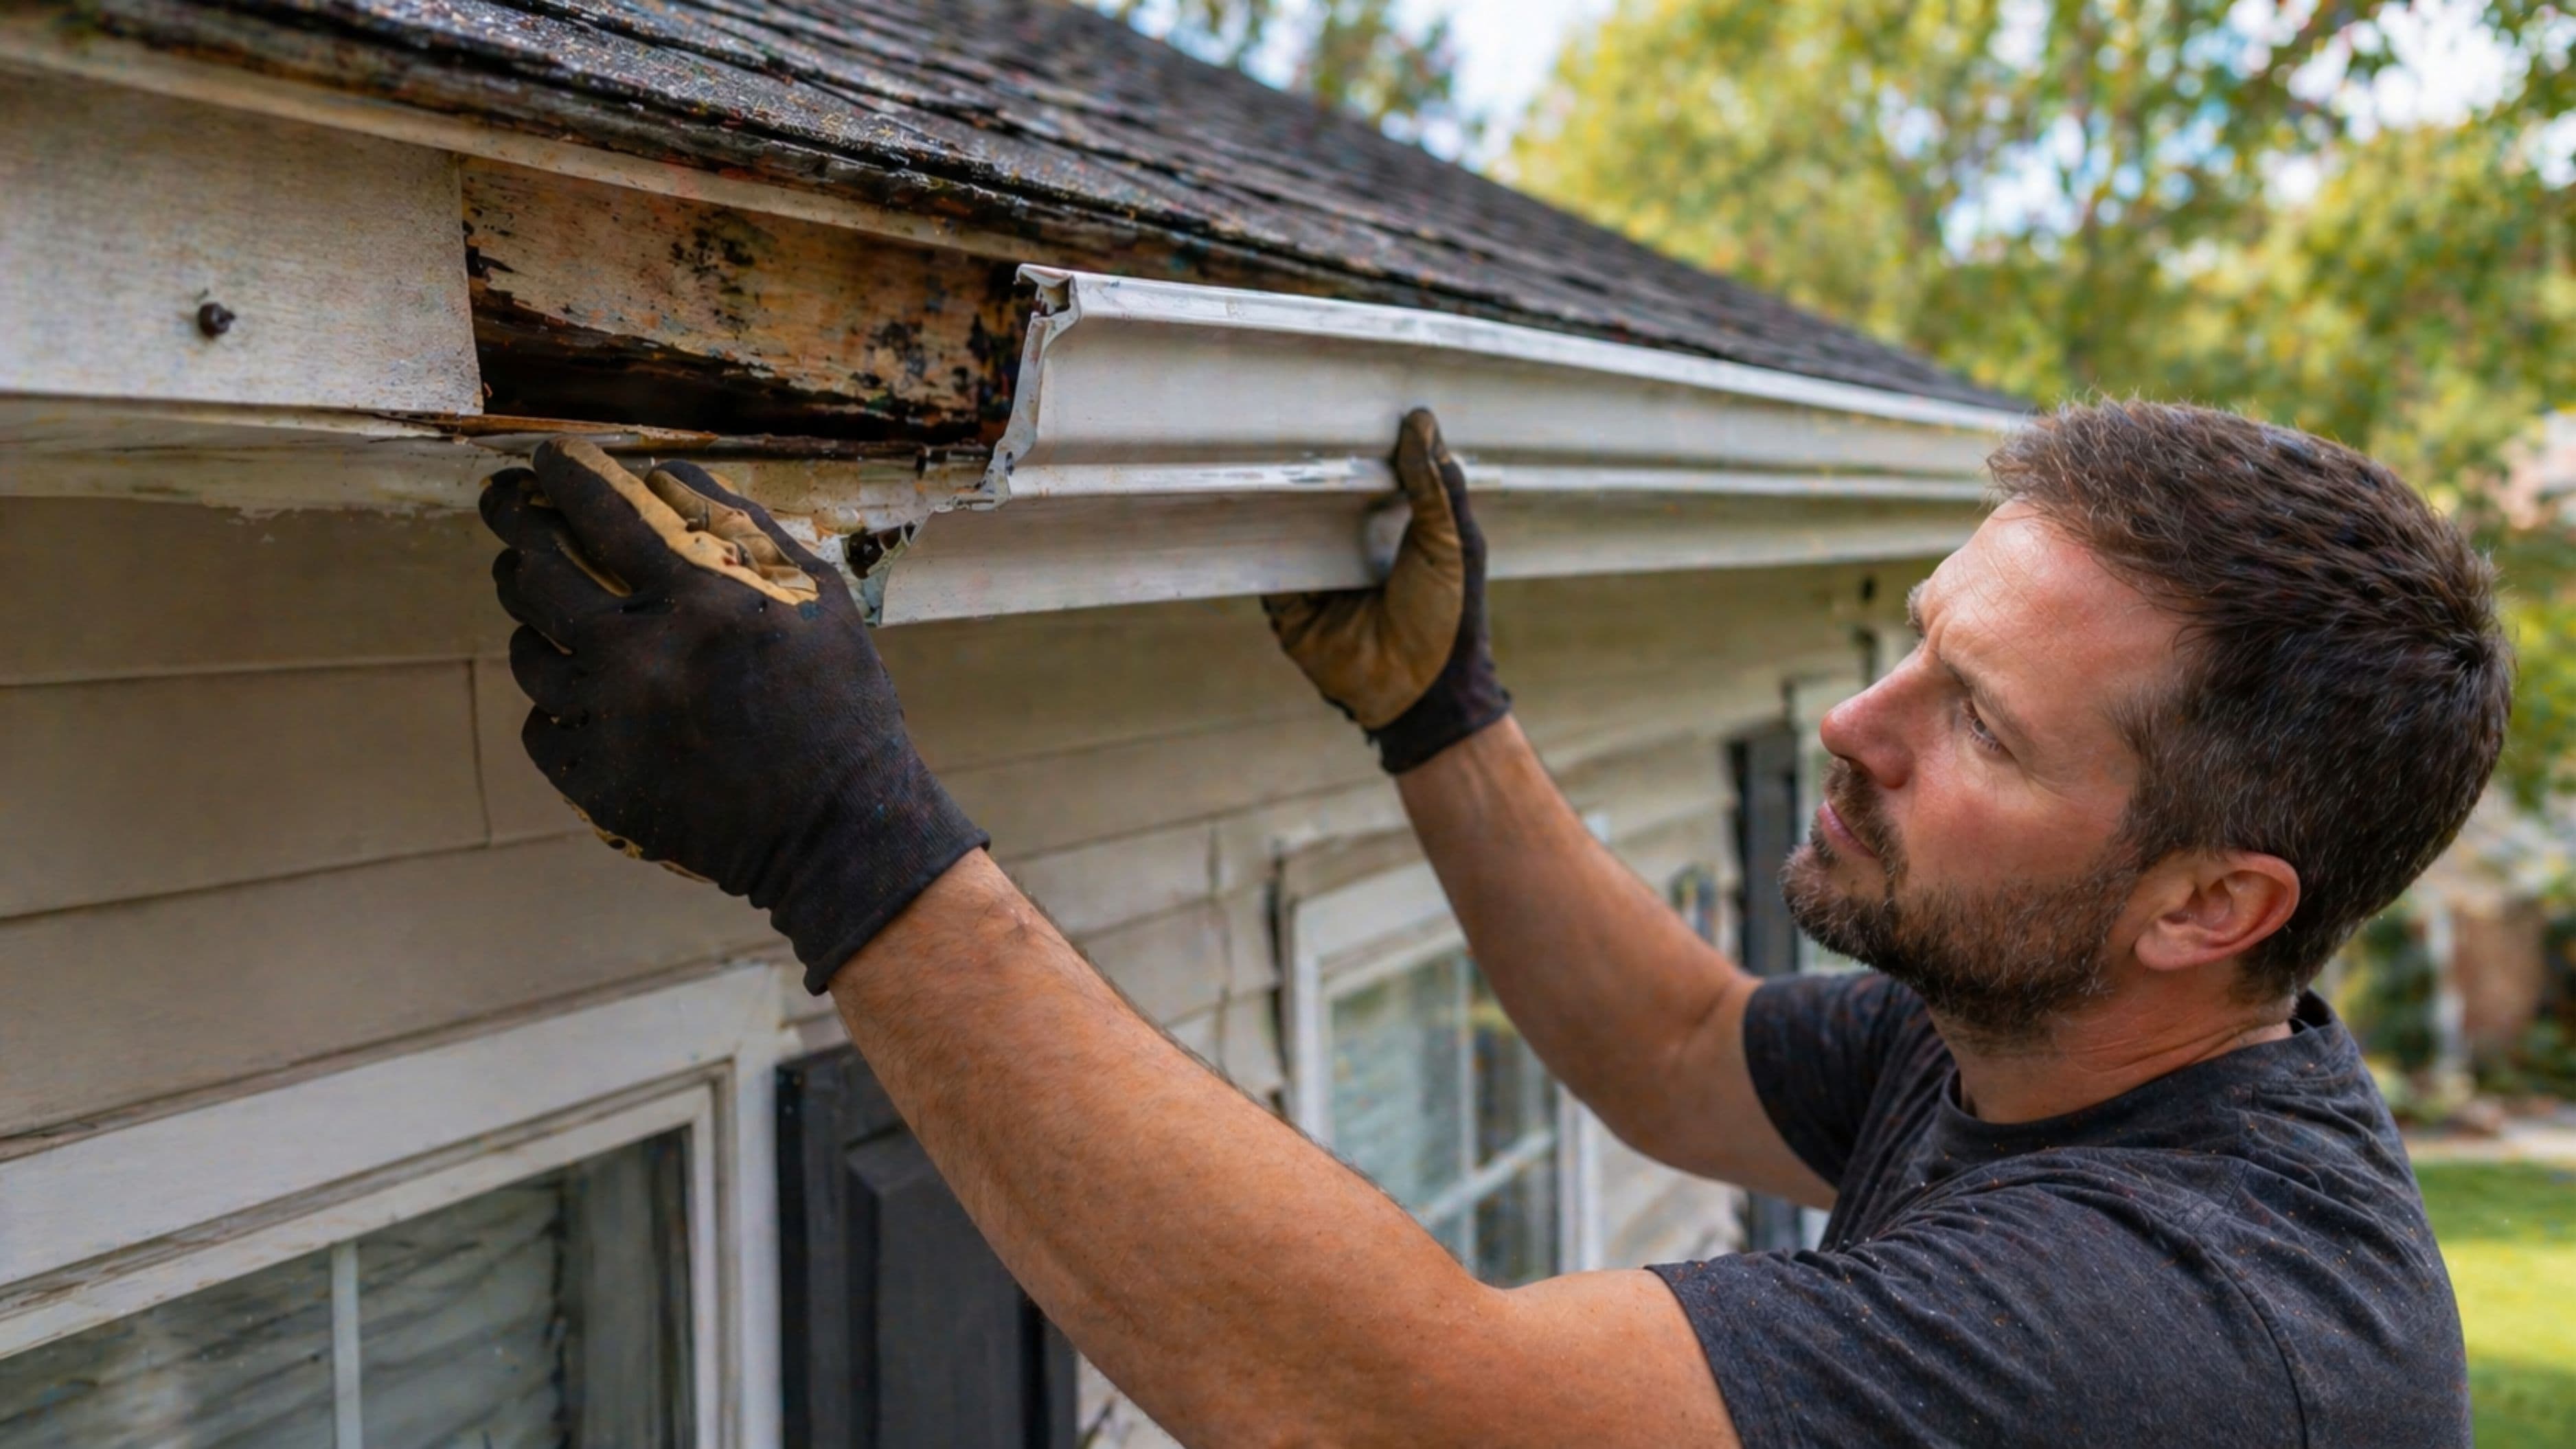
Gutters and fascia – standing water in gutters, rotted fascia boards, or visible staining behind the gutter can indicate where water is backing up under the roofline
On a single-story home, you may be able to see problem areas clearly from the ground with good binoculars. On steeper or taller roofs, this ground inspection still gives you enough information to have an informed conversation with a roofer if you decide to bring one in.
Step 4: Check Interior Walls and the Ceiling Below
Come back inside and look carefully at the walls and ceiling in the room below the suspected leak area. Water often travels down interior walls before it becomes visible on the ceiling. Look for paint that's bubbling, peeling, or blistering; drywall that feels soft or spongy; wallpaper that's separating at seams; or baseboards that are swelling or showing dark staining at the bottom.
A moisture meter is genuinely useful here. Press the probes against the drywall or plaster in the suspect area and read the moisture percentage. Dry drywall registers below 15%. Anything above 20% indicates active moisture. This lets you map the wet zone accurately, even when there's no visible staining yet.
Document everything with photos before any drying or repair happens. If you end up filing an insurance claim, those photos of the active moisture are valuable.
Step 5: The Garden Hose Test (If You Still Can't Find It)
If the attic inspection and visual checks haven't pinpointed the source, the garden hose test is your next move. This works best with a helper – one person runs the hose on the roof from the ground (or from a ladder positioned safely at the eave, without climbing onto the slope), and one person watches from inside the attic with a flashlight.
Start low on the roof – at the gutters and first few feet of the slope – and work your way up methodically. Run water for several minutes at each location before moving higher. When the person in the attic calls out that they're seeing water, you've isolated the section. Then slow down and test each specific feature in that zone: the flashing around a vent pipe, the valley seam, the base of a chimney.
Safety note: Don't have anyone walking on a wet roof. The hose testing can be done from a ladder positioned at the eave for the lower sections. For upper sections, direct the water stream from the ground with enough hose pressure to simulate rain hitting the area. The goal is methodical elimination, not speed.
Common Leak Sources and What to Look For
Most residential roof leaks come from a handful of predictable places. Knowing these helps you prioritize your inspection.
Pipe boots and vent flashing are the most common culprit on roofs more than 10 years old. The rubber collar (called a boot) around plumbing vents and exhaust pipes cracks and hardens over time. You can often see the cracking from the ground if you look for it around black rubber collars on the roof surface.
Chimney flashing fails in two ways: the step flashing along the sides separates from the masonry, or the counter flashing at the top pulls away from the mortar joint. Both let water run behind the flashing directly into the attic. Water from a chimney leak often travels a long way from the chimney before appearing on a ceiling, which is why it's commonly misdiagnosed.
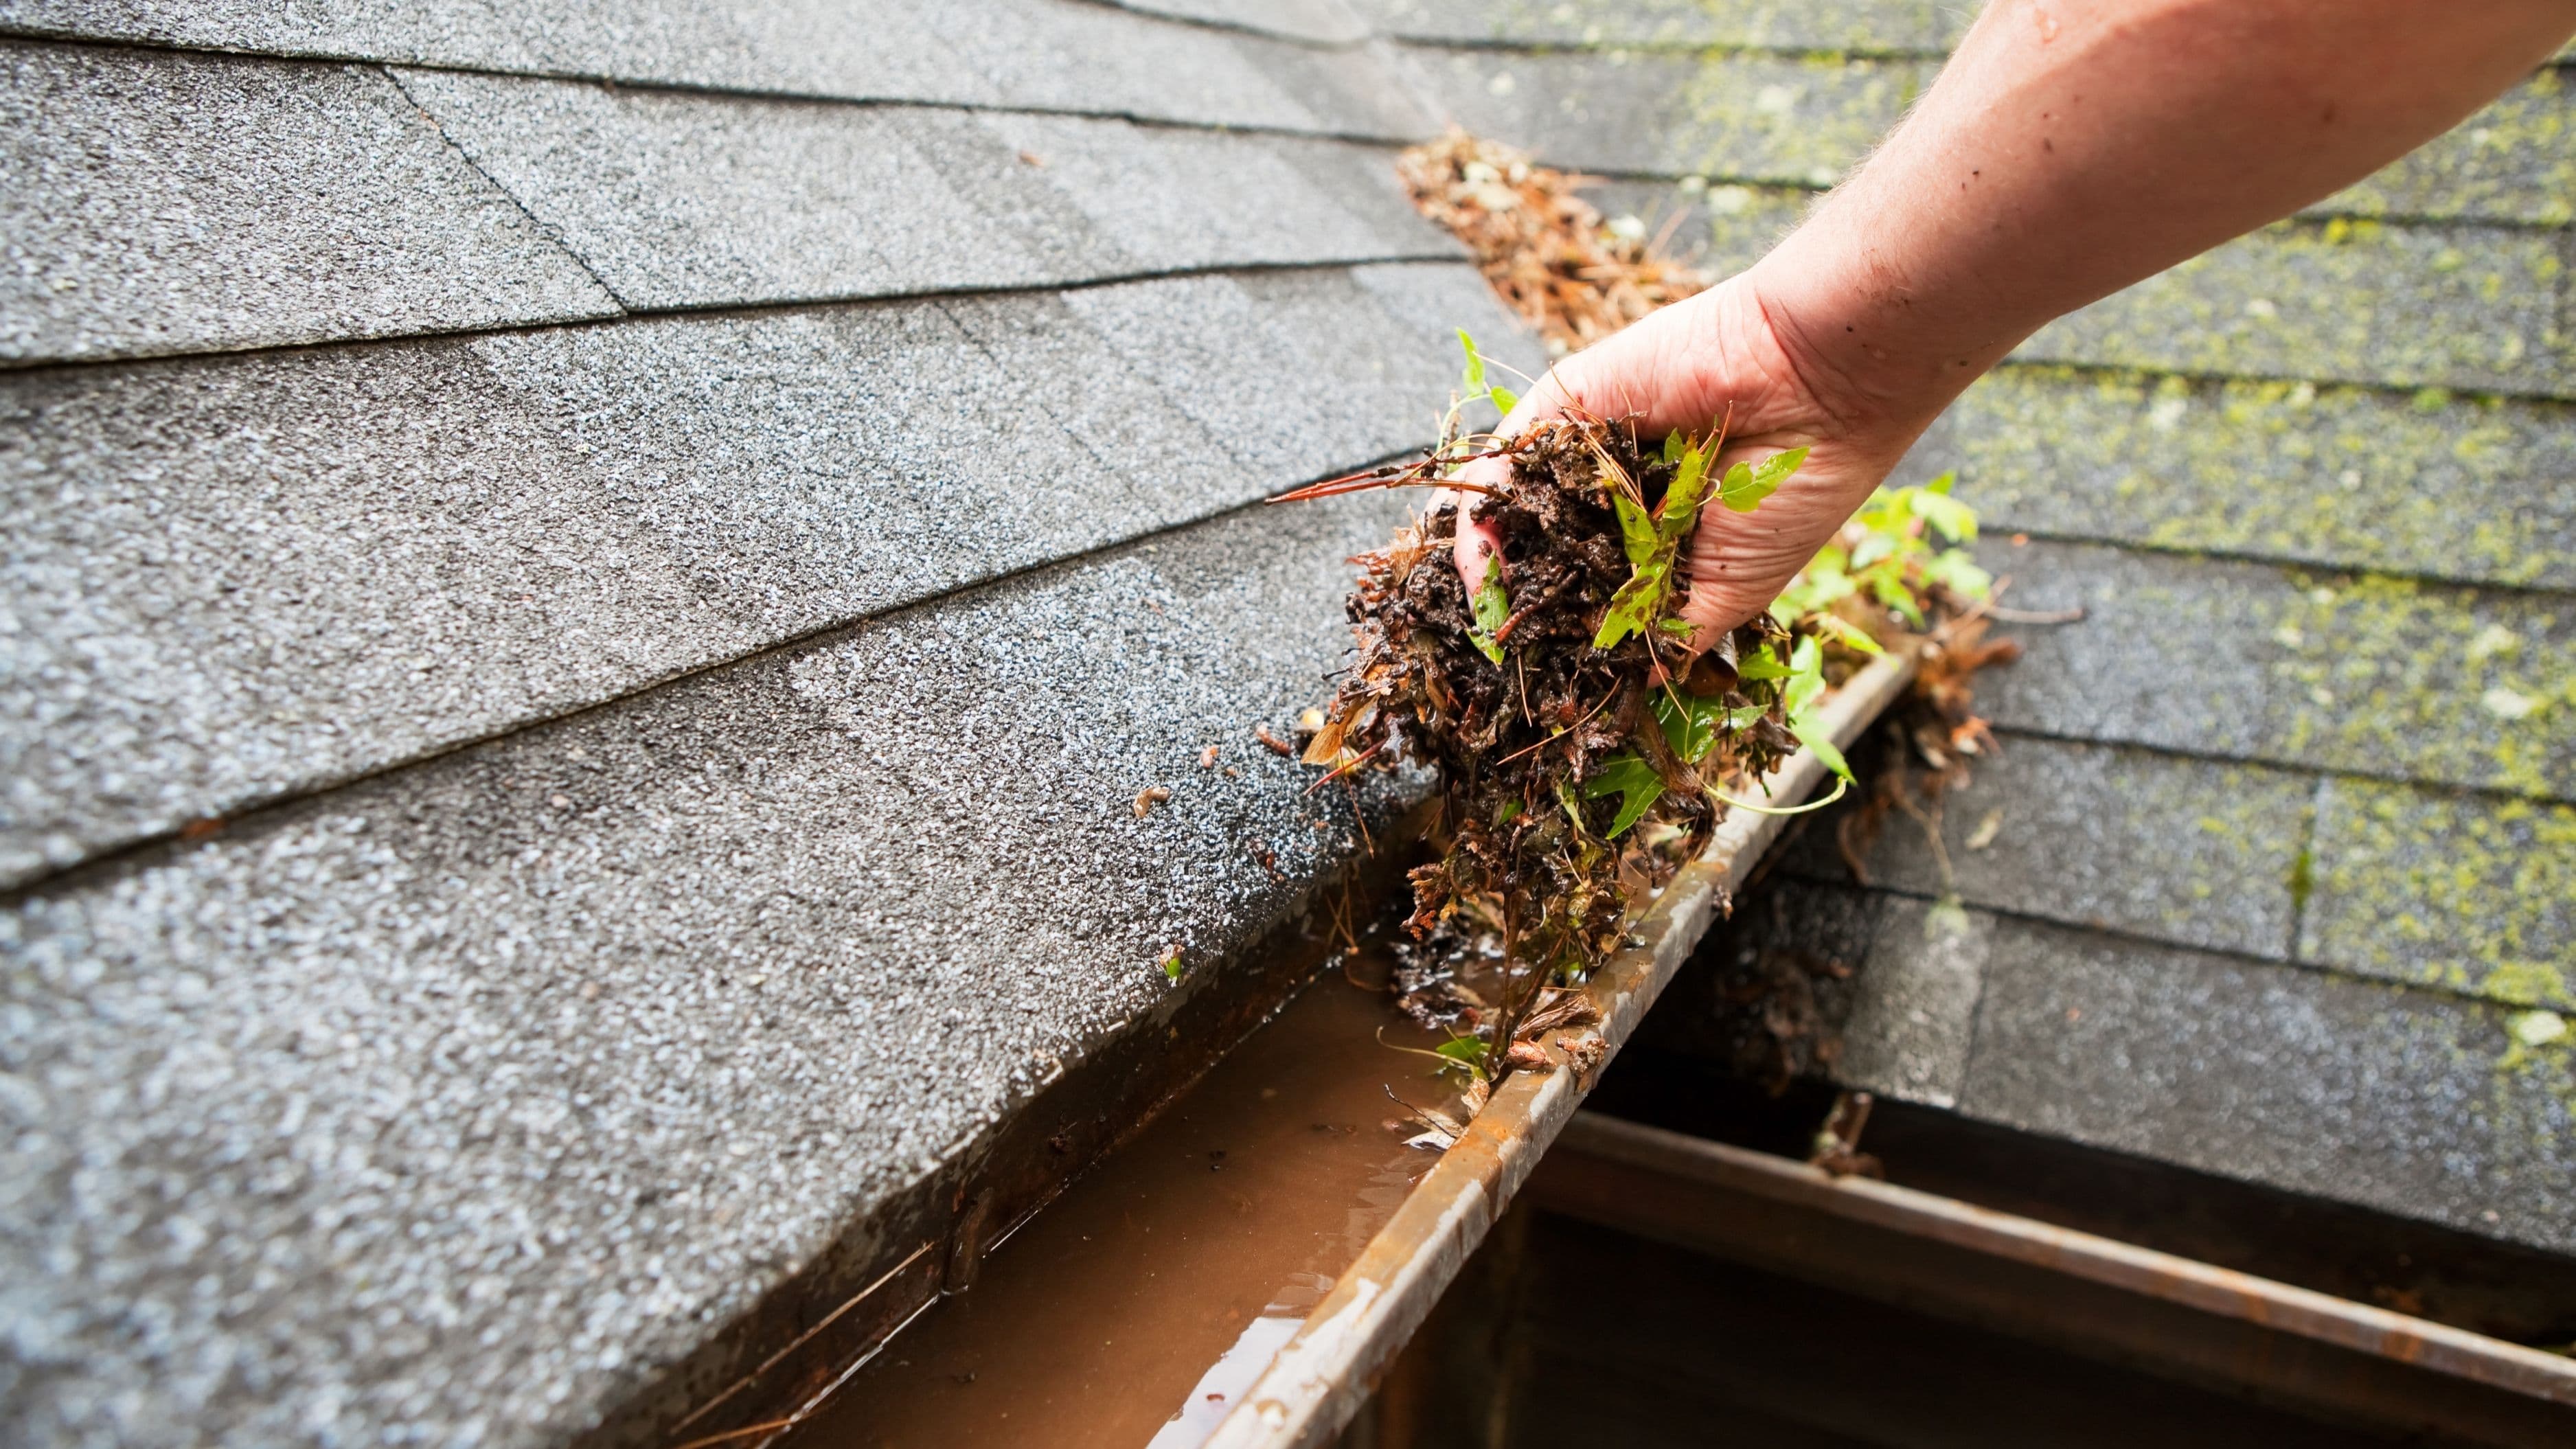
Valleys – where two roof slopes meet – collect debris and can develop cracks or separations in the metal liner over time. A clogged valley with standing leaves causes water to back up under the shingles on either side.
Skylight leaks are usually at the perimeter flashing, not the glass itself. The condensation channel around the frame can also overflow in humid conditions, mimicking a leak.
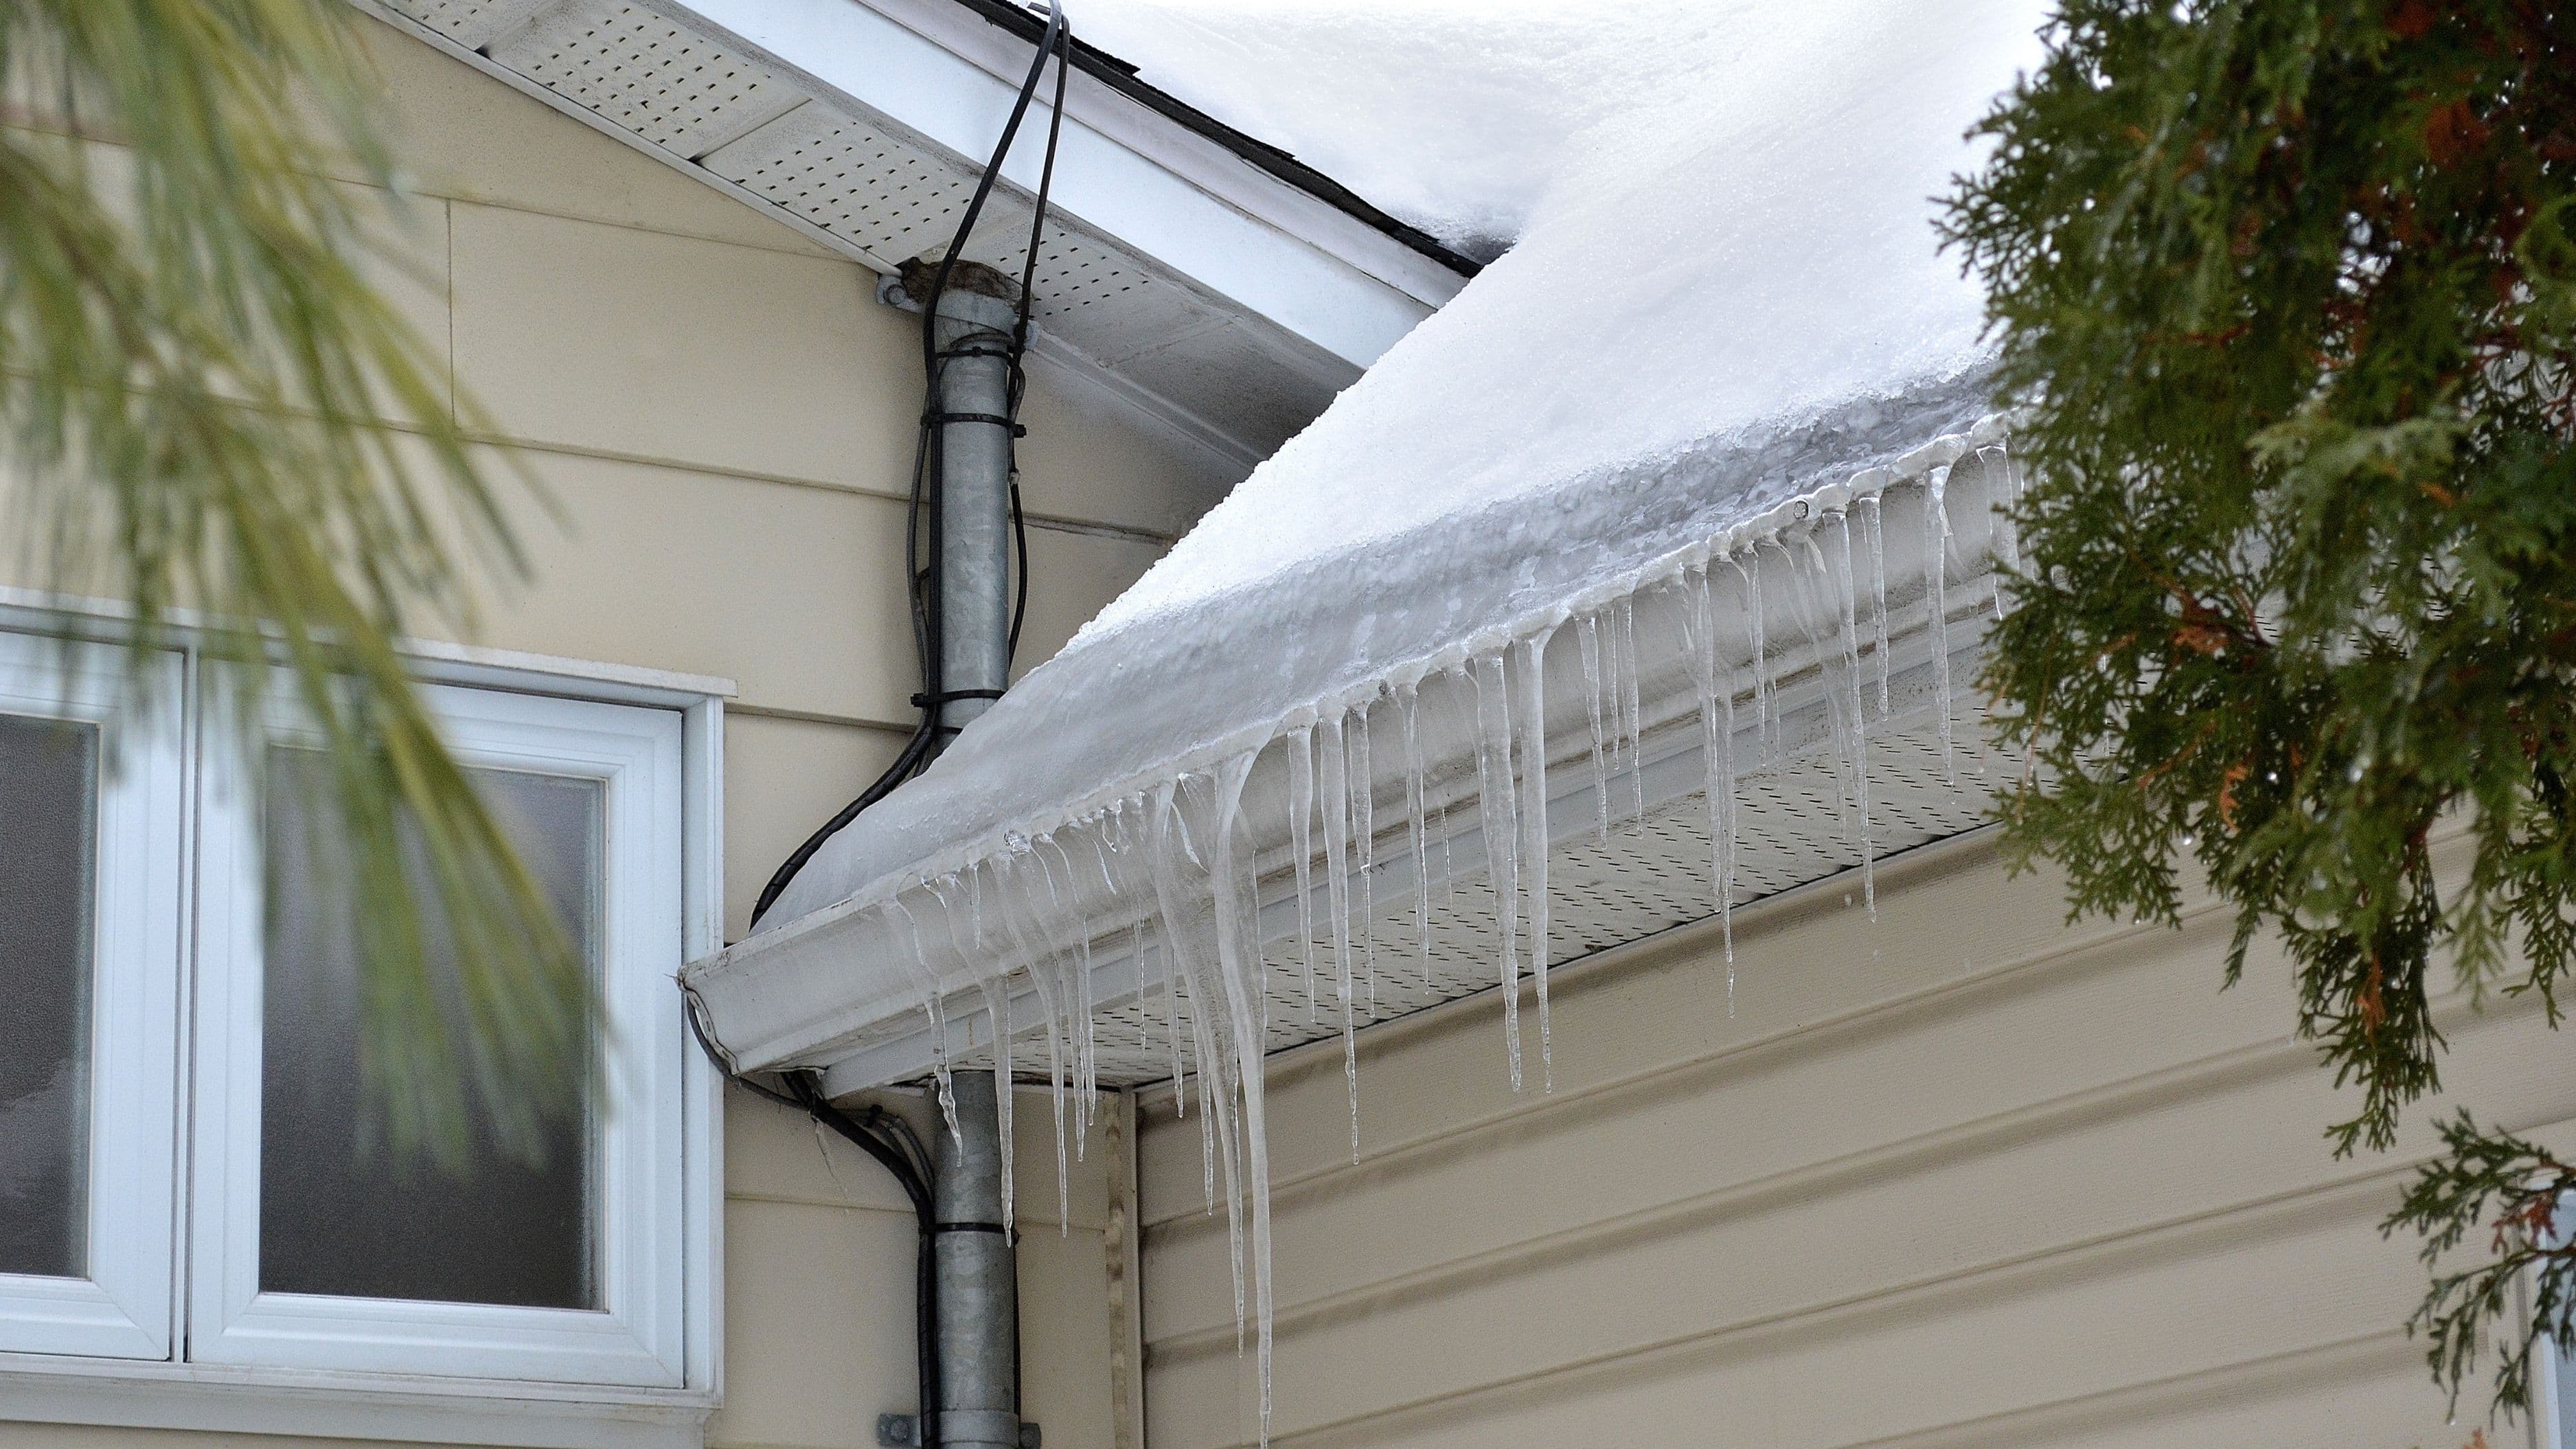
Ice dams (in colder climates) form when heat escapes through the roof deck, melts snow at the ridge, and the meltwater refreezes at the cold eave. The ice backs water up under the shingles where it melts into the attic. Ice dam leaks appear at exterior walls and eaves rather than the middle of a ceiling.
What to Avoid
Don't assume the ceiling stain marks the spot of the leak. As mentioned earlier, water travels – sometimes several feet horizontally before dripping. Cutting open the ceiling directly under a stain before checking the attic is a common mistake that wastes time and money.
Don't ignore a small stain. A tan ring on the ceiling that's been there since last winter isn't harmless – it means water has been entering repeatedly, possibly for months, and the sheathing and structural wood above may already have deterioration you can't see from below.
Don't caulk over roof flashing as a permanent fix. Caulk around chimney and vent flashing breaks down in UV exposure and is a temporary patch at best. If flashing is the source of the leak, it needs to be properly re-seated or replaced, not just sealed over.
Don't attempt repairs on a wet or damp roof, a steep roof without proper safety equipment, or when weather is coming in. Even locating a leak visually from a ladder at the eave carries risk in wet or windy conditions.
When to Call a Professional
Finding the leak yourself is smart. Repairing it is a separate decision, and there are situations where a professional roofer is the right call regardless of DIY skill level.
Call a pro if the leak is at the chimney, around a skylight, or involves any flashing that's separated from masonry – these repairs require specific materials and techniques that are easy to do wrong. Also call a pro if you find soft or rotted sheathing in the attic, if the roof is steep or more than one story high, or if you've done the garden hose test and still can't locate the source. Persistent, hard-to-find leaks sometimes involve ice dam damage, condensation issues, or failed underlayment that requires a more thorough inspection.
A roofing contractor will typically provide a free or low-cost inspection. Coming in with your attic photos, moisture meter readings, and a general zone identified from your own inspection puts you in a much better position – you'll know if their diagnosis matches what you found, and you'll be less likely to pay for more work than is actually needed.
FAQ
Can I have a roof leak without visible ceiling stains? Yes. If the attic has thick insulation, water can saturate the insulation for a long time before reaching the ceiling below. Checking the attic directly is the only reliable way to find early-stage leaks before they show up on the ceiling.
My ceiling stain is dry. Does that mean the leak is fixed? Not necessarily. Many roof leaks are intermittent – they only leak during specific conditions like wind-driven rain or heavy downpours. A dry stain means it's not actively leaking right now, but the entry point is still there and will leak again.
How do I know if the stain is from a roof leak or a plumbing leak? Check whether any plumbing runs through the ceiling or wall above the stain – supply lines, drain pipes, or a bathroom above. Plumbing leaks tend to appear directly below the pipe and don't correlate with rain events. Roof leaks almost always get worse during or after rain. If the stain appears after a storm and there's no plumbing above it, roof is the likely culprit.
How long does it take to find a leak using these methods? A thorough attic inspection takes 20–30 minutes. Add another 15–20 minutes for the ground-level visual check. The garden hose test, if needed, can take 1–2 hours depending on how large the suspect zone is. Most leaks are identified within a single inspection session using these methods.
Is a moisture meter worth buying for this? For a one-time roof leak investigation, it's optional. If you own a home and want a useful tool for diagnosing future water intrusion, moisture issues behind walls, or potential mold areas, a basic pin-type moisture meter at $20–$35 is a solid addition to your toolkit.
📚 Sources
Roof leak detection and common causes – Insurance Institute for Business & Home Safety: https://ibhs.org/roof/
Understanding roof flashing – University of Florida IFAS Extension: https://edis.ifas.ufl.edu/publication/FY1428
Ice dams: prevention and control – University of Minnesota Extension: https://extension.umn.edu/protecting-your-home/ice-dams
Moisture meters for homeowners – Fine Homebuilding: https://www.finehomebuilding.com/2020/01/10/moisture-meters
Home inspection moisture intrusion guide – American Society of Home Inspectors: https://www.homeinspector.org/Newsroom/News/15-Causes-of-Moisture-and-Dampness-in-Homes/6064
🔍 Explore Related Topics