You don't need plumbing experience to fix this. Almost every running toilet comes down to one of three causes, all of which are inside the tank, all of which are cheap to fix, and none of which require turning off water to the whole house.
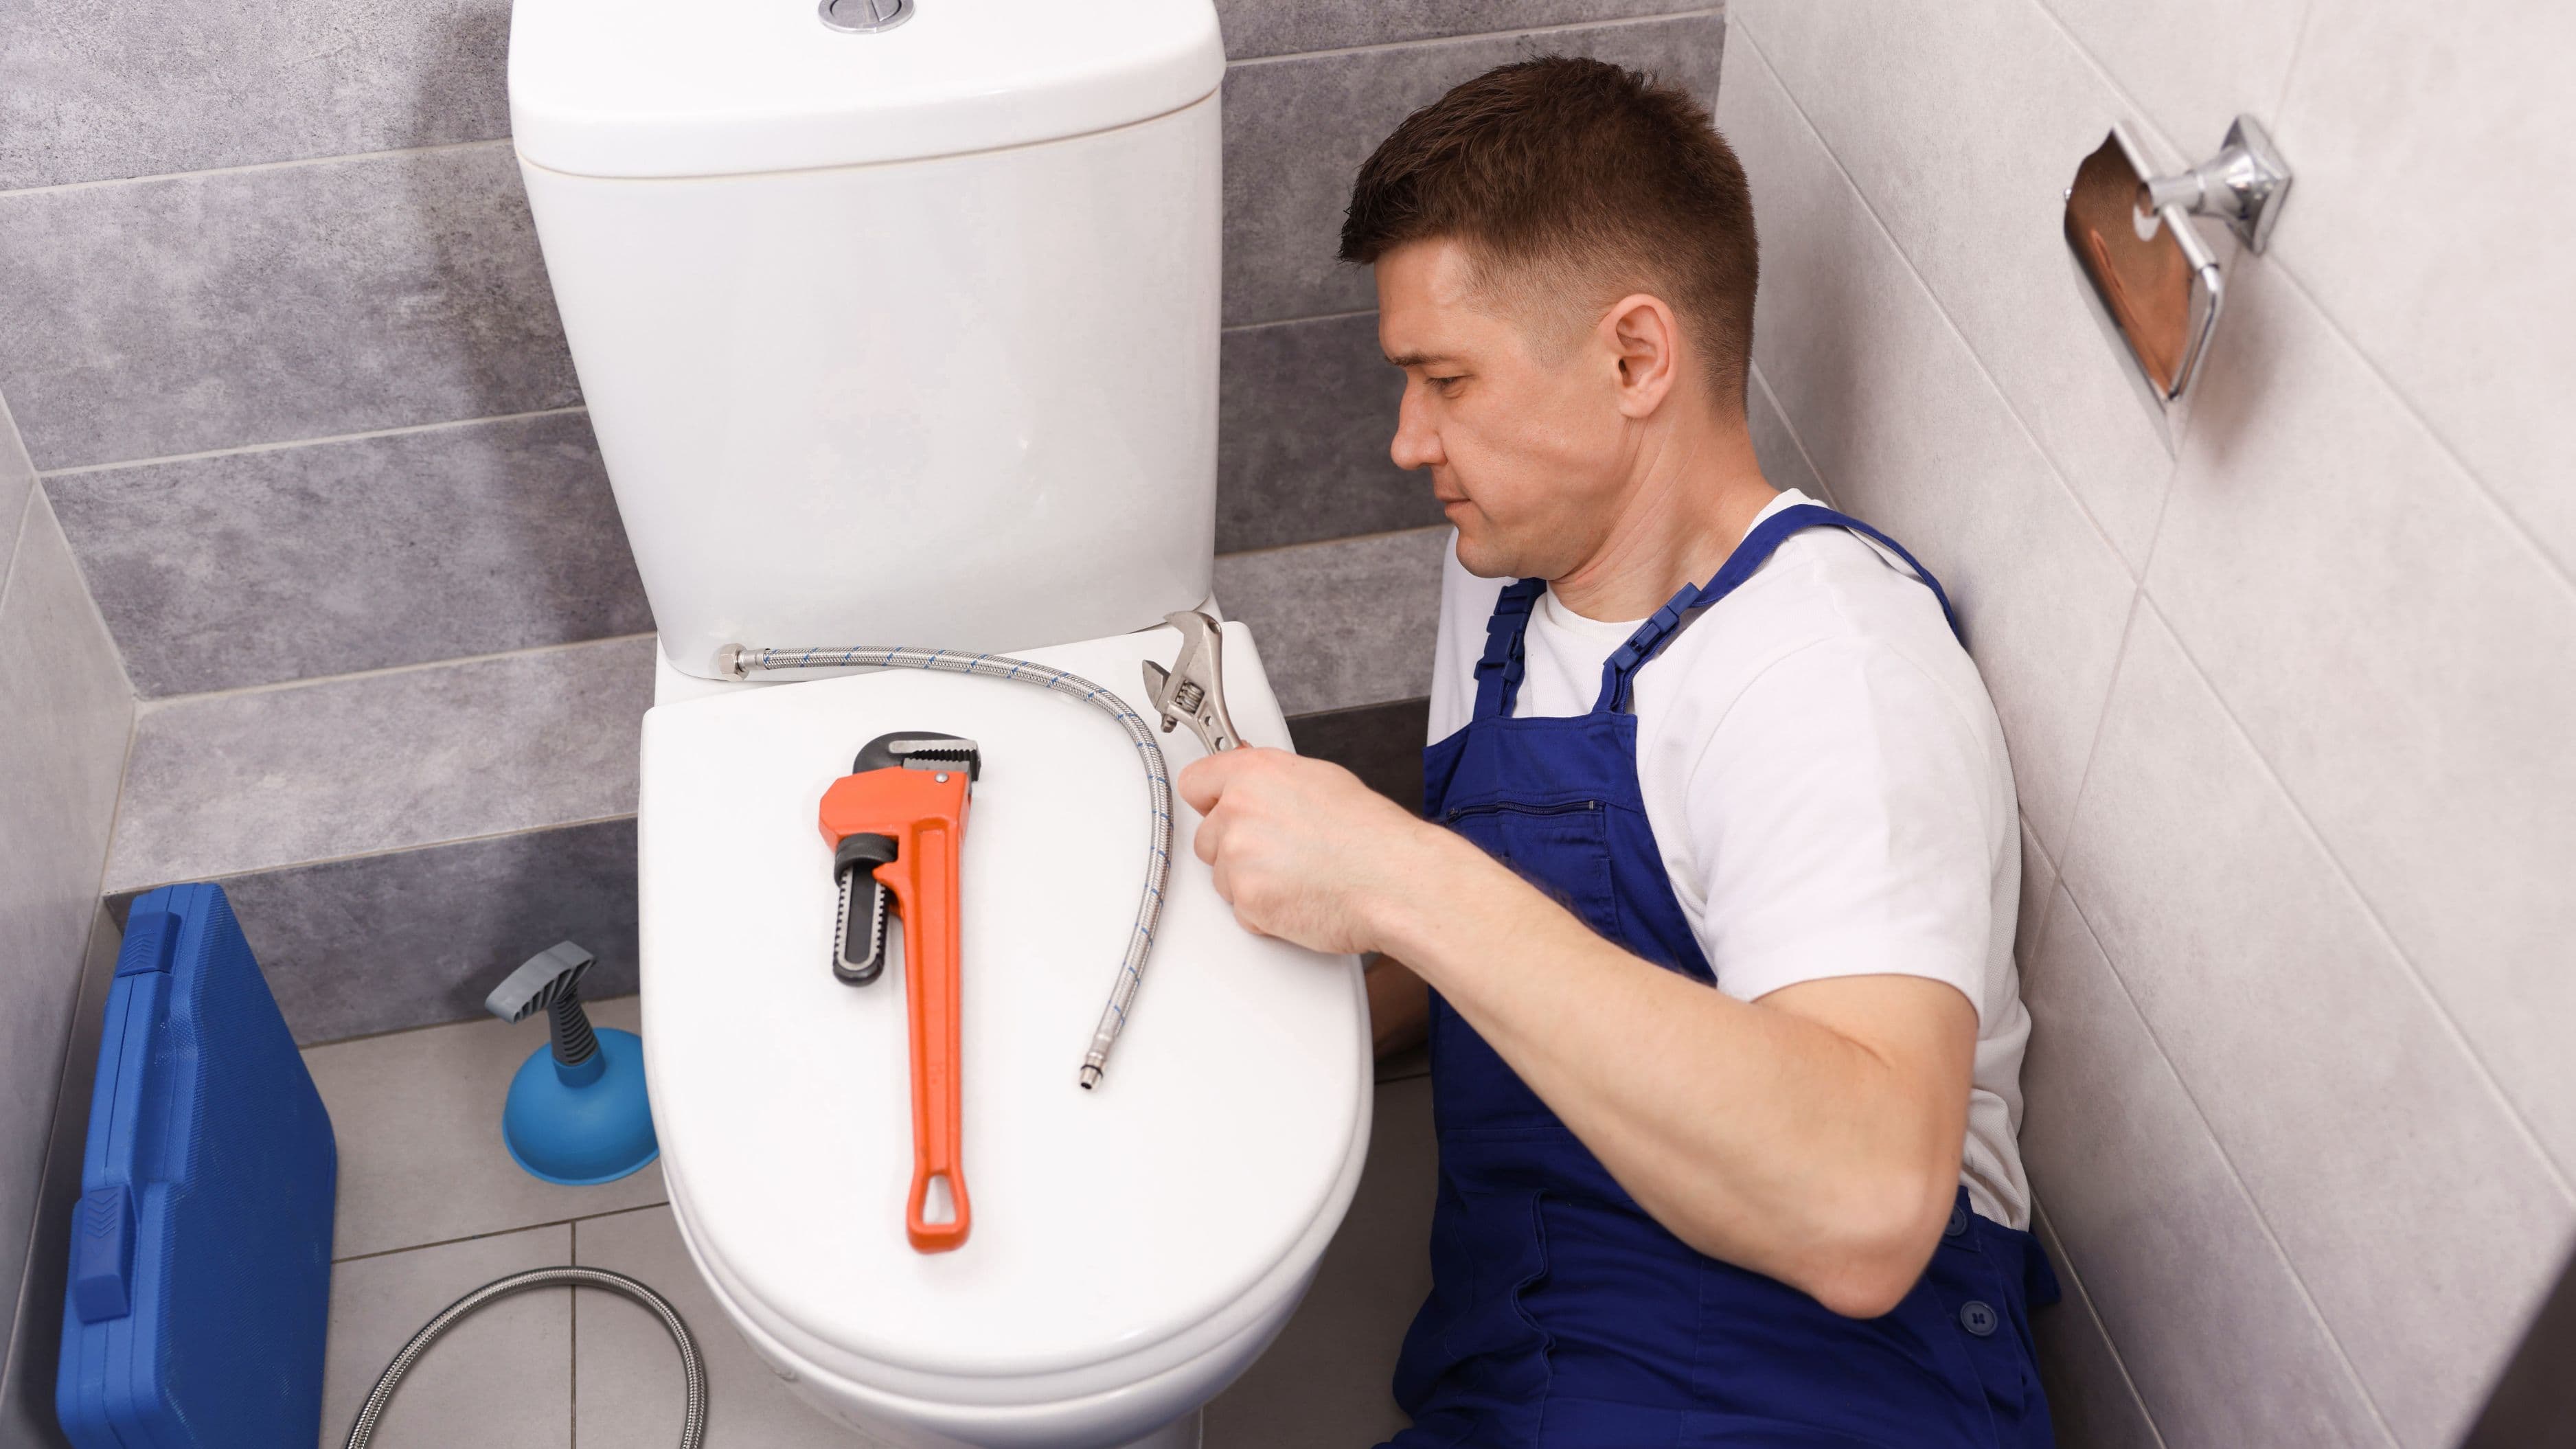
What You'll Need
Before you take the lid off the tank, it helps to have a few things on hand:
The only tool you'll consistently need is an adjustable pliers or slip-joint pliers – primarily for tightening the fill valve locknut if it needs replacing. For most fixes, your hands are all you need. Beyond tools, pick up a toilet repair kit from any hardware store (Fluidmaster and Korky are the two most widely trusted brands, both available at Home Depot, Lowe's, or online for $10–$20). A universal repair kit typically includes a new flapper, fill valve, and flush valve seat, which covers every likely cause. You may also want a pair of rubber gloves and a towel to set the lid on.
Difficulty level: Beginner.
Time: 20–60 minutes.
Cost: $5–$30 in parts.
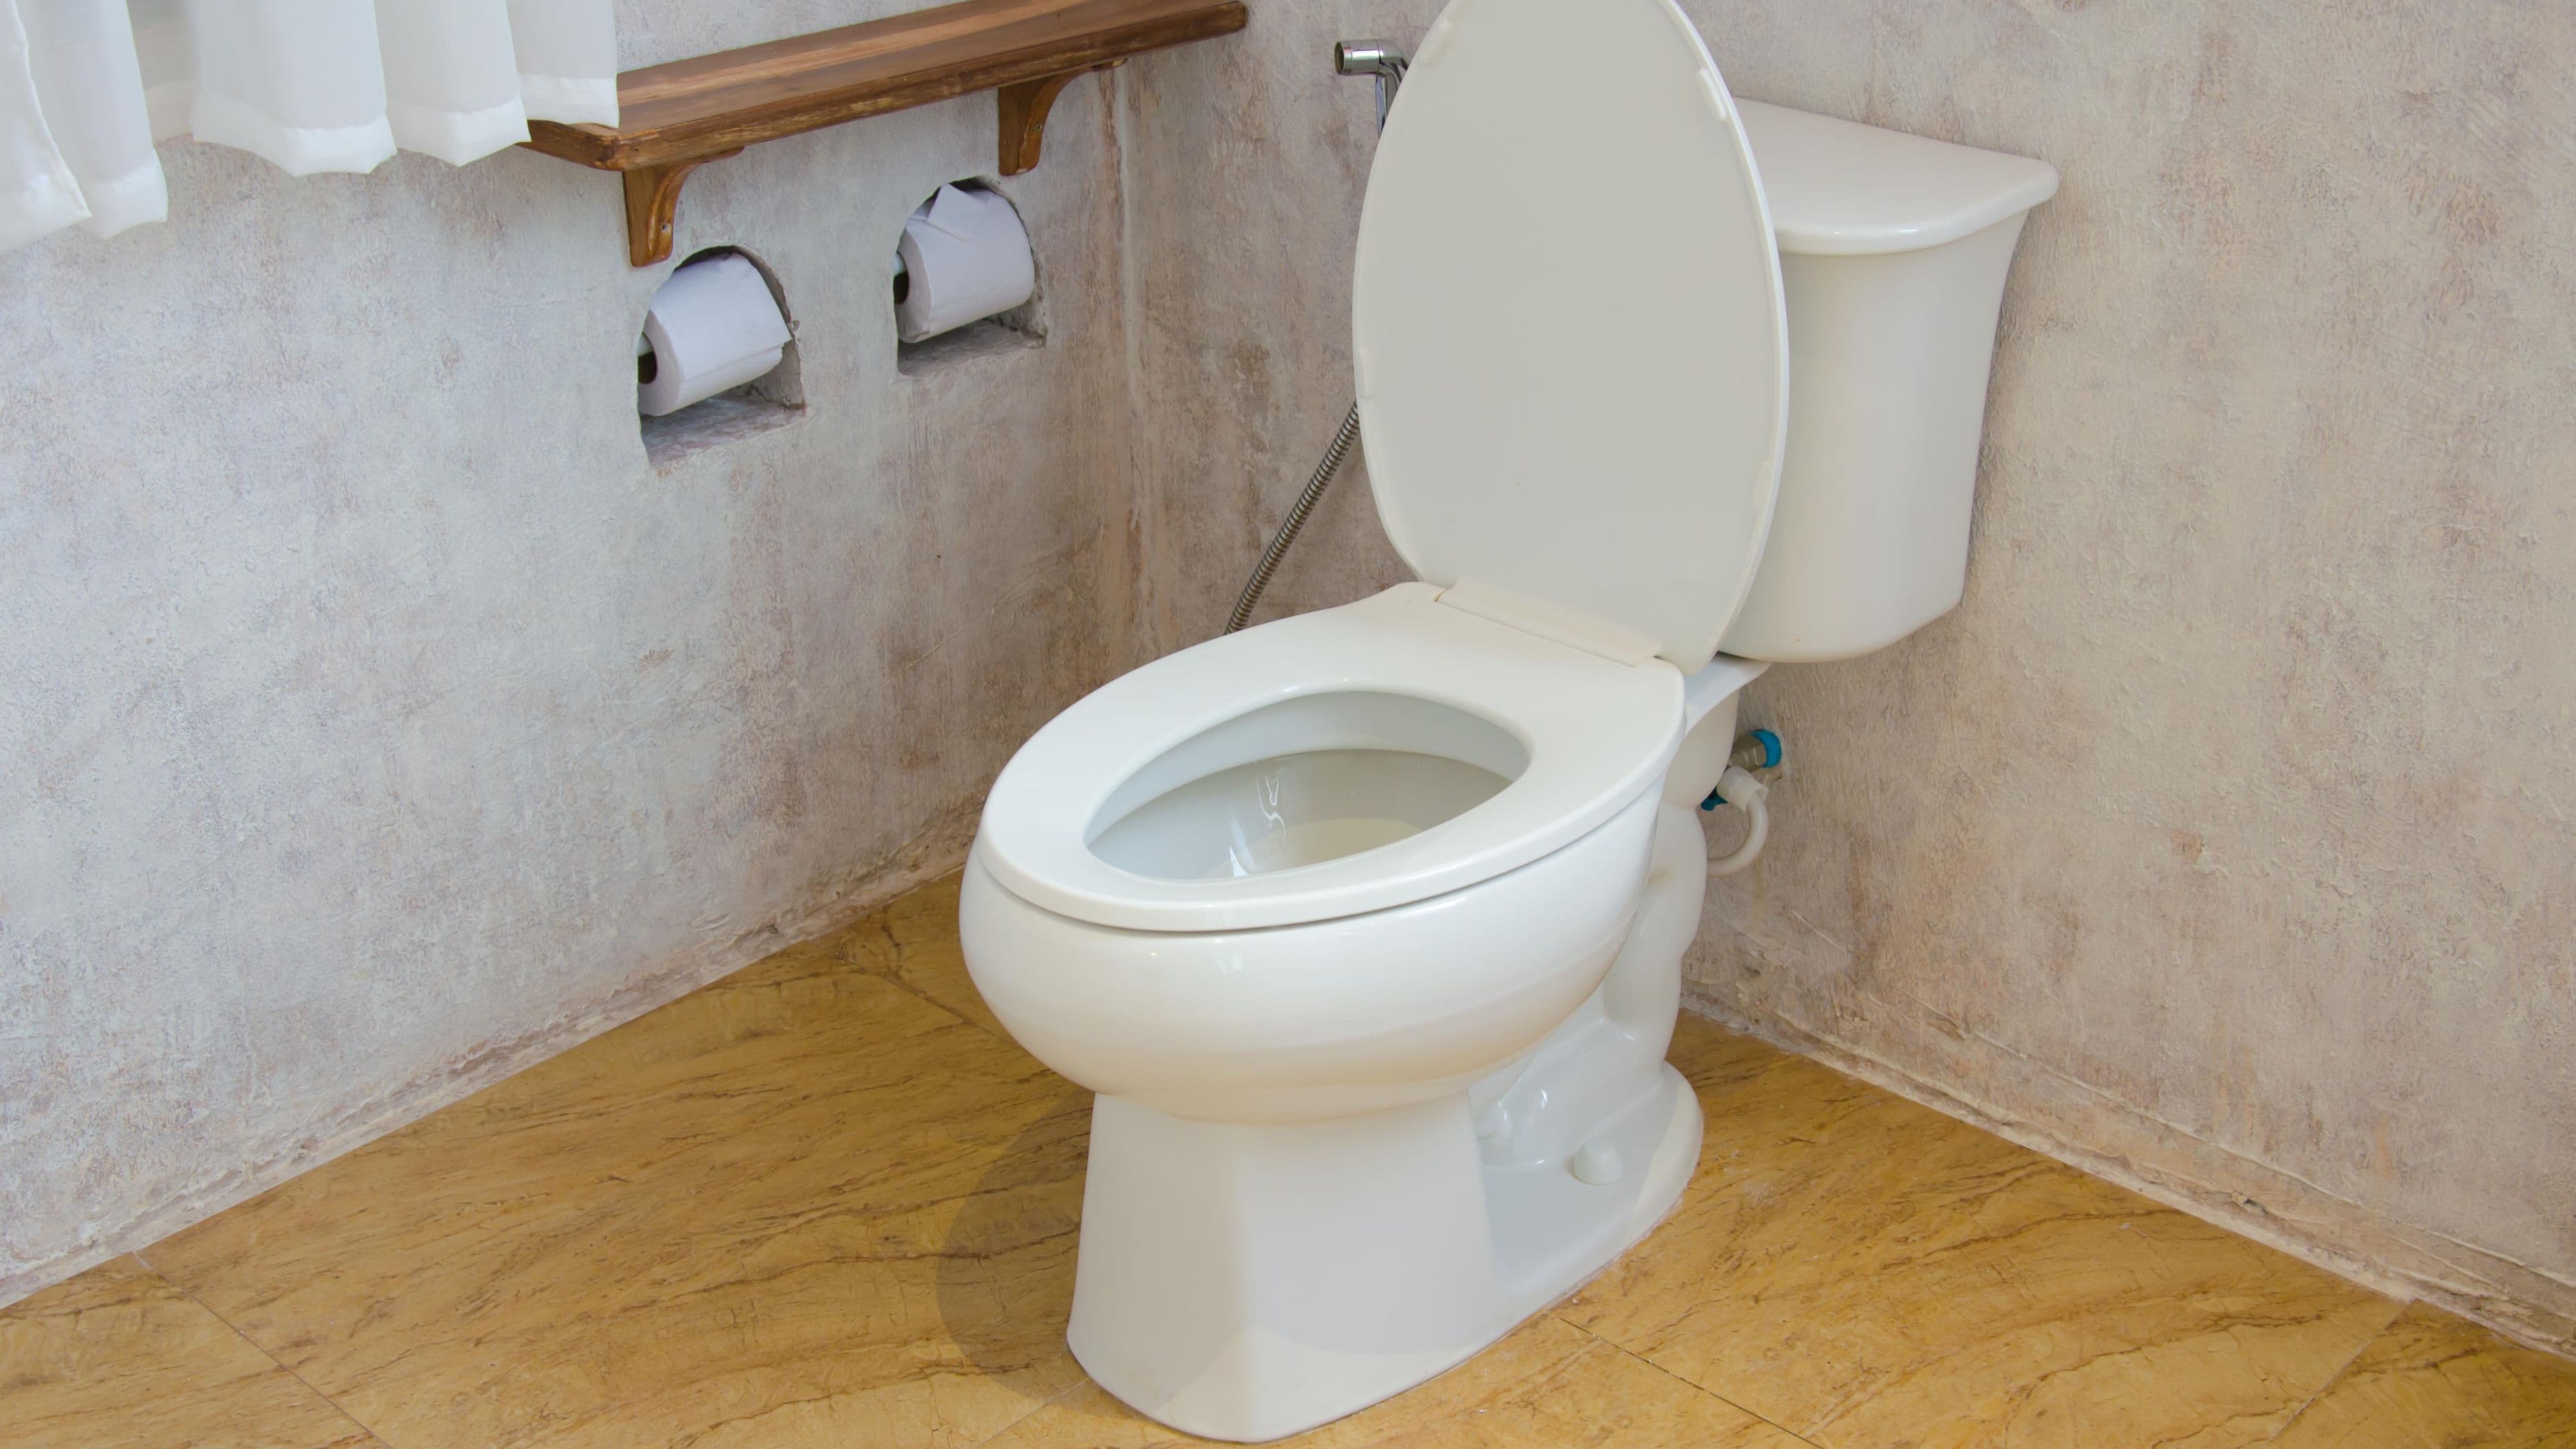
Start Here: Diagnose the Problem First
Lift the tank lid and set it aside carefully on a flat surface – it's porcelain and will crack if it falls. Now look and listen. Running toilet problems almost always come from one of three components: the flapper, the fill valve, or the float. Identifying which one is causing the problem takes about 60 seconds and tells you exactly what to fix.
The food coloring test is the quickest way to confirm a flapper leak. Drop a few drops of food coloring (or a dye tablet, sold at hardware stores) into the tank water. Don't flush. Wait 10–15 minutes and then check the toilet bowl. If you see color in the bowl, water is leaking from the tank through the flapper. That's a flapper problem. If the bowl stays clear, the flapper is fine and you're likely dealing with the fill valve or float instead.
While you're looking in the tank, check whether water is running into the overflow tube – that's the tall vertical tube in the center of the tank. If water is flowing over the top of that tube, the tank is overfilling, which points to a float or fill valve problem. You'll be able to see and hear this immediately.
Fix 1: Replace the Flapper
The flapper is the rubber seal at the bottom of the tank that covers the opening to the bowl. Every time you flush, the flapper lifts up, lets water through, then drops back down to seal the tank so it can refill. Over time, the rubber degrades, warps, or accumulates mineral deposits that prevent a tight seal. When that happens, water slowly leaks from the tank into the bowl – and the fill valve kicks on to compensate, which is what creates that intermittent or constant running sound.
Replacing a flapper is the single most common toilet repair and takes about five minutes once you have the new part.
Step 1: Turn off the water supply to the toilet. The supply valve is the oval or football-shaped knob on the wall behind and below the toilet. Turn it clockwise until it stops.
Step 2: Flush the toilet to empty the tank. Most of the water will drain out. Sponge or towel out any remaining water at the bottom of the tank.
Step 3: Unhook the old flapper. Most flappers have two "ears" that loop over pegs on either side of the flush valve, plus a chain attached to the flush handle arm. Unhook the chain first, then slide the ears off the pegs. Pull the old flapper free.
Step 4: Take the old flapper to the hardware store if you're unsure what size to get, or buy a universal flapper. Most modern toilets use a 2-inch flapper; some newer high-efficiency models use a 3-inch. When in doubt, Fluidmaster 502 and Korky 100BP are near-universal fits for standard 2-inch flush valves.
Step 5: Attach the new flapper by looping the ears over the pegs and hooking the chain onto the flush arm. The chain should have about ½ inch of slack – enough that the flapper seals fully, but not so much slack that it gets trapped under the flapper when it closes. Adjust the chain clip to get the right length.
Step 6: Turn the water supply back on slowly and let the tank refill. Flush once to test. Wait five minutes and redo the food coloring test to confirm the seal.
Cost: $5–$12 for a replacement flapper.
Fix 2: Adjust or Replace the Float
The float is the mechanism that tells the fill valve when to stop filling. In older toilets, it's a large ball float on a long arm. In newer toilets, it's a cylindrical float that slides up and down the fill valve shaft. When the float is set too high, the water level rises above the overflow tube and drains continuously. That's a float adjustment, not a replacement.
Adjusting a ball float: Look for a small adjustment screw on top of the fill valve arm, or gently bend the arm itself slightly downward. The goal is to lower the water level so it sits about 1 inch below the top of the overflow tube. Adjust, then let the tank fill and check the level.
Adjusting a cylinder float: There's usually a clip or adjustment screw on the side of the float shaft. Slide the float down to lower the water level, or turn the adjustment screw counterclockwise. Again, target about 1 inch below the overflow tube.
If adjusting the float doesn't stop the running – or if the float is cracked or waterlogged in a ball-float design – replacement is the fix. A replacement fill valve assembly (which includes the float) runs $10–$15 and is a straightforward swap.
Cost: $0 if adjustment solves it; $10–$15 for a new fill valve assembly.
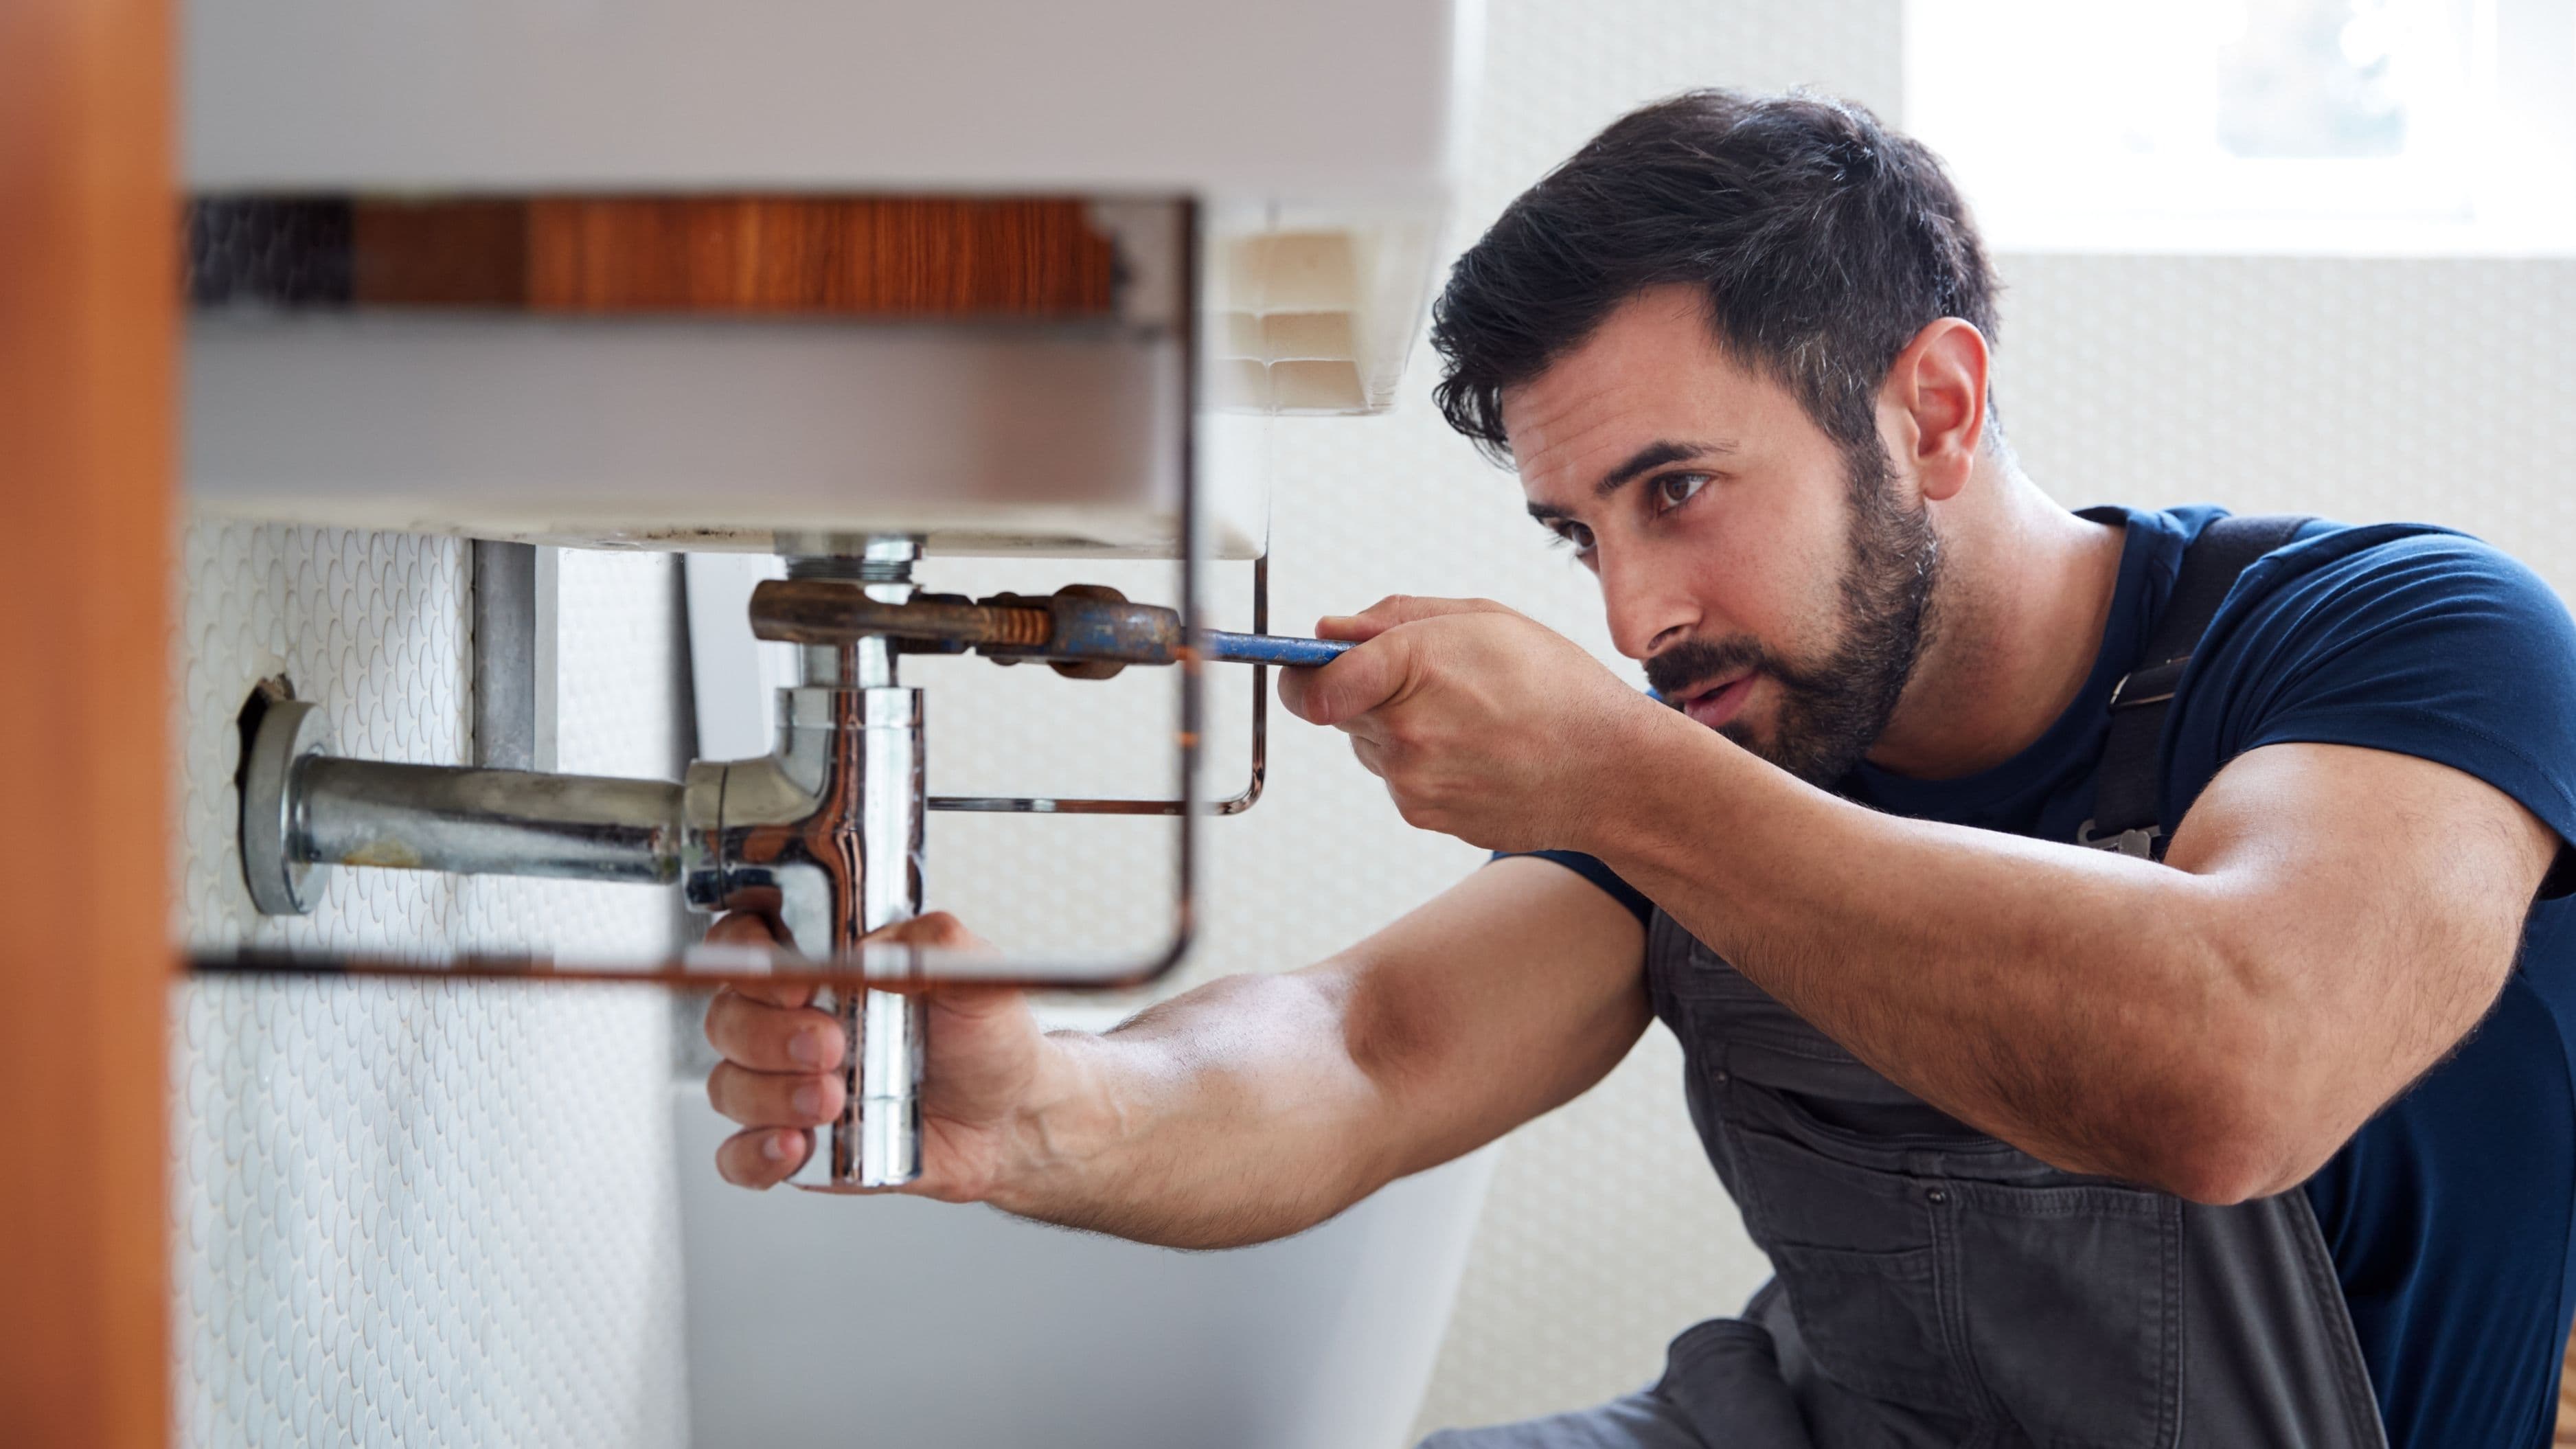
Fix 3: Replace the Fill Valve
If the flapper is fine and the float is set correctly but the toilet is still running, the fill valve itself may be worn out or faulty. The fill valve controls water flow into the tank, and when the internal seal or diaphragm inside it fails, it can allow a slow, continuous trickle even with the float properly adjusted.
Replacing the fill valve is slightly more involved than replacing the flapper, but it's still well within beginner territory.
Step 1: Turn off the supply valve and flush to empty the tank.
Step 2: Disconnect the water supply line from the bottom of the tank. Have a small bucket or towel ready – a little residual water will drip out.
Step 3: Inside the tank, look for the fill valve – it's the unit the float is attached to, on the left side of the tank. There's a locknut on the outside-bottom of the tank that holds it in place. Use adjustable pliers to turn the locknut counterclockwise and remove it.
Step 4: Lift the old fill valve out of the tank. Take it with you to the hardware store to match the height, or buy an adjustable fill valve like the Fluidmaster 400A, which is compatible with nearly every residential toilet and is the most widely recommended replacement part by plumbers.
Step 5: Insert the new fill valve, hand-tighten the locknut from below, then snug it with the pliers (don't overtighten – finger tight plus about a half turn is enough for plastic nuts).
Step 6: Reconnect the supply line, turn the water on slowly, and let the tank fill. Check for leaks at the base of the valve and at the supply line connection. Flush and test.
Cost: $10–$20 for a replacement fill valve.
Common Mistakes to Avoid
Overtightening plastic components is the most frequent error in toilet repairs. The tank, the fill valve locknut, and the supply line connection are all plastic or rubber and crack easily. Snug is sufficient – you don't need pliers torque.
Forgetting to adjust chain slack after replacing a flapper causes a surprising number of repeat repairs. If the chain is too short, the flapper can't close fully. Too long and it gets trapped under the flapper. Take an extra minute to get this right.
Not doing the food coloring test before replacing parts leads to unnecessary spending. Diagnose first, buy parts second. The test costs nothing and takes 15 minutes.
Assuming the repair didn't work before waiting long enough. After replacing the flapper, give the dye test a full 10–15 minutes before concluding it's still leaking. Residual food coloring already in the bowl can look like a leak when it isn't.
When to Call a Plumber
Most running toilets are fixable without professional help, but there are specific situations where calling a plumber is the right call.
If you've replaced the flapper and the fill valve and the toilet is still running, there may be a problem with the flush valve seat – the surface the flapper seals against. Mineral buildup or cracks in the flush valve seat are less common but require either special repair tools or flush valve replacement, which is a more involved job. A plumber can assess whether the flush valve seat needs resurfacing or if the whole flush valve needs replacing, which sometimes makes more sense with an older toilet.
If you notice cracks in the tank, water pooling at the base of the toilet unrelated to the running problem, or if the supply valve behind the toilet won't turn off fully (water keeps flowing even when turned), those are situations where professional assessment is appropriate. A supply valve that won't shut off may require turning off water at the main, which adds complexity.
Frequently Asked Questions
How do I know which part is causing the running without buying everything? Do the food coloring test first. If color appears in the bowl within 15 minutes, it's the flapper. If the tank is overflowing into the overflow tube, it's the float or fill valve. If neither of those, listen carefully – a faint hissing from the fill valve after the tank is full usually points to the valve itself.
Can I fix a running toilet if I've never done any plumbing before? Yes. Flapper and float adjustments require no plumbing knowledge and no tools. Fill valve replacement is slightly more involved but is genuinely beginner-level. If you can follow instructions step by step, you can handle all three.
Will the repair hold long-term? Flapper replacements typically last 3–5 years before the rubber degrades again. Fill valve replacements usually last 5–10 years. If you're dealing with hard water, mineral buildup can shorten the lifespan of both. Running a toilet tank cleaner tablet occasionally can help extend the life of the new parts.
What if the water at the base of the toilet is the problem, not the tank? Water at the base during or after flushing suggests a wax ring seal failure rather than a running toilet problem. That's a different repair and typically requires pulling the toilet, which is more involved but still DIY-able with a bit more comfort around home repair. If you're seeing water at the base, address that separately from any tank issue.
You've Got This
A running toilet sounds like a plumbing problem, but it almost always comes down to a $10 rubber part or a 60-second adjustment. The whole repair – diagnosis, parts, and fix – takes less time than waiting for a plumber to arrive, and it costs a fraction of a service call. Once you've done it once, you'll feel comfortable handling it any time it comes up again. Start with the food coloring test, identify the cause, and go from there.
📚 Sources
EPA WaterSense – Fix a Leak Week: Common household leaks: https://www.epa.gov/watersense/fix-leak-week
U.S. Department of Energy – Water efficiency in the home: https://www.energy.gov/eere/femp/water-efficiency
Fluidmaster – How to fix a running toilet guide: https://www.fluidmaster.com/blog/how-to-fix-a-running-toilet
Family Handyman – Running toilet repair guide: https://www.familyhandyman.com/project/how-to-fix-a-running-toilet
USGS Water Science School – Water use statistics: https://www.usgs.gov/special-topics/water-science-school/science/water-qa-how-much-water-do-i-use-home-each-day
🔍 Explore Related Topics