
Here's how to diagnose what's actually causing the sag and fix it properly, without needing to call in a pro for what's usually a straightforward repair.
What Causes a Gutter to Sag
Before grabbing tools, it helps to understand what's actually happening. Gutters sag for one of a few reasons: the hangers holding it to the fascia have loosened or pulled out, the fascia board itself has started to rot and can't hold a screw anymore, or the gutter is clogged with debris and the extra weight is pulling it down over time. Figuring out which one you're dealing with determines which fix you'll need, so it's worth a quick inspection before you start.
Tools and Materials You'll Need
Sturdy extension ladder (tall enough to comfortably reach the gutter)
Work gloves
Gutter scoop or a small trowel
Garden hose
Drill with a screwdriver bit
Gutter hangers or gutter screws (spike-and-ferrule or hidden hanger style)
Wood filler or a fascia board repair section (only if rot is present)
Level
A helper, if possible, for holding the ladder and gutter sections steady
Step 1: Clear Out the Debris First
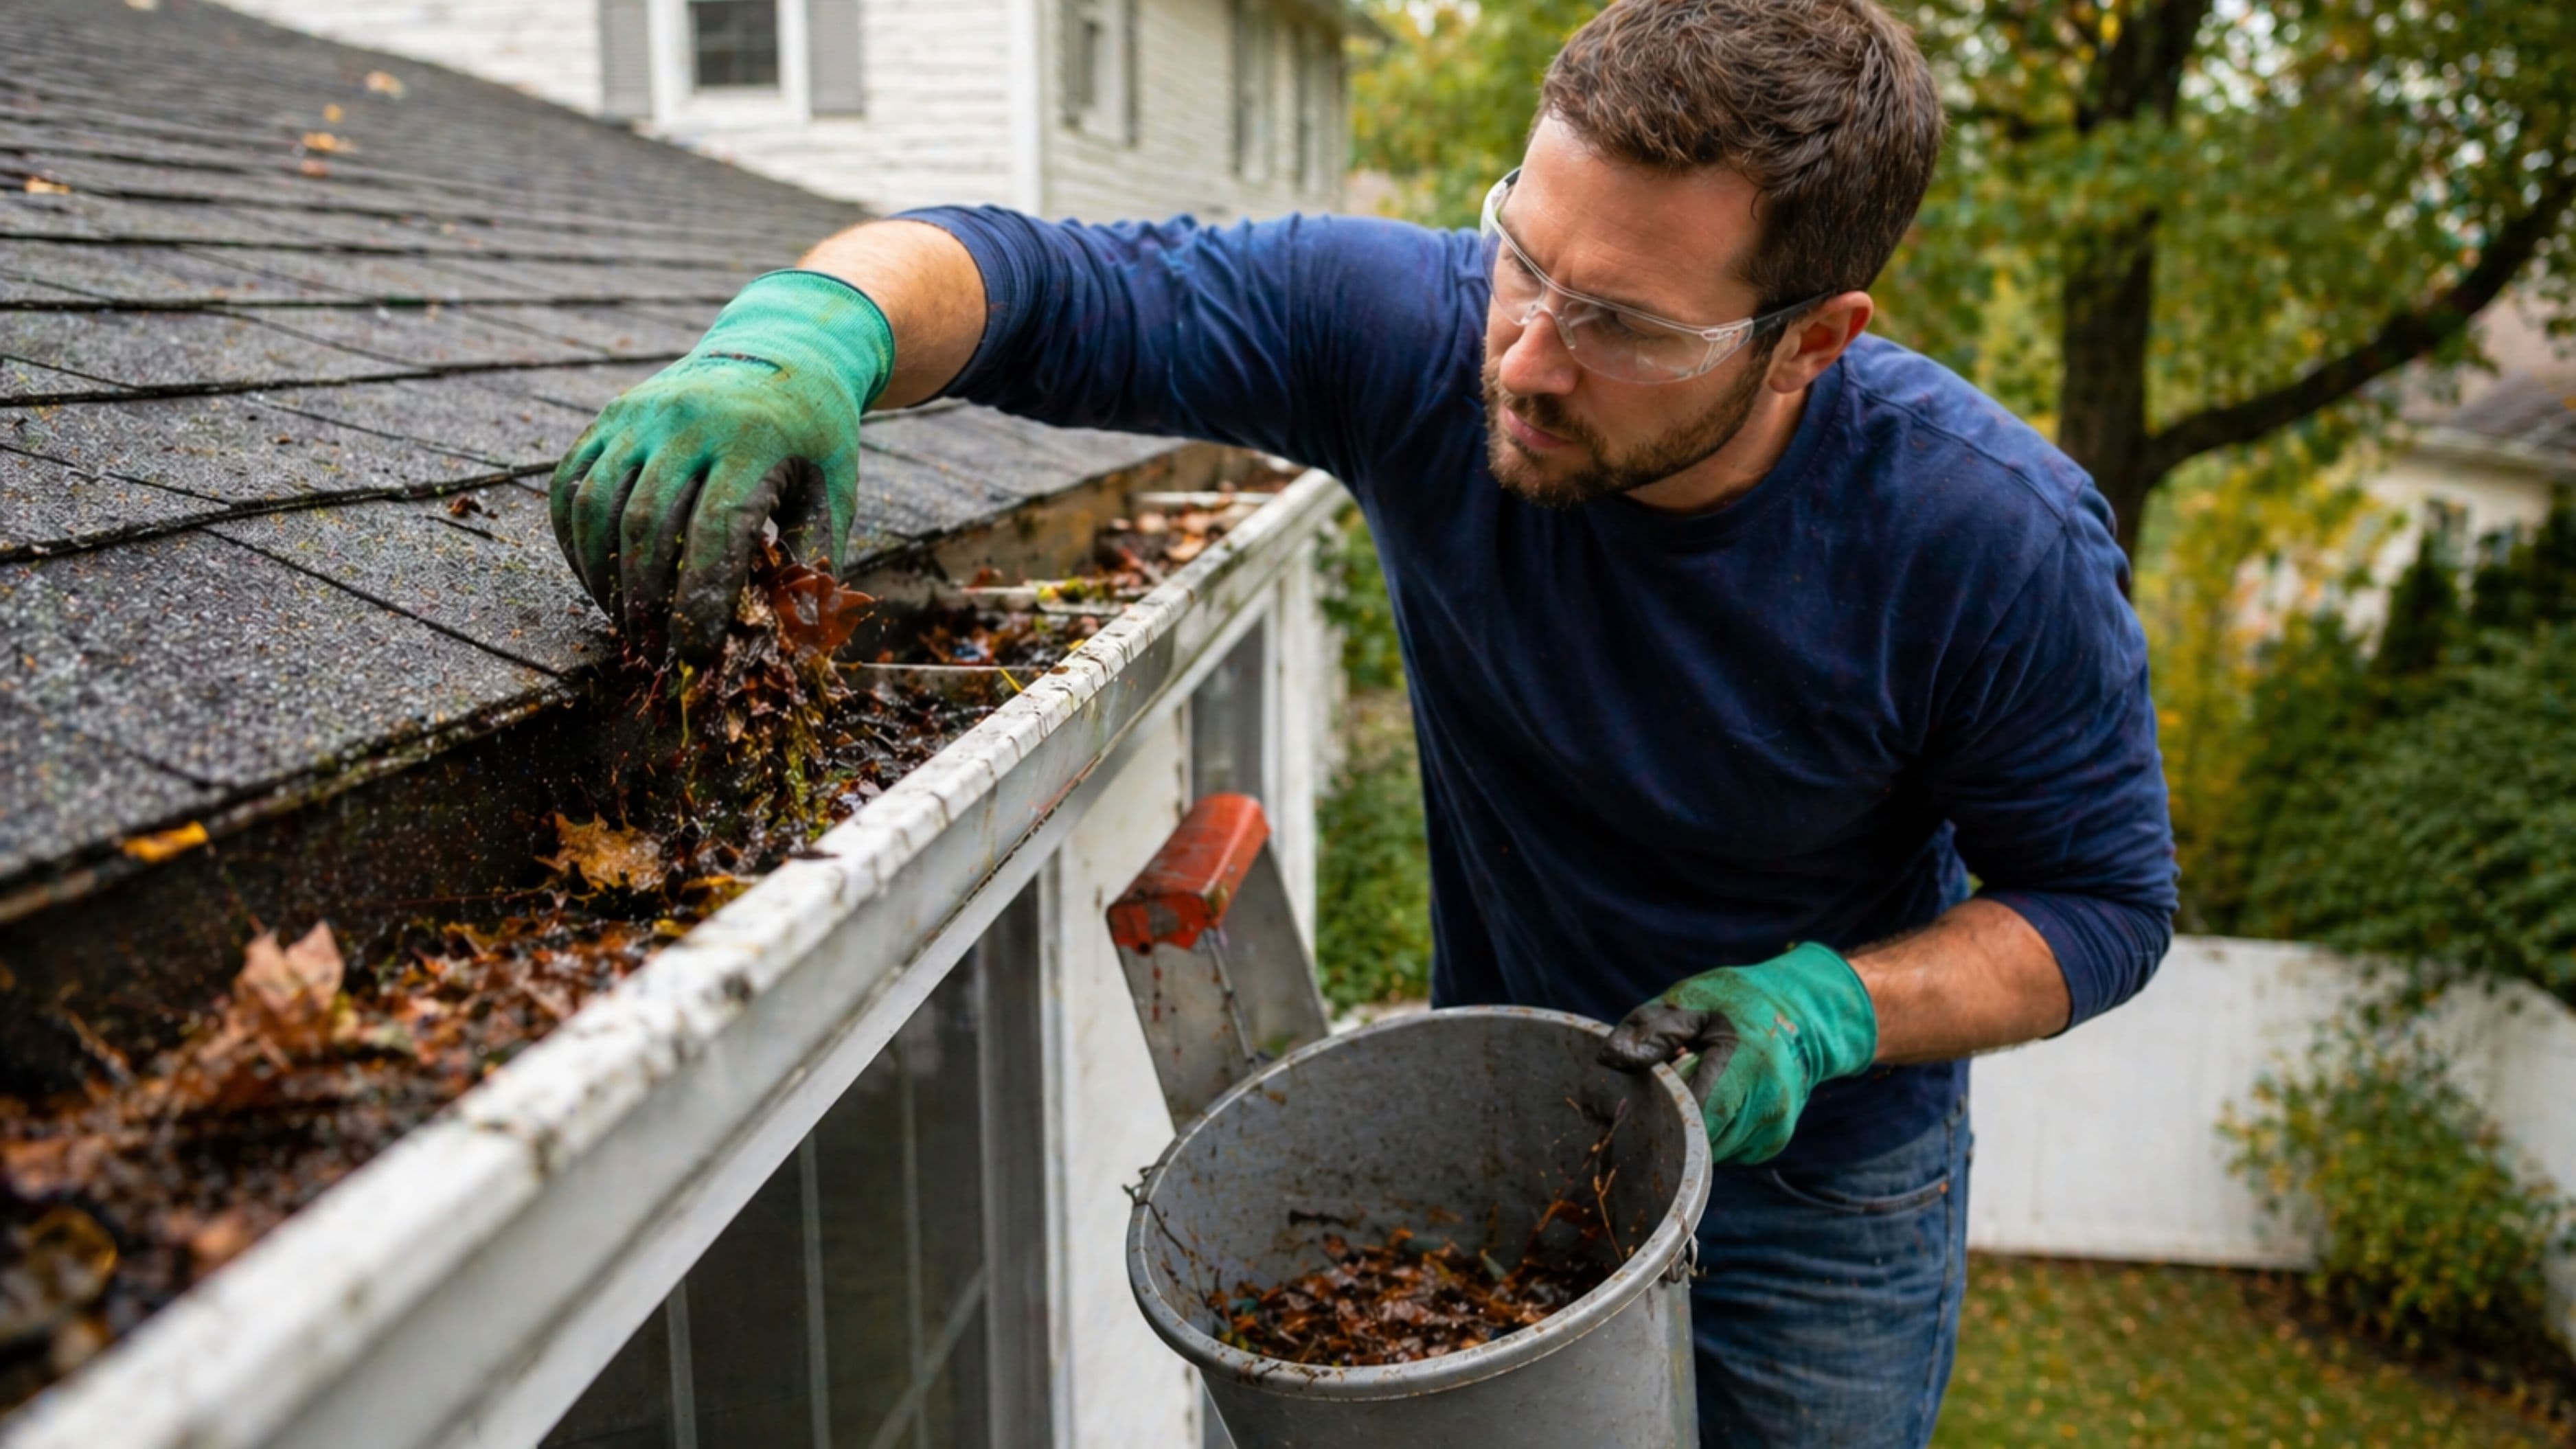
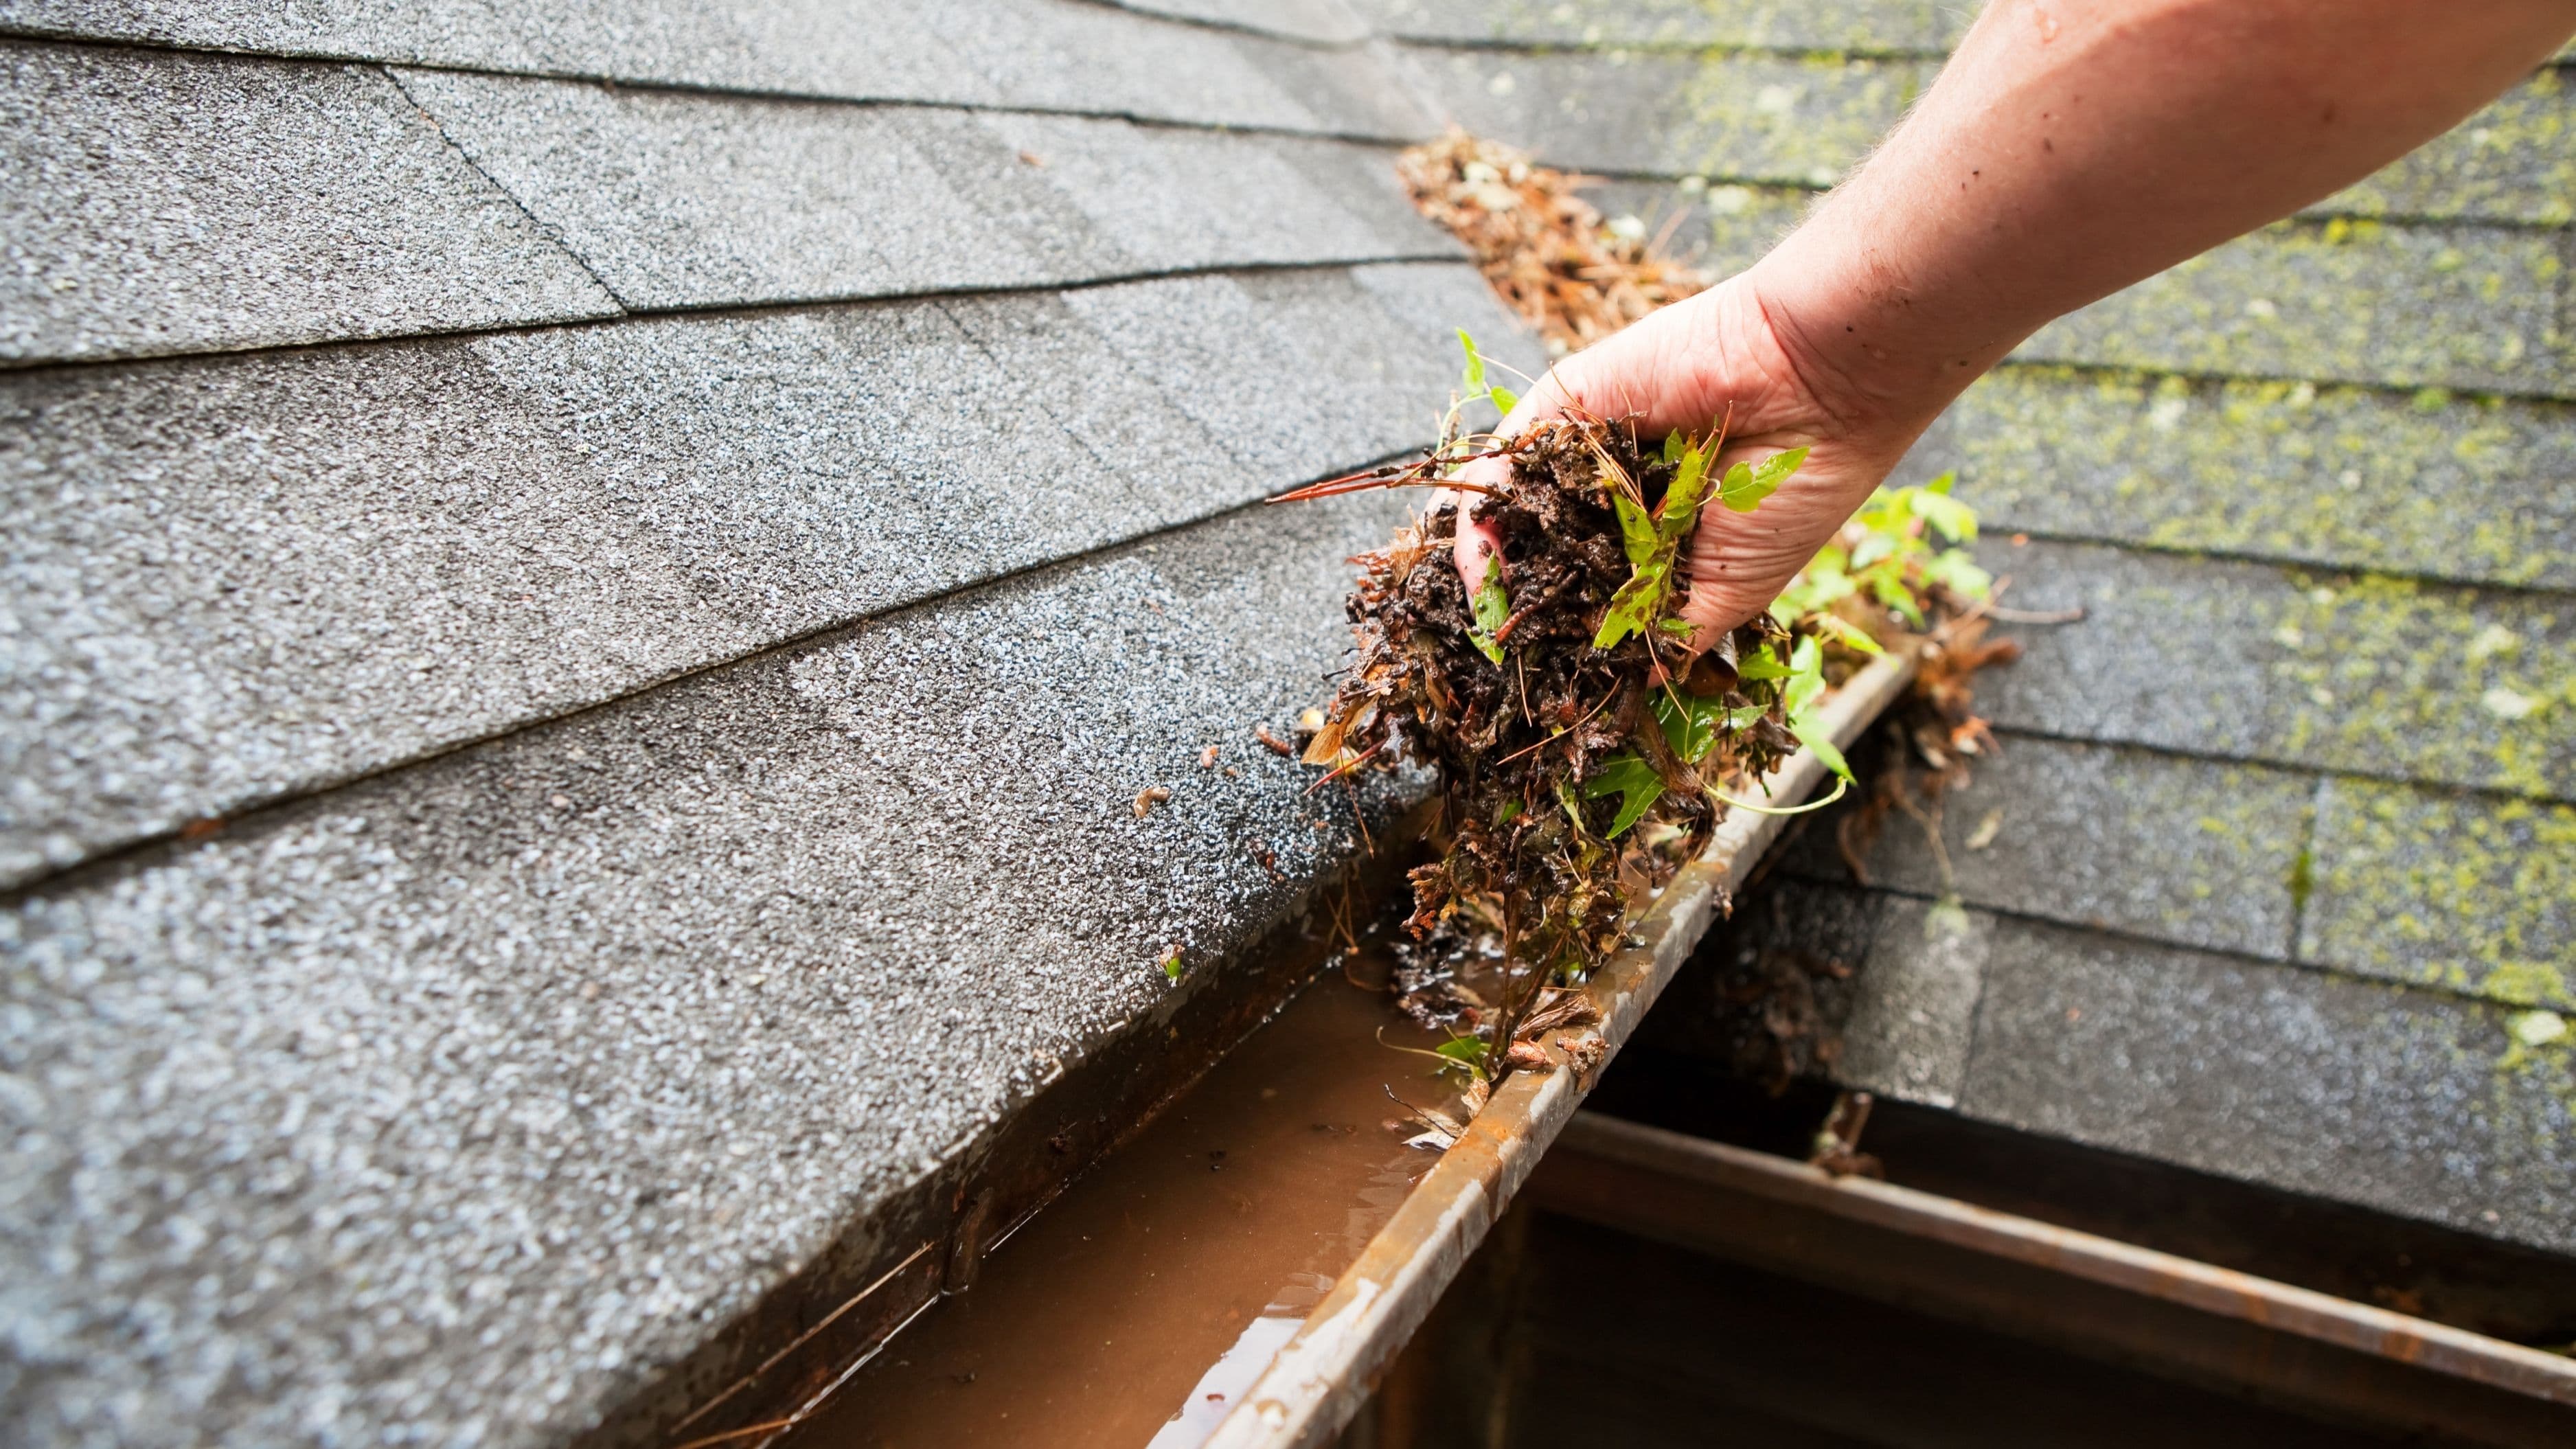
Start by clearing any leaves, dirt, or standing debris out of the gutter with a scoop or gloved hand, working from the end farthest from the downspout toward it. Wet, compacted debris is heavier than most people expect, and in a lot of cases, simply removing the weight reveals that the gutter isn't damaged at all – it was just overloaded.
Once it's clear, flush the gutter with a hose to confirm water flows freely toward the downspout. If water pools anywhere along the run, that's a sign of a slope issue, which you'll want to address in step 3.
Step 2: Inspect and Replace Damaged Hangers
With the gutter cleared, check the hangers or spikes holding it to the fascia, especially near the sagging section. Loose spikes are the most common culprit, and often the holes they're screwed into have simply worn larger over time from years of freeze-thaw cycles and gutter movement.
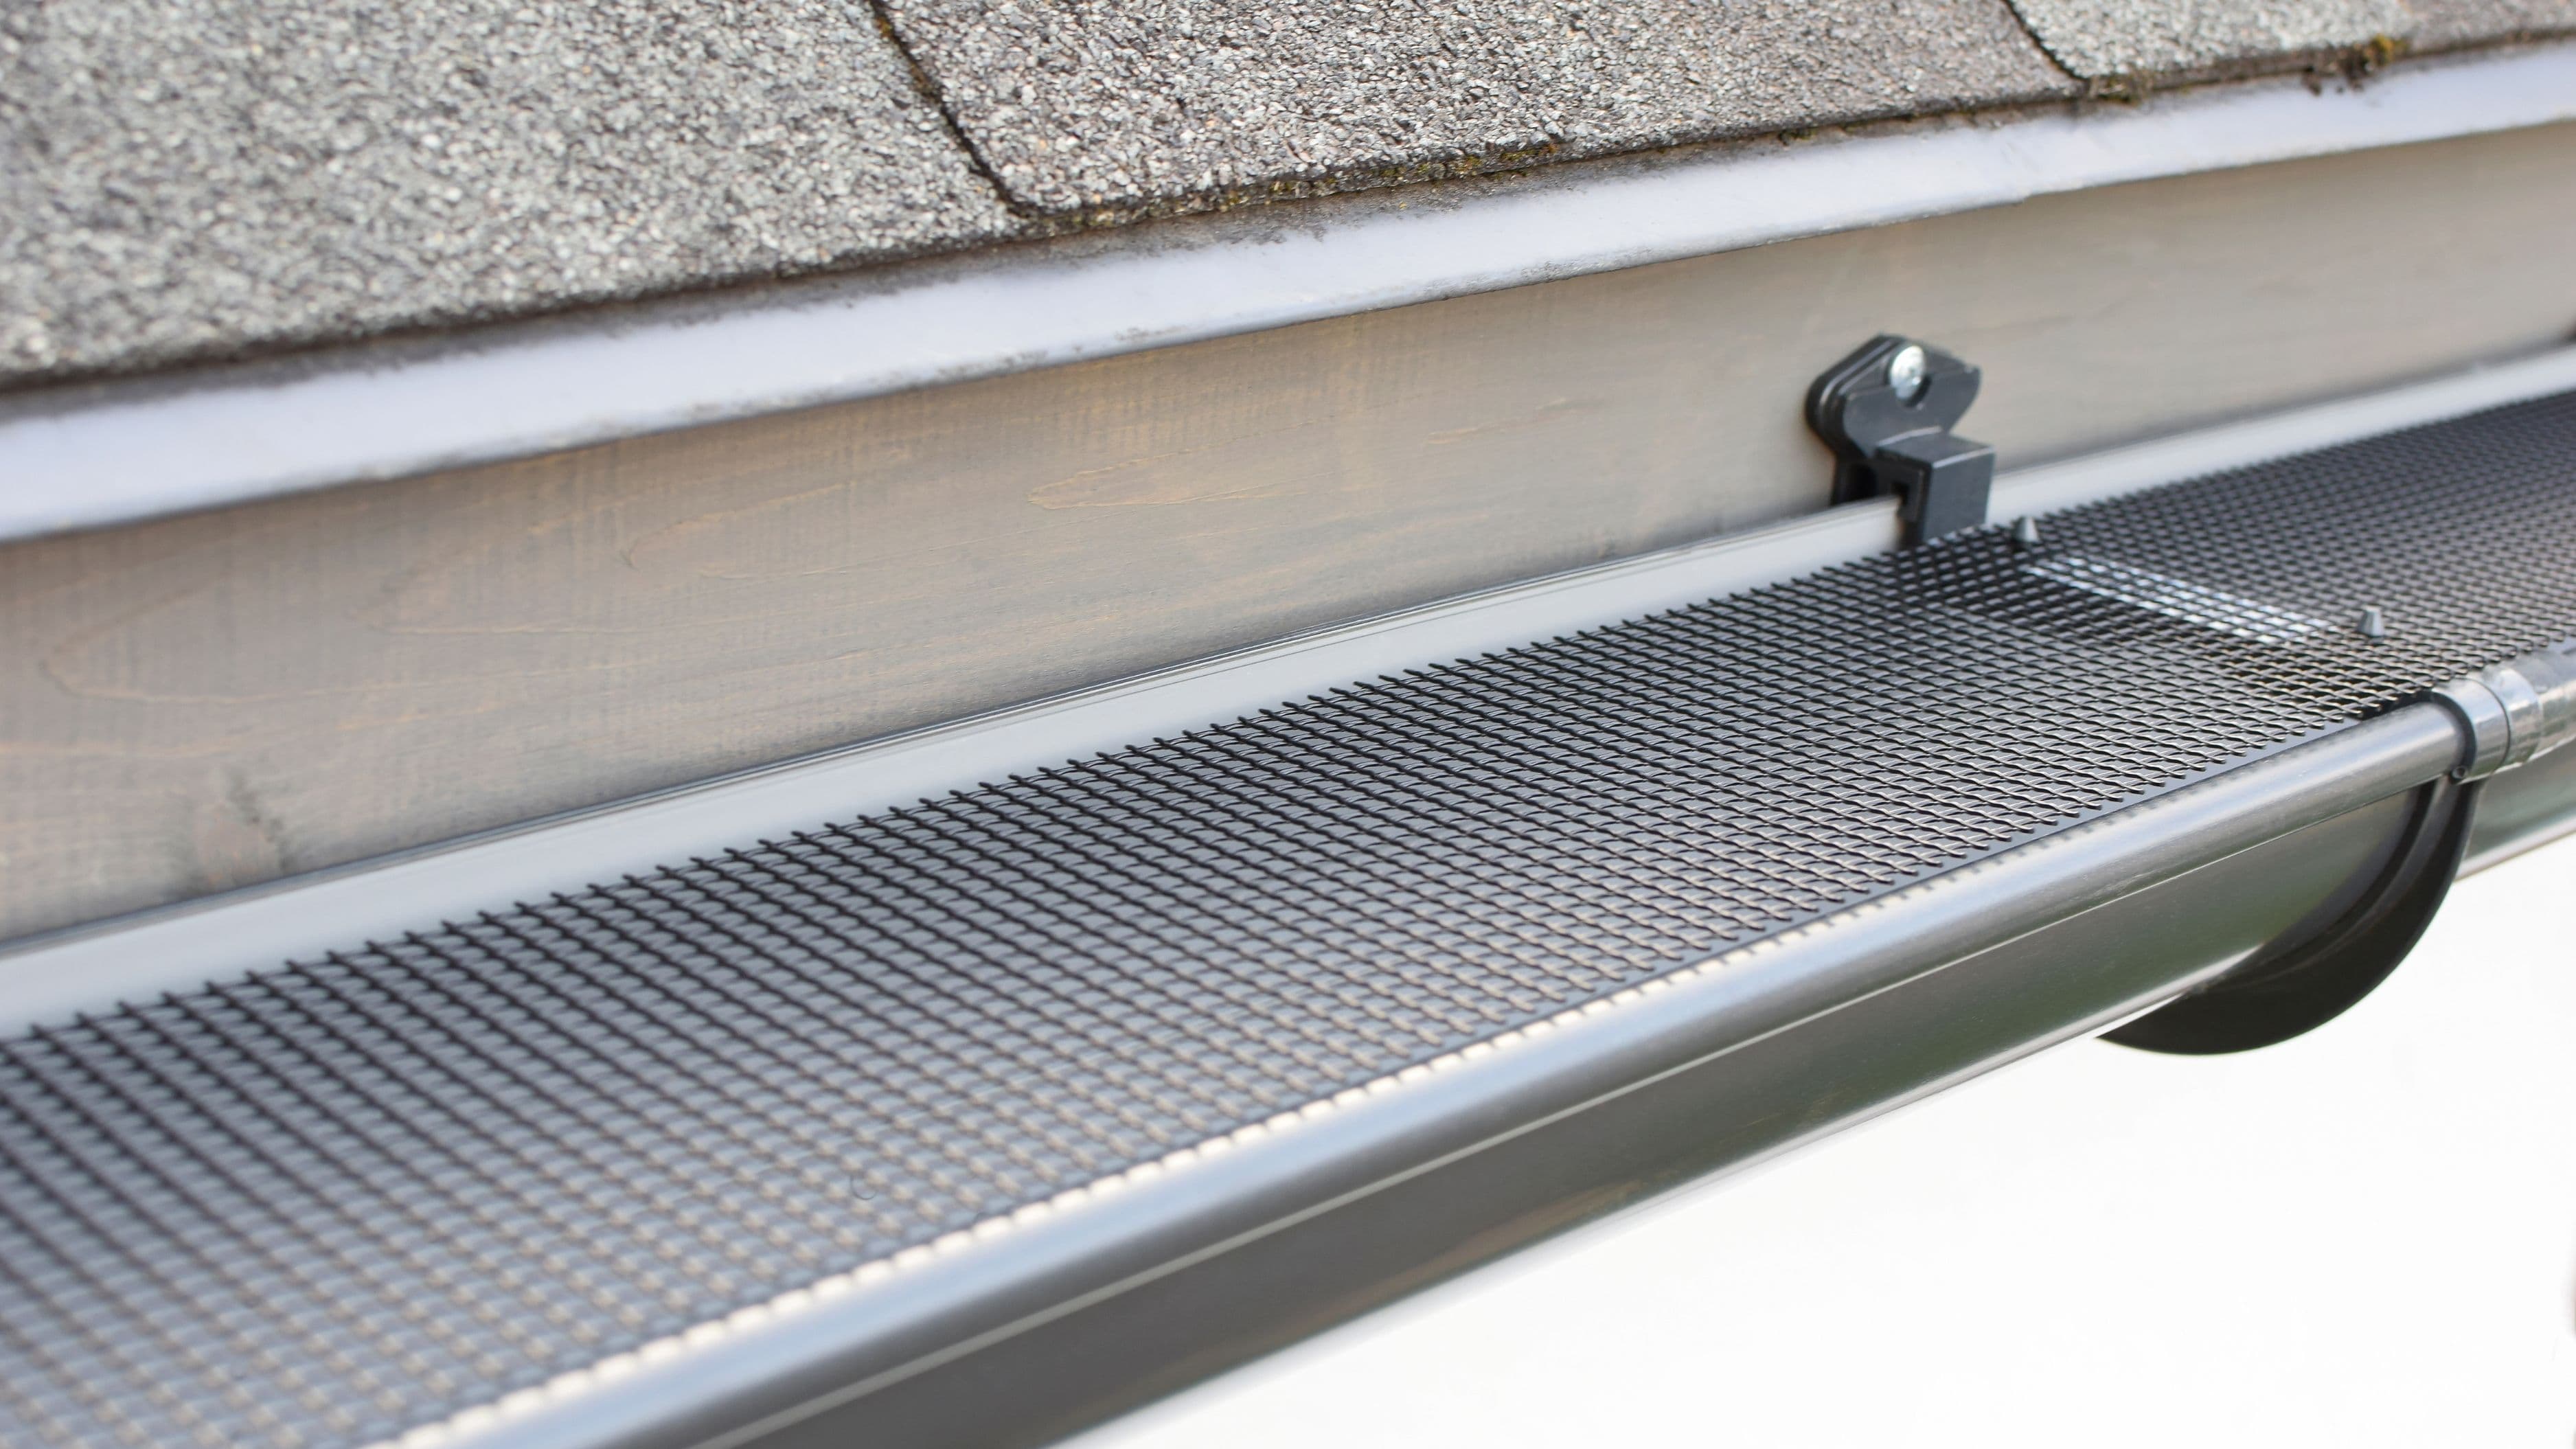
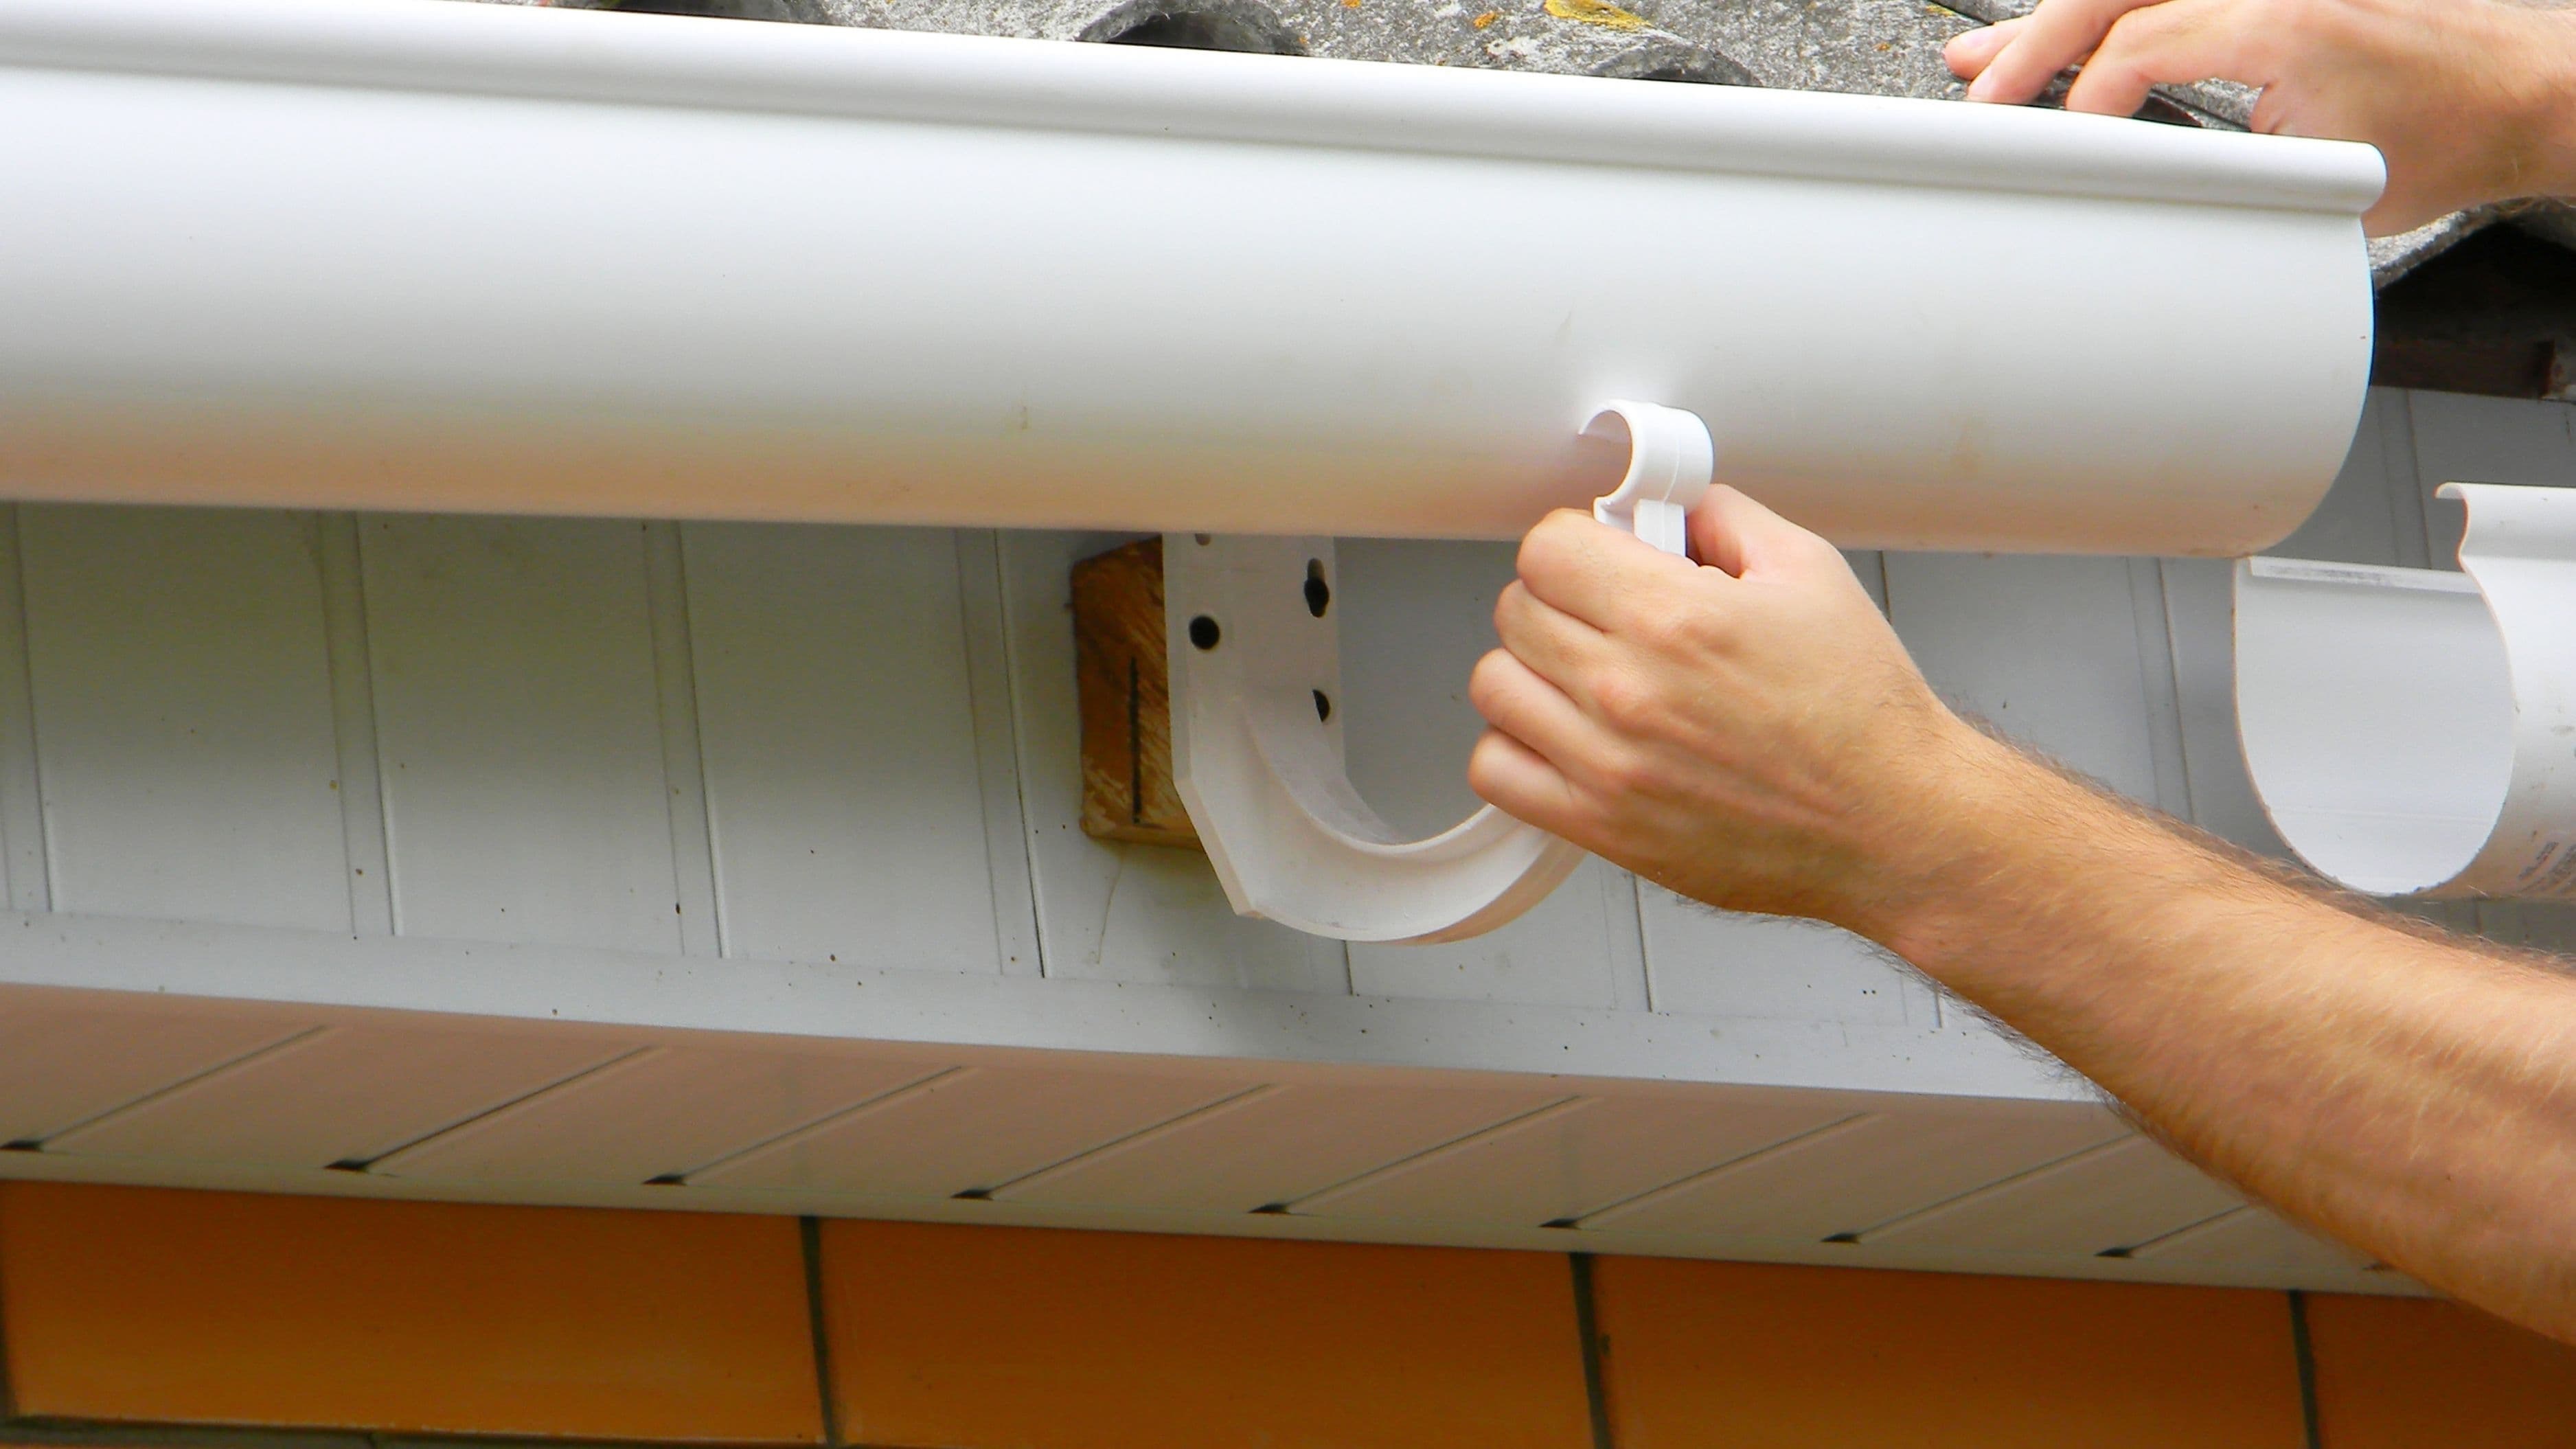
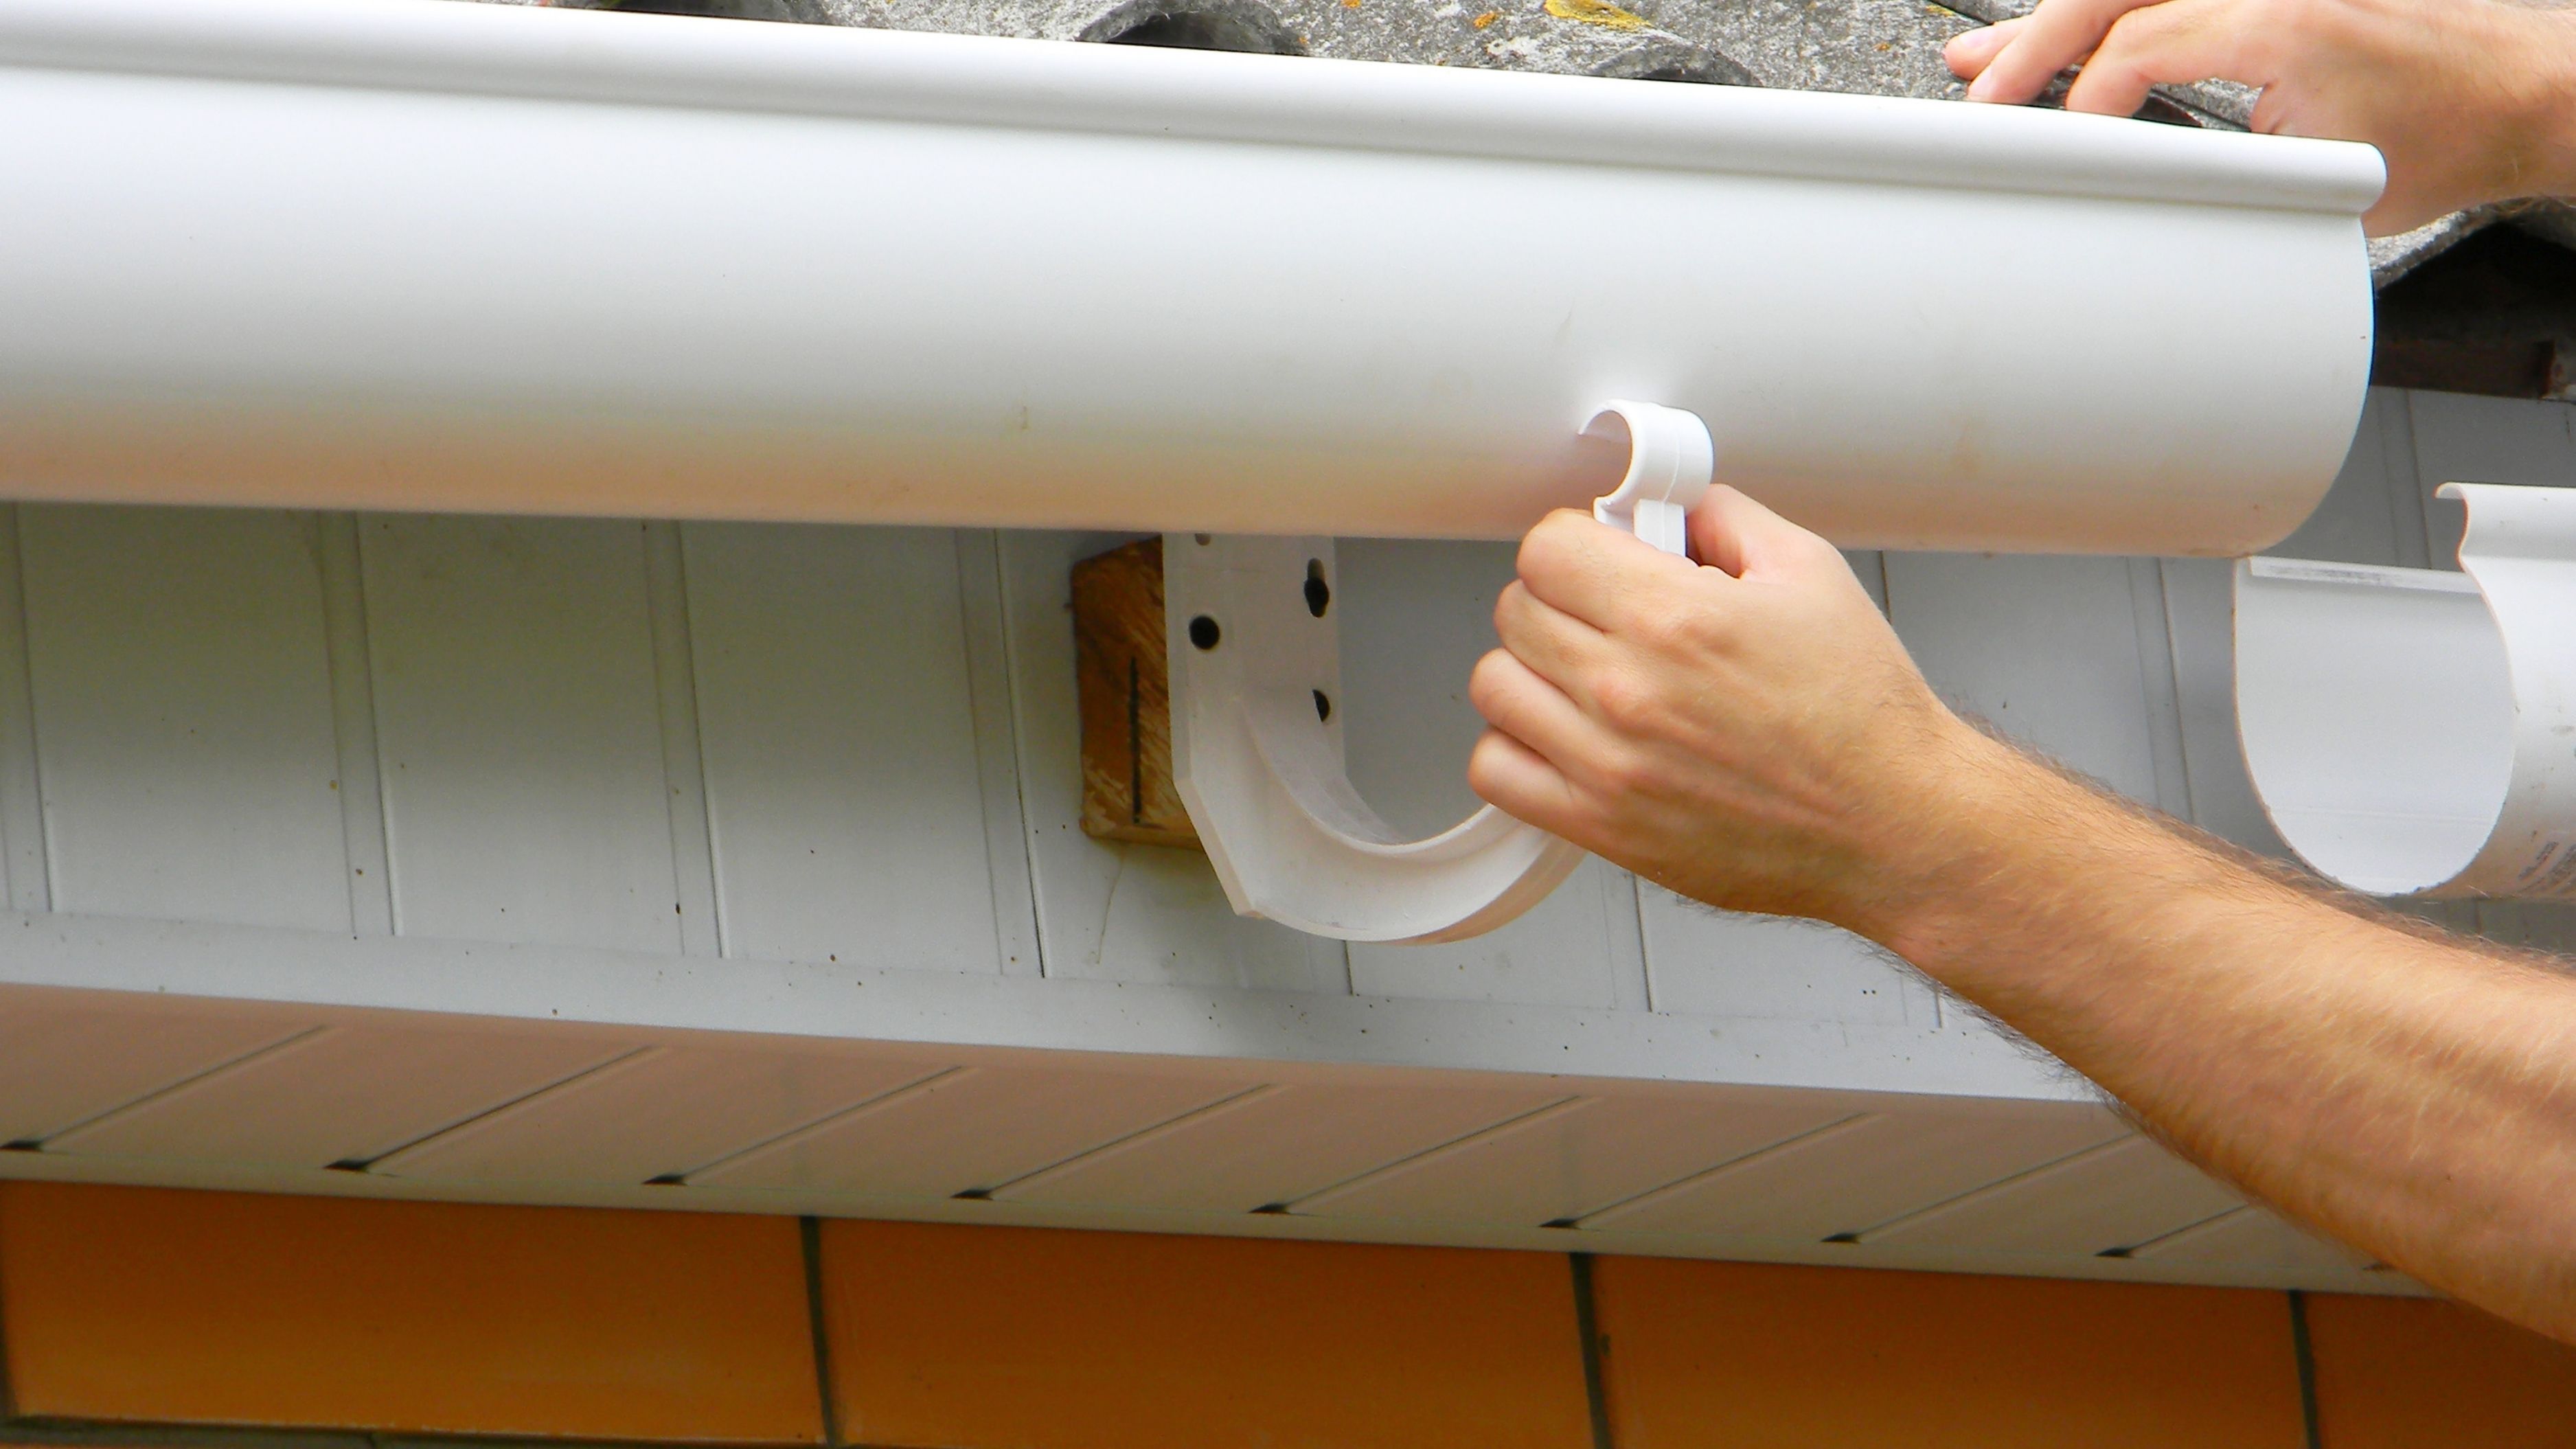
If the holes are worn out but the fascia itself is solid, swap old spike-and-ferrule hangers for hidden hanger brackets with screws instead. Screws bite into fresh wood better than spikes reused in the same worn hole, and hidden hangers distribute weight more evenly across the gutter, which helps prevent the same section from sagging again.
Space new hangers every 24 to 36 inches along the sagging run, adding extra support directly next to seams or corners where gutters take on more stress.
Step 3: Check and Correct the Slope
Gutters need a slight slope, roughly a quarter inch of drop for every 10 feet of gutter, to direct water toward the downspout instead of letting it sit and add weight. If you noticed pooling water in step 1, this is likely part of the problem.
Loosen the hangers along the affected section, use a level to check the current pitch, and adjust the gutter's position slightly before re-securing the hangers. This part takes a bit of patience, but it's just a matter of small adjustments checked with the level until water runs consistently toward the downspout.
Step 4: Address Fascia Rot, If Present
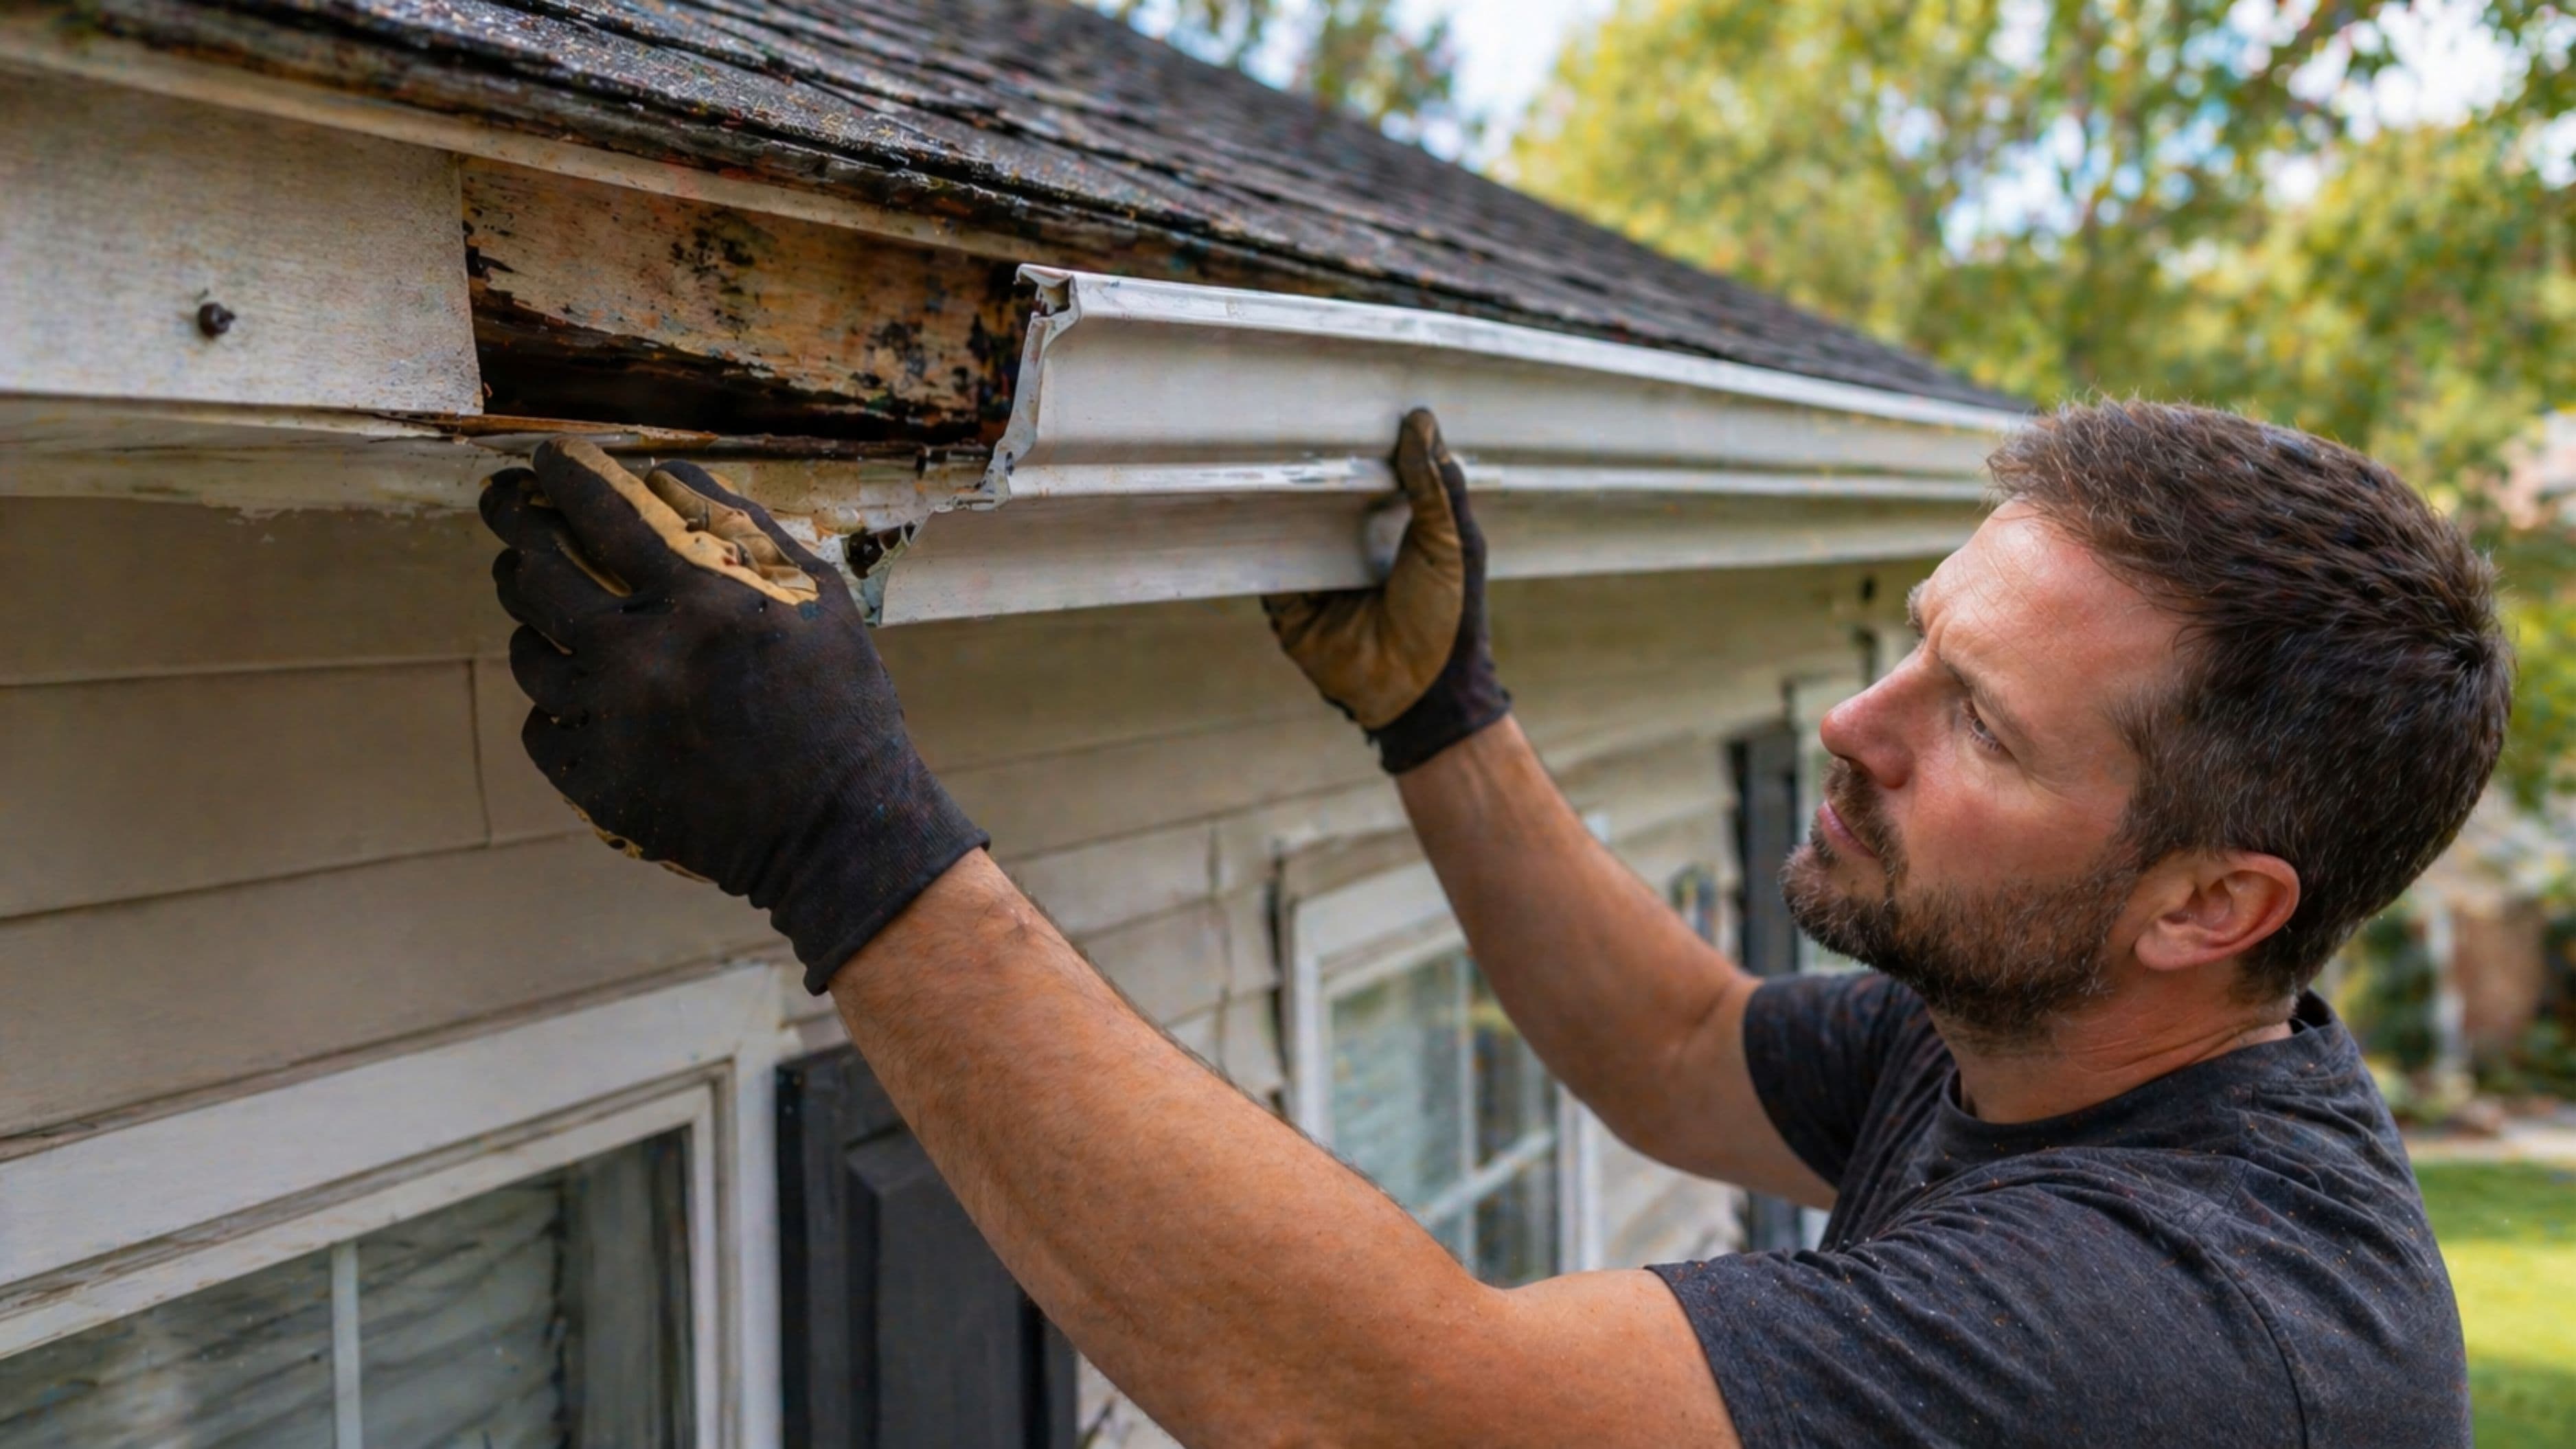
If you find soft, spongy, or crumbling wood where the hangers attach, that's fascia rot, and it's the one issue on this list that might extend your afternoon project or require bringing in help. Small areas of surface rot can sometimes be treated with wood filler or a wood hardener product, then reinforced with hangers screwed into solid wood nearby.
If the rot is extensive or the fascia board is structurally compromised, this is the point to pause the DIY fix and call a professional, since attaching heavy, water-filled gutters to weakened wood risks a repeat failure or, worse, a section pulling away entirely.
Step 5: Reattach and Test
Once hangers are replaced and slope is corrected, reattach any loosened gutter sections and do a final hose test, running water through the entire length to confirm it flows freely to the downspout without pooling or leaking at the seams. If you notice a slow leak at a joint, a bead of gutter sealant applied to the seam from the inside usually solves it without needing to take anything apart.
Realistic Expectations
Difficulty: Moderate – manageable for a confident beginner, especially with a helper.
Time: Roughly 2 to 4 hours for a single sagging section, longer if multiple sections need attention or fascia repair is involved.
Cost: Typically $20 to $60 for hangers, screws, and sealant if the fascia is intact; costs rise if fascia board replacement is needed.
Safety Notes
Ladder safety matters more here than the actual repair work. Use a ladder rated for your weight plus tools, keep three points of contact while climbing, and avoid overreaching to either side – it's safer to climb down and reposition the ladder than to stretch for a spot just out of reach. Never work on a gutter repair during or right after rain, since wet roofing and ladder feet significantly increase slip risk. If your home has two stories or steep rooflines, consider this a good candidate for professional help regardless of how straightforward the gutter issue itself seems.
Common Mistakes to Avoid
Reusing old spike holes without addressing the worn-out wood underneath is one of the most common reasons a "fixed" gutter sags again within a year – always shift to a slightly different spot or upgrade to hidden hangers instead. Skipping the slope check is another frequent miss, since a gutter can look perfectly attached but still pool water if the pitch is off. And don't ignore small areas of fascia softness thinking they'll wait until next season – rot spreads, and it's much easier to address a small patch now than a full board replacement later.
When to Call a Professional
If you're dealing with extensive fascia rot, a second-story gutter you're not comfortable reaching safely, or a gutter system that's sagging in multiple long sections rather than one isolated spot, it's worth bringing in a professional. Widespread sagging can sometimes point to an undersized gutter system or a larger water drainage issue around the roofline, which goes beyond a straightforward hanger and slope fix.
FAQ
Can I fix a sagging gutter without taking the whole thing down? In most cases, yes. Clearing debris, replacing hangers, and adjusting the slope can typically be done with the gutter still attached, section by section.
How do I know if it's a hanger problem or a fascia problem? If the wood behind the gutter feels solid when pressed and the spikes or screws are simply loose or pulled out, it's a hanger issue. If the wood feels soft, spongy, or crumbles under light pressure, you're dealing with fascia rot.
How often should I check my gutters to prevent sagging in the future? Twice a year, in spring and fall, is a good baseline, with an extra check after any major storm that drops a lot of debris.
Is it normal for gutters to sag over time even without visible damage? Some gradual sag is common as spikes loosen over the years, which is why periodic hanger checks matter even if nothing looks obviously wrong yet.
📚 Sources
This Old House – How to Fix Sagging Gutters, https://www.thisoldhouse.com/gutters/21601843/how-to-fix-a-sagging-gutter
Family Handyman – Gutter Repair and Maintenance Guide, https://www.familyhandyman.com/project/how-to-repair-gutters/
U.S. Department of Housing and Urban Development – Home Maintenance Checklist, https://www.hud.gov/sites/documents/DOC_35635.PDF