
Are Gutter Guards Worth It? The Short Answer
It depends on your trees. If you have mature trees overhanging or near your roofline – especially oaks, maples, pines, or sweet gums – gutter guards will meaningfully reduce how often you need to clean. You'll likely go from cleaning two to four times per year to once a year or less, depending on the type of guard you install. That's real time saved and a real reduction in fall-related ladder accidents.
If your home has minimal tree coverage and you're only cleaning gutters once a year anyway, the math gets harder to justify. A decent set of DIY gutter guards for a typical home runs $150–$400 in materials, plus a few hours of labor. At that price point, you'd need to use them for several years before they pay for themselves in time savings alone.
The other honest caveat: no gutter guard eliminates maintenance entirely. All types require at least occasional inspection and some light cleaning. Guards that promise to be completely maintenance-free are overselling it. The goal is reduction, not elimination.
Types of Gutter Guards: What Actually Works
Before you buy, it helps to know which types perform well and which are mostly a waste of money.
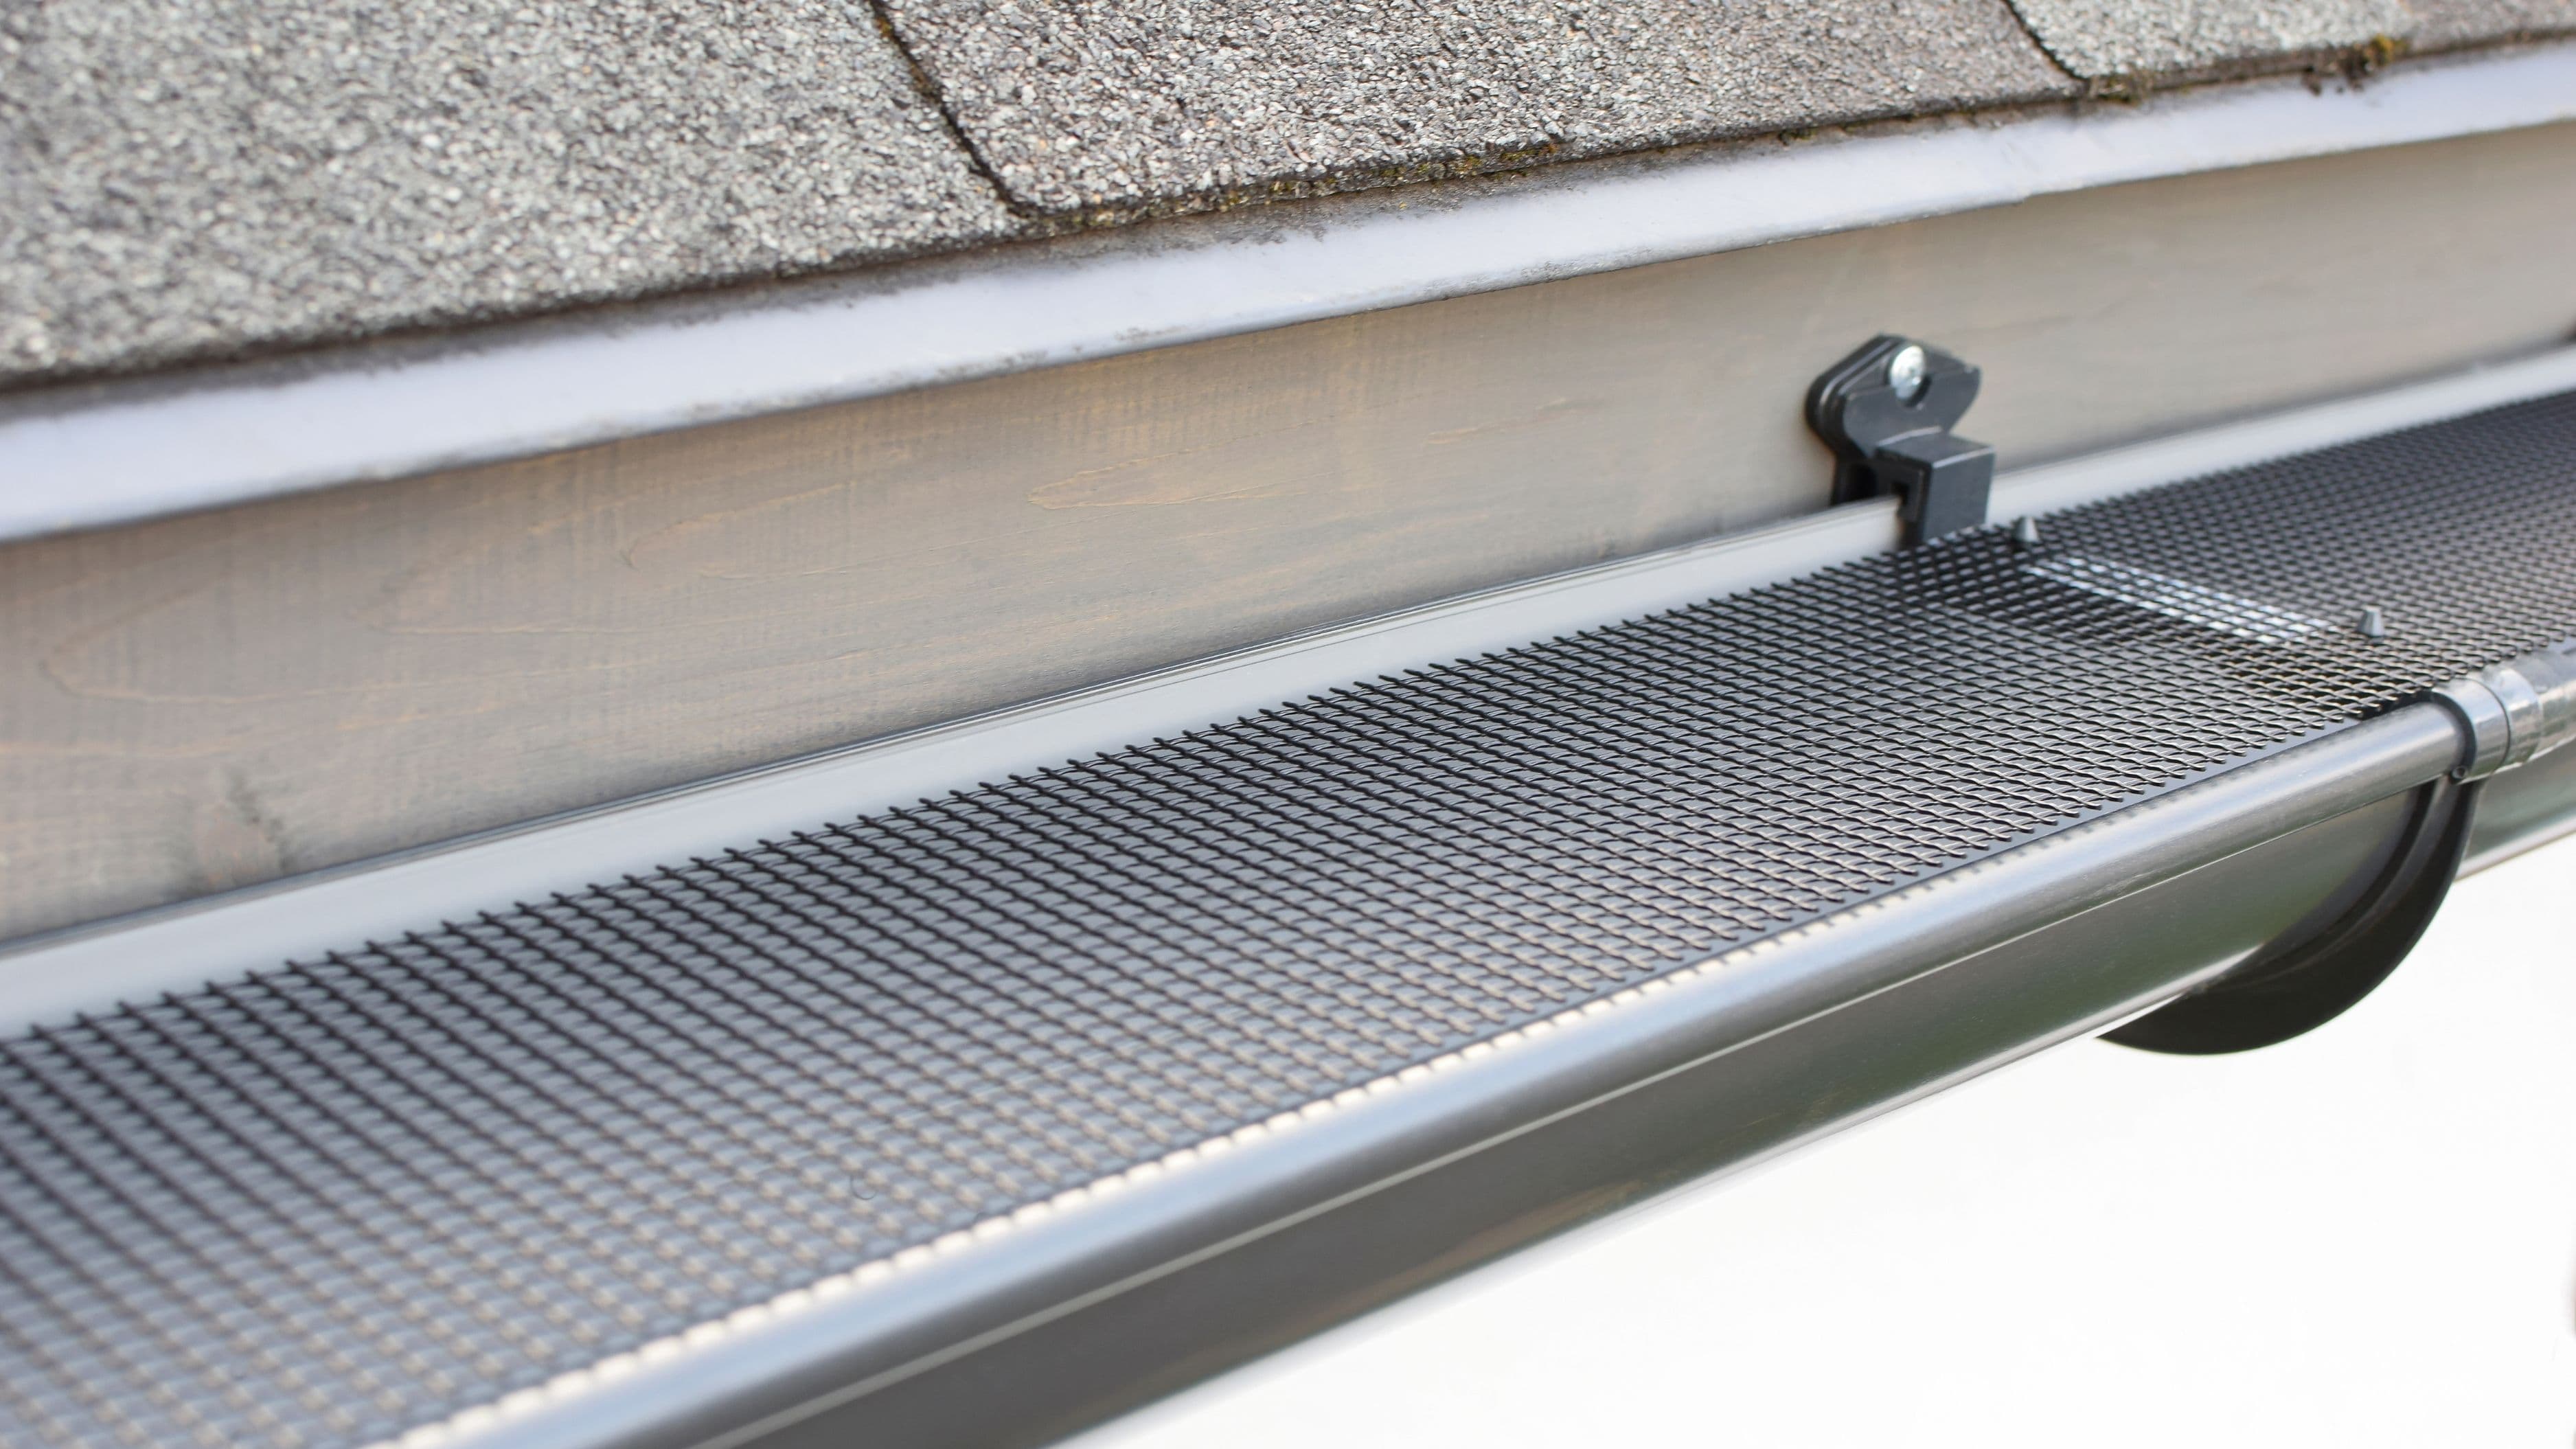
Micro-mesh guards are the top-performing type available to DIYers. They use a fine stainless steel mesh over an aluminum frame to allow water through while blocking leaves, pine needles, shingle grit, and most small debris. They're more expensive ($1.50–$4.00 per linear foot for quality DIY versions), but they outperform every other type in independent testing. Brands like Gutterglove, LeafFilter's DIY version, and A-M Aluminum make solid options at this price range.
Reverse-curve or surface-tension guards work by directing water to curve around a rounded edge and into the gutter while debris falls off. They perform reasonably well with large leaves but struggle with pine needles, seeds, and shingle grit – all of which tend to stick to the curved surface and eventually build up. Not recommended if you have pine trees.
Foam inserts (like GutterStuff) sit inside the gutter channel and let water flow through while blocking debris from settling. They work in the short term but tend to trap seeds and debris in the foam itself over time, eventually becoming a place where moss and plants grow inside your gutters. They're inexpensive but have the shortest effective lifespan of any type.
Brush inserts work on the same principle as foam with similar long-term problems – the bristles trap debris rather than preventing it. Not worth installing if you're looking for a long-term solution.
Perforated aluminum screens are the most common low-cost option (under $1 per linear foot). They block large leaves reasonably well but let small debris, seeds, and pine needles through. They also tend to sag, warp, or pull away from the gutter edge over time. Worth it for very low budgets or homes with minimal debris; not worth it if you have heavy tree coverage.
The bottom line: if you're going to bother, buy micro-mesh. The cheaper options save money upfront but often end up needing replacement or causing their own maintenance issues within a few years.
What You'll Need
For a standard DIY micro-mesh gutter guard installation on a single-story home, gather the following before you start:
Tools:
Extension ladder (rated for your weight, with standoff stabilizer arms strongly recommended)
Work gloves (gutter edges can be sharp)
Safety glasses
Tin snips or aviation shears (for cutting guards to length)
Stiff brush or garden hose (for cleaning gutters before installation)
Measuring tape
Optional: cordless drill if guards require screws
Materials:
Micro-mesh gutter guards (measure your total linear footage first; add 10% for waste and cuts)
Gutter screws or zip screws if your chosen brand requires fastening
Time estimate: Plan for 2–4 hours for a typical single-story ranch-style home. Multi-story homes or complex rooflines take longer and carry significantly higher safety risk.
Difficulty level: Beginner to intermediate. The installation itself is straightforward; the main challenge is safe ladder work.
Before You Install: Clean the Gutters First
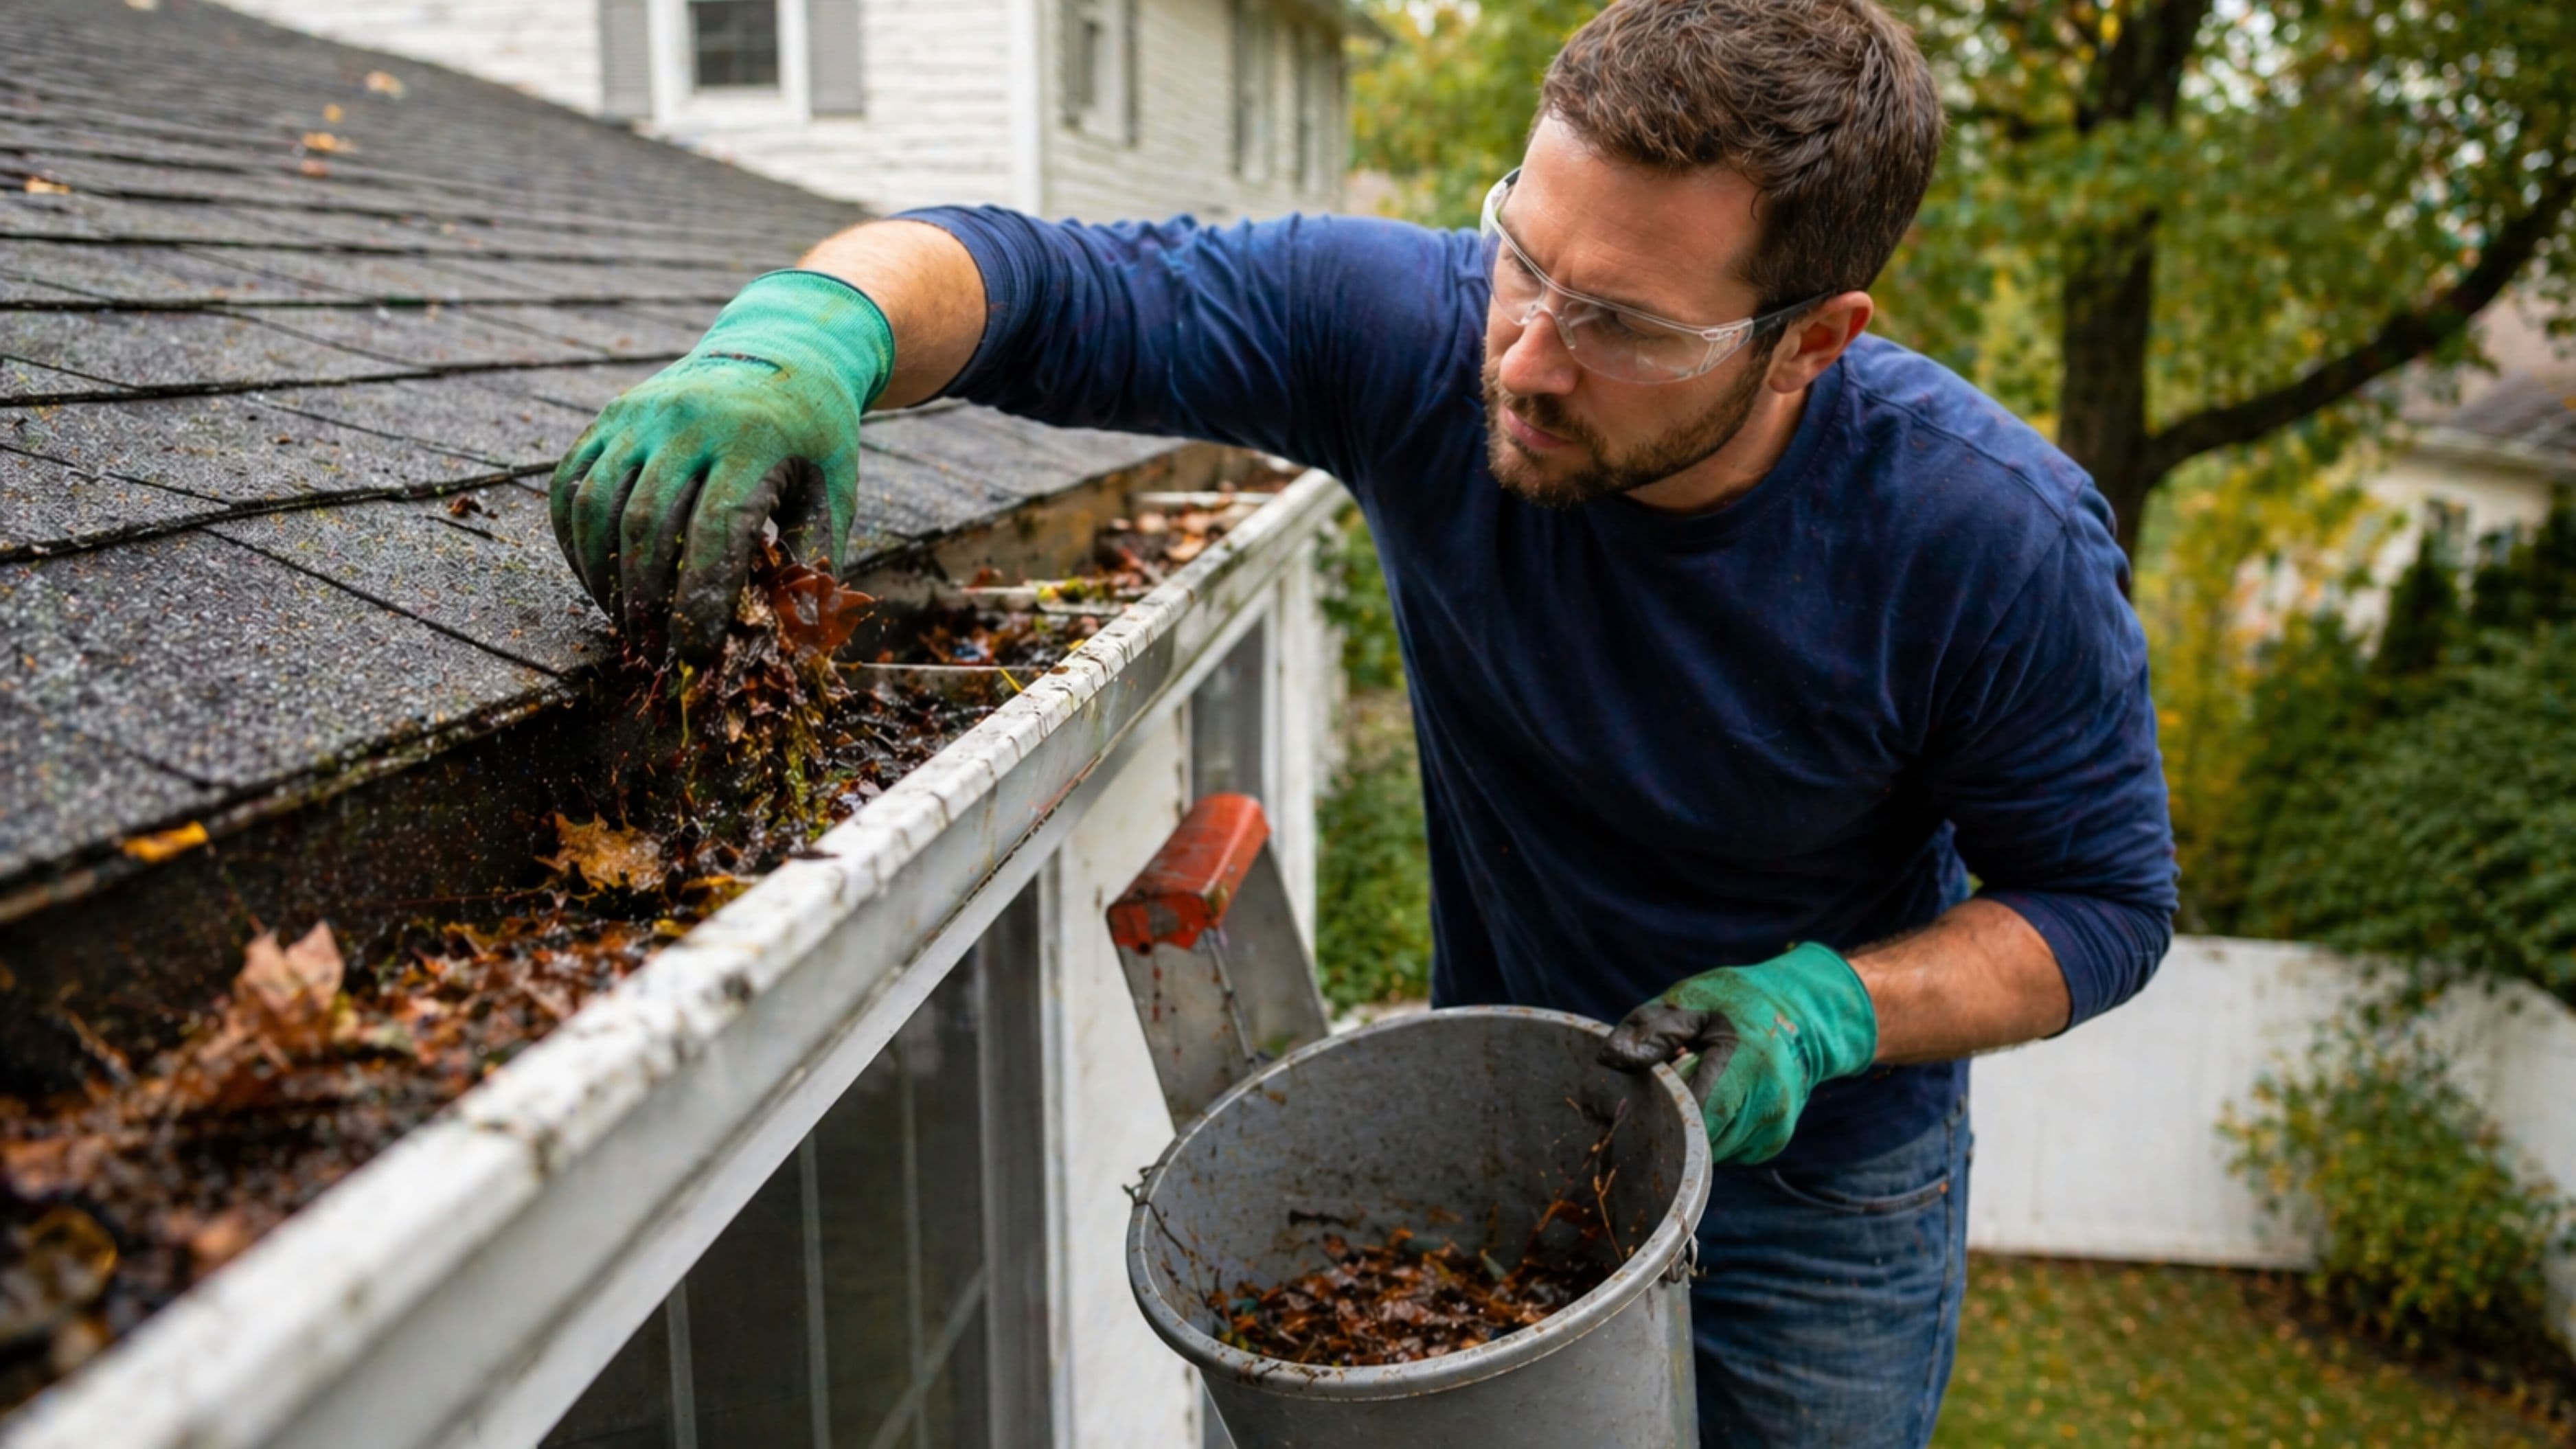
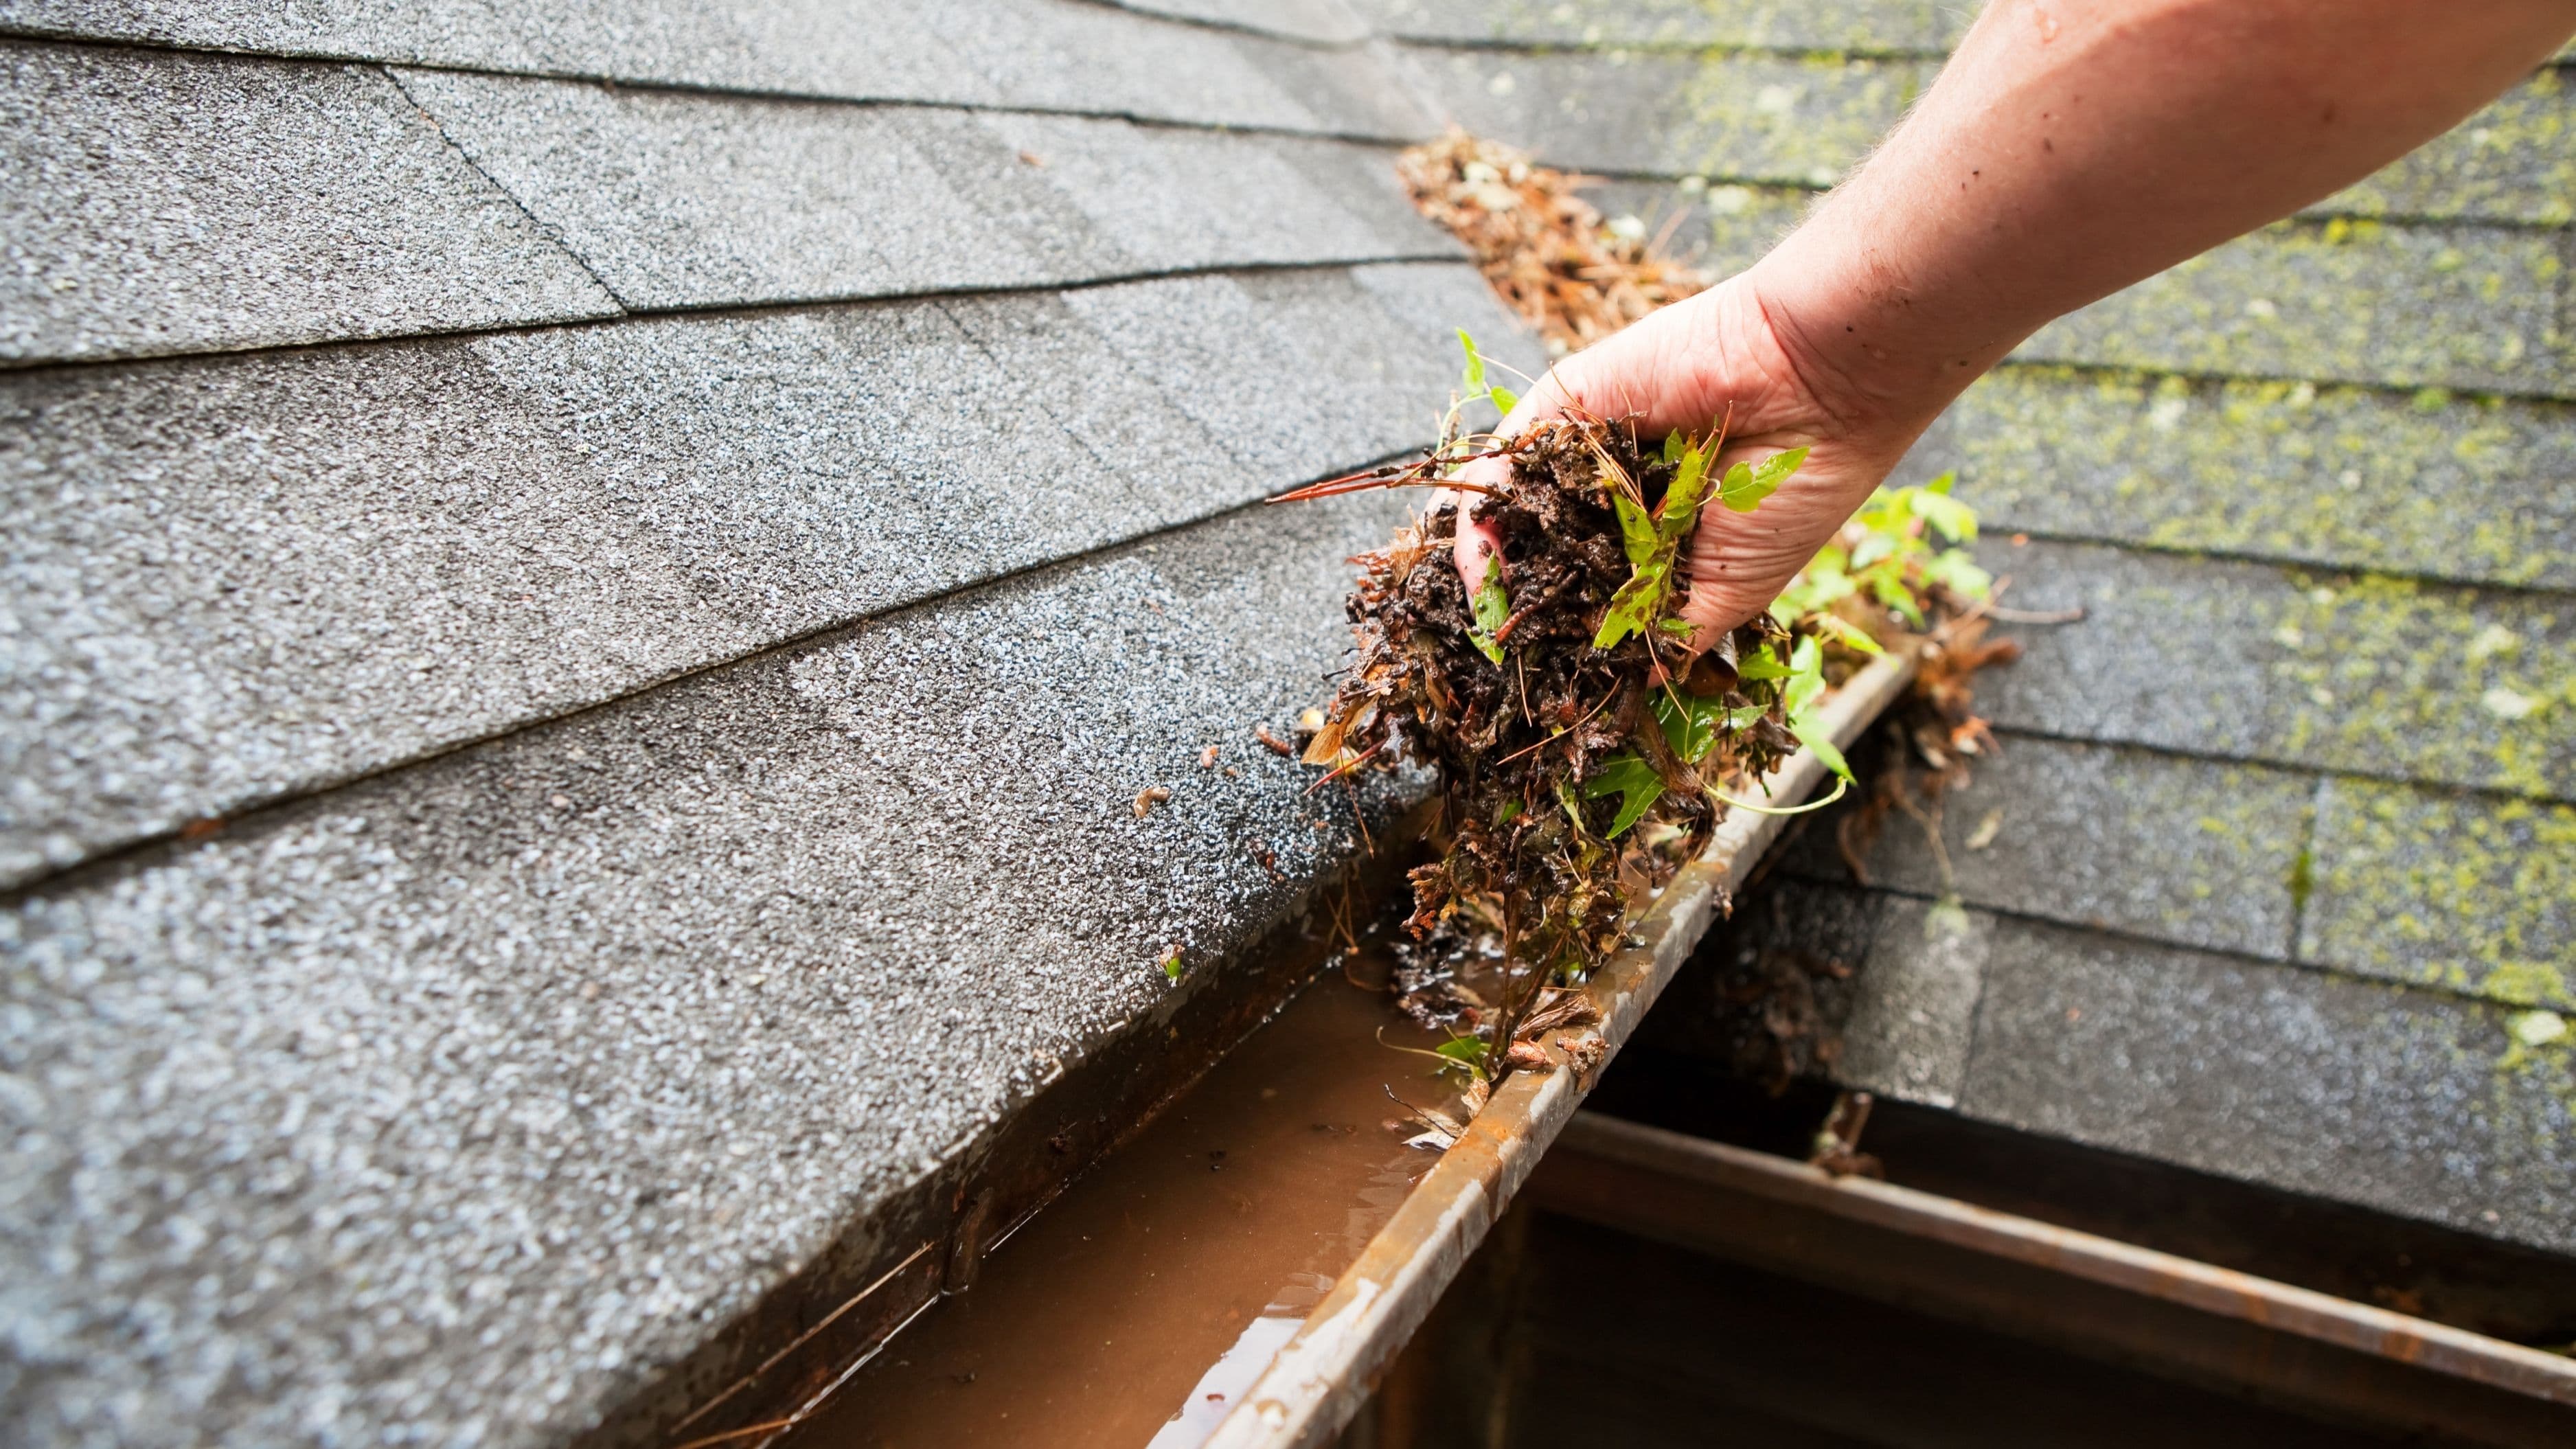
This step gets skipped more than it should, and it always causes regret. Installing gutter guards over debris-filled gutters traps everything underneath and makes future cleaning significantly harder. Before any guards go in, the gutters need to be clean and flowing properly.
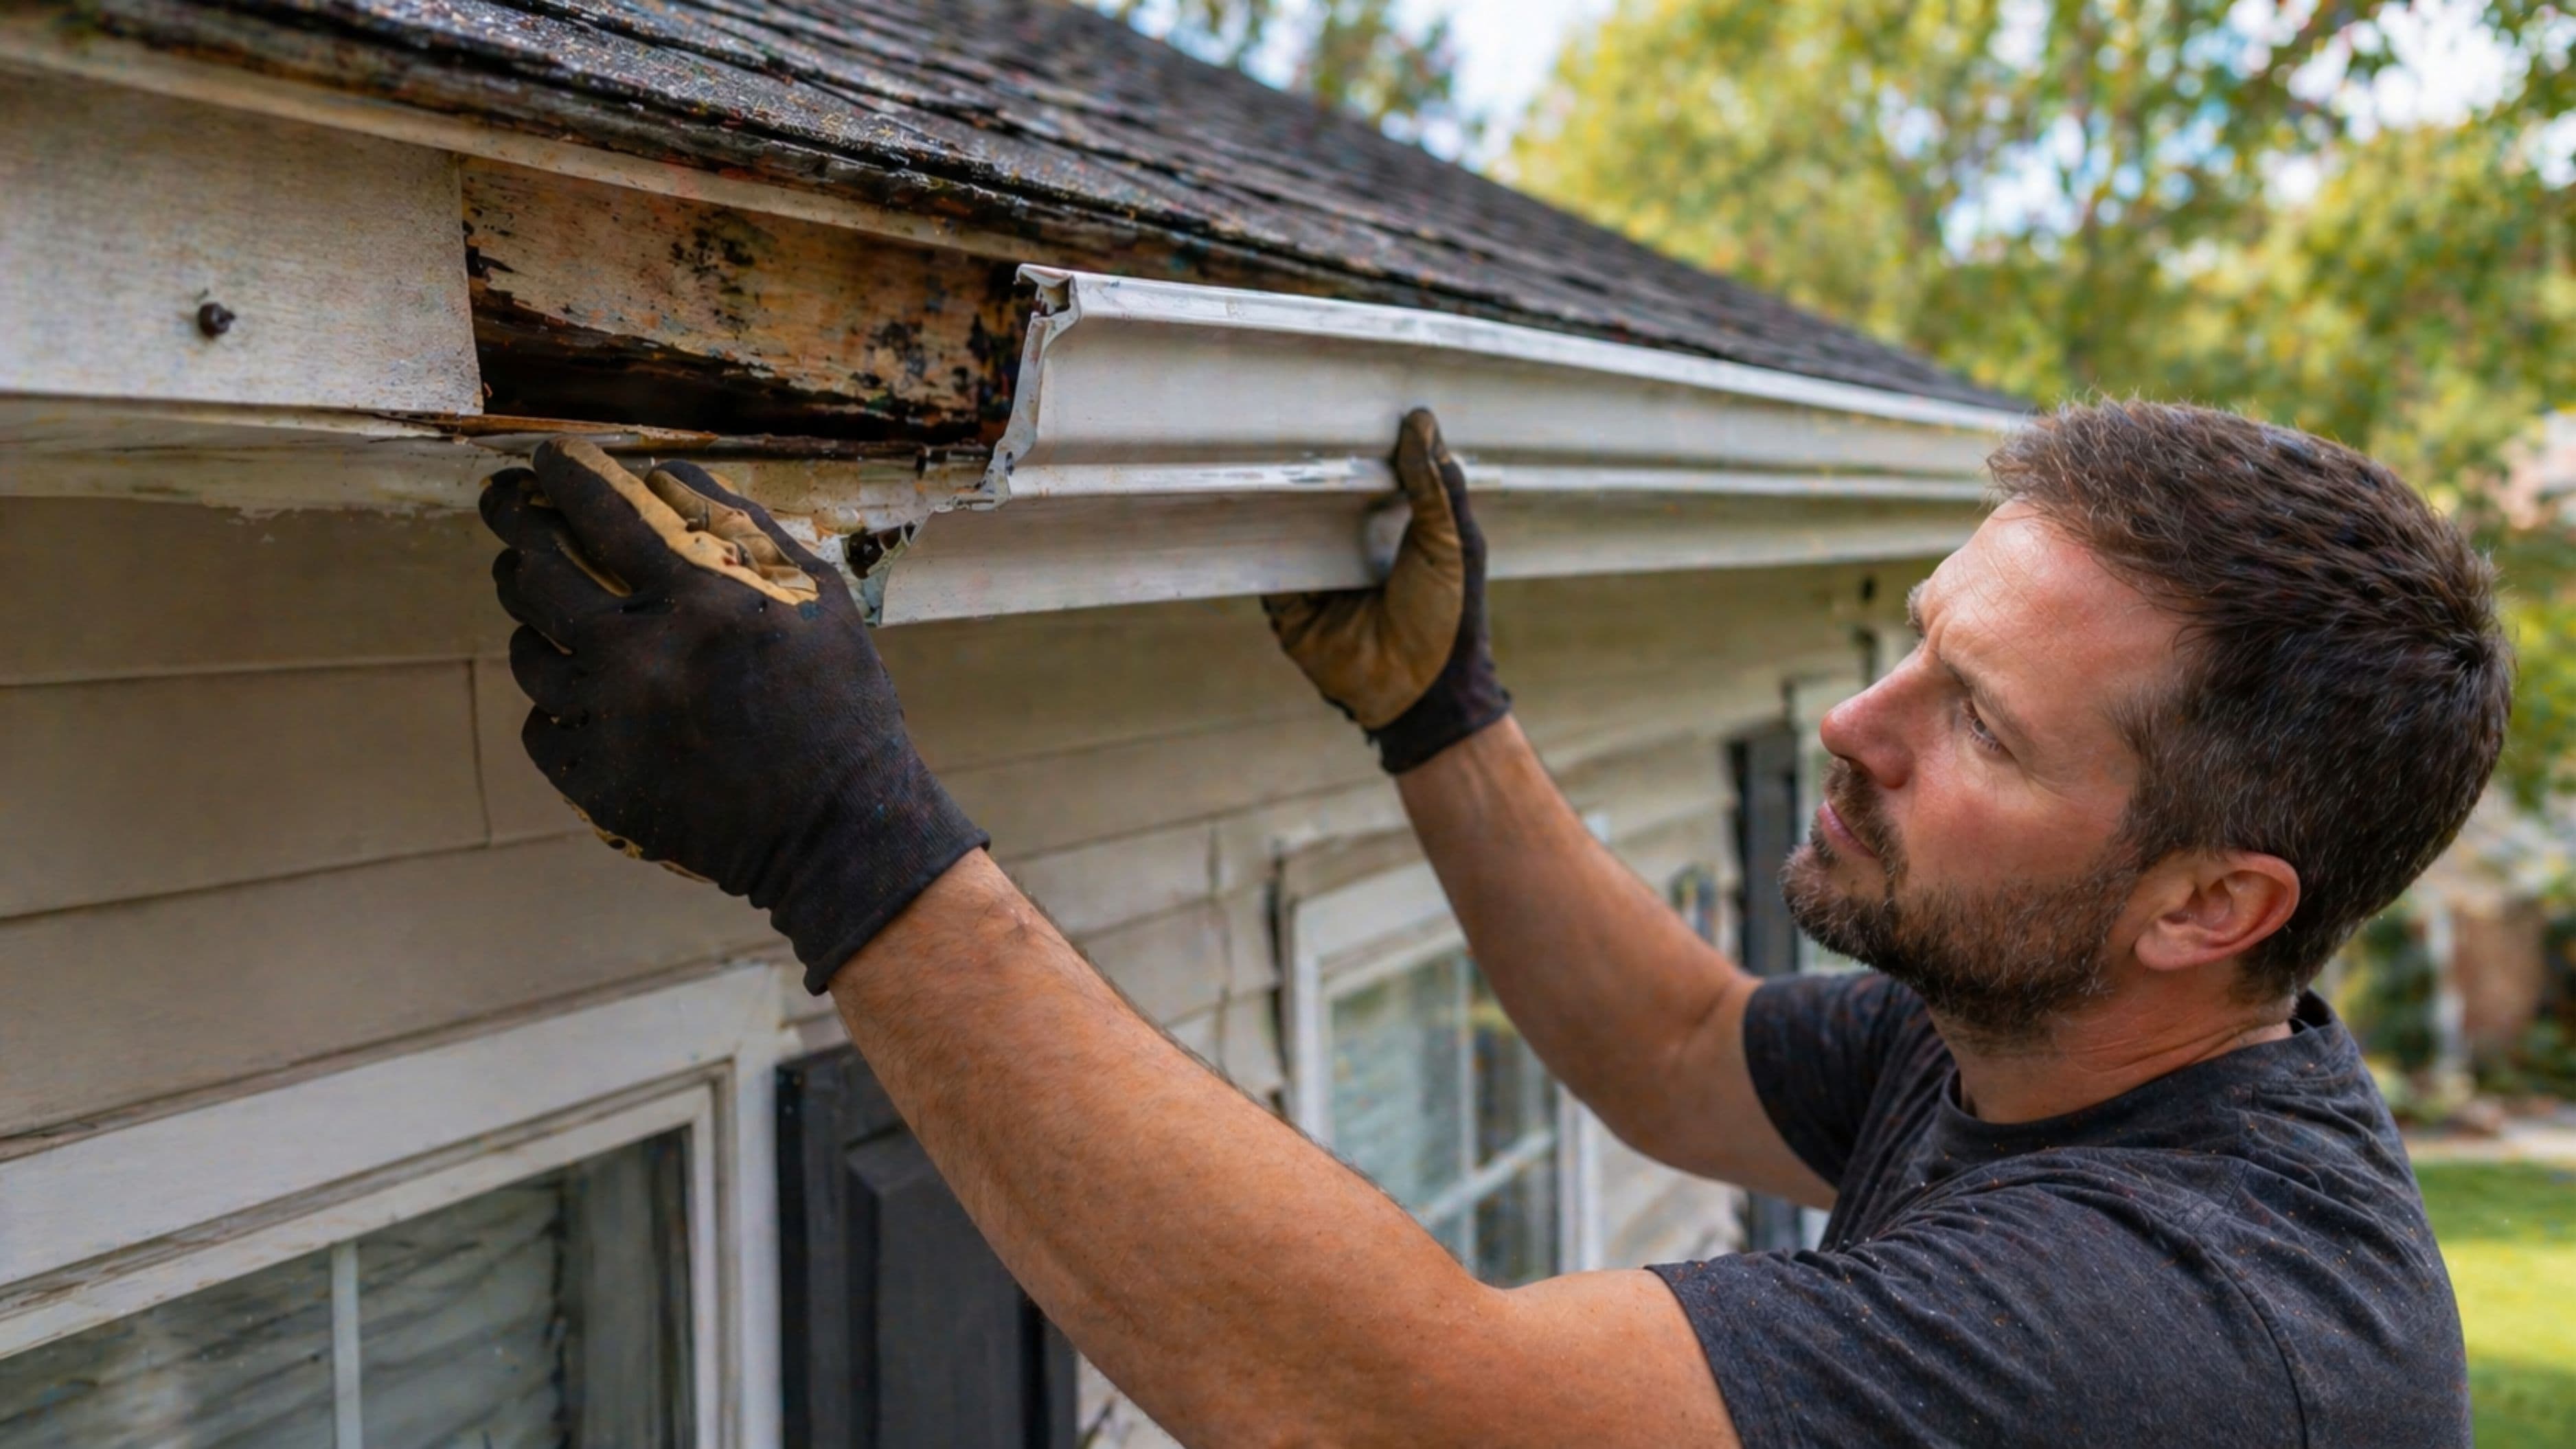
Use a stiff brush or gutter scoop to remove all leaves, debris, and compacted gunk from the channel. Flush the gutters with a garden hose and watch how water moves toward the downspouts – if it pools anywhere, you've got a slope issue or a partial clog in the downspout that needs addressing before you install. Check the gutters themselves for sagging sections, separated joints, or loose fasteners. Fix anything you find now, because getting back under the guards later is a pain.
Step-by-Step Installation: Micro-Mesh Gutter Guards
Step 1 – Measure and Cut to Length
Measure each gutter section individually rather than assuming they're all the same length. Cut guards to fit using tin snips – most micro-mesh products cut cleanly with aviation shears. Cut pieces about ¼ inch shorter than the actual gutter section to allow for slight movement and thermal expansion. Trying to force an exact-length piece into a tight corner causes buckling.
Step 2 – Slide the Back Edge Under the Shingles
Most micro-mesh gutter guards are designed so the back edge slides under the first row of shingles and the front edge clips or rests on the outer lip of the gutter. Starting at one end of a gutter run, gently lift the bottom edge of the first row of shingles and slide the rear flange of the guard underneath by about an inch. Don't force it or lift shingles aggressively – you just need enough purchase to hold the guard in place. If the guard won't slide under without forcing, some products offer an alternative mounting method that attaches to the back of the gutter lip instead.
Step 3 – Secure the Front Edge
With the back edge seated under the shingles, press the front edge of the guard down onto the outer gutter lip. Most quality micro-mesh guards have a front channel that snaps or clips over the gutter lip without requiring fasteners. If your product comes with screws, use them – a fastened guard is more resistant to wind lifting. Space screws every 12–18 inches along the front edge.
Step 4 – Work Section by Section
Move along the gutter run one section at a time, overlapping each successive piece by one to two inches. The overlap direction matters: the piece closer to the downspout should be on the bottom, with the piece from farther up the gutter overlapping it from above. This prevents water from catching on the overlap seam and running behind the guard.
Step 5 – Handle Inside and Outside Corners
At corners, cut the guard at a 45-degree miter using tin snips, or use a corner piece if your product includes them. A tight fit at corners prevents debris from finding its way into the gap. A small piece of aluminum tape over the corner joint helps seal it if you're in a high-debris area.
Step 6 – Check Downspout Openings
Make sure guards are cut cleanly at downspout openings and that nothing is blocking the downspout entry. Some installers use a small piece of mesh over the downspout opening itself to prevent debris from entering while still allowing full water flow.
Safety Notes
Working on a ladder is the biggest risk in this project. A standoff stabilizer (sometimes called ladder horns or a ladder standoff bracket) keeps the ladder away from the gutter itself, preventing gutter damage and giving you better balance. Never lean a ladder directly against a gutter – it will deform aluminum gutters and create an unstable base.
Work with a partner when possible, especially for longer runs. Keep three points of contact on the ladder at all times, and never reach further than arm's length to either side – move the ladder rather than overreaching. If any part of your roofline requires working on a steep pitch or multi-story height, that's a job for a professional installer.
Common Mistakes to Avoid
Not cleaning the gutters before installation is the most common error, and one of the most consequential. Whatever's in the gutter when you install stays in the gutter.
Installing guards on gutters with slope or drainage problems is the second. Guards won't fix a gutter that doesn't drain properly – water will back up and either overflow or find its way under the fascia regardless of what's covering the top.
Buying cheap perforated screen guards when you have heavy tree coverage is a frustrating lesson. The guards end up full of small debris within a season, the mesh sags, and you've spent money to create more work for yourself.
Skipping the overlap on long gutter runs allows water to funnel into the gap between sections during heavy rain, defeating the purpose of the guard entirely.
When to Call a Professional
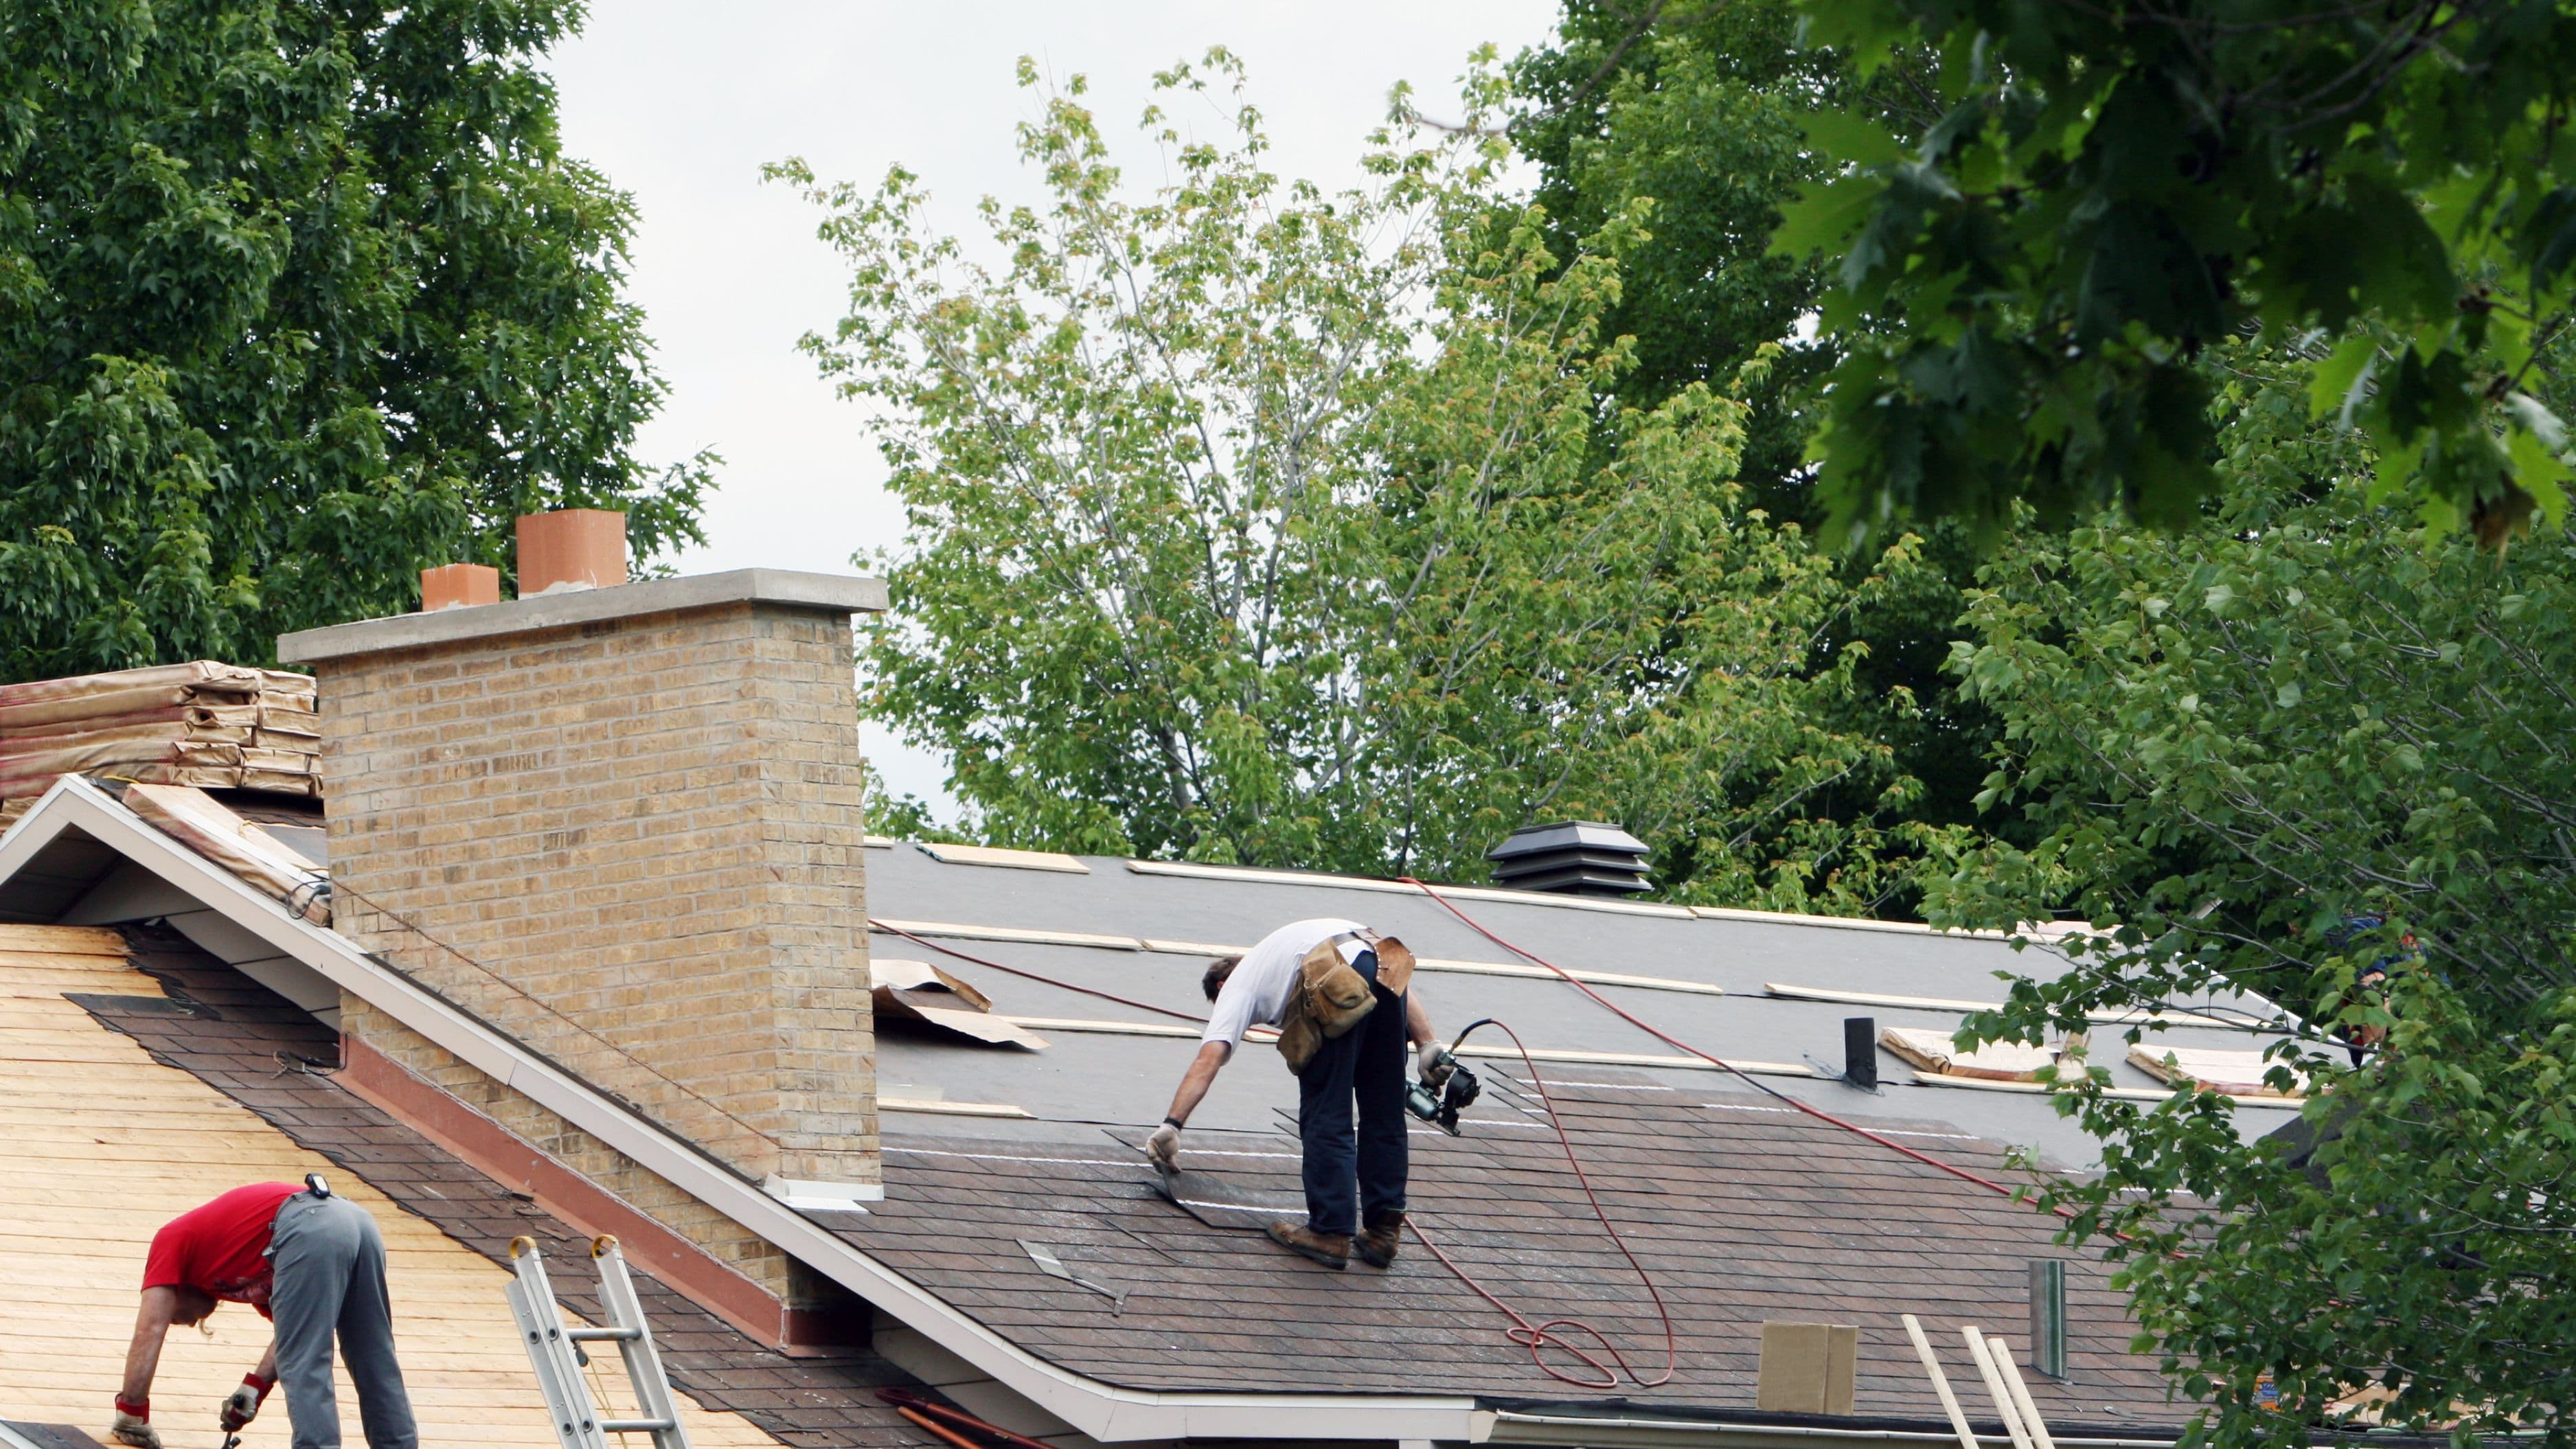
If your roofline has steep pitches, your home is multi-story, or your gutters are in need of significant repair before guards can be installed, bring in a pro. The installation cost for professional micro-mesh guard installation (including labor) runs $5–$12 per linear foot depending on your region and the product – expensive, but justifiable on a home where ladder access is genuinely hazardous.
Also consider professional installation if you have a complex roofline with lots of valleys, dormers, or unusual angles. Fitting guards cleanly around these features takes experience, and a poor fit in a valley is where leaks and ice dams start.
FAQ
Do gutter guards work with pine needles? Standard screen and reverse-curve guards largely don't – pine needles are small enough to pass through most screen openings and stick to surface-tension guard curves. High-quality micro-mesh with openings under 50 microns handles pine needles significantly better than other types. If you have pine trees close to your roofline, micro-mesh is the only type worth installing.
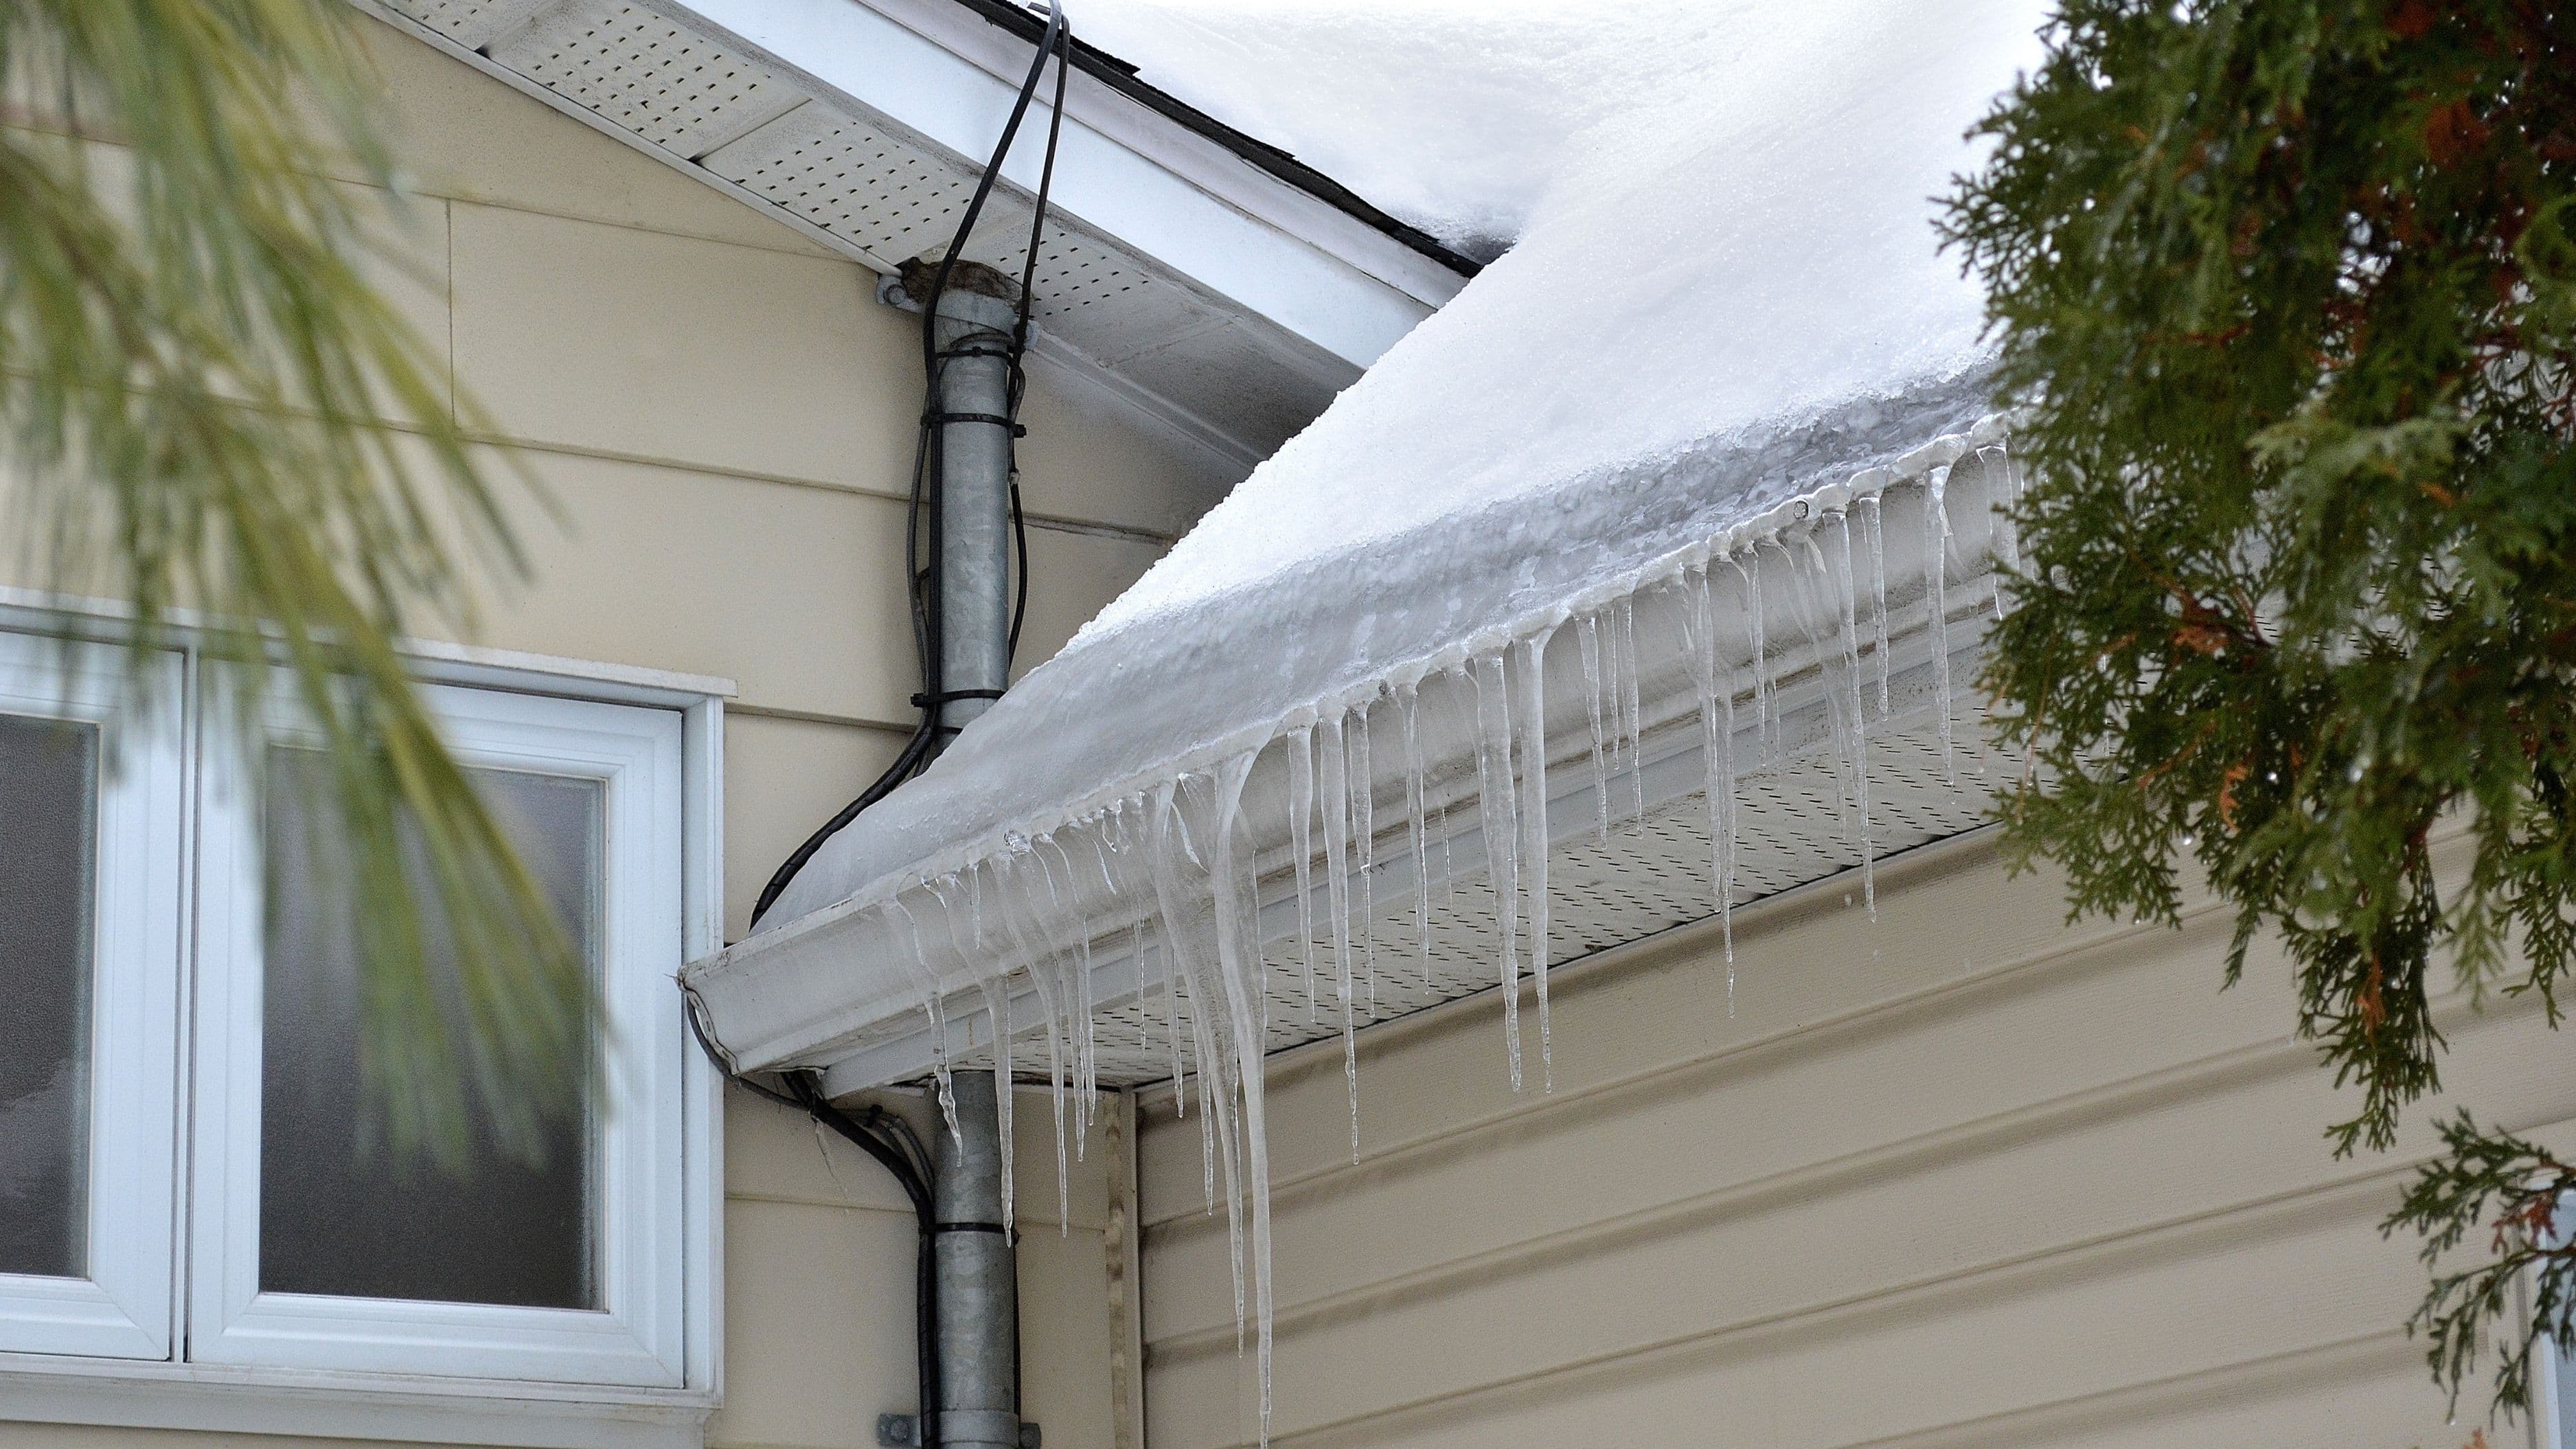
Will gutter guards cause ice dams in winter? Guards themselves don't cause ice dams – inadequate attic insulation and ventilation do. However, some guard types (particularly reverse-curve designs) can hold ice in cold climates. Micro-mesh guards generally handle freezing conditions better than other styles.
How long do gutter guards last? Quality aluminum micro-mesh guards typically last 15–25 years. Foam and brush inserts start degrading within 3–5 years. Perforated aluminum screens fall somewhere in between depending on material gauge and climate.
Do I still need to clean gutters after installing guards? Yes, but significantly less often. With good micro-mesh guards and moderate tree coverage, most homeowners go from cleaning 2–4 times per year to once every one to two years. You'll still want to inspect the guards after heavy leaf fall and flush the downspouts periodically.
Can gutter guards be installed on all gutter types? Most DIY micro-mesh products are designed for standard K-style (ogee) gutters, which are the most common type on US homes. Rounded half-round gutters require guards specifically designed for that profile. Check your gutter style before purchasing.
Gutter guards are worth it for the right home in the right situation. If you've got trees, you've got the budget for a quality micro-mesh product, and you're comfortable on a ladder – install them. You'll spend less time cleaning and less time worrying about clogged downspouts causing water damage. Just buy the good ones, clean the gutters first, and take your time on the ladder.
📚 Sources
Consumer Reports – Gutter guard testing and ratings: https://www.consumerreports.org/home-garden/gutter-guards/best-gutter-guards-a1196414012/
This Old House – How to install gutter guards: https://www.thisoldhouse.com/gutters/22370328/how-to-install-gutter-guards
International Association of Certified Home Inspectors – Gutters and downspouts: https://www.nachi.org/gutters.htm
University of Illinois Extension – Home maintenance: gutters and downspouts: https://web.extension.illinois.edu/homeowners/gutters.html