This guide walks you through a complete ground inspection, what to look for at each stage, and when the evidence is serious enough to call a professional rather than waiting to see if it gets worse.
What You'll Need
You don't need much to do this well. A pair of binoculars makes a real difference – they let you get a close-up view of shingles, flashing, and ridgelines without getting anywhere near the roof. A smartphone with a good camera (most modern phones qualify) lets you zoom in and document anything you find. If you have a drone, that's the ideal tool for this job, but it's not required.
Beyond that, you just need to walk the perimeter of your house in dry daylight conditions and know what you're looking for. The whole inspection should take twenty to thirty minutes if you're thorough.
Step 1: Walk the Perimeter and Check the Ground First
Before you even look up, look down. Walk slowly around the entire exterior of your house, paying close attention to what has landed on the ground, in your gutters, and around the foundation. What you find at ground level often tells you exactly what's happening on the roof above.
Granules are one of the most telling signs. Asphalt shingles are coated with ceramic granules that protect the underlying mat from UV degradation and weather. A significant storm – especially hail – knocks these granules loose in large quantities. If you find dark, sand-like grit accumulated in your gutters, downspout discharge areas, or on surfaces directly below the roofline, that's a direct sign of shingle surface damage. A small amount of granules is normal over time, but a substantial deposit following a storm indicates accelerated wear or impact damage.
Also look for actual pieces of shingle material on the ground, in your yard, or against your siding. Broken shingle tabs, flashing strips, or sections of ridge cap lying on the ground mean wind has physically removed roofing material. Even if you only find a few pieces, the gaps they've left behind are now open to water intrusion.
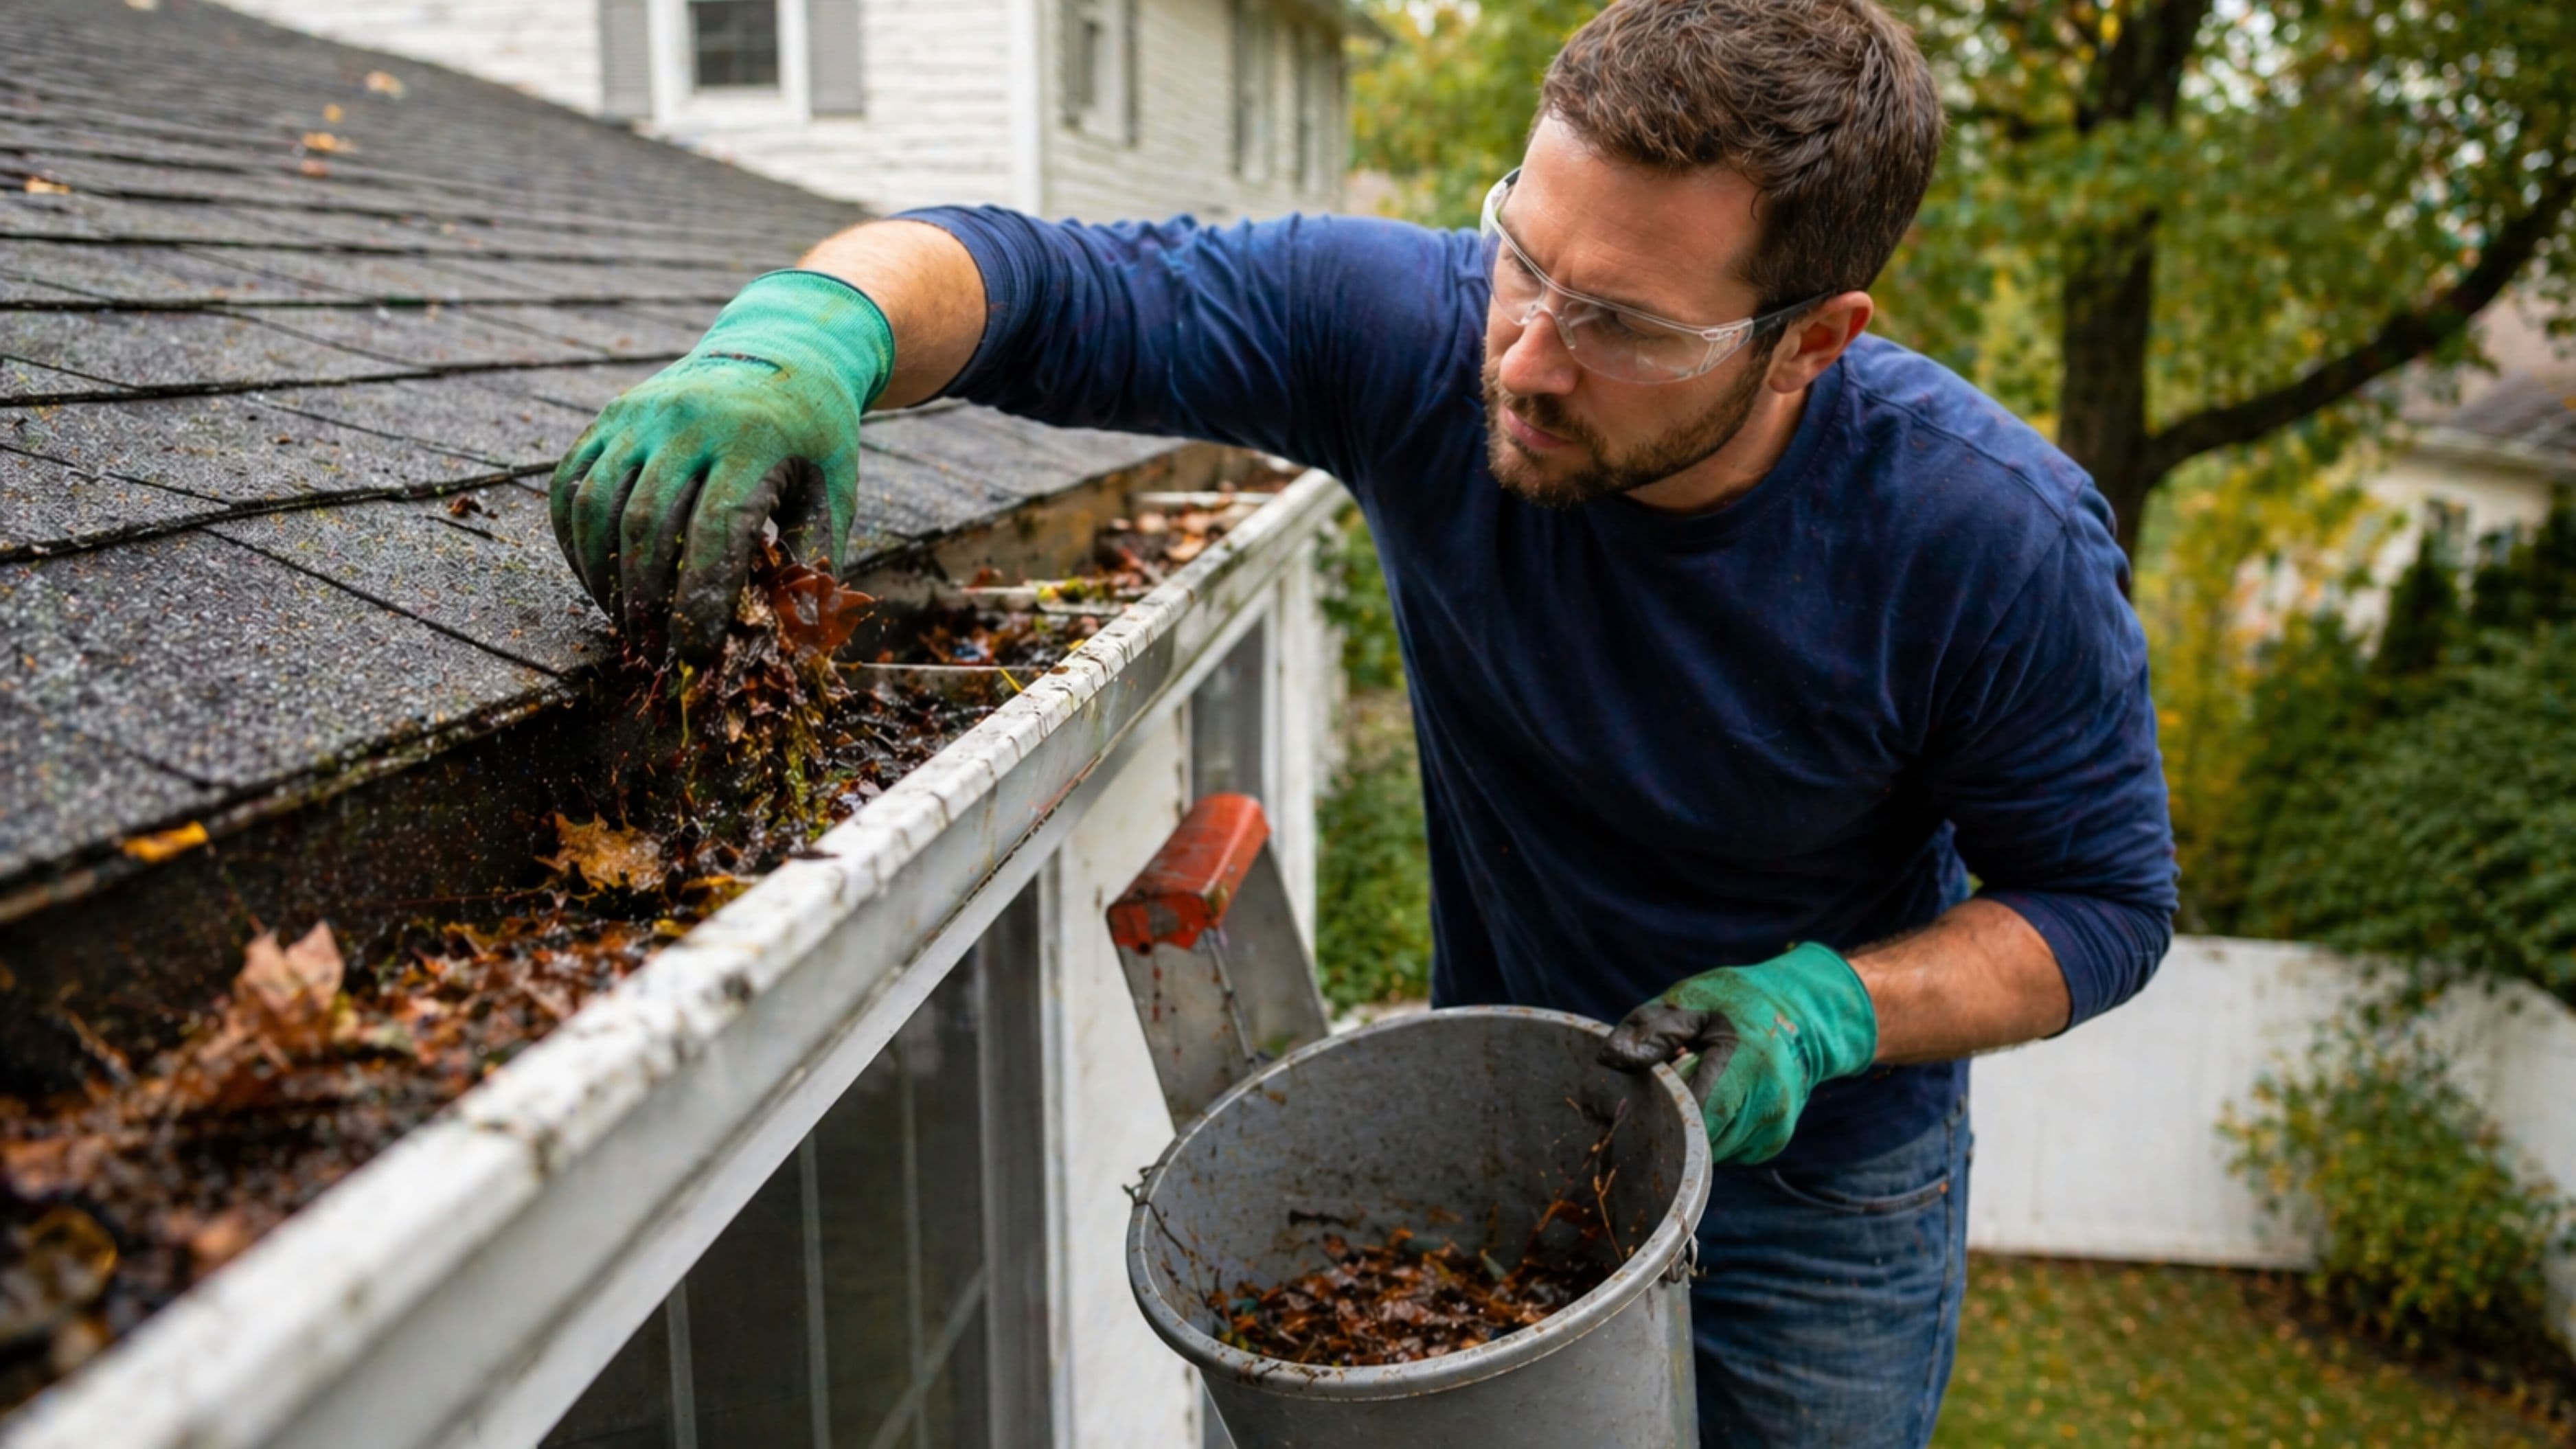
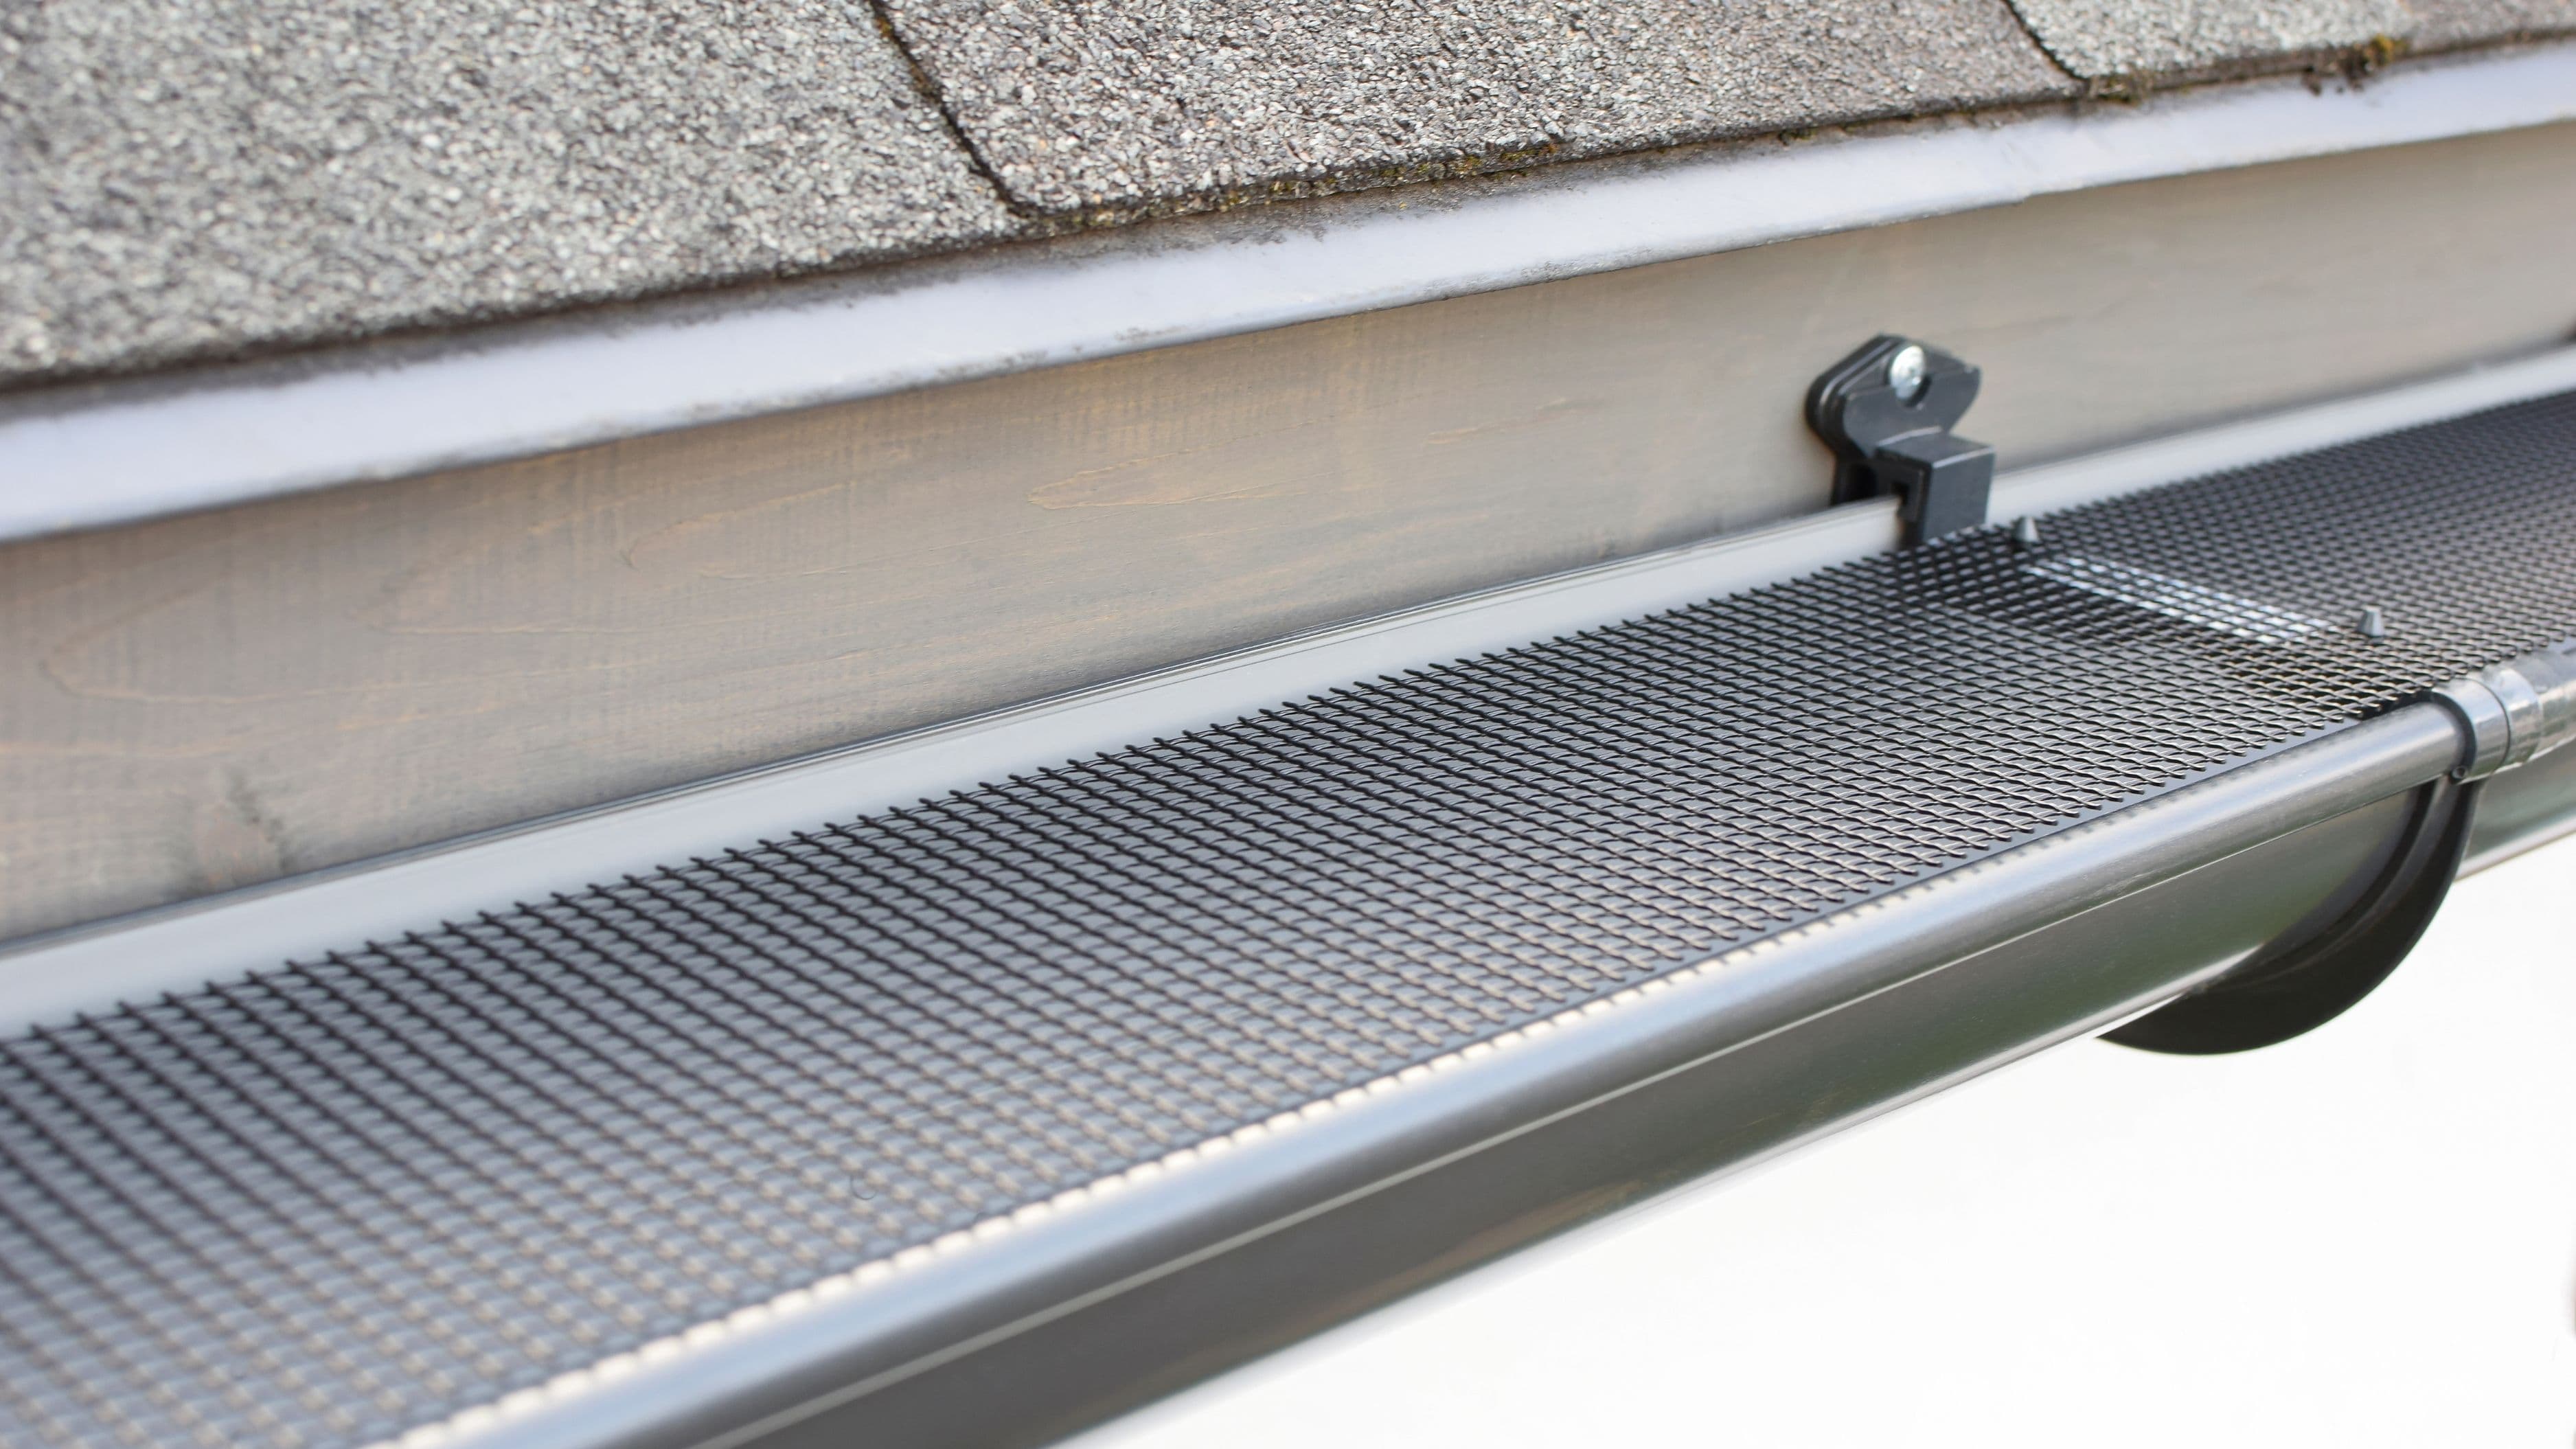
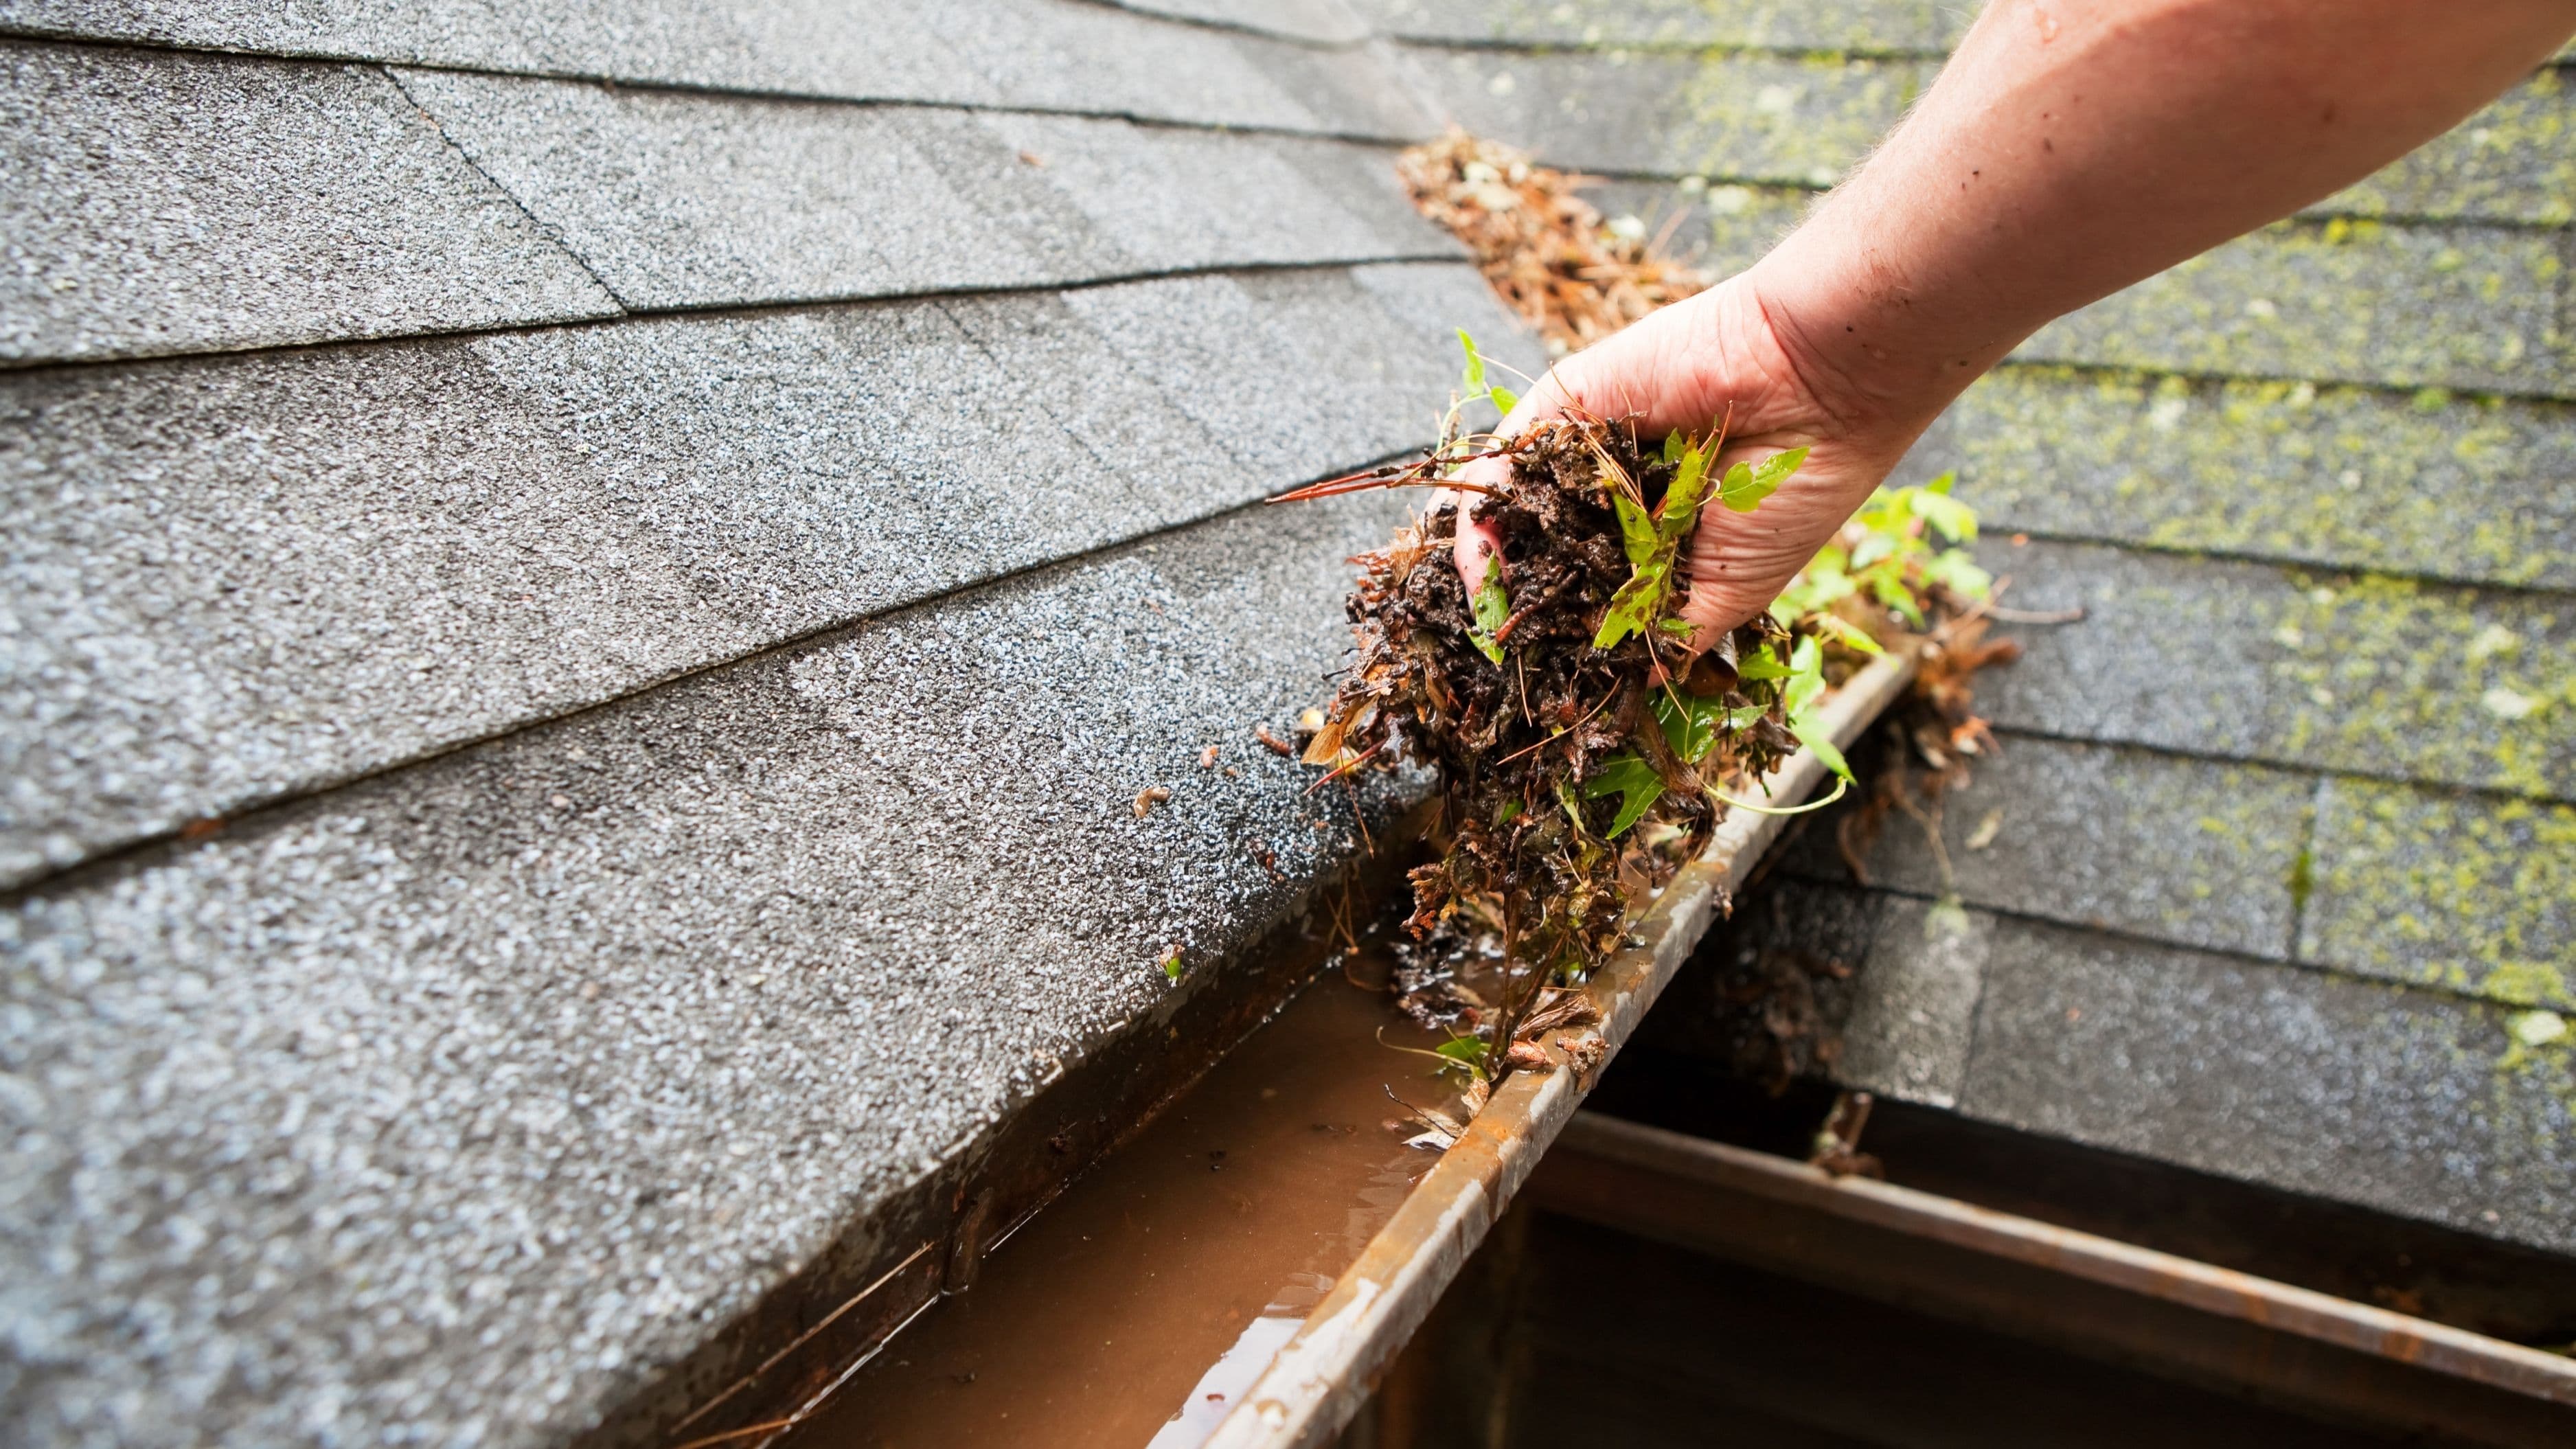
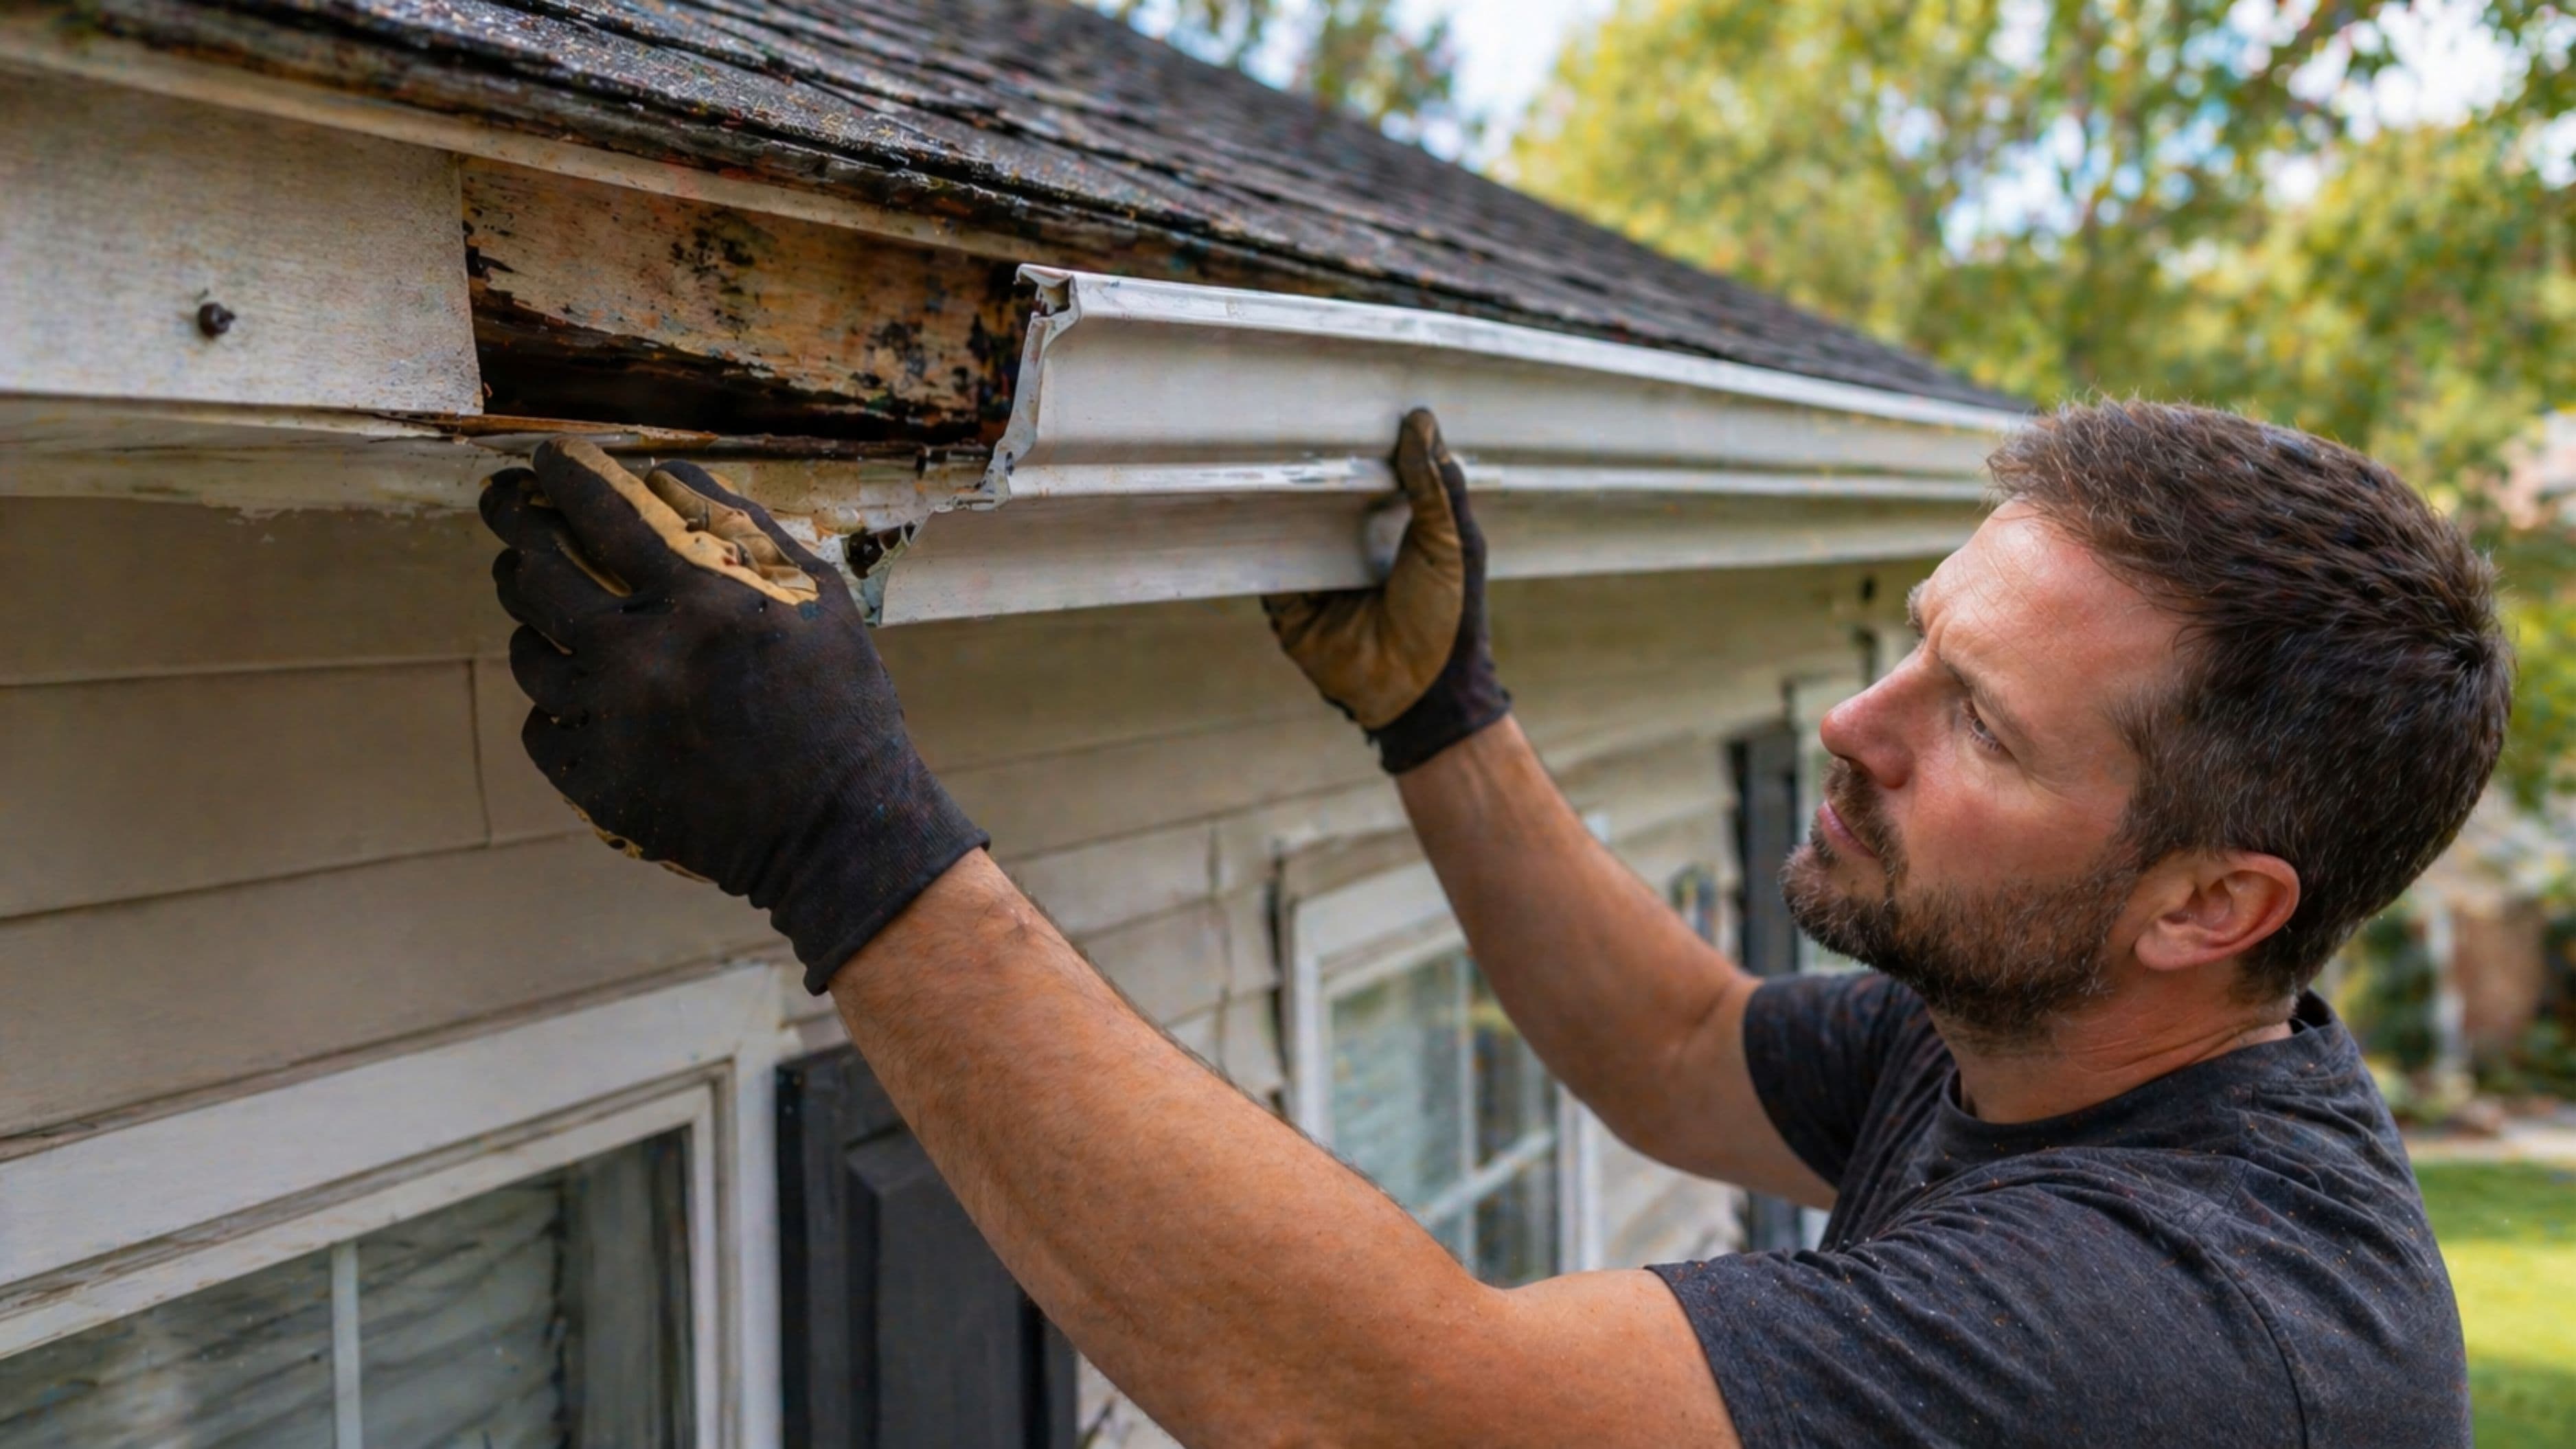
Step 2: Inspect the Gutters and Downspouts
Your gutters are a damage collector during a storm. After checking the ground, inspect the gutters themselves from the ground level – you don't need to climb a ladder for this portion. Look for gutters that have pulled away from the fascia board, are visibly dented or bent, or are sagging in sections. Hail large enough to dent gutters was almost certainly large enough to damage shingles.
If you have aluminum gutters and see circular impact marks or pockmarks in the metal, note the size and density of the marks. Hail damage assessors use gutter dents as one of the primary evidence markers when evaluating claims, so photograph anything you find. Bent or clogged downspout elbows can also indicate hail impact or debris accumulation that, if not cleared, will back up water through the gutters and potentially into the soffit and fascia.
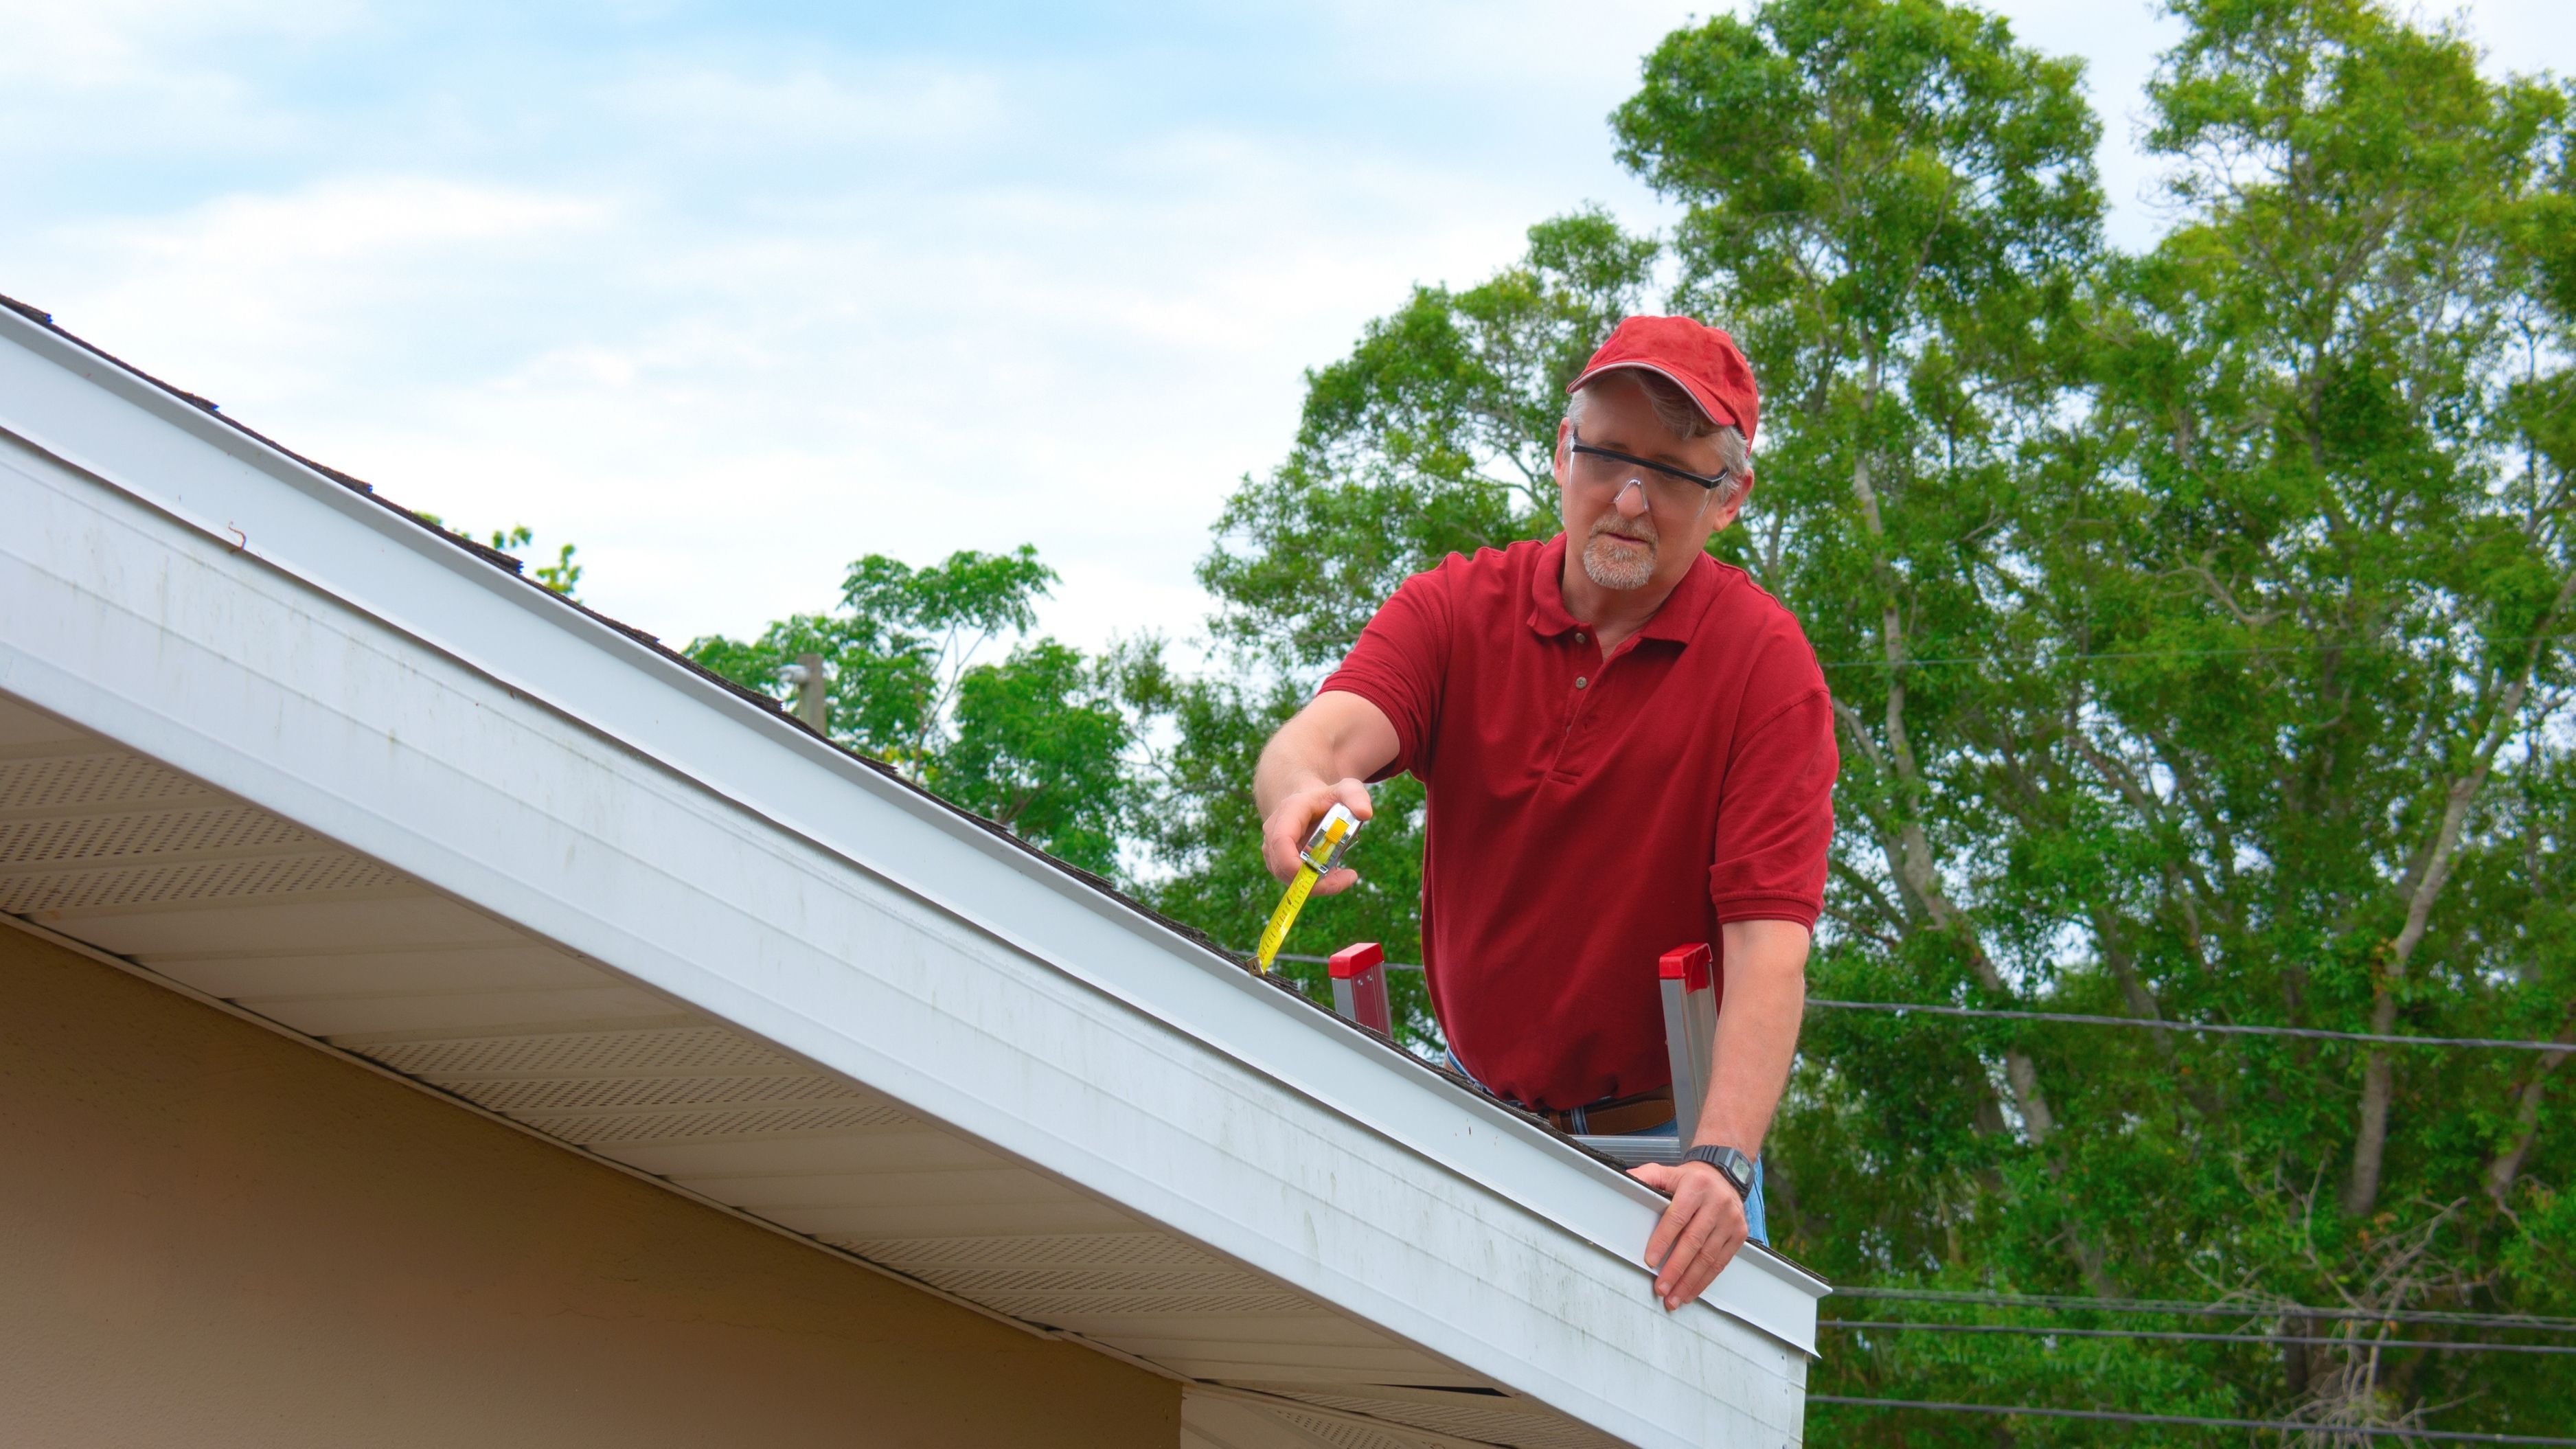
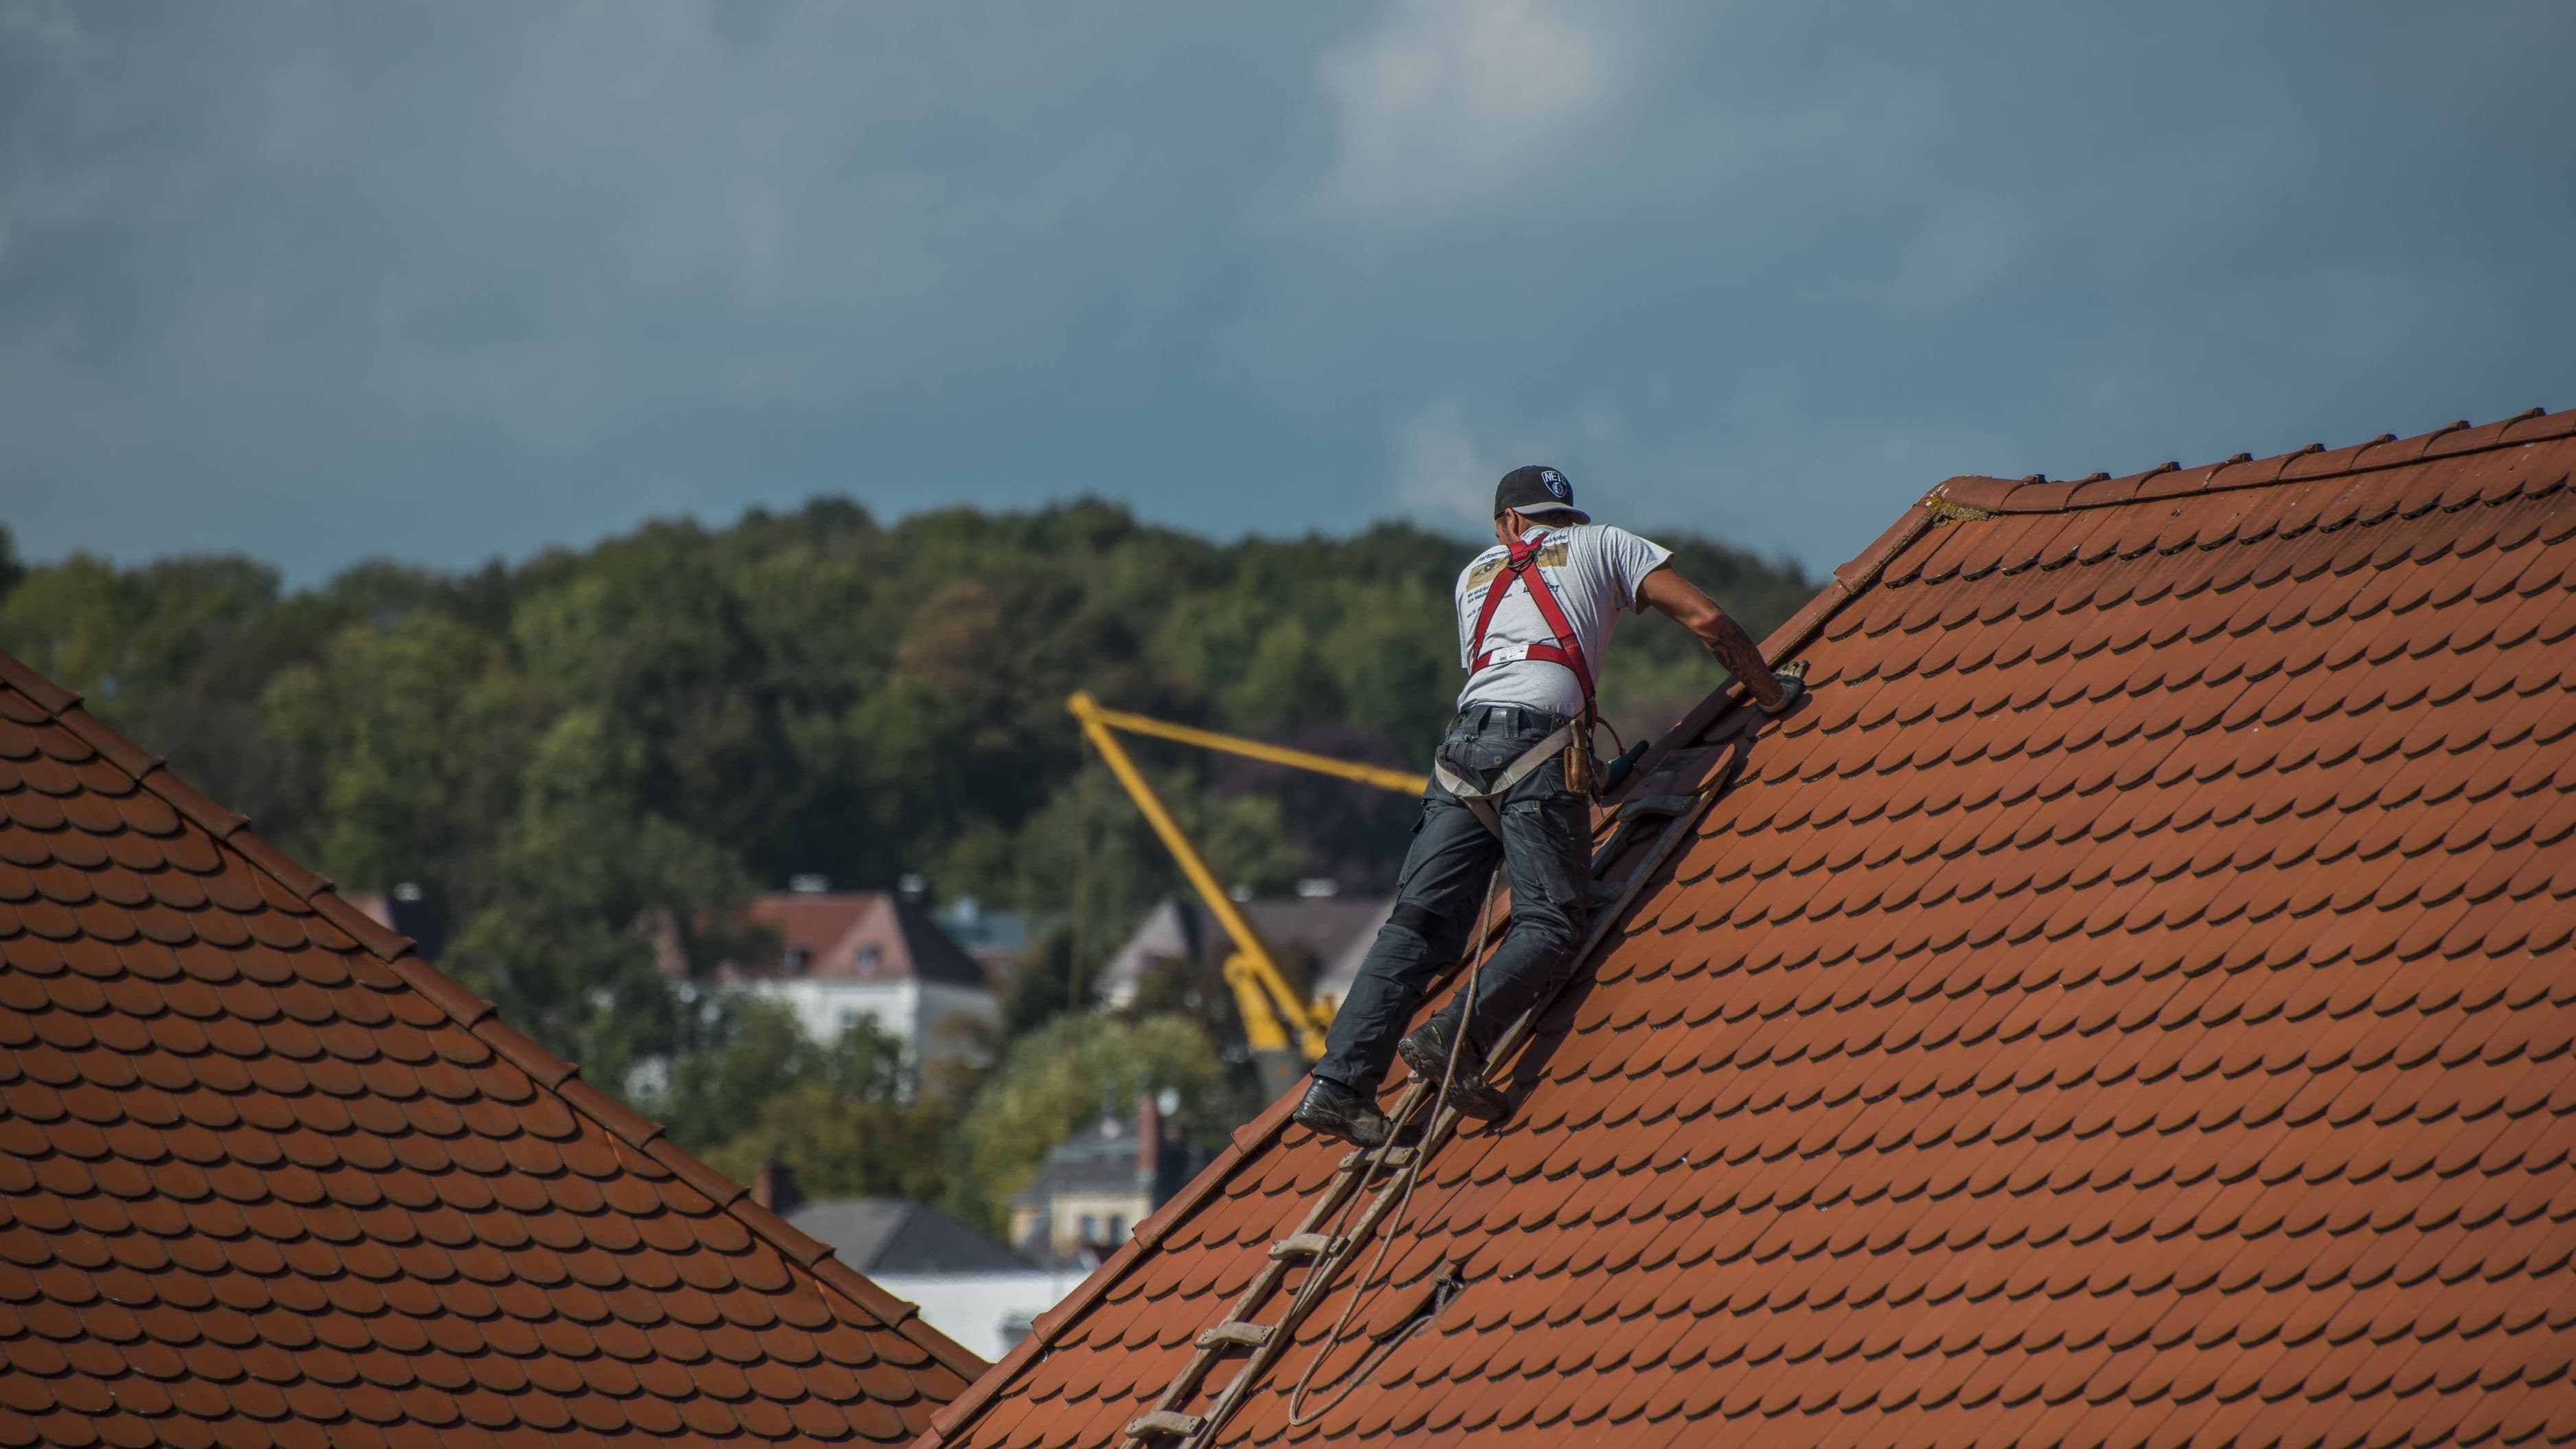
Step 3: Use Binoculars to Examine the Shingles
Now look up. Standing back from the house so you have a clear sightline, use binoculars to methodically scan each visible roof plane. You're looking for several specific types of damage.
Missing or lifted shingles are the most obvious finding. Wind gets under the edges and tabs of shingles, particularly at the ridge, eaves, and rakes (the sloped edges), and can lift or remove them entirely. Even a shingle that hasn't blown off completely but is visibly curled up at the edges is no longer sealing against water. These are high-priority issues because the bare roof deck beneath is immediately vulnerable to rain intrusion.
Shingle bruising from hail is harder to see from the ground but visible with binoculars on a sunny day at the right angle. Hail impact creates small, circular depressions in the shingle surface where the granule layer has been knocked away and the underlying asphalt mat is exposed. These spots often appear darker than the surrounding shingle because the bare asphalt absorbs light differently than the granule-coated surface. They're not always perfectly round – larger hailstones create irregular impact marks – but look for a pattern of darkened, circular-ish spots distributed across the surface.
Cracked or split shingles happen when hail impact is severe enough to fracture the shingle material, or when aging shingles become brittle and break under wind stress. Look for shingles with visible cracks or fracture lines, particularly near the lower tabs.
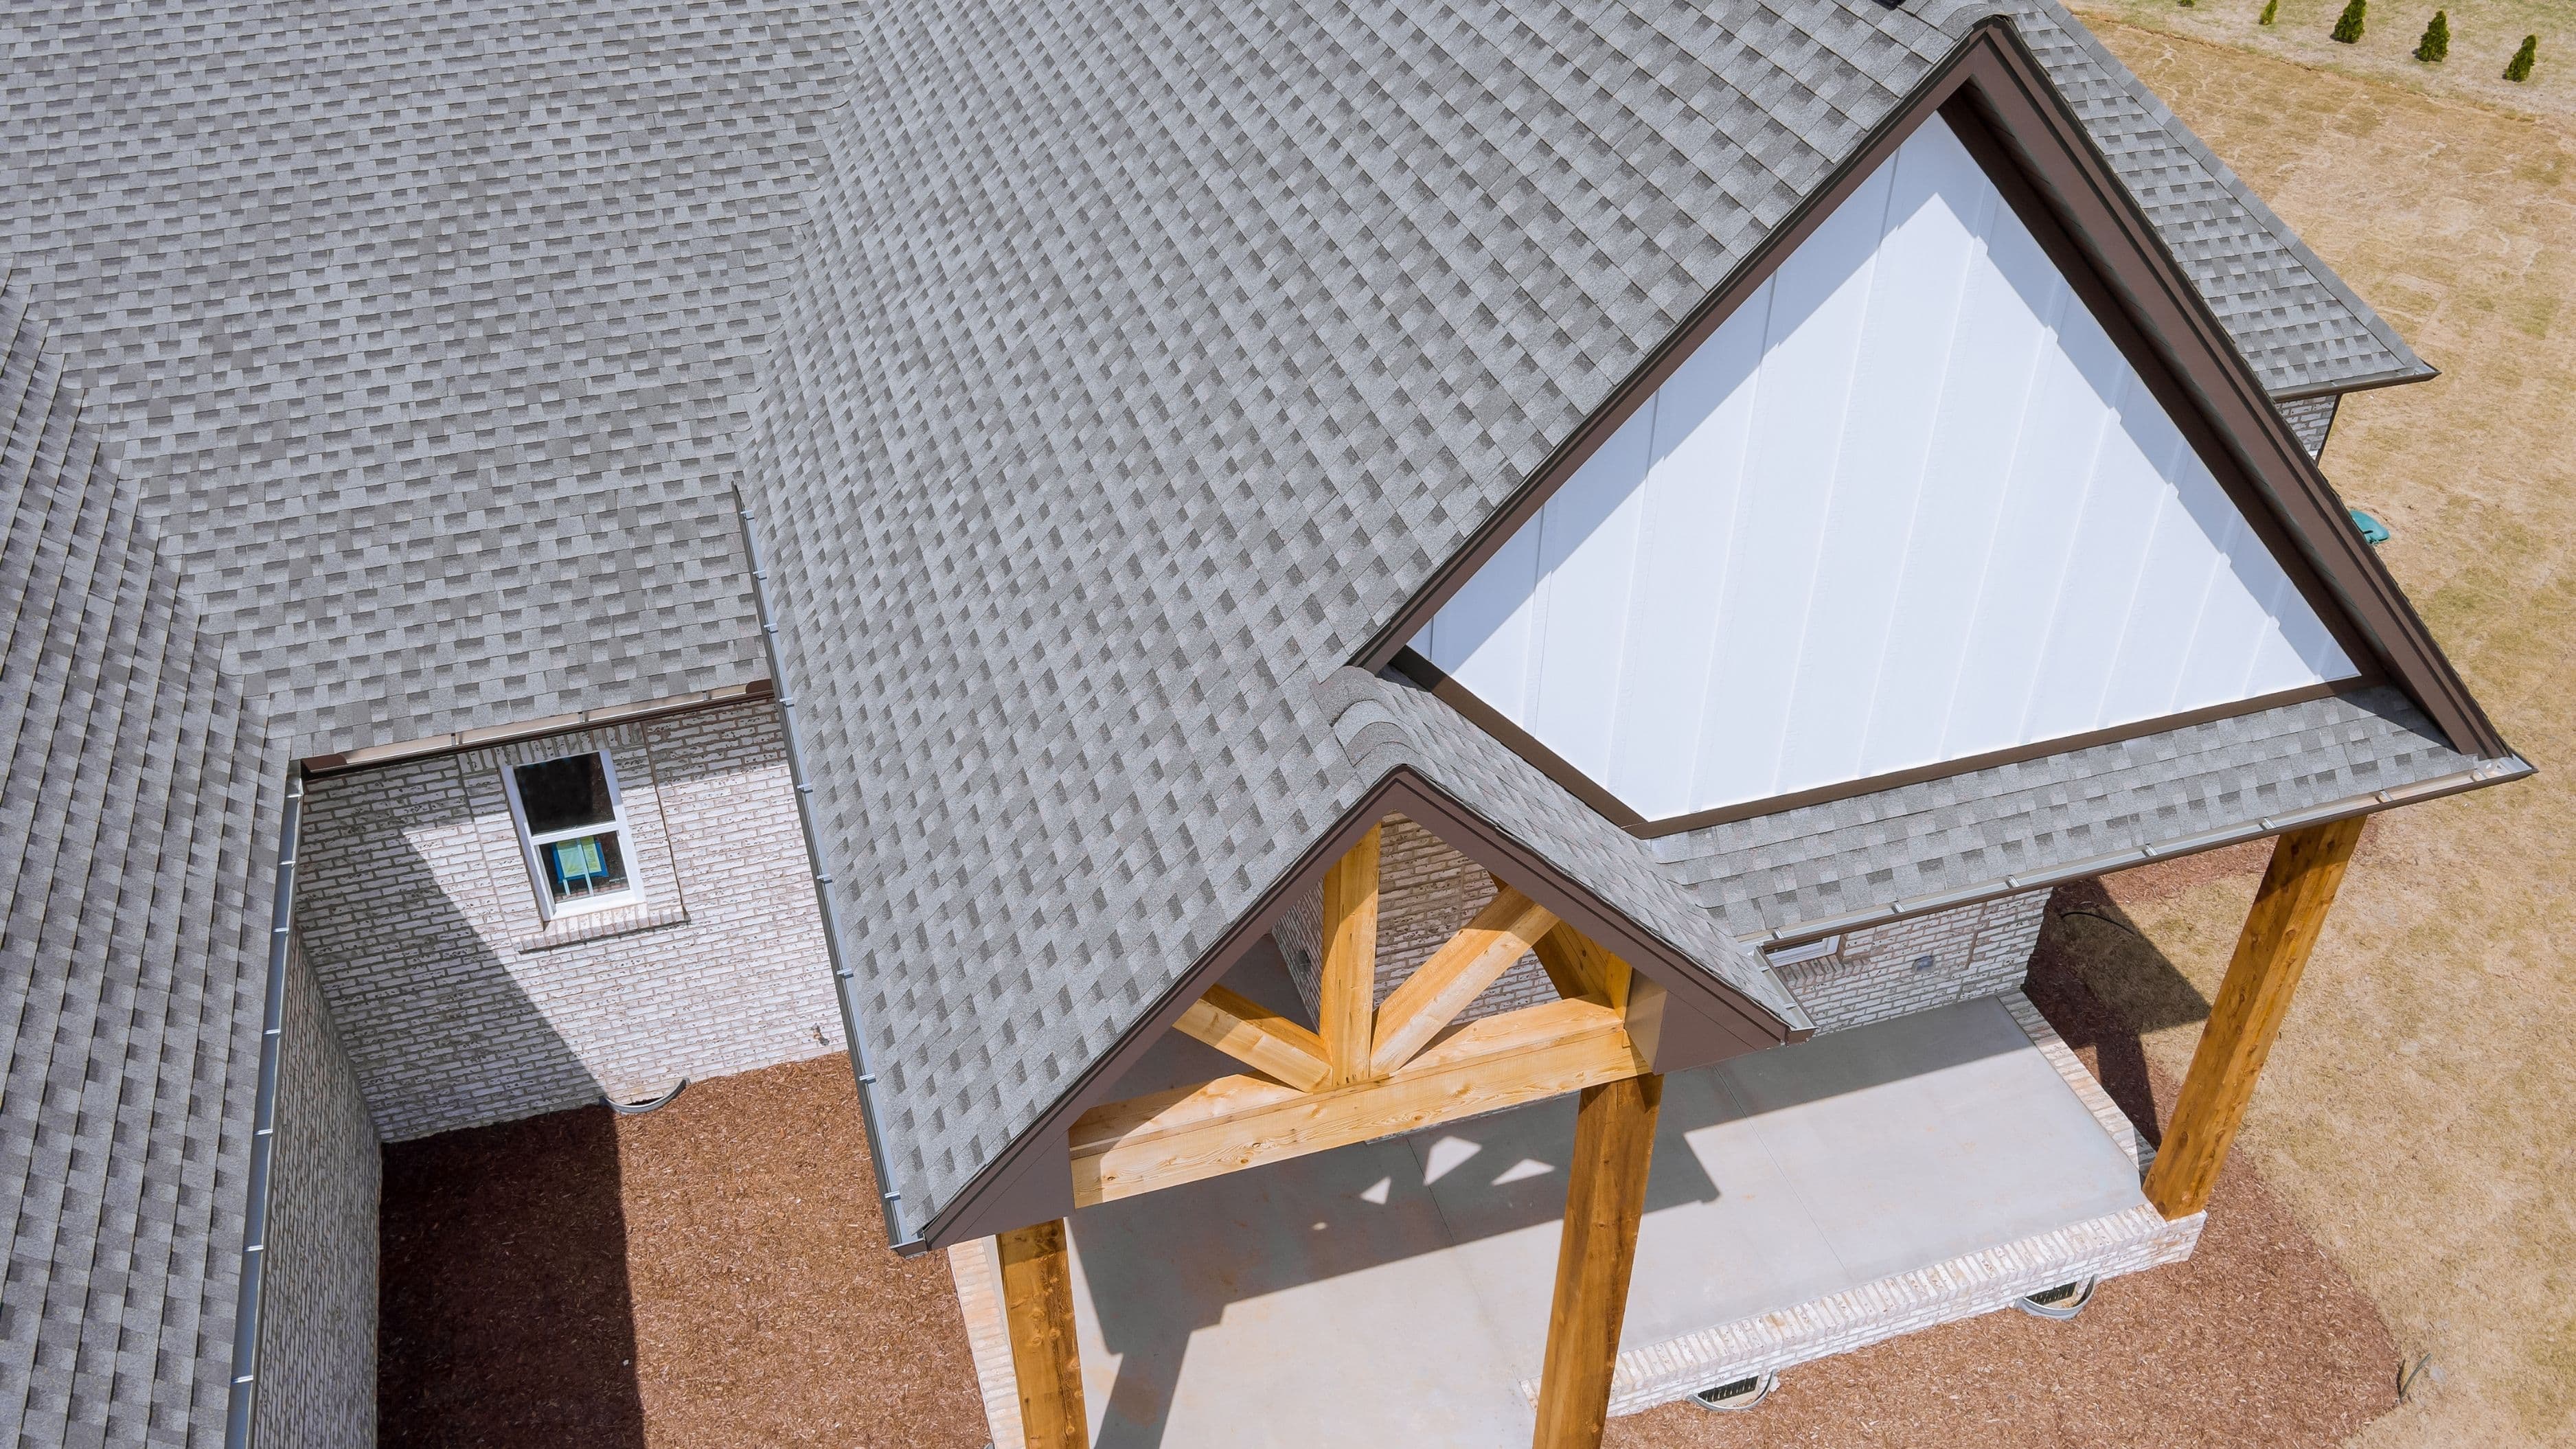
Step 4: Check the Ridge, Hips, and Flashing
The ridge is the peak of the roof where two planes meet, and the ridge cap shingles that cover it are the most exposed to wind on the entire roof. They're also frequently the first to show damage. Scan the full ridge line with your binoculars and look for displaced, cracked, or missing ridge cap pieces. A gap in the ridge cap is an immediate water entry point.
Flashing – the metal strips that seal roof-to-wall transitions, chimney bases, skylights, and valleys – is another high-priority inspection zone. Flashing can be bent, pulled away from the surface it seals, or have its sealant cracked by storm impact or freeze-thaw cycling exacerbated by storm moisture. From the ground, look for any flashing that appears lifted, buckled, or separated from the surface beside it. Valley flashing – the metal channel where two roof planes meet and water collects – is particularly important since it handles concentrated water flow and any compromise there moves water directly toward the roof deck.
Step 5: Inspect Skylights, Vents, and Chimney Caps
If your roof has skylights, pipe boots (the rubber-gasketed flashing around plumbing vents), a chimney, or any other roof penetrations, inspect each one carefully with your binoculars. These are the weak points in any roof system. Cracked or lifted pipe boot gaskets, damaged chimney mortar, and broken or displaced chimney caps are common storm-related findings that cause slow, chronic leaks rather than immediate obvious water intrusion.
A cracked chimney crown – the concrete or mortar cap on top of the chimney – can be visible from the ground on single-story sections or with binoculars on taller homes. Missing or displaced chimney caps let water and animals directly into the flue, which is both a water damage and a pest issue.
Step 6: Check Interior Spaces for Confirmation
A ground inspection from outside is only half the picture. After completing the exterior walkthrough, go inside and check your attic if you have access. Do this during daylight hours and bring a flashlight. Turn off the attic light, let your eyes adjust, and look for any pinpoints of light coming through the roof deck. Even a small penetration will be visible as a bright spot. Also look for discolored wood (water staining), wet insulation, or active dripping. Dark water stains on the sheathing indicate either a current leak or a previous one that warrants investigation.
From inside the living space, check the ceilings in upper rooms for any new water staining, bubbling paint, or soft spots in drywall. Storm damage that creates slow leaks doesn't always show up immediately – it may take one or two subsequent rain events before water works its way through to visible surfaces. If you find anything indoors, photograph it and note the date.
What to Document Before Calling Your Insurance Company
If you find evidence of storm damage, documentation is what turns your inspection into a successful insurance claim. Before calling anyone, do the following. Photograph everything you found – granules in the gutters, ground debris, any damage visible in the binoculars (zoom in with your phone camera at the same time you use binoculars, or use your phone's zoom directly). Note the date of the storm and the date of your inspection. Check local weather records for the storm – your local National Weather Service office logs hail size and wind speeds by zip code, and this data is routinely used to support insurance claims. Save any emergency weather alerts you received during the event.
Most homeowner's insurance policies have a filing window of one to two years for storm damage claims, but the sooner you file the better. Adjusters give more weight to claims filed promptly after a documented weather event.
When to Call a Professional Roofer
A ground inspection is excellent for identifying that damage exists and documenting it for your insurer. It's not a substitute for a professional inspection when any of the following are true.
If you found missing shingles, visible gaps, or dislodged flashing, those openings need to be addressed before the next rain event. A roofer can apply temporary tarping or emergency repairs while you wait for a full assessment. If you found active leaks inside – wet insulation, dripping water, or new ceiling stains – that's an urgent situation, not a monitoring one.
If the storm was severe enough to produce large hail (golf ball size or larger) or wind speeds above 60–70 mph, a professional inspection is worth scheduling even if your ground-level inspection didn't turn up obvious damage. Hail bruising at the shingle mat level can compromise shingle performance and reduce lifespan without being visible from the ground.
When you do call a roofer for a storm inspection, choose a local, licensed contractor rather than the storm chasers who appear in your neighborhood following major weather events and pressure-sell emergency repairs. Get at least two quotes and verify that any contractor you hire carries both liability insurance and workers' compensation coverage.
Common Mistakes to Avoid
The most common mistake is waiting too long. Homeowners frequently watch a suspected problem for "a few more rain events" before investigating, and what could have been a straightforward repair turns into a deck replacement because water has been sitting in the sheathing for months. If your inspection turns up credible evidence of damage, act on it promptly.
The second mistake is getting on the roof when conditions aren't safe. If you feel you need to get up there, wait until the roof has been dry for at least 24–48 hours, the weather is calm, and ideally until you have someone else present. Wet shingles are far more slippery than they look, and slope-related falls are among the most common serious home improvement injuries. In most cases, a professional roof inspection costs $150–$300 and is worth every dollar compared to the risk.
FAQ
How soon after a storm should I inspect my roof? As soon as conditions are safe – meaning the storm has fully passed, it's daylight, and surfaces have had time to begin drying. Don't wait more than a day or two, both to catch active damage early and to stay within the timeline that most insurance adjusters expect for prompt reporting.
What hail size causes roof damage? Asphalt shingles can begin to show damage from hail as small as 1 inch in diameter, depending on shingle age and quality. Hail of 1.5 inches (about the size of a ping pong ball) or larger typically causes significant granule loss and bruising on standard three-tab and architectural shingles. Check the National Weather Service storm reports for your area to find documented hail sizes from a specific storm.
Can I file an insurance claim based on a ground inspection alone? Your own inspection and documentation support a claim, but insurance companies typically require a professional adjuster or licensed roofer to assess the roof directly before authorizing payment. Your ground-level documentation helps establish when the damage occurred and provides supporting evidence for the adjuster's findings.
What if my roof looks fine but I have a ceiling stain inside? Don't dismiss it. Water is adept at traveling – it can enter the roof system at one point, travel along sheathing or rafters, and appear on a ceiling several feet away from the actual entry point. An interior stain following a storm is a reason to schedule a professional inspection, even if your exterior walkthrough didn't turn up obvious damage.
The Bottom Line
A thorough ground-level inspection after a storm takes less than thirty minutes and gives you a clear picture of whether your roof has taken meaningful damage. Check the ground for granules and debris, examine the gutters for hail marks, use binoculars to scan shingles and flashing, verify with a quick attic check, and document everything before calling your insurer. Most of the time you'll know within that single walkthrough whether you're dealing with minor weathering, moderate damage worth a claim, or something that needs a roofer out immediately. The inspection costs you nothing; missing the damage costs a lot.
📚 Sources
Insurance Information Institute – Filing a homeowners insurance claim for storm damage: https://www.iii.org/article/how-to-file-a-homeowners-insurance-claim
National Roofing Contractors Association – Homeowner's Guide to Roof Inspection: https://www.nrca.net/roofing-knowledge/2/homeowners-guide-to-roof-systems
NOAA National Weather Service – Local storm reports and hail documentation: https://www.weather.gov/lsr/
This Old House – How to Inspect Your Roof: https://www.thisoldhouse.com/roofing/21015437/how-to-inspect-your-roof
FEMA – Homeowner's Guide to Retrofitting: Chapter on roof coverings and storm damage: https://www.fema.gov/sites/default/files/2020-07/fema_homeowners-guide-retrofitting_3rd-edition.pdf
🔍 Explore Related Topics