If you've been putting off motorized blinds because you assumed it would be a complicated project, this guide is for you. With the right product and a basic set of tools, most people can have a window done in under an hour on their first attempt.
What You'll Need Before You Start
The tools and materials for this job are minimal. You'll need a measuring tape, a pencil, a level, a drill with a small bit (typically 3/32" or similar for pilot holes), and a screwdriver – most mounting brackets come with screws that a standard Phillips head handles fine. Some people prefer to use a power screwdriver for speed, which works well as long as you don't overtighten into a wood or vinyl window frame.
Beyond tools, you need the blind itself sized correctly for your window. This is where most installation mistakes originate, so it's worth spending a few extra minutes measuring before you order.
Step 1 – Measure the Window Correctly
Measuring for blinds sounds simple, but there are two distinct approaches – inside mount and outside mount – and they require different measurements.
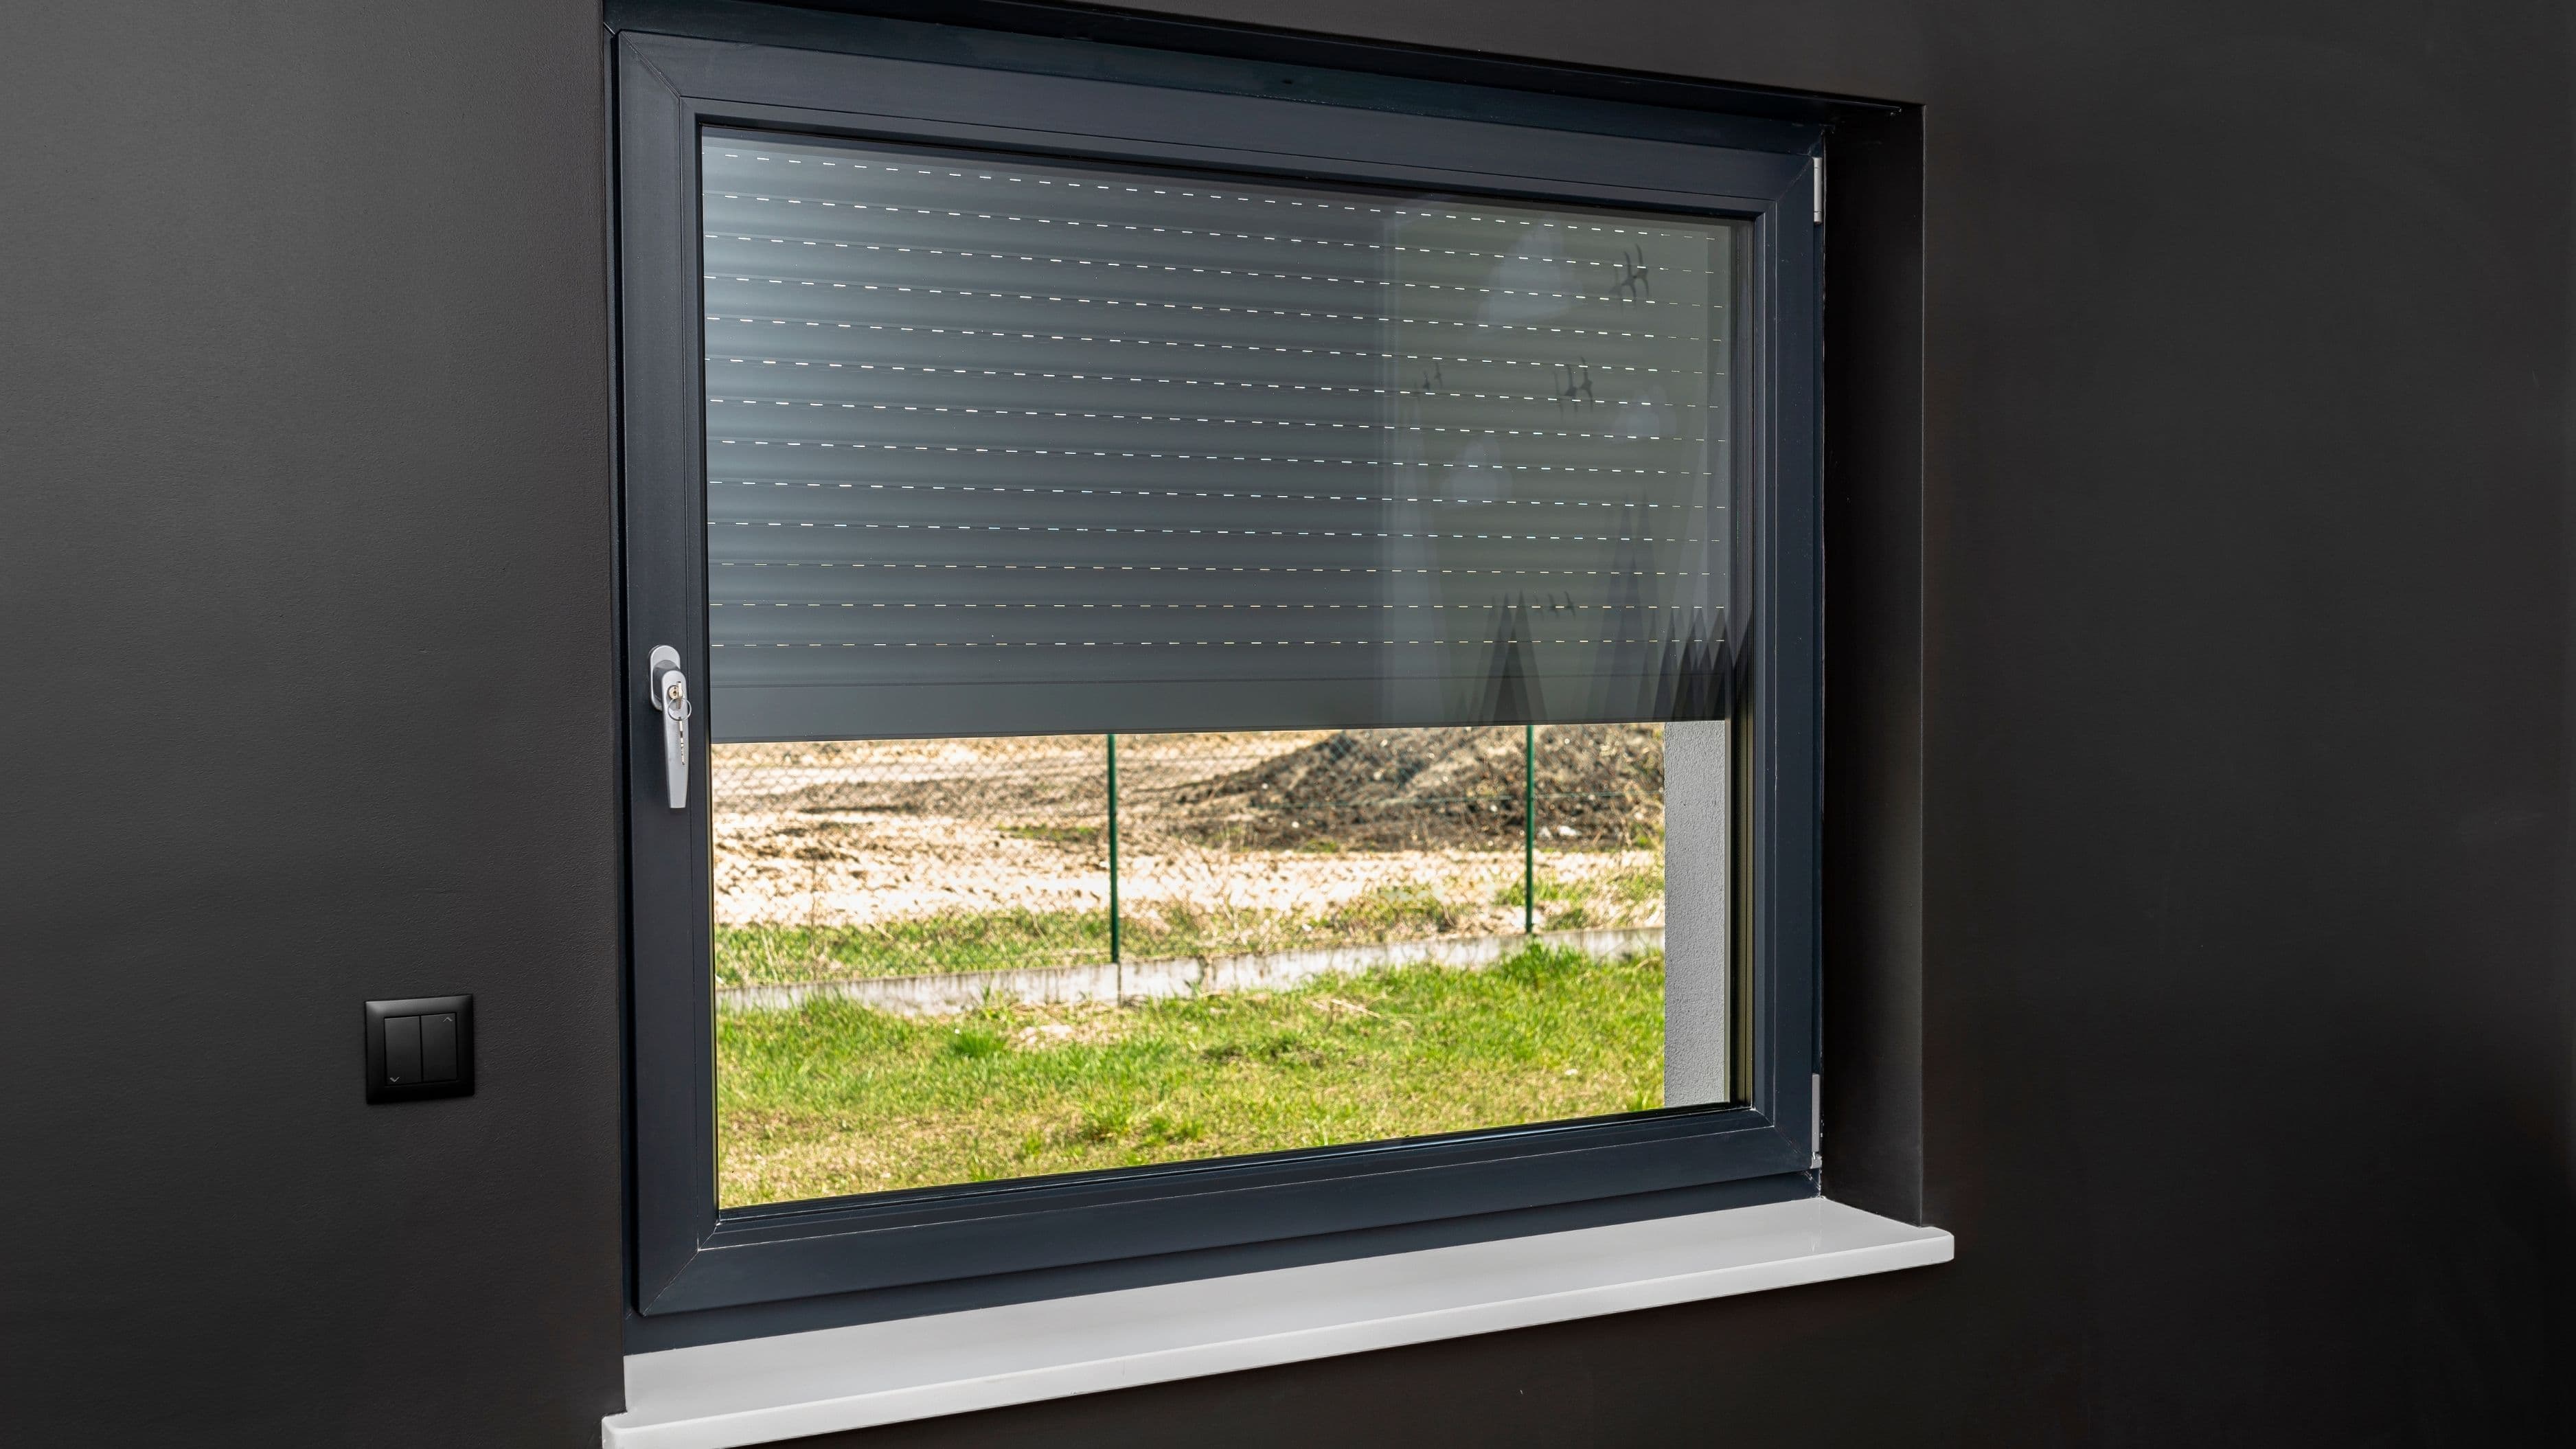
An inside mount sits within the window frame opening, giving a clean built-in look. To measure for an inside mount, measure the inside width of the window frame at the top, middle, and bottom – windows are often not perfectly square, so use the narrowest measurement. Then measure the height from the top of the frame to the sill on both sides, and use the shortest measurement. Most manufacturers deduct a small amount from the width you provide to ensure the blind fits within the frame without binding, so order to your exact measurement and let them handle the deduction.
An outside mount attaches to the wall or the face of the window frame and covers the window opening plus some overlap on each side – typically 2–3 inches on each side is standard. Outside mounts work better for windows with shallow frames that don't give the blind enough depth to sit inside, and they generally provide better light blockage since the blind extends past the frame edges. Measure the full width you want the blind to cover, and measure the height from where you'll mount the bracket down to where you want the blind to end.
Write down your measurements before ordering, and double-check them. A blind cut to the wrong size is not returnable in most cases once it's been made to order.
Step 2 – Choose Your Battery-Powered System
Battery-powered motorized blinds typically run on one of two power setups: a rechargeable lithium battery pack built into the headrail that charges via USB-C or a similar cable, or a removable battery wand that holds standard AA or AAA batteries. Both are valid approaches with slightly different maintenance routines.
Rechargeable systems are more convenient in the long run – you plug in a cable every few months, similar to charging a phone, and the battery is back to full. Removable battery wands require you to buy replacement batteries periodically, but they're slightly easier to deal with if your blinds are in a location where plugging in a cable is awkward.
If you're buying smart blinds rather than basic motorized ones – meaning you want app control, scheduling, or smart home integration – confirm what hub or app the system requires before purchasing. Some systems like the IKEA FYRTUR require their own hub for full smart features. Others connect directly to Wi-Fi. Either way, pairing the blind to your home network is done after physical installation and doesn't affect the mounting process.
Step 3 – Mark and Mount the Brackets
Most motorized blinds use two or three mounting brackets depending on the width of the shade. Wider shades typically include a center support bracket to prevent sagging. Your blind will come with the correct number of brackets and the screws to mount them.
For an inside mount, hold one bracket up to the top corner of the window frame interior and mark the screw hole positions with a pencil.
Repeat for the other bracket and the center bracket if included. Drill pilot holes at your marks – pilot holes prevent the wood or vinyl frame from cracking when you drive the screw – and screw the brackets in. Check that they're level with each other before fully tightening. An unlevel headrail will cause the blind to roll unevenly over time.
For an outside mount, hold the bracket against the wall or window casing at the desired position and mark the holes. If you're mounting into drywall without hitting a stud – which is common above windows – use the drywall anchors included with the blind or pick up a pack of self-drilling drywall anchors rated for light loads. The blind itself doesn't weigh much, so standard anchors handle it without issue. If you're mounting into wood casing or a wood window surround, pilot holes and screws directly into the wood are all you need.
Use your level to confirm both brackets are at the same height before committing. This takes an extra 60 seconds and saves you from uninstalling and remounting later.
Step 4 – Install the Blind Into the Brackets
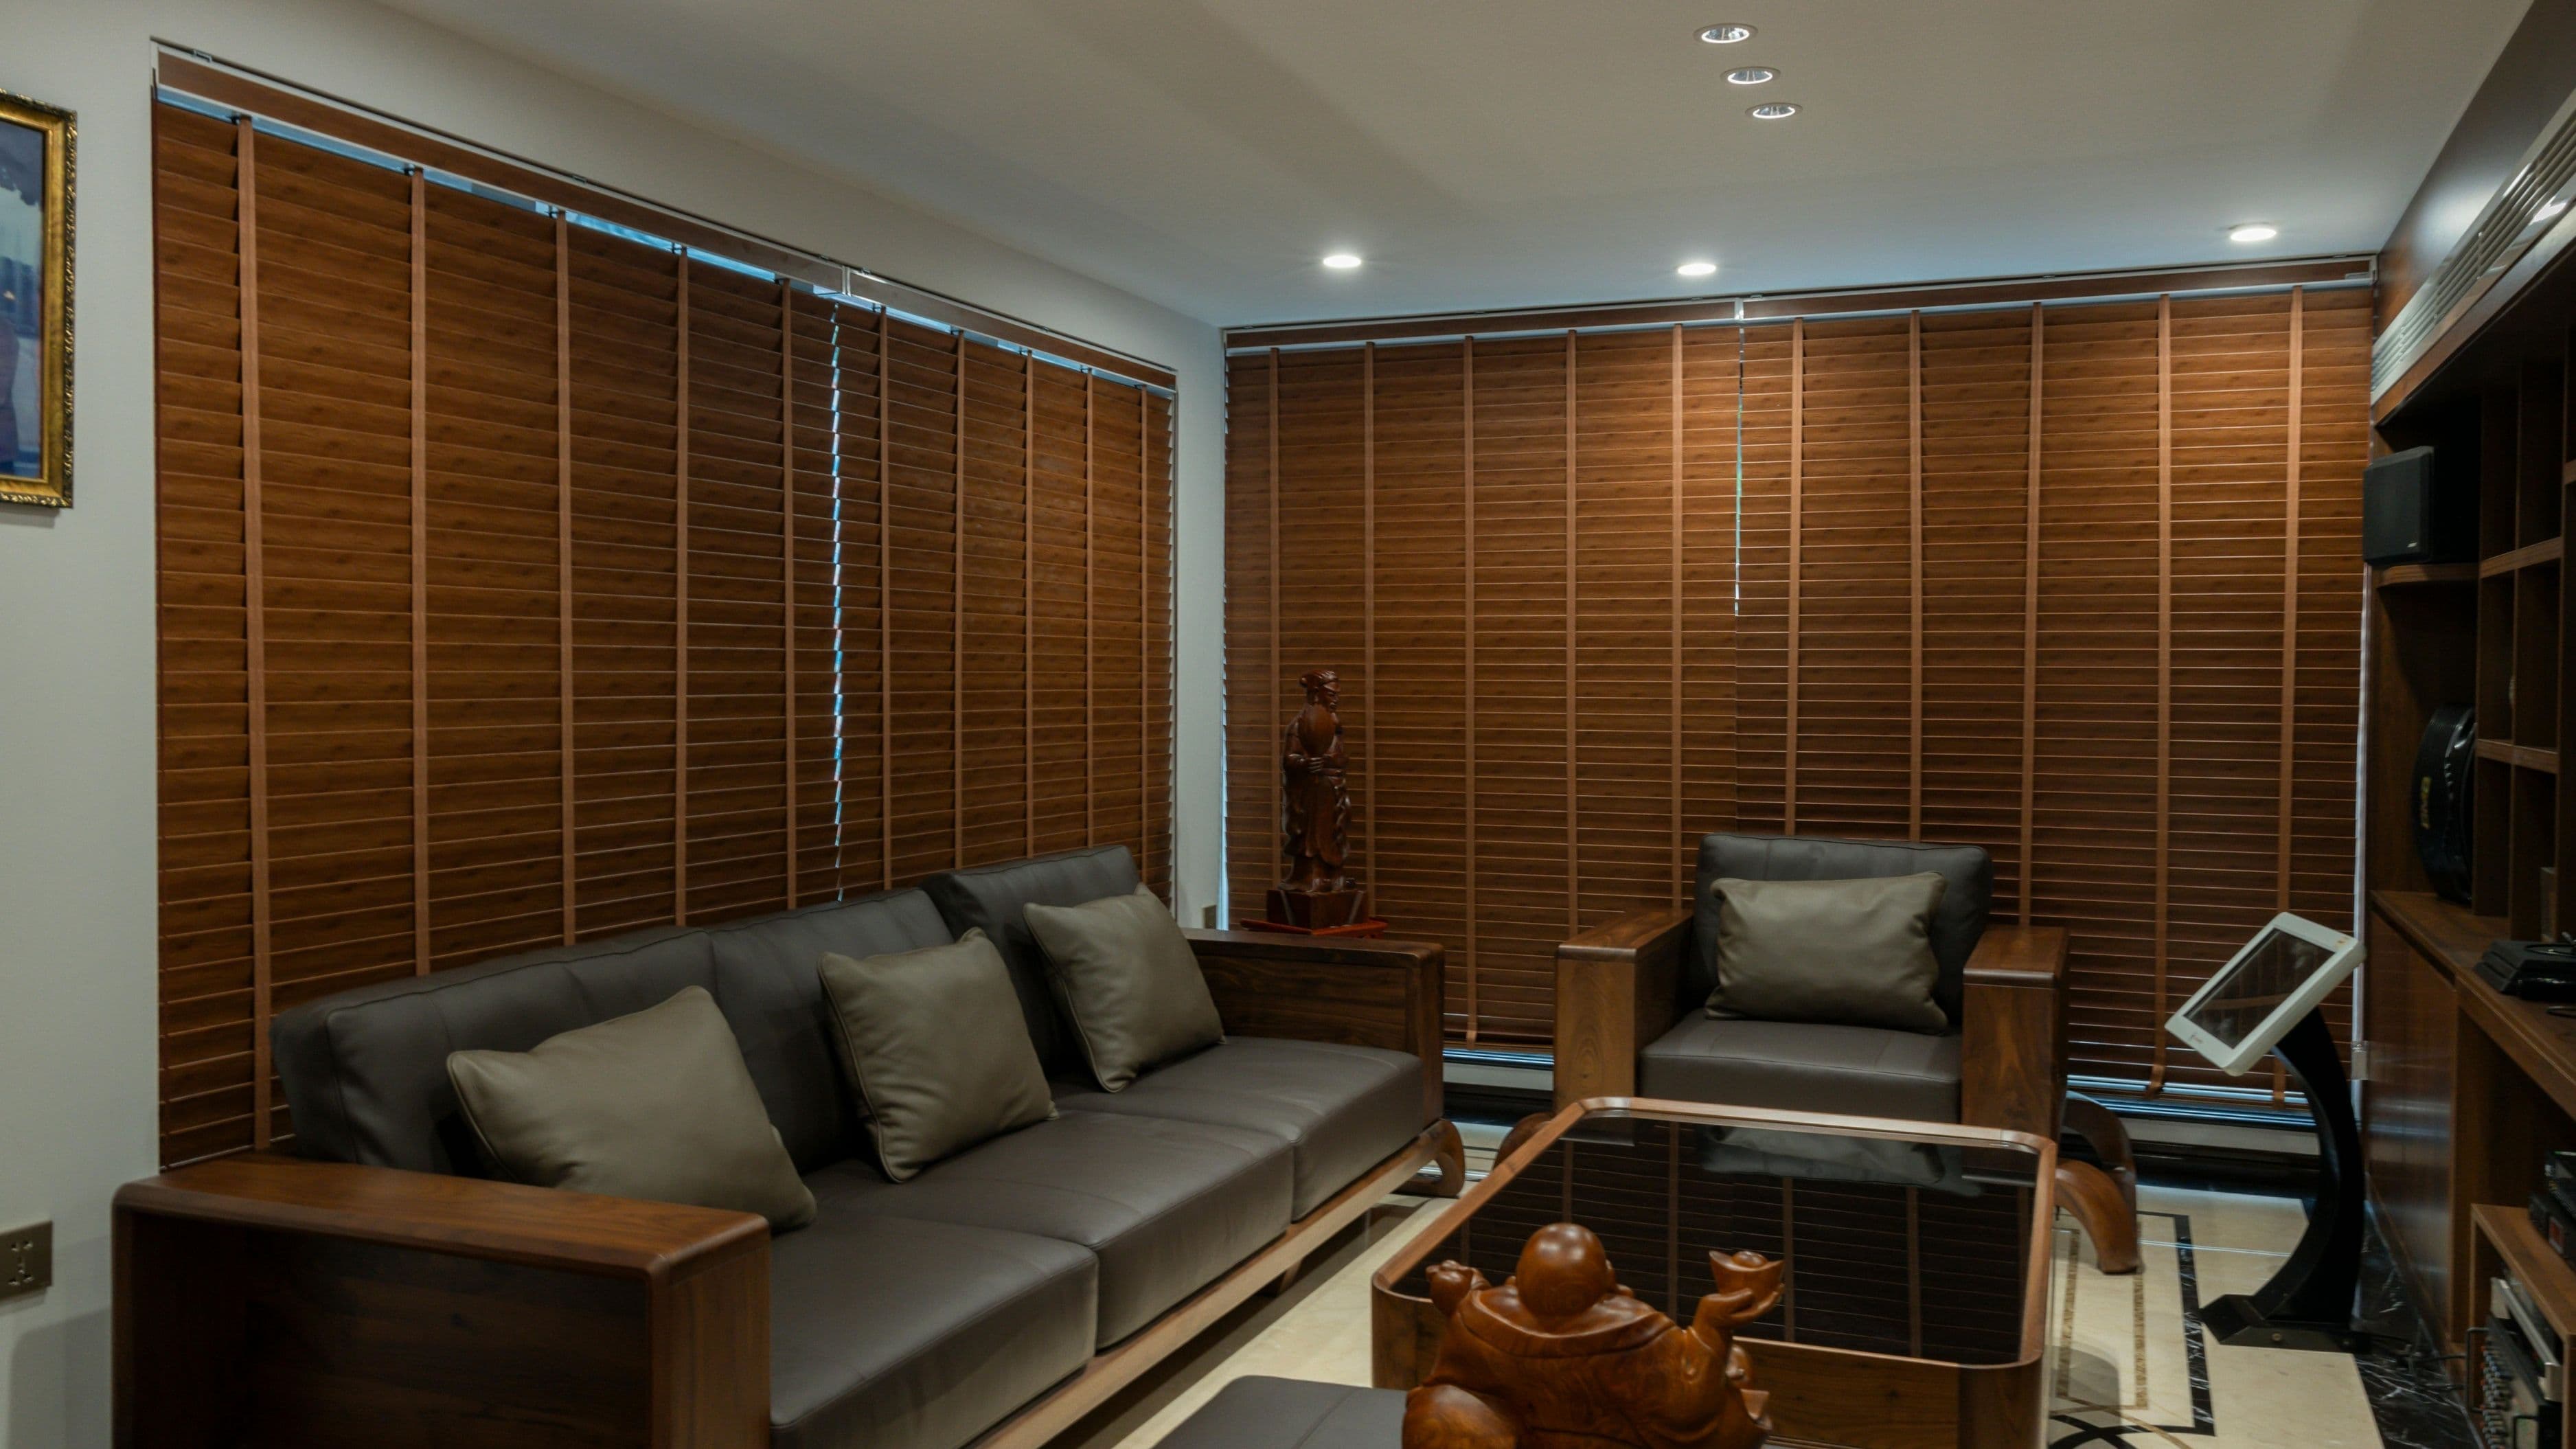
With the brackets mounted, installing the blind itself is the easiest part of the whole job. The headrail – the top bar that houses the motor and roll mechanism – snaps or clips into the brackets depending on the system. Most motorized blinds use a hook-and-snap design where you tilt the front of the headrail up into the bracket, then push the back up until it clicks into place.
Give the headrail a gentle tug downward once it's in both brackets to confirm it's secure. If a center bracket was included, snap that in as well. The blind should sit evenly across the width of the window with no visible tilt.
If your blind came with a valance – the decorative front cover that hides the headrail – clip it on now. Valances snap onto the front of the headrail and give the installation a finished look that covers the brackets and motor housing.
Step 5 – Charge or Load Batteries, Then Set the Limits
Before you can use the blind, it needs power. If it's a rechargeable system, plug the charging cable into the headrail's charging port – usually accessible at one end of the headrail – and charge it fully before pairing or programming. Most blinds show a light indicator when charging and when the charge is complete.
Once powered, you need to set the upper and lower travel limits. This tells the motor how far to unroll (fully open) and how far to roll back up (fully closed) without overrunning in either direction. The process varies by brand but is generally straightforward: press the down button until the blind reaches the position you want as "fully open," then confirm that limit using a combination button press specified in the manual. Repeat for the "fully closed" position. The manual that came with your blind walks through the exact button sequence for your specific model – it's worth reading this section rather than guessing, since an incorrectly set limit can cause the motor to overrun and strain the mechanism.
Step 6 – Pair to Remote, App, or Smart Home Hub
Basic motorized blinds come with a handheld remote that pairs during initial setup, typically by holding the pairing button on the remote near the motor and pressing a button on the headrail to confirm. Once paired, the remote's up, down, and stop buttons control the blind directly.
If you're setting up smart blinds with app or voice control, this is where you open the manufacturer's app and follow the pairing instructions. Most systems walk you through connecting the blind to your Wi-Fi network or hub step by step. The process is similar to setting up any other smart home device – you're essentially just registering the blind on your network so the app can find and control it.
For systems that integrate with Alexa, Google Home, or Apple HomeKit, you'll typically link the blind's app to your smart home platform through the respective app's device-discovery or "add device" flow. Once linked, voice commands like "Alexa, open the bedroom blinds" work without any further setup.
Maintenance and Battery Care
Battery-powered motorized blinds are low maintenance, but there are a few things that keep them running well over time.
Recharge before the battery dies completely rather than running it to zero. Most modern lithium battery systems have battery-level indicators in the app or via a flashing light on the headrail. Topping up when the level drops to around 20% extends battery longevity compared to full discharge cycles.
Clean the fabric or material on the blind periodically according to the manufacturer's guidance – most roller shades can be spot-cleaned with a damp cloth. Avoid getting water into the headrail or charging port.
If the blind starts moving unevenly or stopping before reaching its limits, the travel limits may need to be reset. This is a quick process through the same button sequence used during initial setup and is usually the first thing to try before assuming a mechanical issue.
Common Mistakes to Avoid
Skipping pilot holes is one of the most frequent mistakes during bracket mounting. Driving screws directly into a vinyl window frame or wood casing without pilot holes splits the material and creates a weak mount that can work loose over time. The drill work takes 30 seconds per hole and prevents a frustrating problem later.
Ordering the wrong mount type for your window is the other major error. If your window frame is shallower than the mounting depth required by the blind's headrail, an inside mount won't work – the headrail will protrude past the frame and the blind will bind. Check the product's minimum frame depth requirement in the specifications before ordering. Most product pages list this clearly, and it's usually 2–3 inches for motorized blinds due to the motor housing.
Rushing the limit-setting step causes more early returns and complaints than almost anything else with motorized blinds. If the limits aren't set correctly, the blind either won't open or close fully, or the motor will overrun and potentially damage the mechanism. Take an extra five minutes with the manual here – it's the one part of the install that requires close attention.
Finally, don't mount heavy motorized blinds into drywall with only short drywall screws and no anchors. The blind won't fall immediately, but vibration from the motor over time works loose screws that weren't properly anchored. Use the anchors provided, or pick up appropriate toggle anchors if the included hardware feels insufficient for your wall type.
FAQ
Do I need any electrical experience to install battery-powered motorized blinds?
None at all. The installation is entirely mechanical – mounting brackets and snapping in the headrail – plus a simple app or remote pairing process. If you've hung a standard curtain rod or a basic window shade before, you already have all the relevant skills.
How long does the installation take?
For a single window, expect 45 minutes to an hour on your first install, including measuring, marking, and setup. Once you've done one, subsequent windows typically take 20–30 minutes each.
Can I install motorized blinds in a rental apartment?
Yes, with a few considerations. Battery-powered motorized blinds don't require any electrical work, and if you're using a tension-mount or inside-mount system that fits snugly without drilling, you may not need to make any permanent modifications at all. If drilling is required, use the smallest bit possible for pilot holes, patch them when you move out, and check your lease to confirm small holes are permitted.
What happens if the battery dies while the blind is halfway open or closed?
Most battery-powered motorized blinds include a manual override – either a pull cord hidden behind the headrail or the ability to gently push the shade up or down by hand in an emergency. Check your product's documentation to confirm what manual backup option it includes before buying if this is a concern.
My blind is rolling unevenly – one side is lower than the other. What's wrong?
This is almost always a bracket alignment issue. The two end brackets aren't at exactly the same height, which causes the headrail to sit at a slight angle and the shade to roll off-level. Unsnap the headrail from the brackets, use your level to re-check bracket height, adjust the lower bracket up by loosening and repositioning it, and reinstall. A difference of even 3–4mm between brackets is enough to cause visible uneven rolling.
Installing motorized blinds without hardwiring is one of those home upgrades that sounds more involved than it actually is. The hardest part is usually the measuring, and even that becomes routine after your first window. Get your measurements right, follow the limit-setting instructions carefully, and you'll have a working motorized blind up and running in an afternoon – no electrician, no wall damage, no hassle.
📚 Sources
U.S. Department of Energy – Window coverings and energy efficiency – https://www.energy.gov/energysaver/window-coverings
IKEA FYRTUR motorized blind installation guide – https://www.ikea.com/us/en/assembly_instructions/fyrtur-block-out-roller-blind-wireless-battery-operated__AA-2367496-3.pdf
Lutron Serena shades installation and setup – https://www.lutron.com/TechnicalDocumentLibrary/369877a.pdf
This Old House – How to measure windows for blinds and shades – https://www.thisoldhouse.com/windows/21015085/how-to-measure-for-blinds
Family Handyman – Drywall anchor types and when to use them – https://www.familyhandyman.com/article/types-of-wall-anchors/
🔍 Explore Related Topics