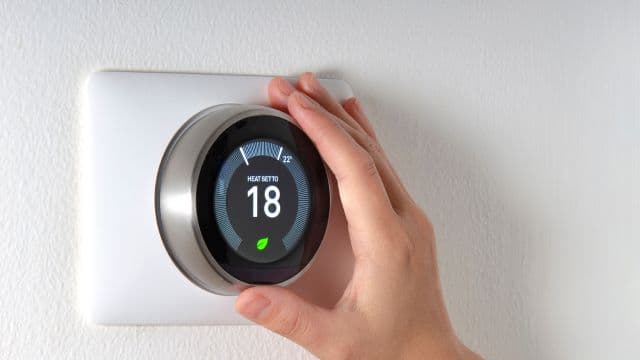

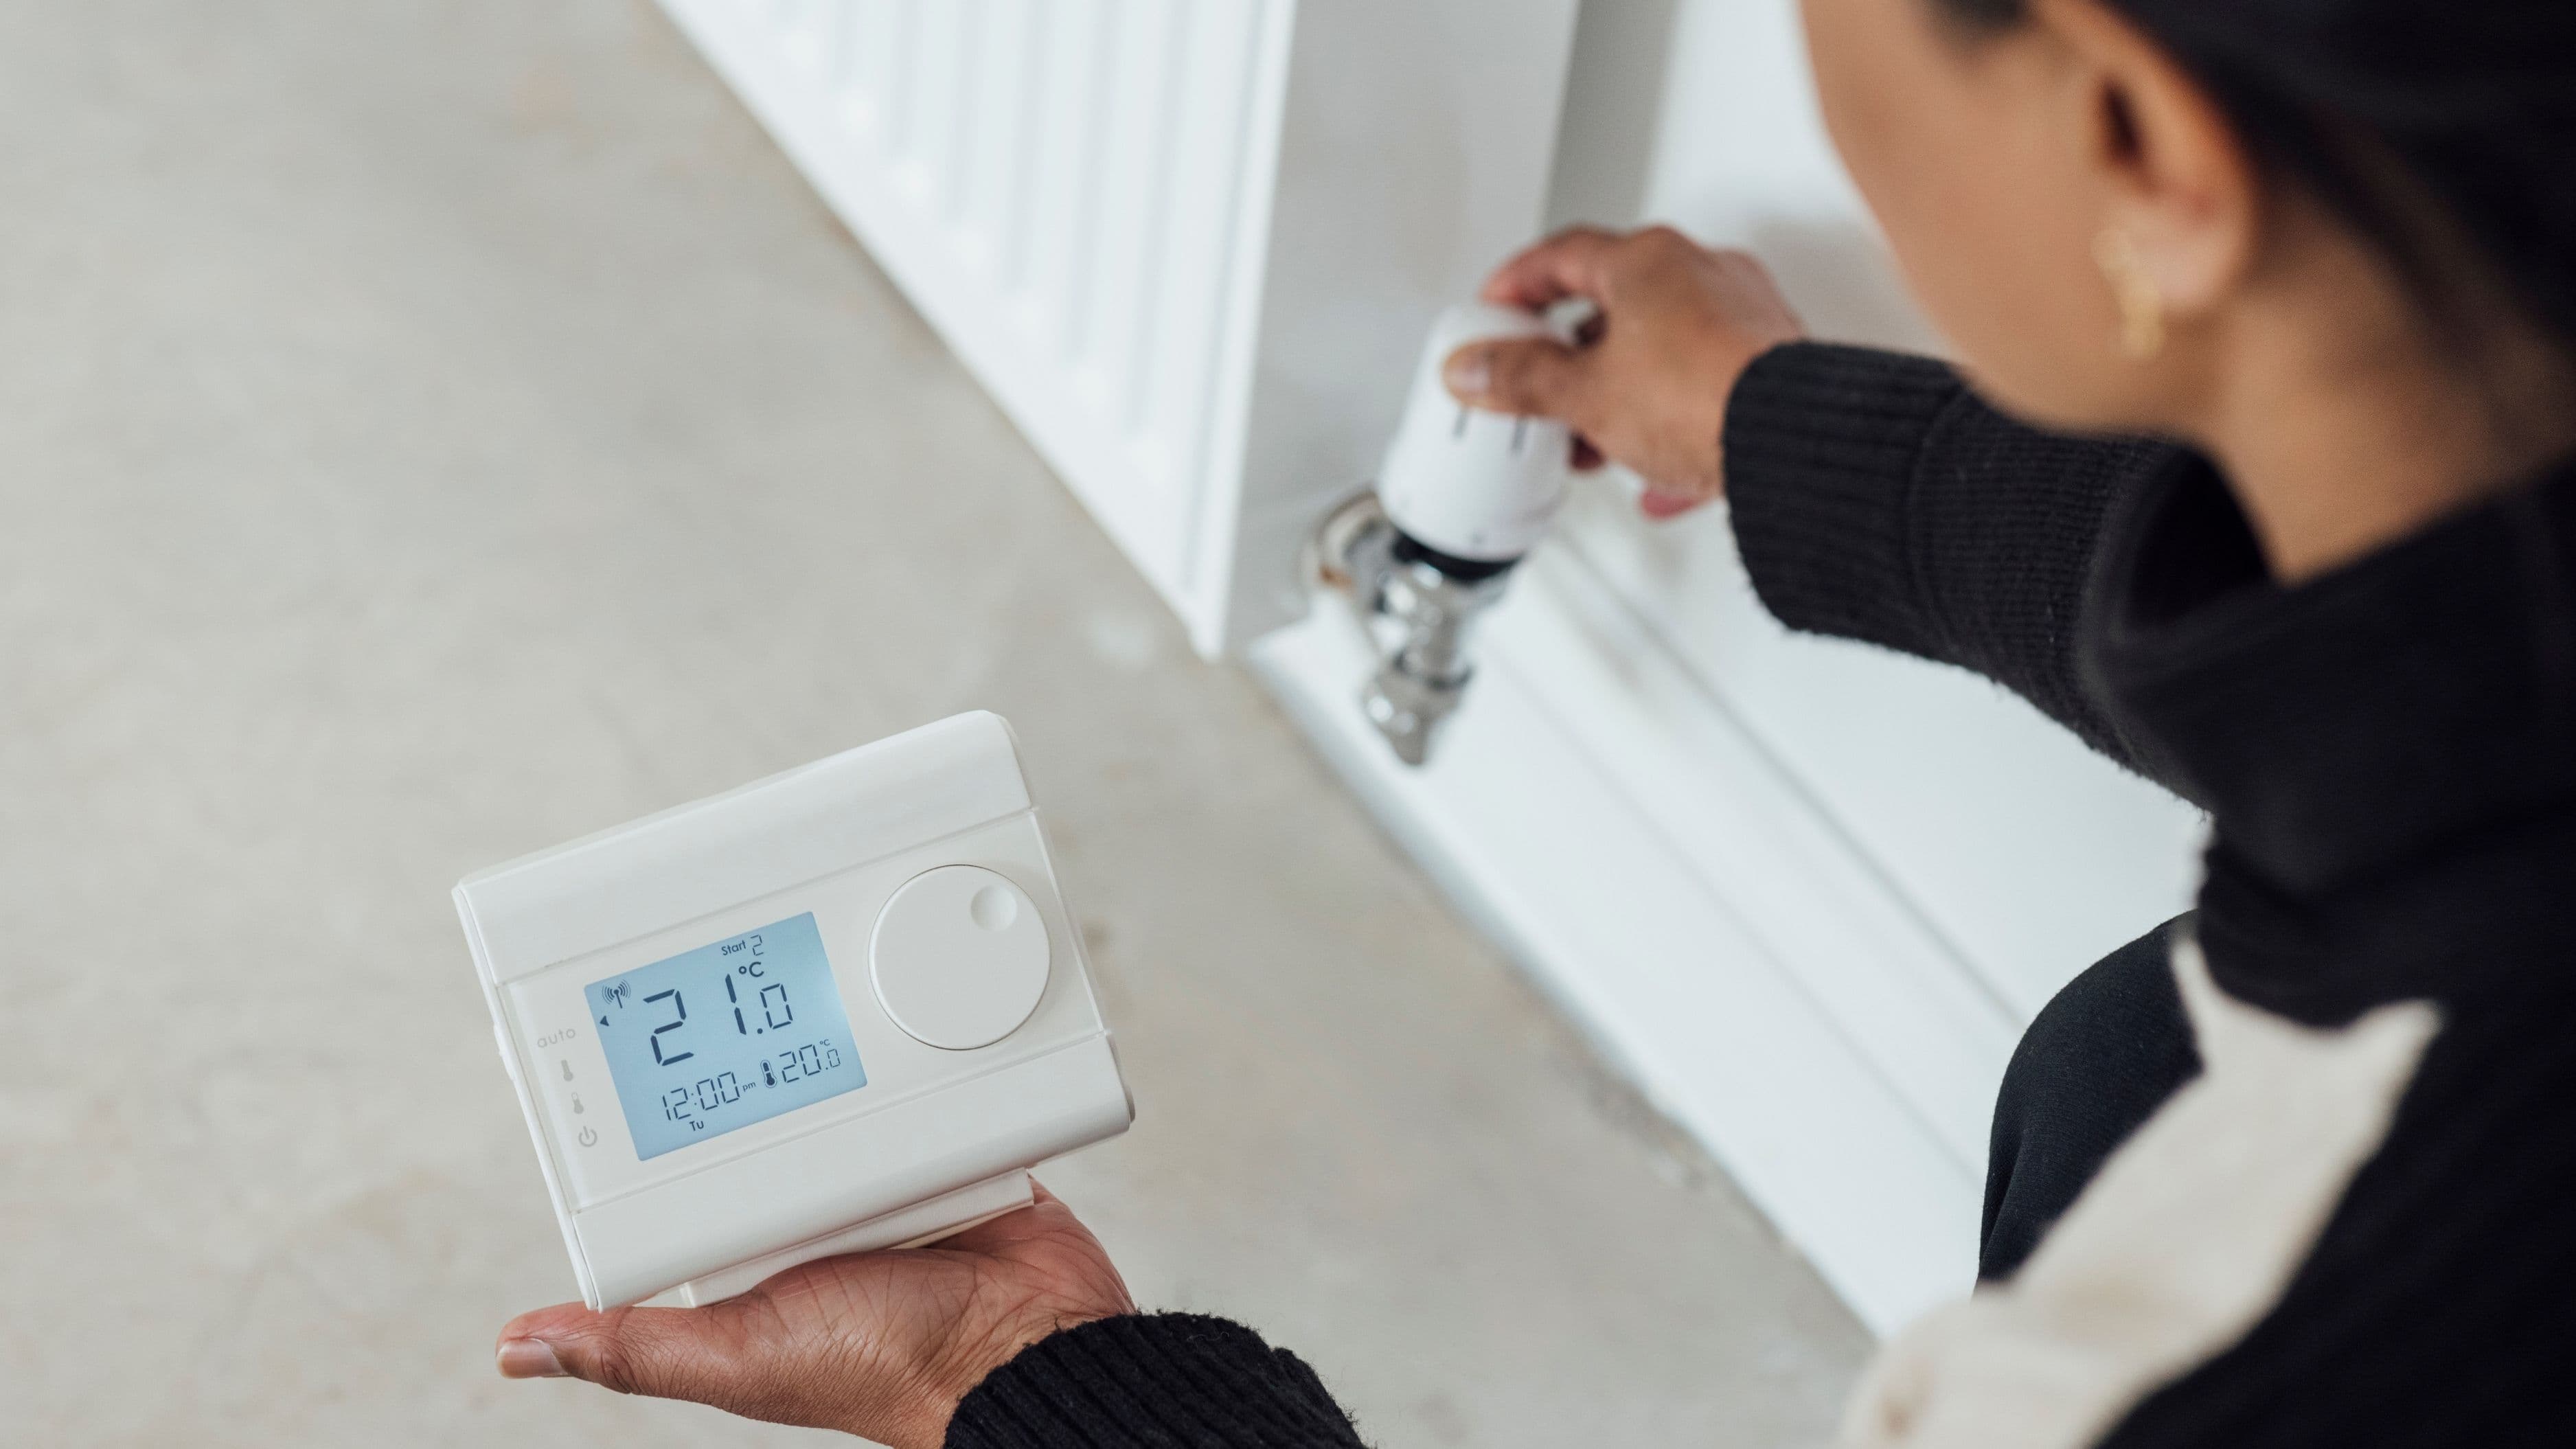
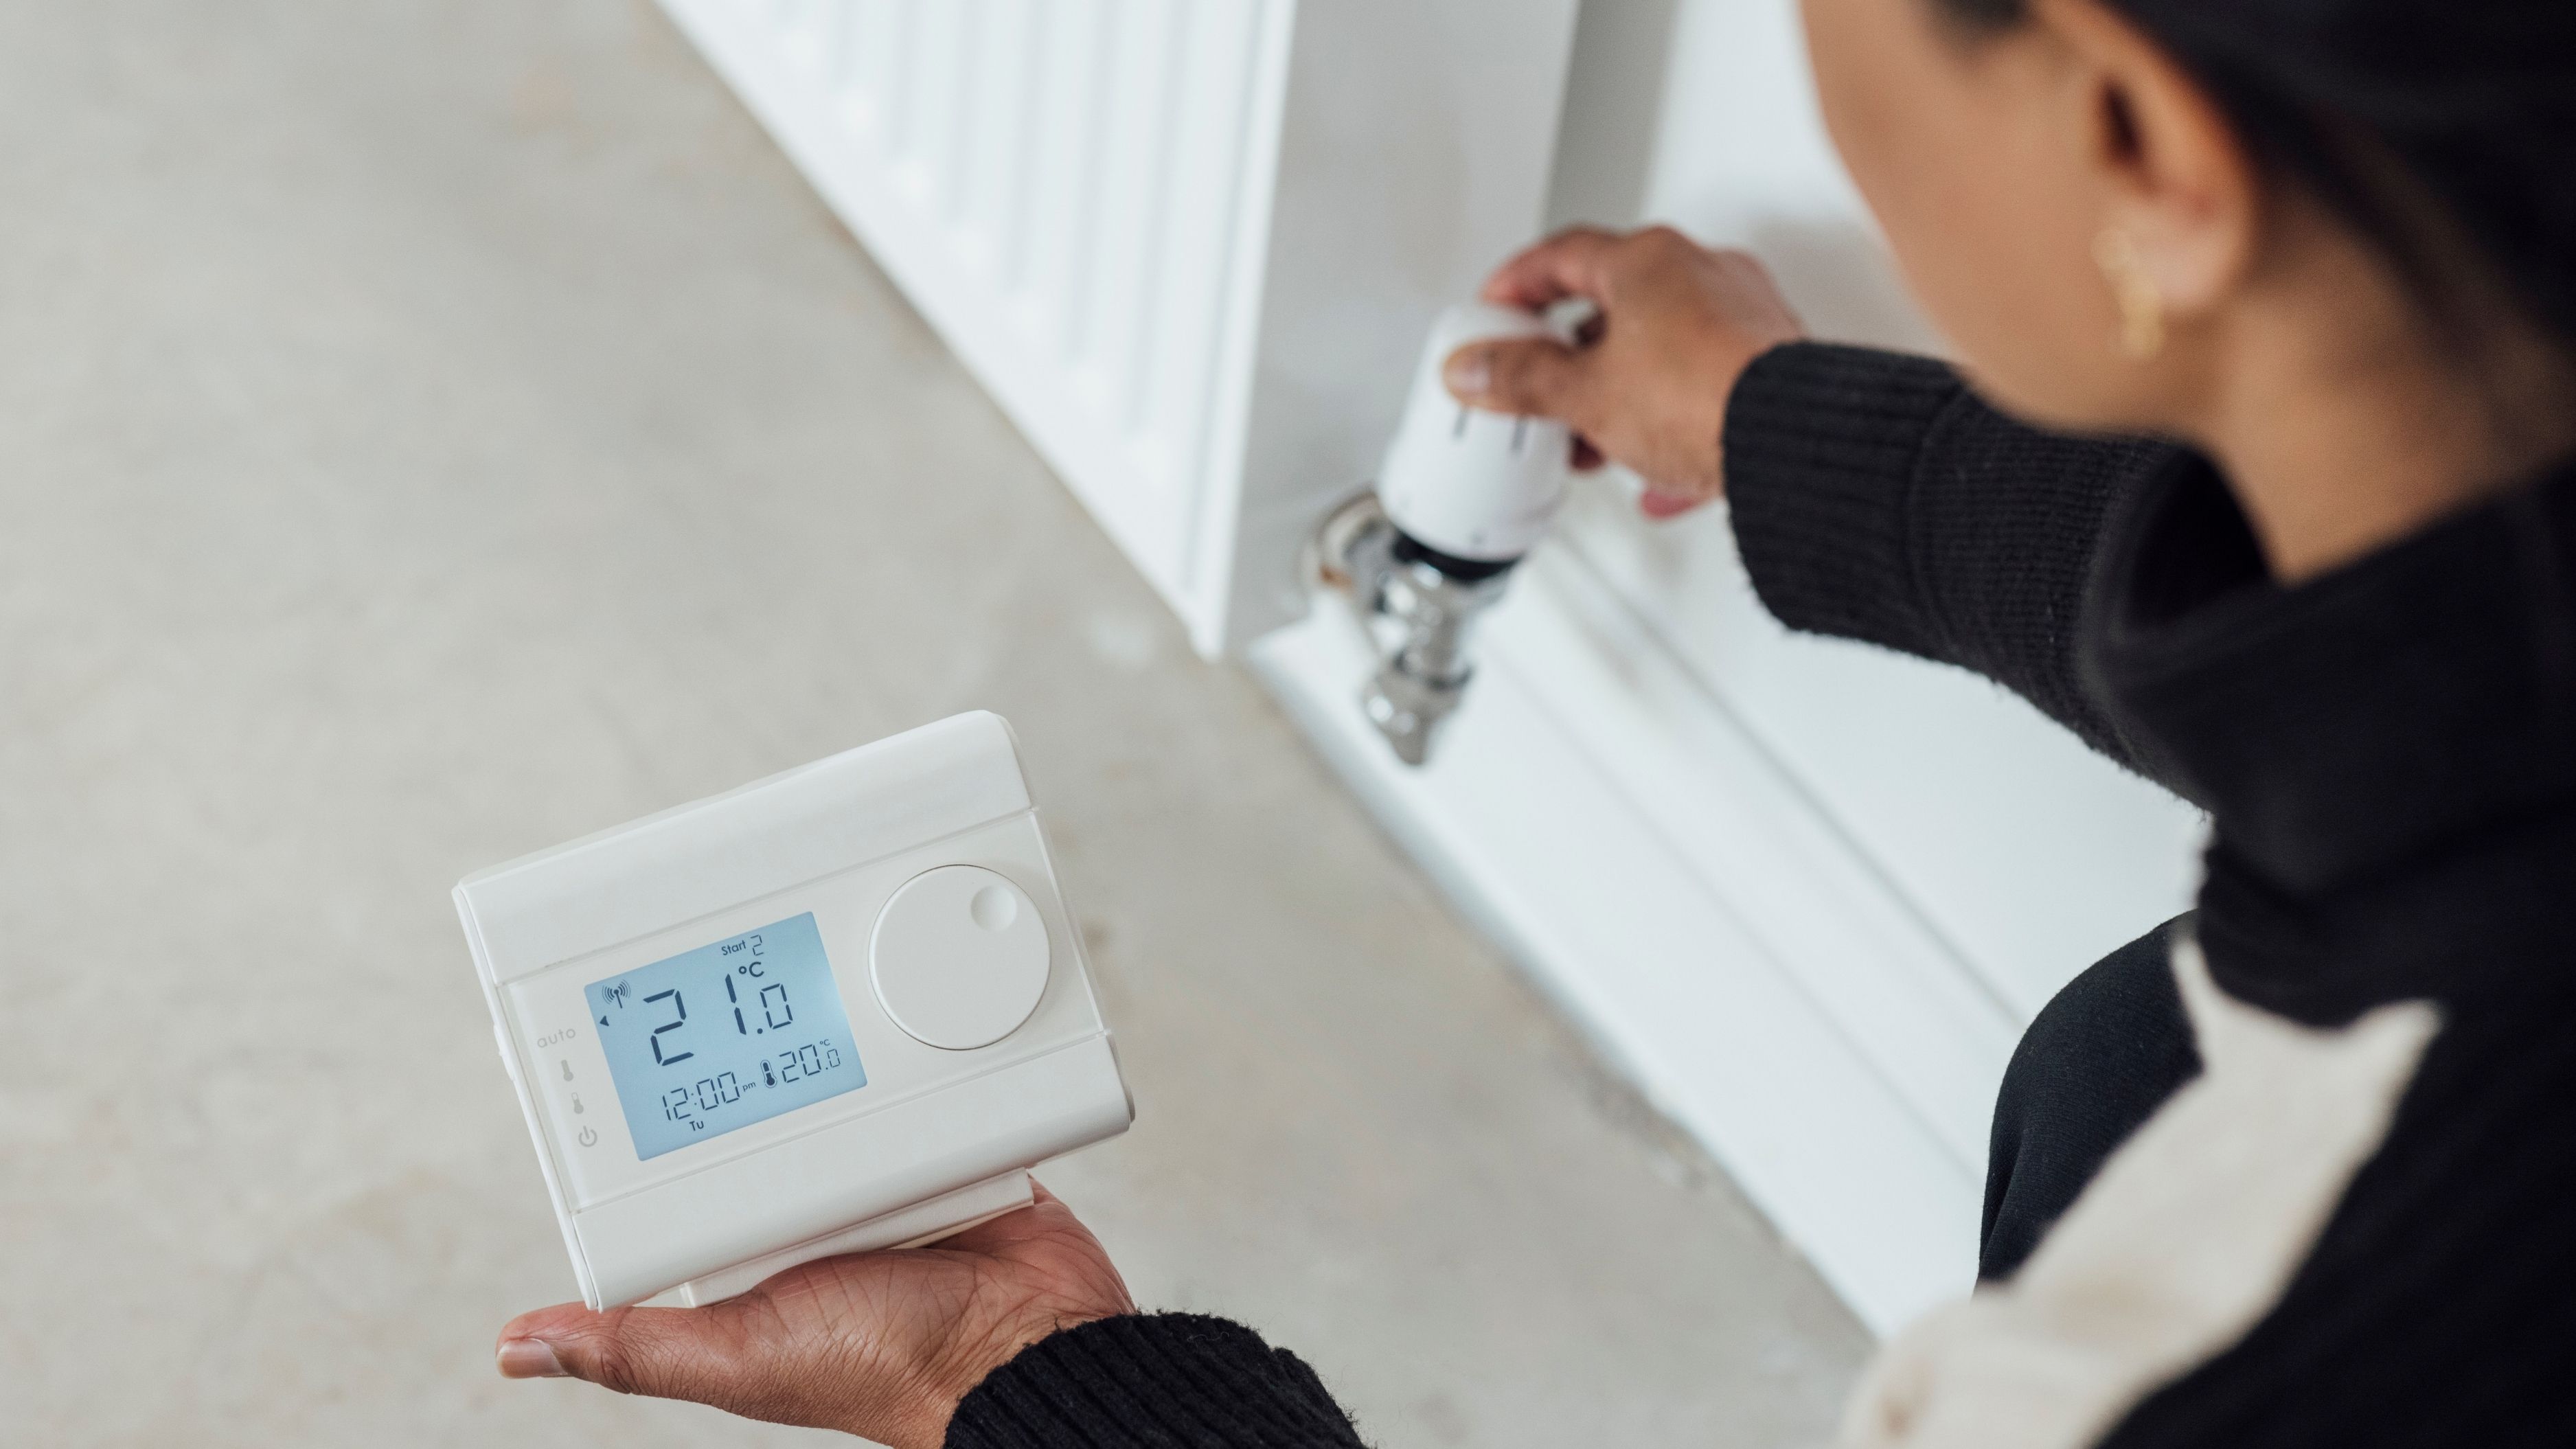
This guide walks you through the whole process: how to check if your system is compatible, what tools you'll need, how to wire it correctly, and when to stop and call an electrician or HVAC tech instead of pushing through.
What Makes This Job Beginner-Friendly
Most thermostats connect to your HVAC system through a handful of low-voltage wires — typically 24 volts — which means there's no risk of serious electrical shock the way there would be with a standard electrical panel or outlet. The wires are color-coded (though not always consistently), the connections are labeled, and every major smart thermostat brand ships with a wiring guide and usually an app that walks you through the process step by step.
The job essentially comes down to three things: take a photo of your current wiring, disconnect the old thermostat, and connect the same wires to the same labeled terminals on the new one. If your home has a straightforward system — a standard central heating and cooling setup with 4–5 wires — this really is as simple as it sounds.
Step 1: Check Compatibility Before You Buy
This is the step most people skip, and it's the one that causes the most frustration later. Not every smart thermostat works with every HVAC system, and getting this wrong means a return trip to the store or a device sitting in a drawer.
The compatibility question has two main parts: your system type and your wiring.
System type: Smart thermostats work well with most standard central forced-air systems — gas furnaces, central air conditioning, and heat pumps in typical configurations. They do not work with electric baseboard heating (high-voltage systems), radiant floor heating, or most multi-zone hydronic systems. If you have baseboard heaters in each room with their own individual thermostat, those are high-voltage units and this is not a DIY swap — those require an electrician.
The C-wire (common wire): This is the most common compatibility stumbling block. Smart thermostats draw constant power to run their WiFi radio, display, and processing. They get this power from a C-wire (common wire), which completes the circuit back to your HVAC system's control board. Older homes often don't have a C-wire run to the thermostat — there was no need for one with a conventional thermostat that ran on batteries.
If your current thermostat has a wire connected to a terminal labeled "C," you're good. If it doesn't, you have a few options: some smart thermostats (notably the Google Nest Learning Thermostat) include a power adapter kit that threads through the furnace and adds a C-wire equivalent. Others, like some Ecobee models, include a plug-in adapter. Some HVAC systems have an unused wire in the bundle that can be repurposed as a C-wire. And if none of those options apply, an HVAC tech can add a C-wire in under an hour for a modest service call fee.
Most smart thermostat manufacturers offer a free compatibility checker on their website — Nest, Ecobee, Honeywell, and others all have them. Take 5 minutes to run your wiring configuration through the checker before you buy.
Step 2: Gather Your Tools
The tool list for this job is minimal:
Screwdriver (flathead and Phillips — you'll likely need both)
Smartphone or camera (to photograph your current wiring before you disconnect anything)
Small level (optional but useful — smart thermostats with large displays look noticeably crooked)
Masking tape and marker (useful for labeling wires if the colors are faded or duplicated)
Needle-nose pliers (helpful for straightening bent wire ends)
You don't need wire strippers, a voltage tester, or any specialized HVAC tools for a standard installation. If you find yourself reaching for wire strippers or wondering whether you need to cut into anything, stop — something is outside the scope of a normal DIY thermostat swap.
Step 3: Power Off Your HVAC System
Before touching any wires, go to your electrical panel and turn off the breaker that controls your heating and cooling system. This isn't strictly necessary from a shock-risk standpoint (the thermostat wires are low voltage), but it prevents a short circuit while you're working and protects the control board on your furnace or air handler from damage if wires accidentally touch.
On the thermostat itself, turn the system off using the controls before you remove it from the wall. A belt-and-suspenders approach here takes 30 seconds and prevents the most common installation mistake — a popped fuse on the control board from an accidental short.
Step 4: Remove the Old Thermostat and Document the Wiring
Most thermostats are mounted in two parts: a base plate that screws into the wall, and the thermostat body that snaps or slides onto it. Remove the thermostat body first, which usually exposes the wiring terminals underneath.
Before you disconnect a single wire, take a clear photo of the terminal block with all wires attached. Do this even if the thermostat has a label diagram or the wires look obviously color-coded. Colors fade, wire labeling conventions vary by manufacturer, and memory is not as reliable as a photo when you're standing at the wall 20 minutes later with the new thermostat in your hand.
Label each wire with masking tape as you disconnect it, writing the terminal letter it was connected to (R, G, Y, W, C, etc.). Then detach the base plate from the wall. If the wires try to slide back into the wall cavity while you're working, thread a pencil through the bundle to keep them accessible.
Step 5: Mount the New Base Plate and Connect the Wires
Attach the new thermostat's base plate to the wall, using the level to make sure it's straight. Most base plates have built-in leveling bubbles. If your old thermostat left paint discoloration or large holes, most smart thermostat base plates are larger than the originals and will cover minor wall imperfections.
Connect each wire to the matching terminal on the new base plate according to the label on each wire. The terminals are clearly marked on every smart thermostat — R (power), G (fan), Y (cooling), W (heating), C (common). If the color of a wire doesn't match the conventional color for that terminal, follow your photo and your labels, not the color coding. Wire colors are not always wired conventionally, especially in older homes or with previous DIY work.
Strip a small amount of insulation from any wire end that looks corroded or too short to seat properly in the terminal — about 1/4 inch is right. Most terminals use a push-in or screw connection. Don't leave bare wire extending past the terminal, and make sure each connection seats firmly.
Step 6: Attach the Thermostat and Configure It
Snap the thermostat body onto the base plate, restore power at the breaker, and follow the manufacturer's setup instructions. Every major smart thermostat walks you through system configuration via an app or on-screen prompts — you'll confirm your system type (heat only, cool only, heat + cool, heat pump), run a test to confirm heating and cooling both activate correctly, and connect to your WiFi network.
The test cycle is important. Run it before you put away your tools. Confirm the furnace or air handler actually starts when the thermostat calls for heat, and that the air conditioning compressor engages when you call for cooling. If something doesn't respond, the most common causes are a wiring mistake at one terminal or a blown low-voltage fuse on the control board — both fixable without a service call if you're methodical about checking your work.
When to Call a Professional Instead
Most homes are straightforward. But a few situations genuinely call for an HVAC tech or electrician:
You have baseboard electric heaters. These run on line voltage (120V or 240V), not the low-voltage thermostat wiring this guide covers. This is not a DIY project without electrical experience.
Your system has more than two stages of heating or cooling, or is a dual-fuel system. These setups have more complex wiring and may require configuration knowledge that goes beyond a standard installation.
You have a heat pump with auxiliary heat. Heat pump wiring is more complex than standard heating/cooling setups and has a few more terminals to get right (O/B reversing valve wire). It's still often DIY-able with the manufacturer's guidance, but deserves more careful attention to the documentation.
Your control board has a blown fuse after your installation attempt. This is common if wires touched during installation. Replacing the fuse (usually a 3A automotive-style fuse on the board) is a quick fix, but if you're not comfortable locating it and replacing it, a tech can sort it in minutes.
You genuinely can't identify what your existing wires do. If you have an unusual wire configuration, duplicate colors, or a non-standard system that the compatibility checker flags, getting a tech out to assess the wiring first will save you time and frustration.
What to Avoid
Don't skip the power-off step. Accidentally shorting two wires together with power active is the most common way to blow the low-voltage fuse on your control board. The fuse protects the board, so no permanent damage is done in most cases, but diagnosing and finding the fuse takes more time than simply turning off the breaker first.
Don't assume wire colors are standardized. They're conventional, not universal. Always follow your labeled wires and your photo, not the wire color alone.
Don't force a thermostat that fails the compatibility check. If the manufacturer's tool says your system isn't compatible, trust it. Running an incompatible thermostat can damage the control board or produce erratic system behavior.
Don't neglect the test cycle. A thermostat that looks installed correctly but has one misconnected wire won't blow up — it just won't work. The test cycle catches this while your tools are still out.
FAQ
How long does a smart thermostat installation actually take? For most homes with a standard wiring setup, plan on 30–45 minutes from start to finish, including the app setup and test cycle. Add another 15–30 minutes if you run into a C-wire issue and need to troubleshoot a solution.
Do I need an electrician to install a smart thermostat? For a standard forced-air system with a conventional low-voltage thermostat, no. The wiring is low voltage and safe to handle. You need an electrician if you have electric baseboard heat (line voltage) or if your wiring situation is genuinely unusual.
What if my home doesn't have a C-wire? Most smart thermostat manufacturers offer a workaround. Nest includes a power connector kit with some models. Ecobee includes a power extender kit (PEK) in the box. You can also check whether your thermostat wire bundle has an unused wire that can be repurposed — this is common in older homes where the full bundle was run but only some wires were used. Alternatively, an HVAC tech can add a proper C-wire in under an hour.
Will a smart thermostat actually save money on energy bills? The savings depend heavily on your habits and climate, but the U.S. Department of Energy estimates that programmable thermostats can save about 10% annually on heating and cooling by automatically adjusting temperatures when you're away or asleep. Smart thermostats with learning features or geofencing can deliver similar or better results with less manual programming.
Can I install a smart thermostat in a rental? You can — the installation is non-destructive and fully reversible. Save your old thermostat and reinstall it when you move out. Some landlords may appreciate the upgrade; others may have preferences, so it's worth a quick check with your lease or landlord first.
📚 Sources
U.S. Department of Energy – Thermostats – https://www.energy.gov/energysaver/thermostats
Google Nest – Thermostat Compatibility Checker – https://store.google.com/us/category/nest_thermostats
Ecobee – Smart Thermostat Installation Guide – https://support.ecobee.com/s/articles/ecobee-Smart-Thermostat-Enhanced-Installation-Instructions
Honeywell Home – T6 Pro Thermostat Wiring Guide – https://customer.resideo.com/en-us/support/home-comfort/thermostats
This Old House – How to Install a Smart Thermostat – https://www.thisoldhouse.com/heating-cooling/21015921/how-to-install-a-smart-thermostat
Family Handyman – Smart Thermostat Installation – https://www.familyhandyman.com/project/how-to-install-a-smart-thermostat/