The installation isn't a quick Saturday project – it involves sheet metal work, electrical connections, and integration with your HVAC controls. But for a competent DIYer who is comfortable with basic ductwork and electrical basics, it's a realistic undertaking that can save $300–$600 in labor costs. This guide walks through the full process so you know exactly what you're getting into before you start.
Before You Start: Is This a DIY Job?
Be honest with yourself here. Whole-home dehumidifier installation sits at the upper end of the DIY skill range. It involves:
Cutting into supply and return ductwork. Wiring a 240V dedicated circuit or tapping into an existing HVAC circuit, depending on the unit. Connecting a drain line with proper slope. Integrating the unit's humidistat with your thermostat or HVAC control board. Possibly pulling an electrical permit, depending on your municipality.
If you're comfortable with sheet metal cutting, basic electrical work, and following manufacturer wiring diagrams, this is doable. If you've never worked with ductwork or aren't confident with electrical beyond swapping outlets and switches, hire an HVAC technician for the electrical and ductwork portions. A partial DIY approach – you do the planning, mounting, and drain line; a tech does the electrical and duct connections – is a reasonable middle ground that still saves meaningful money.
Safety note: If your installation requires a new 240V circuit, that work requires a licensed electrician in most jurisdictions and should not be skipped or improvised. Undersized or improperly wired circuits are a fire hazard.
What You'll Need
Tools:
Tin snips (straight cut and offset)
Drill with metal drill bits and hole saw attachment
Sheet metal screws
HVAC foil tape (not standard duct tape)
Level
Tape measure and marker
Wire stripper and connectors
Voltage tester
Pipe cutter or hacksaw (for drain line)
Adjustable wrench
Materials:
Whole-home dehumidifier unit (sized appropriately – see below)
Flexible duct connector (if vibration isolation is needed between unit and ductwork)
Sheet metal duct collars and plenum boots sized to match unit's inlet/outlet
PVC drain line (typically 3/4-inch) and fittings
Appropriate wire gauge per unit's spec sheet (commonly 10 AWG for 240V units)
Circuit breaker sized to unit's specifications
Humidistat or dehumidistat (if not integrated with unit)
Mounting hardware appropriate for installation location (wall, ceiling, or floor mount)
Step 1: Choose and Size the Right Unit
Sizing a whole-home dehumidifier is the most important decision you'll make, and getting it wrong in either direction is costly. Undersizing means the unit runs constantly and doesn't keep up. Oversizing means short cycling, which reduces efficiency and shortens equipment life.
The two primary sizing factors are square footage and climate zone. As a general baseline for moderately humid climates:
Up to 1,500 sq ft: 65–70 pint capacity. 1,500–3,000 sq ft: 90–100 pint capacity. 3,000–4,500 sq ft: 120–130 pint capacity. Larger or very humid climates (Southeast US, Gulf Coast): size up by 20–30%.
The leading whole-home dehumidifier brands for HVAC integration are Aprilaire, Santa Fe, and Honeywell/Resideo. Aprilaire units (Model 1850, 1870) are among the most commonly installed in residential HVAC systems and have well-documented installation procedures. Santa Fe units are popular for basement-only installations. Match your choice to the manufacturer's installation manual before purchasing – ducting configurations vary.
Step 2: Choose the Installation Location and Configuration
Whole-home dehumidifiers connect to your existing ductwork in one of three configurations:
Return-to-return: The dehumidifier pulls air from the return duct, dehumidifies it, and discharges back into the return duct upstream of the air handler. This is the most common configuration and the simplest to install because you're working entirely on the return side of the system.
Return-to-supply: The unit draws from the return duct and discharges into the supply plenum or supply trunk. This provides better distribution of dry air through the home but requires more complex ductwork and a clear understanding of your system's static pressure limits.
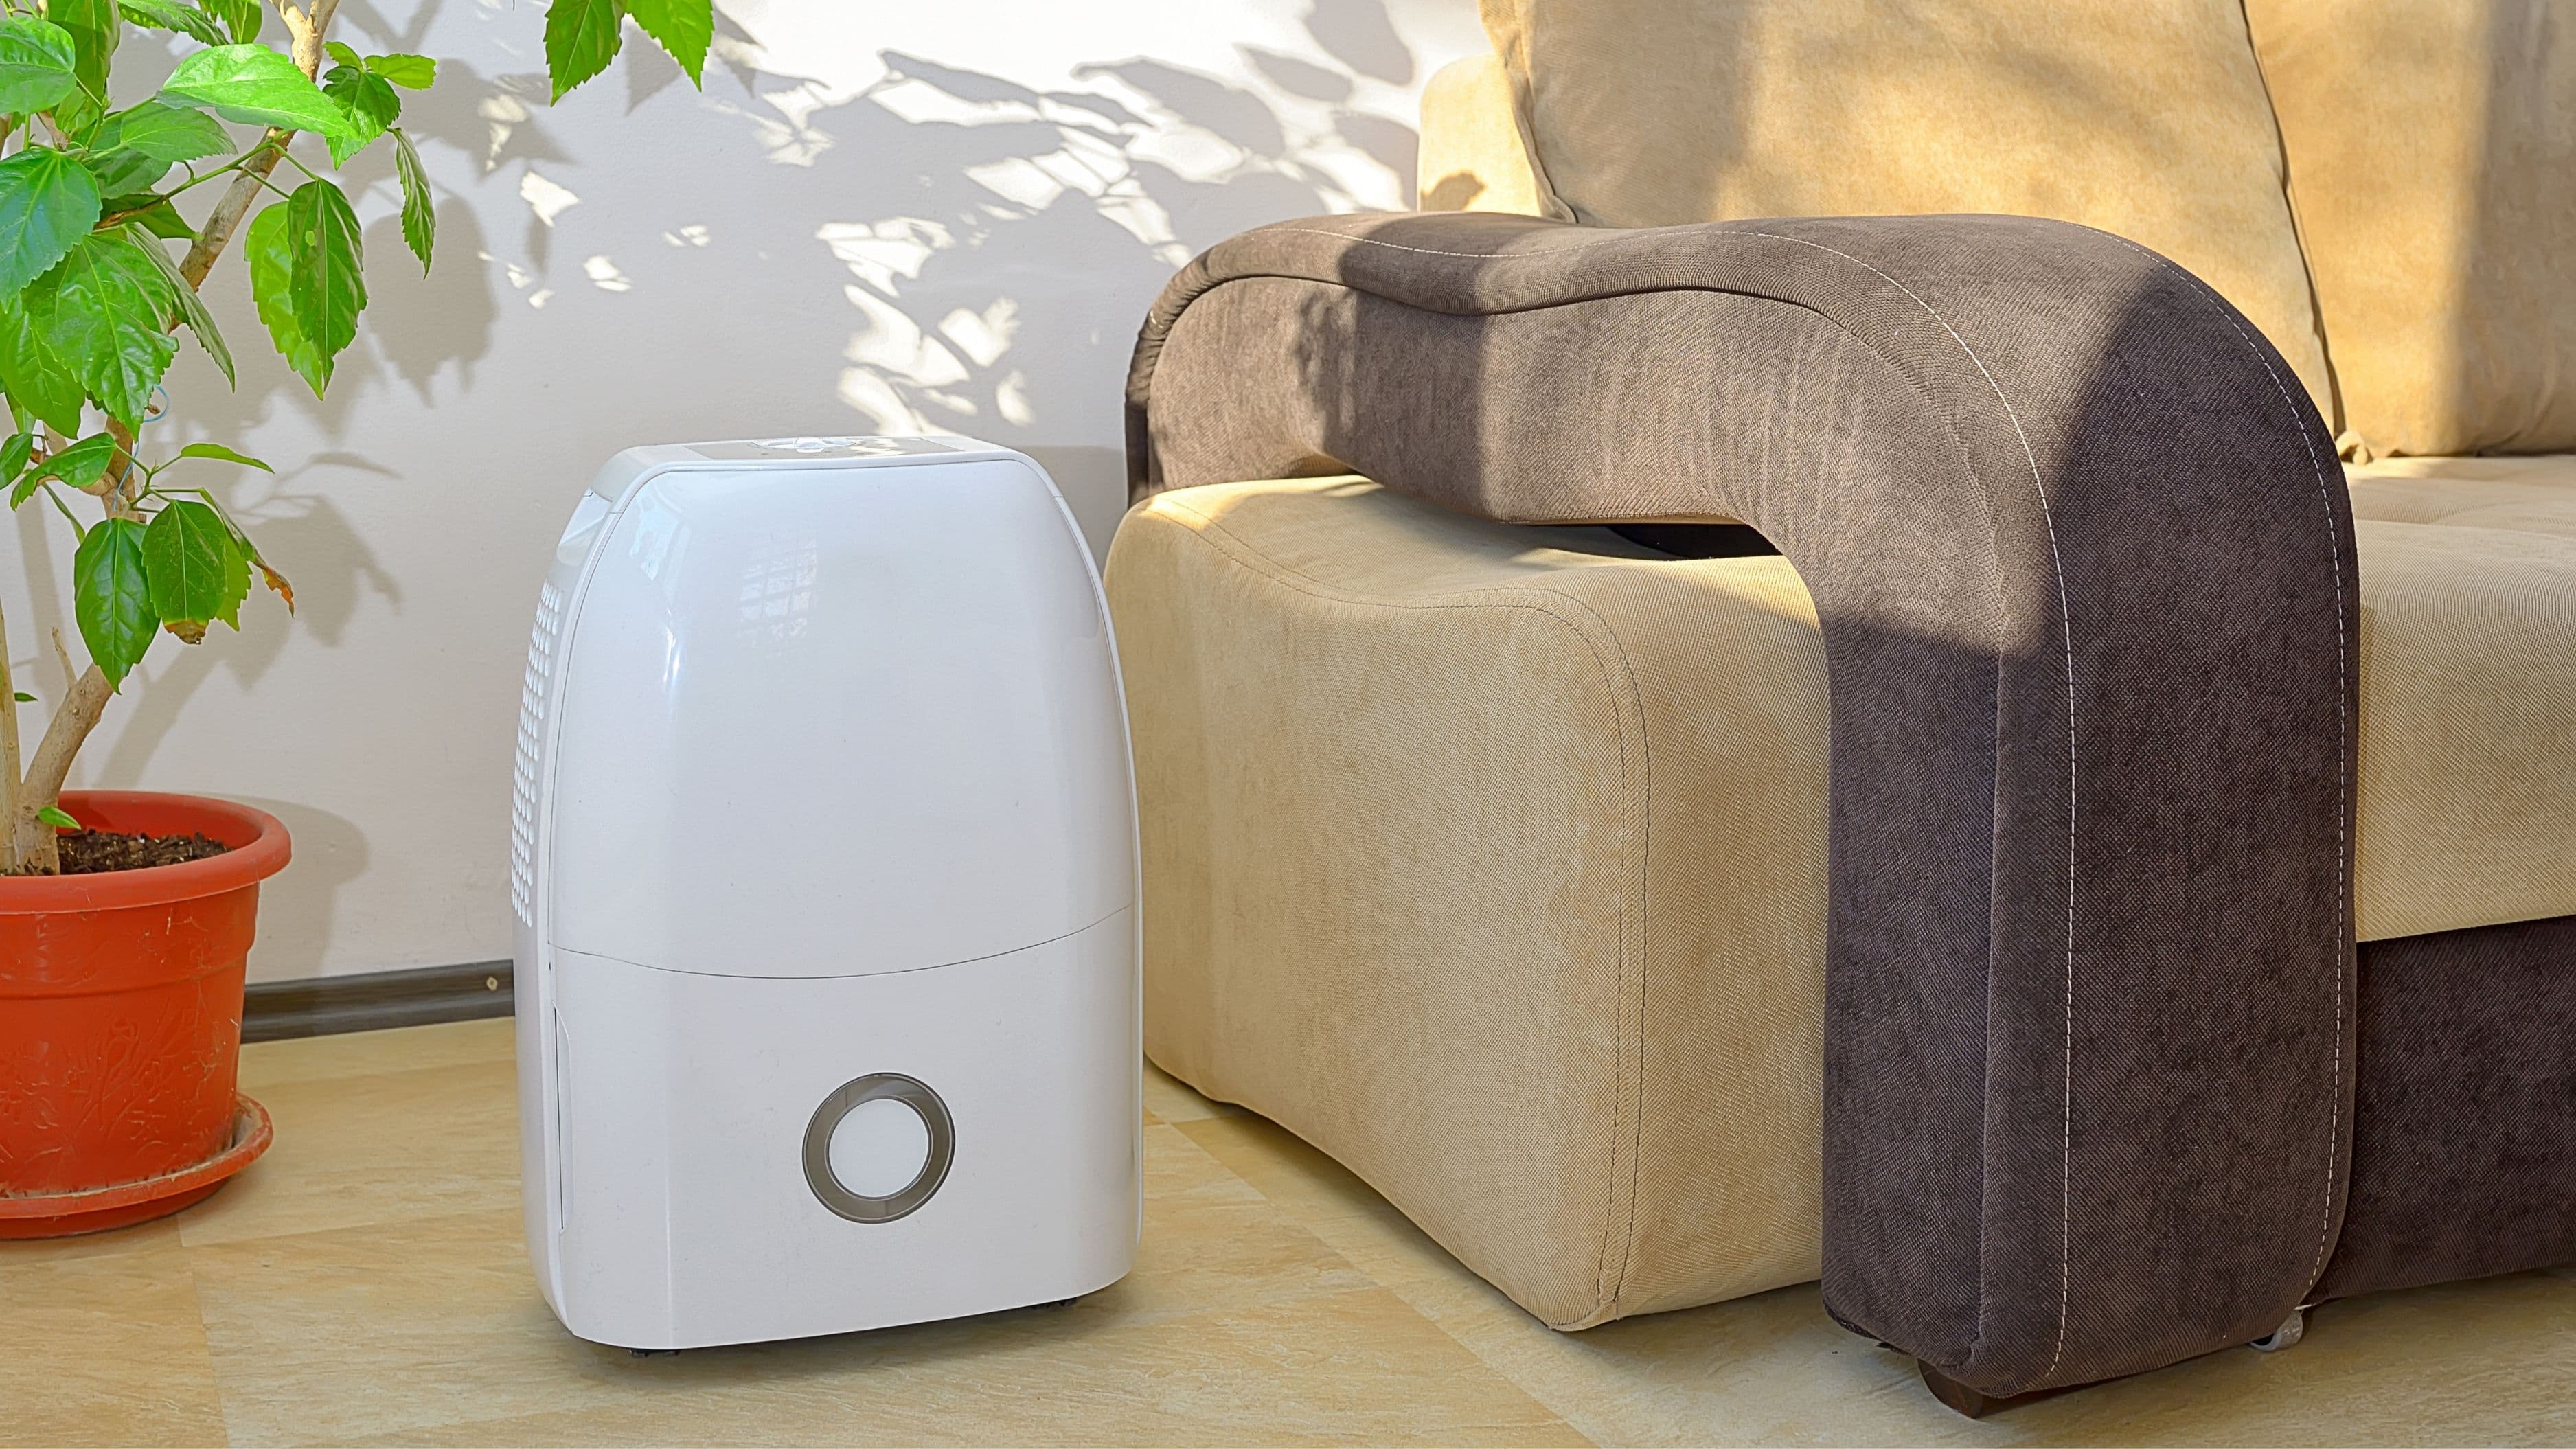
Standalone/bypass: The unit is installed in a dedicated loop, often in a basement or utility room, pulling air directly from the space and not connecting to the main duct system at all. This is simpler to install but less effective for whole-home humidity control.
For most existing residential systems, return-to-return is the recommended starting point. Check your specific unit's installation manual for approved configurations – some manufacturers specify minimum duct dimensions and clearances that will affect where you can tap in.
The physical unit needs to be installed within reach of: the ductwork tap-in points, a drain location (floor drain, utility sink, or condensate pump), and a power source. It also needs service clearance – typically 18–24 inches on the service panel side and 6 inches on other sides. Map all of this out before cutting anything.
Step 3: Mount the Unit
Most whole-home dehumidifiers can be wall-mounted, suspended from floor joists, or set on a platform. Follow the manufacturer's mounting template exactly. The unit needs to be level in both directions to ensure proper condensate drainage to the internal drain pan.
In basement installations, ceiling or high wall mounting is common. Use lag bolts into joists for ceiling mounts – these units weigh 60–100 lbs and need solid fastening. If the unit will be floor-mounted, ensure the location doesn't create a tripping hazard or block HVAC service access.
If your unit is mounted remote from the ductwork (more than 3–4 feet), you'll use flexible insulated duct to connect the unit to the hard duct tap-in points. Keep flex duct runs as short as possible and avoid sharp bends, which restrict airflow.
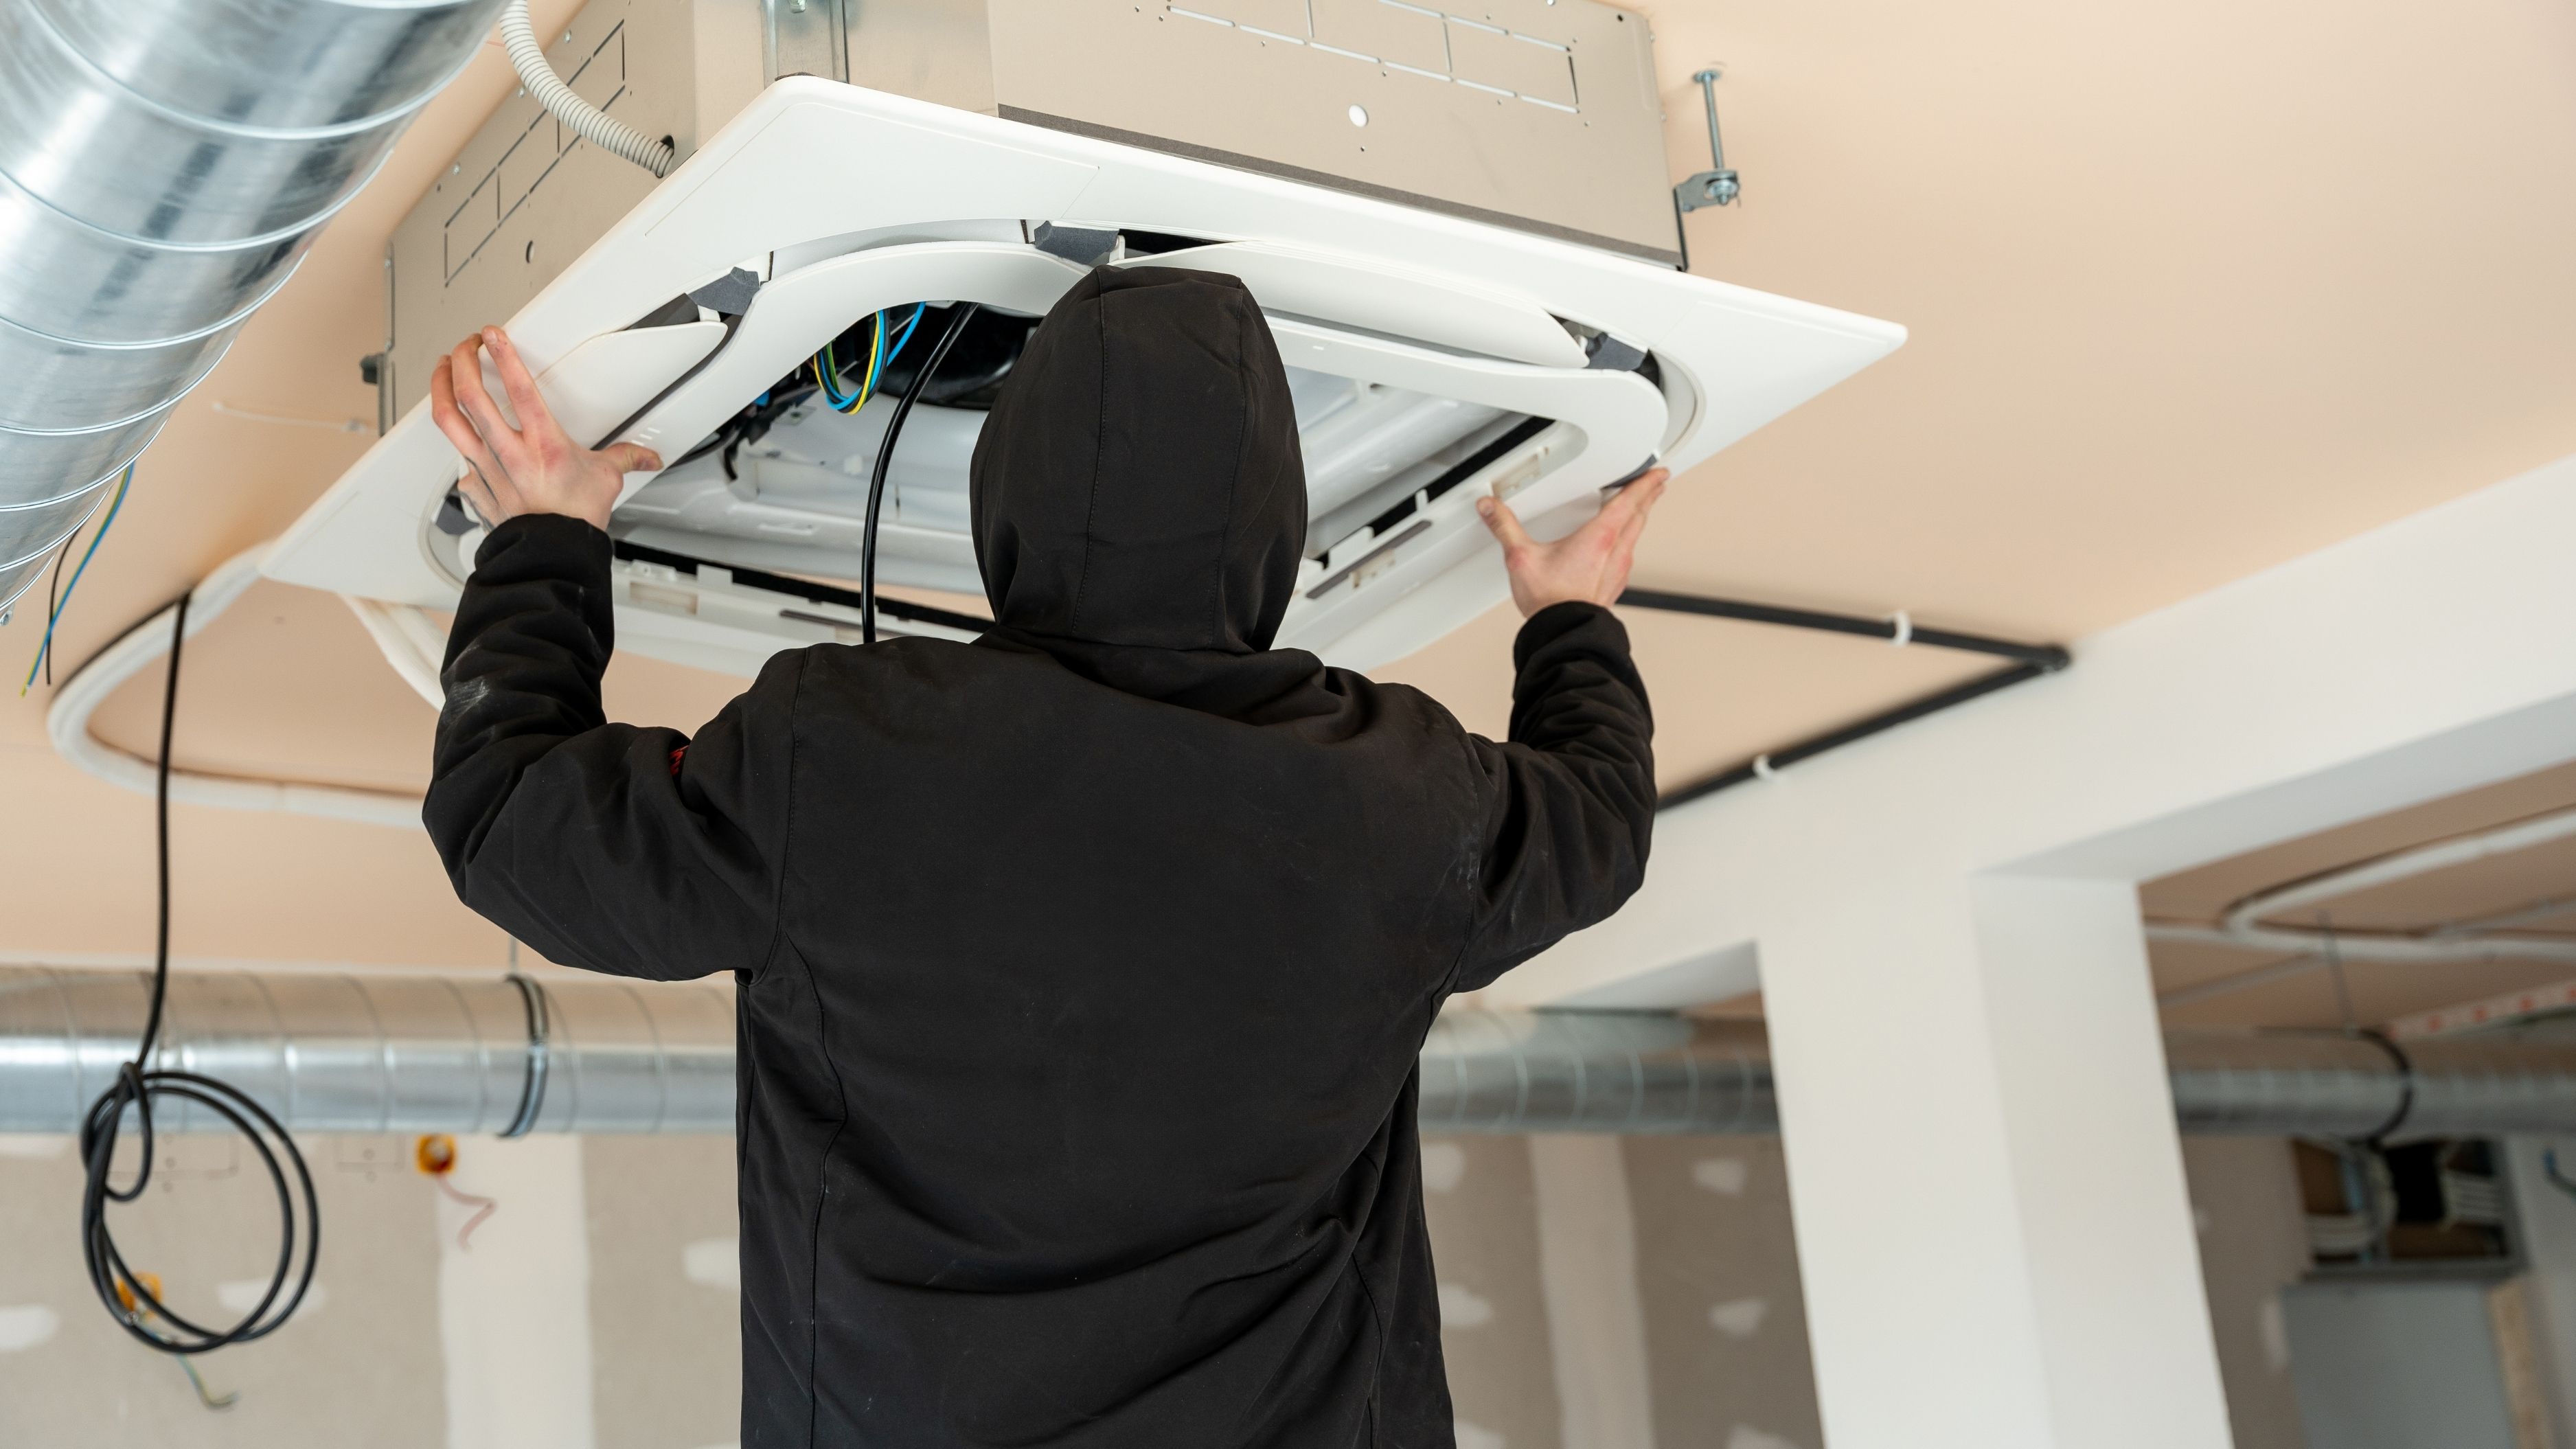
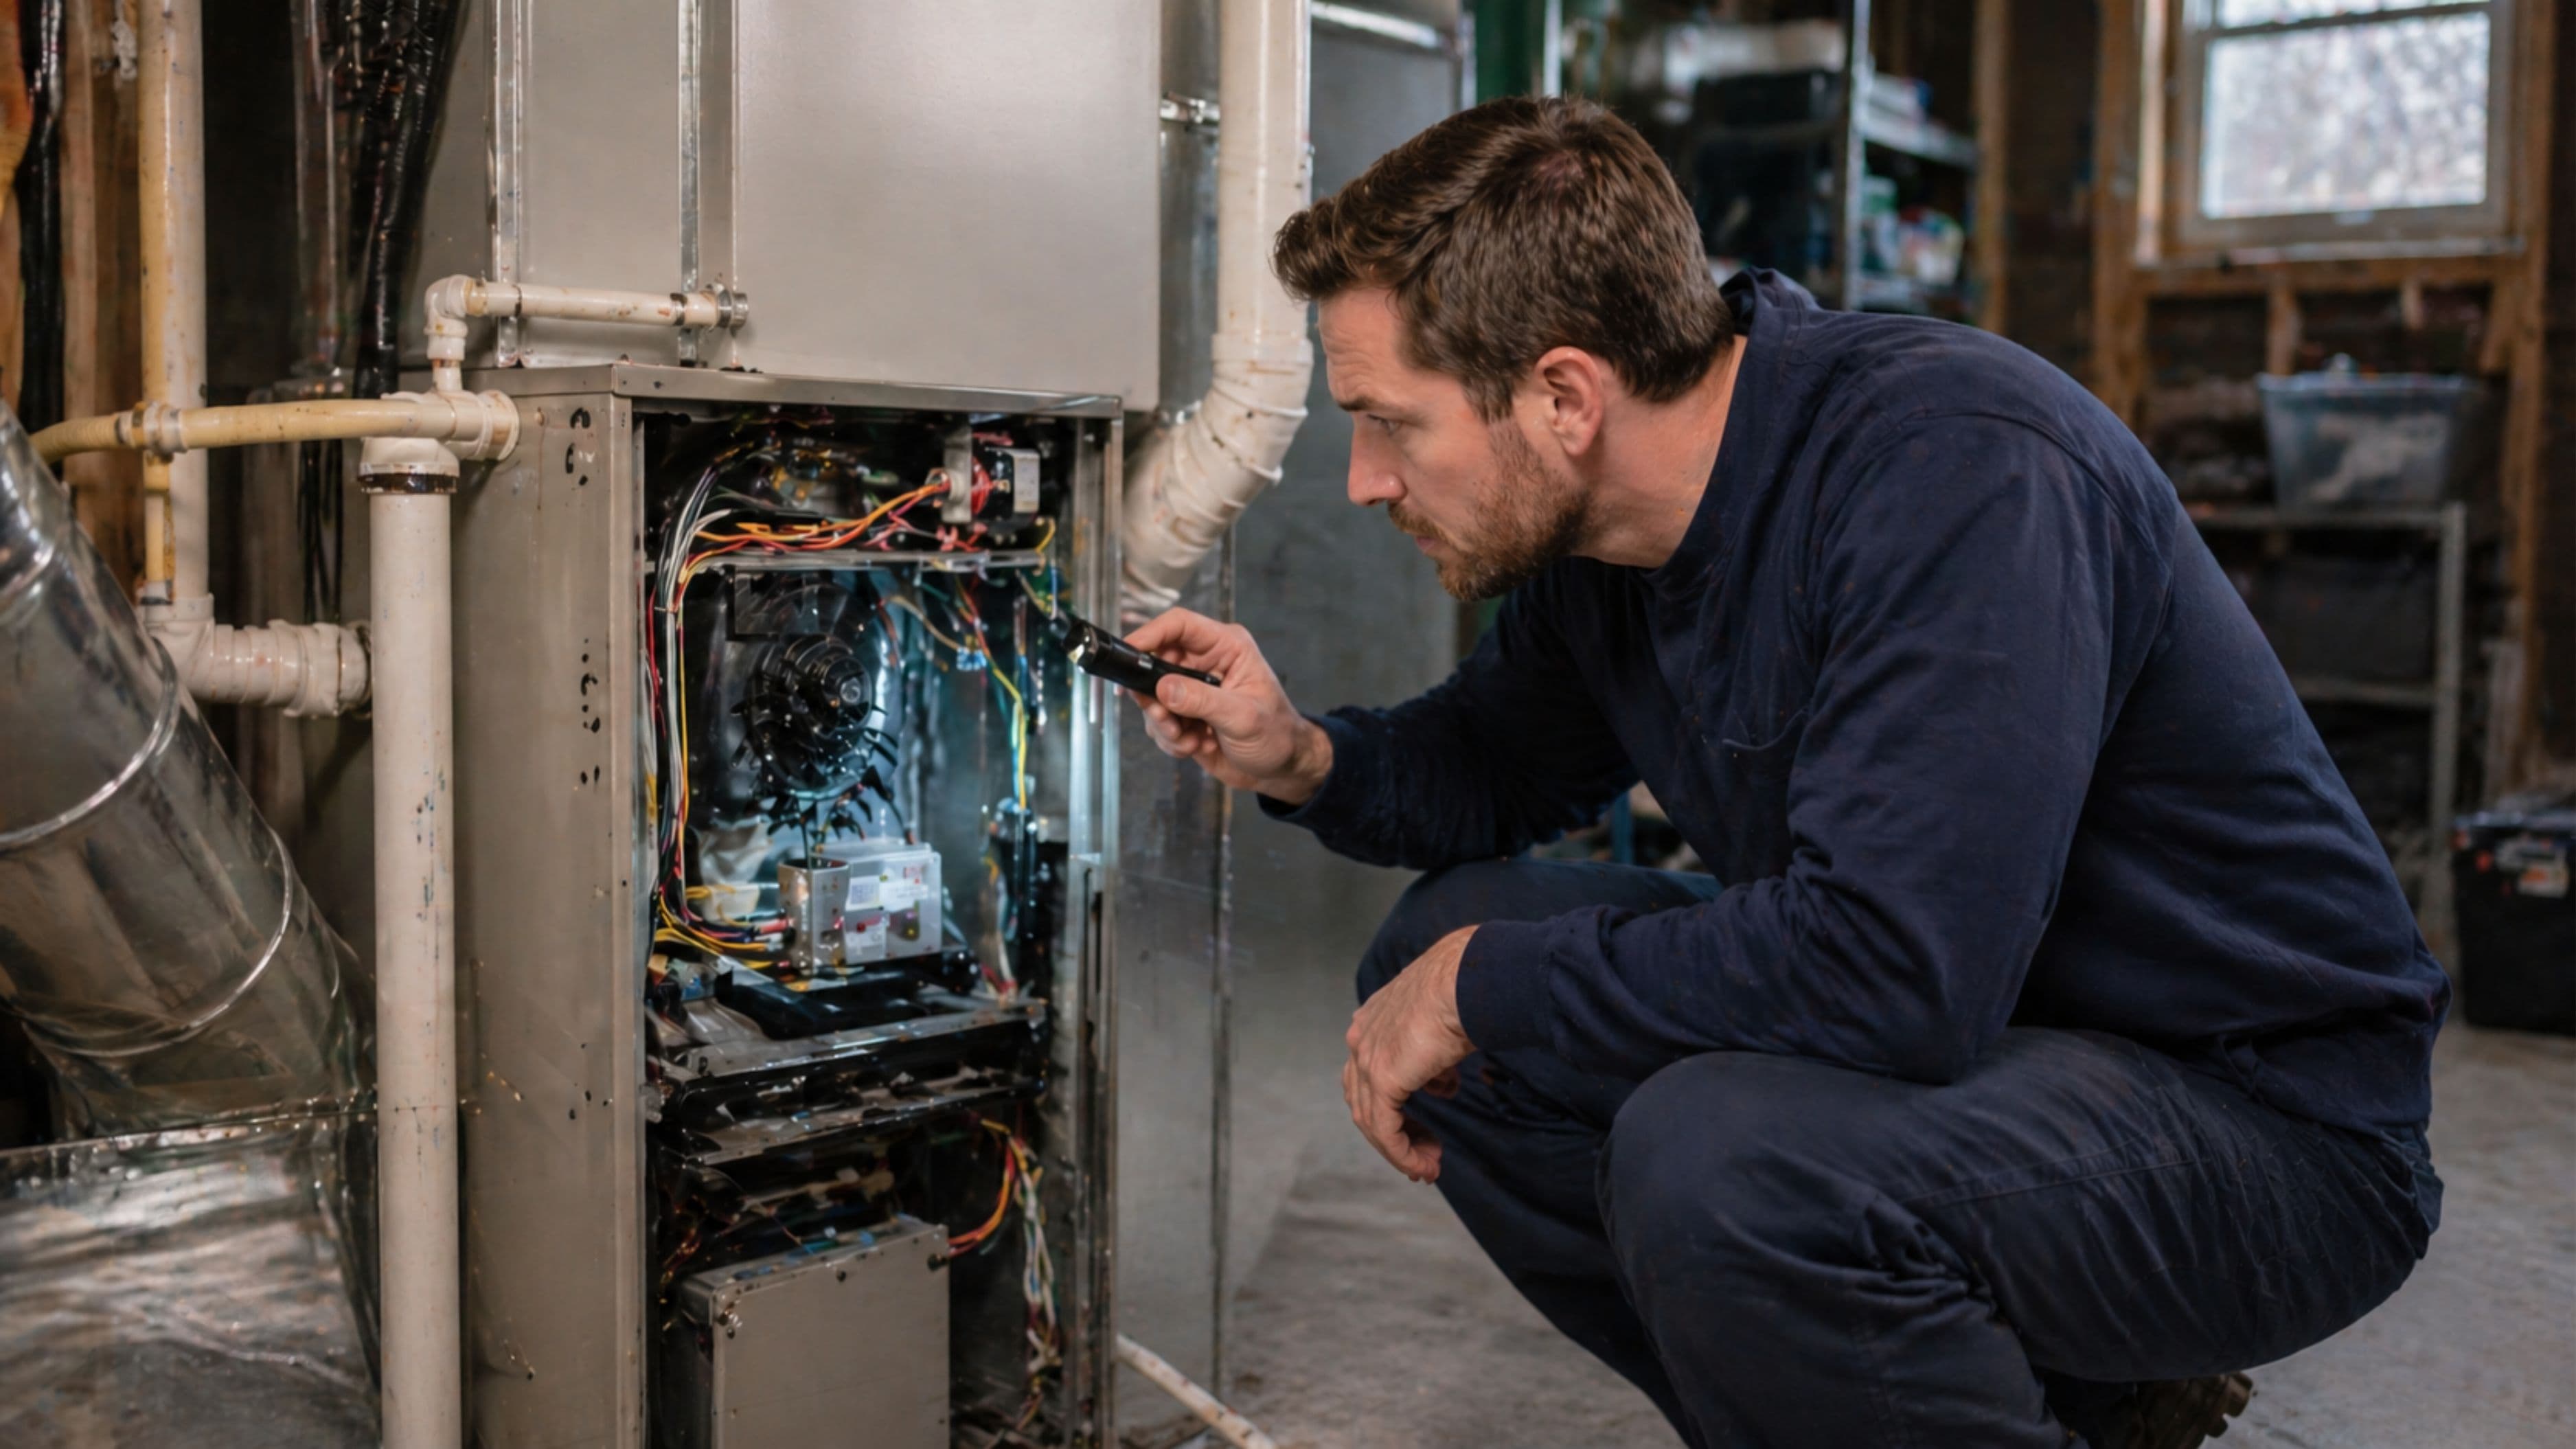
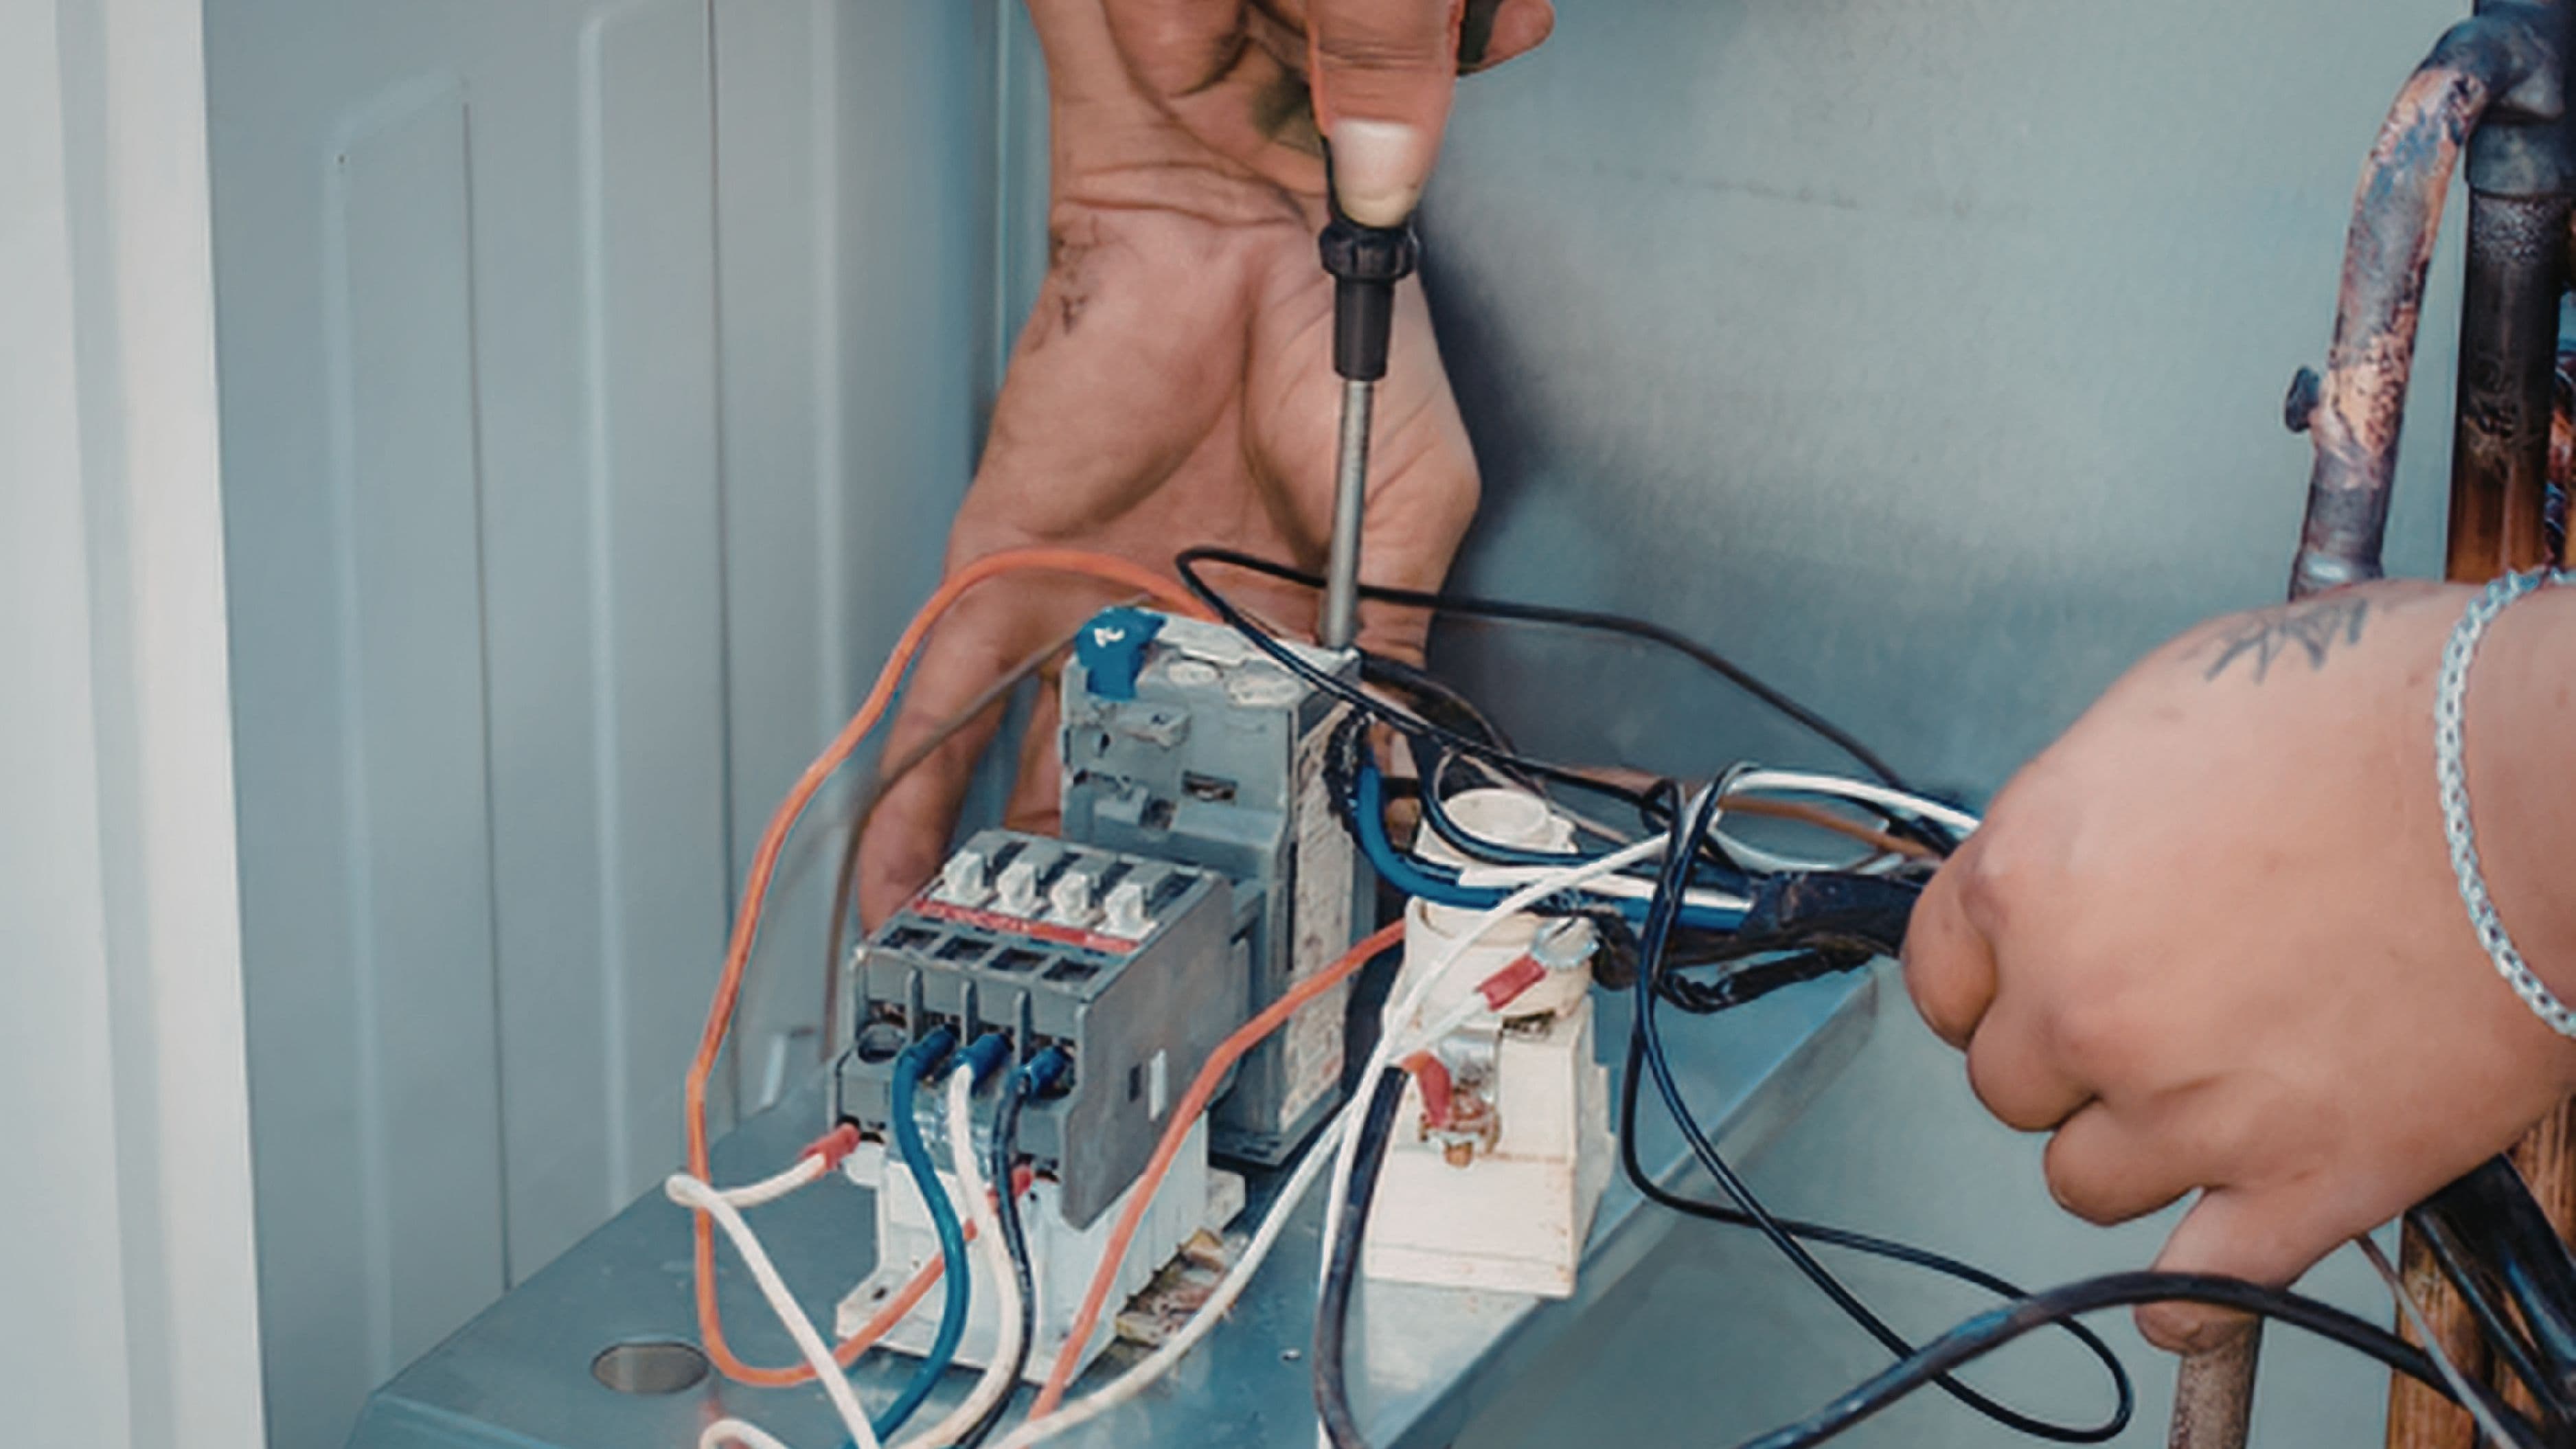
Step 4: Cut Into the Ductwork
This is the step that intimidates most DIYers, but it's straightforward with the right tools and a careful approach. You're creating two openings in your existing ductwork – one for the return air inlet to the dehumidifier and one for the discharge air outlet.
Start by turning off the HVAC system at the thermostat and the breaker. Use a permanent marker to trace the outline of the duct collar you'll be installing. The collar size must match the inlet and outlet dimensions specified in your unit's installation manual – typically 10-inch, 12-inch, or 14-inch round, depending on the unit's airflow capacity.
Drill a starter hole inside the marked outline using a drill bit large enough to fit the tin snips blade. Cut along the marked line with tin snips, working in sections. Sheet metal edges are sharp – wear gloves throughout. Deburr the cut edges with a file or wear heavy leather gloves when handling.
Insert the duct collar into the opening, secure it with sheet metal screws around the perimeter, and seal all edges with HVAC foil tape. Do not use standard cloth duct tape – it fails over time and creates air leaks. Repeat for the second duct opening.
Connect the unit's inlet and outlet to the duct collars using the appropriate duct sections or flexible duct connectors. Seal all connections with foil tape. Check that all connections are airtight before moving on.
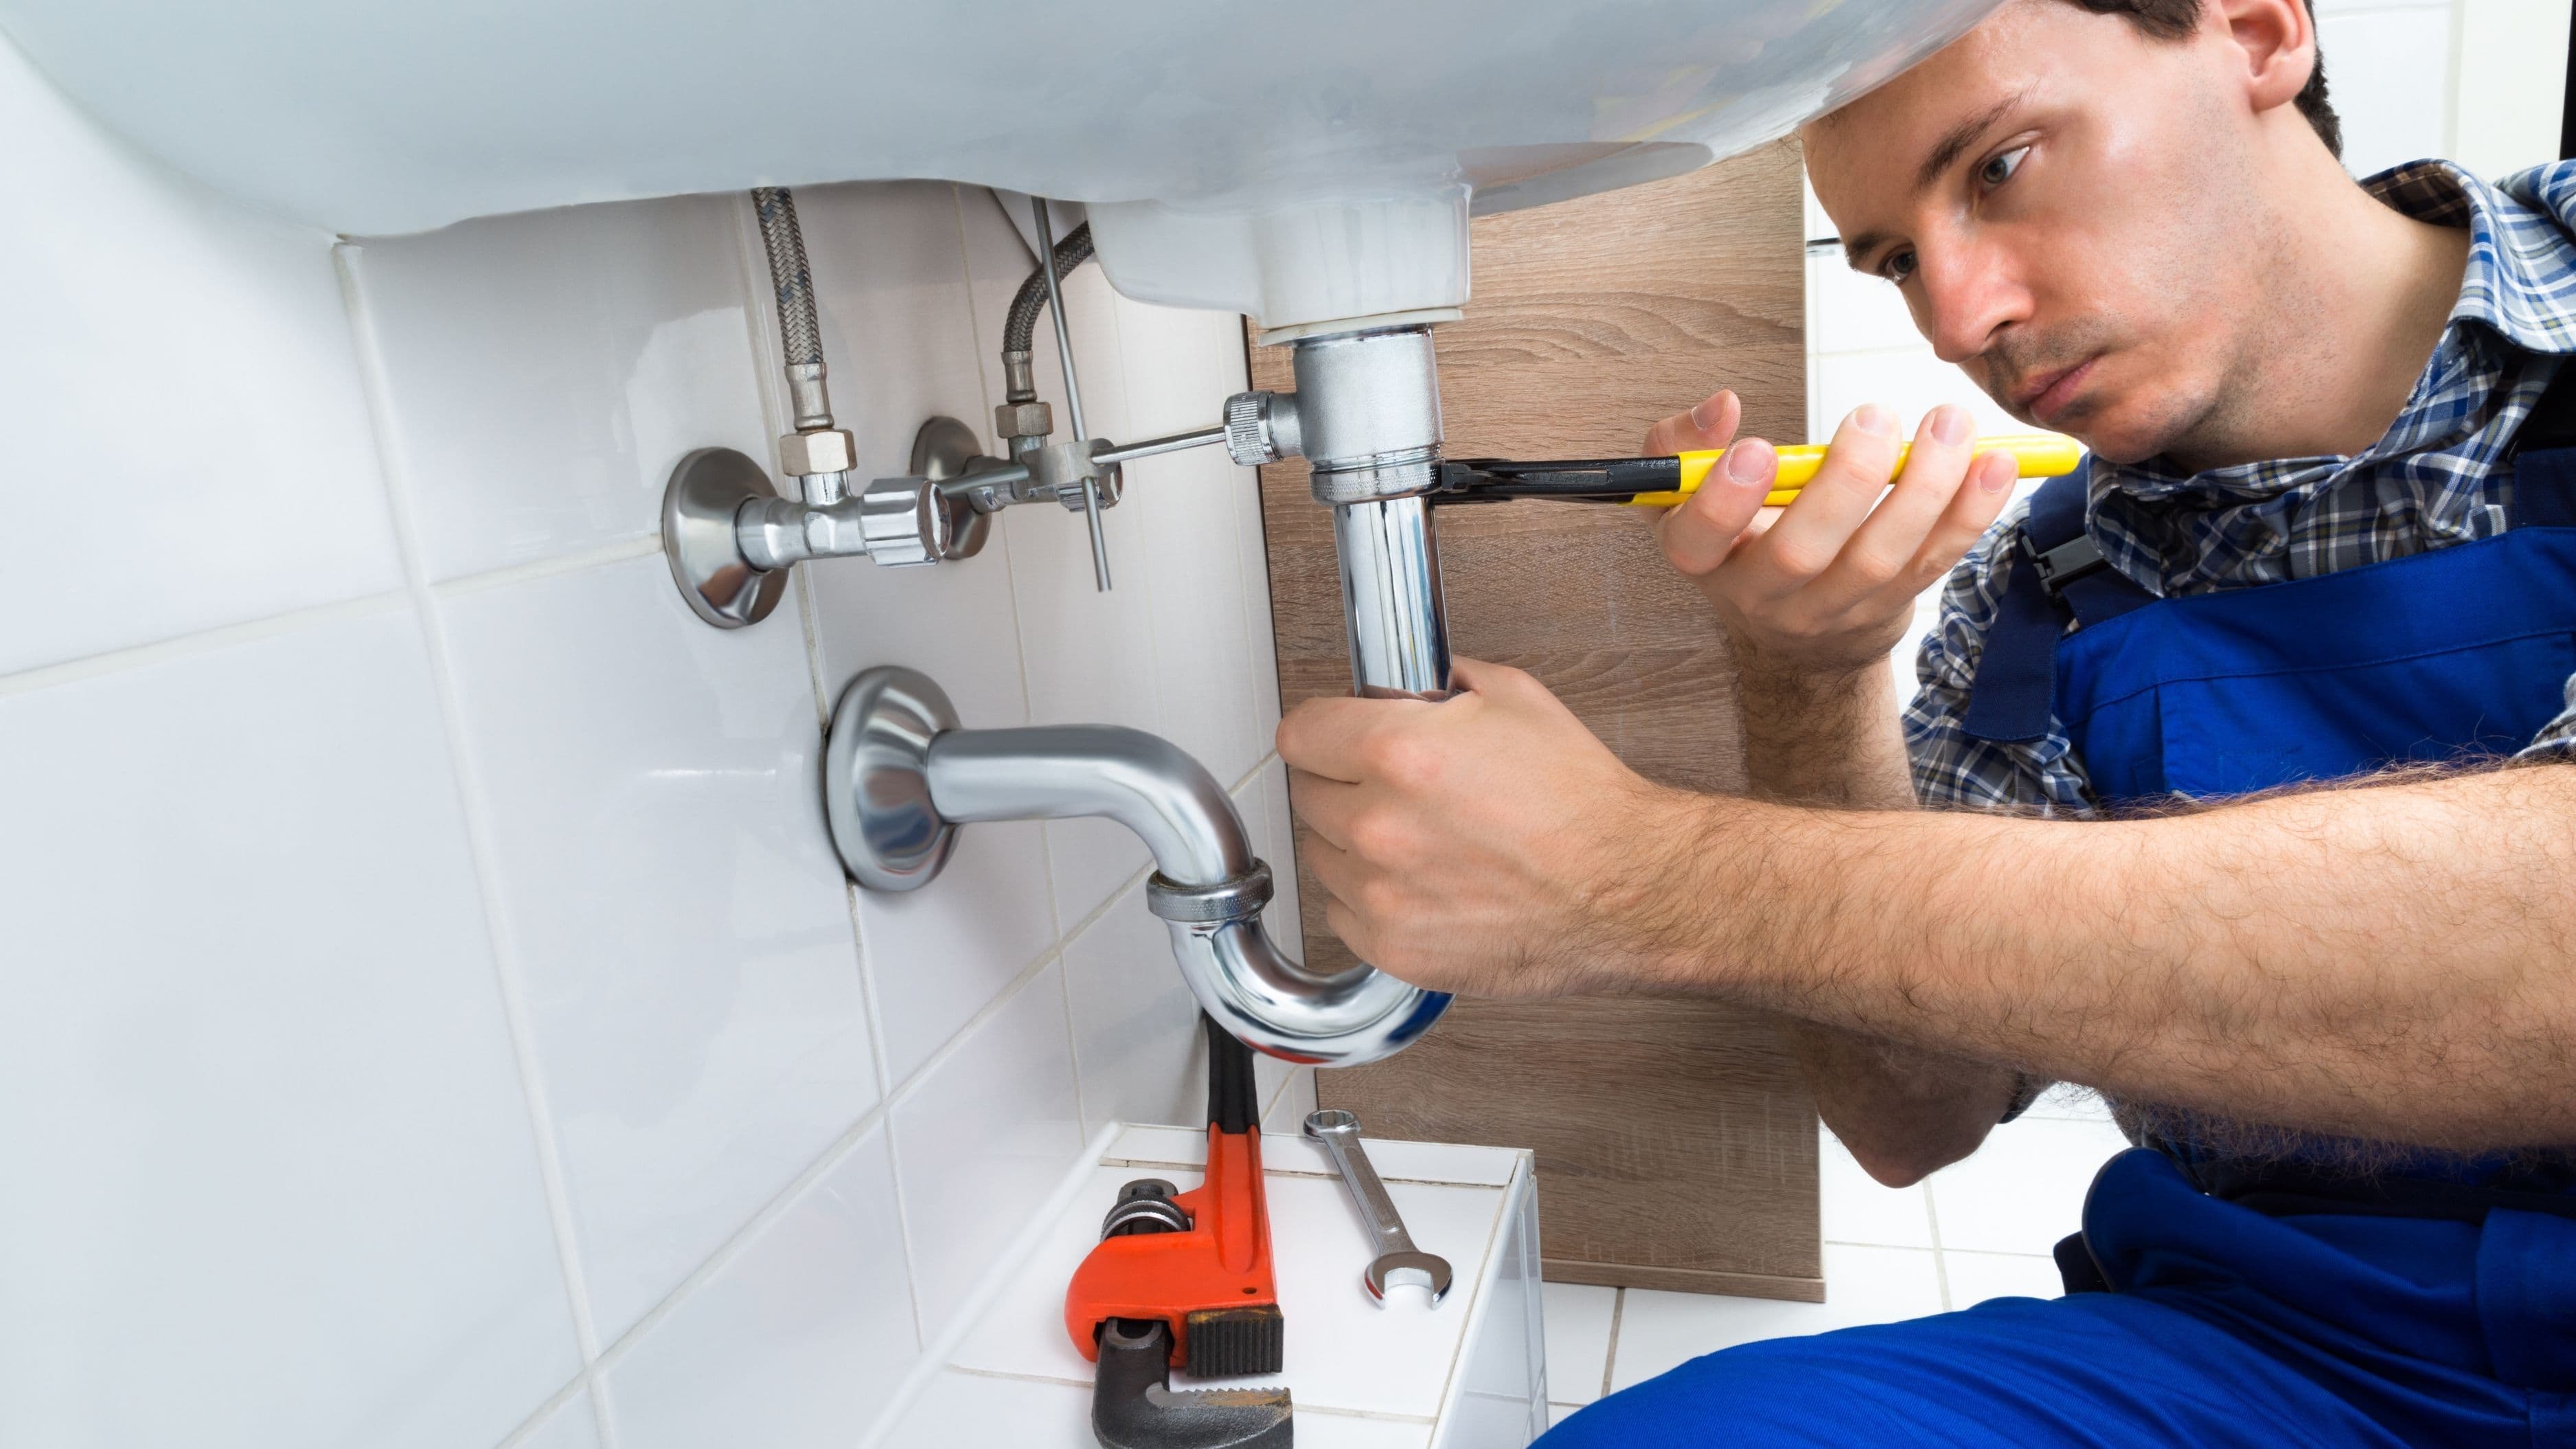
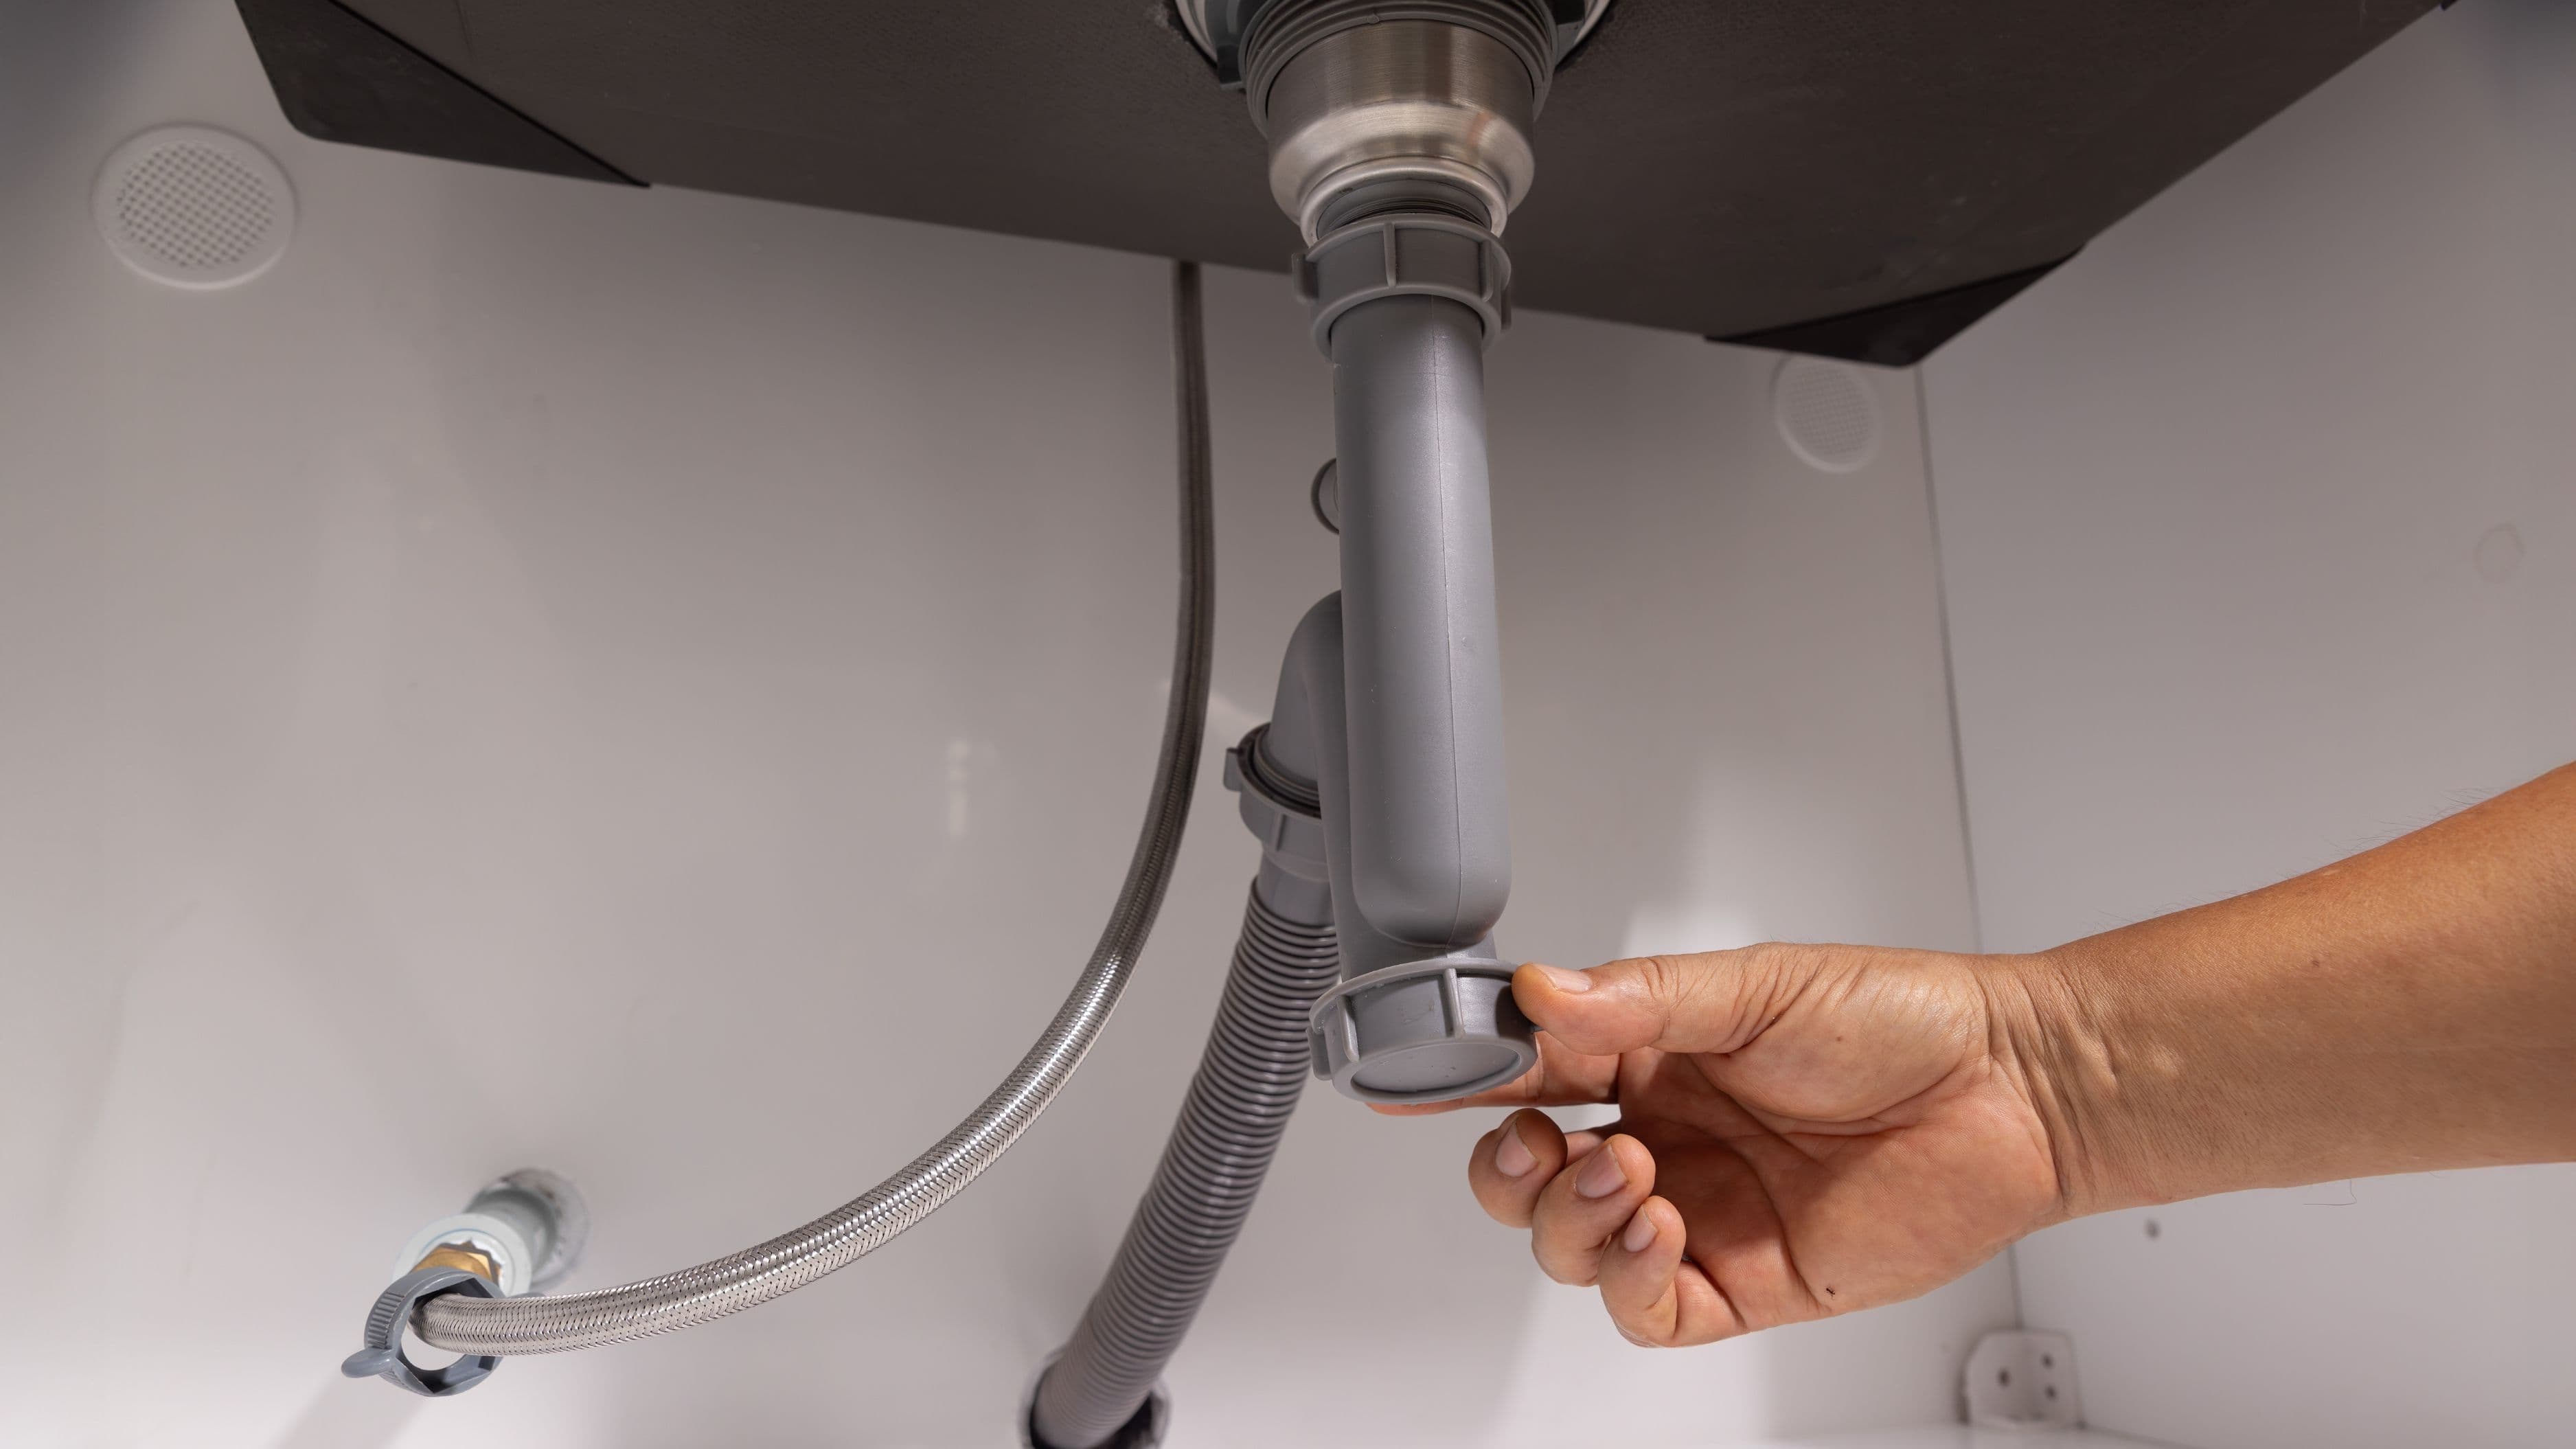
Step 5: Install the Drain Line
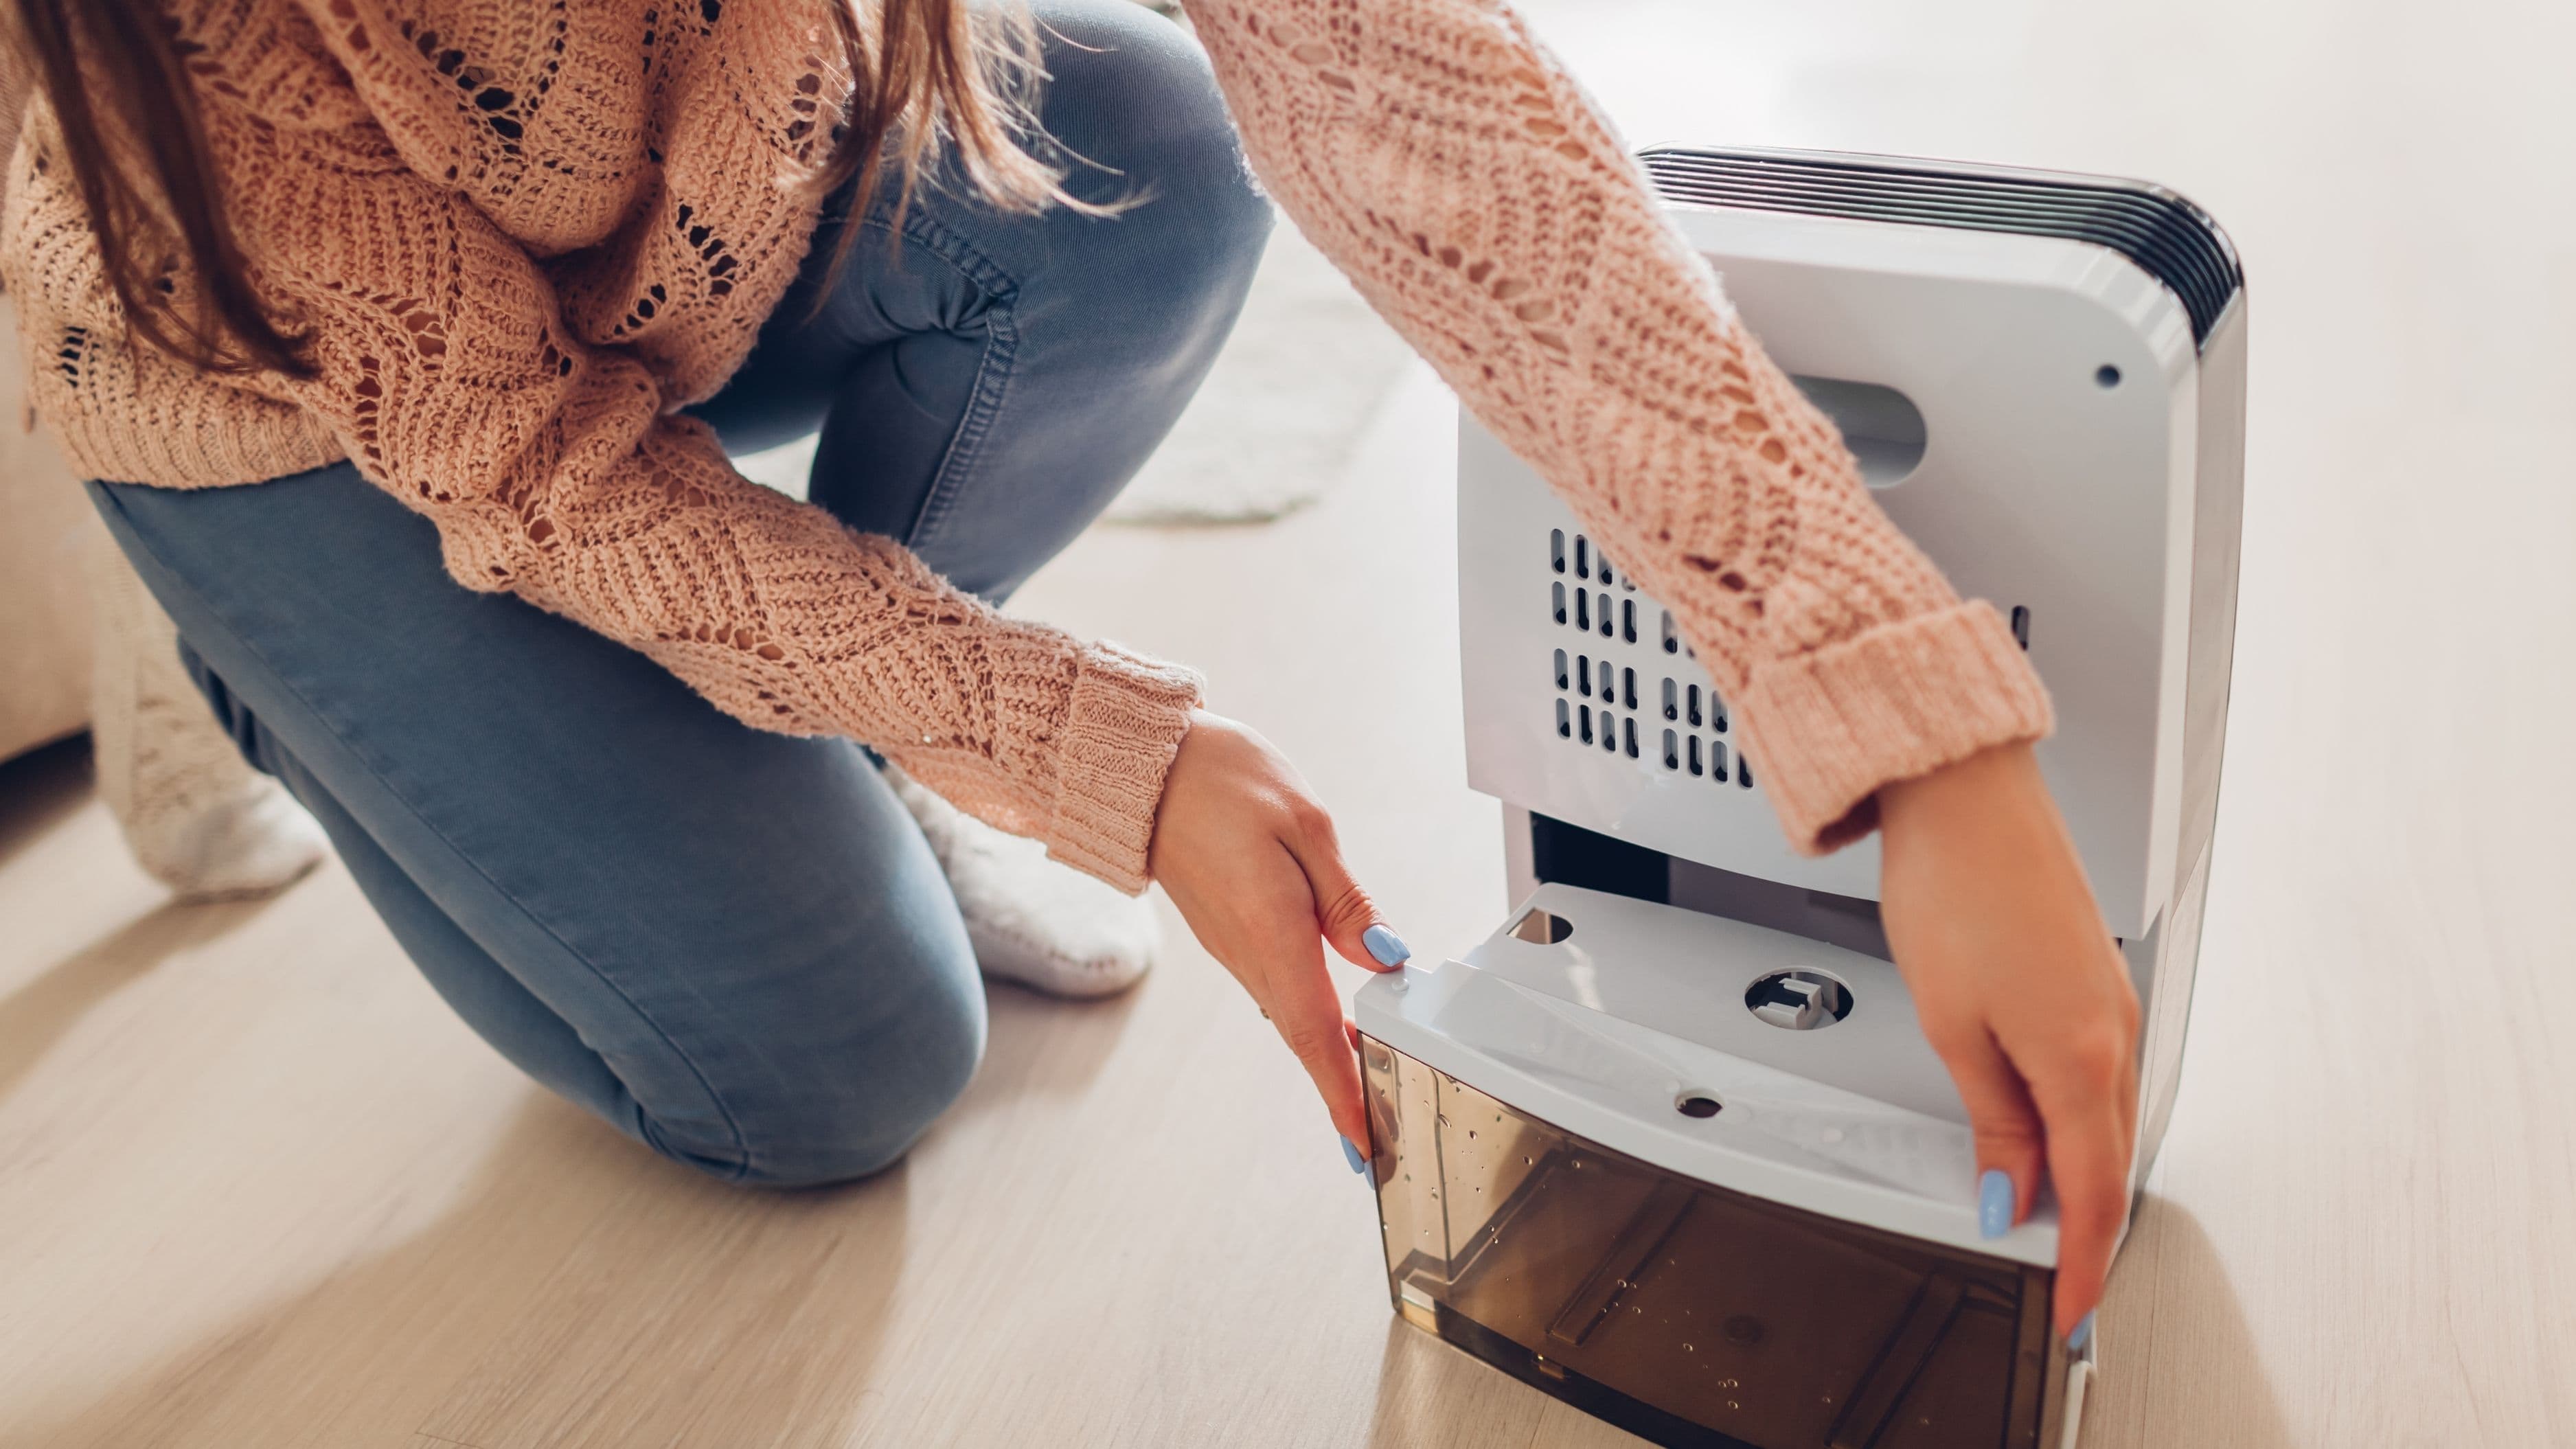
A whole-home dehumidifier removes significant amounts of water – potentially several gallons per day – and it needs a reliable path to drain continuously. Unlike a portable unit, you won't be emptying a bucket.
Most units have a 3/4-inch drain outlet on the bottom of the unit. Run PVC or vinyl drain tubing from this outlet to the nearest drain point: a floor drain, utility sink, or condensate pump if no gravity drain is available. The drain line must maintain a continuous downward slope – a minimum of 1/4 inch drop per foot of run – without any low points where water can pool and back up.
If you can't achieve gravity drainage (the drain outlet is below or level with the available drain point), a condensate pump is the solution. These are inexpensive ($30–$70), plug into a standard outlet, and pump condensate up and out to a drain located above the unit's outlet. Many whole-home dehumidifier installations in finished basements use a condensate pump for this reason.
Secure the drain line with appropriate pipe hangers every 3–4 feet. Pour a cup of water into the drain pan to confirm proper flow through the entire drain line before finishing.
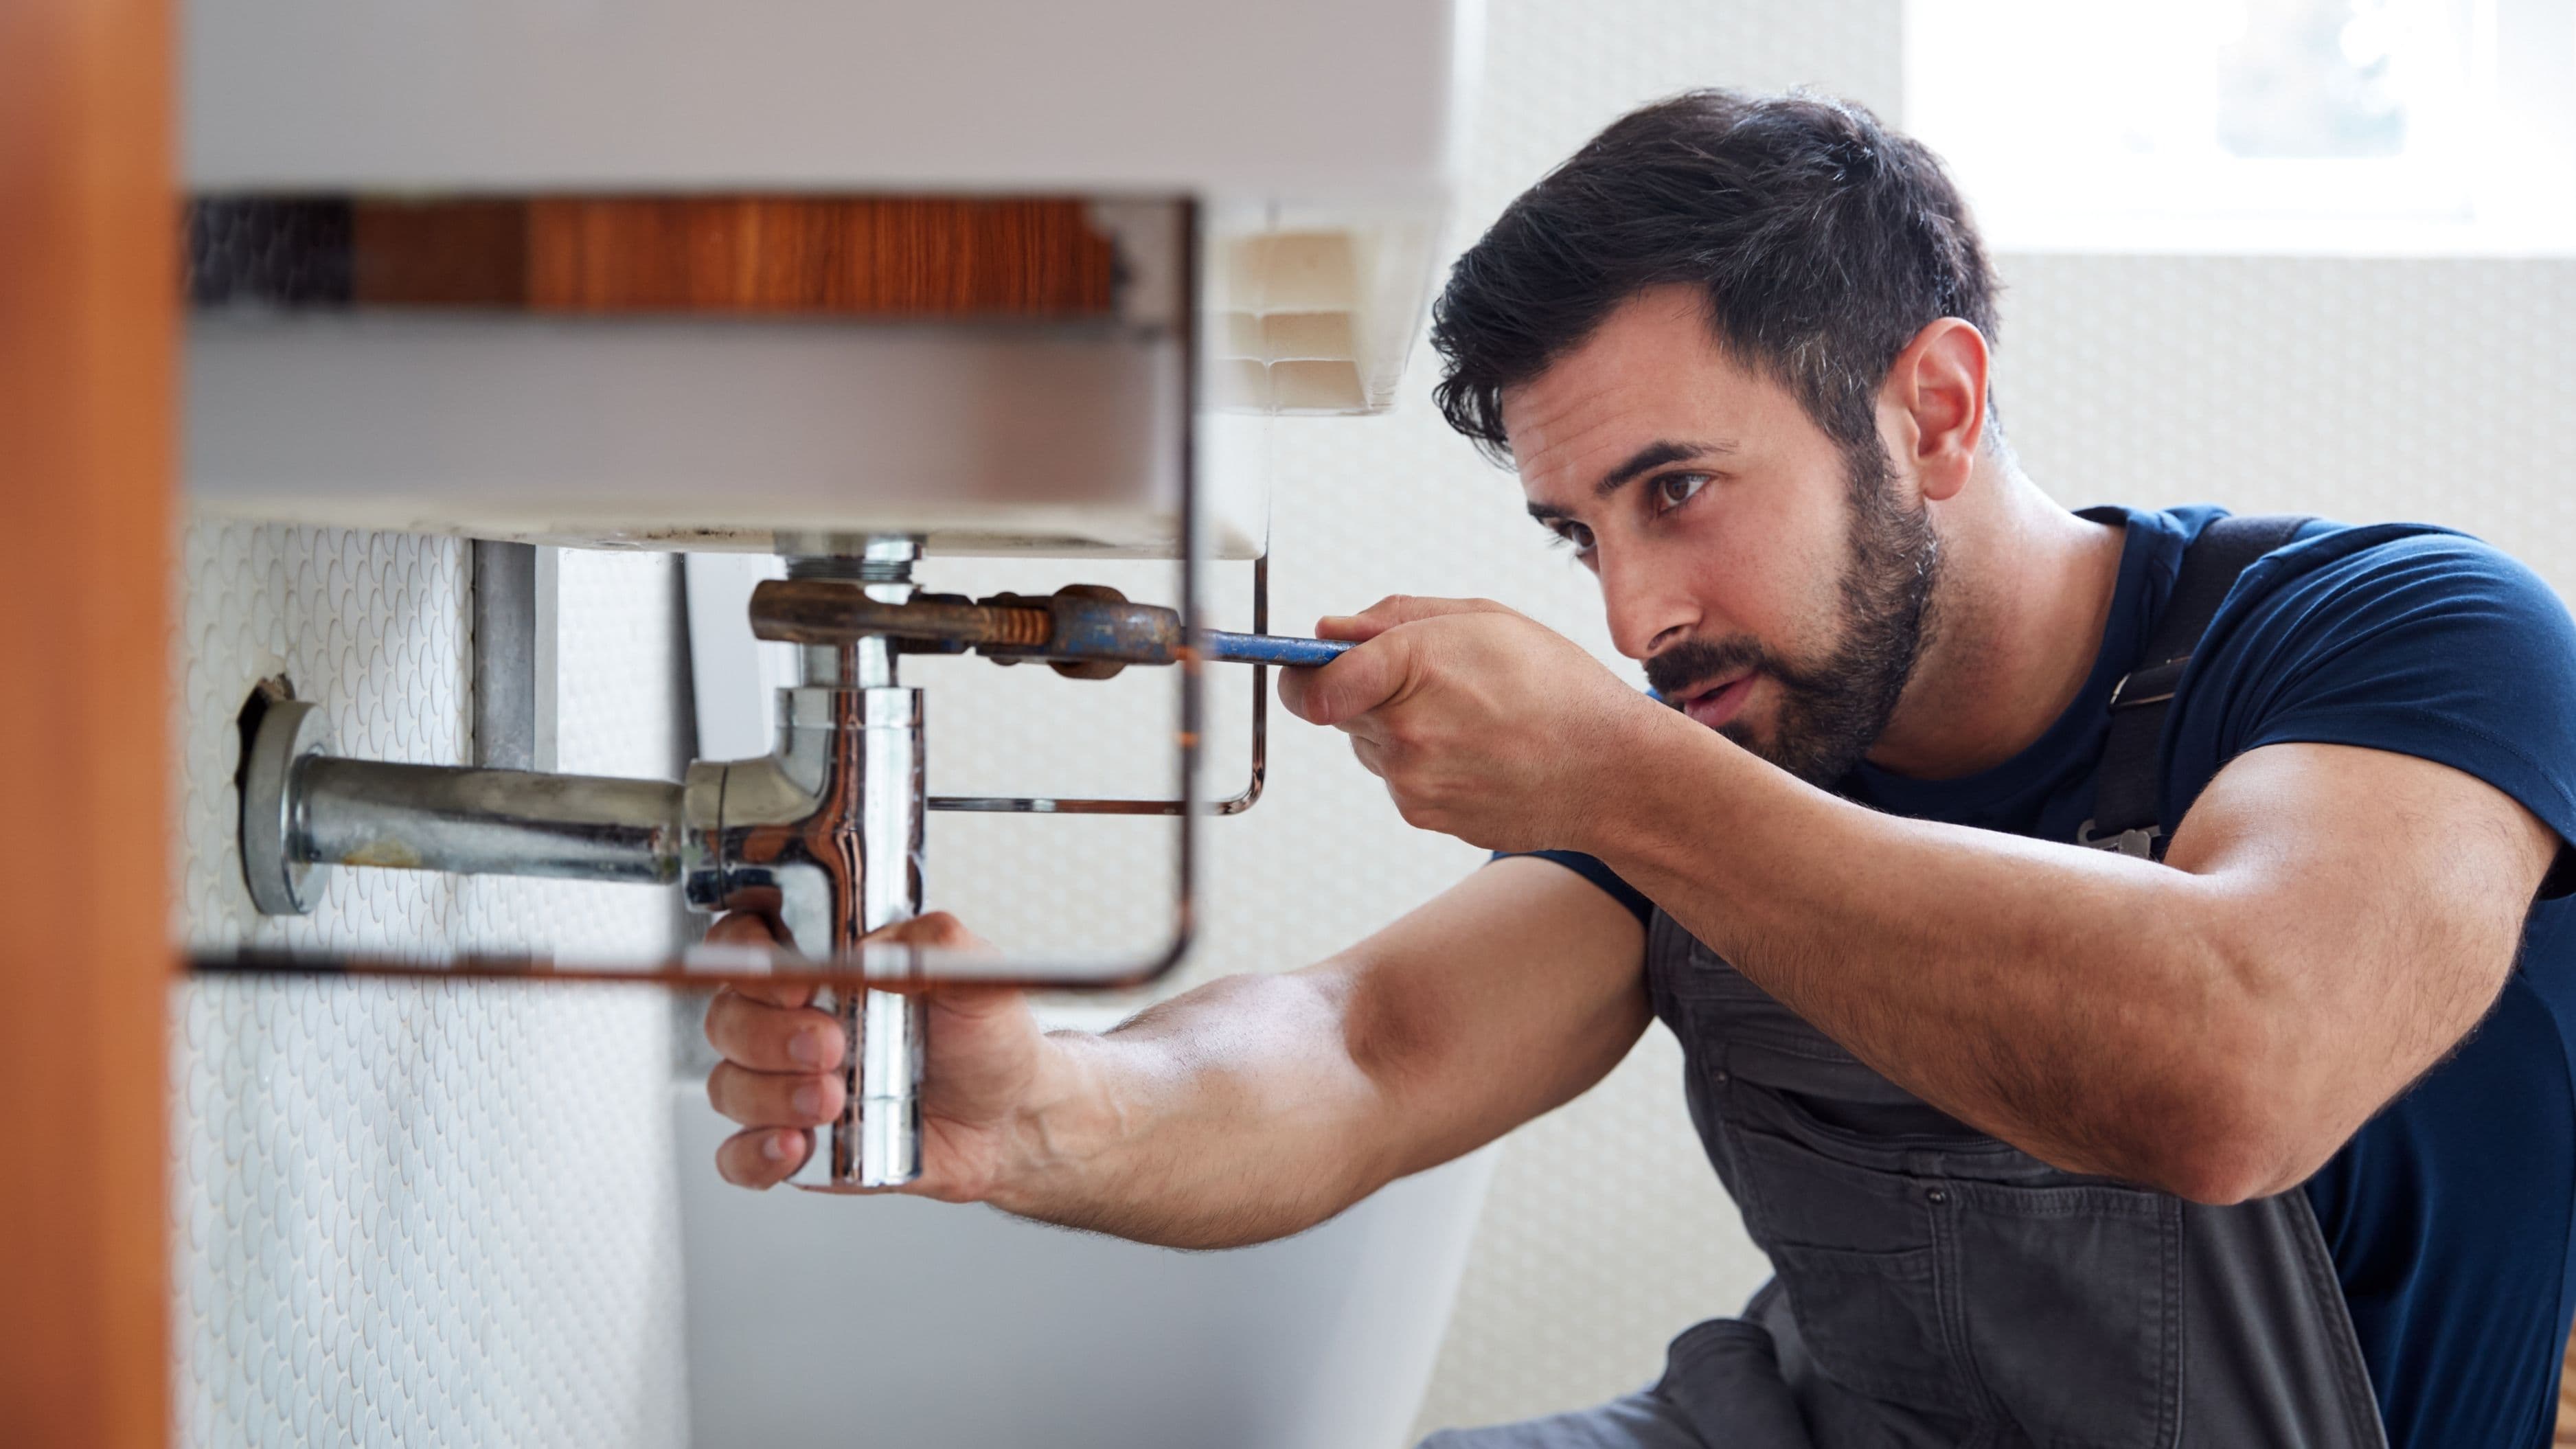
Step 6: Electrical Connection
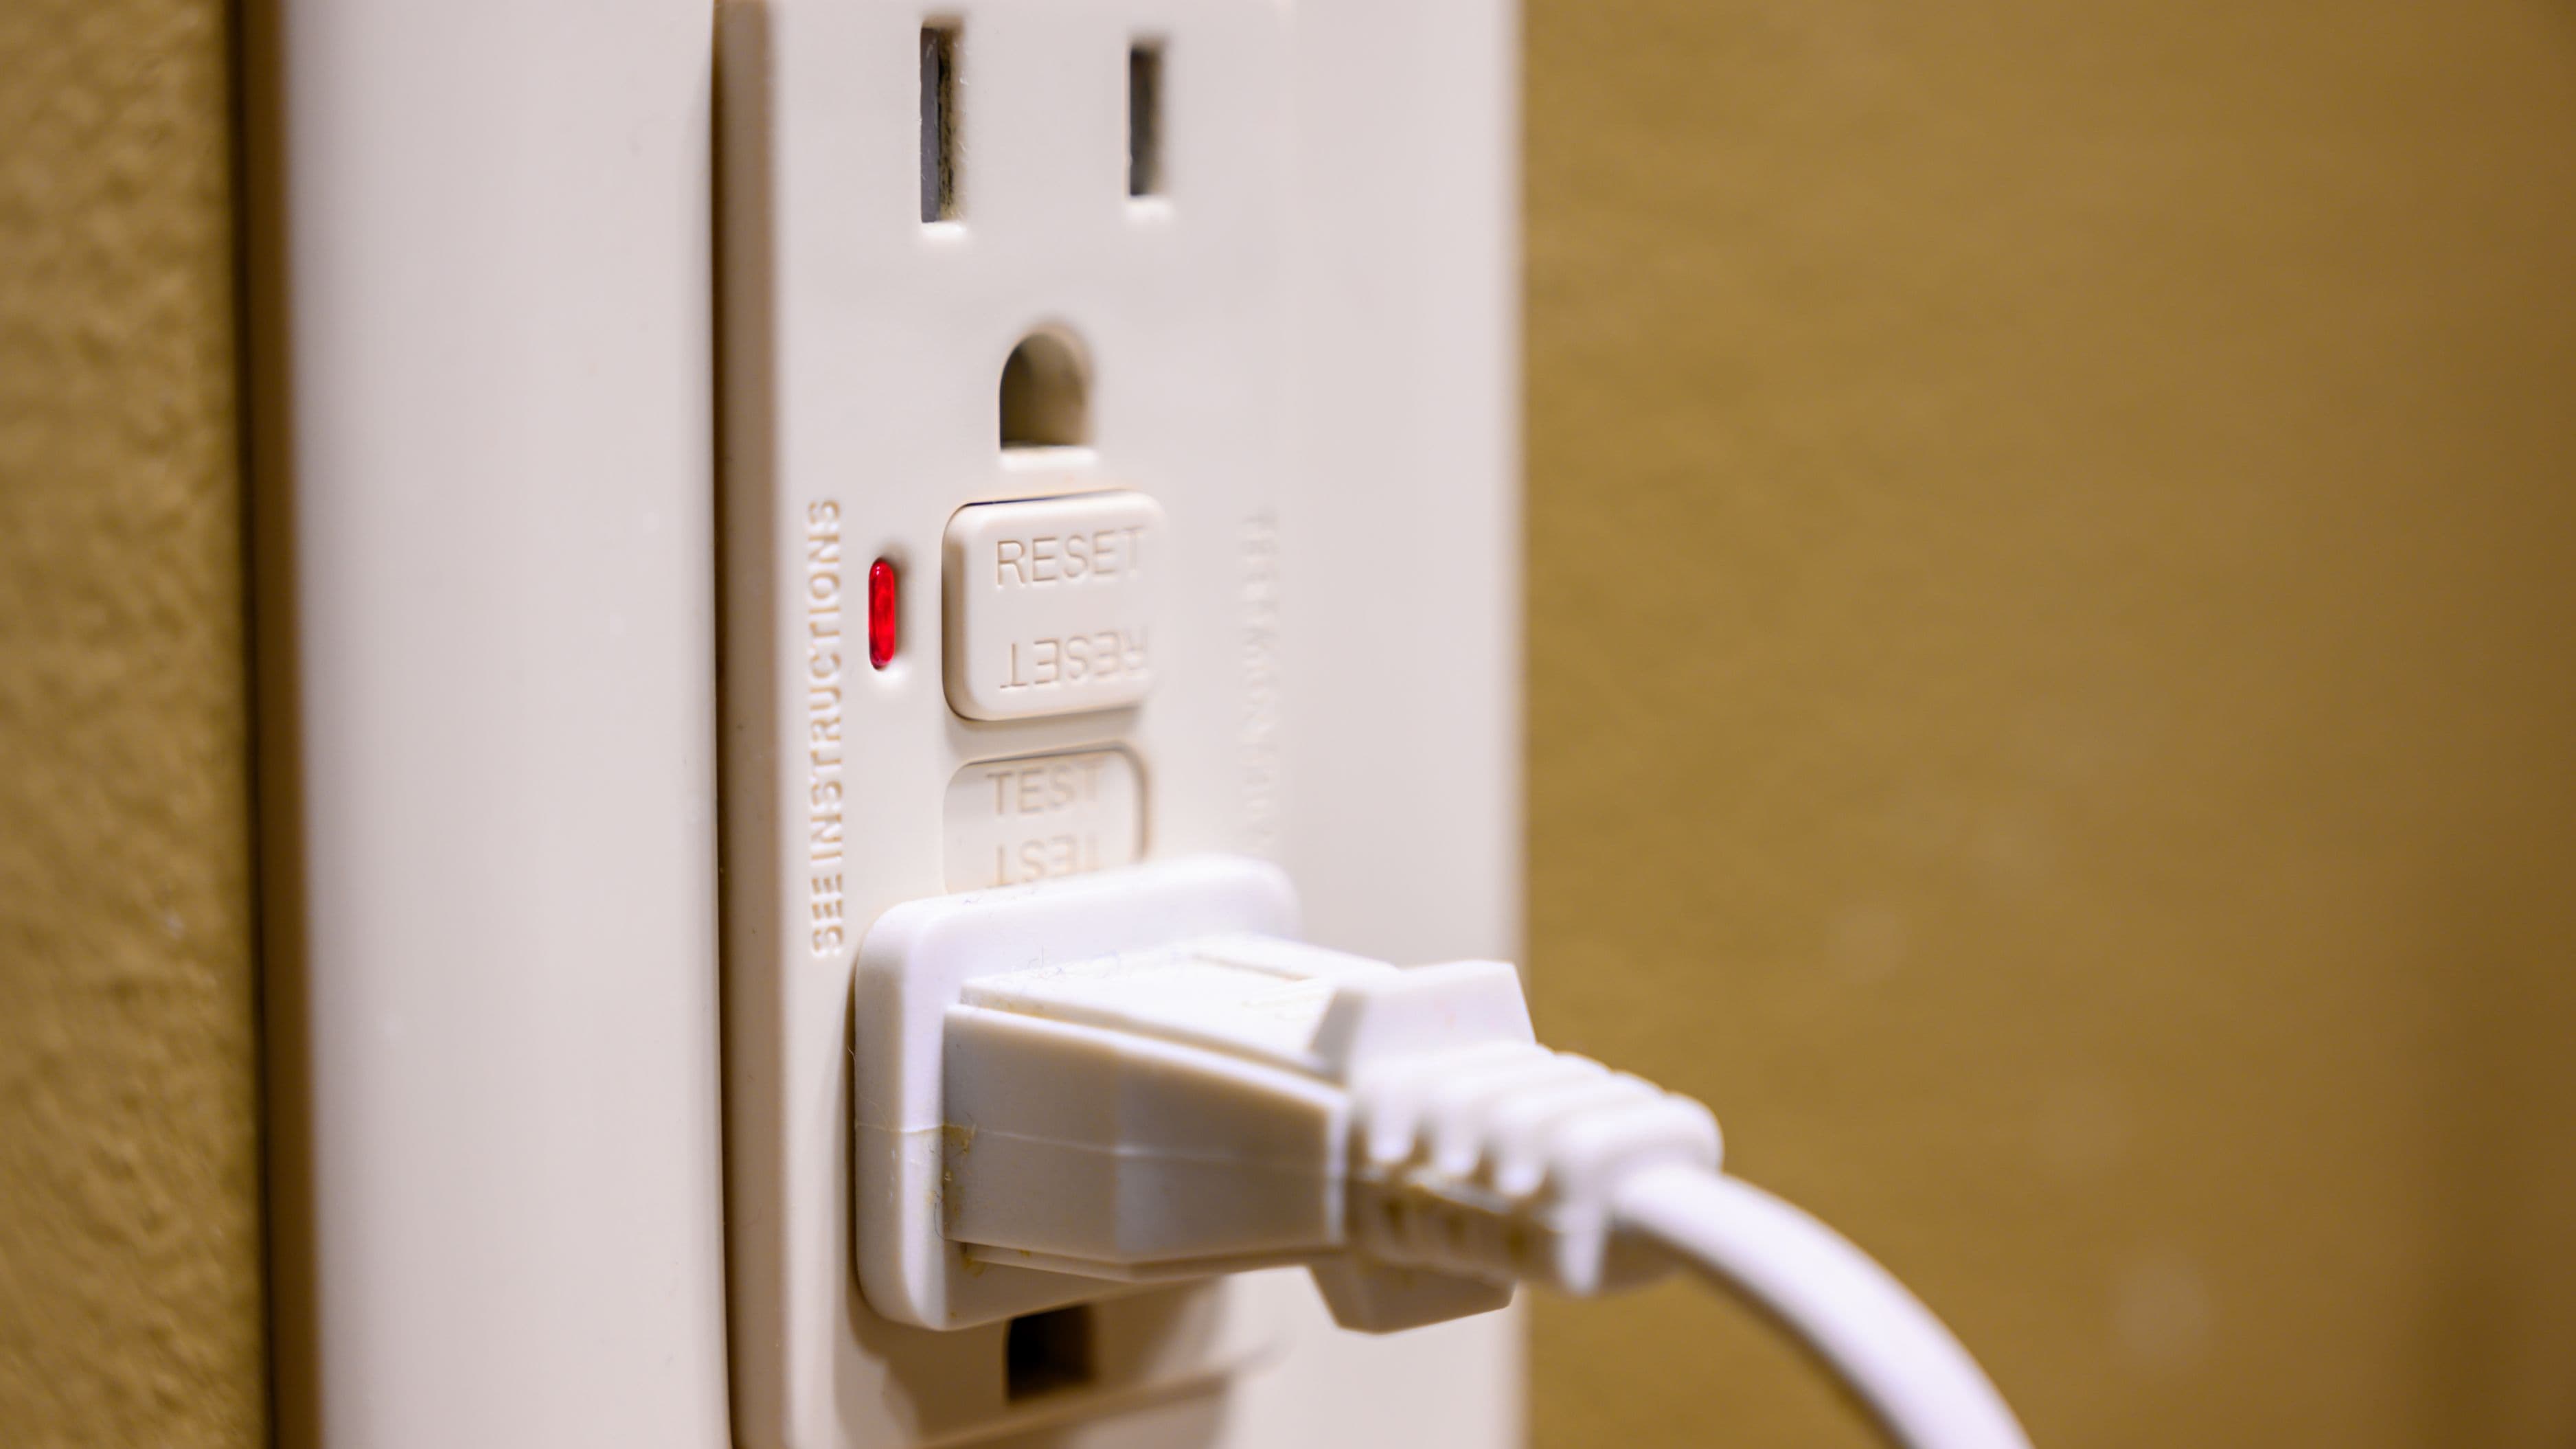
Important: Check your unit's installation manual for specific electrical requirements before doing any electrical work. Most whole-home dehumidifiers require a dedicated 120V or 240V circuit, with wire gauge and breaker size specified by the manufacturer. Running the wrong gauge wire or using an undersized breaker is a code violation and a fire hazard.
If a new dedicated circuit is required, this means running wire from your main electrical panel to the installation location, installing a new breaker, and terminating at a properly rated outlet or disconnect. If you're not experienced with panel work, hire a licensed electrician for this portion specifically.
Turn off power at the breaker before making any electrical connections. Use a voltage tester to confirm power is off before touching any wires. Connect the unit according to the wiring diagram in the installation manual – this typically involves connecting line, neutral, and ground at the unit's terminal block. Most units also have a low-voltage connection point for the humidistat or thermostat integration.
If your unit includes a built-in humidistat, no external wiring to the thermostat may be required. If you're installing an external dehumidistat to control the unit independently from the thermostat, follow the manufacturer's low-voltage wiring diagram for that integration.
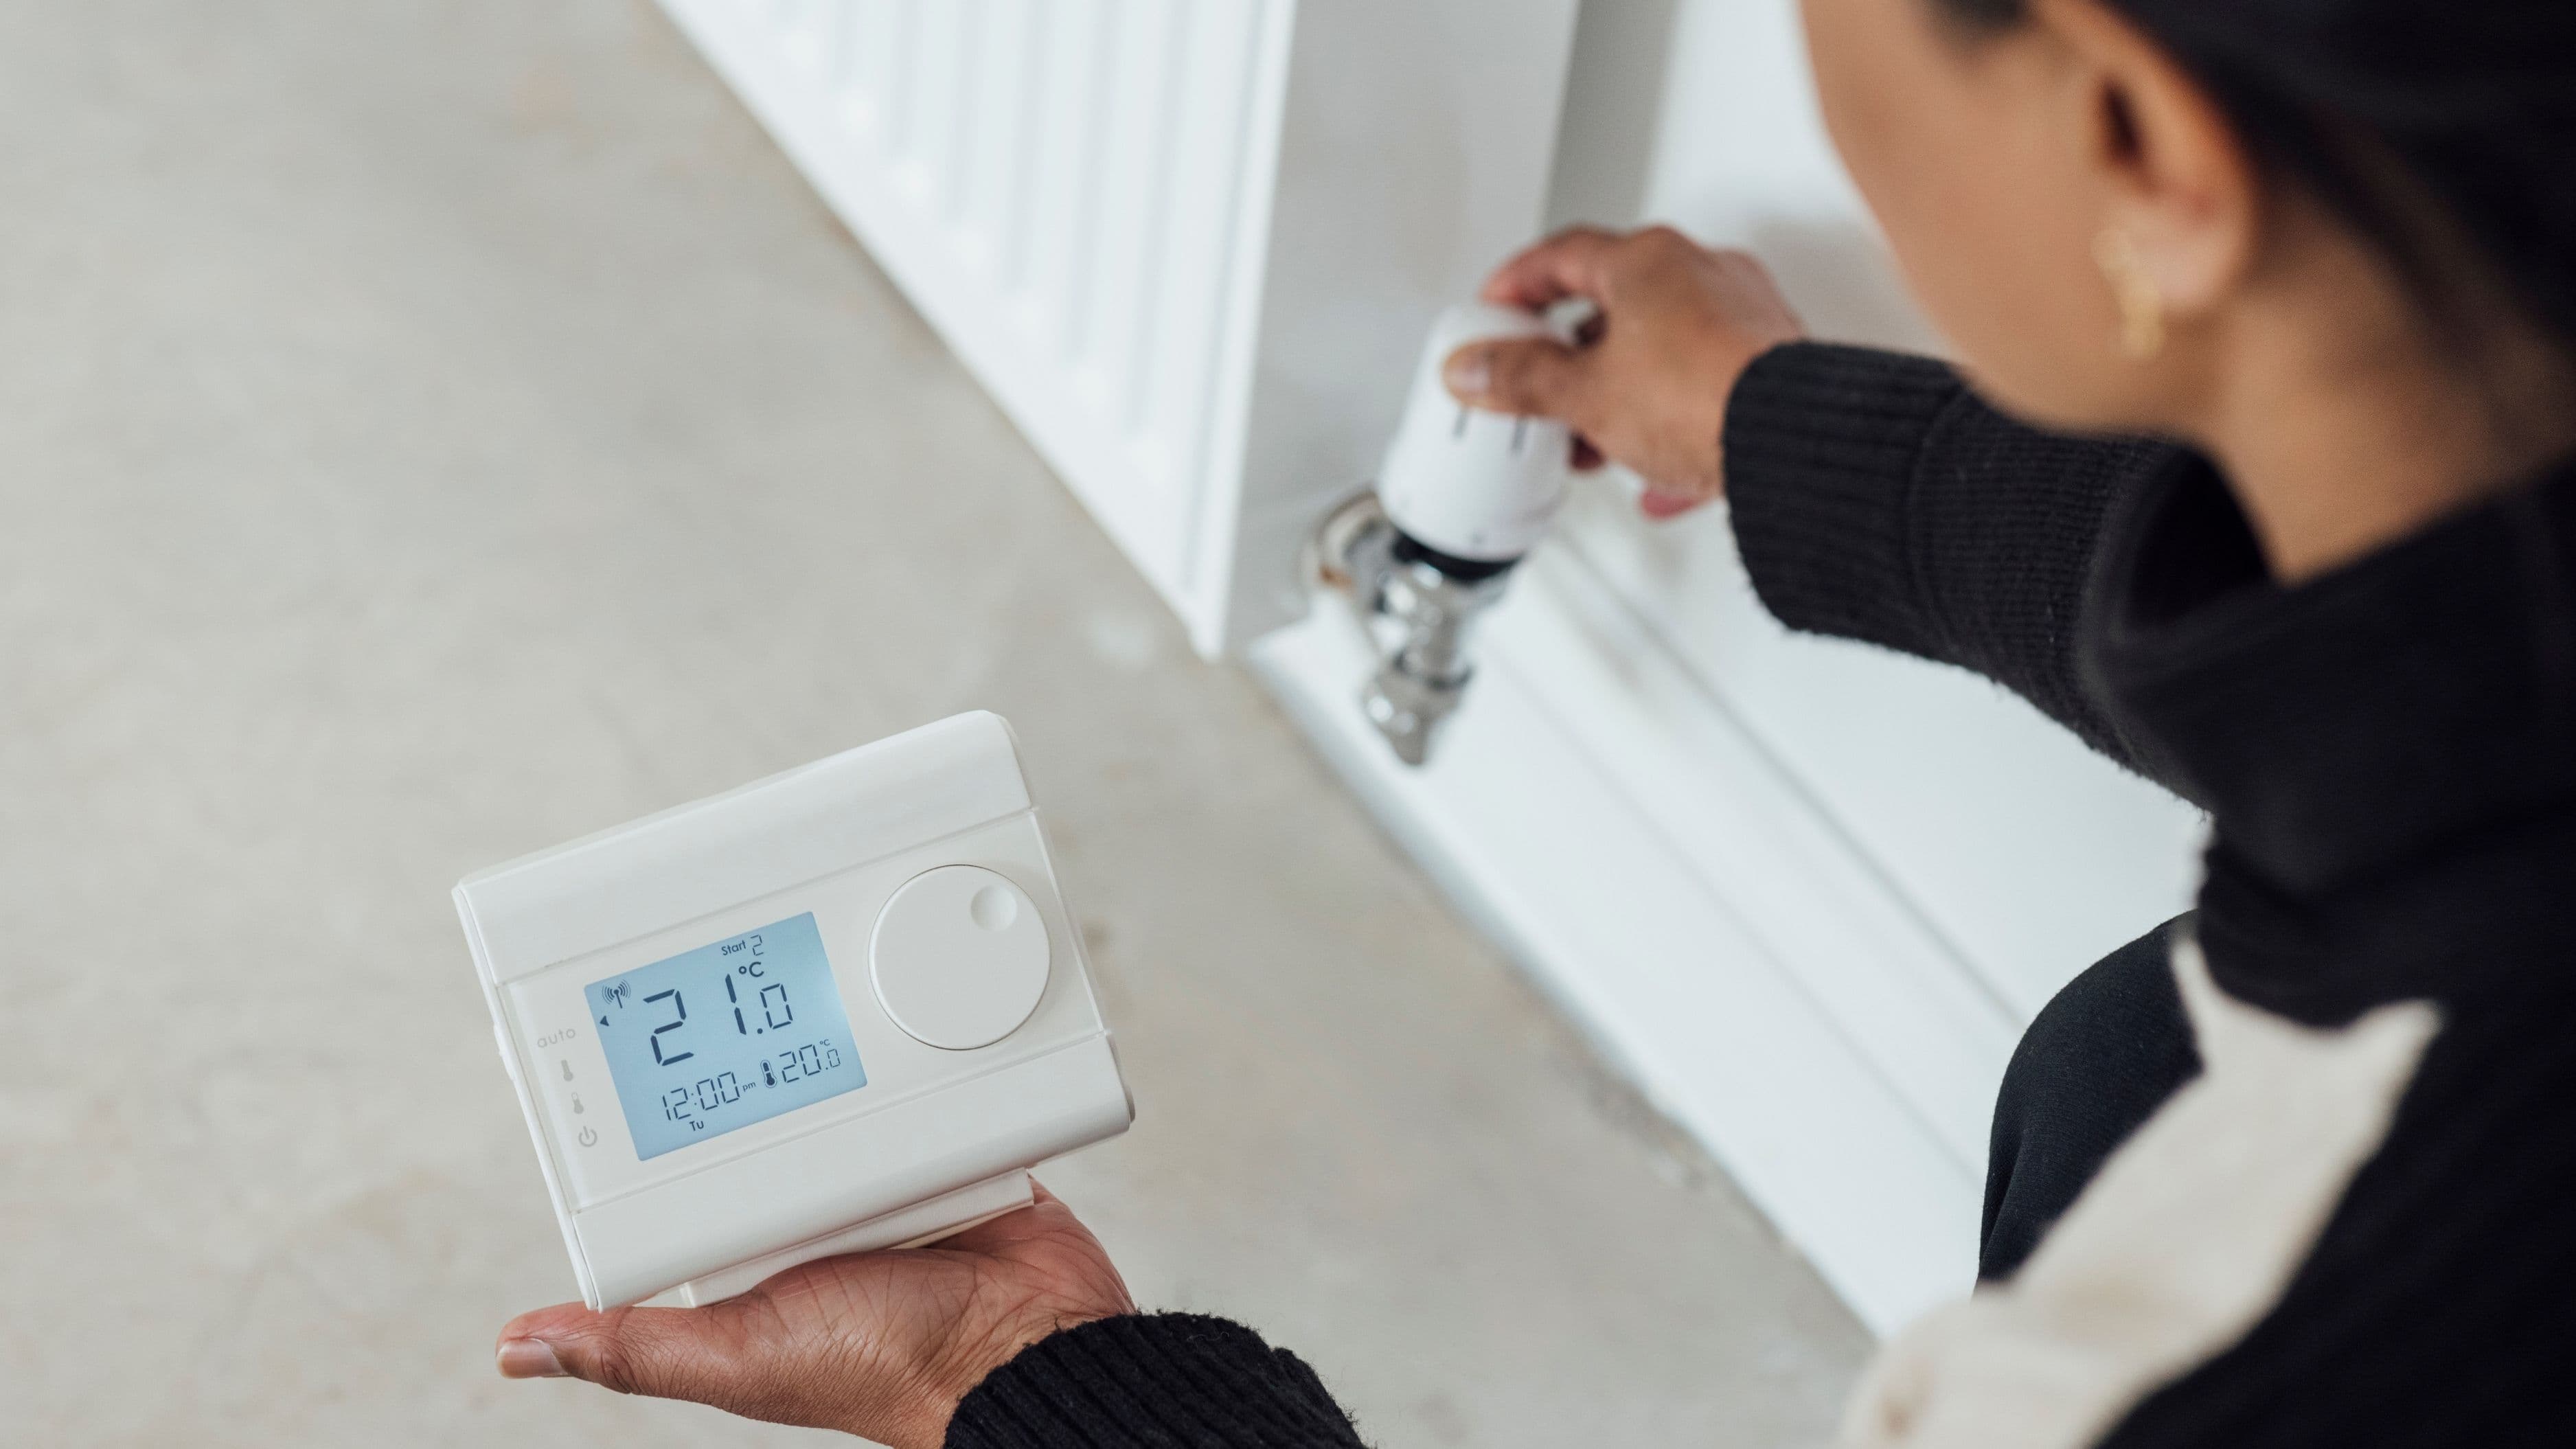
Step 7: Integrate With Your Thermostat or HVAC Controls
How your dehumidifier coordinates with your existing HVAC system depends on your setup. There are two common configurations:
Standalone operation: The dehumidifier runs on its own humidistat, independent of the air handler. When humidity rises above the setpoint, the dehumidifier activates regardless of whether the HVAC system is calling for heating or cooling. This is simple but means the dehumidifier may occasionally run without the HVAC fan moving air through the ductwork.
HVAC fan interlock: The dehumidifier is wired to energize the air handler fan whenever the dehumidifier runs. This ensures air is being circulated through the ductwork whenever the dehumidifier operates, improving distribution. Most modern HVAC systems have a fan terminal on the control board that can accept this signal. Consult your air handler's wiring diagram for the correct terminal – this is typically labeled "G" (fan) on standard 24V HVAC control systems.
If you have a smart thermostat (Ecobee, Nest, Honeywell T-series), check whether it supports a dedicated dehumidifier output – many do, and integrating through the thermostat gives you better overall system coordination and data visibility.
Set the target humidity on the humidistat to 50% relative humidity as your starting point. Adjust down to 45% if condensation on windows or surfaces persists.
Step 8: Test the System
Before closing up and declaring the job done, run through a complete functional test.
Restore power at the breaker. Confirm the unit powers on and the display or indicator lights respond correctly. Set the humidistat to a humidity level below the current basement humidity to trigger the unit to run. Listen for the compressor to engage within a minute or two.
Check all duct connections for air leaks by feeling for airflow around seams while the unit runs – seal any leaks with additional foil tape. Verify the drain line is flowing properly by checking the drain outlet after 10–15 minutes of operation. If you installed a condensate pump, confirm it activates and pumps water out correctly.
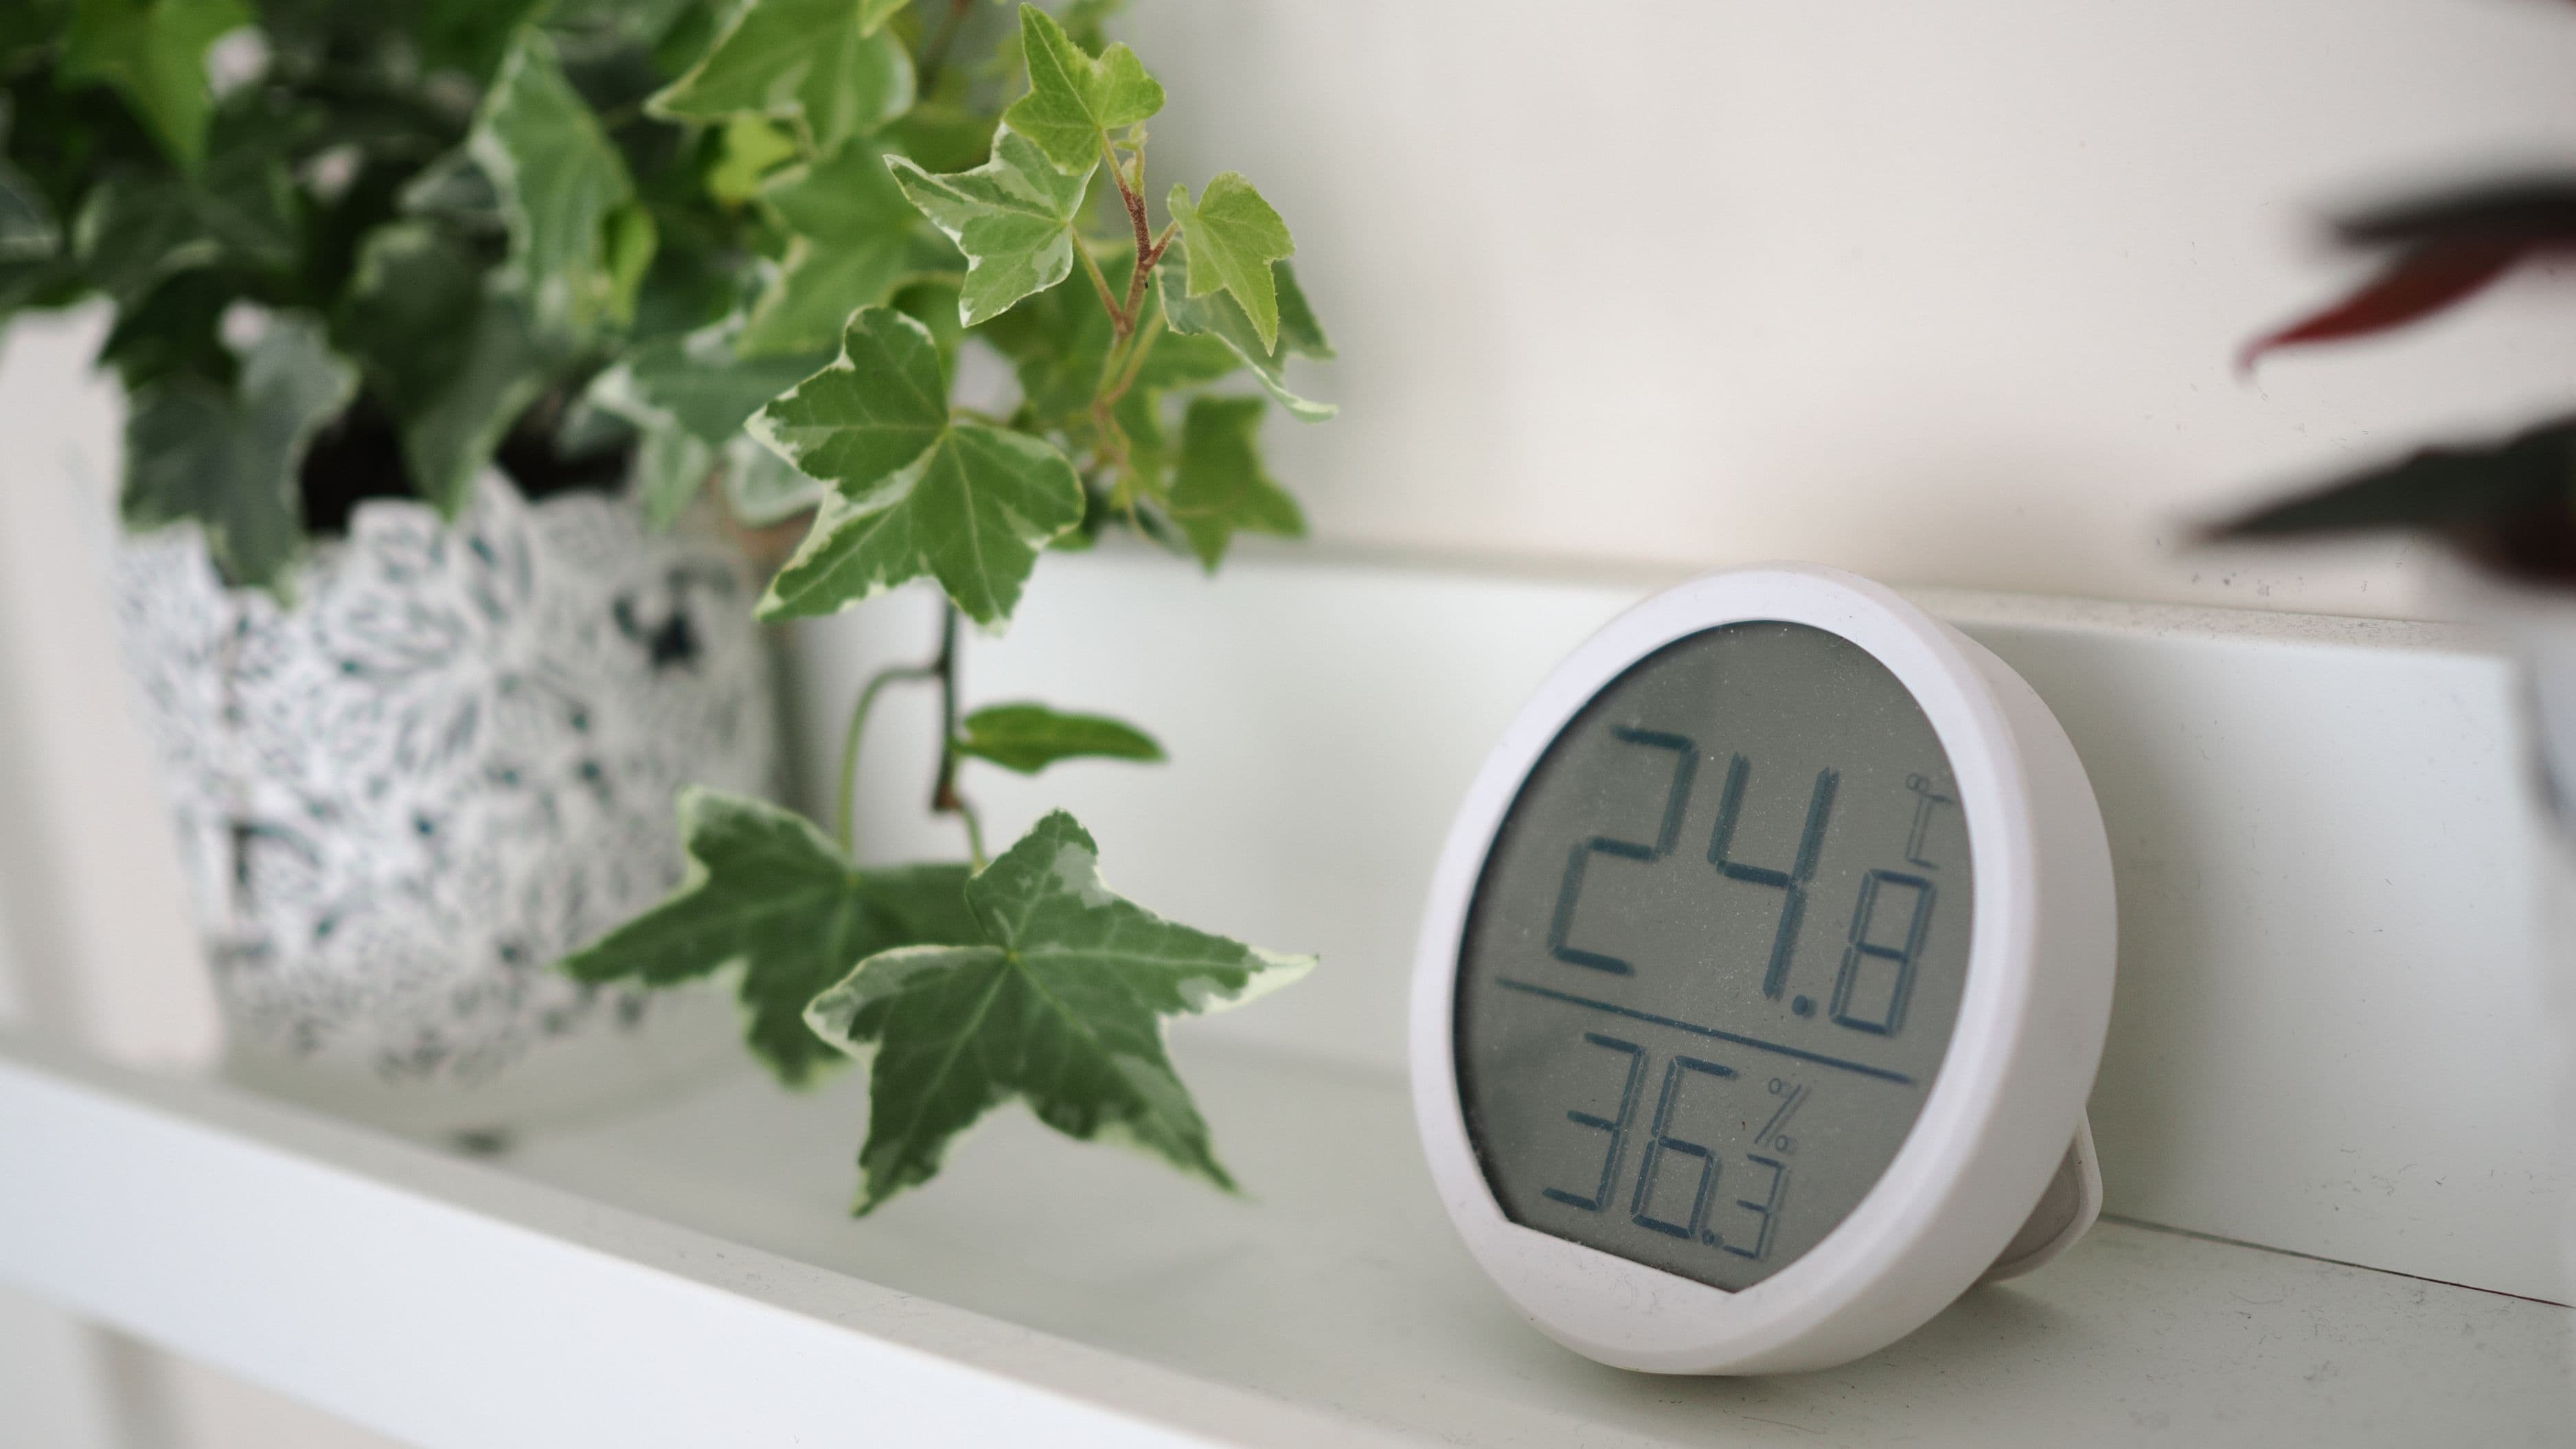
After confirming everything operates correctly, run the system for 24–48 hours and check your measured basement humidity with a hygrometer. A properly installed, properly sized unit should bring humidity down to the target range within 24–72 hours in most conditions.
Common Mistakes to Avoid
Using standard duct tape instead of HVAC foil tape. Duct tape fails in 6–18 months and creates air leaks that reduce efficiency and can cause condensation in the ductwork.
Installing the unit without proper service clearance. You will eventually need to change the filter and access the service panel. Installing it in a location where that requires dismantling ductwork to reach it creates a maintenance problem you'll regret.
Running a drain line with inadequate slope or creating a low point in the line. Standing water in the drain line grows mold and eventually backs up into the unit. Continuous slope is non-negotiable.
Skipping the electrical permit when one is required. If your installation requires a new circuit, check with your local building department. Many jurisdictions require a permit and inspection for new electrical circuits, and unpermitted electrical work can create insurance and resale complications.
Oversizing the unit to "be safe." An oversized whole-home dehumidifier short cycles – it reaches the humidity setpoint quickly, shuts off, and cycles again frequently. Short cycling is hard on the compressor and reduces equipment life. Size to the space, not your anxiety.
When to Call a Professional
If the installation requires a new 240V circuit and you're not a licensed electrician, stop at the electrical step and hire one. The rest of the installation you may be able to handle yourself. If your ductwork is in poor condition – separated joints, significant leaks, or older flex duct that is collapsing – address those issues first or have an HVAC technician assess the system before adding a whole-home dehumidifier. If your HVAC system uses a non-standard control configuration (VRF systems, hydronic air handlers, zoned systems with multiple control boards), integration is more complex and professional assessment is warranted.
FAQ
How long does a whole-home dehumidifier installation typically take? For an experienced DIYer with all materials on hand, plan for a full day – 6–8 hours. Electrical work and running a new circuit add time. First-timers should plan for a full weekend, leaving time for troubleshooting and any trips to the hardware store.
Do I need to run the dehumidifier year-round? In most climates, dehumidification is primarily a spring, summer, and early fall concern. Most units can be set to run only when humidity exceeds the setpoint, so they naturally run less in drier winter conditions. In very humid climates or homes with chronic moisture issues, year-round operation may be appropriate.
Will this increase my electric bill significantly? A properly sized whole-home dehumidifier running regularly in summer adds roughly $20–$50 per month to electricity costs, depending on your humidity levels, climate, and local electricity rates. This is often partially offset by reduced air conditioning load – drier air feels cooler, so your AC doesn't have to work as hard.
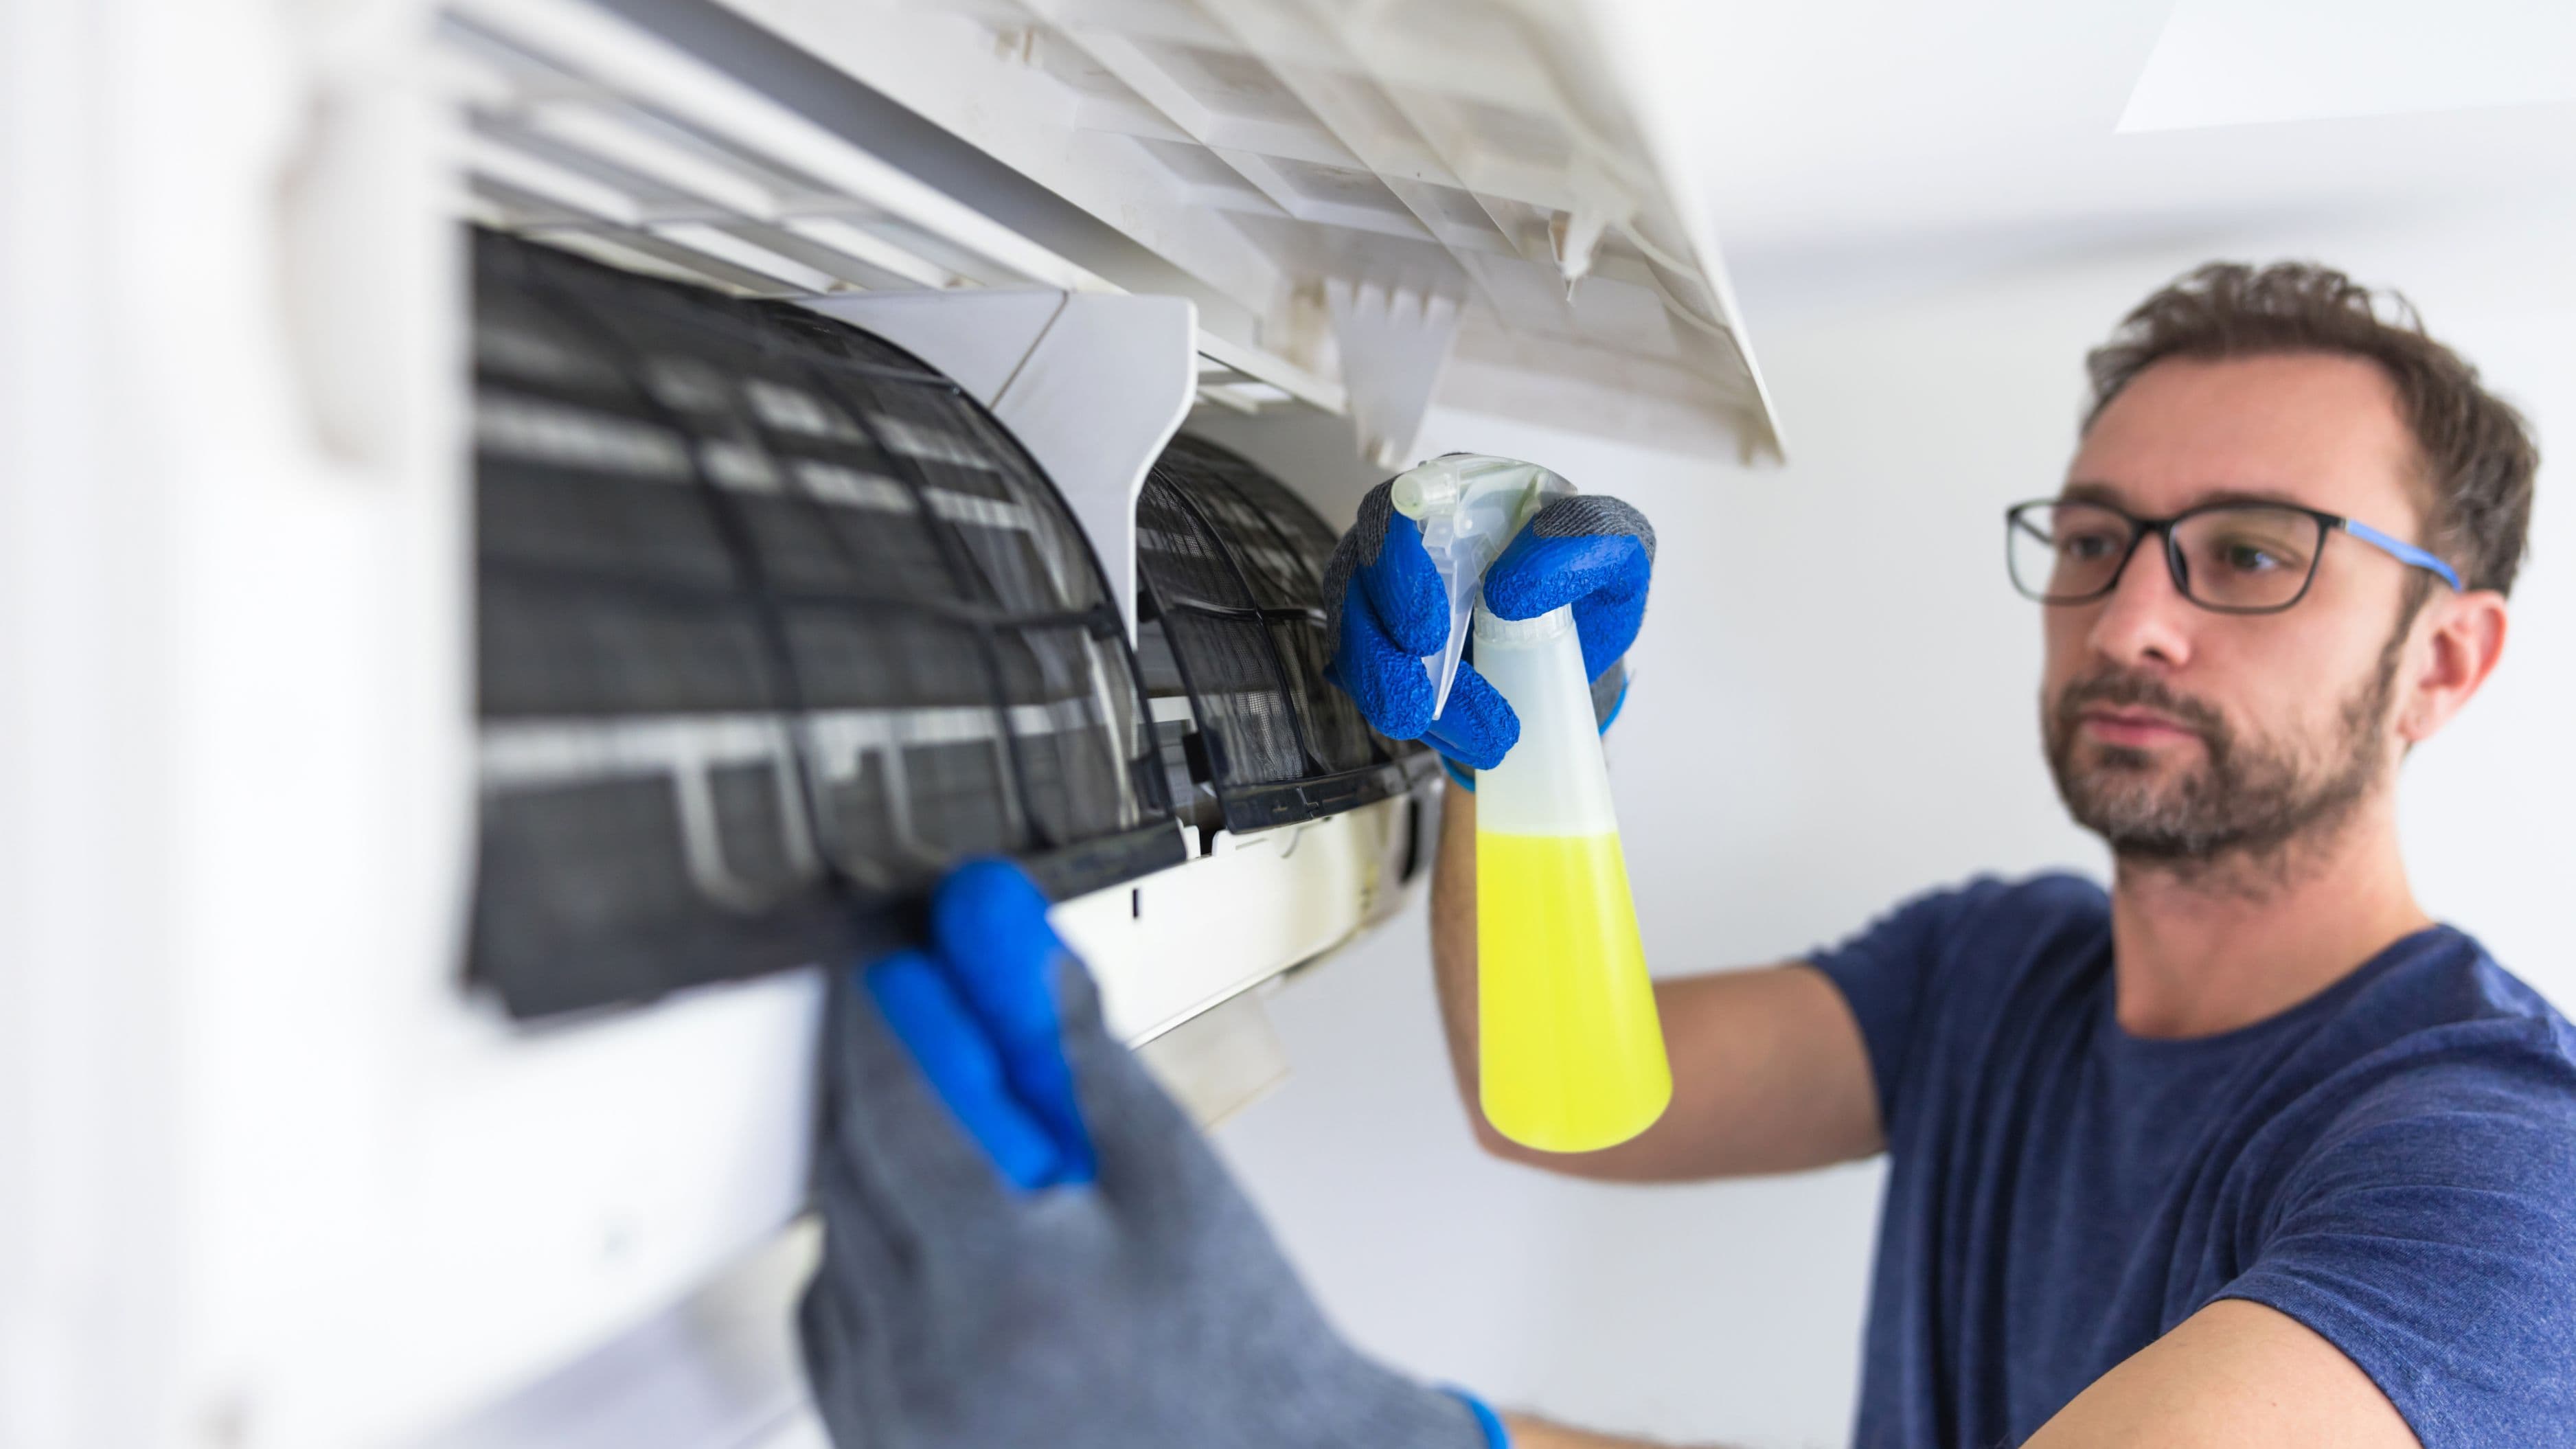
How often does the filter need to be replaced? Most whole-home dehumidifiers use a washable mesh filter that should be cleaned every 1–3 months during active use. Consult your specific unit's maintenance schedule. Neglecting the filter is the single most common cause of premature unit failure.
Can I install a whole-home dehumidifier on a heat pump system? Yes, but the ductwork integration requires careful attention to static pressure. Heat pumps generally operate at lower static pressure than gas furnaces, and adding a dehumidifier with resistance in the duct circuit can affect system performance. Check that your dehumidifier's external static pressure rating is compatible with your air handler's specifications.
What humidity level should I target? 50% relative humidity is the standard recommendation for comfort and mold prevention. Drop to 45% if you notice condensation on cool surfaces or have a history of mold issues. Going below 40% in winter can cause wood floors and trim to dry out and crack.
📚 Sources
Aprilaire – Whole-Home Dehumidifier Installation and Maintenance Guide (Model 1850): https://www.aprilaire.com/docs/librariesprovider5/aprilaire-docs/aprilaire-1850-installation-and-maintenance-guide.pdf
U.S. Department of Energy – Moisture Control and Dehumidification: https://www.energy.gov/energysaver/moisture-control
ACCA – HVAC Design and Load Calculation Standards (Manual J): https://www.acca.org/standards/standards-overview
EPA – Mold Prevention and Humidity Control in Buildings: https://www.epa.gov/mold/mold-course-chapter-2
Energy Star – Dehumidifier Efficiency and Sizing Guidance: https://www.energystar.gov/productfinder/product/certified-dehumidifiers/details
🔍 Explore Related Topics