
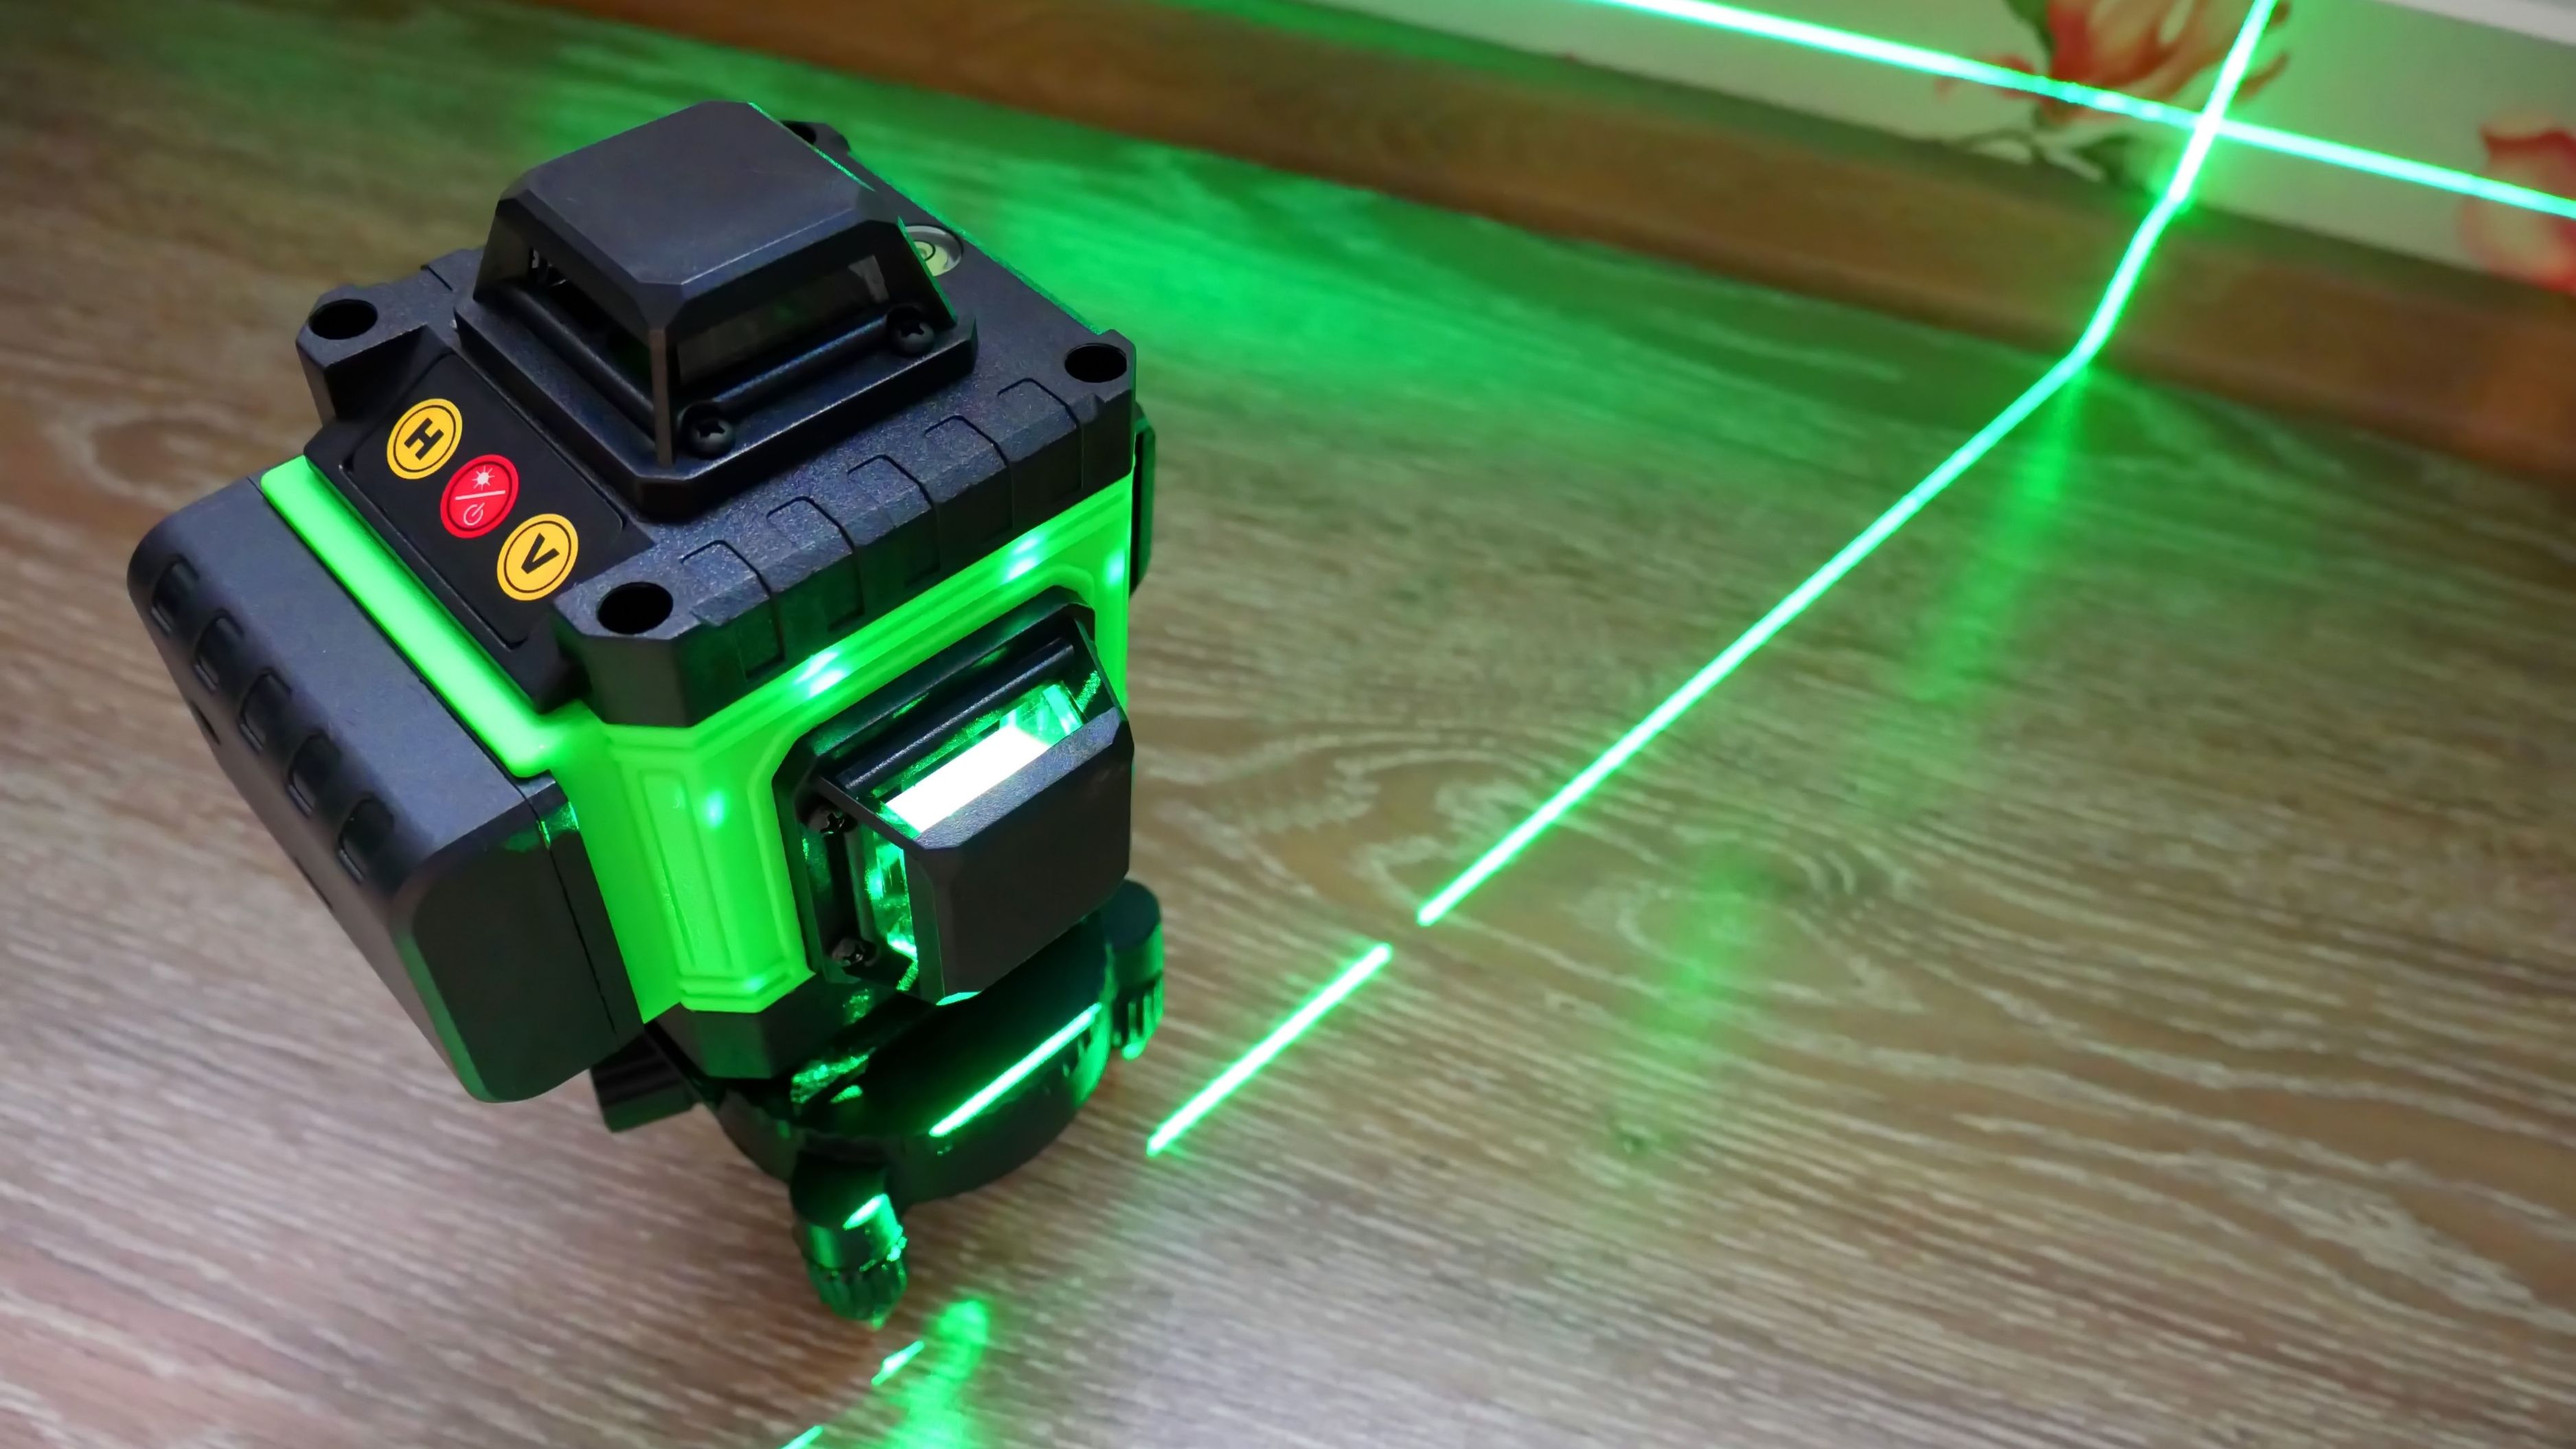
The honest answer is: it depends on what you're doing. For some tasks, a laser level is genuinely the right tool. For others, your trusty bubble level is all you need and a laser would just be money spent for the satisfaction of having better gear. This breakdown will help you figure out which side of that line you're on.
What Each Tool Actually Does
A bubble level (also called a spirit level) is the classic tool most homeowners already own. It's a sealed tube partially filled with liquid, with a bubble that floats to the center when the surface it's resting on is perfectly horizontal or vertical. Simple, reliable, and instant — if the bubble is centered, you're level. It comes in lengths from 6 inches to 4 feet or longer, with longer levels giving more accurate readings across wider spans.
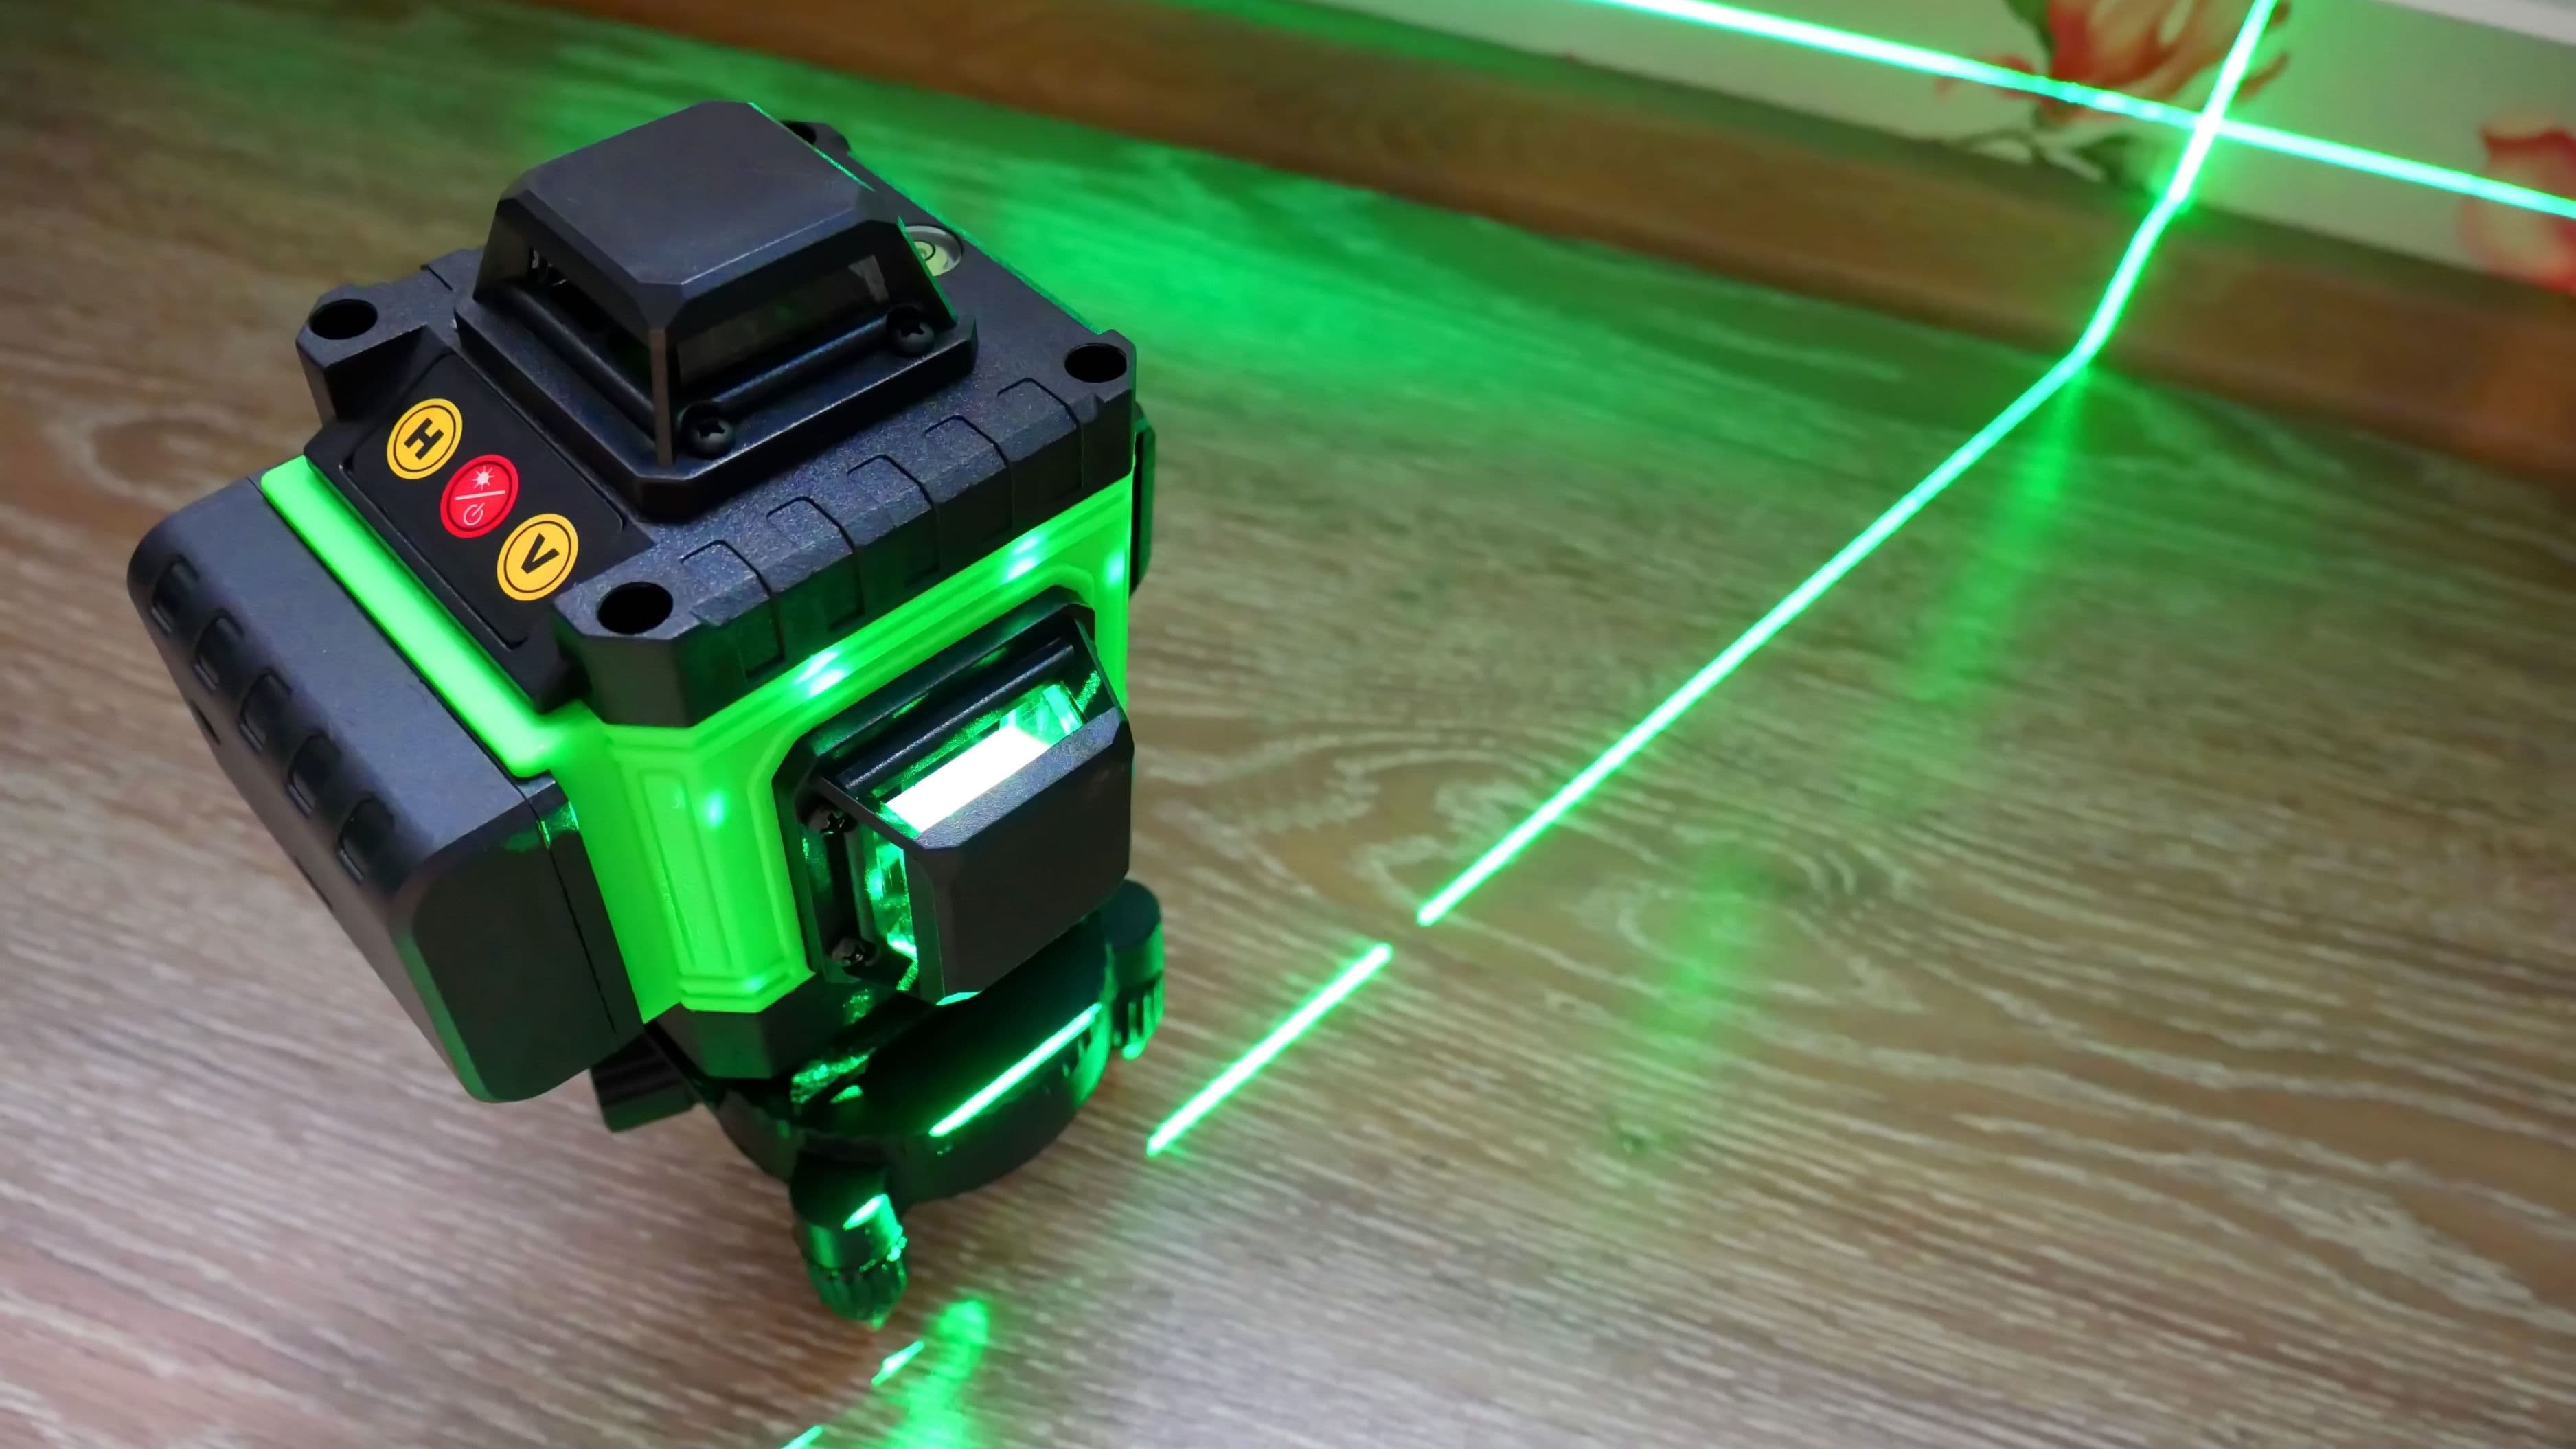
A laser level projects one or more beams of laser light in a straight line, either horizontally, vertically, or both simultaneously depending on the type. You set it on a surface or mount it on a tripod, and it shoots a level reference line across your wall, floor, or ceiling that you can use to align multiple points without moving the tool. Some models self-level automatically; others need to be manually adjusted. Cross-line laser levels project both a horizontal and vertical beam at once, forming an L or cross shape — very useful for layout work.
The core difference is range and projection. A bubble level tells you whether the specific surface it's touching is level. A laser level projects that reference across an entire room simultaneously — which is a fundamentally different capability for certain types of work.
Where a Bubble Level Is All You Need
For most basic home tasks, a standard bubble level does the job just as well as a laser — and there's no reason to overcomplicate it.
Hanging a single picture or mirror, installing a towel bar, leveling a small appliance, checking that a toilet or refrigerator is sitting flat — all of these are quick one-point checks where a bubble level is faster and more direct than setting up a laser. You hold it against the surface, check the bubble, adjust as needed, and you're done in under a minute. A laser level would add setup time with no real benefit for tasks this contained.
Installing shelving brackets along a single wall is another case where a quality 4-foot bubble level works perfectly well. Mark your first bracket hole, hold the level across the span to your second bracket position, and mark when the bubble centers. The accuracy is more than sufficient for shelving. Cabinet installation on a flat wall follows the same logic — a long bubble level across the cabinet face tells you what you need to know without any additional equipment.
If you're doing smaller tile work in a confined area — a bathroom backsplash, a small floor section — bubble levels combined with tile spacers handle alignment cleanly. Most tile work comes down to checking each row as you go, and a short level gives you that feedback directly.
Where a Laser Level Actually Earns Its Cost
There are specific tasks where a laser level isn't just convenient — it changes the process entirely and makes accurate work genuinely achievable for someone who isn't a professional.
Tiling a full room or a long backsplash. When you're laying tile across an entire floor or running a backsplash the full length of a kitchen, your reference line needs to stay consistent across the whole space. A laser level projects a continuous horizontal line that you can see the entire time you're working, which means every tile is set against the same reference. With a bubble level, you're checking row by row and introducing small cumulative errors. Over 20 or 30 feet of tile, those errors compound. A cross-line laser level solves this entirely.
Wainscoting, chair rails, or crown molding. These installations require a continuous level line around an entire room — sometimes through corners, doorways, and uneven wall sections. Snapping a chalk line works for some of this, but a laser level lets you project the reference line continuously around the room and verify your chalk line is accurate before you start cutting. For trim work especially, where visible misalignment is immediately obvious, this matters.
Installing a drop ceiling or suspended grid. Drop ceiling grids require consistent horizontal reference across every wire hanger in the room. Doing this with a bubble level alone is tedious and error-prone. A rotary or cross-line laser level reduces a multi-hour layout headache to a straightforward grid transfer. This is one of the clearest cases where the tool pays for itself in a single project.
Building a deck or outdoor structure. Establishing consistent level reference across 10, 20, or 30 feet of outdoor space — where the ground itself is uneven — is where laser levels genuinely shine. A long bubble level can check between two points, but it can't hold a reference for an entire structure while you work. A self-leveling rotary laser set up on a tripod handles outdoor layout tasks that would otherwise require two people or repeated re-measuring.
Installing multiple cabinets in a kitchen. Kitchen cabinet runs need to be level with each other across the full length of the wall, regardless of whether the wall or floor is perfectly even (they often aren't). A laser level lets you establish a reference line at the top of the cabinet run and work to that line across all the units — adjusting shims on each cabinet until it meets the laser. Much more efficient and accurate than relying solely on a bubble level between adjacent units.
Accuracy: How They Compare
A quality bubble level typically has an accuracy of ±0.5mm per meter, which is more than adequate for most home applications. A good 4-foot level is accurate enough for cabinets, shelving, doors, and standard tile work.
Entry-level laser levels (the $30–$60 range) often have similar or slightly worse accuracy than a good bubble level — roughly ±3mm at 10 feet for cheaper models. The value in that price range is the projection capability and convenience, not superior precision.
Mid-range self-leveling laser levels ($80–$150) typically offer ±1/8 inch at 30 feet, which is excellent for home use across almost any application. Professional-grade models ($200+) push this to ±1/16 inch or better at extended ranges, but that level of precision is rarely necessary for residential DIY work.
The practical takeaway is that for tasks requiring high precision over short distances — setting a cabinet, hanging a door — your bubble level is already accurate enough and often faster. For tasks requiring consistent reference over longer distances, a mid-range self-leveling laser will outperform a bubble level in practice, even if the spec tolerances look comparable.
Types of Laser Levels and What They're Good For
If you decide a laser level makes sense for your projects, it's worth understanding what you're looking at before buying.
Line laser levels project a single horizontal or vertical line. Entry-level option, good for simple wall tasks and basic layout.
Cross-line laser levels project both horizontal and vertical beams simultaneously, creating a cross pattern. The most versatile option for DIY homeowners — handles tiling, shelving, trim, and general layout. This is the type most worth considering for a first laser level purchase.
5-point or multi-line laser levels project lines on multiple planes and are typically overkill for homeowners. More useful in commercial construction contexts.
Rotary laser levels spin a laser beam to project a 360° horizontal line around a full room. Expensive ($150–$400+), primarily useful for drop ceilings, large floor leveling, and outdoor grading. Unless you're tackling those specific projects, skip this tier.
Self-leveling vs manual. Self-leveling models use an internal pendulum or electronic sensor to automatically compensate for minor setup tilt. They're significantly easier to use than manual models and worth paying for. Most mid-range and above models are self-leveling.
Manual laser levels require you to dial them in precisely before use and will project an inaccurate line if setup is off — not ideal for someone who doesn't use the tool regularly.
The Cost Reality Check
A quality bubble level — say, a 48-inch Stabila or Empire — runs $20–$45 and will last decades with basic care. For most homeowners doing occasional repairs and projects, this is genuinely all you need and it performs well.
A solid entry-level cross-line self-leveling laser level (Bosch GLL 30, Dewalt DW088K, and similar models) runs $60–$100 and covers the majority of home improvement tasks where a laser genuinely helps. This is the realistic sweet spot for the DIY homeowner — it's not a significant investment, and if you're doing any amount of tiling, trim, or multi-point layout work, it will pay for itself in time saved and better results on the first project that warrants it.
The $150–$300 range is where features compound — better accuracy, longer range, outdoor capability, pulse mode for use with a detector in bright light. Worth considering if you're doing larger projects, but not necessary for standard homeowner use.
Common Mistakes to Avoid
The most common error with entry-level laser levels is trusting the projection without verifying the tool is actually set up level to begin with. Self-leveling models compensate within a certain range — typically ±4° of plumb — but if you set the tool on a surface that's tilted beyond that range, the self-leveling mechanism bottoms out and the beam is inaccurate. Most tools indicate this with a flashing beam or an alarm. Always verify your setup surface and check the indicator before trusting the line.
Ambient light is another issue. In brightly lit rooms or outdoors, laser lines can be difficult to see without a detector, and cheap models become essentially unusable in direct sunlight. If outdoor work is in your plans, look for a model that includes or supports a laser receiver.
Finally, don't assume a laser level replaces the need for a bubble level entirely. For quick single-point checks — "is this shelf bracket level before I drill?" — a bubble level is still faster and more practical. Both tools are worth keeping around.
FAQ
Can I use a laser level outdoors? Basic cross-line laser levels can be used outdoors in shaded or overcast conditions, but the beam becomes very hard to see in direct sunlight. For outdoor work in daylight, you either need a rotary laser level with a compatible laser detector, or a model rated for outdoor use with pulse mode.
Do I need a tripod for a laser level? For wall tasks and indoor layout, most laser levels come with a small base or mounting magnet that attaches to standard surfaces, so a full tripod isn't required. For floor layout, decks, or any task where you need the laser elevated or positioned away from a wall, a basic tripod mount ($15–$30) is helpful.
How do I know if my laser level is accurate? A simple check: project the laser line onto a wall and mark where it hits at both ends. Rotate the tool 180° and project again. If the second line hits both marks, the tool is accurate. If the lines diverge, the self-leveling mechanism may need calibration or the tool is faulty.
Is a cheap laser level ($25–$40) worth buying? Generally not for anything requiring reliable accuracy. Very cheap models often lack true self-leveling, have poor accuracy specs, and tend to be fragile. Spending $60–$80 on a reputable brand (Bosch, Dewalt, Ryobi at minimum) gets you a tool that actually delivers consistent results.
My walls aren't perfectly plumb — will that cause problems? A laser level projects a true horizontal or vertical line regardless of what your wall does. If your wall bows or leans, the laser line will show that variance — which is actually useful information. You'll need to decide whether to follow the laser line (true level) or follow the wall's imperfection for aesthetic consistency.
The Bottom Line
If your home projects are limited to hanging pictures, leveling small appliances, and basic installations, a quality bubble level is entirely sufficient and there's no compelling reason to add a laser level. Buy a good 48-inch bubble level and a shorter 24-inch version and you're set for most household tasks.
If you're planning anything that requires a consistent level reference across a room — tiling, crown molding, wainscoting, kitchen cabinets, or any kind of large-scale layout work — a mid-range cross-line self-leveling laser in the $60–$100 range will genuinely improve your results and save meaningful time on those projects. That's a reasonable one-time cost for a tool that will be useful across many projects for years.
The real mistake is buying a cheap laser level and expecting it to outperform a good bubble level. Spend the right amount for what you actually need, and both tools have a clear place in any homeowner's kit.
📚 Sources
This Old House – How to use a laser level: https://www.thisoldhouse.com/tools/21015448/how-to-use-a-laser-level
Family Handyman – Laser level buying guide: https://www.familyhandyman.com/list/the-best-laser-levels/
NIST – Calibration and accuracy of leveling instruments: https://www.nist.gov/system/files/documents/calibrations/sp250-40.pdf
Fine Homebuilding – Layout tools comparison for finish work: https://www.finehomebuilding.com/2011/11/30/layout-tools