Share:

Loading...
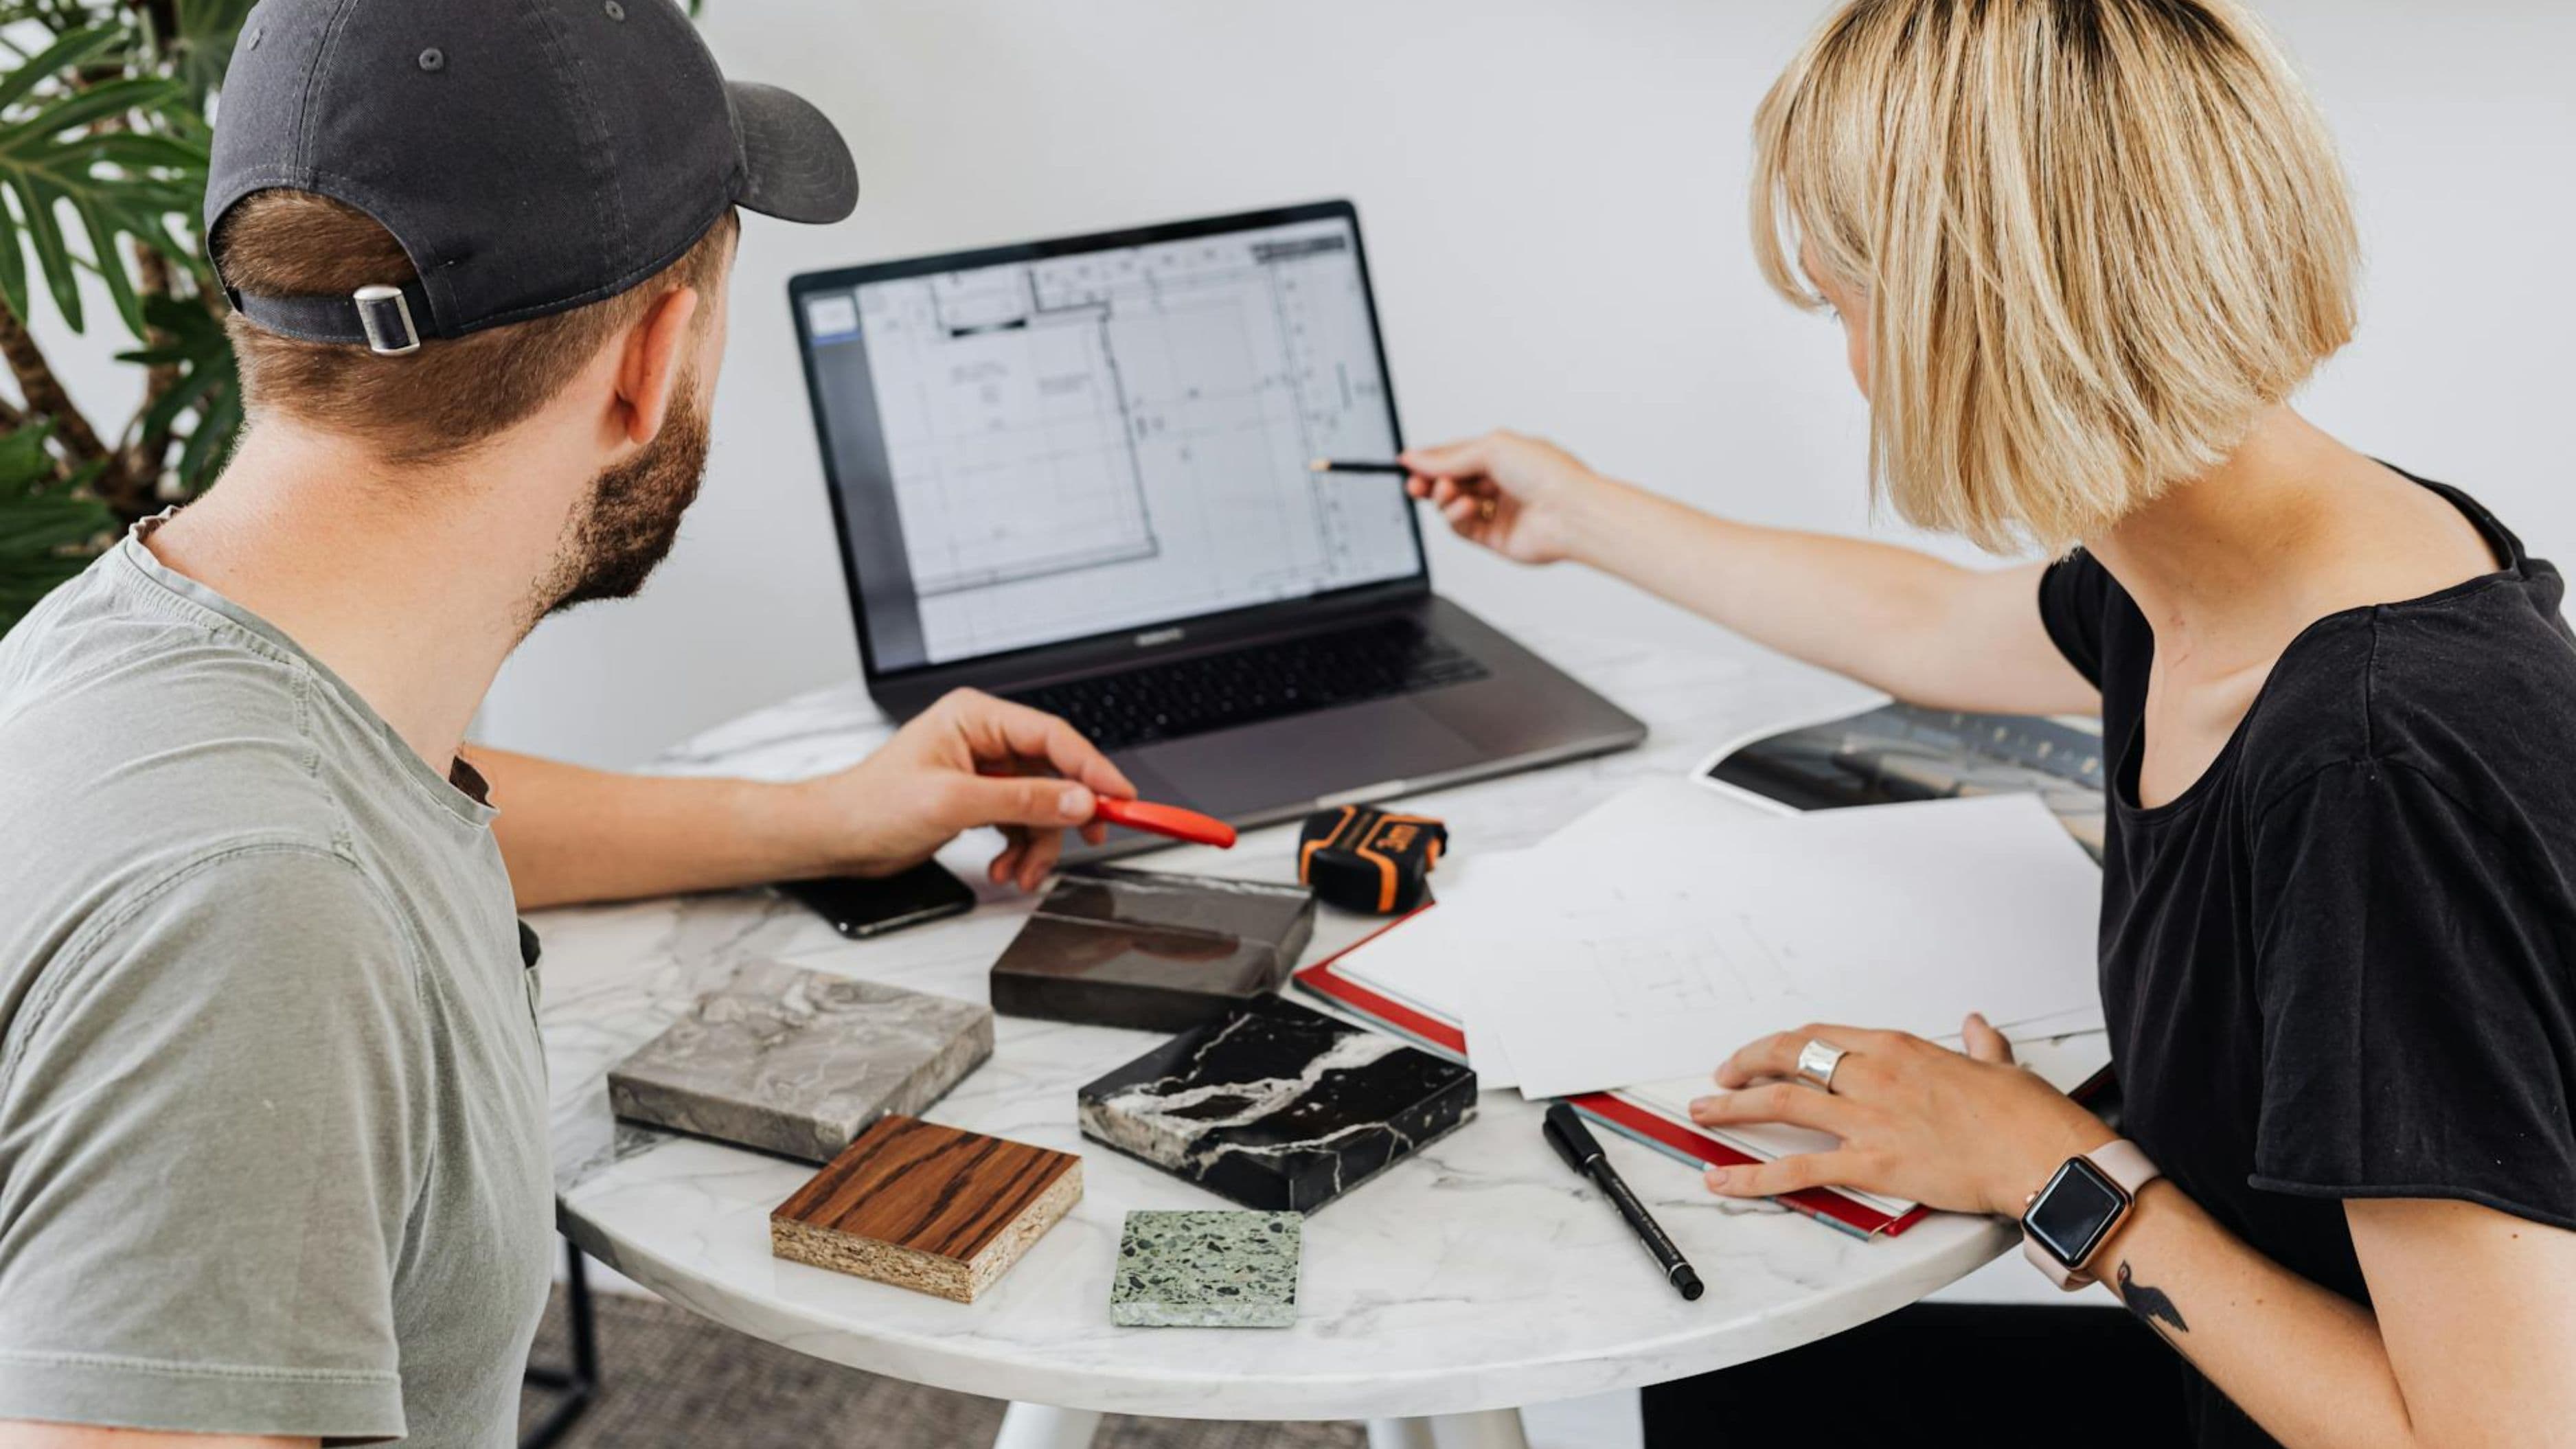
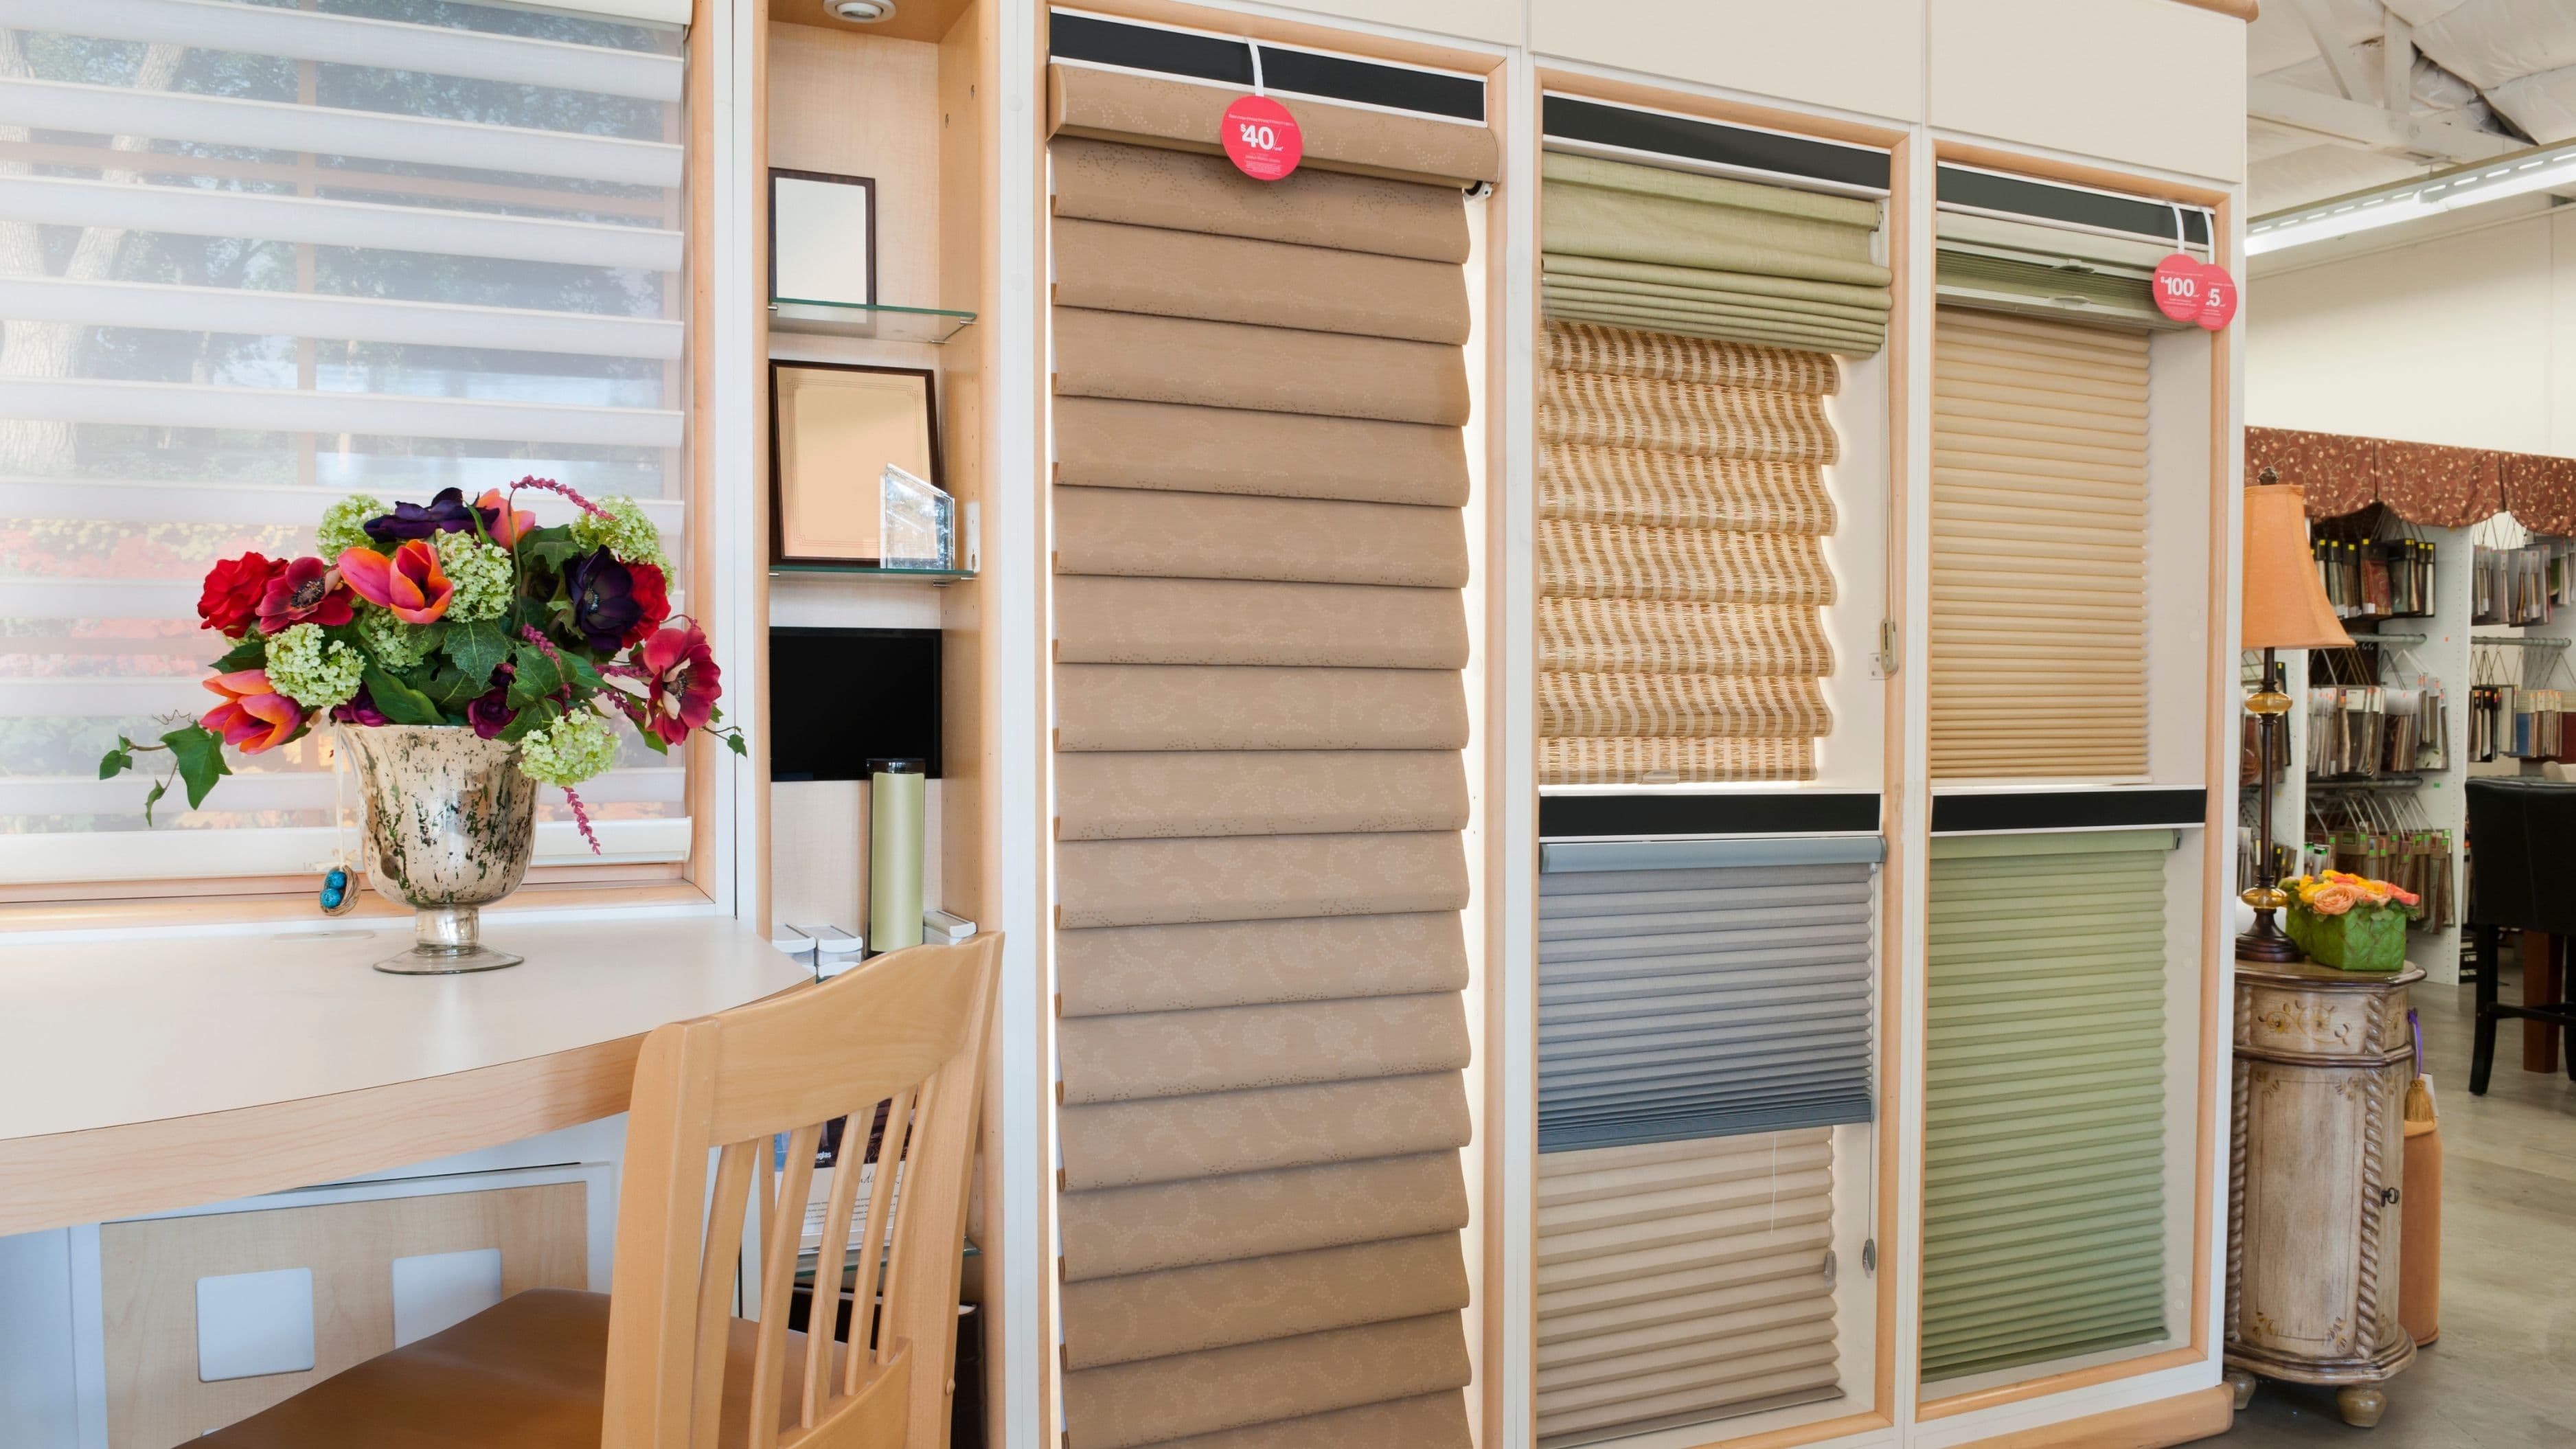
Smart shades are one of those upgrades that feel like a splurge until you realize how much you use them, automatically closing at sunset, syncing with your thermostat, or just letting you adjust light from your phone without getting off the couch. The install itself is usually straightforward. What actually trips people up, and what causes the most returns and reorders, is getting the measurements wrong before you ever order the shades in the first place.
This matters more with smart shades than standard blinds because the motor housing and mounting brackets add extra bulk you need to account for, and a lot of smart shade manufacturers don't accept returns on cut-to-size or custom orders. Getting this right the first time saves you a frustrating reorder and a week of waiting for a replacement.
A steel measuring tape, not a fabric or cloth tape, since accuracy matters here
A pencil and notepad, or your phone's notes app
A step stool if your windows are tall or set high on the wall
A helper, optional but genuinely useful for wider windows
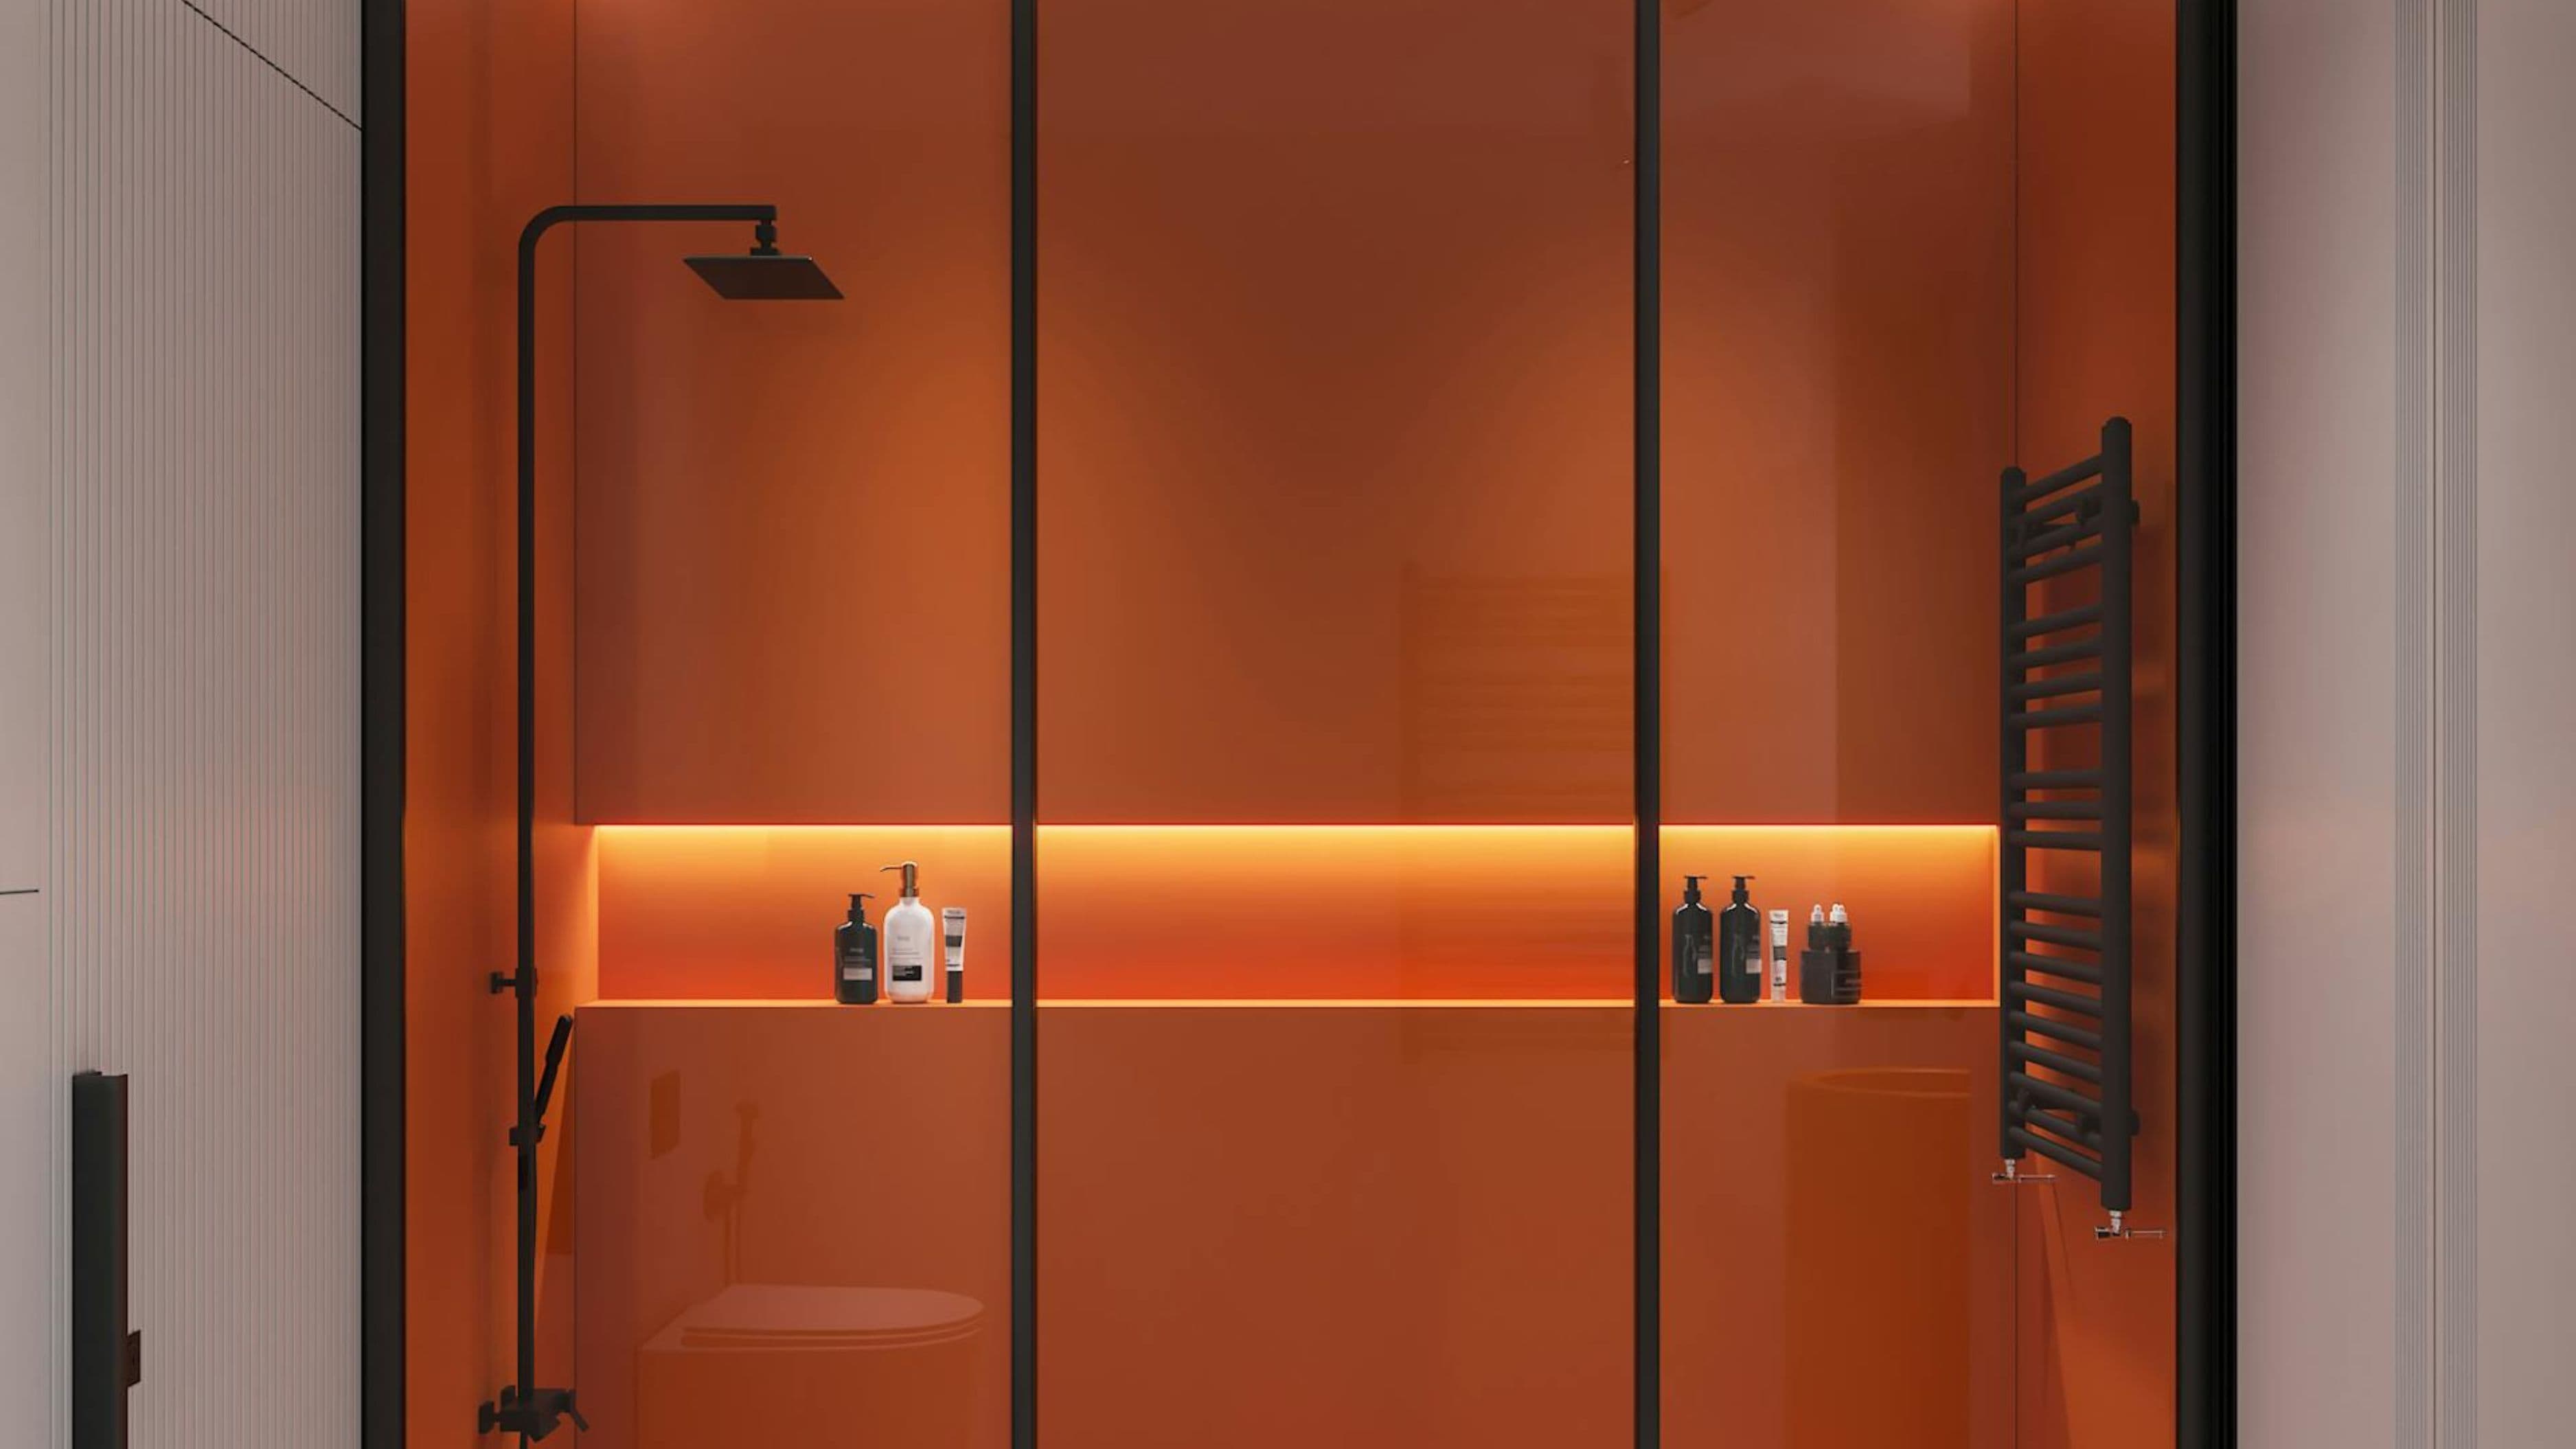
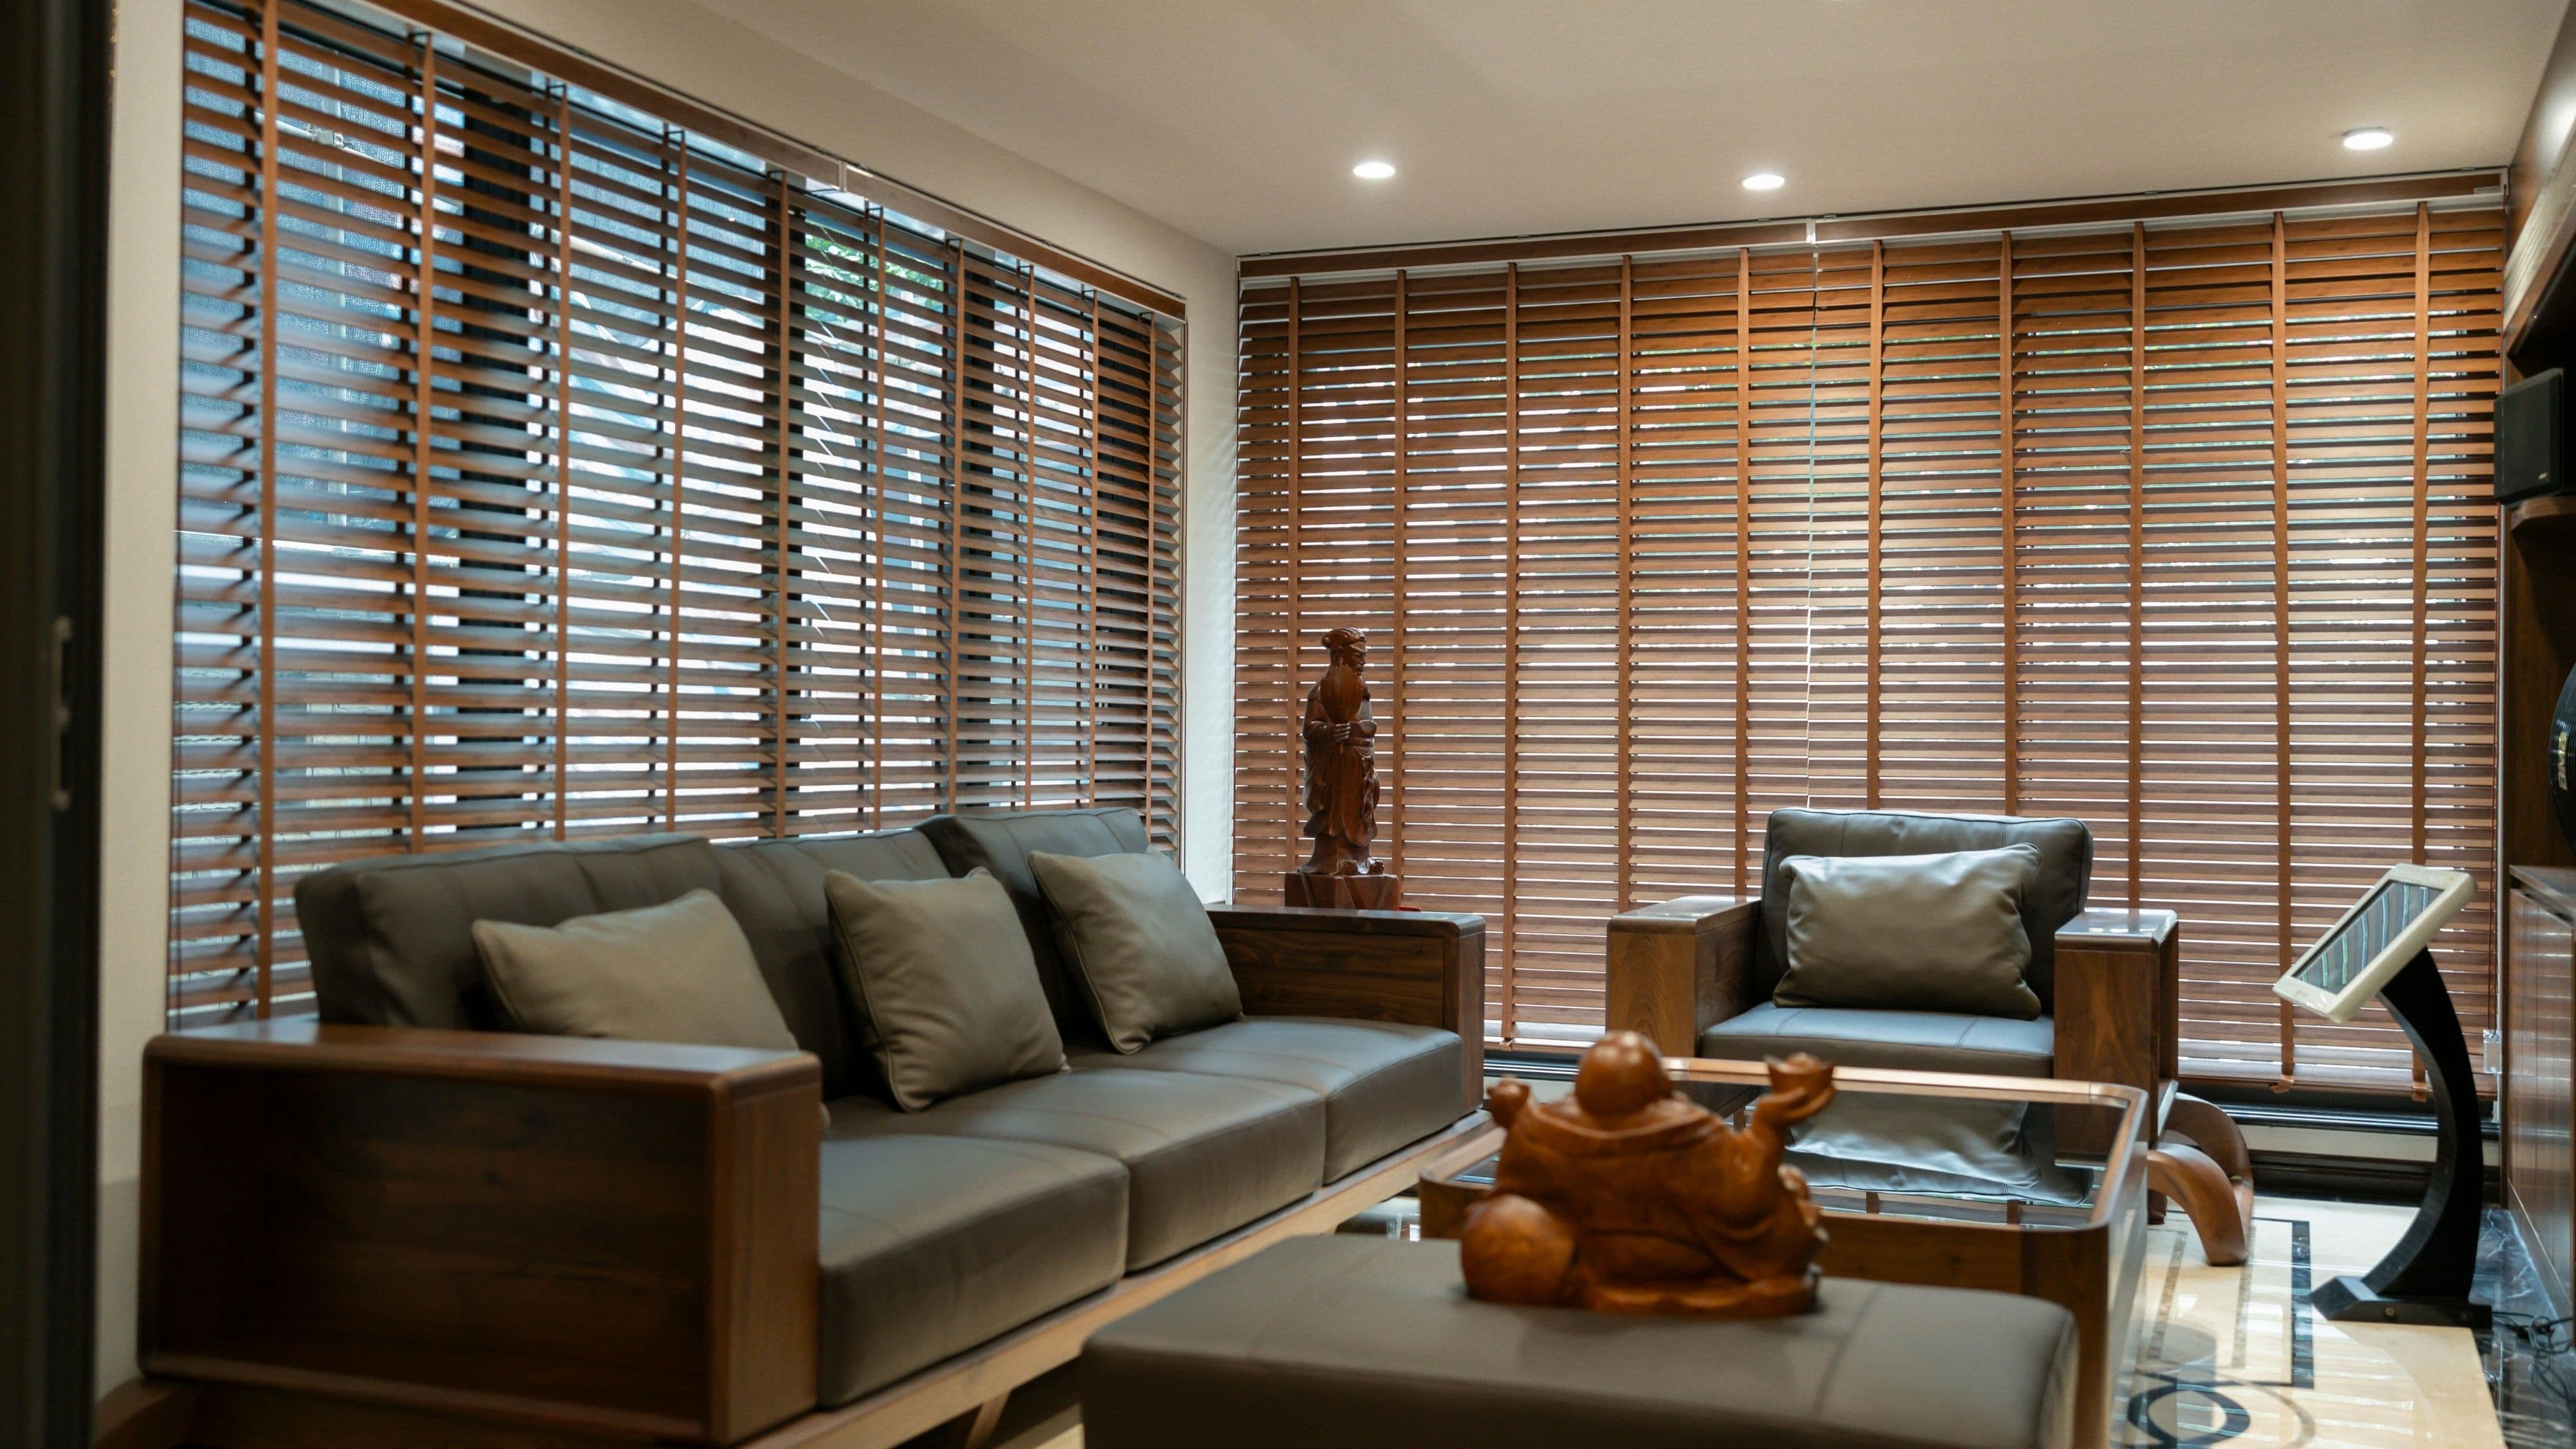
Before you measure anything, figure out which mounting style you're installing, since the entire measuring process differs between the two. Inside mount shades sit within the window frame itself, giving a cleaner, more built-in look, but they require enough depth in the frame to accommodate the shade and motor housing. Outside mount shades attach to the wall or trim surrounding the window, which works well for windows with shallow frames or when you want the shade to block more light by extending beyond the window opening.
Check your window's frame depth before committing to inside mount. Smart shades typically need at least 2.5 to 3 inches of usable depth to fit the motor housing, which is more than standard manual blinds require. If your frame is shallower than that, outside mount is the safer choice regardless of your aesthetic preference.
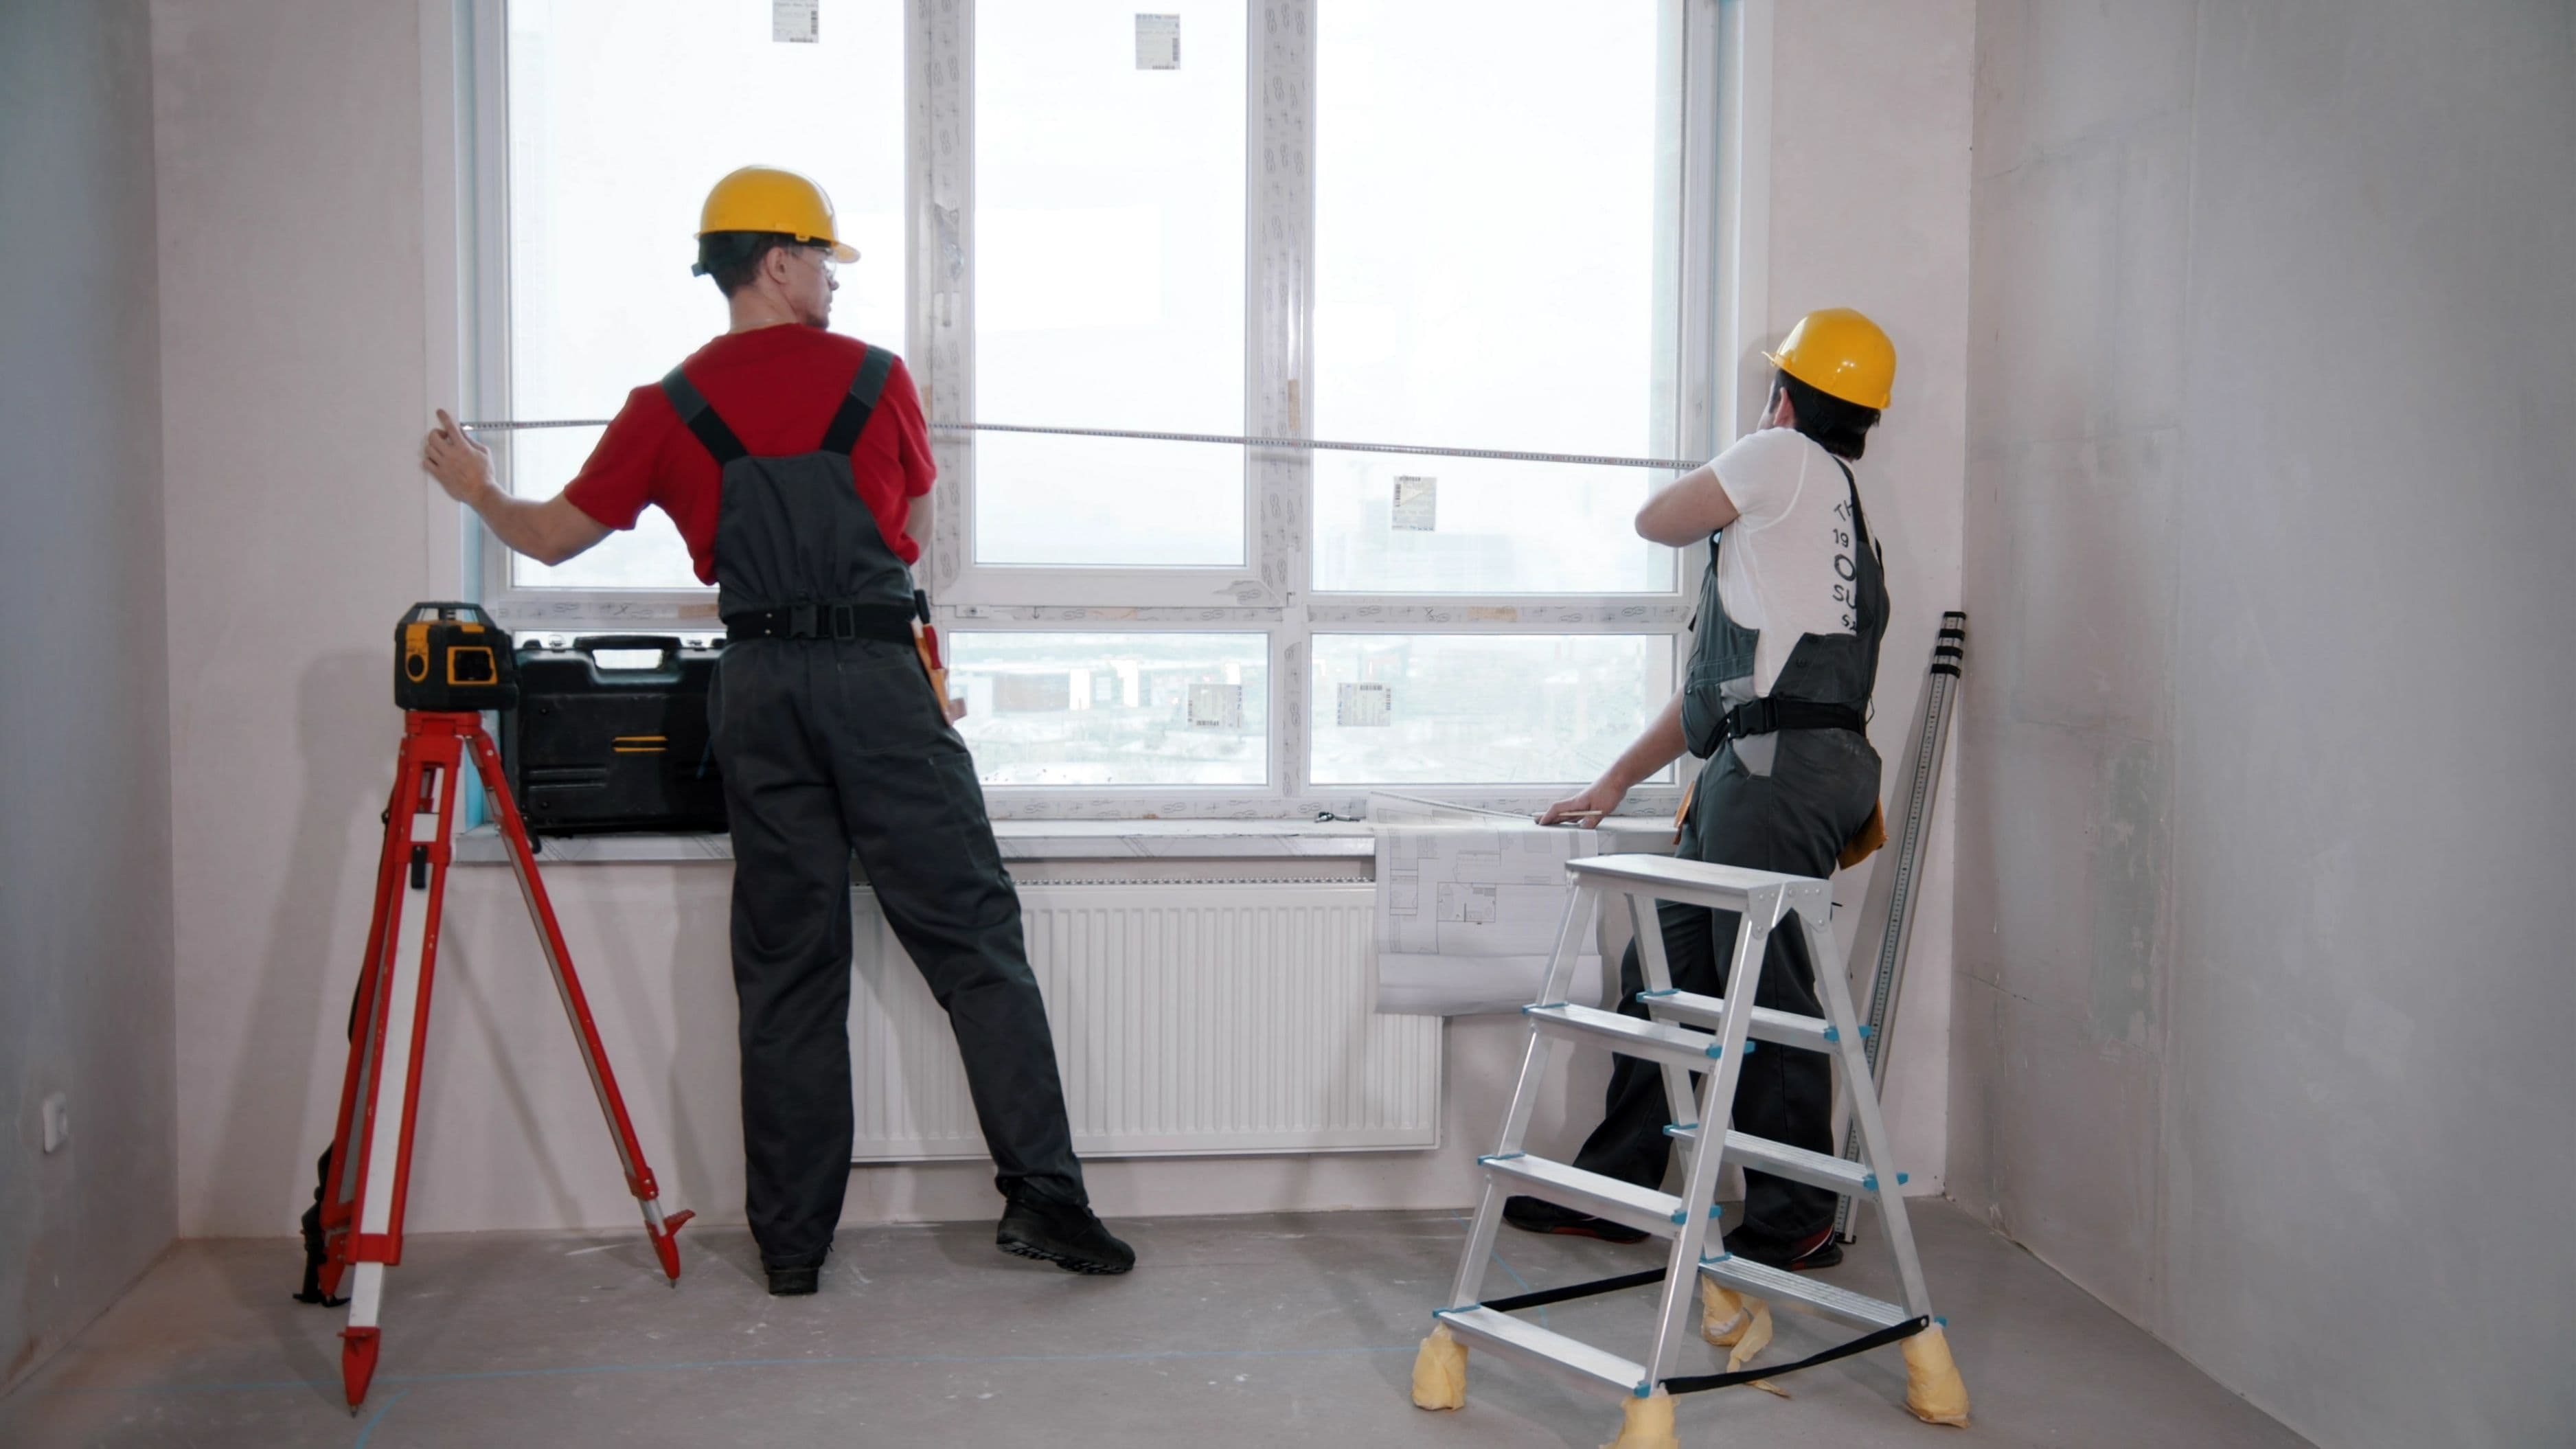
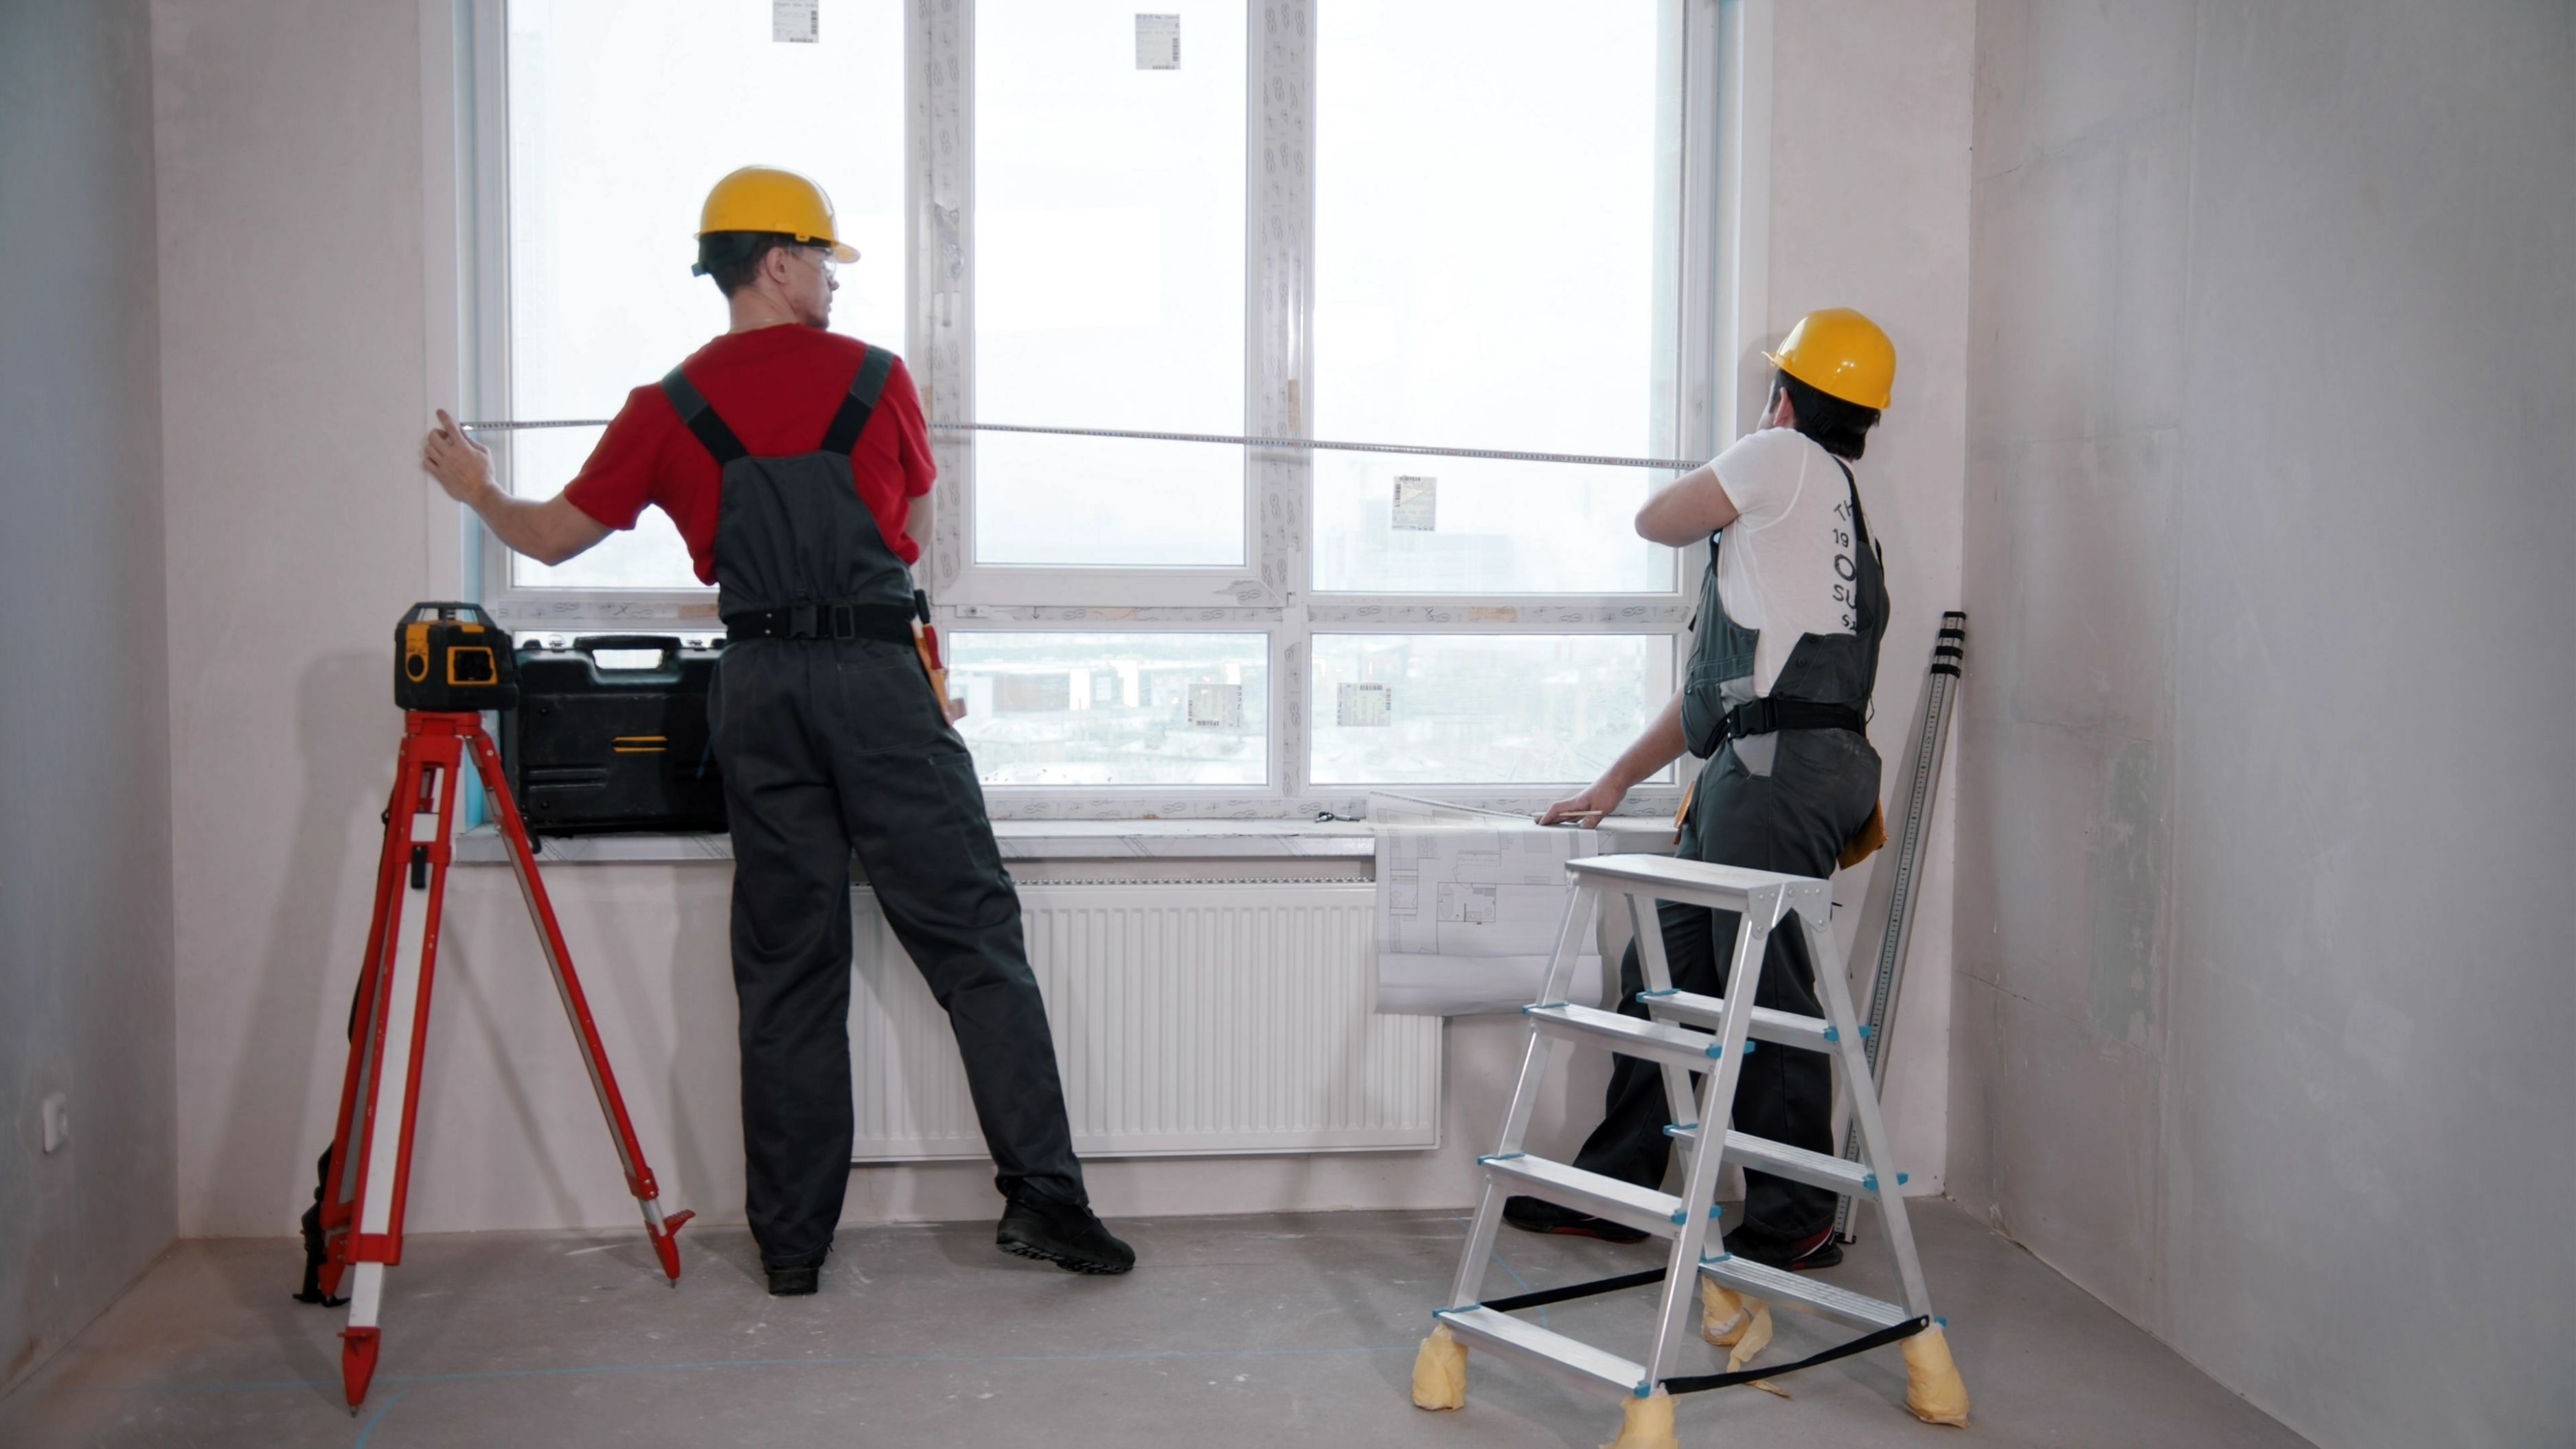
Measure the width of the window opening at three points, the top, middle, and bottom of the frame, since window frames are rarely perfectly square, especially in older homes. Record all three measurements and use the narrowest of the three when ordering. This matters because if you order based on the widest measurement, the shade may not fit into the narrower sections of the frame at all.
Measure to the nearest 1/8 inch rather than rounding to the nearest 1/4 or 1/2 inch. Smart shade manufacturers typically deduct a small amount automatically for mounting clearance, but starting with a precise measurement avoids compounding small errors into a shade that's noticeably too tight or too loose.
Measure the height of the window opening at three points as well, the left side, center, and right side, from the top of the frame down to the windowsill. Use the longest of the three measurements this time, not the shortest, since you want the shade to fully cover the window opening even where the frame is slightly uneven.
If your window has a sill that protrudes into the opening, measure down to where the sill begins rather than assuming a flat, even depth all the way down. This detail gets missed often enough that it's worth double-checking before finalizing your order.
Depth measures how far back into the frame the shade and its mounting hardware will sit, and this is the measurement most people skip entirely, which then causes fitting problems during installation. Measure from the front edge of the window frame straight back to the glass or nearest obstruction, checking at a few points in case the frame isn't perfectly consistent.
Compare this measurement against the manufacturer's minimum depth requirement for their smart shade model, since motor housings vary significantly in size between brands. A shade that technically fits width and height-wise can still fail to mount properly if the frame depth is too shallow for the hardware.
For outside mount, measure the full width of the window opening, then add at least 3 to 4 inches total, split evenly on both sides, so the shade extends beyond the frame and blocks light gaps around the edges. Measure the height from where you plan to mount the top bracket down to where you want the shade to end, typically a few inches below the windowsill for full coverage, and add roughly 3 to 4 inches to your baseline window height measurement to account for this overlap.
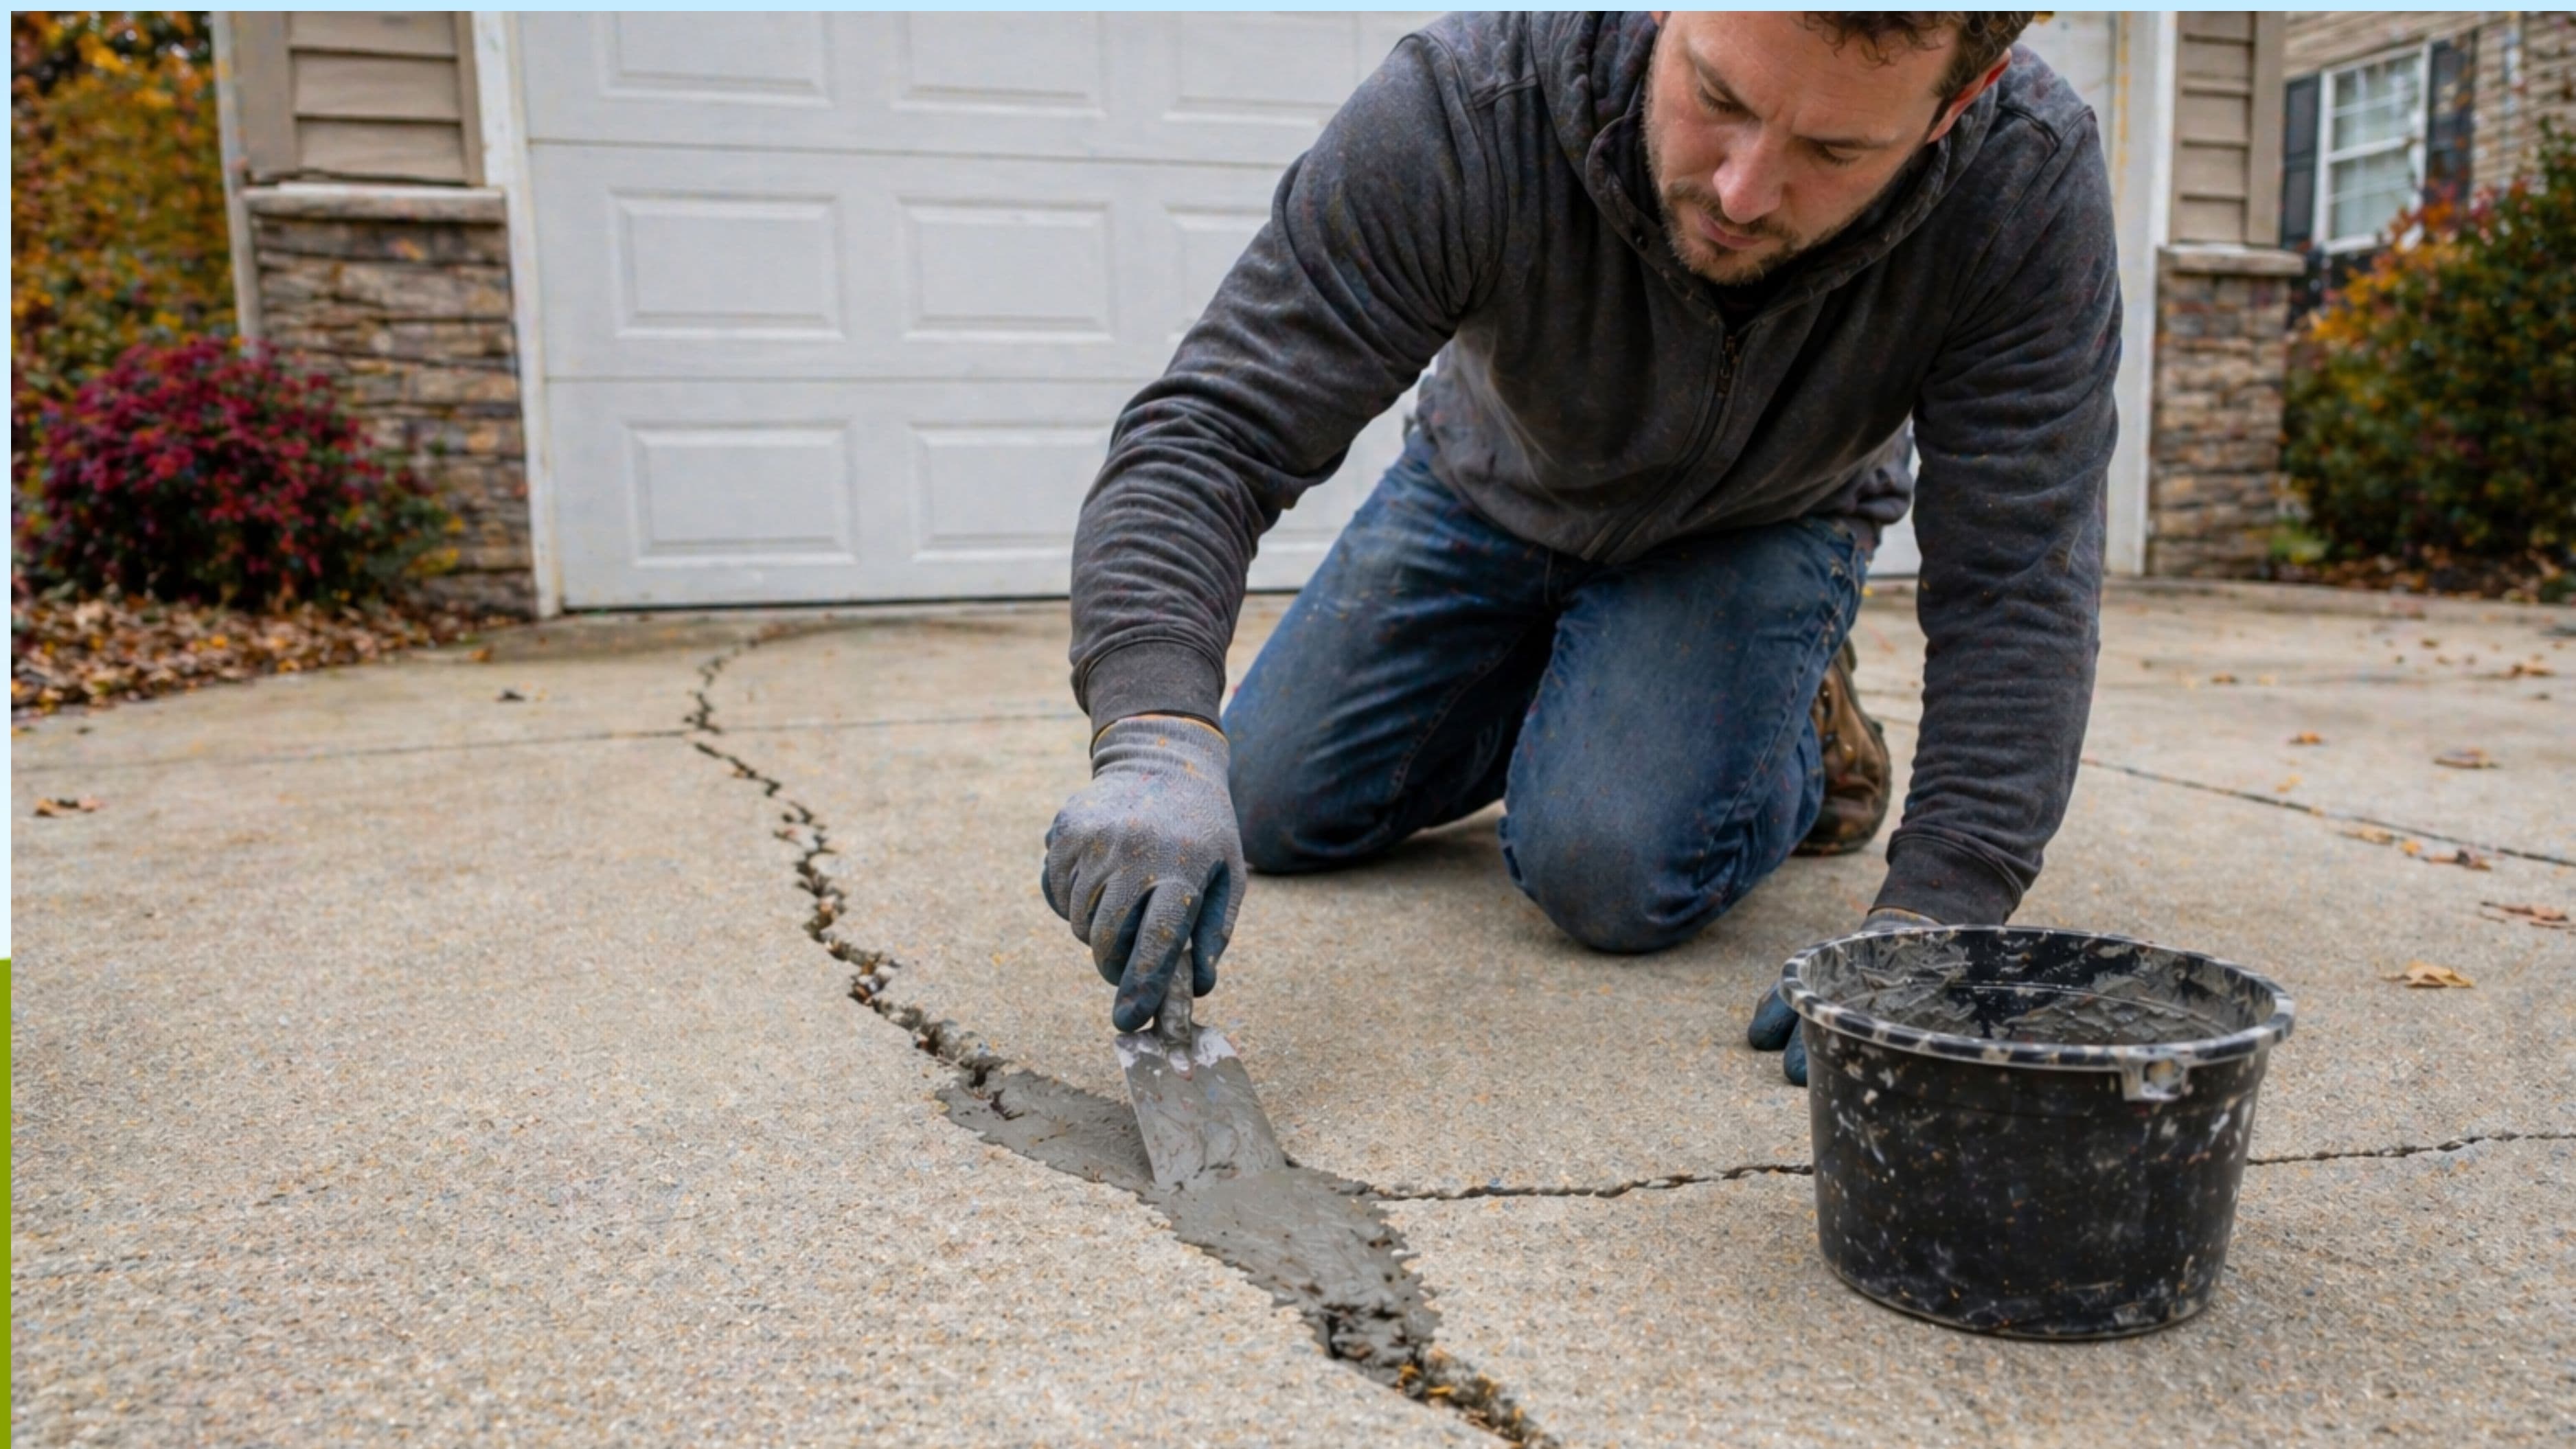
Check the wall or trim surface where the brackets will actually mount to confirm there's enough solid material to anchor into securely. Mounting into drywall alone without hitting a stud or using appropriate anchors is a common mistake that leads to sagging or failed brackets down the line, especially with heavier motorized shade hardware.
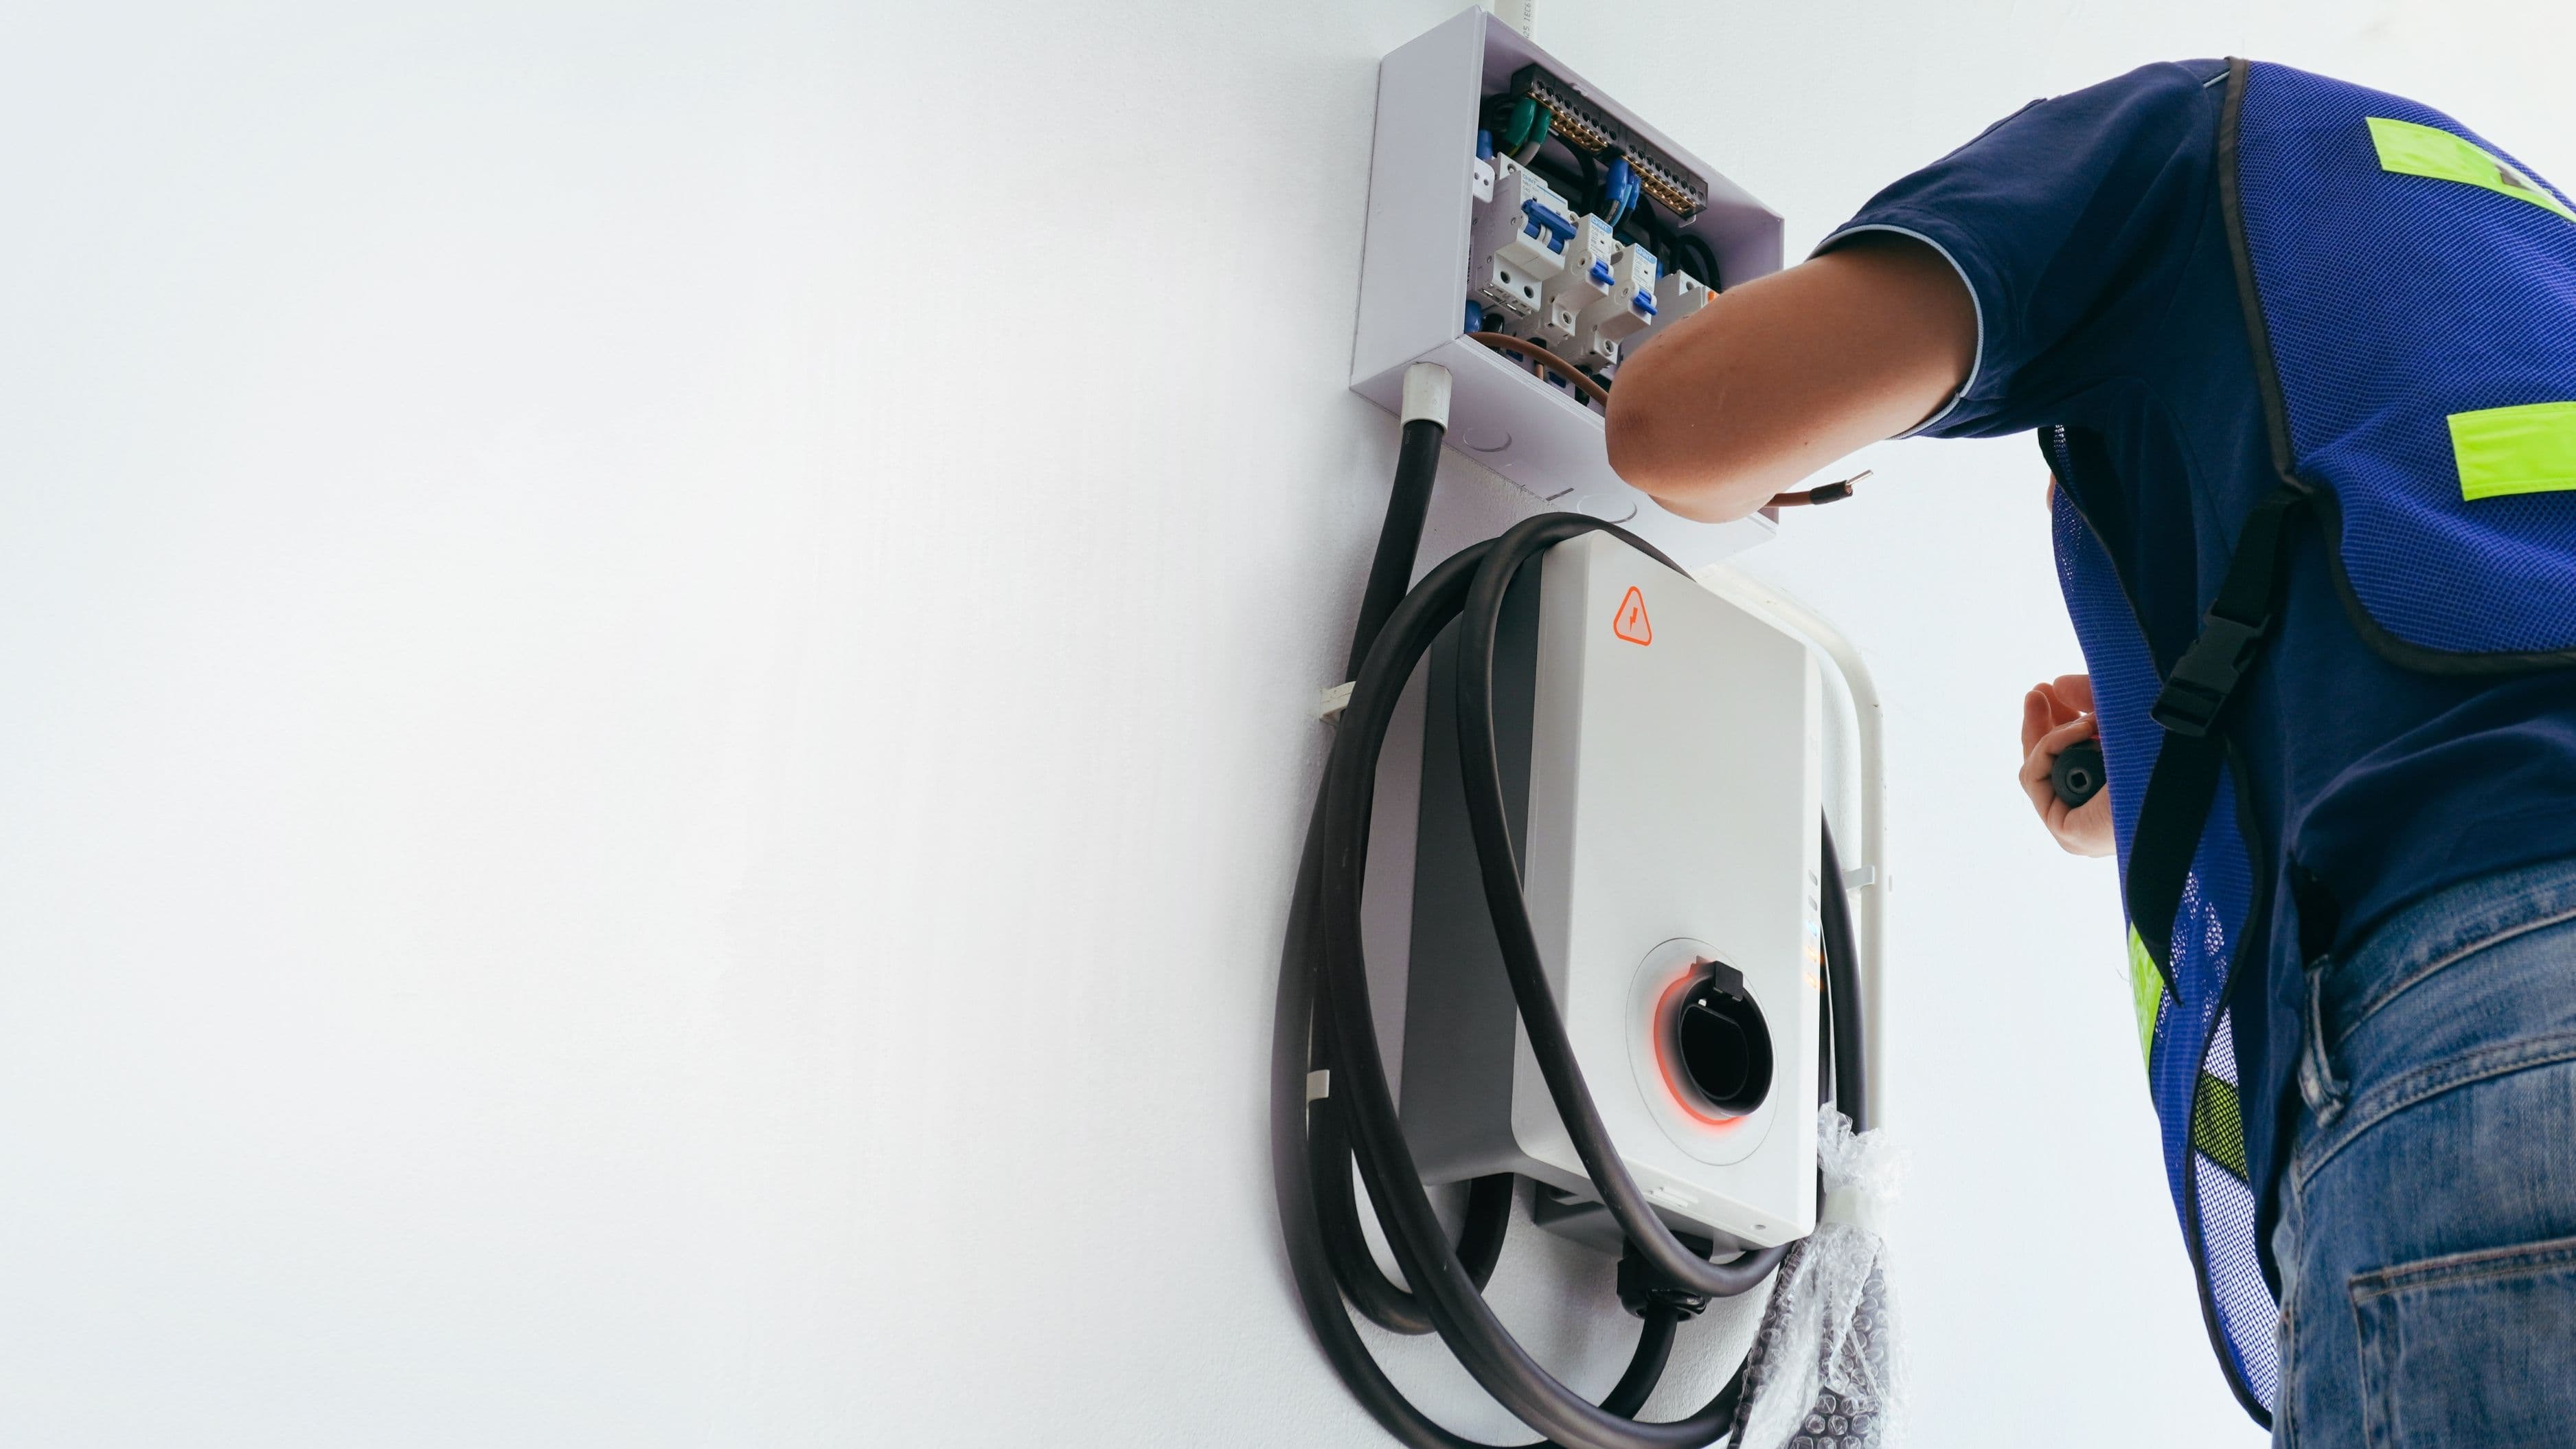
Smart shades need power, either through a rechargeable battery pack, a direct wired connection, or occasionally a small solar panel option depending on the model. Before finalizing your measurements and order, confirm there's a nearby outlet if you're going with a plug-in battery pack, or plan for an electrician if you're considering a hardwired install. This isn't a measuring step exactly, but it's the detail most likely to derail an otherwise perfect installation if it gets overlooked until the shades already arrive.
Don't measure only once and assume the window is perfectly square. Older homes especially tend to have frames that have shifted slightly over the years, and skipping the three-point measurement is the single most common cause of ill-fitting shades.
Don't round measurements up or down for convenience. An eighth of an inch might seem trivial, but it's often the difference between a shade that fits cleanly and one that binds or leaves visible gaps.
Don't forget to account for existing hardware like curtain rods or blinds you're replacing. If you're keeping other window treatments in place alongside the new smart shade, confirm there's no physical conflict with the new mounting brackets before you drill anything.
Measuring a single window properly takes about 10 to 15 minutes if you're being careful and precise, longer if you're measuring multiple windows in one session. The actual installation, once shades arrive, usually takes another 20 to 40 minutes per window depending on mount type and whether you're running any wiring.
This is a project well within reach for a beginner DIYer with basic tools, and it's genuinely one of the more forgiving smart home upgrades to tackle yourself, provided the measuring step gets the attention it deserves. If your walls or window frames are unusually uneven, or you're planning a hardwired install rather than a battery-powered one, it's worth calling in an electrician for the wiring portion specifically, even if you handle the measuring and mounting yourself.
Should I measure for inside mount or outside mount if I'm not sure which I want? Measure the frame depth first. If it's under 2.5 inches, outside mount is likely your only realistic option regardless of preference, which makes the decision for you.
What if my three width or height measurements are significantly different from each other? A difference of more than half an inch usually indicates the window frame has shifted or settled unevenly over time. In that case, consider outside mount, which is more forgiving of an irregular frame than inside mount.
Can I return smart shades if my measurements turn out to be wrong? Many manufacturers don't accept returns on custom cut-to-size shades, so double-check your measurements against the manufacturer's specific guidelines before submitting your order.
Do all smart shades need a power outlet nearby? No, many models run on rechargeable battery packs that only need charging every few months, but confirm this detail with your specific product before assuming it applies to yours.