The Door Draft Snake Becomes Your New Best Friend
That gap under your door isn't just letting in cold air—it's a highway for sound waves. A simple draft stopper or "door snake" creates an instant sound barrier for about ten bucks. You can even DIY one by stuffing an old tube sock with rice, beans, or fabric scraps. Press it firmly against the door's bottom edge, and you've just blocked one of the sneakiest sound escape routes in your room.
But don't stop there. Check the sides and top of your door frame too. Adhesive weatherstripping foam tape costs around five dollars per roll and seals those gaps like a dream. Just peel, stick, and compress—no tools required. The difference is immediately noticeable, especially for blocking out external noise trying to crash your movie party.
Curtains That Actually Work Double Duty
Forget those flimsy decorative curtains gathering dust. Heavy, layered curtains are soundproofing superheroes disguised as home décor. Look for thick materials like velvet, suede, or moving blankets repurposed as window treatments. Thrift stores and discount home goods shops often sell heavy curtains for a fraction of retail prices. The denser the fabric, the more sound it absorbs.
Installation matters too. Mount your curtain rod as close to the ceiling as possible and let the curtains puddle slightly on the floor. This creates a continuous sound barrier without gaps at the top or bottom. For bonus points, layer two sets of curtains—one decorative outer layer and one sound-absorbing inner layer. Your windows will block noise from outside and prevent your epic surround sound from disturbing the neighbors.
Double-check that you're covering the entire window frame, not just the glass. Sound waves are sneaky little things that'll find any opening to escape through, so overlap those panels generously.
The Bookshelf Wall of Awesome
Here's where function meets soundproofing brilliance: books naturally absorb sound. Stack your bookshelves against shared walls, and suddenly you've got budget acoustic treatment that also showcases your personality. The irregular surfaces of book spines diffuse sound waves, preventing echoes and reducing sound transmission through walls. Plus, you finally have a legitimate excuse for why you're keeping all those paperbacks.
Fill every shelf densely—gaps reduce effectiveness. Mix in different sized books to create varied surface textures that scatter sound in multiple directions. If you don't have enough books (no judgment), add decorative storage boxes, vinyl record collections, or board games to fill the space. The goal is mass and texture, not literary prestige.
Position the tallest, fullest shelves on the wall you share with neighbors or other rooms. Even a single bookshelf strategically placed can reduce sound transmission by a surprising amount.
Furniture Tetris for Acoustic Victory
Your furniture arrangement matters more than you'd think for soundproofing. That empty wall is basically a trampoline for sound waves. Break it up by placing your largest, most upholstered furniture against shared walls—think sofas, stuffed chairs, or padded headboards. These pieces absorb sound before it has a chance to travel through walls.
Create layers in your room layout. Don't push everything against the walls; instead, float some furniture pieces to create depth. A strategically placed couch a few feet from the wall creates an air gap that disrupts sound transmission. Area rugs under furniture groupings add another sound-absorbing layer while defining your theater space.
Consider the angles too. Sound bounces off parallel walls like a ping-pong ball, creating standing waves and echoes. Angle your seating slightly or place a decorative screen at an angle in a corner to break up those parallel surfaces.
Egg Cartons: The Internet's Favorite Myth (Sort Of)
Let's address the elephant in the room: egg cartons. Yes, you've seen them suggested everywhere online, and no, they're not a miracle solution. However, they're not completely useless either. Cardboard egg cartons can provide minimal sound absorption for high frequencies when you literally have zero budget. They won't block sound from escaping your room, but they can reduce internal echoes slightly.
If you're going this route, collect a bunch, glue them to foam board or cardboard backing, and mount them on walls. Paint them dark colors to make them look intentional rather than desperate. But honestly, almost anything else on this list will give you better results. Consider egg cartons your absolute last resort or an extremely temporary solution while you save up for better materials.
The real lesson here? Don't believe everything the internet tells you about soundproofing. Focus on mass, density, and sealing gaps—those are your real weapons against noise.
Moving Blankets: The Pro Secret
Professional studios use acoustic blankets that cost hundreds of dollars. You know what works almost as well? Moving blankets from the hardware store at twelve bucks each. These dense, padded fabrics absorb sound beautifully and can be hung like curtains, draped over walls, or even mounted on frames to create DIY acoustic panels.
Hang them on the walls behind your speakers or on the wall opposite your seating area. Use cup hooks or command strips rated for heavy items—no permanent damage required. You can even sew channels at the top for curtain rods if you're feeling crafty. The industrial look might not win design awards, but functionality beats aesthetics when you're on a budget.
For a cleaner appearance, stretch moving blankets over wooden frames made from one-by-twos. Staple the fabric around the back, and you've created custom acoustic panels for under twenty dollars each. Hang several throughout your space for maximum sound absorption.
Weatherstripping Windows Like a Boss
Windows are notorious sound leaks, but weatherstripping isn't just for keeping drafts out. Apply foam or rubber weatherstripping around the entire window frame where the window meets the frame when closed. This creates an air-tight seal that dramatically reduces sound transmission both ways.
For windows you rarely open, consider using temporary rope caulk. This putty-like material can be pressed into gaps around window frames and peeled away later without damage—perfect for renters. It seals air leaks and sound leaks simultaneously. A few rolls will set you back about fifteen dollars total and cover multiple windows.
Don't forget storm windows if you have them. The air gap between panes provides natural sound insulation. Keep both windows clean and properly sealed for optimal performance.
The Magic of Mass Loaded Vinyl (On Sale)
Okay, this one's slightly pricier but still budget-friendly compared to professional soundproofing. Mass loaded vinyl (MLV) is a thin, dense material specifically designed to block sound. You can sometimes find remnants or off-cuts online for cheap—enough to cover a door or problem wall area. Hang it behind artwork, mount it under area rugs, or sandwich it between layers of fabric for DIY acoustic panels.
The beauty of MLV is its flexibility. Cut it to size with scissors or a utility knife, and attach it with construction adhesive or heavy-duty tape. One strategically placed section on your loudest wall can make a noticeable difference. Check local classifieds or surplus building material stores for deals—sometimes contractors sell leftover pieces for pennies on the dollar.
Combine MLV with other techniques on this list for compound effectiveness. Layer it behind moving blankets or underneath decorative fabric wall hangings for both sound blocking and absorption.
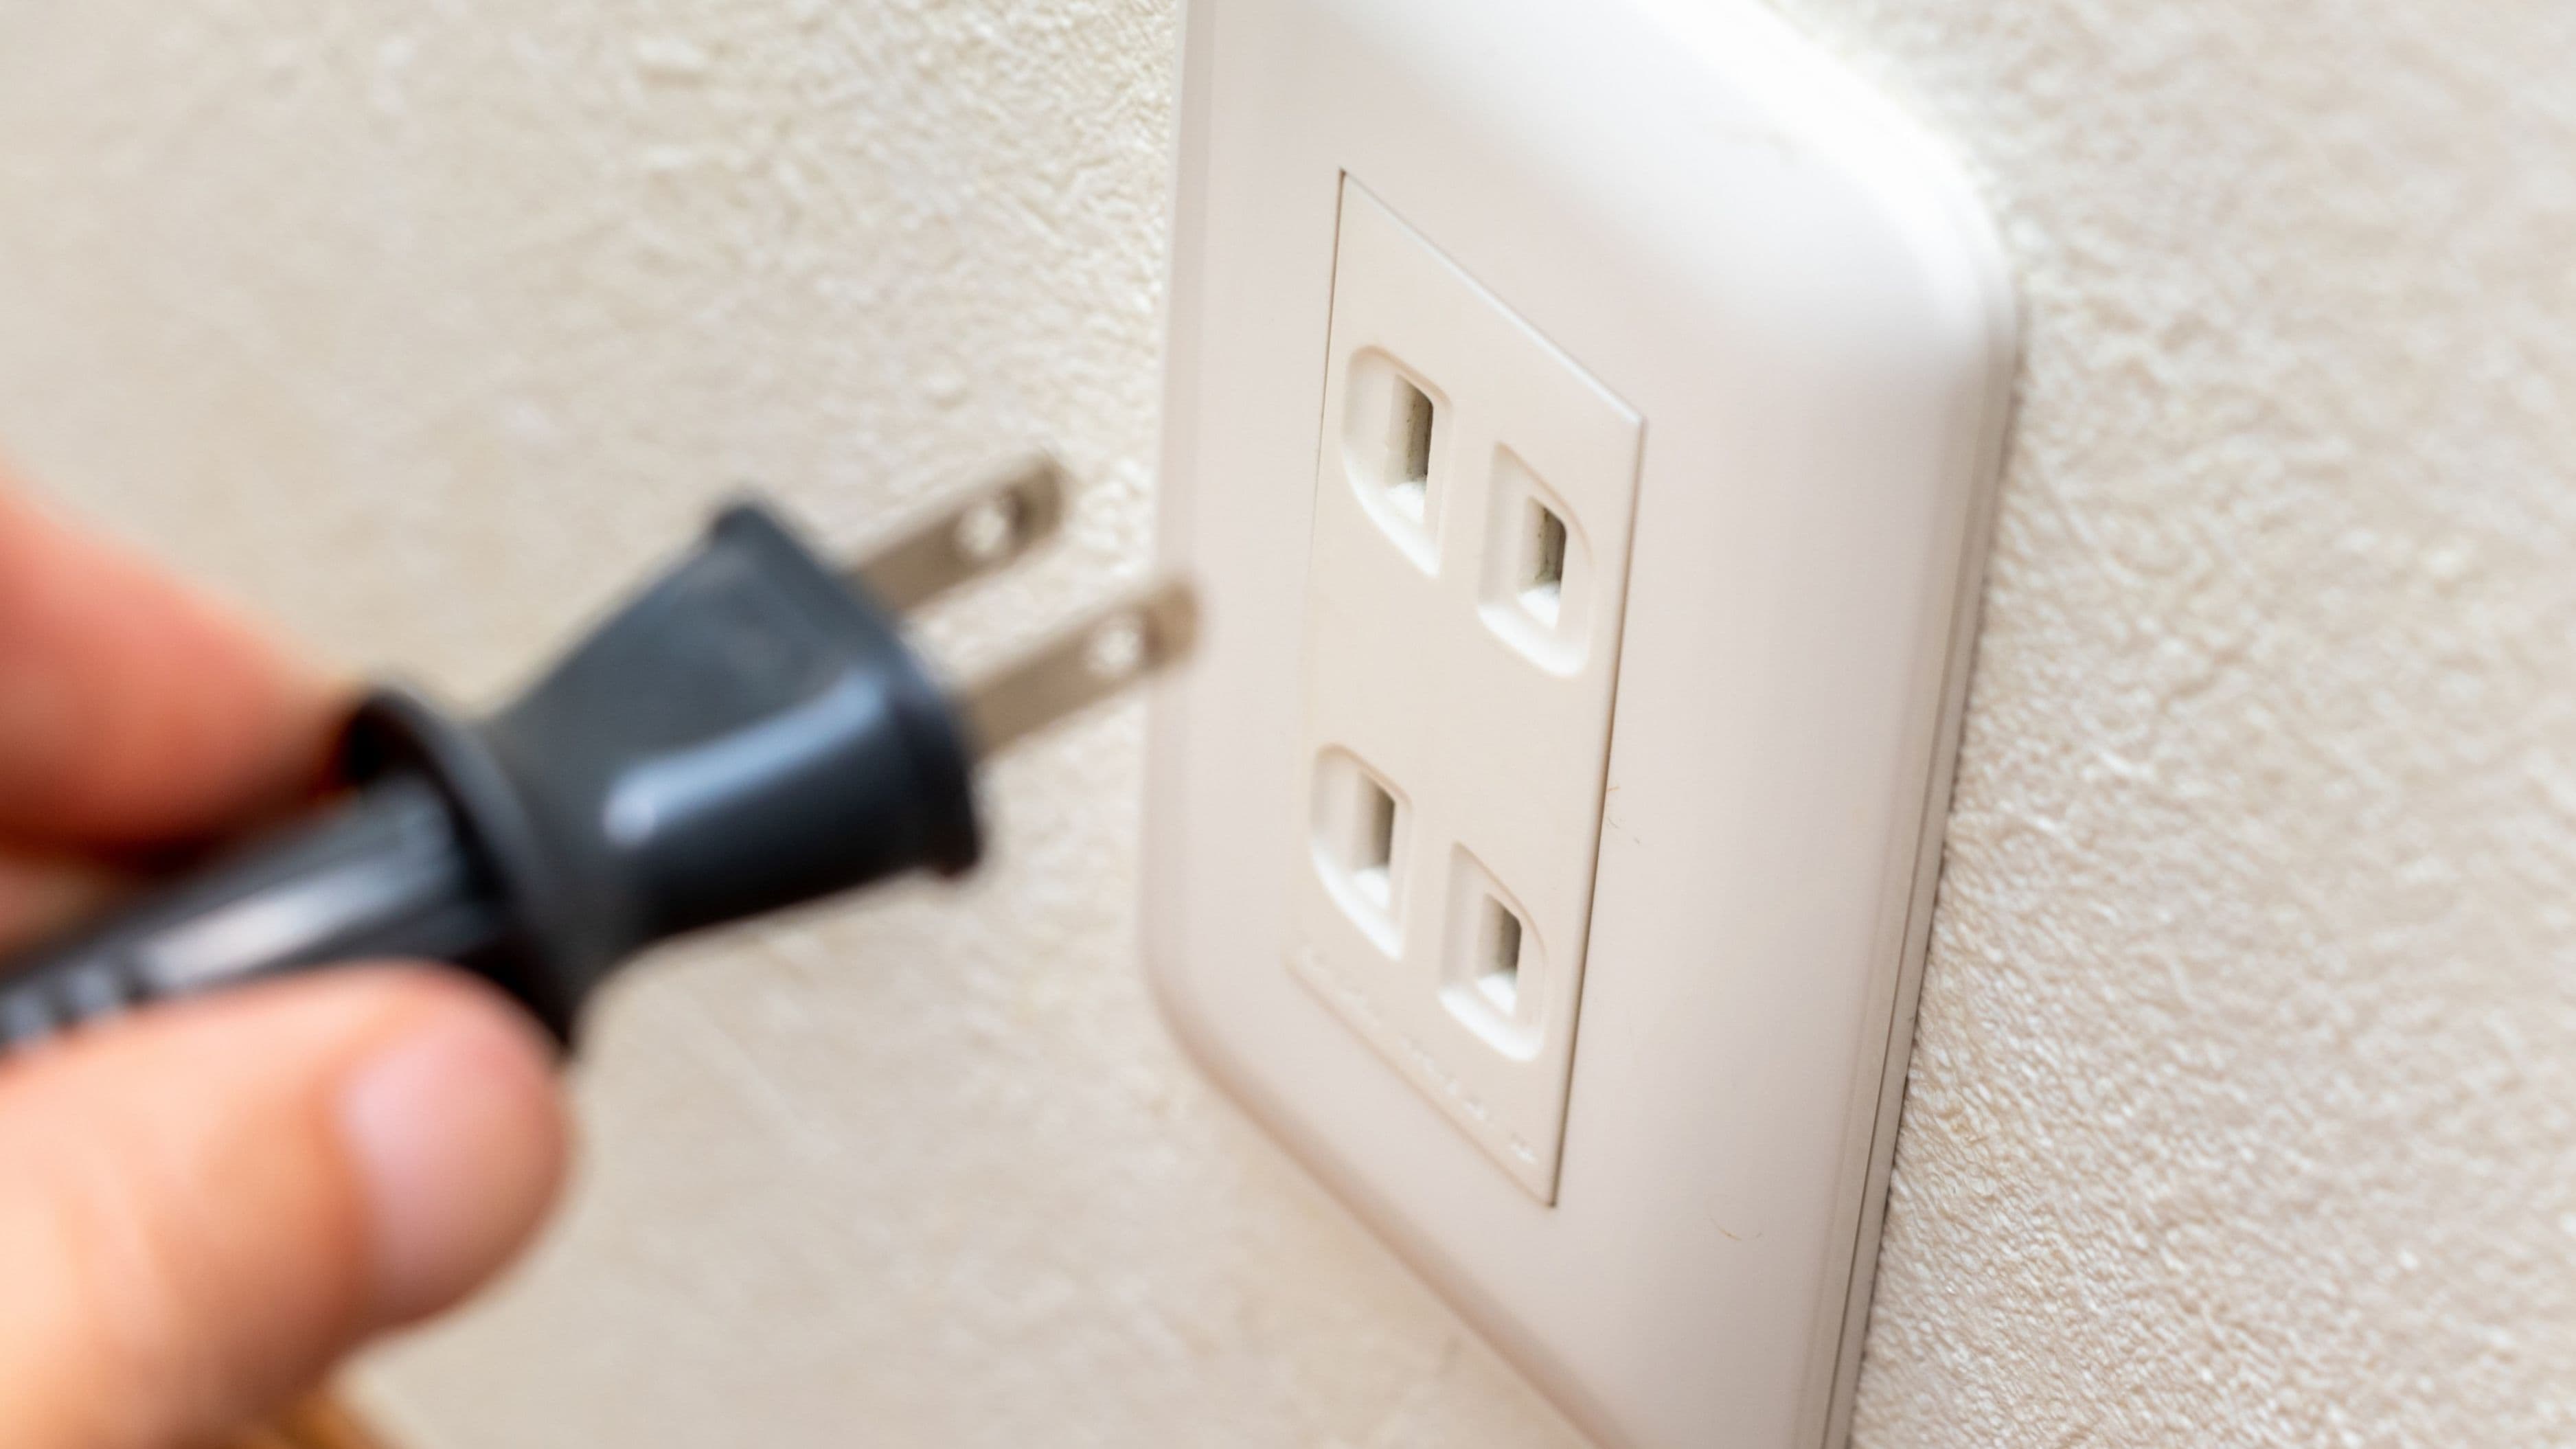
Seal the Outlets and Switches
Here's something most people never consider: electrical outlets and light switches on shared walls are direct sound tunnels to adjacent rooms. Acoustic foam outlet gaskets cost about a dollar each and install in seconds. Turn off the power, remove the cover plate, insert the gasket, and replace the plate. Done.
For even better results, fill the empty space inside the electrical box with putty pads designed for this purpose. These moldable pads create an air-tight seal around wires while remaining removable for future electrical work. You've just closed sound highways you didn't even know existed.
This trick is especially valuable in apartments and townhouses where every wall contains multiple outlets. Fifteen minutes and twenty dollars can seal every outlet in your home theater room.
Acoustic Panels from Household Items
Remember those old towels, blankets, or bathrobes lurking in your linen closet? They're about to become acoustic treatments. Stretch fabric over simple wooden frames made from scrap lumber or even sturdy cardboard. Staple the material taut, and hang your creations on walls using command strips or picture hanging hooks.
The thicker and denser the fabric, the better it absorbs sound. Layer multiple towels together for increased effectiveness. You can even stuff the frames with old clothes, pillow stuffing, or shredded paper for added absorption. Cover everything with a decorative fabric layer if you want them to look intentional.
Arrange these DIY panels at reflection points—the spots on side walls where sound from your speakers would bounce directly to your seating position. Experiment with placement using the mirror trick: sit in your main viewing spot and have someone move a mirror along the wall until you can see the speaker reflection. Mount a panel at that exact spot.
Your Room Doesn't Need Perfection—Just Improvement
Look, you're not building Abbey Road Studios in your spare bedroom. The goal isn't perfect acoustic isolation—it's noticeable improvement without breaking the bank. Even implementing three or four of these strategies will transform your space from echo chamber to respectable home theater.
Start with the easiest, cheapest solutions first. Seal gaps, hang heavy curtains, and rearrange furniture. Those alone might solve eighty percent of your sound issues. Then layer on additional treatments as budget allows. Soundproofing is cumulative—each small improvement adds up to significant results.
Your home theater should enhance your life, not drain your wallet or cause neighbor feuds. With these budget-friendly tactics, you can create a space where movie explosions stay where they belong, dialogue comes through crystal clear, and the only person who knows what you're watching is you. Now grab that popcorn and cue up your favorite film—your newly quieted room is ready for its debut.
📚 Sources
1. Acoustical Society of America. (2023). "Sound Absorption Coefficients of Common Building Materials." Journal of the Acoustical Society of America.
2. National Association of Home Builders. (2024). "Cost-Effective Soundproofing Methods for Residential Spaces." NAHB Research Center Publications.
🔍 Explore Related Topics