This guide walks you through a practical, budget-conscious approach from start to finish.
What You'll Need
Before you start moving anything, gather the basics. You don't need specialized equipment for this project – just standard tools and supplies you likely already have or can pick up cheaply.
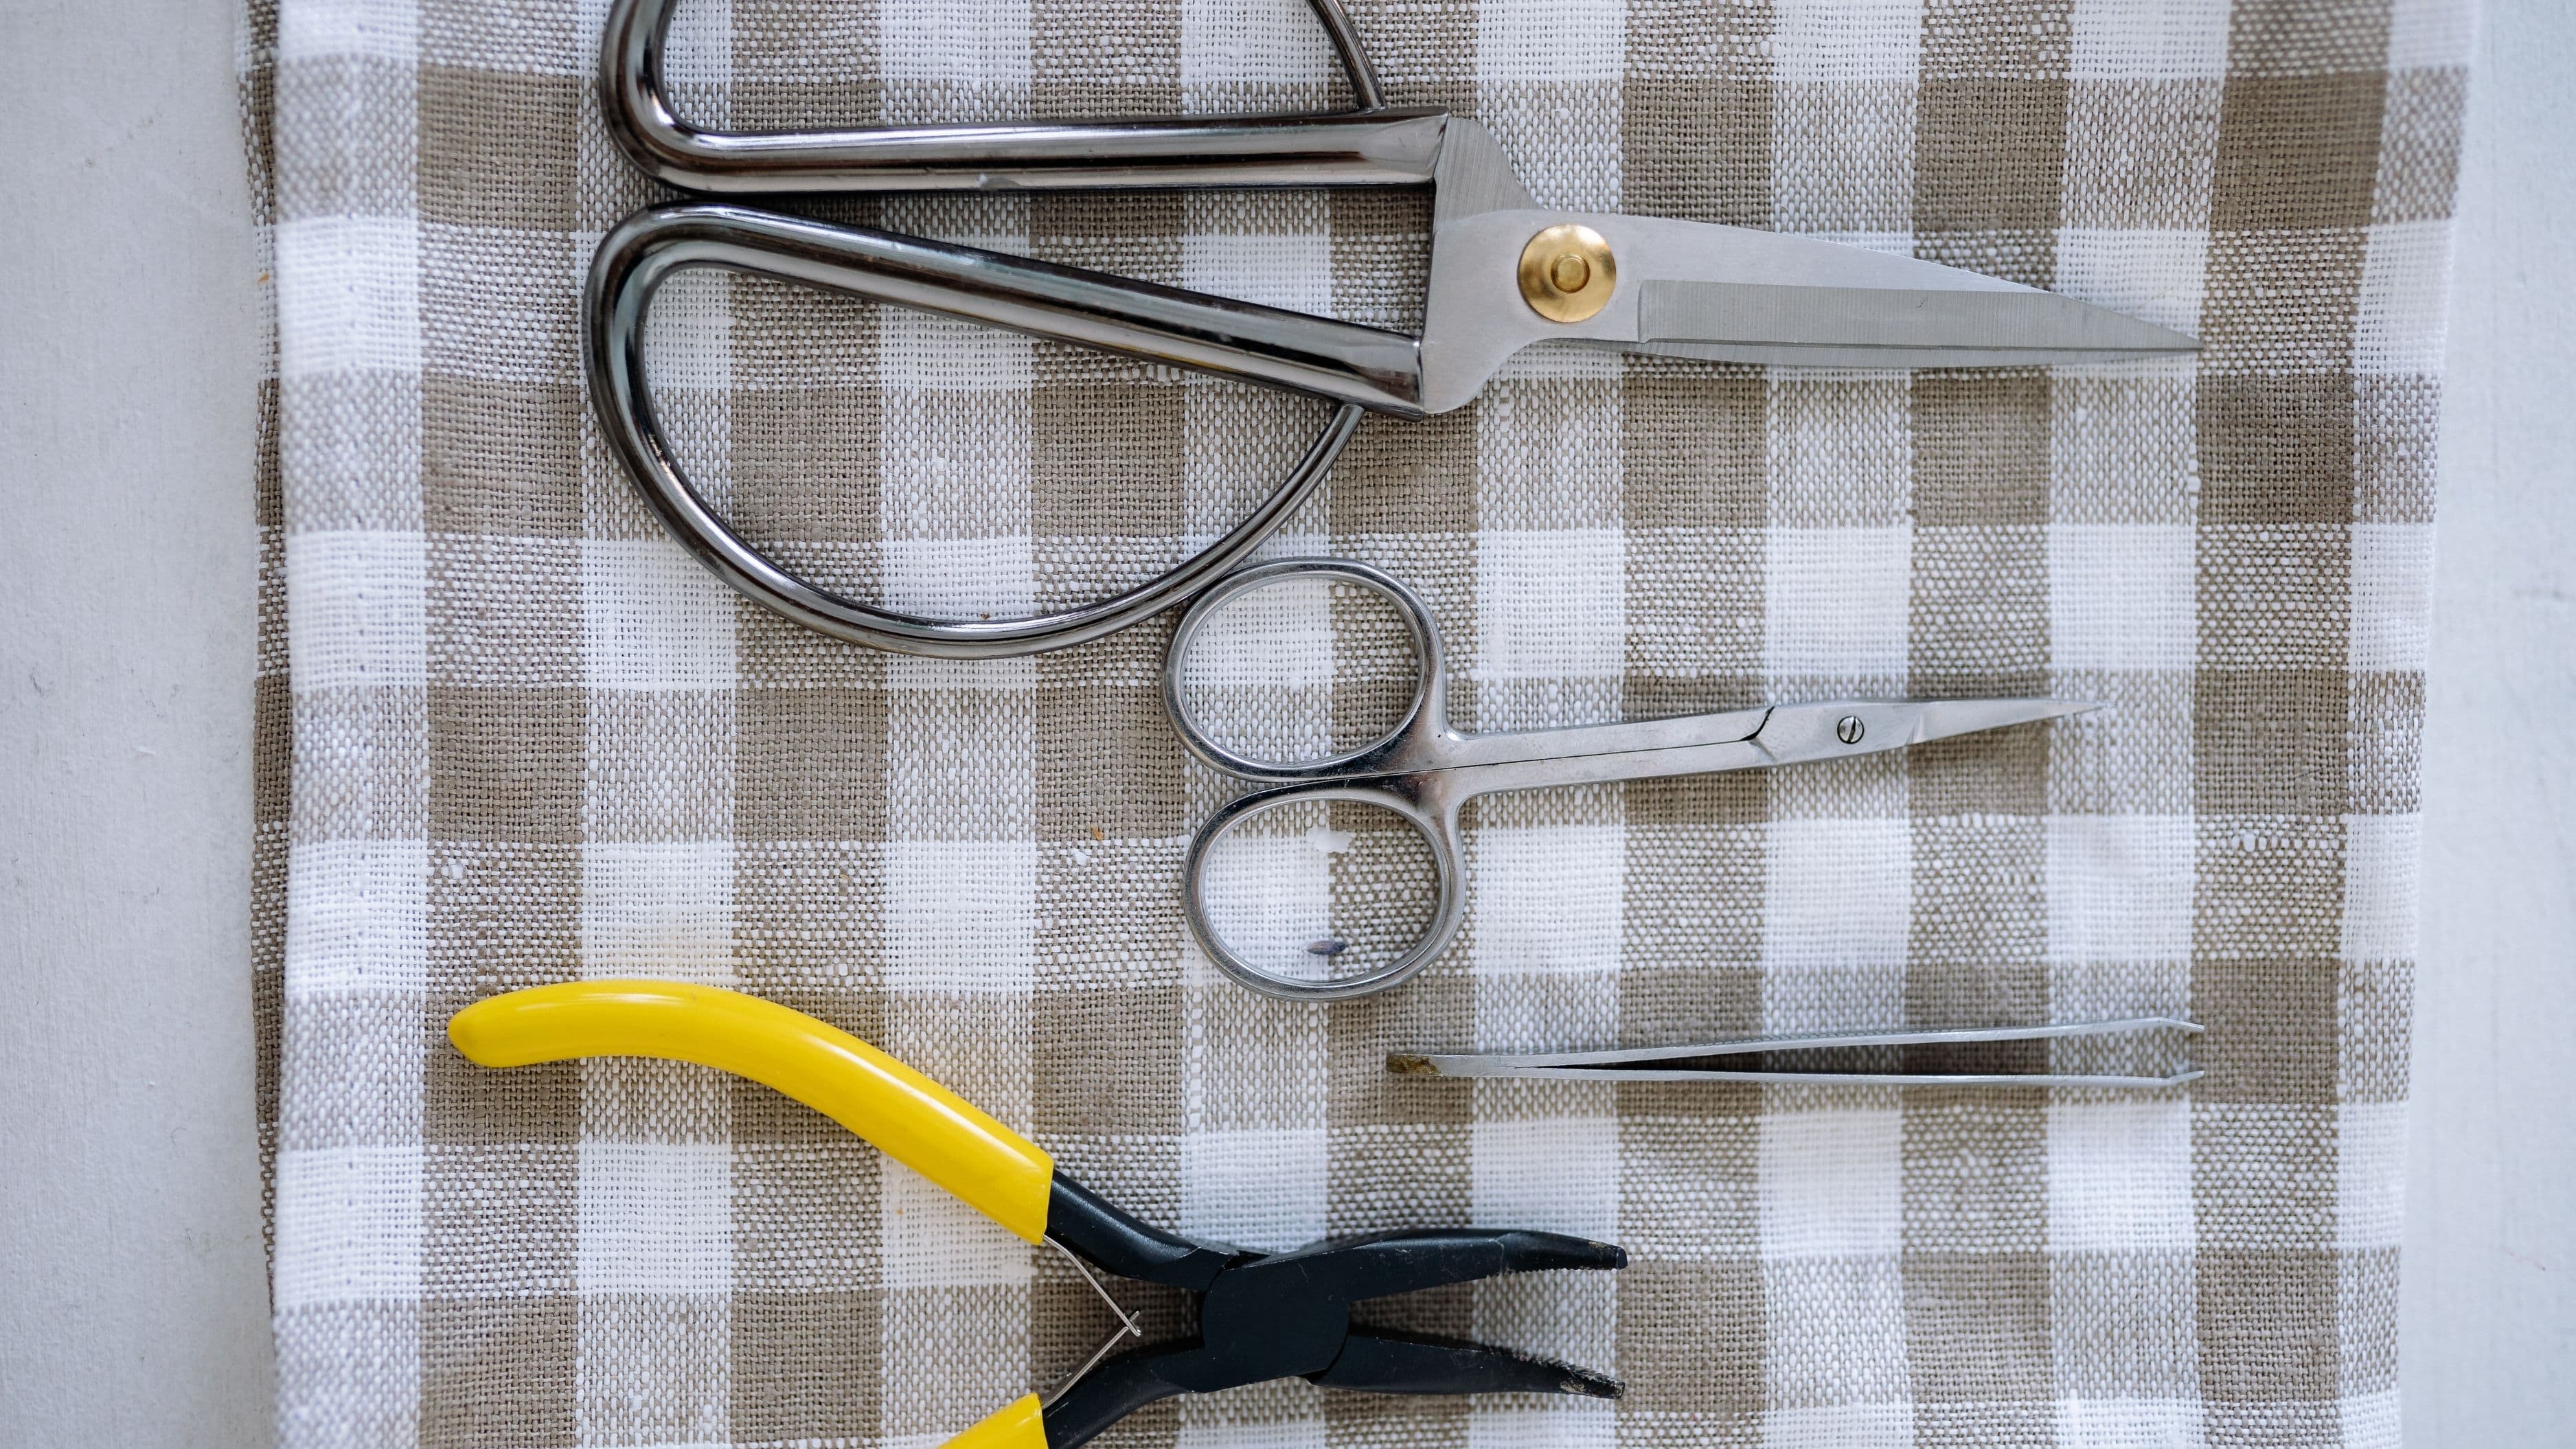
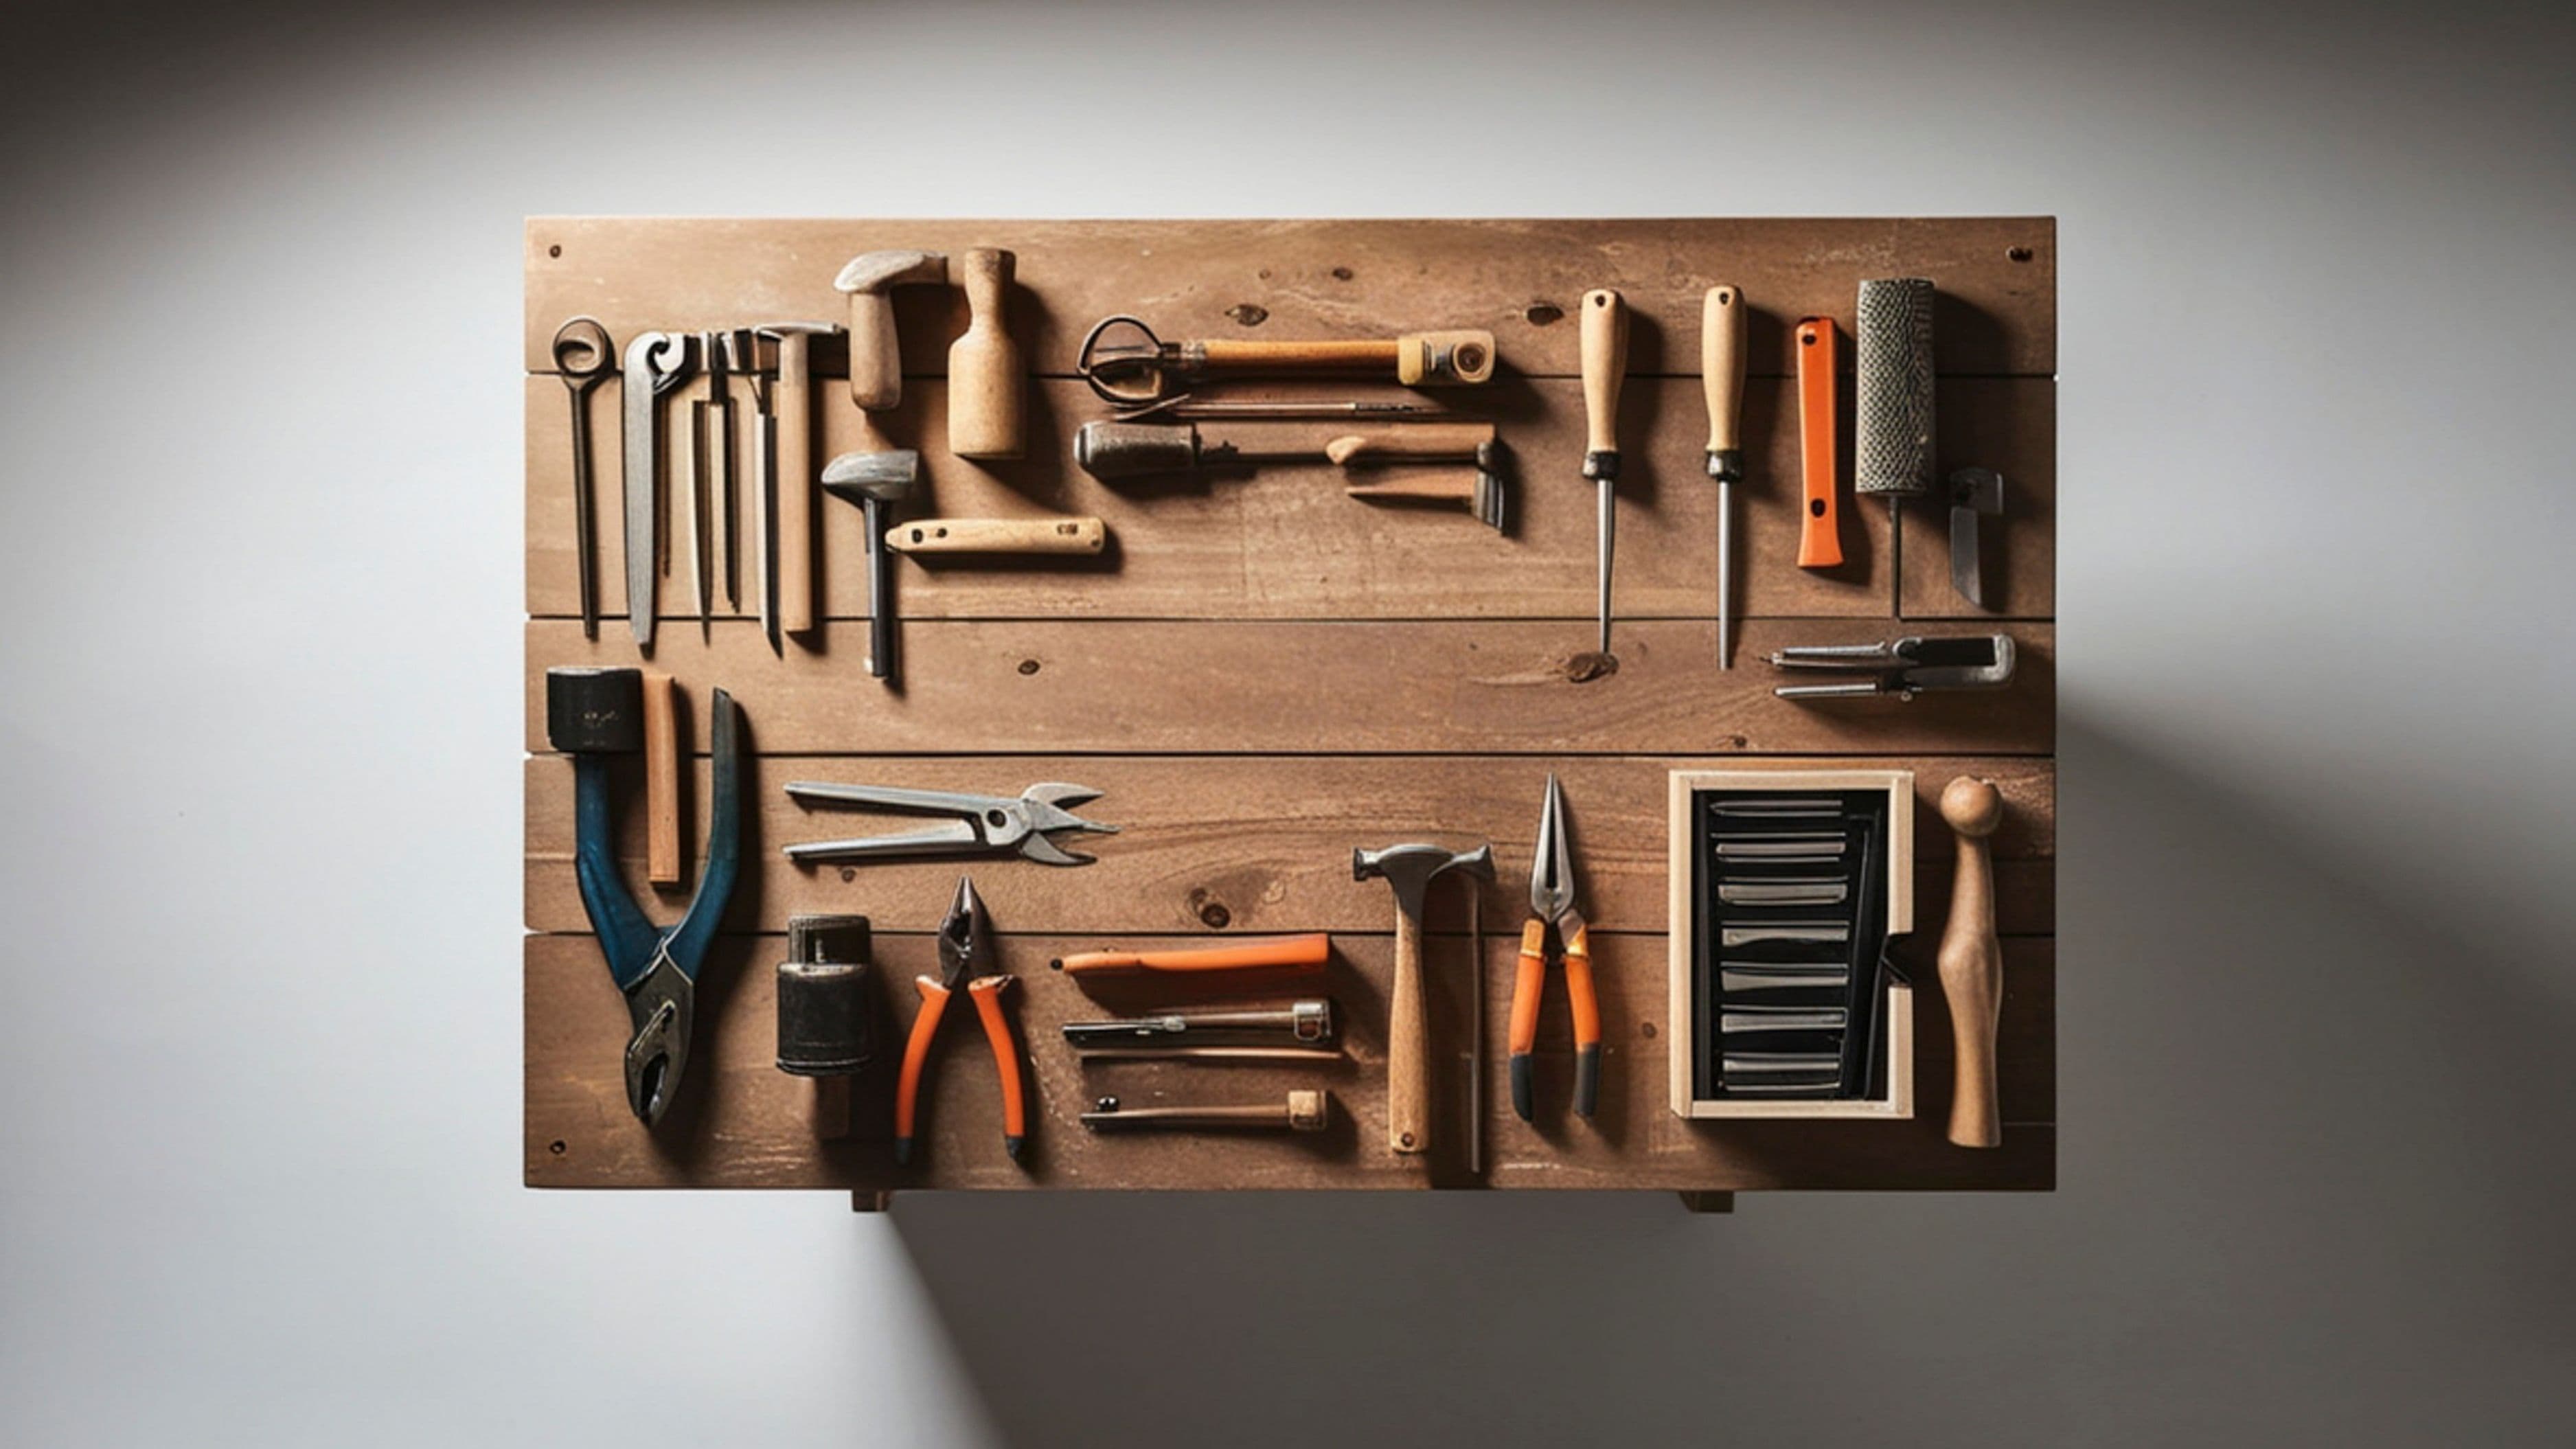
For cleaning and sorting: trash bags, a broom and dustpan, a shop vac if you have one, and a few cardboard boxes or bins for temporary sorting piles. For installation work: a drill, a level, a tape measure, a pencil, and wall anchors appropriate for your wall type (drywall, concrete, or wood studs). For storage solutions: pegboard, shelving brackets, lumber or pre-made shelves, bins or buckets, and assorted hooks and hangers – most of which can be sourced from hardware stores, Facebook Marketplace, or garage sales for significantly less than retail.
Estimated cost: $50–$150 depending on what you already own and how much storage you're building from scratch. Time required: One to two days for a full garage workshop setup. Difficulty: Beginner to intermediate. Basic drill use and stud-finding are the most advanced skills required.
Step 1: Pull Everything Out and Sort It
This is the step most people skip, and it's the reason most garage organization projects fail within six months. You can't organize around clutter – you have to deal with the clutter first.
Pull everything out of the garage or at minimum everything off the walls and floor. Sort into four piles: keep, donate/sell, trash, and "belongs elsewhere." That last category is bigger than you'd expect – sports equipment, holiday decorations, and random household overflow tend to colonize workshop spaces over time and need to go back to where they actually belong. Once only the genuine workshop items remain, sort those by category: power tools, hand tools, fasteners and hardware, finishes and chemicals, safety equipment, and project materials. This sorting process gives you an accurate inventory, which is the only reliable basis for a storage plan.
Step 2: Deep Clean the Space
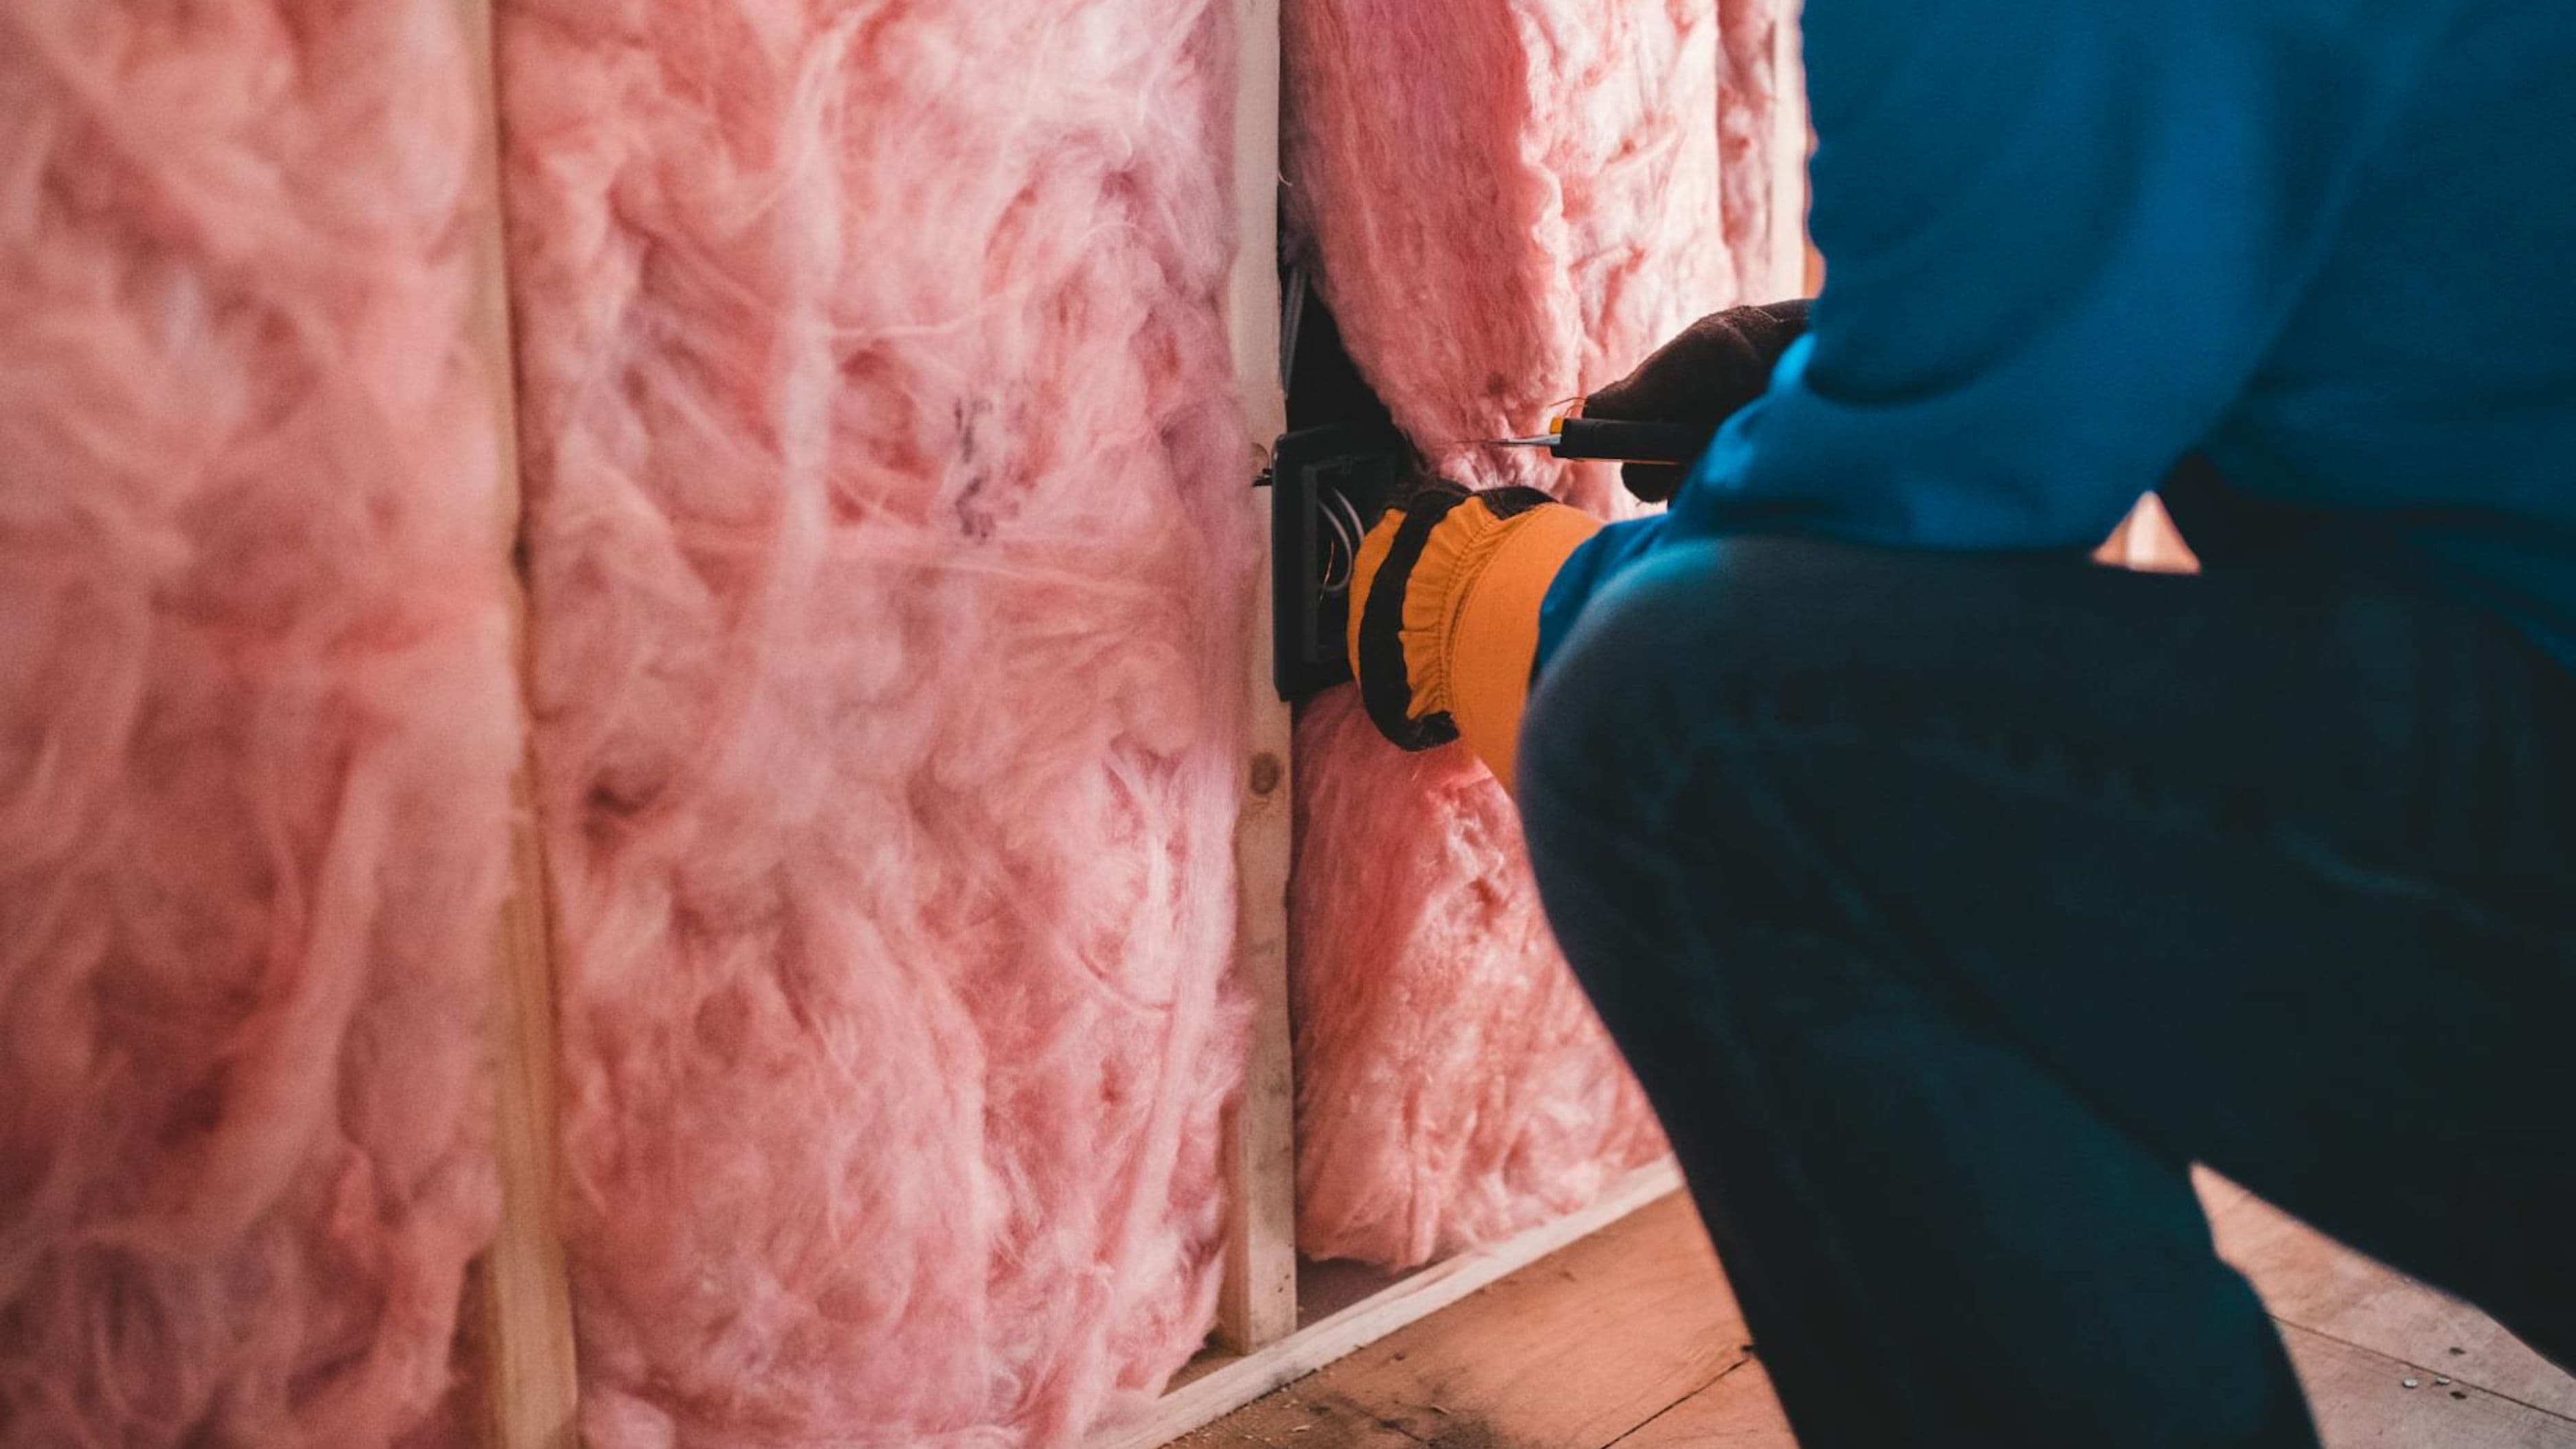
Before anything goes back in, clean the garage thoroughly. Sweep and vacuum the floor, wipe down existing shelves, and deal with any oil stains on the concrete – a degreaser like Zep or Simple Green applied and scrubbed before rinsing handles most stains. Check the walls and ceiling for anything that needs attention: cracks, moisture staining, or exposed wiring that should be addressed before you cover it with storage.
This is also the moment to assess your wall surface. Drywall requires anchoring into studs or using appropriate hollow-wall anchors. Concrete or block walls need masonry anchors. Wood-framed walls without drywall are the easiest to work with – you can attach directly to studs. Knowing your wall type before you start hanging things saves you from pulling down a loaded shelf later because it wasn't anchored correctly.
Step 3: Plan Your Zones
A functional workshop is organized into zones based on how you actually work, not by storage type. The standard zones that work for most home workshops are: a workbench area with frequently used hand tools and fasteners within arm's reach, a power tool zone with a dedicated spot for each tool and easy access to the outlet or extension cord, a consumables zone for things like sandpaper, finishes, adhesives, and tape, a safety and PPE zone near the door where your glasses, gloves, and ear protection live, and a project materials area for lumber, hardware, and in-progress projects.
Sketch a rough layout on paper before you start moving or installing anything. The main principles are: put the most-used items at eye level or within easy reach, keep frequently paired tools close together, and make sure your workbench has adequate overhead lighting and isn't blocked by anything you'd need to move every time you want to work. Think about how you actually move through the space during a project and design around that flow.
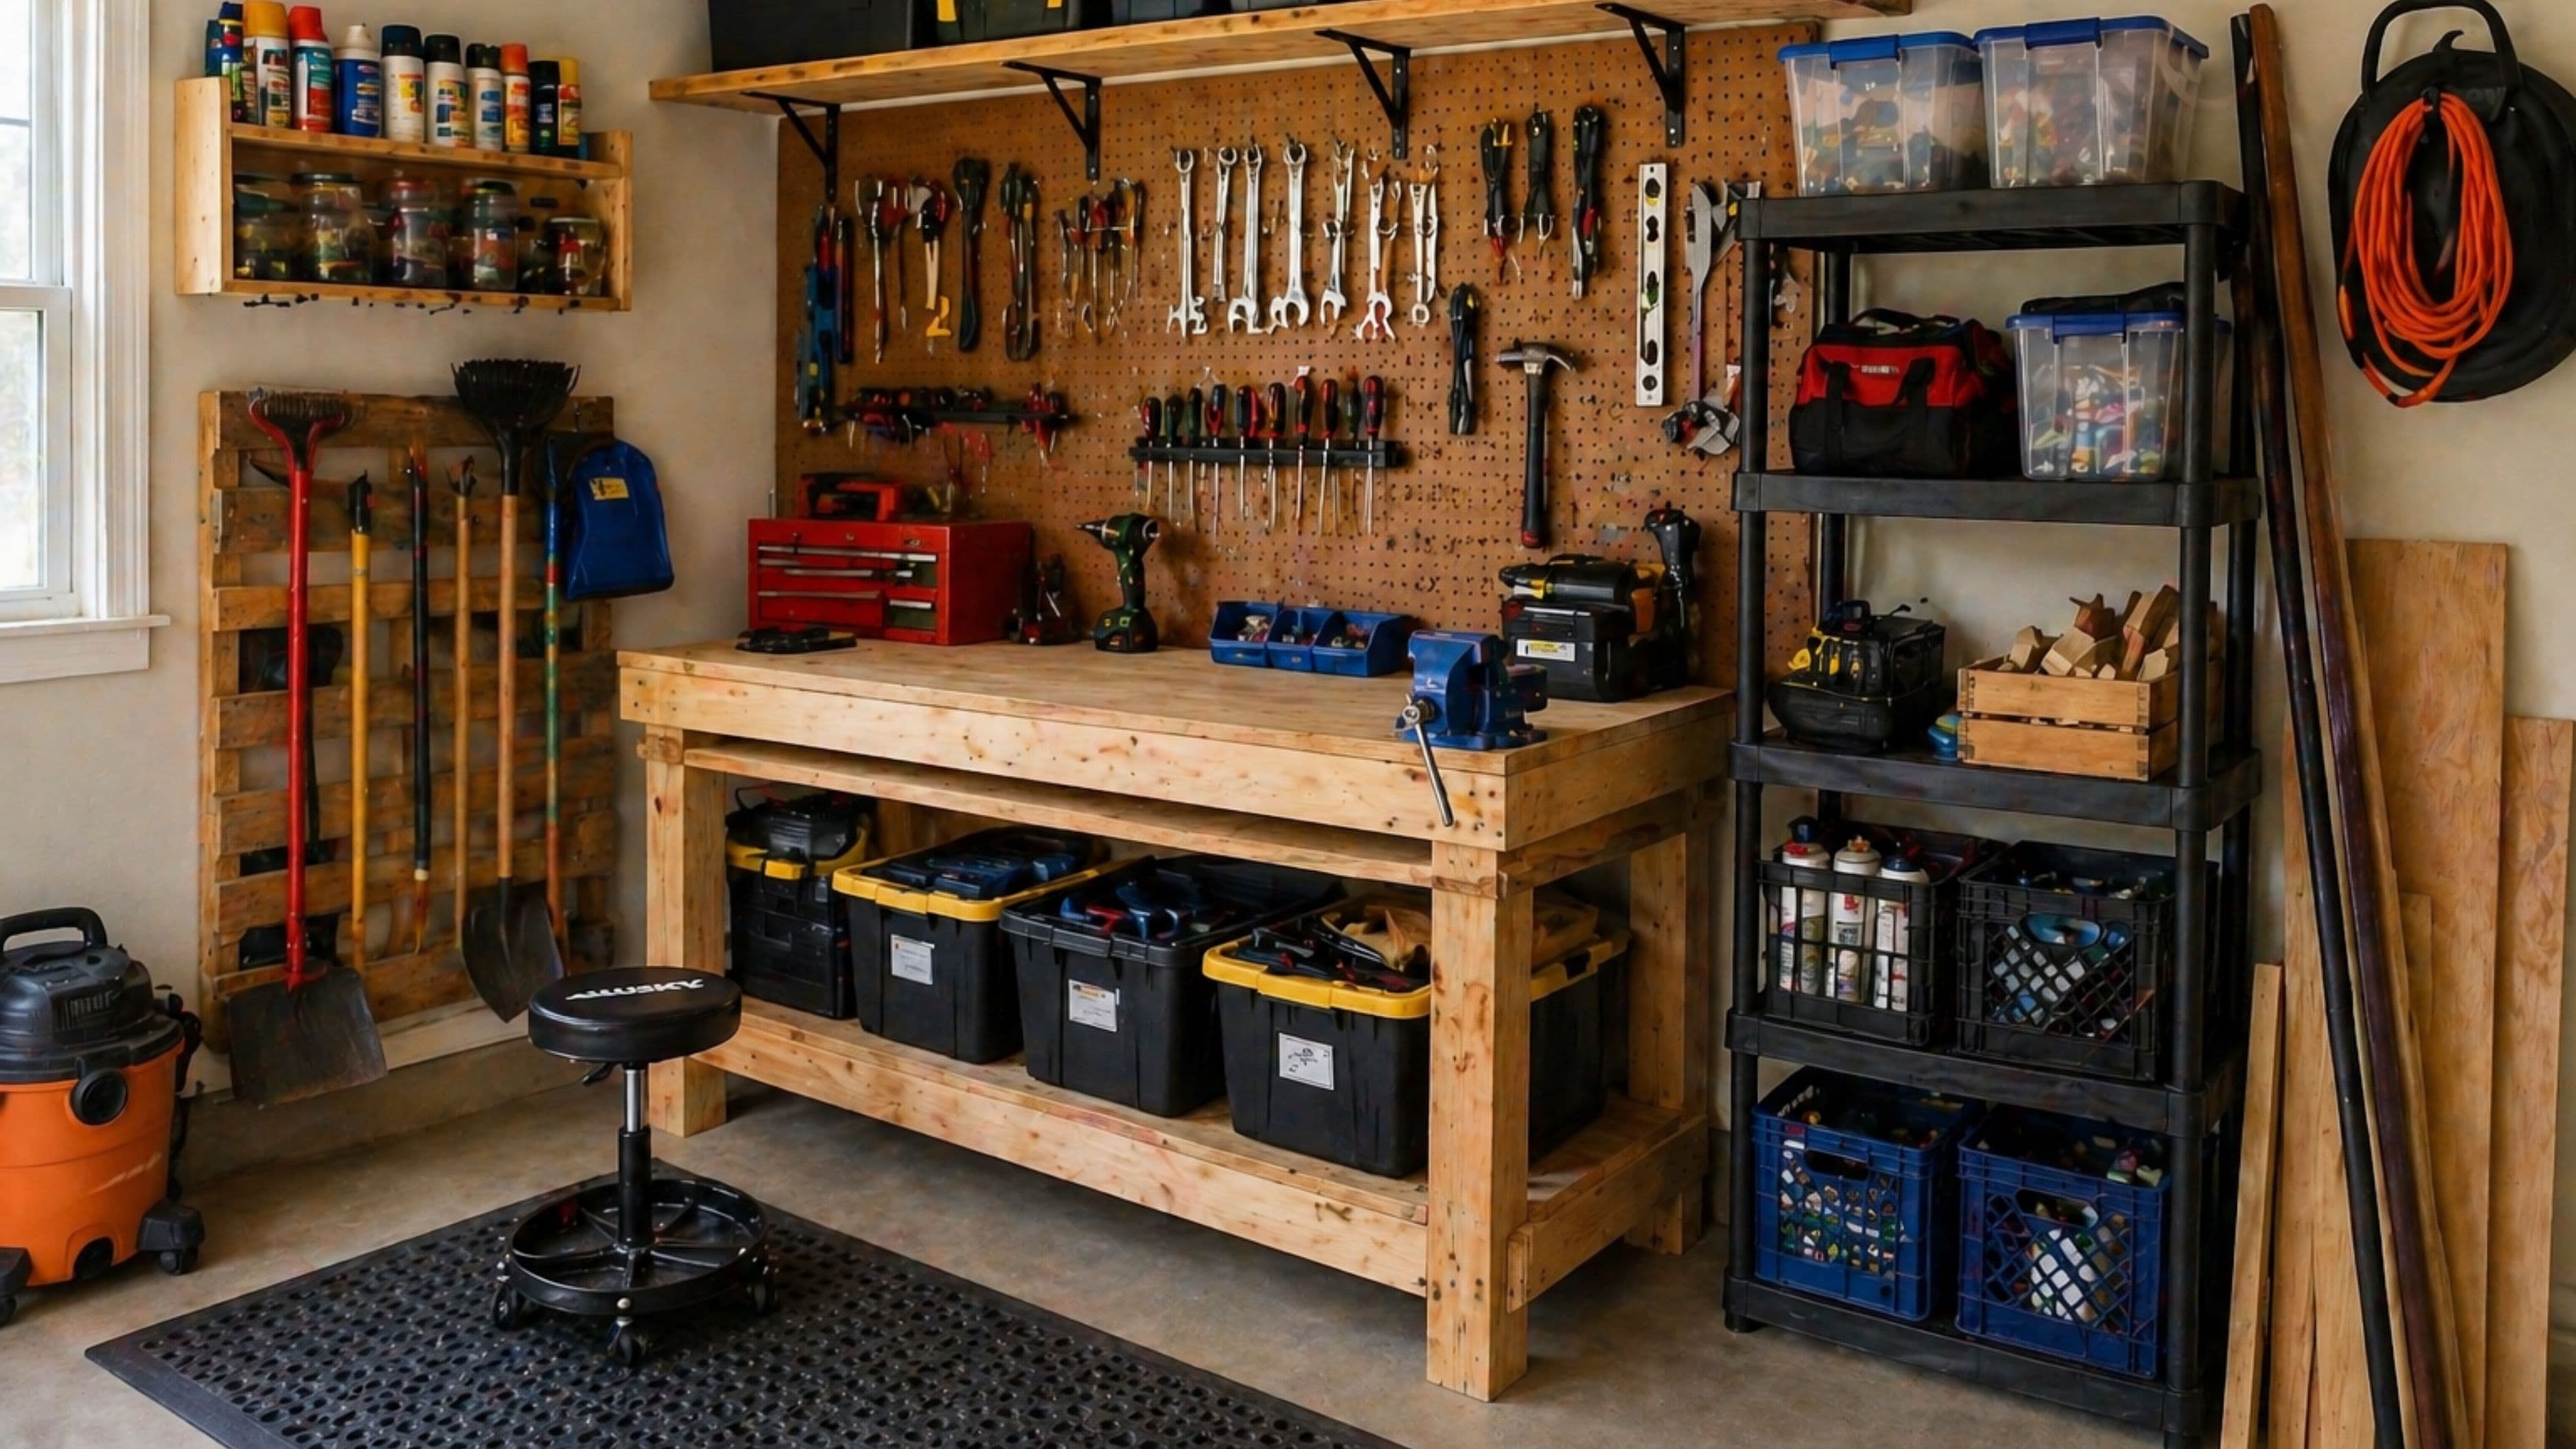
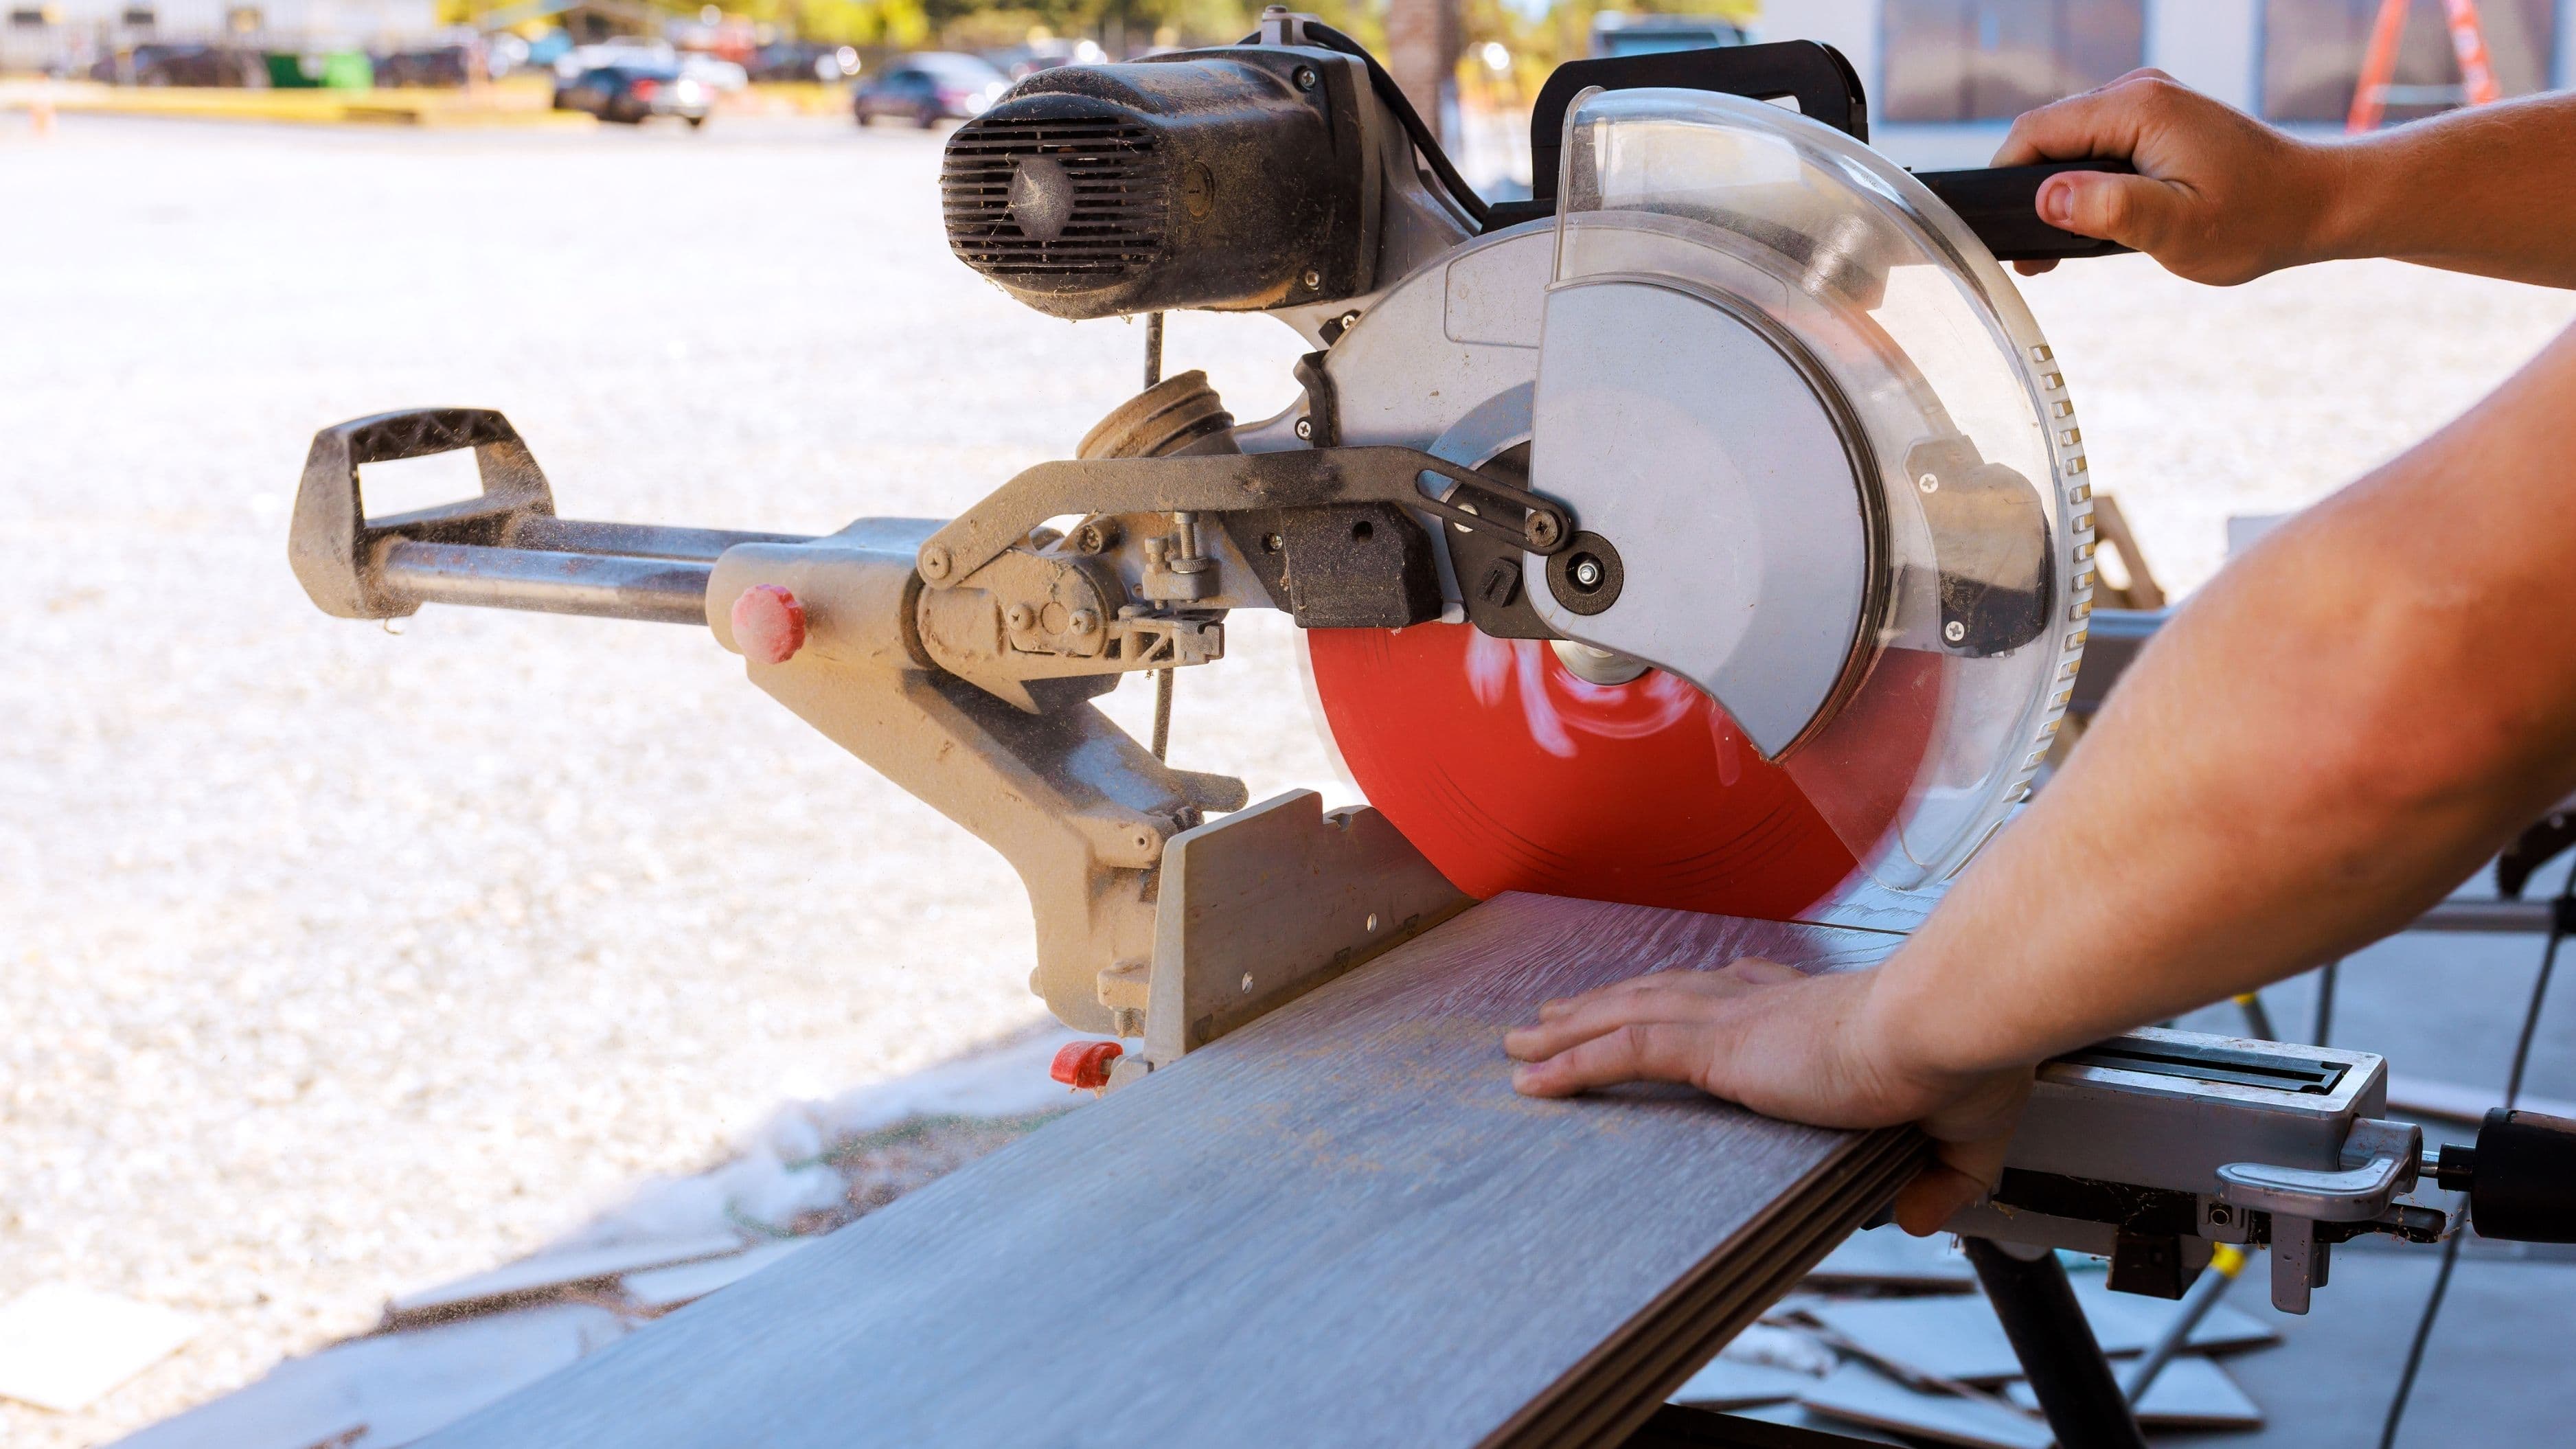
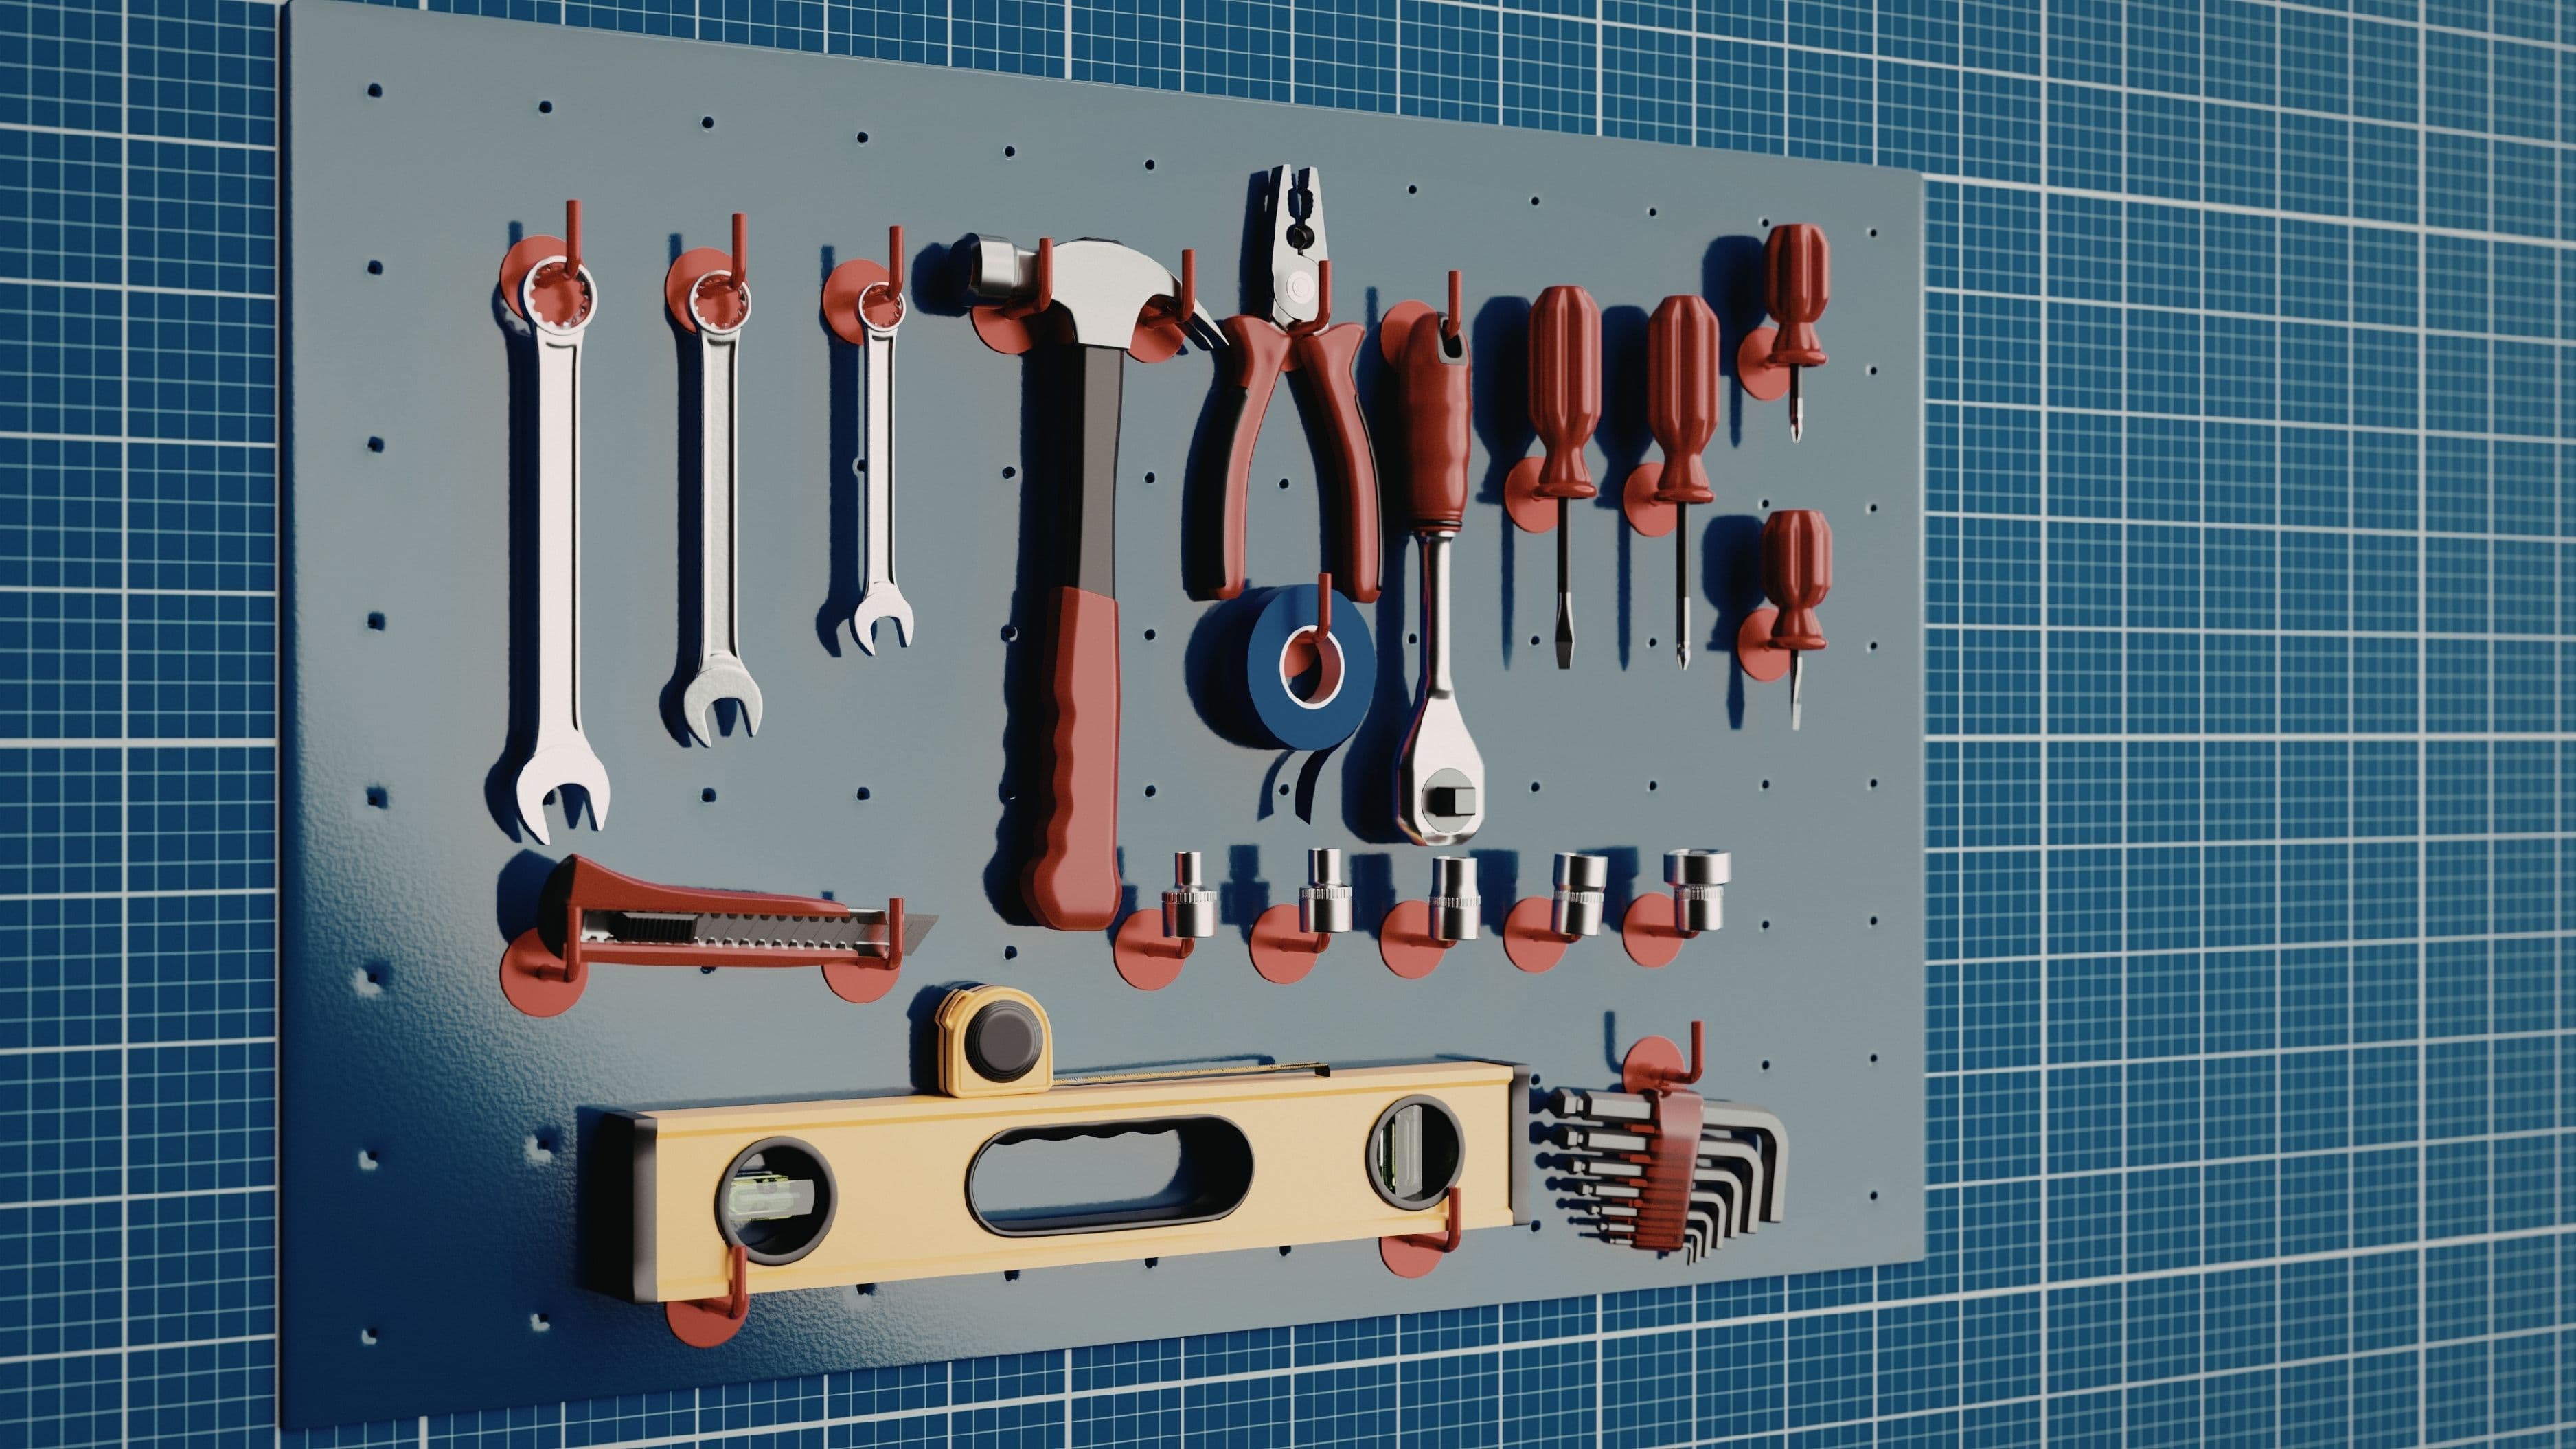
Step 4: Install Pegboard for Hand Tools
Pegboard is the single highest-ROI investment for a budget garage workshop. A 4x8 sheet of 1/4-inch hardboard pegboard runs $25–$35 at most hardware stores. Paired with a set of assorted hooks ($15–$20 for a 50-100 piece set), it gives you a fully customizable wall-mounted tool display that keeps everything visible, accessible, and off the workbench.
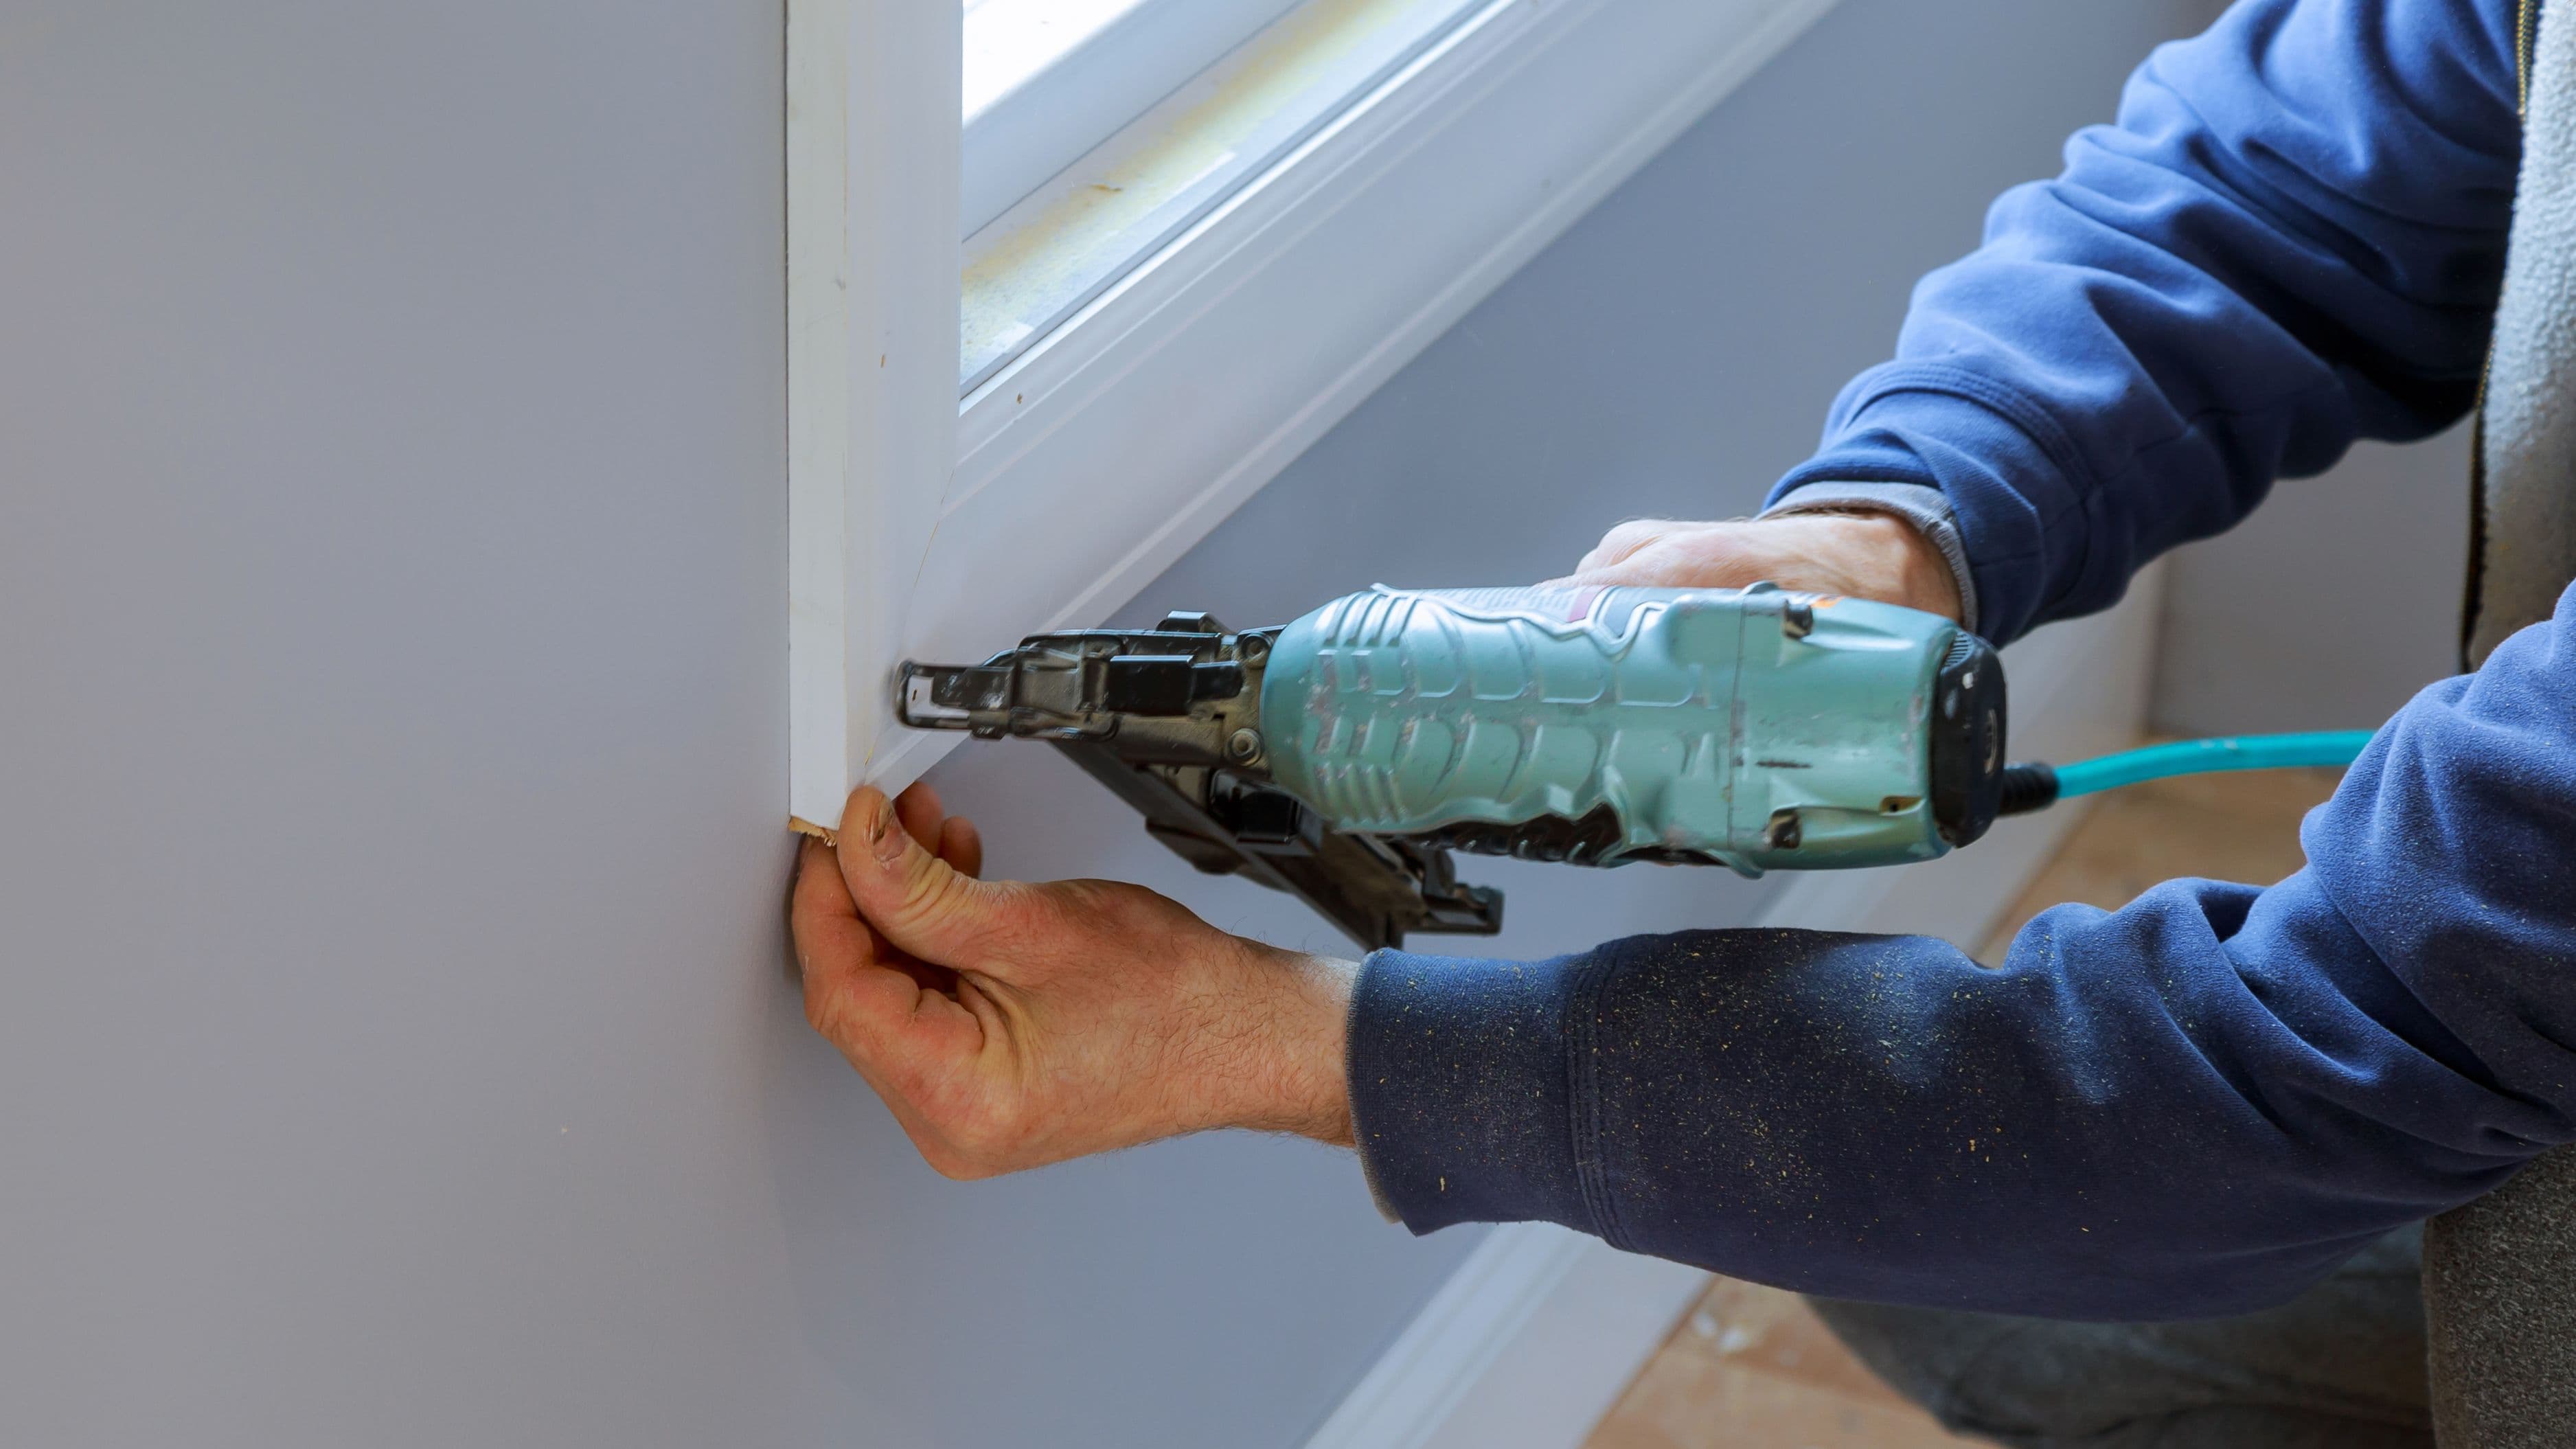
Installation requires mounting the pegboard slightly off the wall – at least 1/2 inch – so the hooks have space to engage. The easiest approach is to attach 1x2 furring strips horizontally along the top and bottom edges (and a middle strip on taller installs), screw those into studs, then screw the pegboard to the furring strips. Use a level on the furring strips before committing to the screws. Once the board is up, lay your hand tools on the bench and think through the arrangement before setting the hooks – grouping by task (cutting tools together, measuring tools together, fastening tools together) makes the layout intuitive when you're mid-project.
Step 5: Build or Install Shelving
Wall-mounted shelving for bins, cans, and boxed supplies is the next priority. You have two main budget options: build simple shelves from 2x4 lumber and plywood, or buy adjustable metal shelving units.
DIY lumber shelves are the most economical option if you have basic carpentry confidence. A wall-mounted shelf made from a 2x4 ledger screwed into studs and a plywood or solid wood deck can hold significant weight and costs $15–$30 per shelf in materials. The downside is that they're fixed – once built, adjusting height requires rebuilding. For zones where shelf height won't need to change (paint and finishes at one height, larger bins at another), fixed shelves are perfectly practical.
Wire or metal shelving units from big-box stores or secondhand sources are faster to install and adjustable. A standard 5-shelf metal unit runs $40–$80 new or $10–$25 used on Facebook Marketplace or Craigslist. Free-standing units have the advantage of not requiring wall anchors and can be repositioned if your workflow changes. The trade-off is that they take up floor footprint rather than using wall space exclusively. For most garages, a combination of both – wall-mounted shelves for smaller items and one free-standing unit for larger bins and equipment – works well.
Step 6: Tackle Fastener and Hardware Storage
Loose screws, nails, bolts, and hardware are one of the biggest contributors to workshop chaos. A simple, inexpensive solution that actually works: a hardware organizer with small plastic bins or drawers (the multi-drawer organizers available for $15–$25 at hardware stores), or repurposed glass jars (pasta sauce jars work perfectly) mounted under a shelf using their lids. Screw the lid into the underside of a shelf, fill the jar, and twist it on – this keeps small hardware visible and completely off the bench surface.
Label everything, even if the labeling seems obvious now. The test is whether you can find what you need at a glance six months from now without having to open multiple containers. A basic label maker ($20) or even masking tape and a marker handles this adequately.
Step 7: Create a Dedicated Workbench Area
If you don't have a workbench, building a basic one is easier and cheaper than most people assume. A simple bench can be built from a 2x4 frame and a 3/4-inch plywood top for under $60 in materials. The standard workbench dimensions are 34–36 inches high (standing work height), 24–30 inches deep, and whatever width your wall allows. A 6-foot bench is a good general-purpose size. Attach it to the wall studs along the back for rigidity and add a shelf underneath for power tool or supply storage.
If building isn't in scope, a used solid wood door on sawhorses makes a surprisingly functional temporary bench. It's flat, wide, and sturdy enough for most home workshop tasks until you're ready to build or buy something permanent.
The workbench area should have a power strip or outlet accessible from the bench surface for tools and task lighting. A shop light mounted directly above the bench (LED shop lights run $20–$40) eliminates the shadow problem that comes from relying on a single overhead garage light.
Step 8: Address Floor Space and Safety
Once wall storage and bench areas are established, the floor should have clear defined traffic lanes and designated spots for anything that lives on the floor – floor-standing tools like a drill press, bandsaw, or shop vac, rolling tool chests, and a recycling area for project scrap. Use painter's tape or floor marking tape to define the edges of work areas and keep tool footprints consistent.
A few safety notes worth keeping in mind throughout this process: store flammable liquids (paint thinner, solvents, gasoline) in a metal cabinet away from heat sources and spark-producing tools. Keep a fire extinguisher mounted near the exit and check that it's charged.
Hang your PPE – safety glasses, ear protection, dust masks – where you'll see them before you reach for a tool, not tucked in a drawer where they get skipped. And make sure your garage has adequate ventilation if you're working with finishes, adhesives, or anything that produces fumes.
What to Avoid
Don't try to organize before you've decluttered. Storage systems layered over clutter just make the clutter harder to find and harder to address later. The purge comes first, without exception.
Avoid buying storage solutions before you know exactly what you're storing. It's tempting to buy bins and hooks before you've done the inventory – the result is usually a mismatch of containers that don't fit your actual tool collection, and you end up buying again. Sort first, plan second, purchase third.
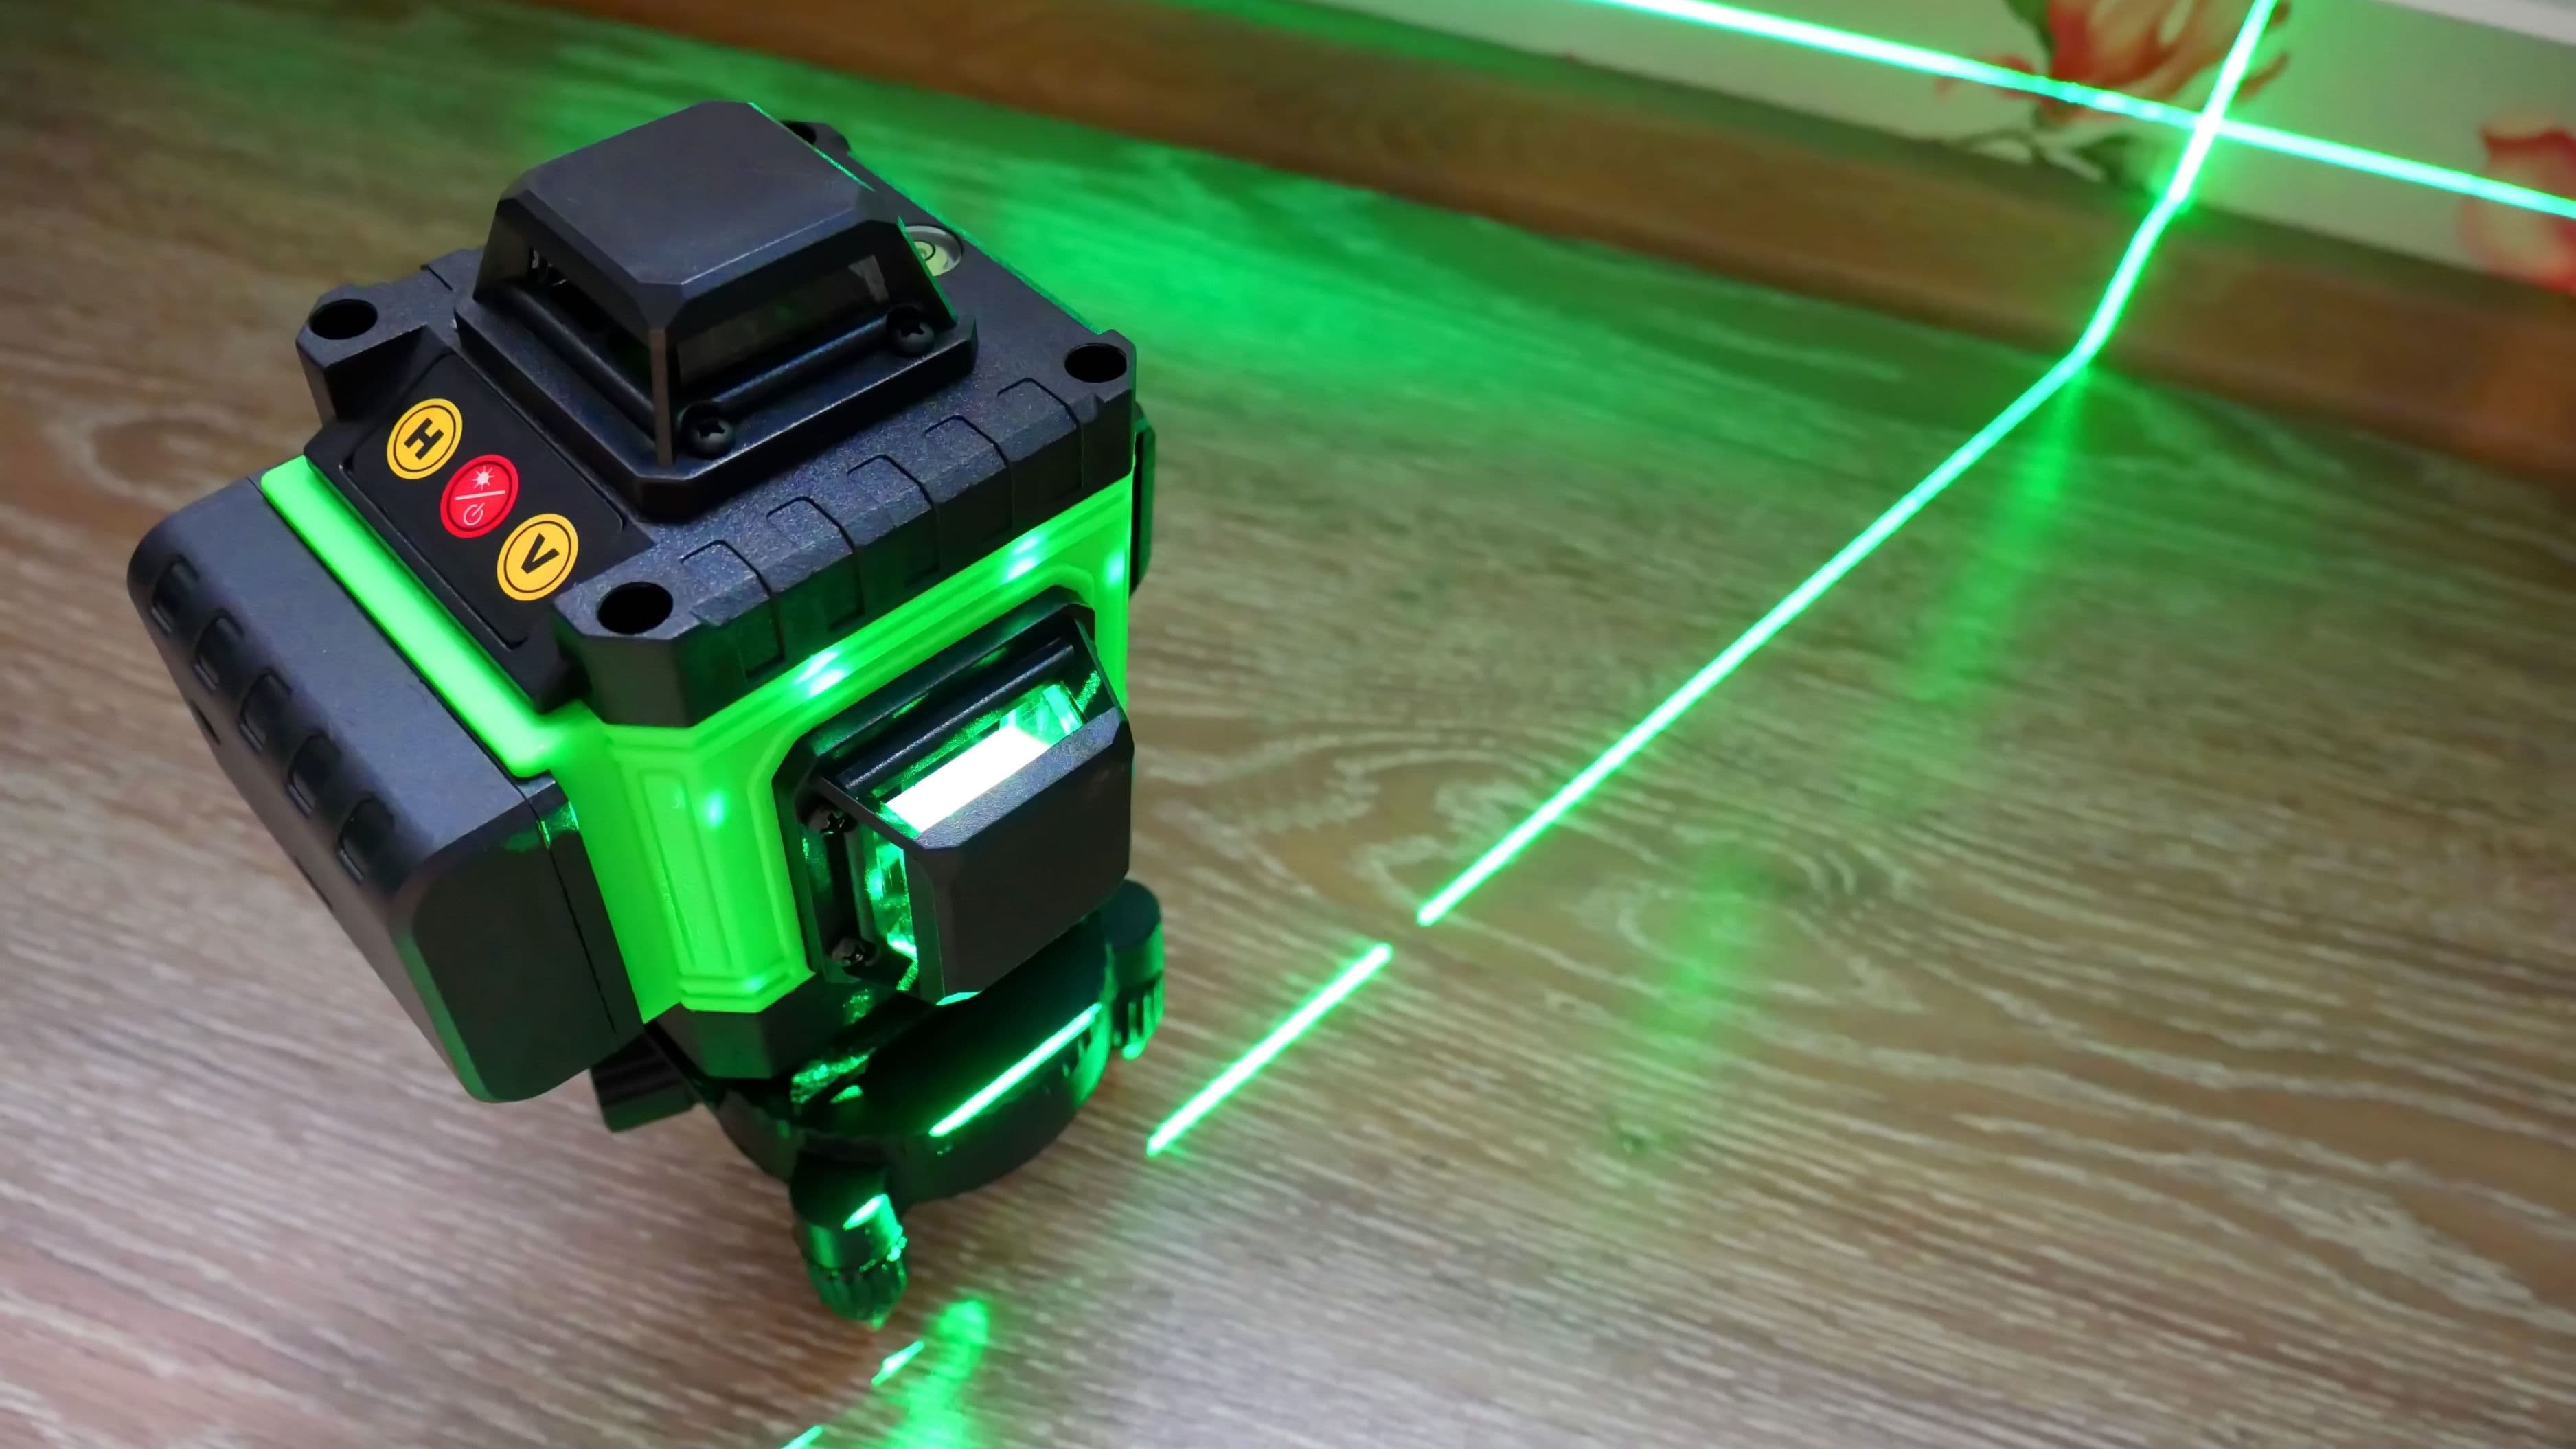
Don't skip anchoring shelves properly because you're trying to save time. A poorly anchored shelf loaded with tools is a safety hazard. If you're not confident identifying studs, use a quality stud finder (under $20) and take the extra few minutes to anchor into solid framing.
Avoid organizing everything into matching containers if it means losing visibility. A system where you can see what's inside at a glance (open bins, clear containers, labeled drawers) will be used. A system of identical opaque boxes requires you to remember what's where, and the inevitable result is that boxes get opened and dumped until the whole system collapses.
FAQ
What's the most affordable pegboard hook set worth buying? Any standard 1/4-inch pegboard hook set from a hardware store will work with standard pegboard. Sets of 50–100 assorted hooks run $15–$20 and include enough variety for most tool collections. Avoid the very cheapest options, which use thin wire that bends and loses grip over time. The medium-gauge steel hooks hold their shape and stay put when you pull a tool off the board.
How do I find studs in a garage wall? A basic magnetic or electronic stud finder works reliably on drywall-covered walls. For concrete or block walls, you're anchoring with masonry anchors – no stud finding required, but you'll need a hammer drill with masonry bits and appropriate anchor hardware. For unfinished wood-framed walls, the studs are usually visible or can be located by tapping and listening for a solid sound versus a hollow one.
My garage is small – can I still have a functional workshop? Yes. Small garages benefit from vertical thinking: wall-mounted storage, overhead storage on ceiling-mounted racks (good for lumber and seasonal items), and fold-down workbench designs that free up floor space when not in use. Prioritize the tools and supplies you actually use most frequently and store seasonal or rarely used items in the most inaccessible spots. A 1-car garage can support a fully functional workshop with disciplined planning.
Is it worth buying a used metal shelving unit instead of building shelves? For most people, yes. A used metal shelving unit for $10–$25 is faster to set up, fully adjustable, and can be repositioned as your workflow evolves. Building shelves makes more sense for fixed situations with unusual dimensions, specific load requirements, or where floor footprint is too constrained for a free-standing unit.
How do I keep the workshop organized after setting it up? The single most effective habit is the "put it back immediately" rule – not "put it back when I'm done with the project," but returned to its home as soon as you're finished using it. Every system stays organized when tools reliably return to their labeled spot. When a project is finished, do a 10-minute full reset before starting the next one. This takes discipline for the first few weeks and becomes automatic after that.
Wrapping Up
A functional garage workshop doesn't require a big budget – it requires a clear plan, a willingness to deal with the clutter first, and smart use of vertical wall space. Pegboard for hand tools, proper shelving for bins and supplies, a solid workbench with good lighting, and organized fastener storage will handle 90% of what makes a workshop genuinely usable. Do it once, do it right, and you'll spend a lot less time hunting for tools and a lot more time actually using them.
📚 Sources
Garage organization and storage planning guide – The Family Handyman: https://www.familyhandyman.com/list/garage-organization-tips/
How to install pegboard in a garage – This Old House: https://www.thisoldhouse.com/garages/21017148/how-to-install-pegboard
Building a basic workbench – Fine Homebuilding: https://www.finehomebuilding.com/project-guides/tools-workshop/workbench
Safe storage of flammable liquids at home – OSHA consumer guidance: https://www.osha.gov/flammable-liquids
How to find wall studs – Family Handyman: https://www.familyhandyman.com/article/how-to-find-a-stud/
Masonry anchoring for concrete walls – Bob Vila: https://www.bobvila.com/articles/concrete-wall-anchors/
🔍 Explore Related Topics