Placing these sensors strategically – not just randomly – is what makes the difference between genuine protection and a false sense of security. Here's exactly where to put them and why.
What You Need Before You Start
Difficulty level: Easy
Time to complete: 1–2 hours for a full home setup
Cost: $15–$50 per sensor, depending on brand and features
Most leak sensors are simple, wireless devices that sit on the floor and trigger an alarm when their contact points touch water. Higher-end versions connect to a smart home system, send phone alerts, and can even trigger automatic water shutoff valves. For this guide, both types work the same way in terms of placement – the logic doesn't change based on how fancy the sensor is.
Before you start placing sensors, walk through your home and mentally note every location where water is present: supply lines, drain connections, appliances with water hookups, and anywhere condensation or overflow might collect. That mental map is your placement guide.
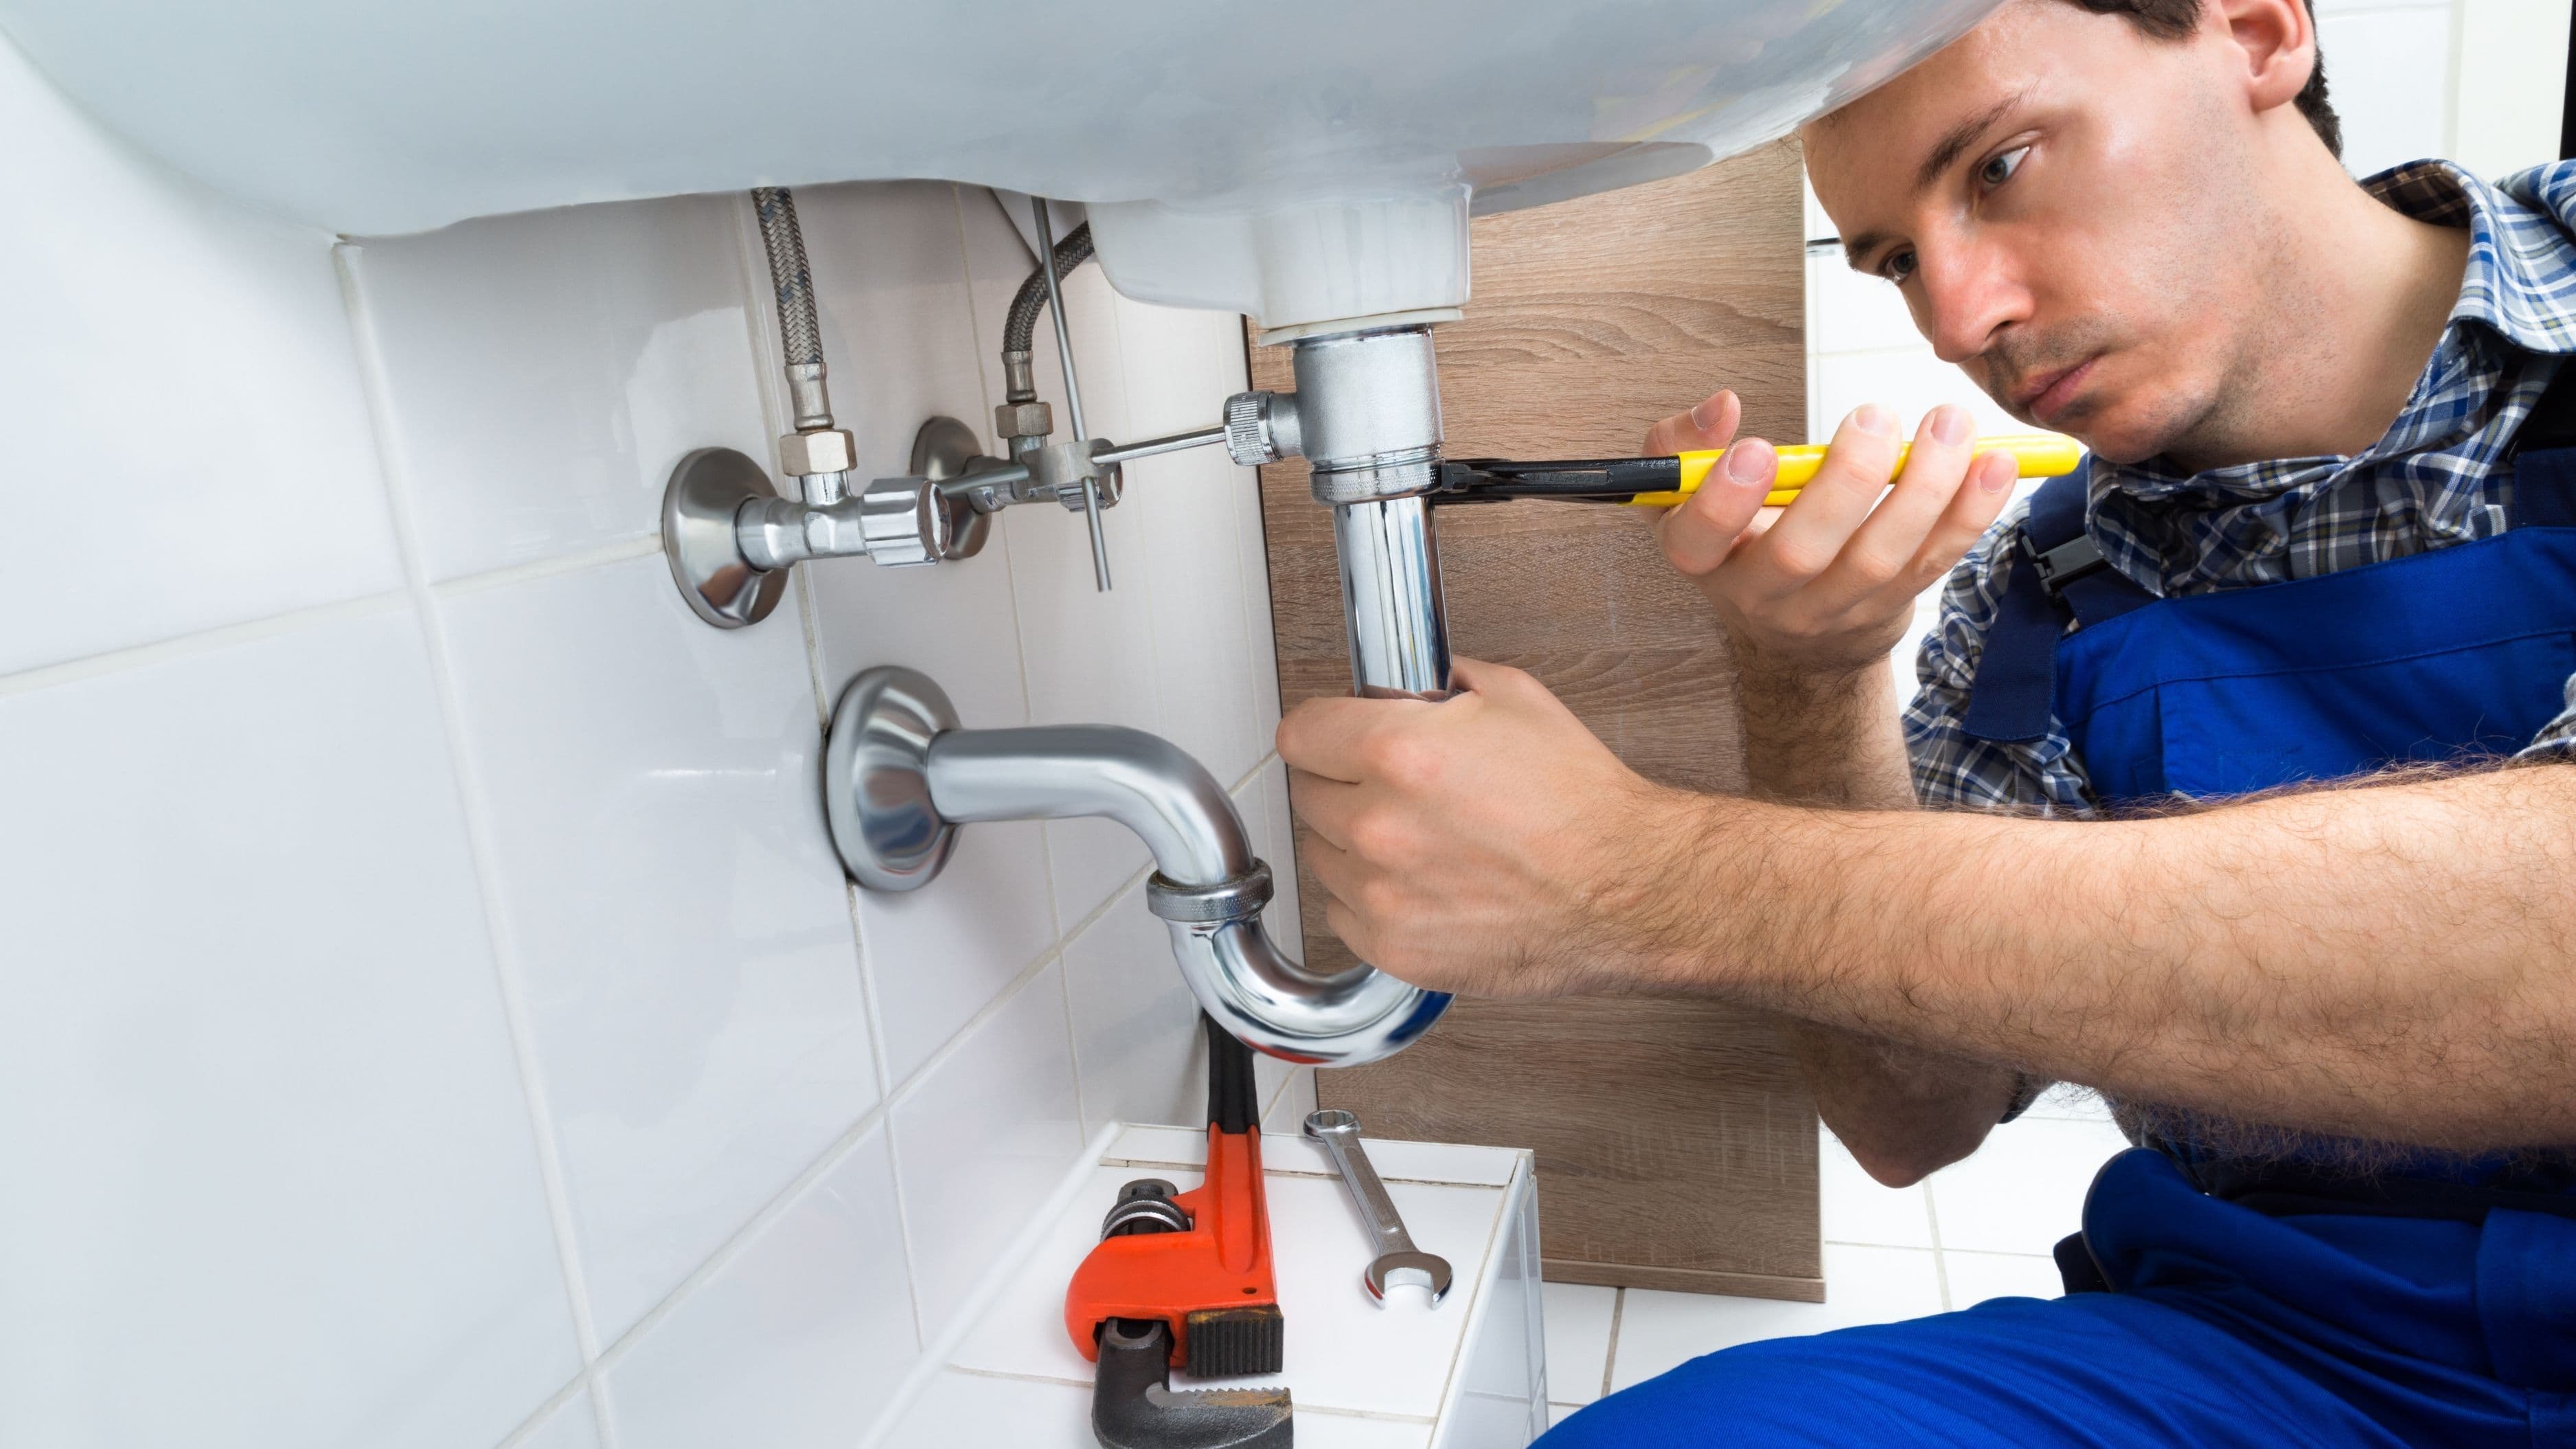
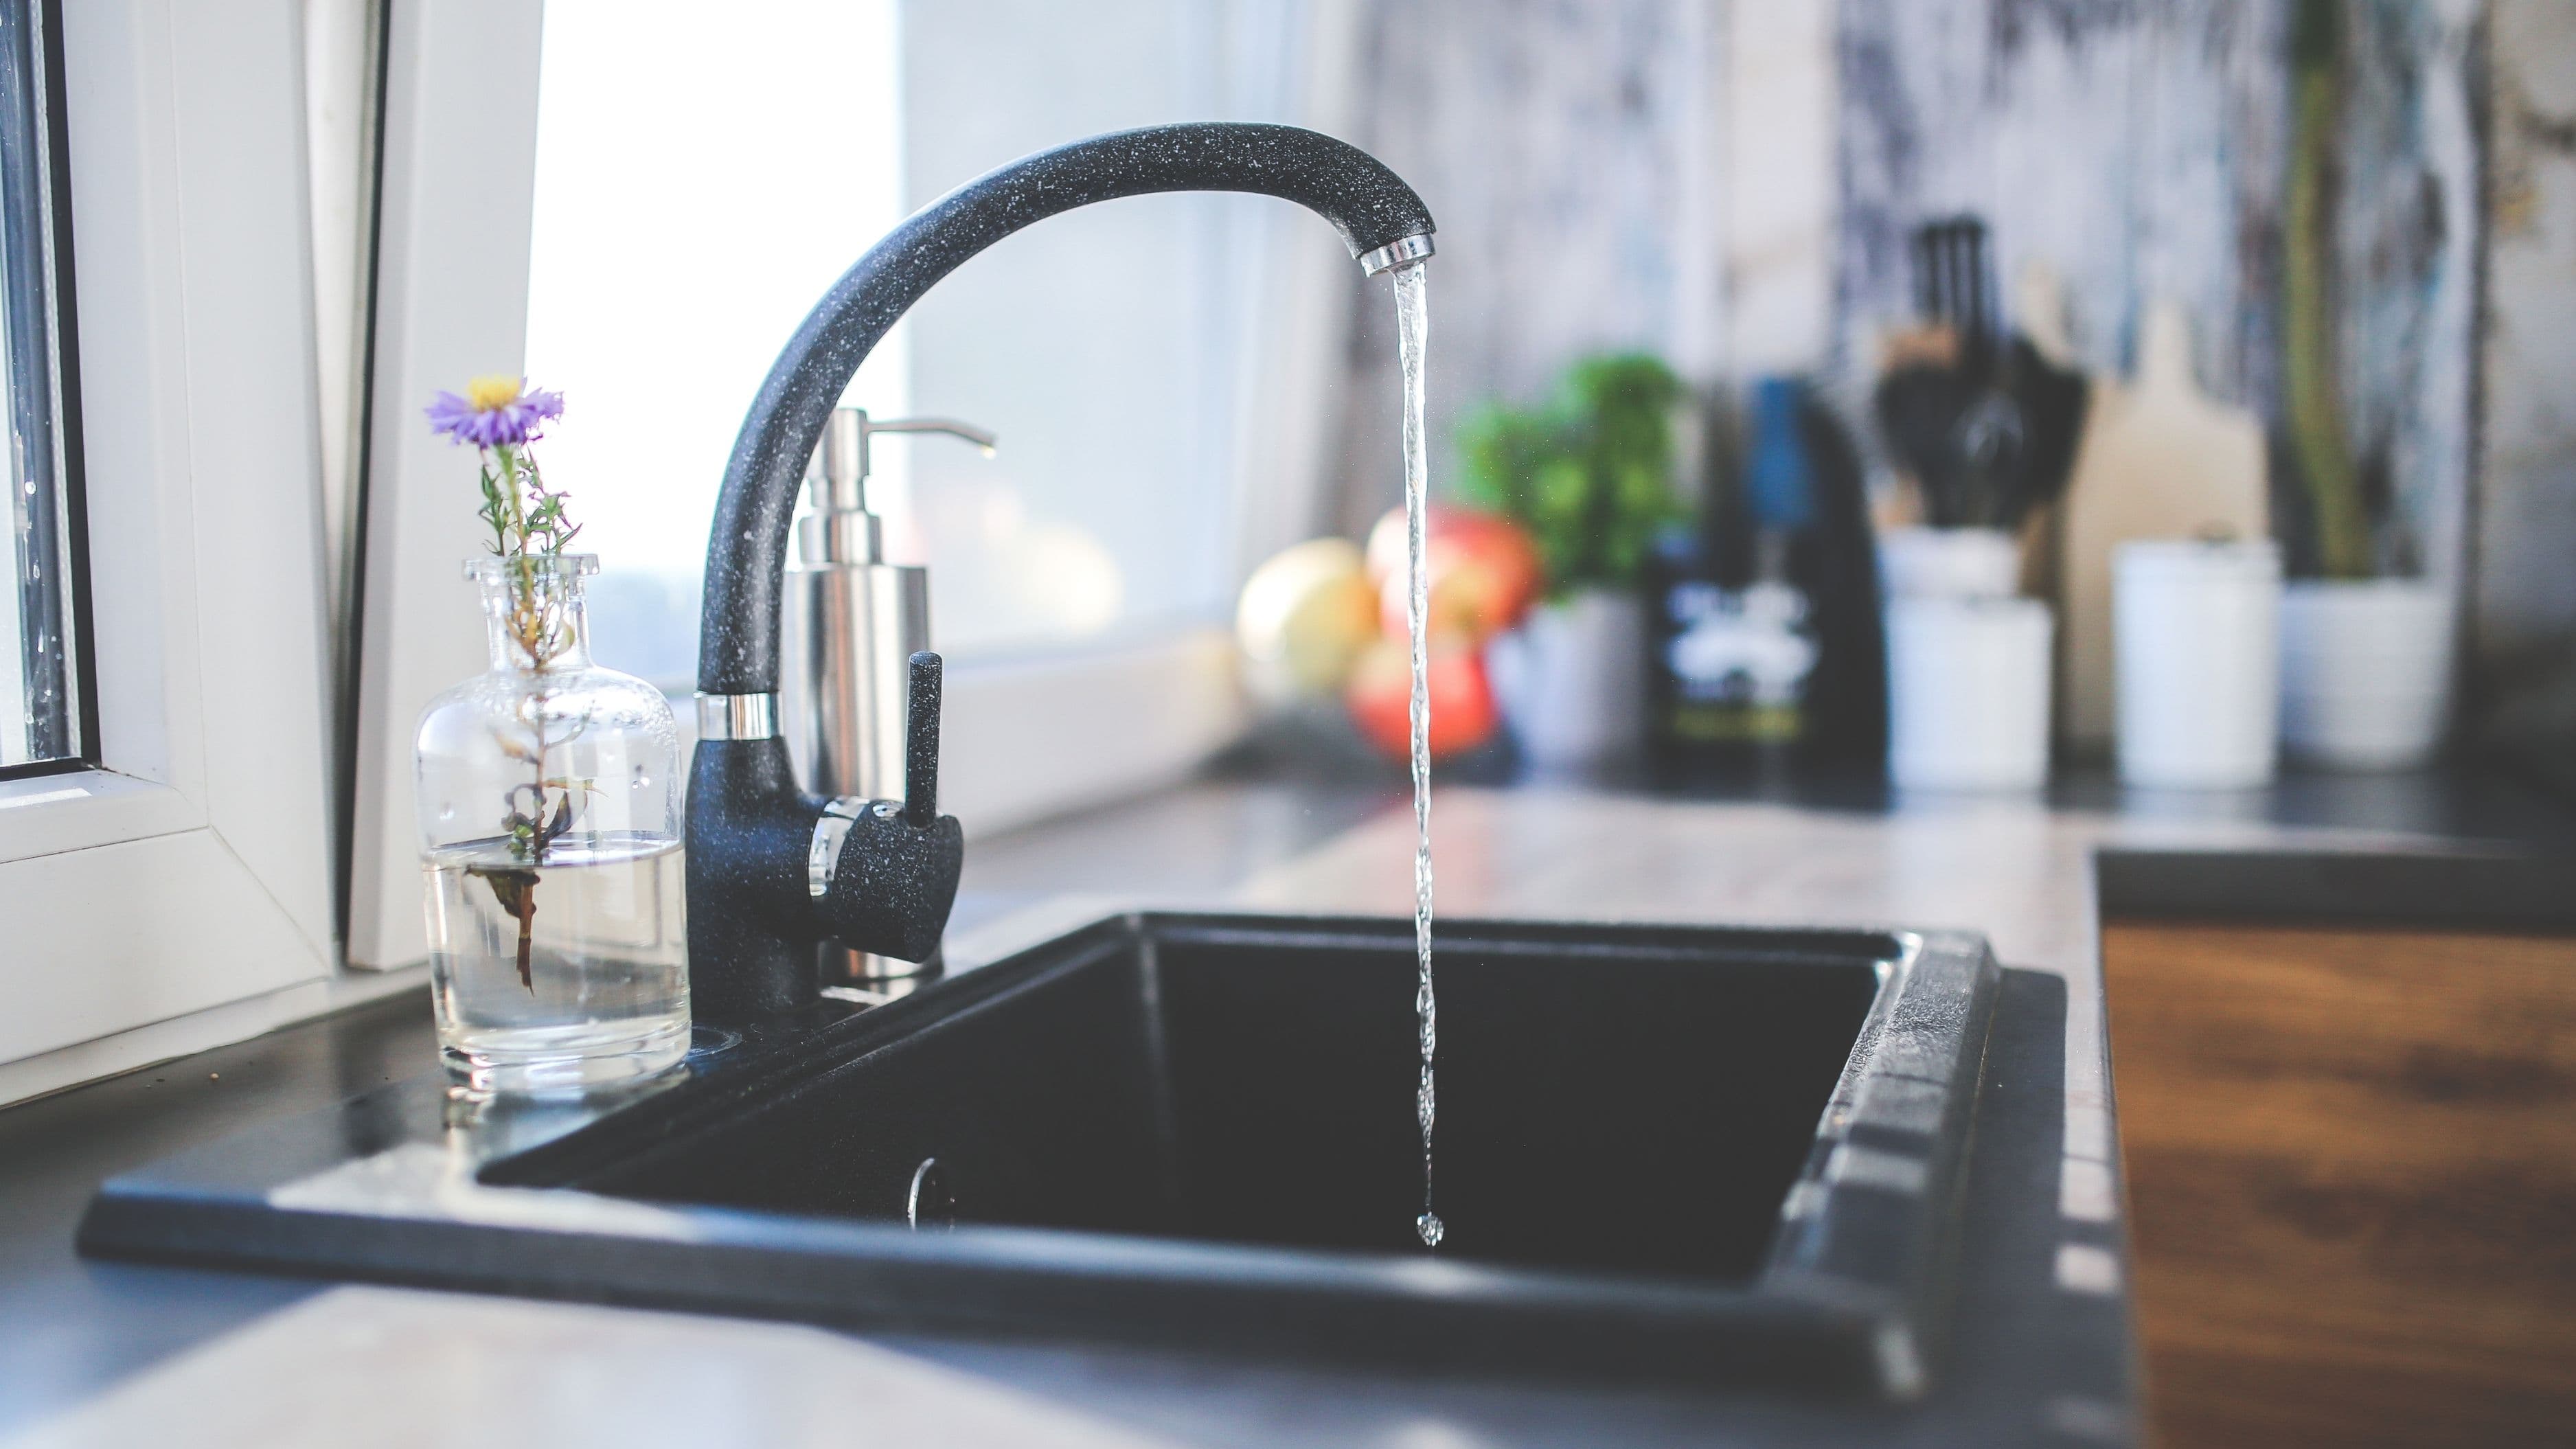
Step 1: Start With the Highest-Risk Location – Under the Kitchen Sink
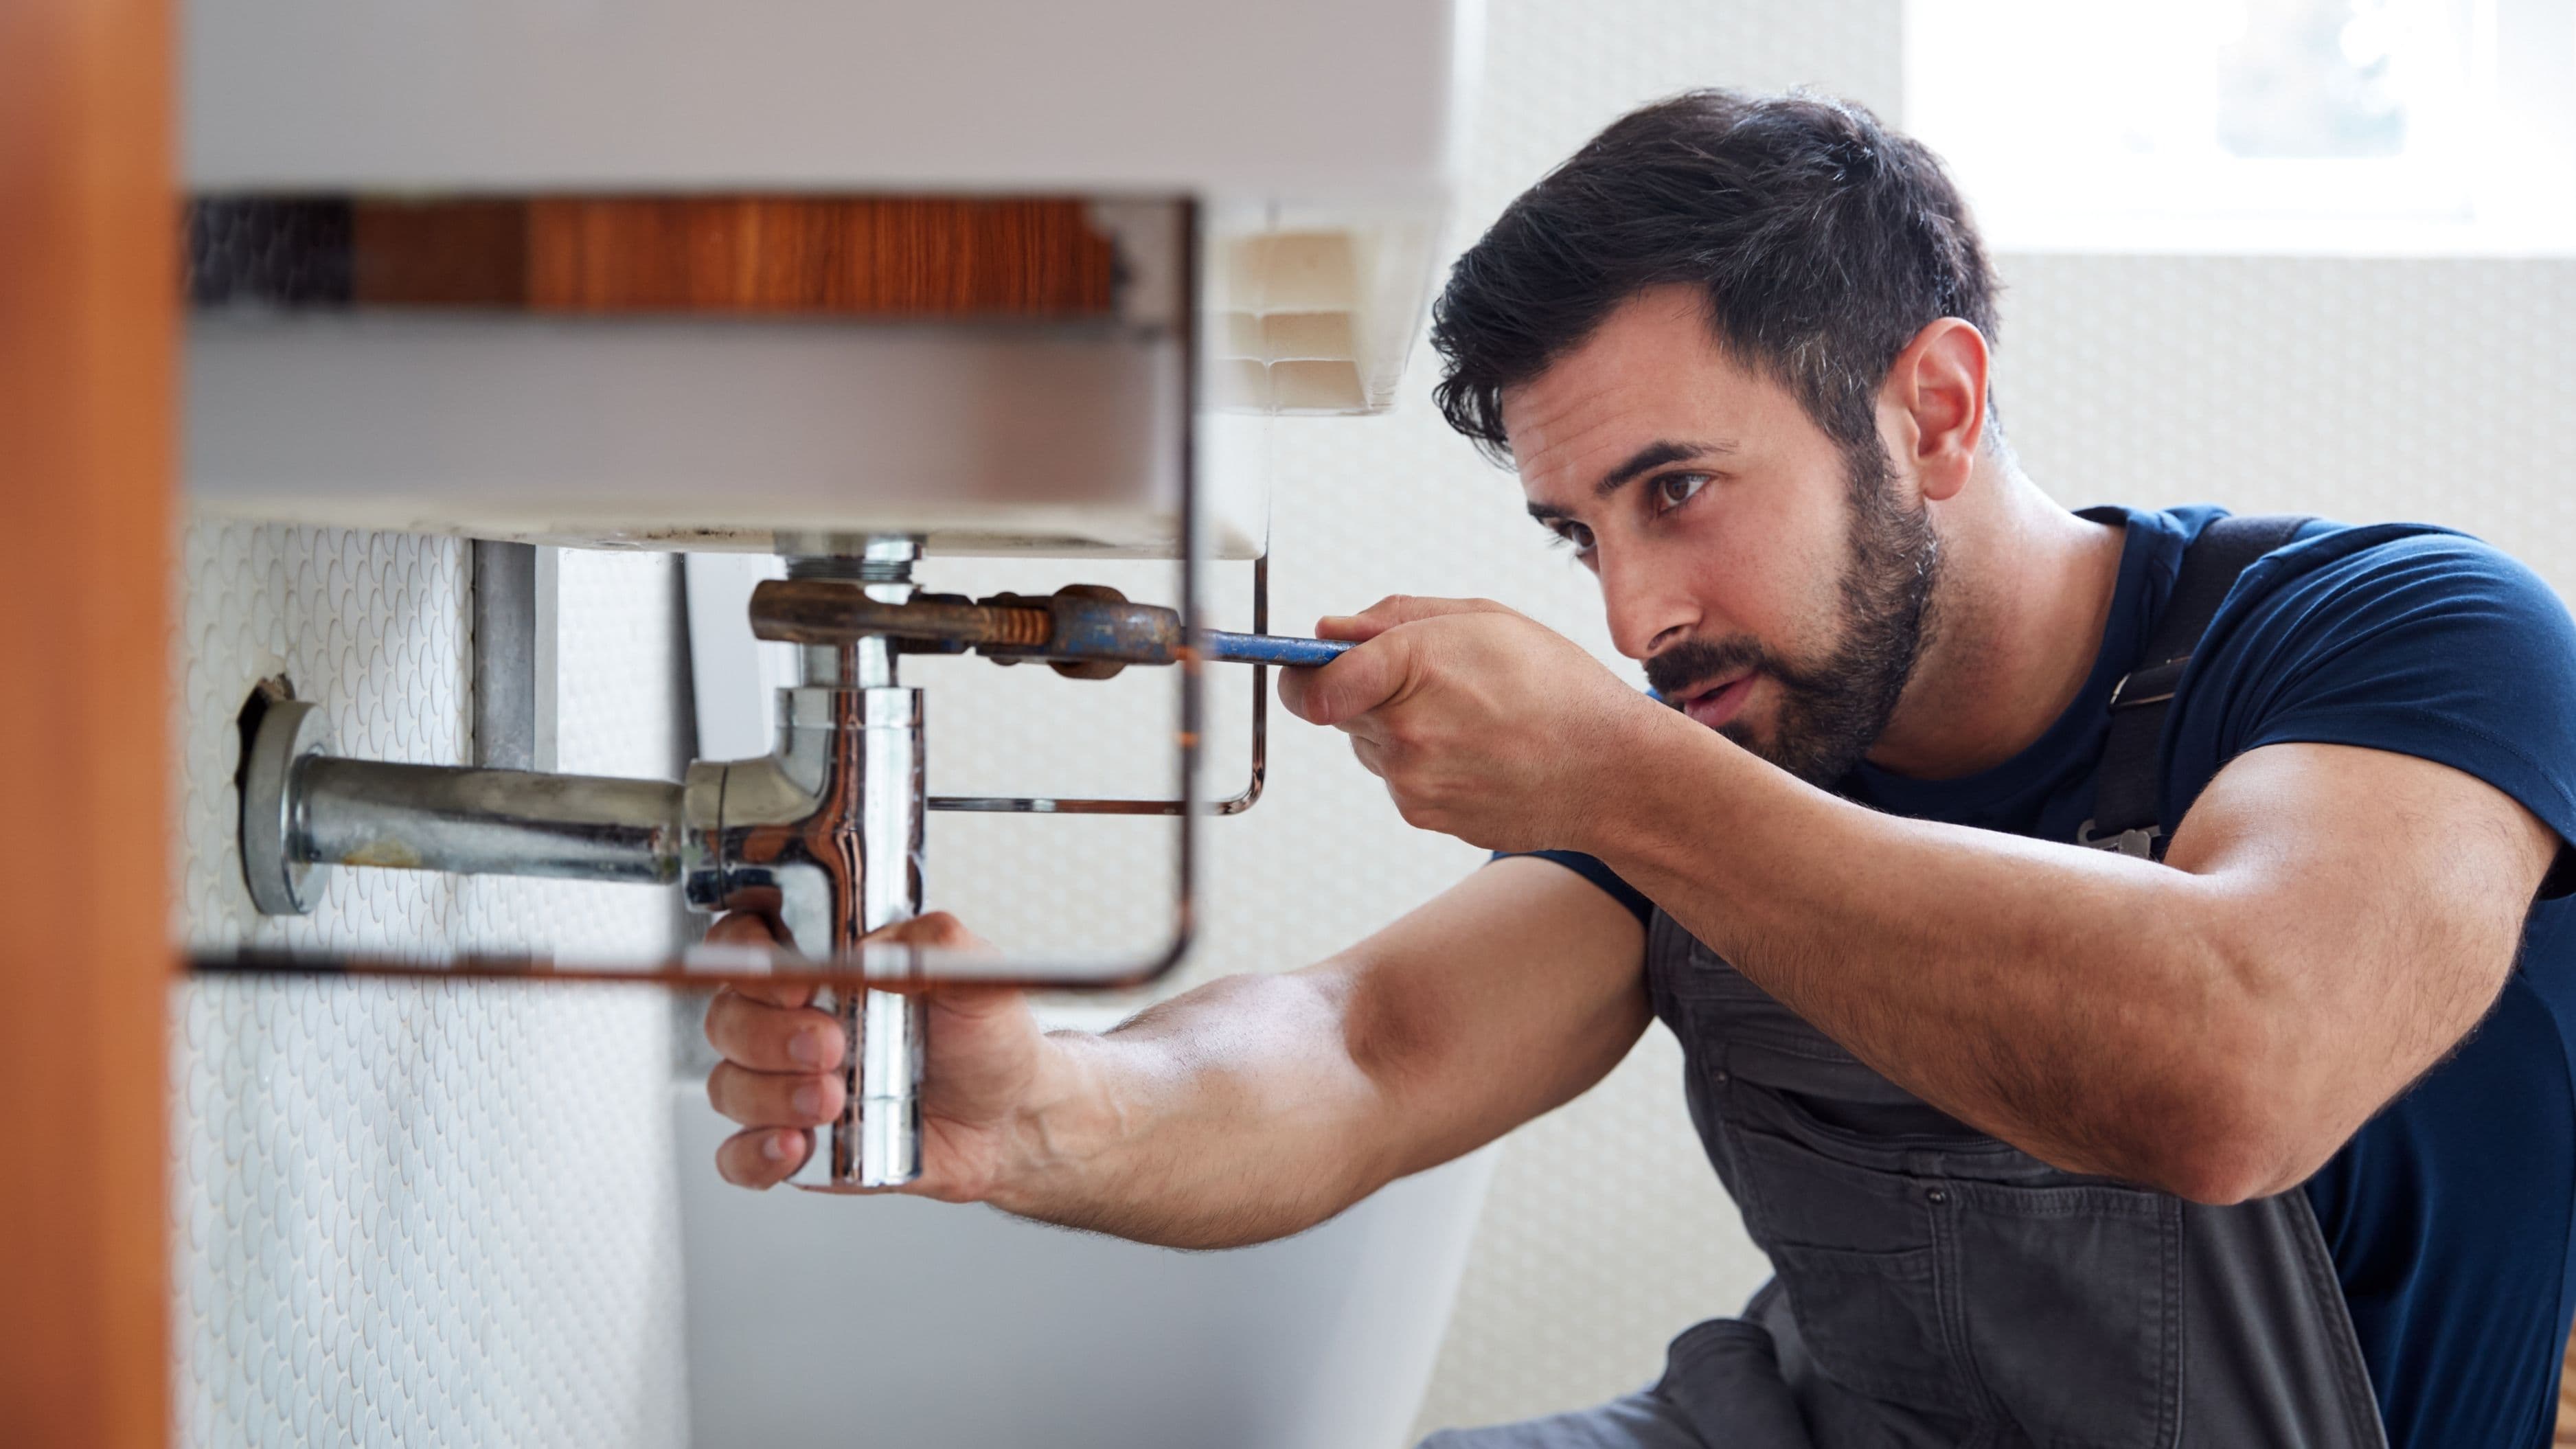
The space under a kitchen sink is one of the most leak-prone areas in any home. You've got supply lines feeding the faucet, a drain assembly that sees constant use, and often a garbage disposal with its own connections. Any of those can develop a slow drip that runs quietly for weeks while the cabinet absorbs the moisture.
Place one sensor flat on the floor of the cabinet, toward the back where water would naturally pool first. Make sure the contact points on the sensor's underside are touching the cabinet floor directly – not sitting on top of a shelf liner or mat, which can absorb moisture and delay detection. If your kitchen sink has two separate cabinet sections (common with a center post), put a sensor in each side.
Step 2: Protect Under Every Bathroom Sink
The same logic applies to bathroom sink cabinets. Supply lines, drain connections, and the occasional overflow from a clogged drain all make this a consistent source of undetected leaks. Most bathrooms have limited ventilation under the sink, which means moisture lingers and promotes mold growth quickly once a drip starts.
One sensor per bathroom sink cabinet, placed flat on the floor with the contact points down. If you have a pedestal sink without a cabinet, place the sensor directly on the floor behind the pedestal where a leak from the supply lines would run.
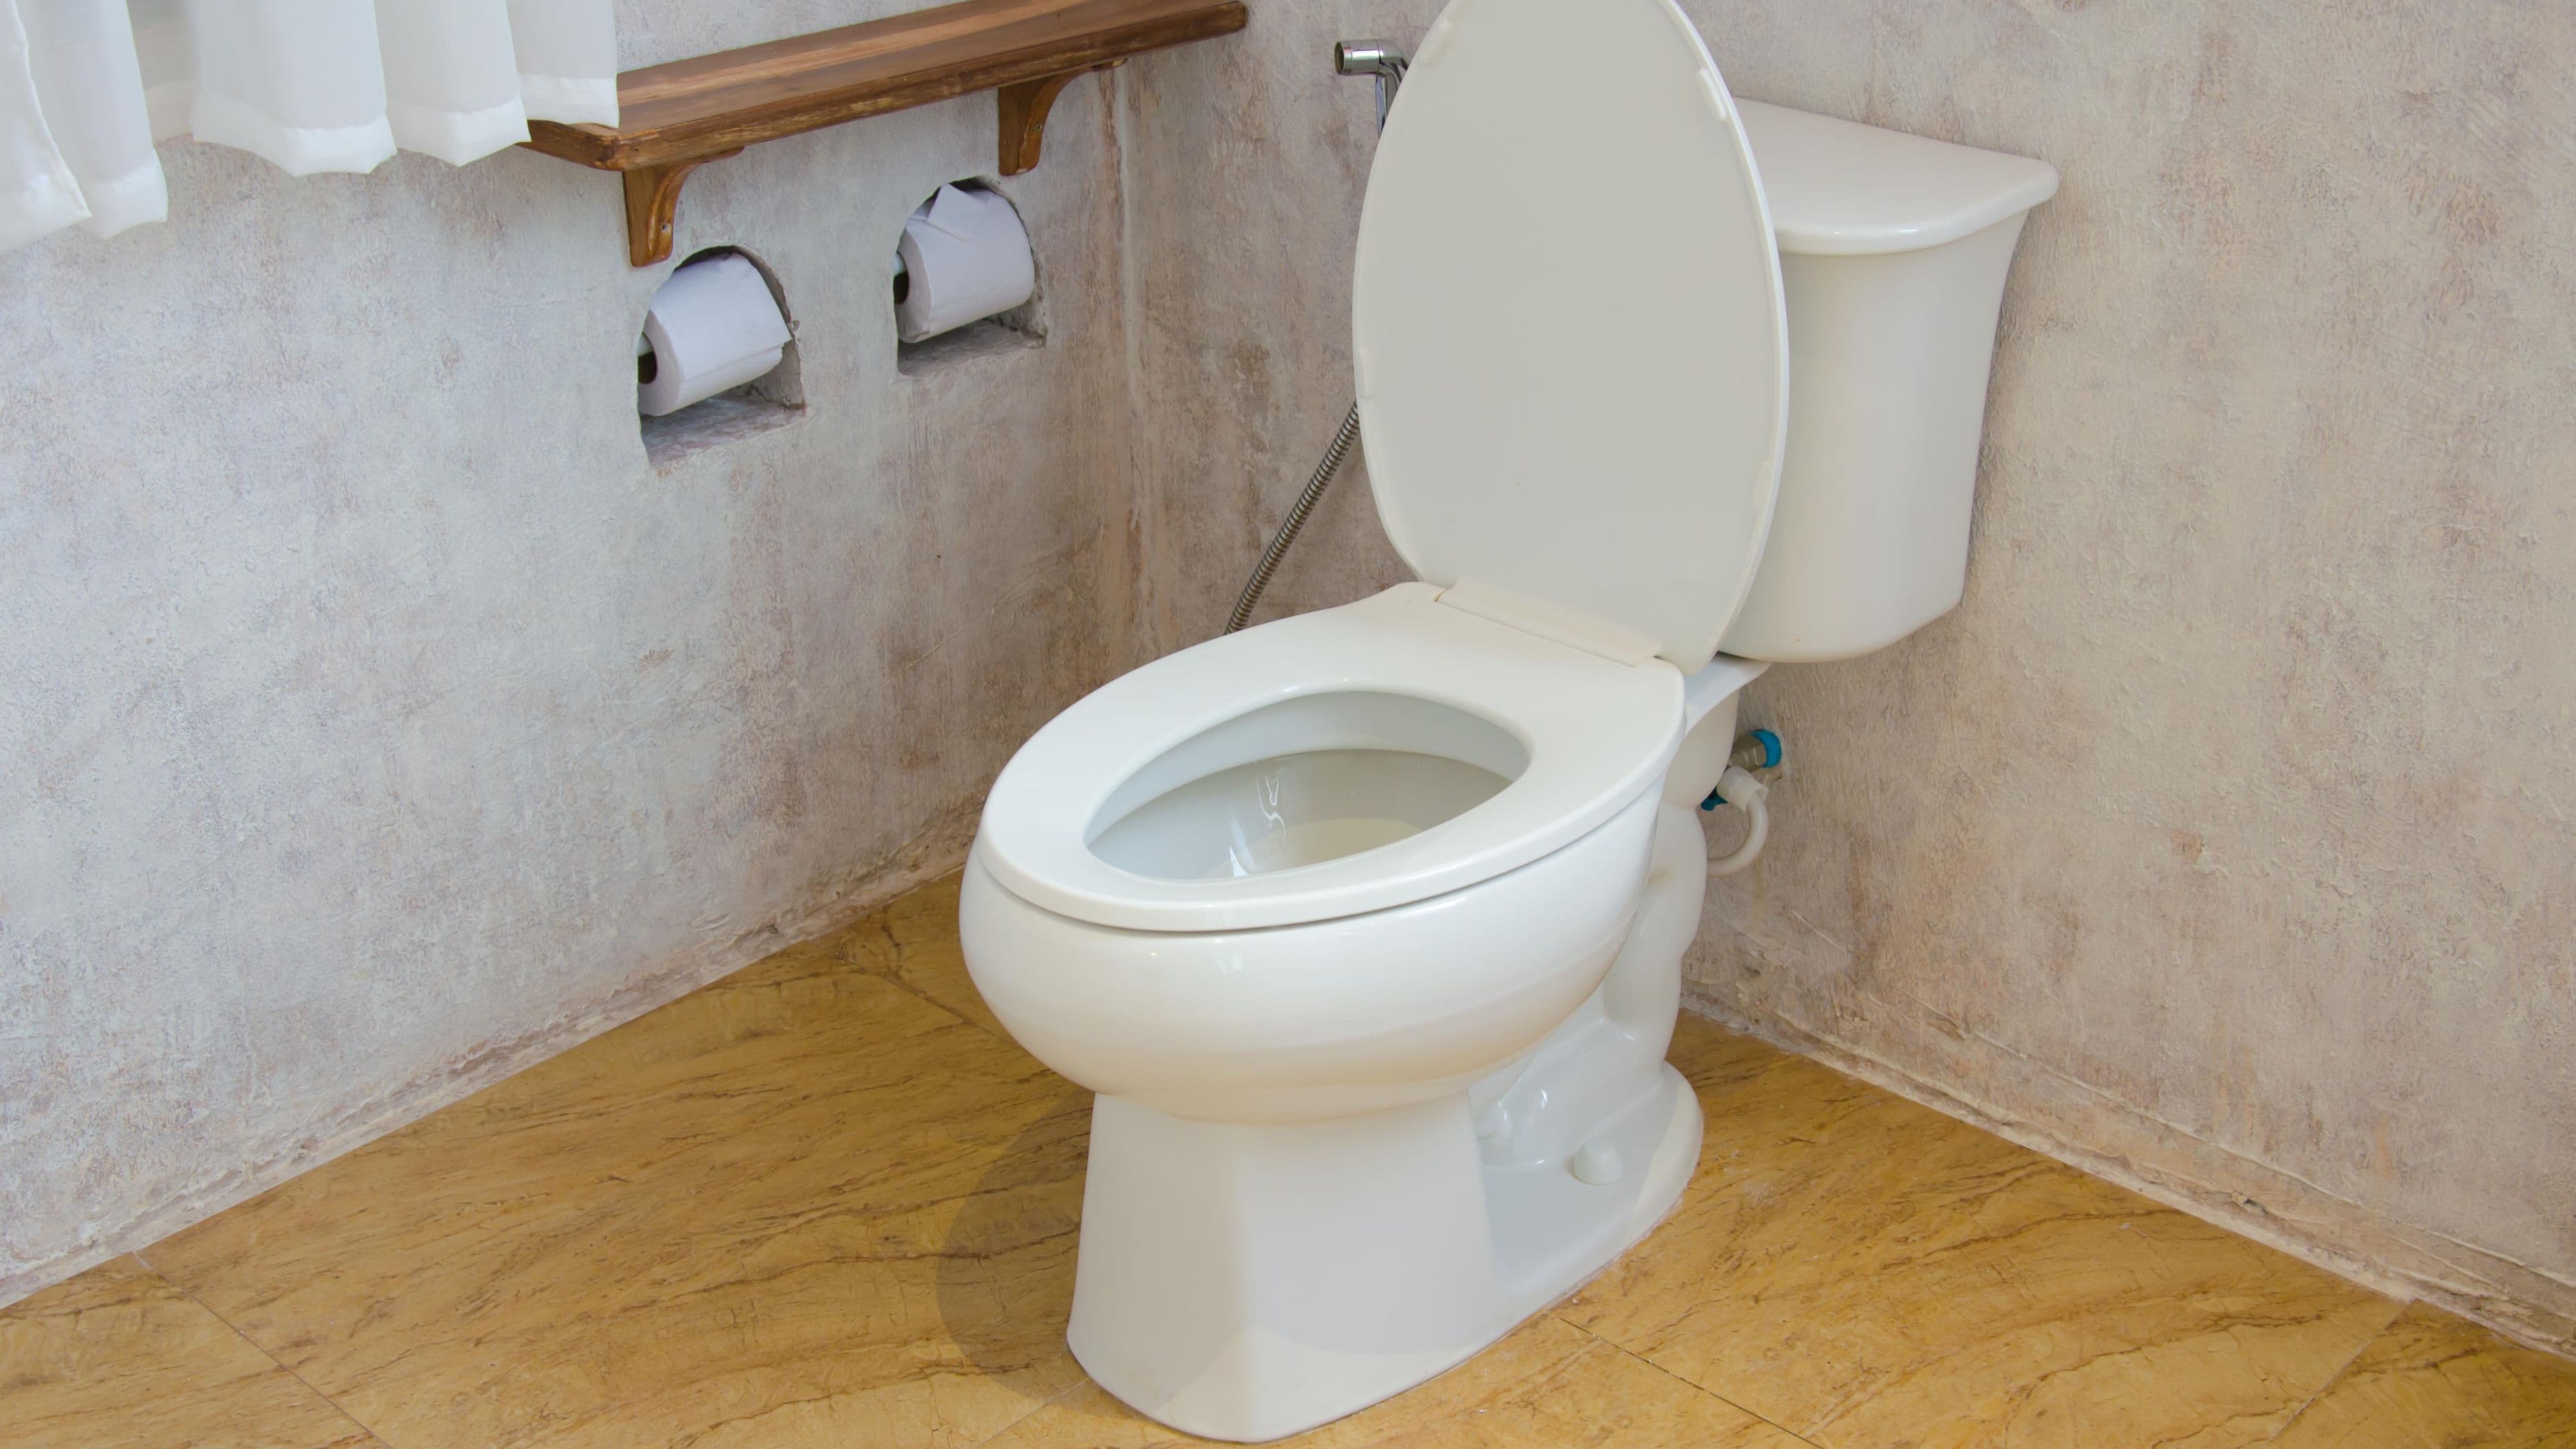
Step 3: Behind the Toilet
Toilet base leaks are subtle and common. The wax ring seal between the toilet and the floor flange degrades over time, and a slow leak at the base can go unnoticed for months because the water gets absorbed by the flooring and subfloor rather than pooling visibly. By the time you see the problem, the subfloor is often already damaged.
Place a sensor directly on the floor behind or beside the toilet base – as close to the connection points as your toilet's footprint allows. The area between the tank and the wall is also worth considering, since supply line connections at the tank inlet can develop drips as the braided line ages.
Step 4: Next to the Water Heater
Water heaters don't fail all at once – they typically start with a slow drip from the pressure relief valve, a loose fitting, or early corrosion at the base. By the time a water heater fails catastrophically and floods the space, a sensor would have already caught the early warning signs.
Place one sensor directly on the floor beside the water heater, as close to the base as you can get it without blocking access for maintenance. If your water heater sits in a drain pan (which is recommended and required by code in many jurisdictions), you can place the sensor inside the drain pan so it catches any overflow before it escapes the pan. Just make sure the drain line from the pan is clear and functional so the pan doesn't fill up and overflow before the sensor triggers.
Step 5: Behind the Washing Machine
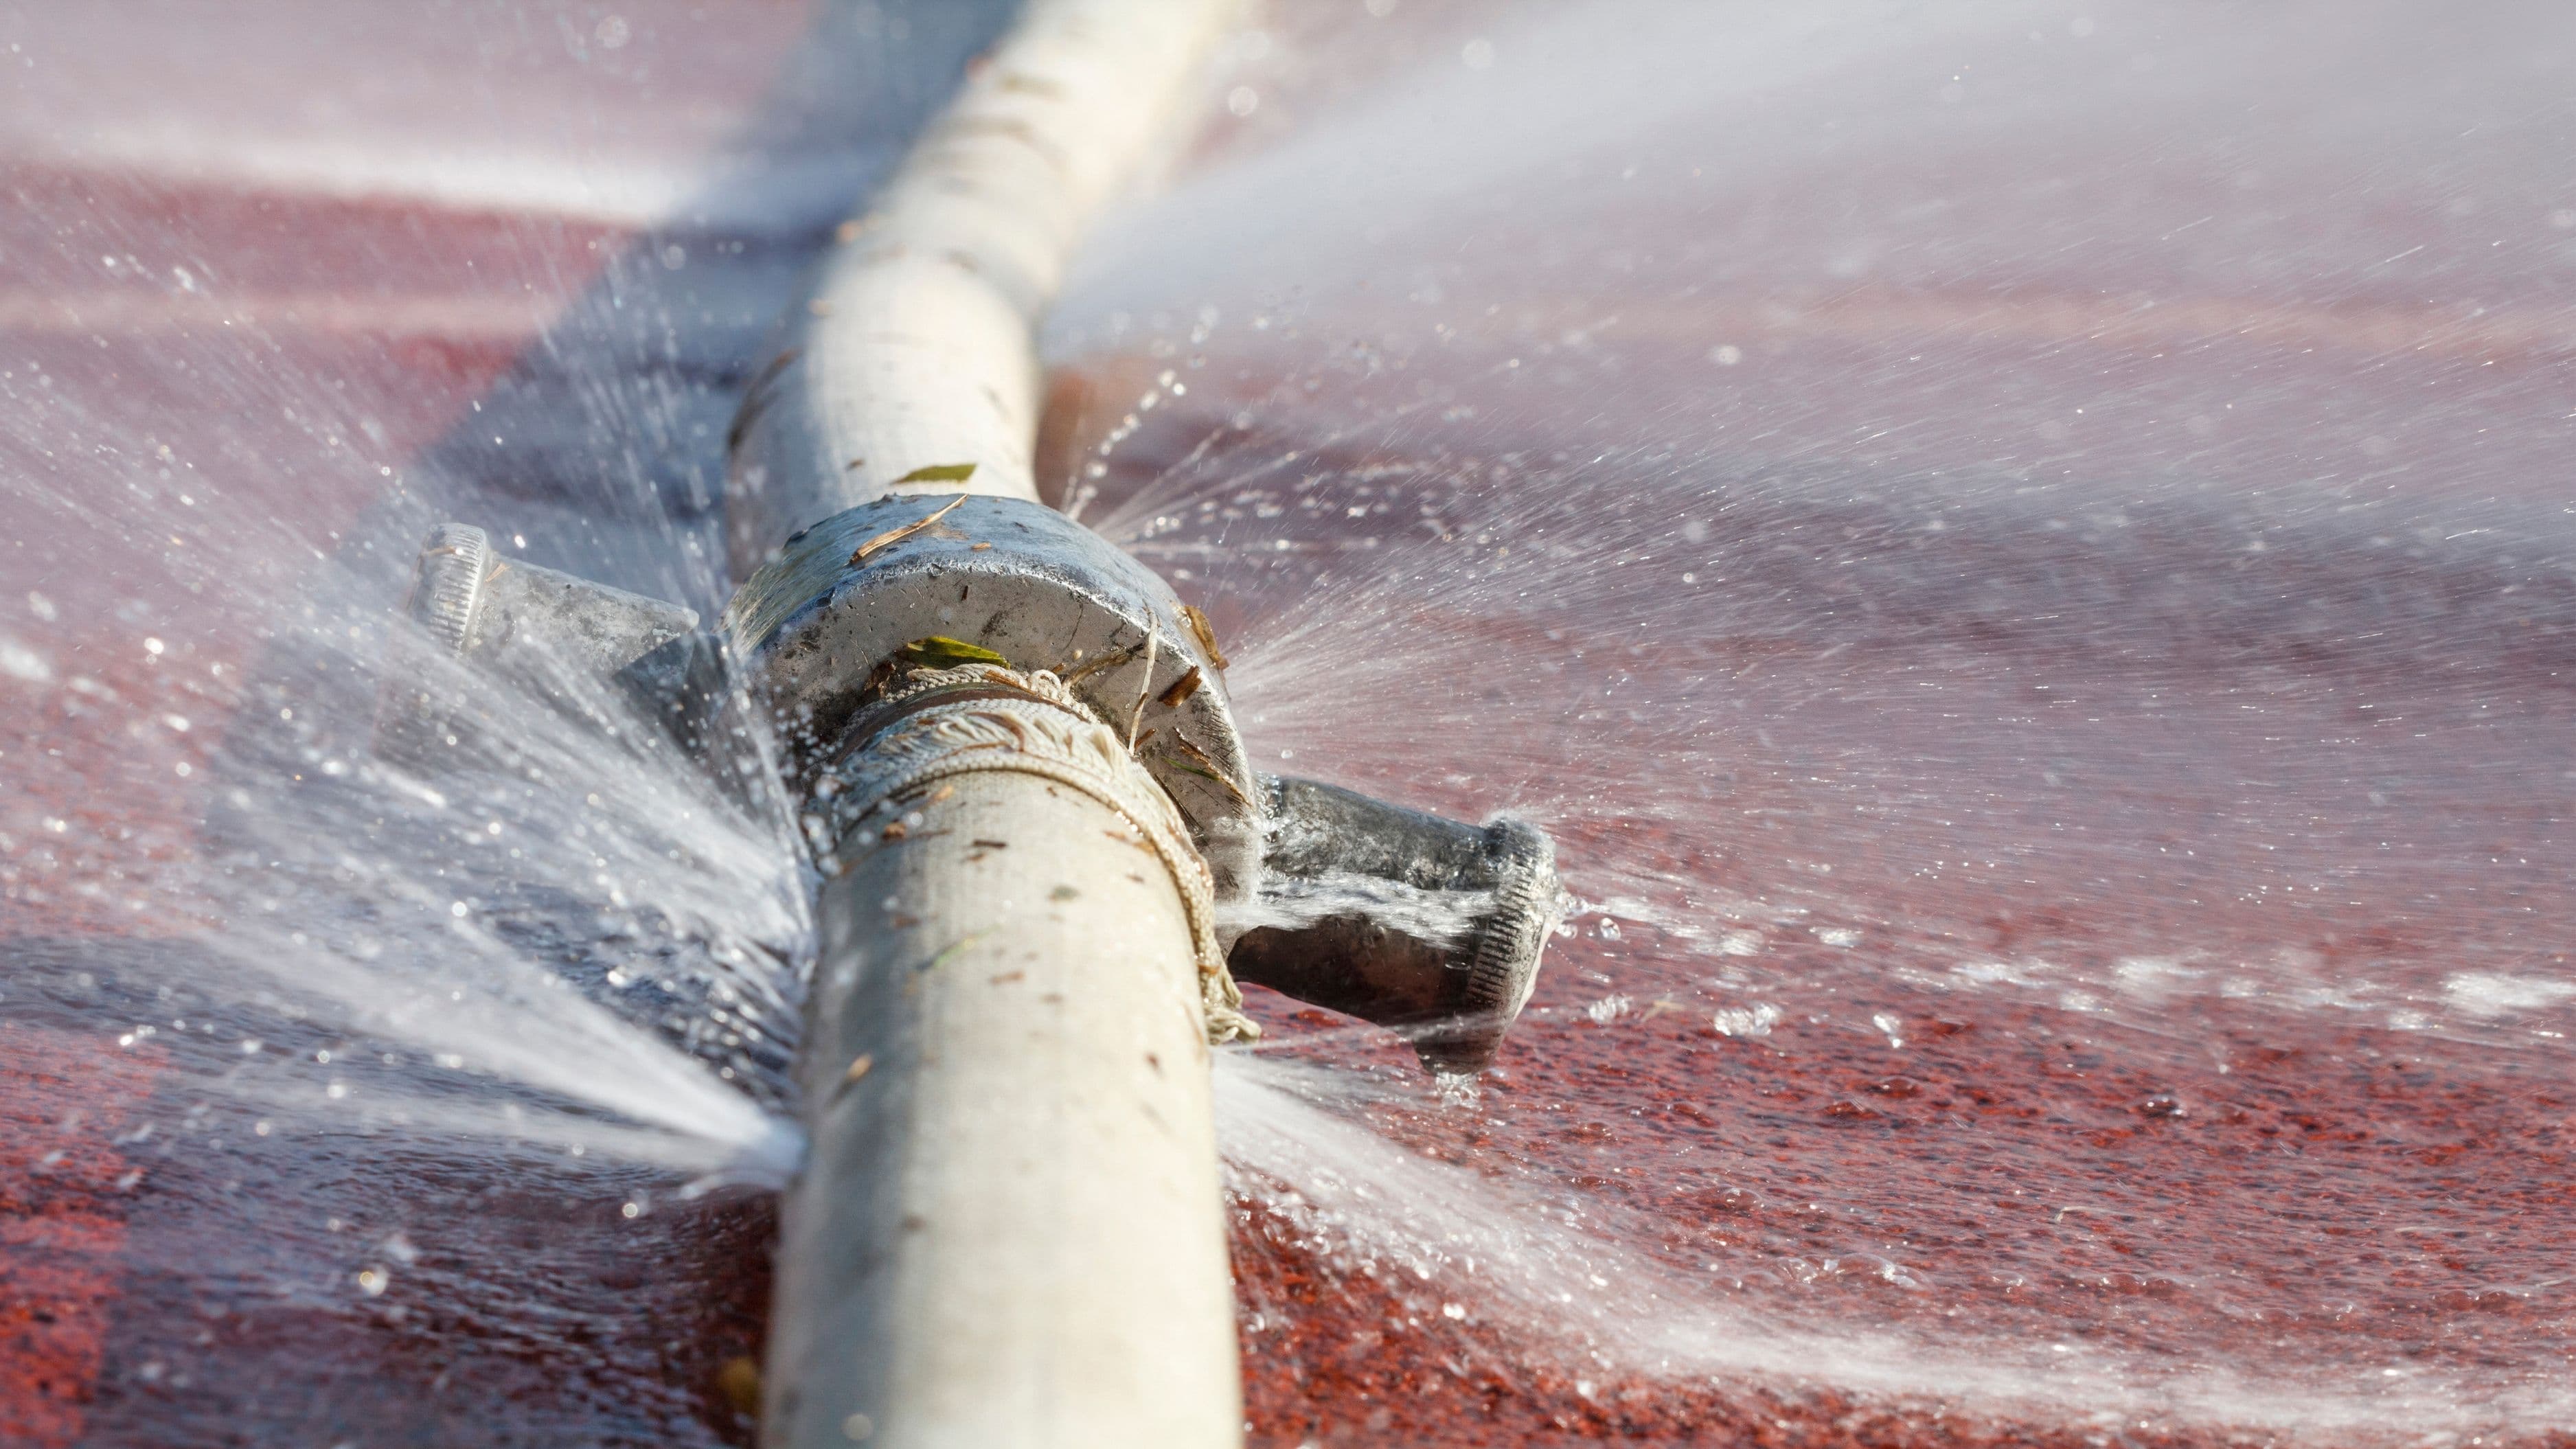
The washing machine is connected to hot and cold supply lines that are under constant pressure, and a failure here can dump water at a high volume very quickly. Washing machine hose failures are one of the leading causes of large water damage claims. The drain hose can also come loose from the standpipe during a spin cycle.
Place a sensor flat on the floor directly behind the washing machine, as close to the wall connections as you can reach without pulling the machine out. If you can't get close enough to the supply lines, the floor directly behind the machine is still a worthwhile location – water from either the supply lines or the drain will eventually reach the floor there.
One additional consideration: if your washing machine sits on a pedestal or elevated platform, check whether water could run off to the sides before pooling behind the machine. Place the sensor at the lowest point of any likely runoff path.
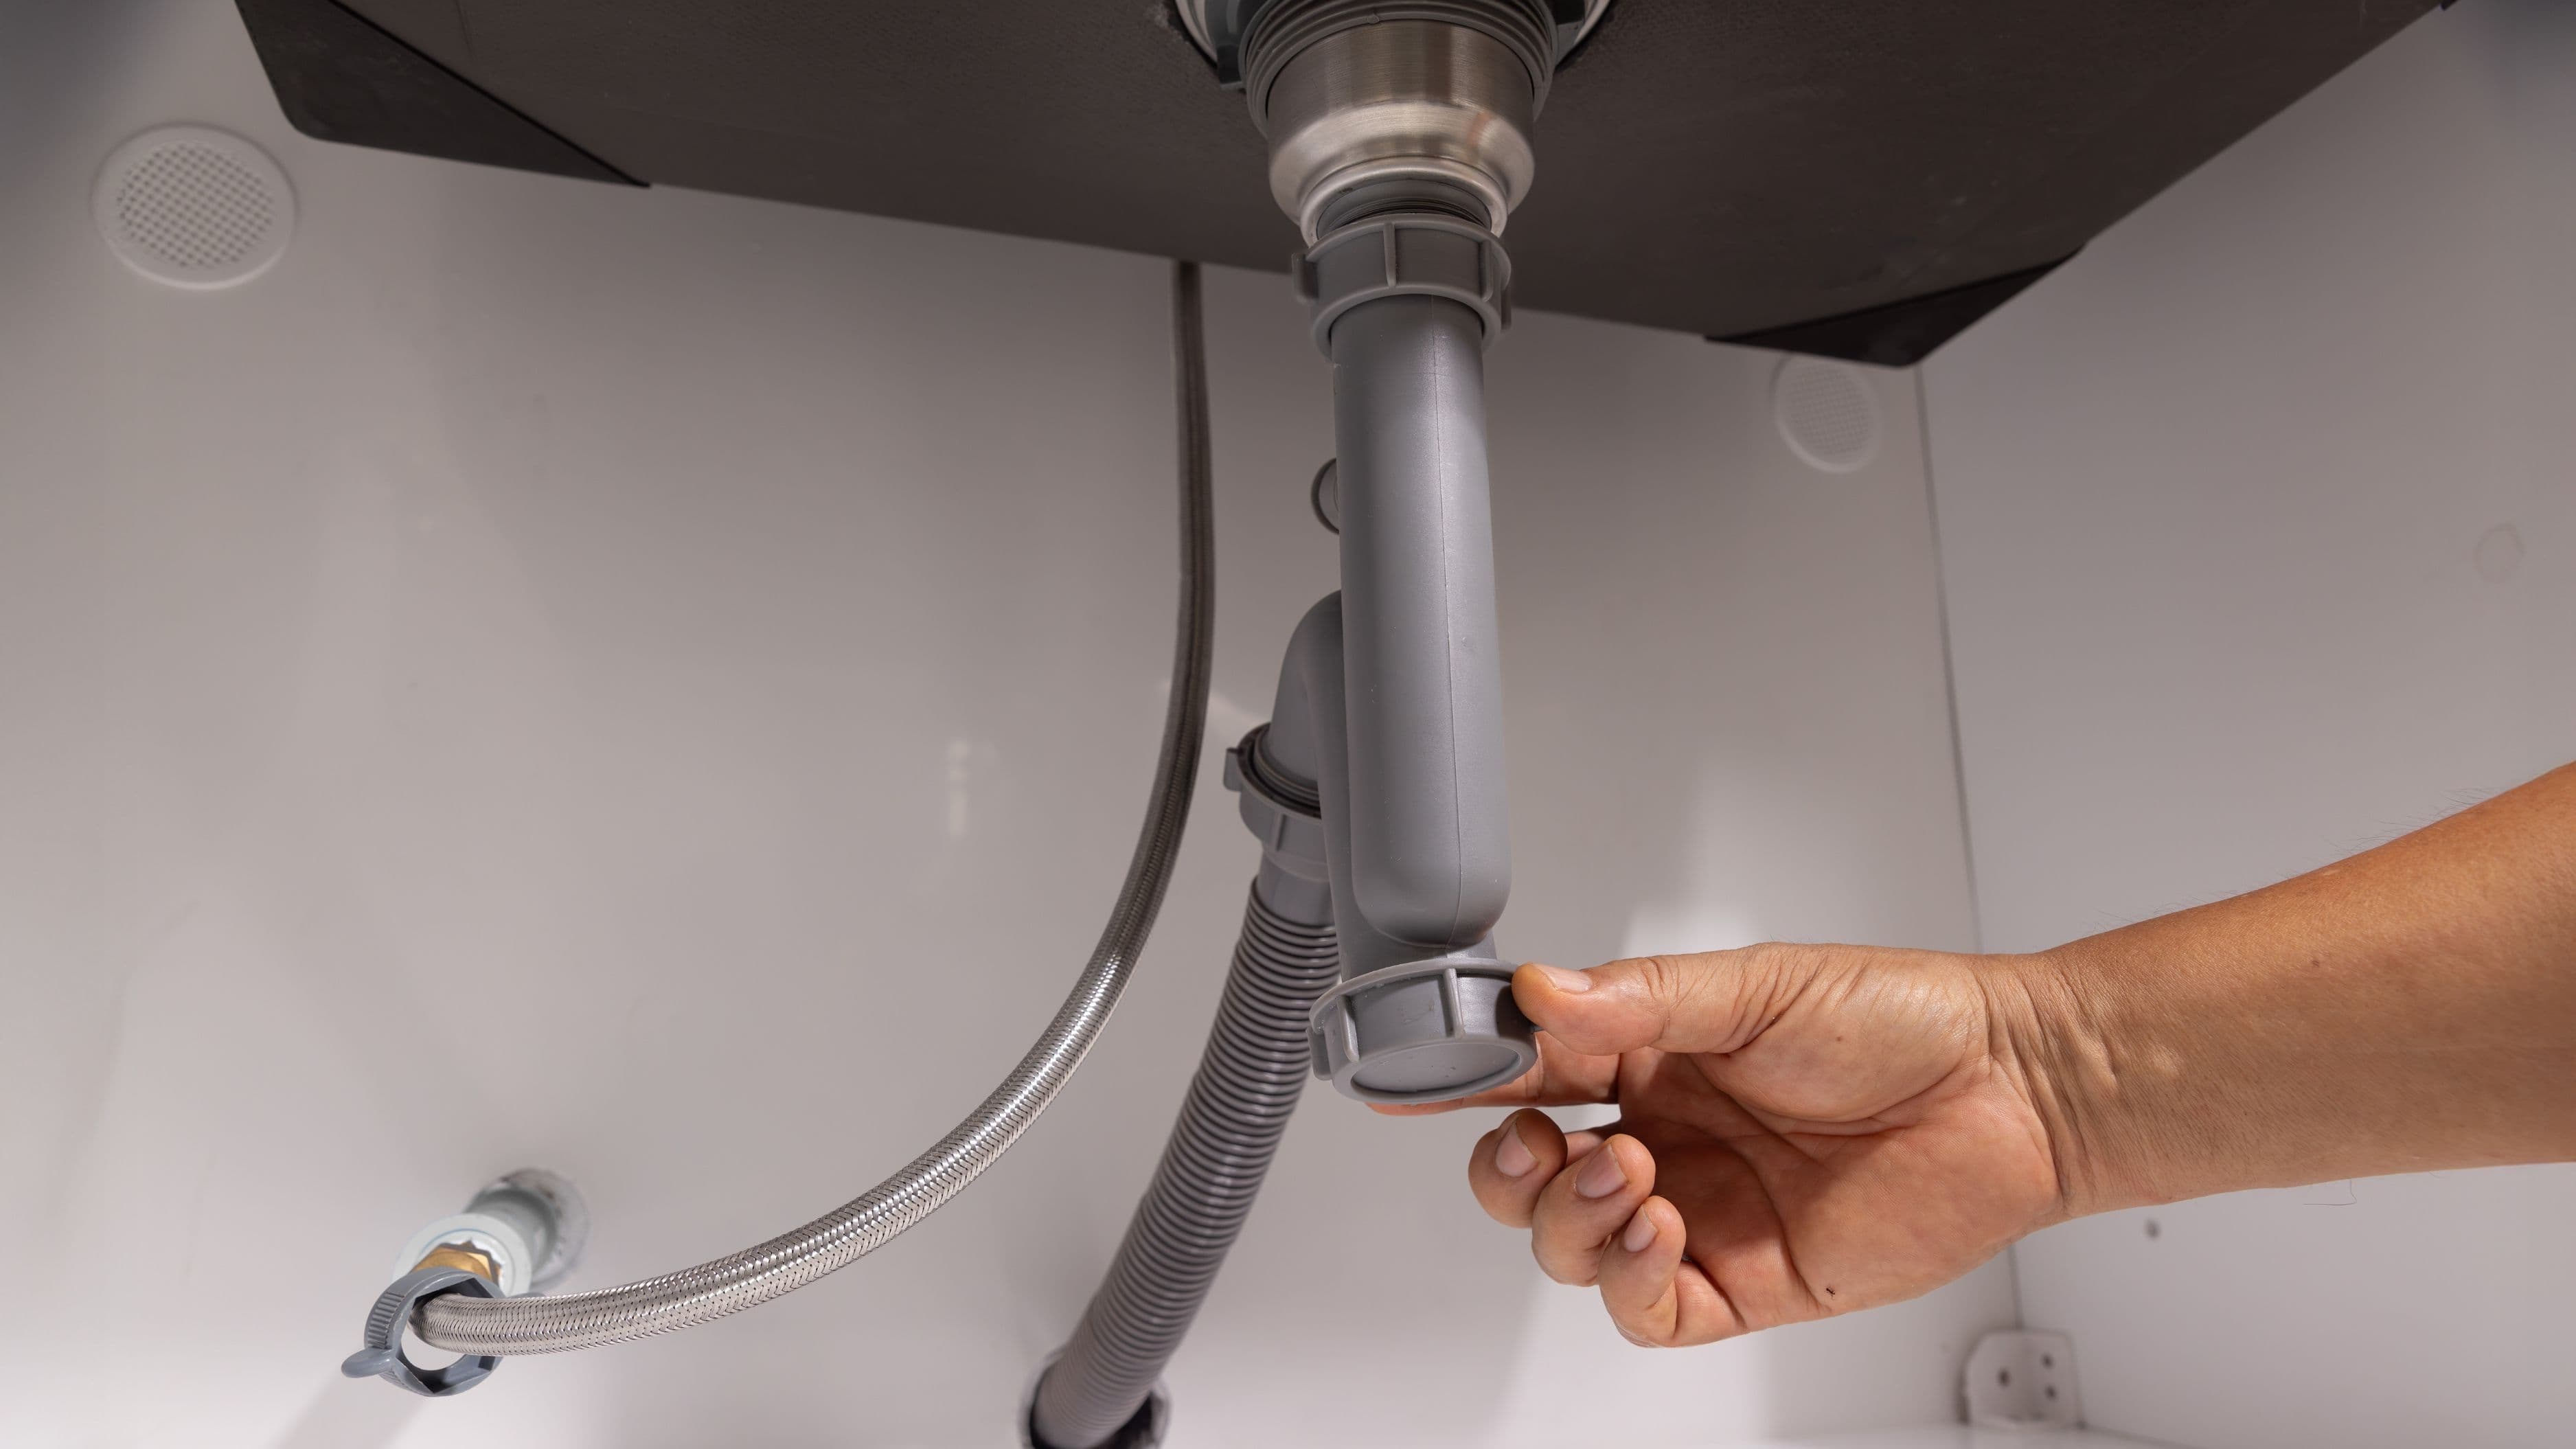
Step 6: Under or Near the Dishwasher
Dishwasher leaks typically come from one of three places: the door seal, the supply line connection under the sink or directly at the appliance, or the drain hose connection. The supply line and drain hose run through the cabinet under the sink in most installations, so your under-sink sensor already covers those connections if they're grouped there.
If your dishwasher is freestanding or the connections run under the appliance itself rather than through the cabinet, slide a sensor to the floor directly in front of the dishwasher, where a door seal failure or internal leak would pool first. You may need to gently pull the appliance forward a few inches to get the sensor into position.
Step 7: In the Basement – Near the Main Water Supply and Sump Pit
If your home has a basement, it deserves multiple sensors. The main water supply line enters somewhere at the base of the wall, and that connection point – along with any pressure regulators, main shutoff valves, or filtration systems – is worth protecting with a dedicated sensor.
Place one sensor near the main water supply entry point and any associated equipment. Place another near or inside the sump pit if you have one. Sump pump failures during heavy rain can result in basement flooding, and a sensor in the sump pit area will alert you to rising water before it reaches the main floor. If your basement is unfinished and large, consider a third sensor near any floor drains or low points where water would naturally collect.
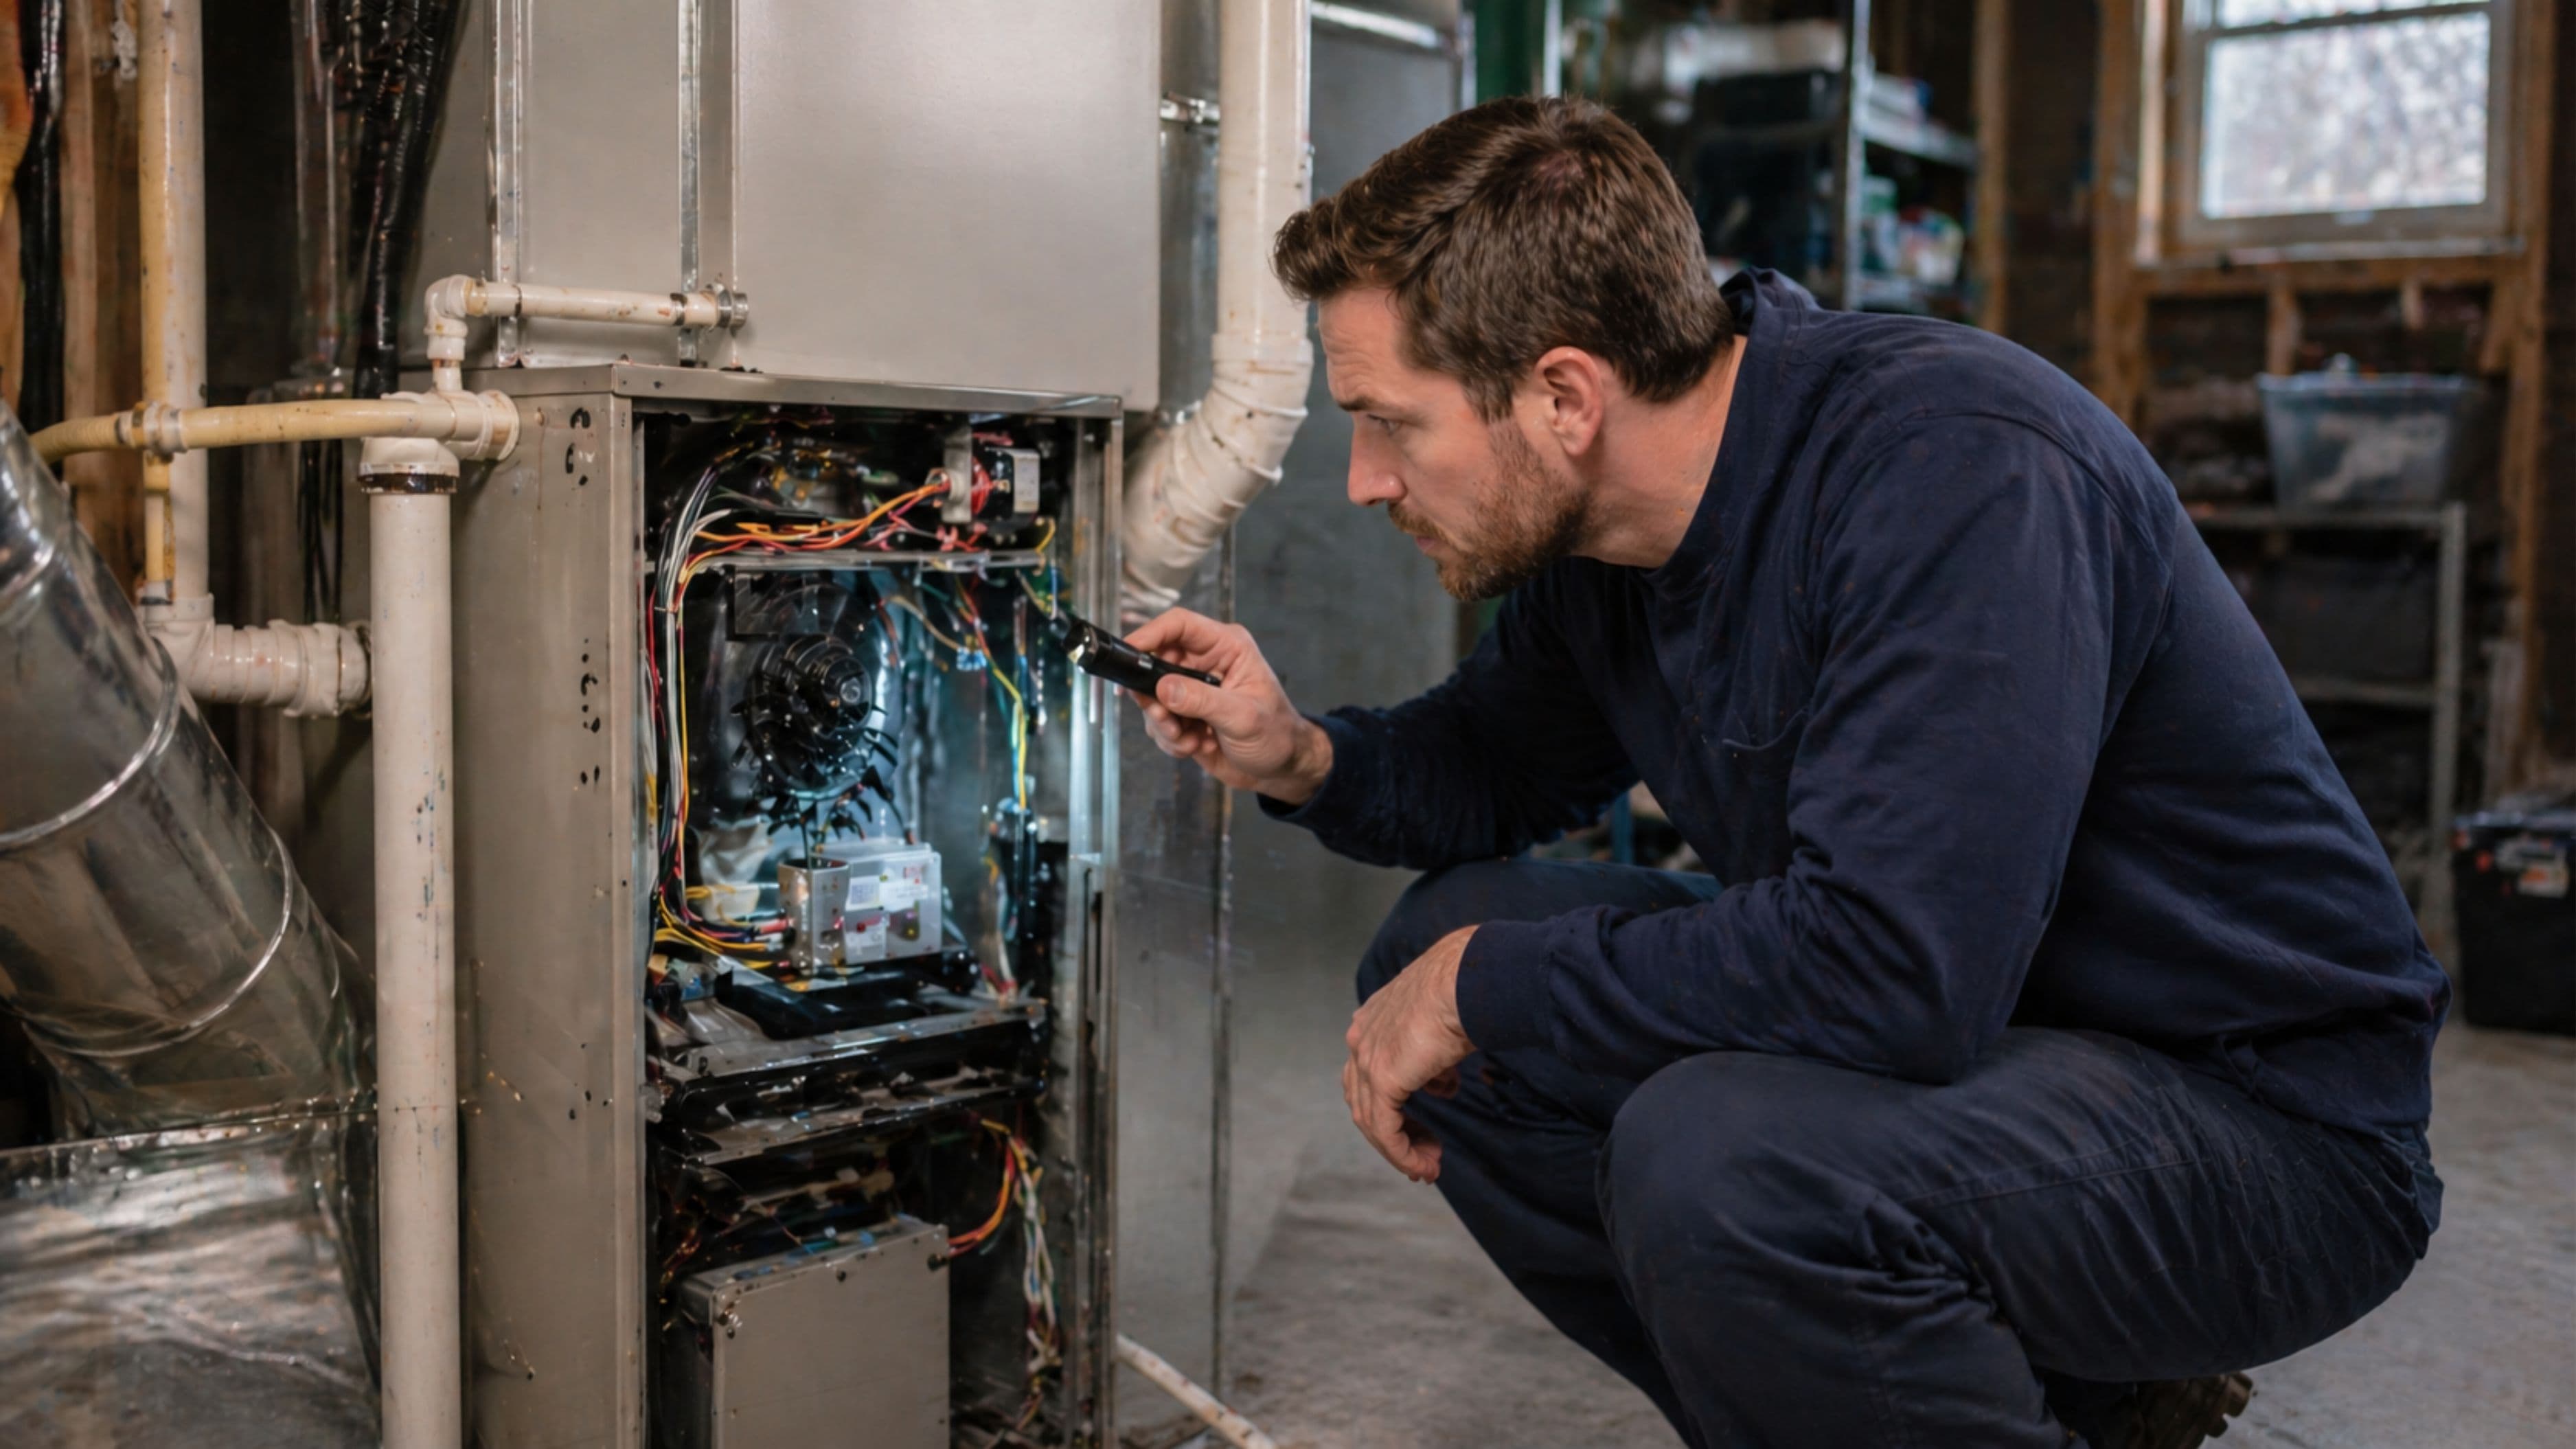
Step 8: Near HVAC Equipment and Air Handlers
Your heating and cooling system is a source of condensate water that needs to drain continuously during operation. The condensate drain line from your air handler can clog with algae or debris, causing the overflow pan to fill and eventually spill. This is a slow, quiet failure that can go unnoticed until the ceiling below starts showing stains.
Place a sensor in the condensate overflow pan beneath the air handler if one is installed. Some air handlers have a secondary pan built in for exactly this purpose – a sensor there will catch a drain backup before it becomes a real problem. If your furnace or air handler is in a utility room with a floor drain, place a sensor near the equipment to catch any drips from refrigerant lines, condensate fittings, or the humidifier if one is connected to the system.
Step 9: Refrigerator With Ice Maker or Water Dispenser
A refrigerator with a built-in ice maker or water dispenser has a supply line – usually a thin braided or copper line – running from the wall connection to the back of the appliance. These lines are under constant low pressure and can develop slow drips at either connection point over years of use.
Pull the refrigerator away from the wall far enough to place a sensor flat on the floor behind it, close to where the supply line connects at the wall. Then push the refrigerator back carefully, making sure the sensor isn't pinched or pushed up against the back panel. Check that the contact points are still touching the floor after repositioning.
Common Placement Mistakes to Avoid
Placing sensors on top of rugs, mats, or shelf liners is the most frequent mistake. These materials absorb water before it reaches the sensor, which delays or prevents detection entirely. Sensors need direct contact with a hard floor surface.
Don't place sensors in locations where they'll get bumped, stepped on, or moved during normal use. A sensor that gets kicked under the cabinet and ends up face-down or wedged against the wall isn't protecting anything. Secure the sensor with the included adhesive tape if one is provided, or use a small piece of double-sided foam tape to keep it in position.
Avoid placing sensors in spots that will trigger false alarms from normal condensation. Under a bathroom sink in a very humid climate can collect enough ambient moisture to trip a sensitive sensor occasionally. If you see repeated false alarms, reposition the sensor slightly toward the back of the cabinet away from any humidity coming under the door.
Lastly, don't forget to test each sensor after placement. Most have a test button or respond when you wet your finger and touch the contact points. Do this when you first install and then once or twice a year as part of your regular home maintenance routine.
When to Call a Professional
Leak sensors tell you where water is, but they don't tell you why it's there or how to fix the source. If a sensor triggers and you can't quickly identify an obvious drip or puddle that you can isolate by turning off a supply valve, call a plumber. Hidden leaks inside walls or under slabs require professional leak detection equipment. Similarly, if your water heater is failing or a washing machine hose has ruptured, turn off the main water supply and get a plumber on-site rather than attempting repairs without the right parts and experience.
FAQ
How many leak sensors does a typical home need? A well-covered home typically needs 8–12 sensors. Start with the highest-priority locations – under kitchen and bathroom sinks, behind the toilet, beside the water heater, and behind the washing machine – and add from there based on your home's specific layout and risk areas.
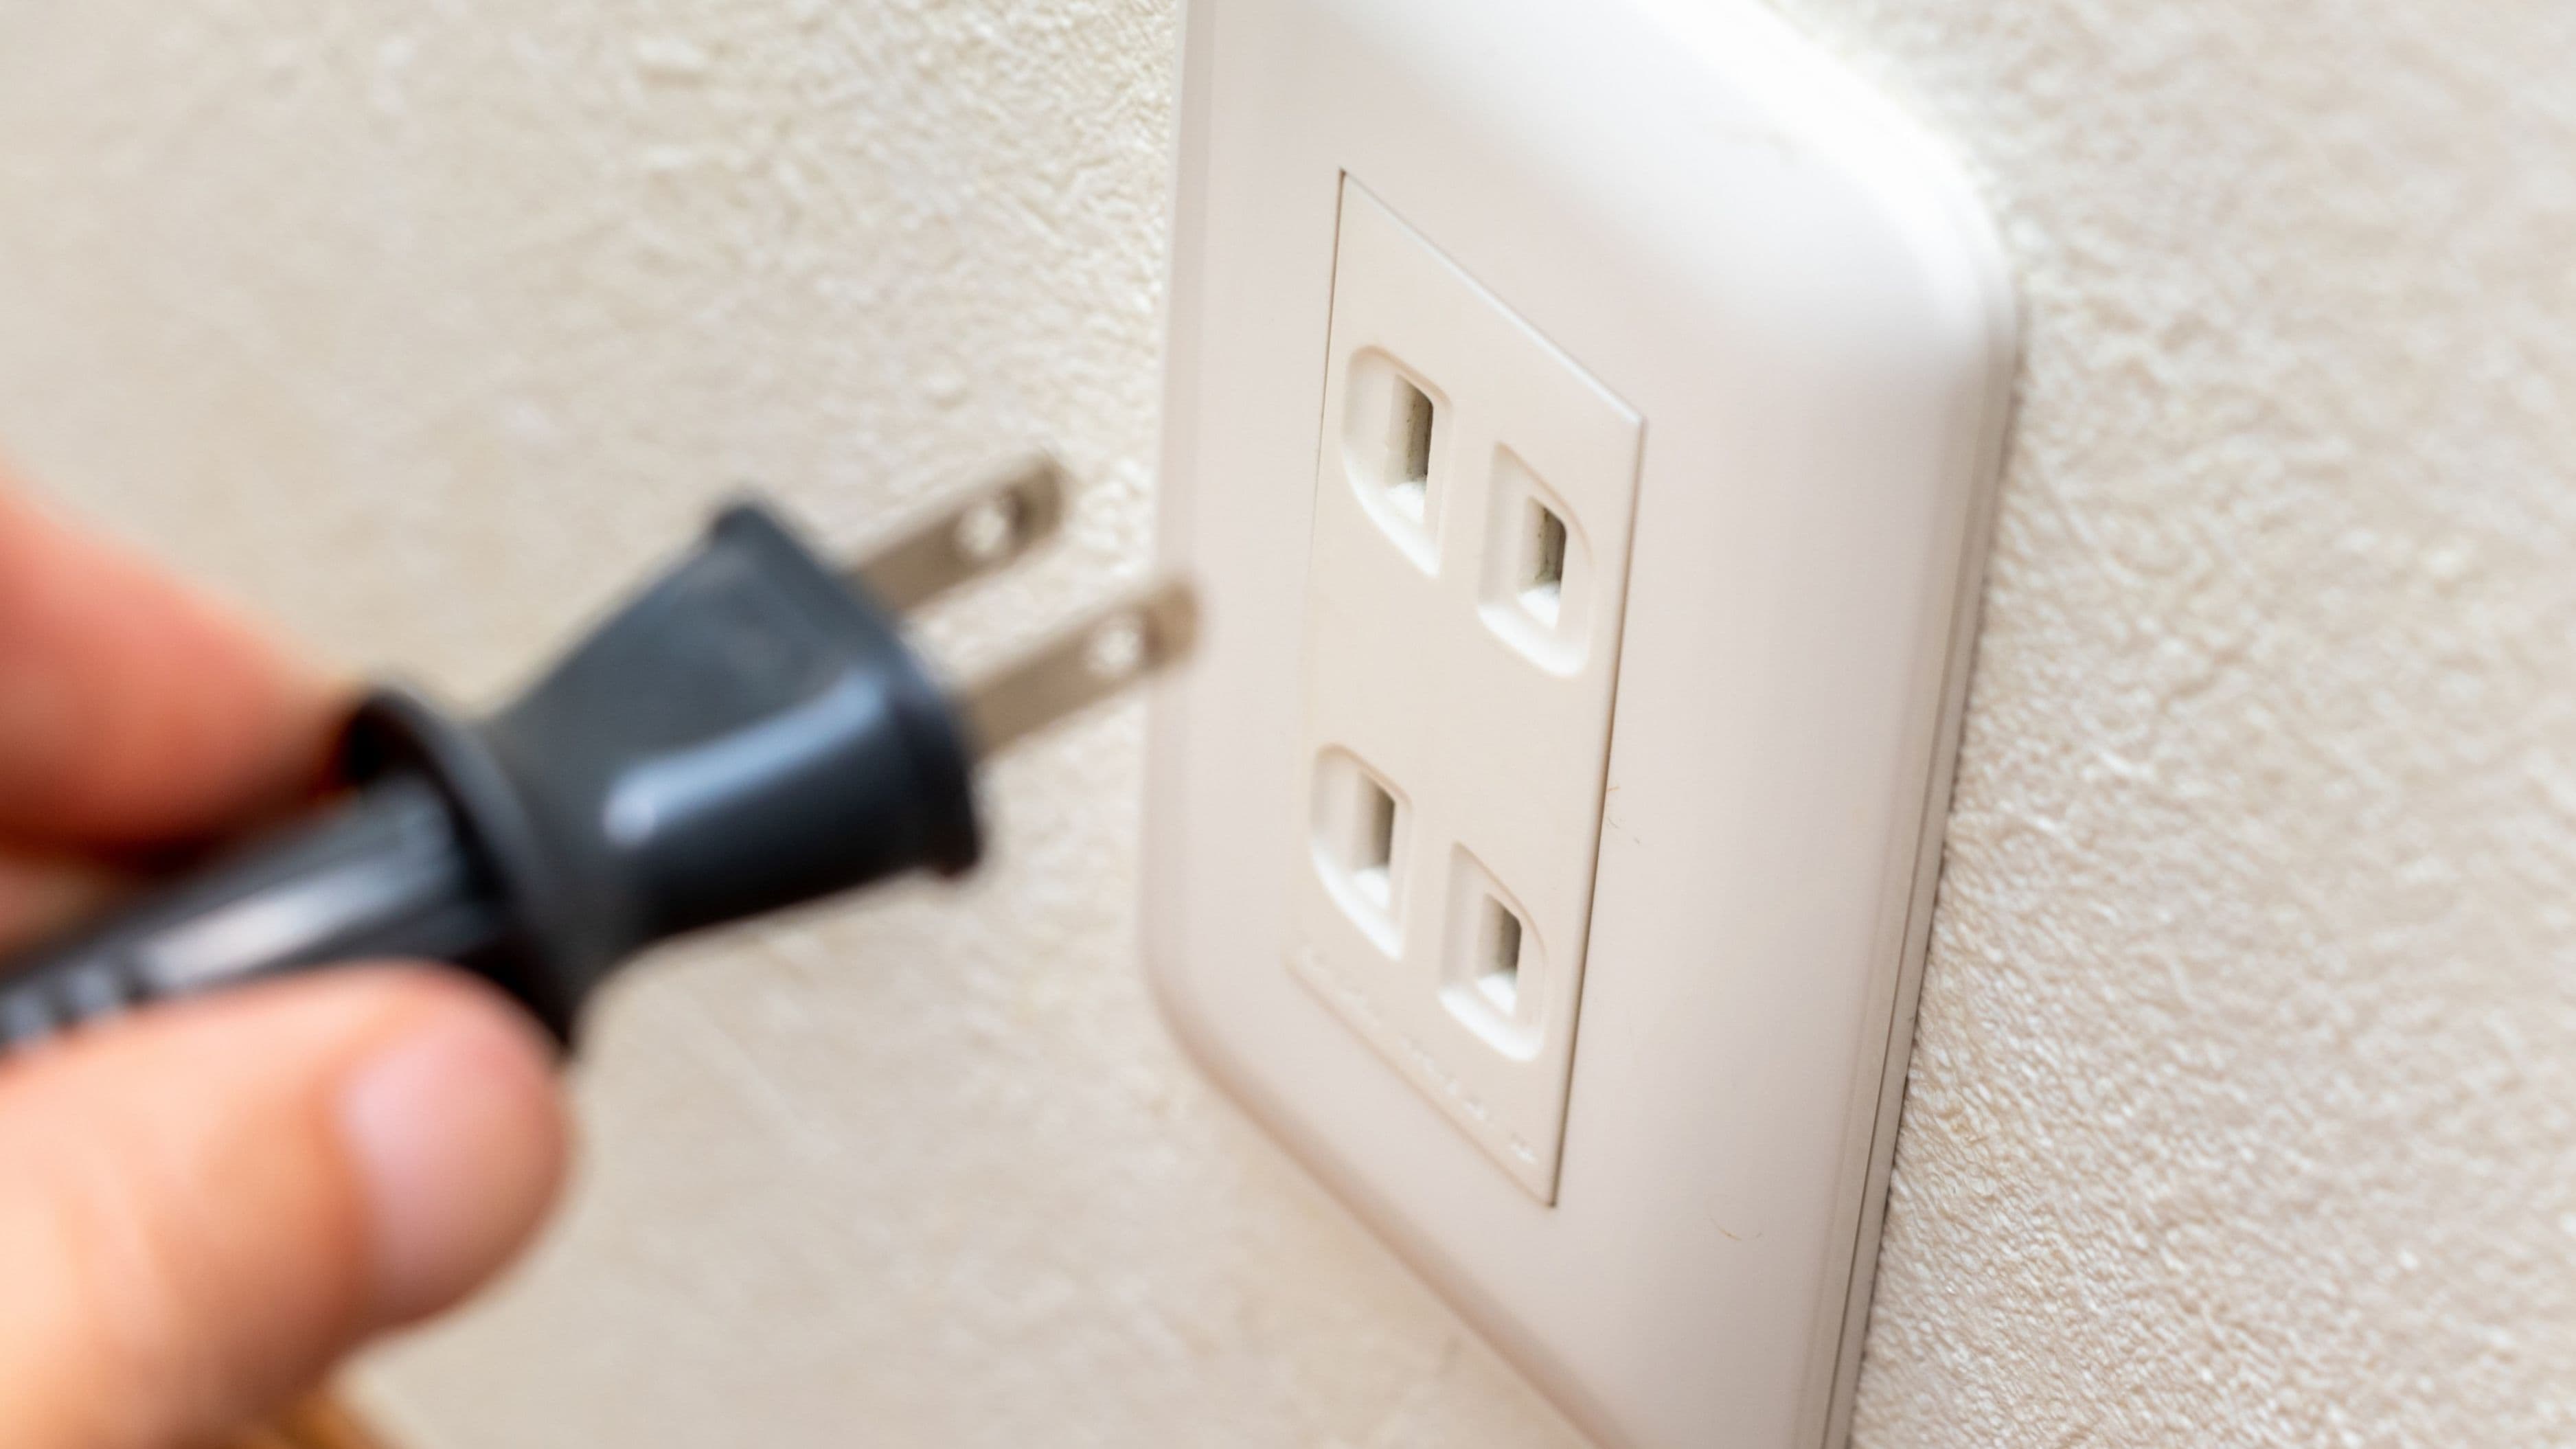
Do wireless leak sensors require professional installation? No. Most residential leak sensors are designed for homeowner installation and require nothing more than placing them on the floor and installing batteries. Smart sensors that integrate with a hub or app require a simple pairing process through the manufacturer's app.
How long do leak sensor batteries last? Most sensors use standard AA or AAA batteries that last one to three years depending on the brand and how frequently the sensor transmits status updates to a hub. Many smart sensors send a low-battery alert before they fail. Replace batteries during your annual home maintenance check.
Can I place a sensor inside a wall cavity to catch pipe leaks? Standard contact-point sensors need direct water exposure to trigger, so placing them inside a closed wall cavity isn't practical unless water is already pooling there. If you're concerned about a specific pipe run inside a wall, your best options are regular inspection of the visible connection points at each end and professional leak detection equipment if you suspect an active hidden leak.
What's the difference between a basic sensor and a smart leak sensor? A basic sensor sounds a local alarm when it detects water. A smart sensor connects to your home's Wi-Fi or a hub and sends a notification to your phone, which is more useful when you're away from home. Higher-end smart systems can also integrate with automatic water shutoff valves that cut the main supply when a sensor triggers, limiting damage even if no one is home.
📚 Sources
Insurance Information Institute – Homeowners Insurance Claims: https://www.iii.org/fact-statistic/facts-statistics-homeowners-and-renters-insurance
U.S. Environmental Protection Agency – Fixing Household Water Leaks: https://www.epa.gov/watersense/fix-a-leak
International Association of Certified Home Inspectors – Water Heater Inspection: https://www.nachi.org/water-heater-inspection.htm
This Old House – How to Install a Water Leak Detector: https://www.thisoldhouse.com/plumbing/reviews/best-water-leak-detectors
FEMA – Reducing Flood Losses Through the International Codes: https://www.fema.gov/sites/default/files/2020-07/reducing_flood_losses.pdf
🔍 Explore Related Topics