The good news is that ice dams are one of the most preventable winter roof problems, and the fixes are mostly about your attic, not your roof. Once you understand why they form, the prevention steps are straightforward, and most of them are weekend-DIY territory. Here's how to keep your roofline clear all winter.
Why It Matters: What an Ice Dam Actually Does
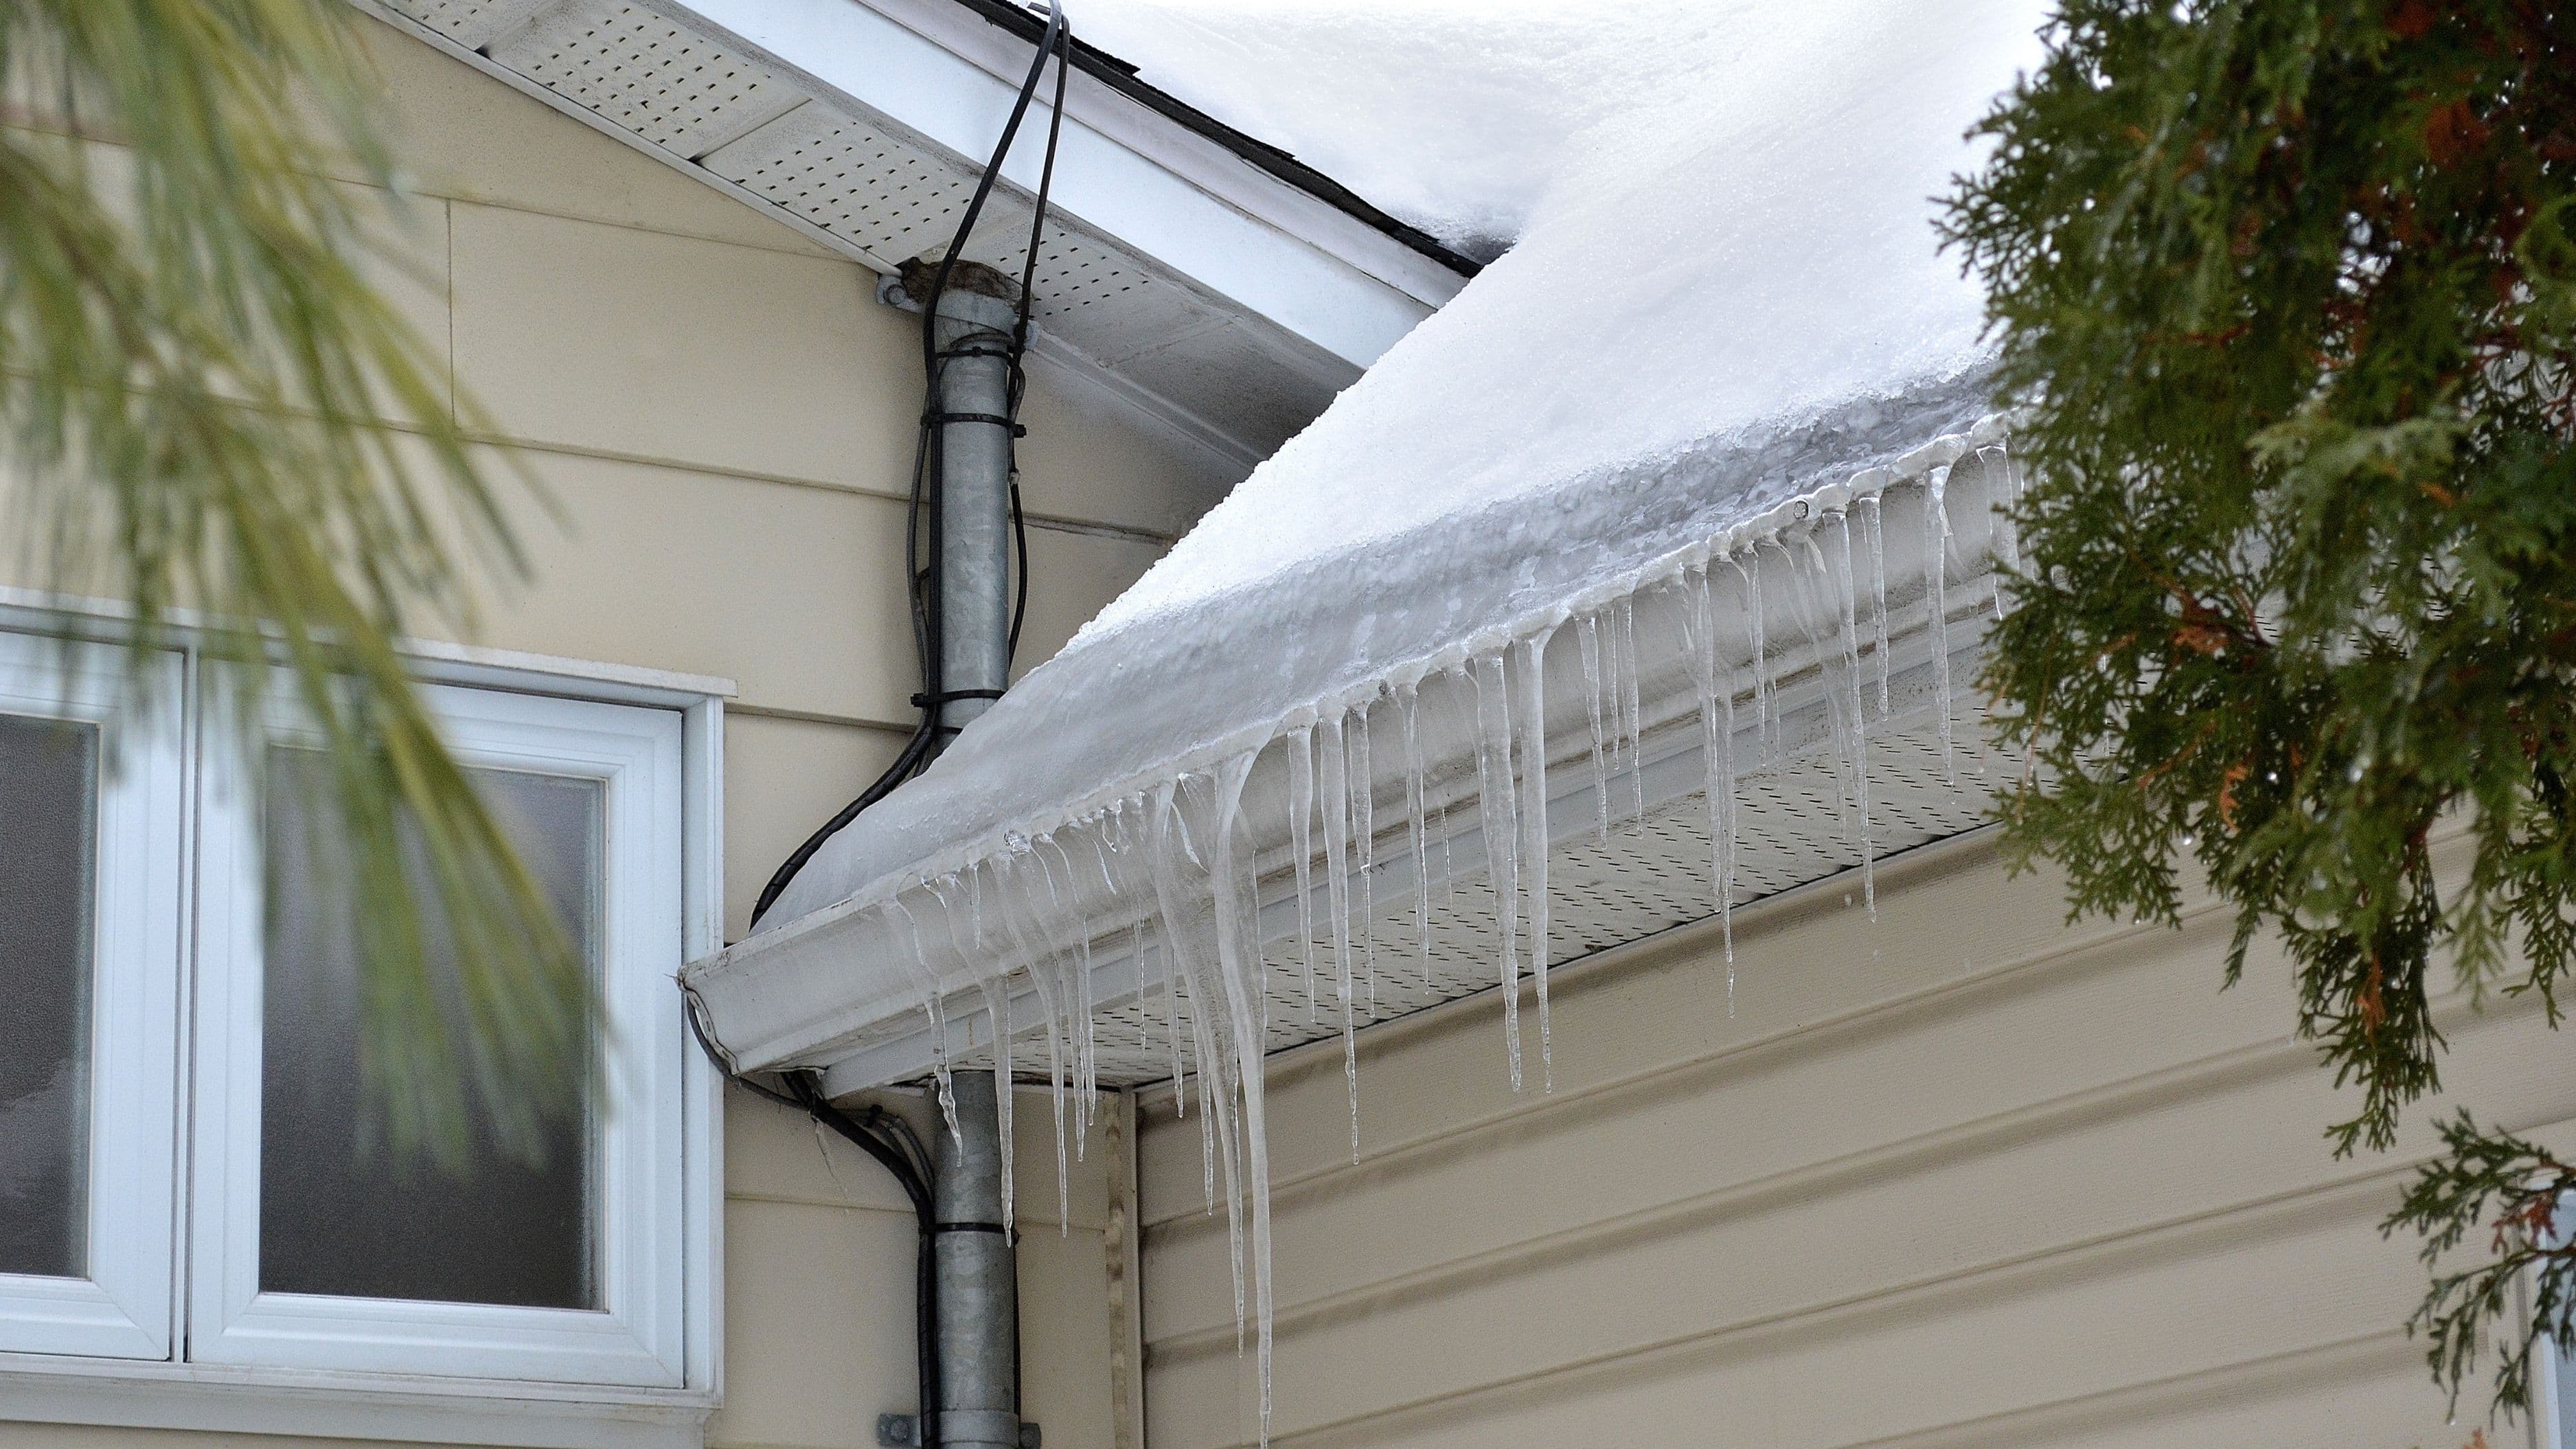
An ice dam isn't just ugly – it's a slow-motion water-damage machine. Melted snow runs down your roof, refreezes at the cold edge, and builds a barrier. Water then pools behind that barrier with nowhere to go but sideways and up, under your shingles, where it leaks into the attic, insulation, walls, and ceilings.
The result can be ruined drywall, soaked insulation that stops insulating, mold, and rotted roof decking – repairs that run into the thousands. Compared to that, the prevention steps below are cheap insurance, which is exactly why this is worth a weekend before the first hard freeze.
Understanding Why Ice Dams Form
Here's the part most people get wrong: ice dams aren't really caused by cold weather or snow. They're caused by an uneven roof temperature. Specifically, the upper part of your roof is warm enough to melt snow, while the lower edge – the overhang past your exterior wall – stays below freezing.
That warm upper roof almost always traces back to heat escaping from your living space into the attic. Warm air leaks up through gaps and a poorly insulated ceiling, heats the underside of the roof, and melts the snow sitting on it. The meltwater trickles down to the cold eave, refreezes, and the dam begins. So the real enemy isn't the weather outside – it's the heat leaking up from inside.
This is great news for prevention, because it means the most effective fixes happen in your attic, where you can actually control things, rather than on an icy roof, where you shouldn't be.
The Three Keys: Insulation, Air Sealing, and Ventilation
Nearly every effective ice dam prevention strategy comes down to keeping your roof deck uniformly cold by stopping indoor heat from reaching it. Three things work together to do that.
Air sealing stops warm indoor air from leaking into the attic in the first place – this is the single highest-impact step. Insulation slows heat transfer through the ceiling so less warmth reaches the attic at all. Ventilation flushes any heat that does sneak in with cold outside air, keeping the whole roof deck near the outdoor temperature. Get all three right and your roof stays evenly cold, snow melts slowly and naturally, and dams don't form.
Step-by-Step: How to Prevent Ice Dams
Step 1: Seal attic air leaks (highest impact, moderate effort)
Head into your attic and look for the spots where warm air sneaks up from below. The usual culprits are gaps around recessed light fixtures, the attic hatch, plumbing and electrical penetrations, bathroom and kitchen exhaust fans, and the top plates of interior walls. You'll often see darkened, dirty insulation where air has been moving through it.
Seal these with the right material for the gap: fire-rated caulk or expanding foam for small penetrations, and weatherstripping plus a foam cover box for the attic hatch. Make sure bathroom and kitchen vents exhaust all the way outside, not just into the attic – a surprisingly common mistake that dumps warm, moist air right where it causes problems.
Difficulty: moderate. Cost: roughly $50–150 in materials. This is the step that delivers the most prevention per dollar.
Step 2: Add or upgrade attic insulation (high impact, moderate effort)
Most older homes are under-insulated by today's standards. The Department of Energy generally recommends attic insulation in the R-49 to R-60 range for most cold climates, which translates to a deep, even layer across the whole attic floor. If you can see the tops of your ceiling joists poking through, you almost certainly need more.
Blown-in or batt insulation are both DIY-friendly, with blown-in giving better coverage for awkward spaces. The key is even coverage with no gaps or compressed spots, especially out near the eaves where the roof meets the wall.
Difficulty: moderate. Cost: a few hundred dollars for materials if DIY; more if you rent a blower or hire out.
Step 3: Keep the soffit and ridge vents clear (high impact, low effort)
Insulation and ventilation can fight each other if you're not careful. When insulation gets pushed out to the very edge of the attic, it often blocks the soffit vents – the intake vents under your eaves that let cold air in. Without that intake, the ventilation system can't flush heat from the roof deck.
The fix is inexpensive cardboard or foam baffles (also called rafter vents or insulation chutes) installed between the rafters at the eaves. They hold the insulation back and keep a clear air channel from the soffit vents up toward the ridge. Confirm your ridge vent or upper vents are open and unobstructed too, so air can flow in low and out high.
Difficulty: low to moderate. Cost: $1–3 per baffle.
Step 4: Clear snow from the roof edge after big storms (seasonal, low effort)
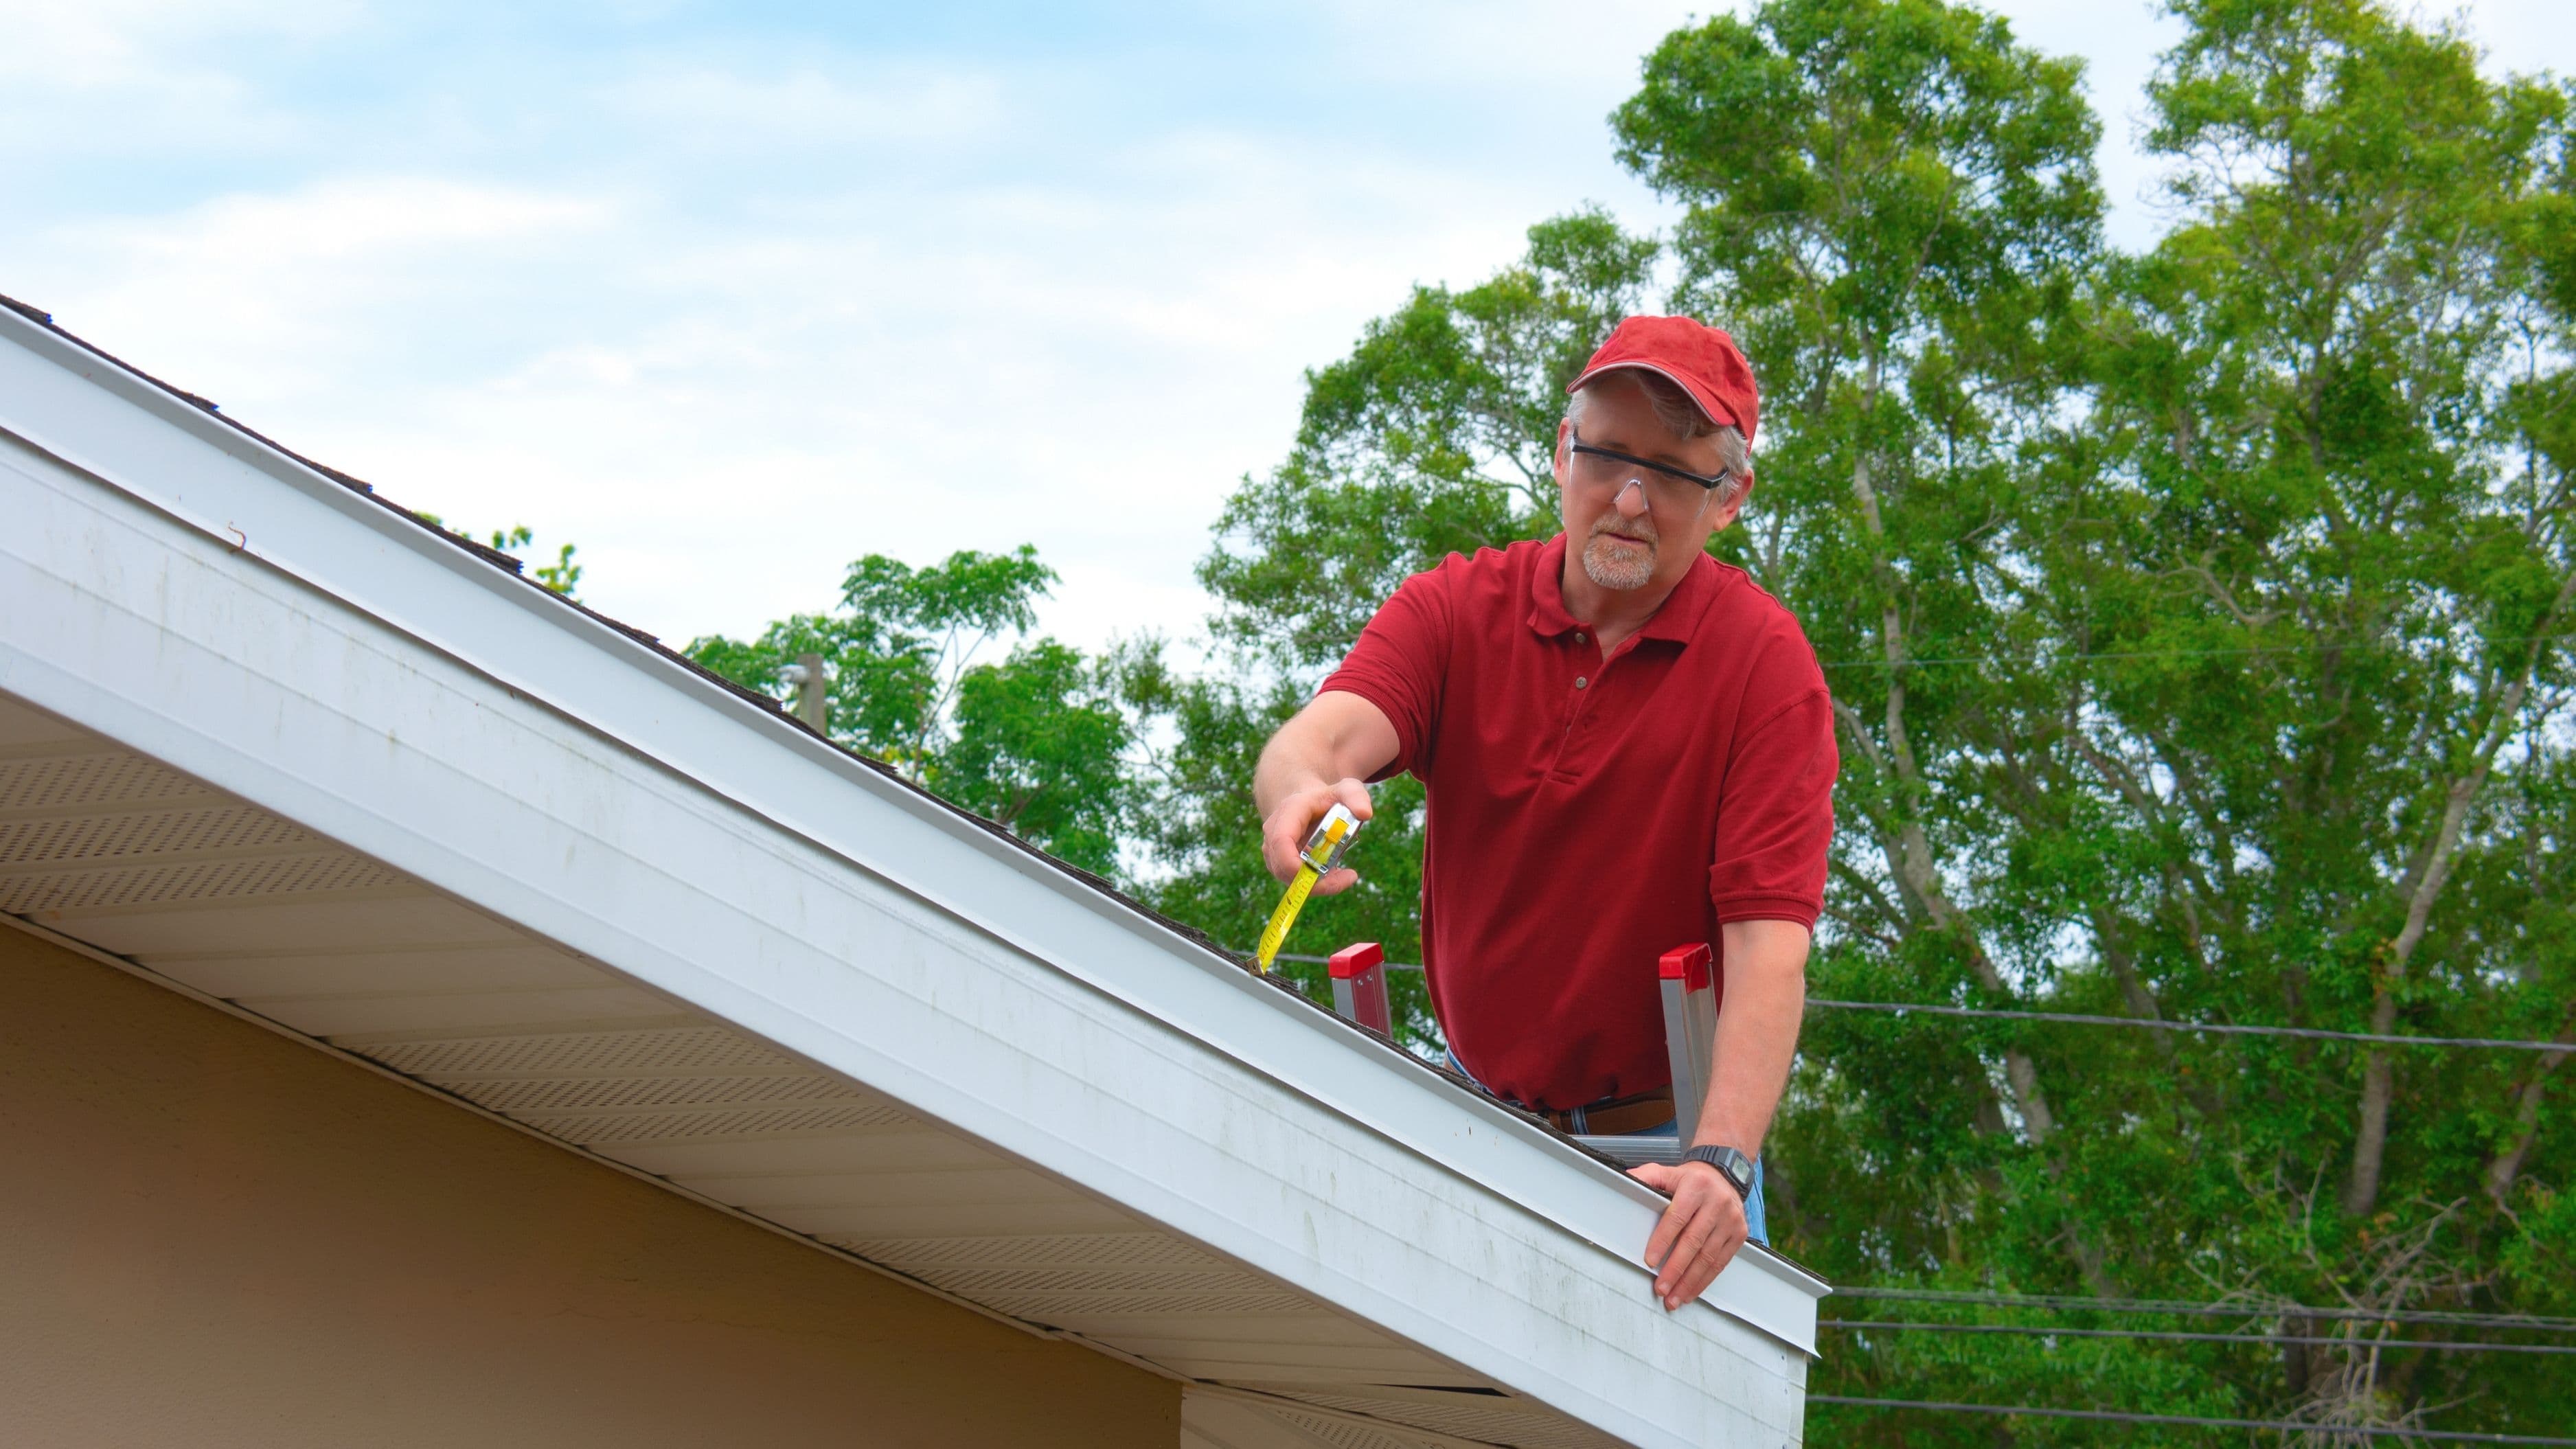
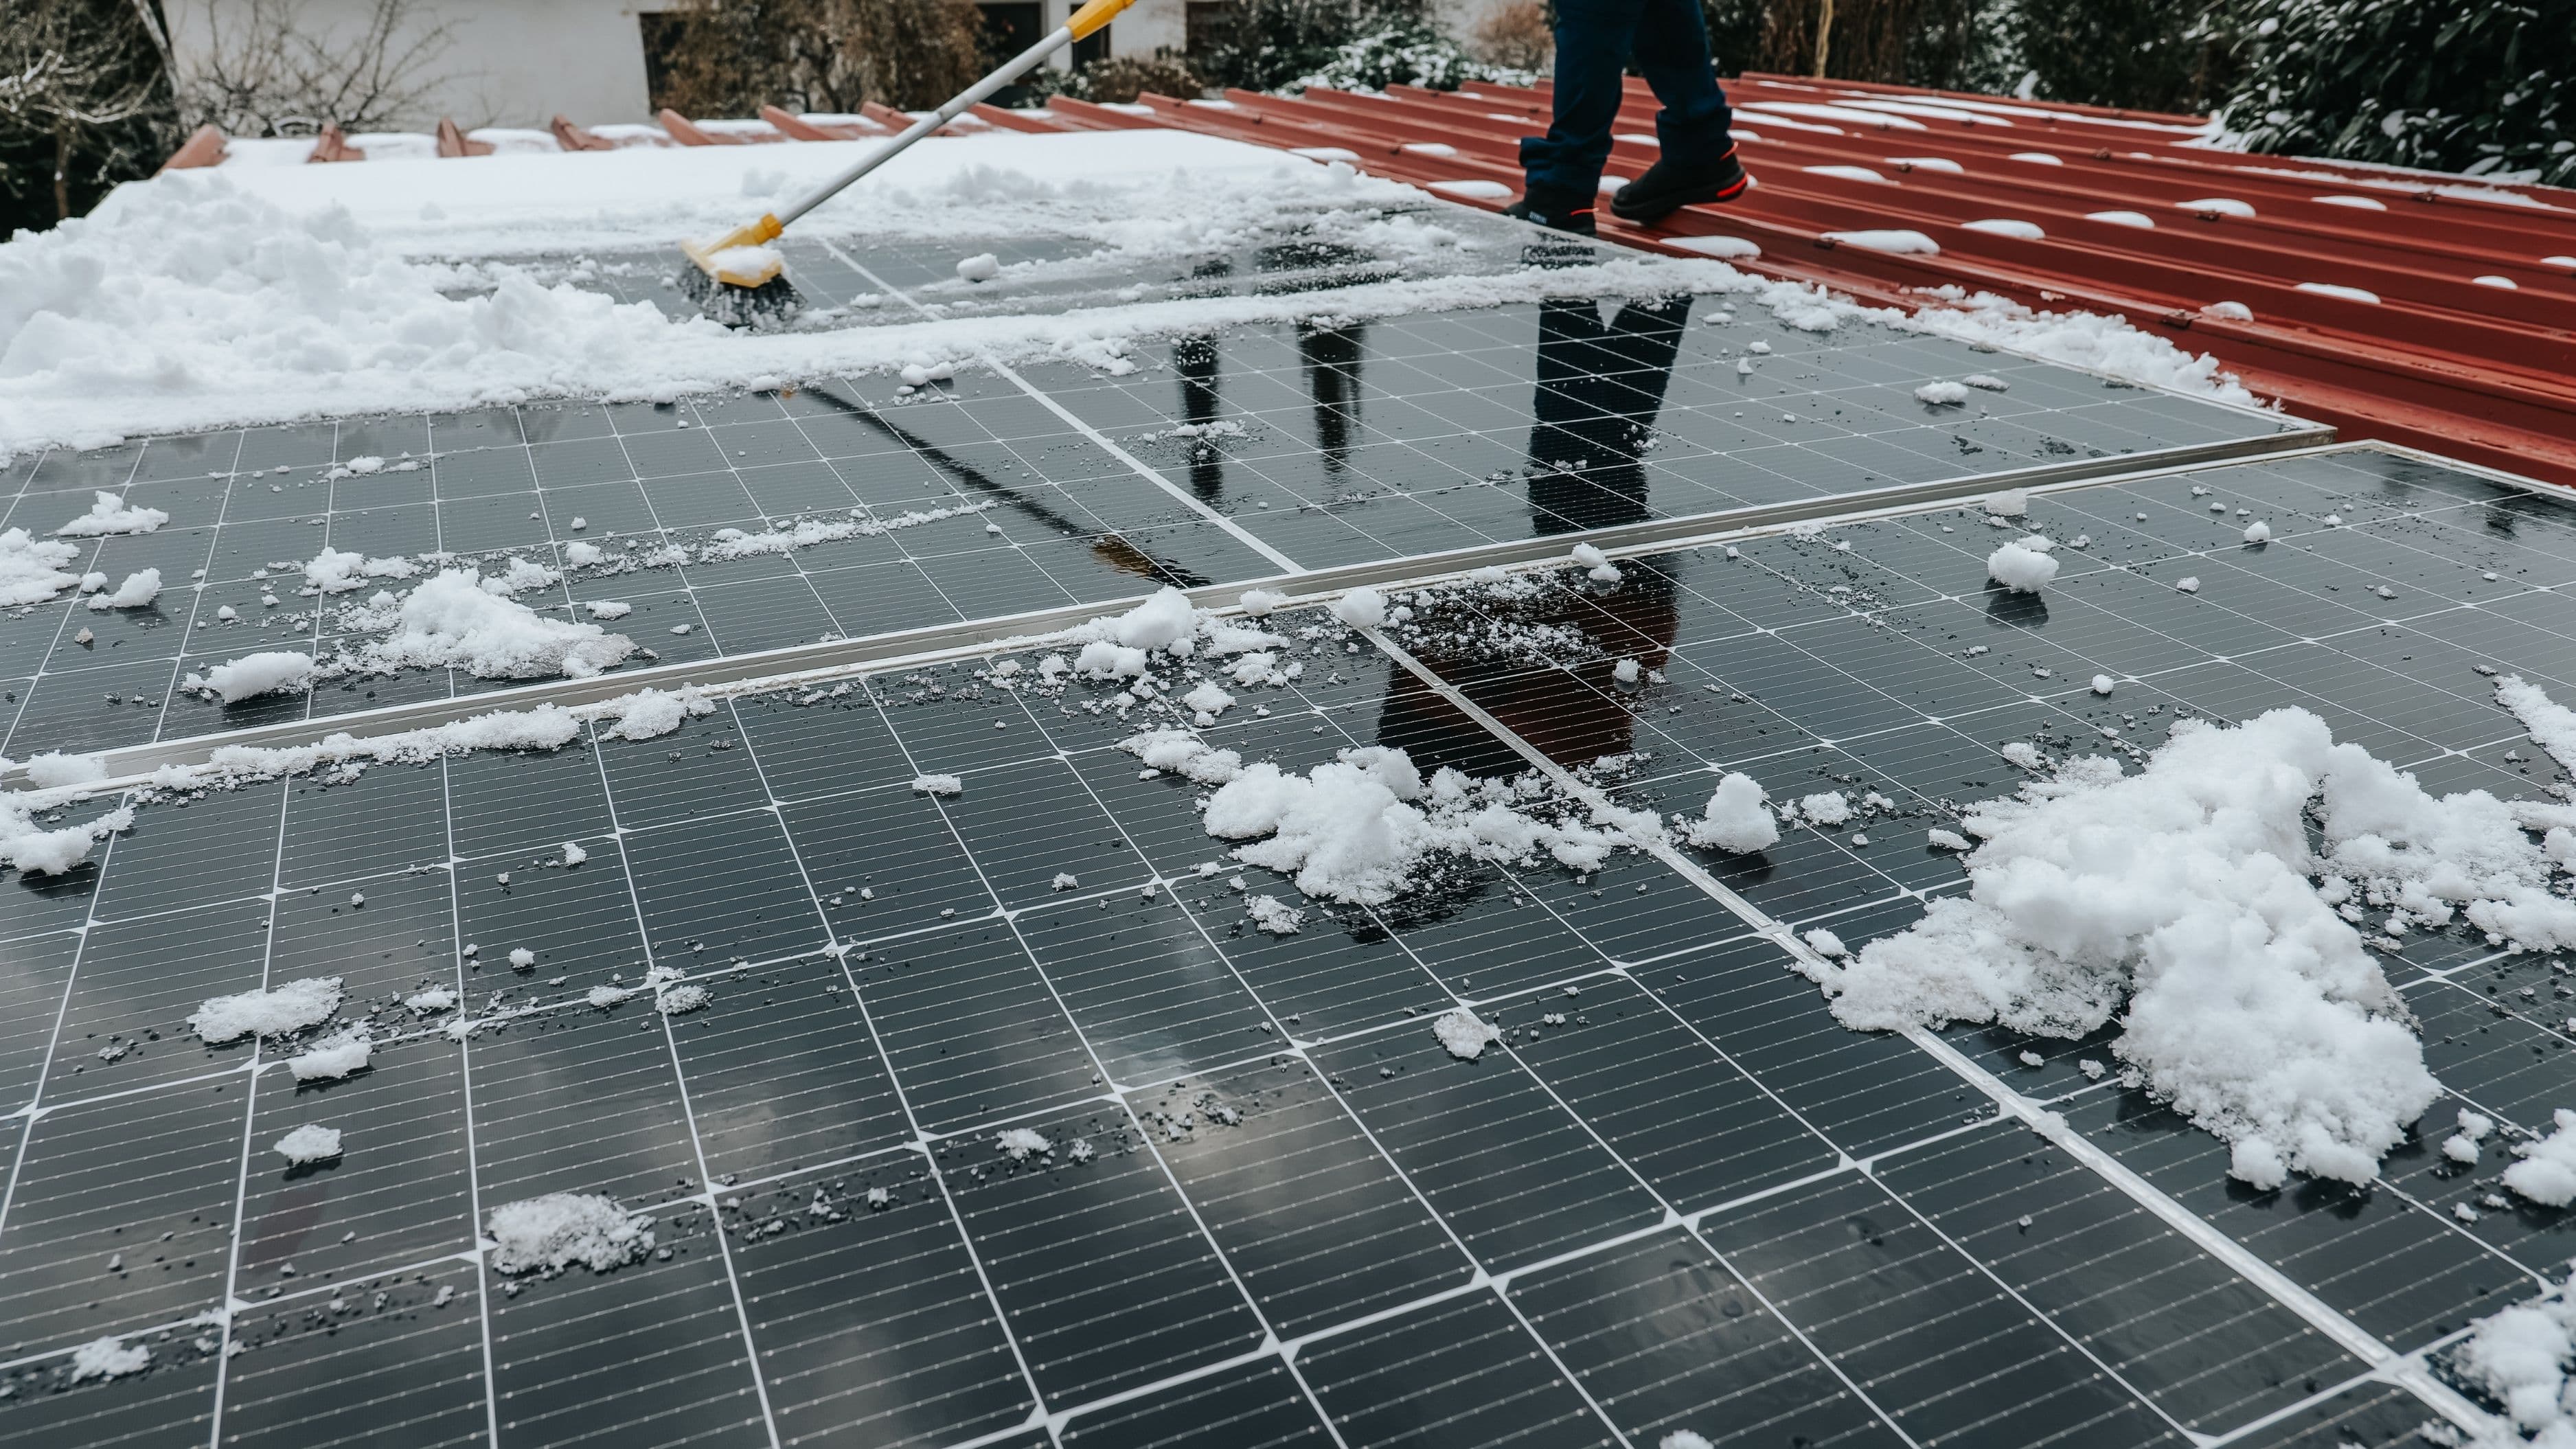
For the lower few feet of roof above your eaves, removing snow after heavy storms denies an ice dam its raw material. The safe way to do this is from the ground with a roof rake – a long, telescoping tool with a wide blade – pulling snow down off the lower edge of the roof. You stand on the ground; the tool does the reaching.
Difficulty: low. Cost: $30–60 for a roof rake. This is a treat-the-symptom step rather than a root-cause fix, but it's a genuinely useful backup, especially in a heavy-snow winter while you plan the attic work.
Safety Notes
This is important: do not get up on a snowy or icy roof to chip at ice or clear snow. Roofs are slippery and unforgiving in winter, and falls cause serious injuries every year. Roof rakes are designed specifically so you can work from the ground – keep it that way.
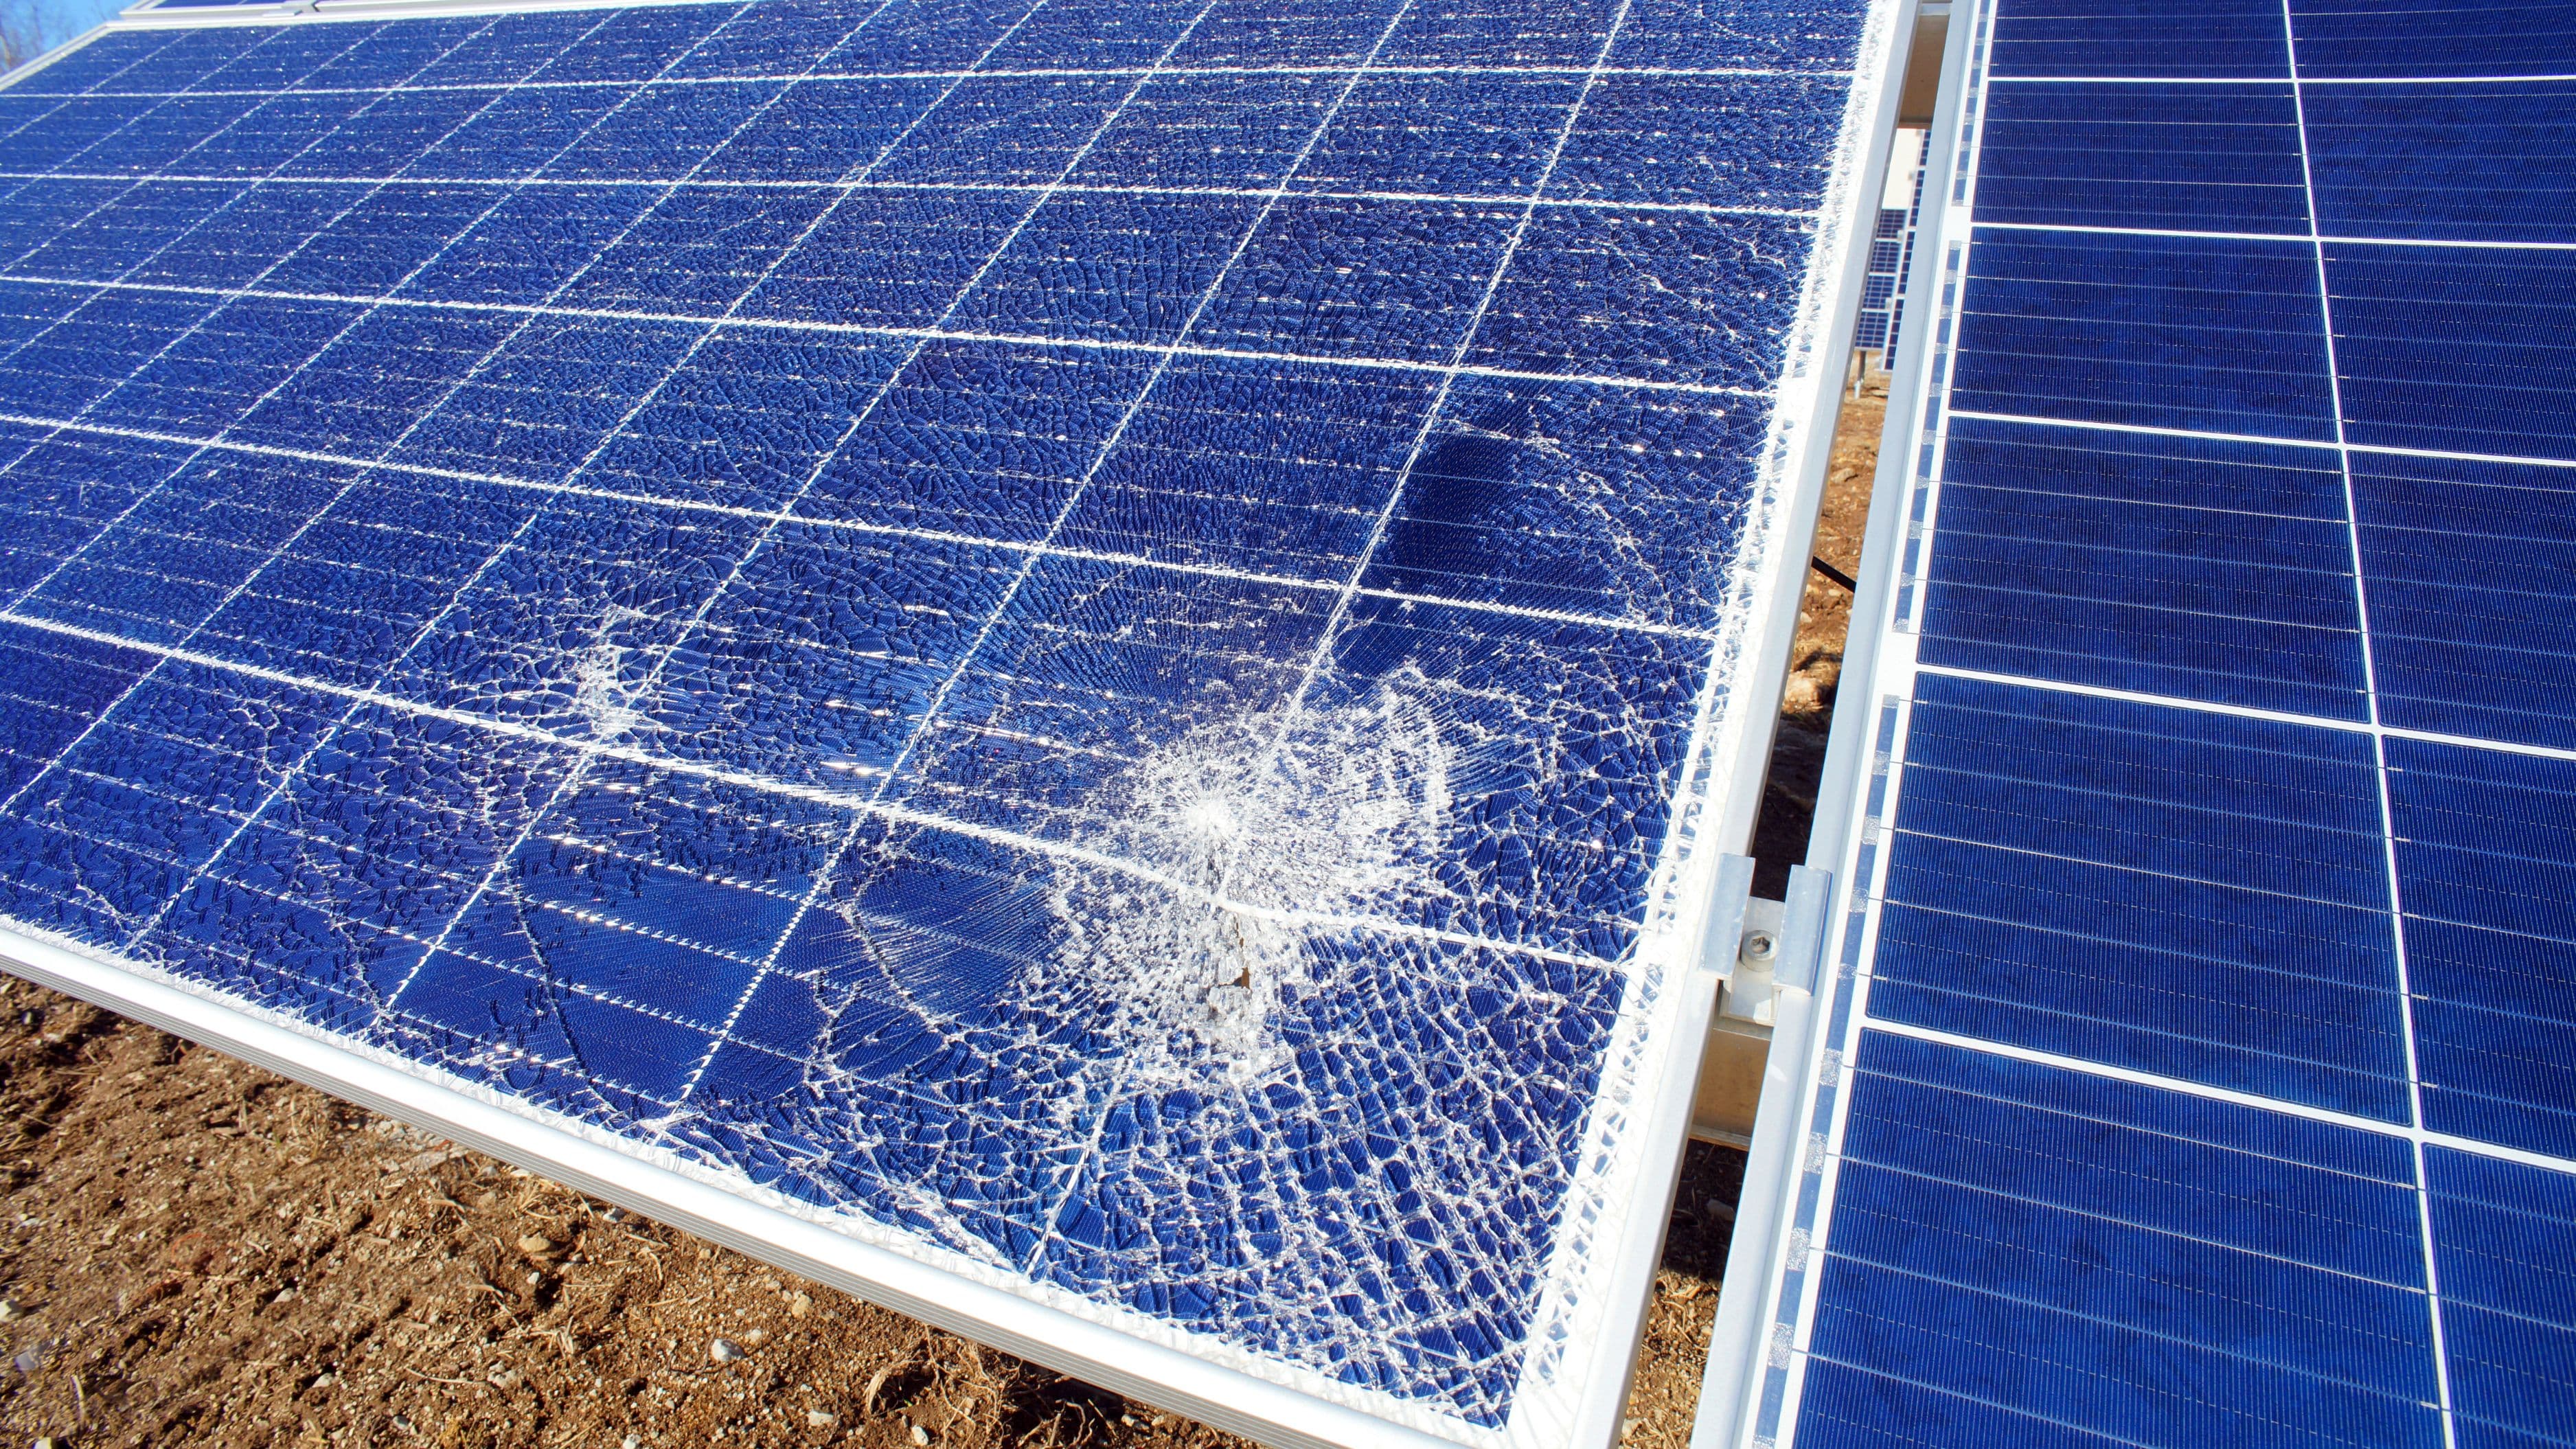
Never use an axe, hatchet, or hammer to break apart an existing ice dam. You'll damage your shingles and likely make the leak worse. And avoid throwing salt or ice-melt products directly on the roof, since most damage shingles, gutters, and the plantings below over time.
When you're working in the attic, wear a dust mask and eye protection, watch your footing by stepping only on joists or laid boards (never the bare ceiling between them), and mind any exposed wiring. If your attic is hard to access or you're not comfortable up there, this is a reasonable job to hand off.
What to Avoid
A few common missteps cost homeowners money without solving the problem. Many reach first for heated cables (heat tape) zig-zagged along the eaves. These can help in a specific trouble spot, but they treat the symptom, use electricity all winter, and ignore the attic heat loss that's the actual cause – think of them as a last resort, not a first move.
Another mistake is adding insulation while ignoring air sealing. Insulation slows heat, but it doesn't stop air leaks, and warm air finding a gap will sail right past even a thick insulation layer. Seal first, then insulate.
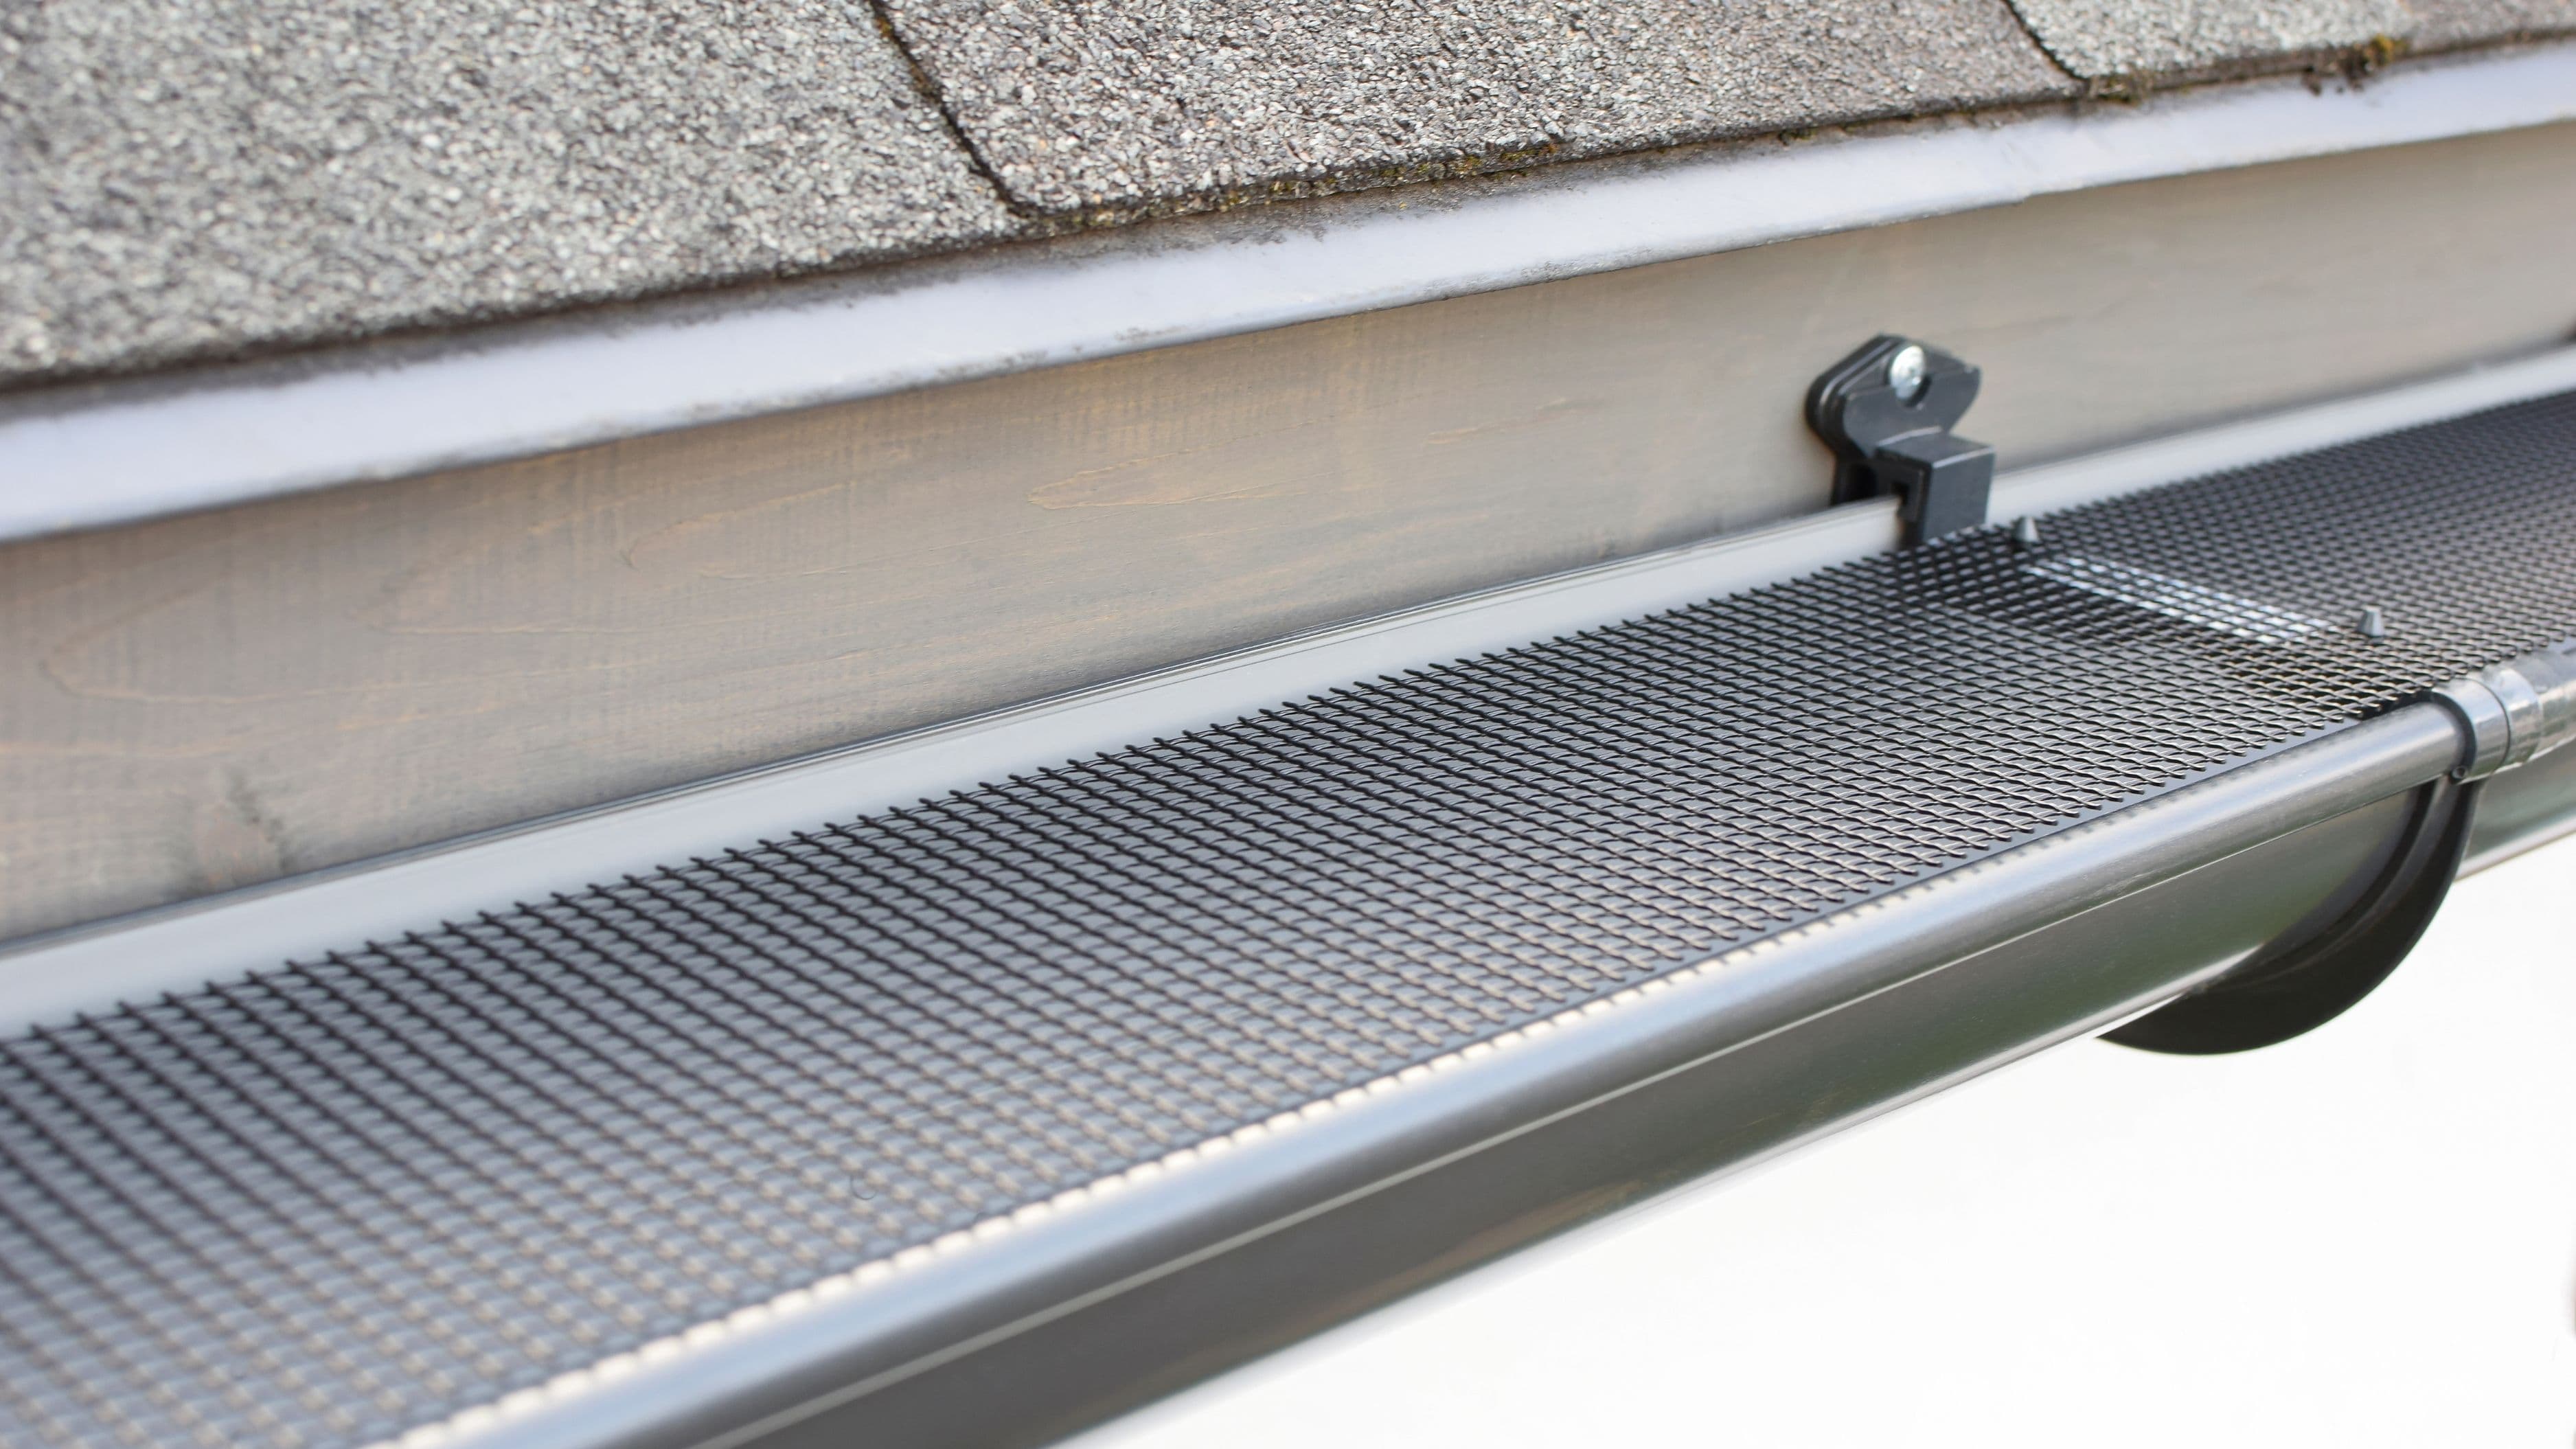
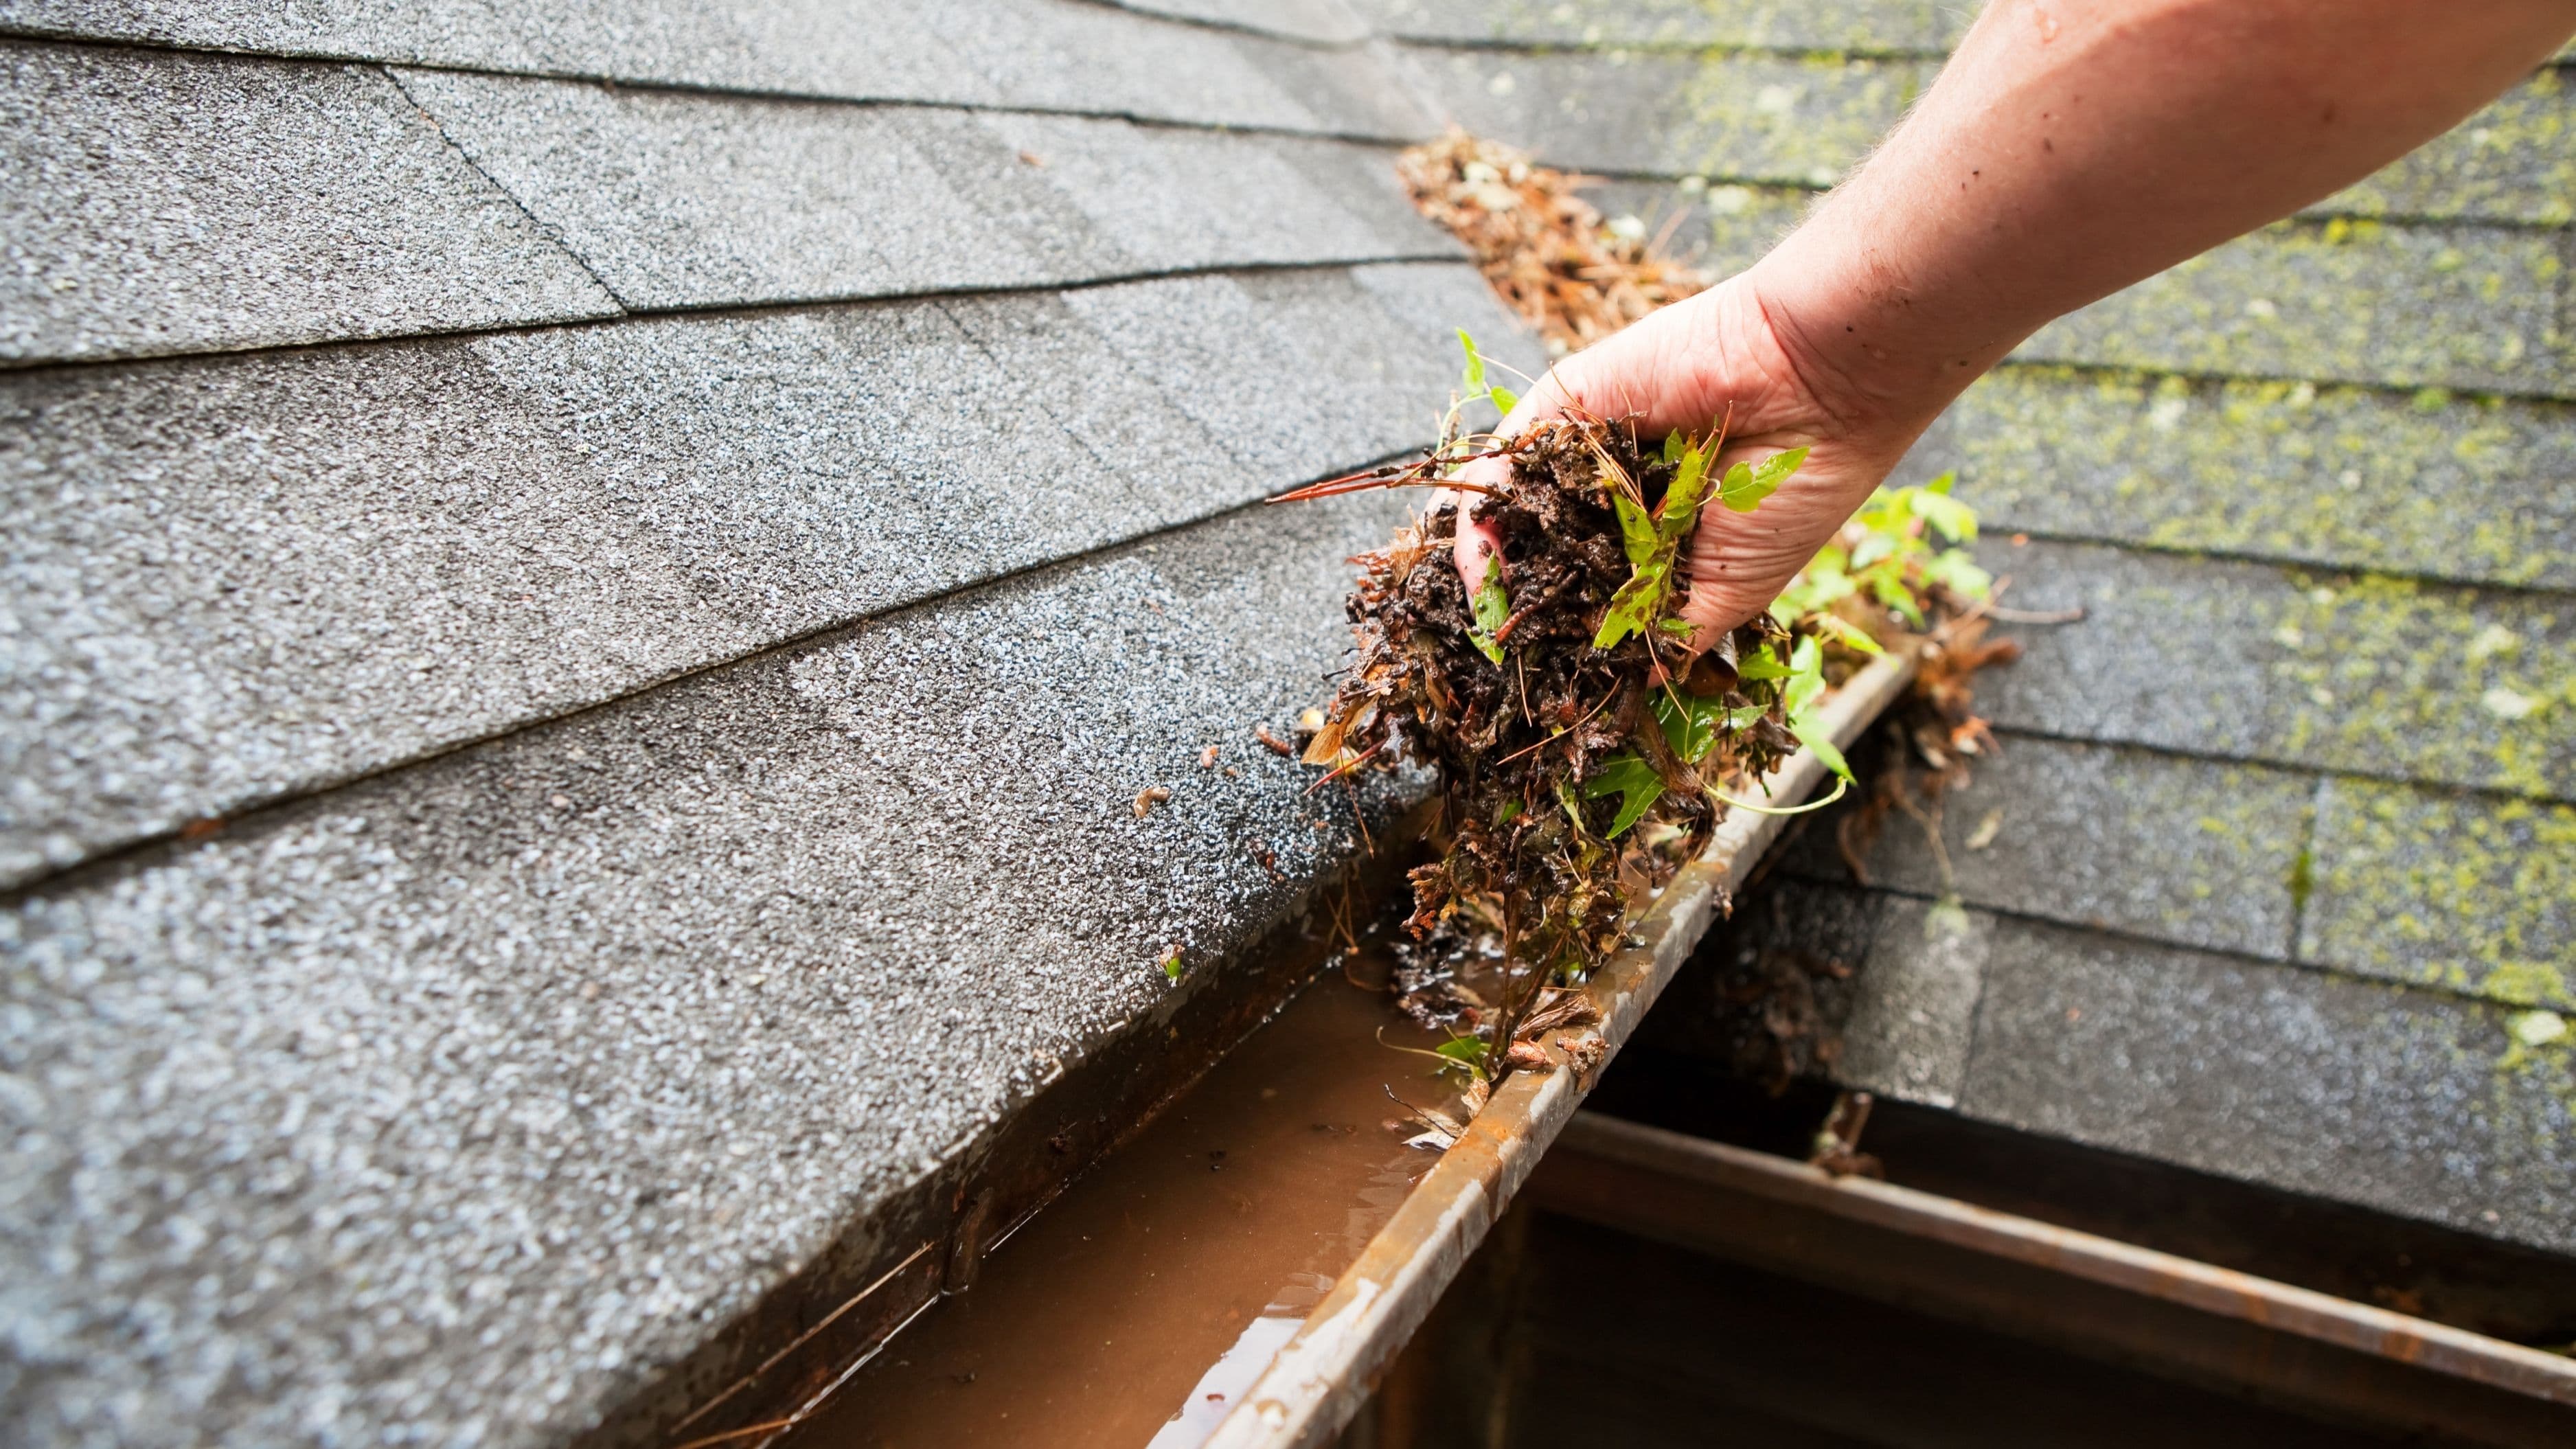
Finally, don't assume the problem is your gutters. Clean gutters are good practice, but ice dams form on the roof edge whether or not gutters are present – the cause is up in the attic, not in the gutter trough.
When to Call a Pro
Bring in a professional if you already have active leaking and interior water damage, if your roof is steep or multi-story and snow removal feels unsafe, or if you've done the attic work and dams still form, which can point to trickier issues like complex rooflines or inadequate underlayment. An energy auditor or insulation contractor can also do a blower-door test to pinpoint exactly where your attic is leaking heat, which takes the guesswork out of Step 1.
Removing an existing, active ice dam safely is also a pro job – they use steam equipment that melts the ice without harming shingles, which beats anything you can safely do from a ladder.
FAQ
Are ice dams covered by homeowners insurance? Often the resulting water damage is covered, while the ice dam removal itself may not be – policies vary, so check yours before you need it. Either way, prevention is cheaper than a claim and a deductible.
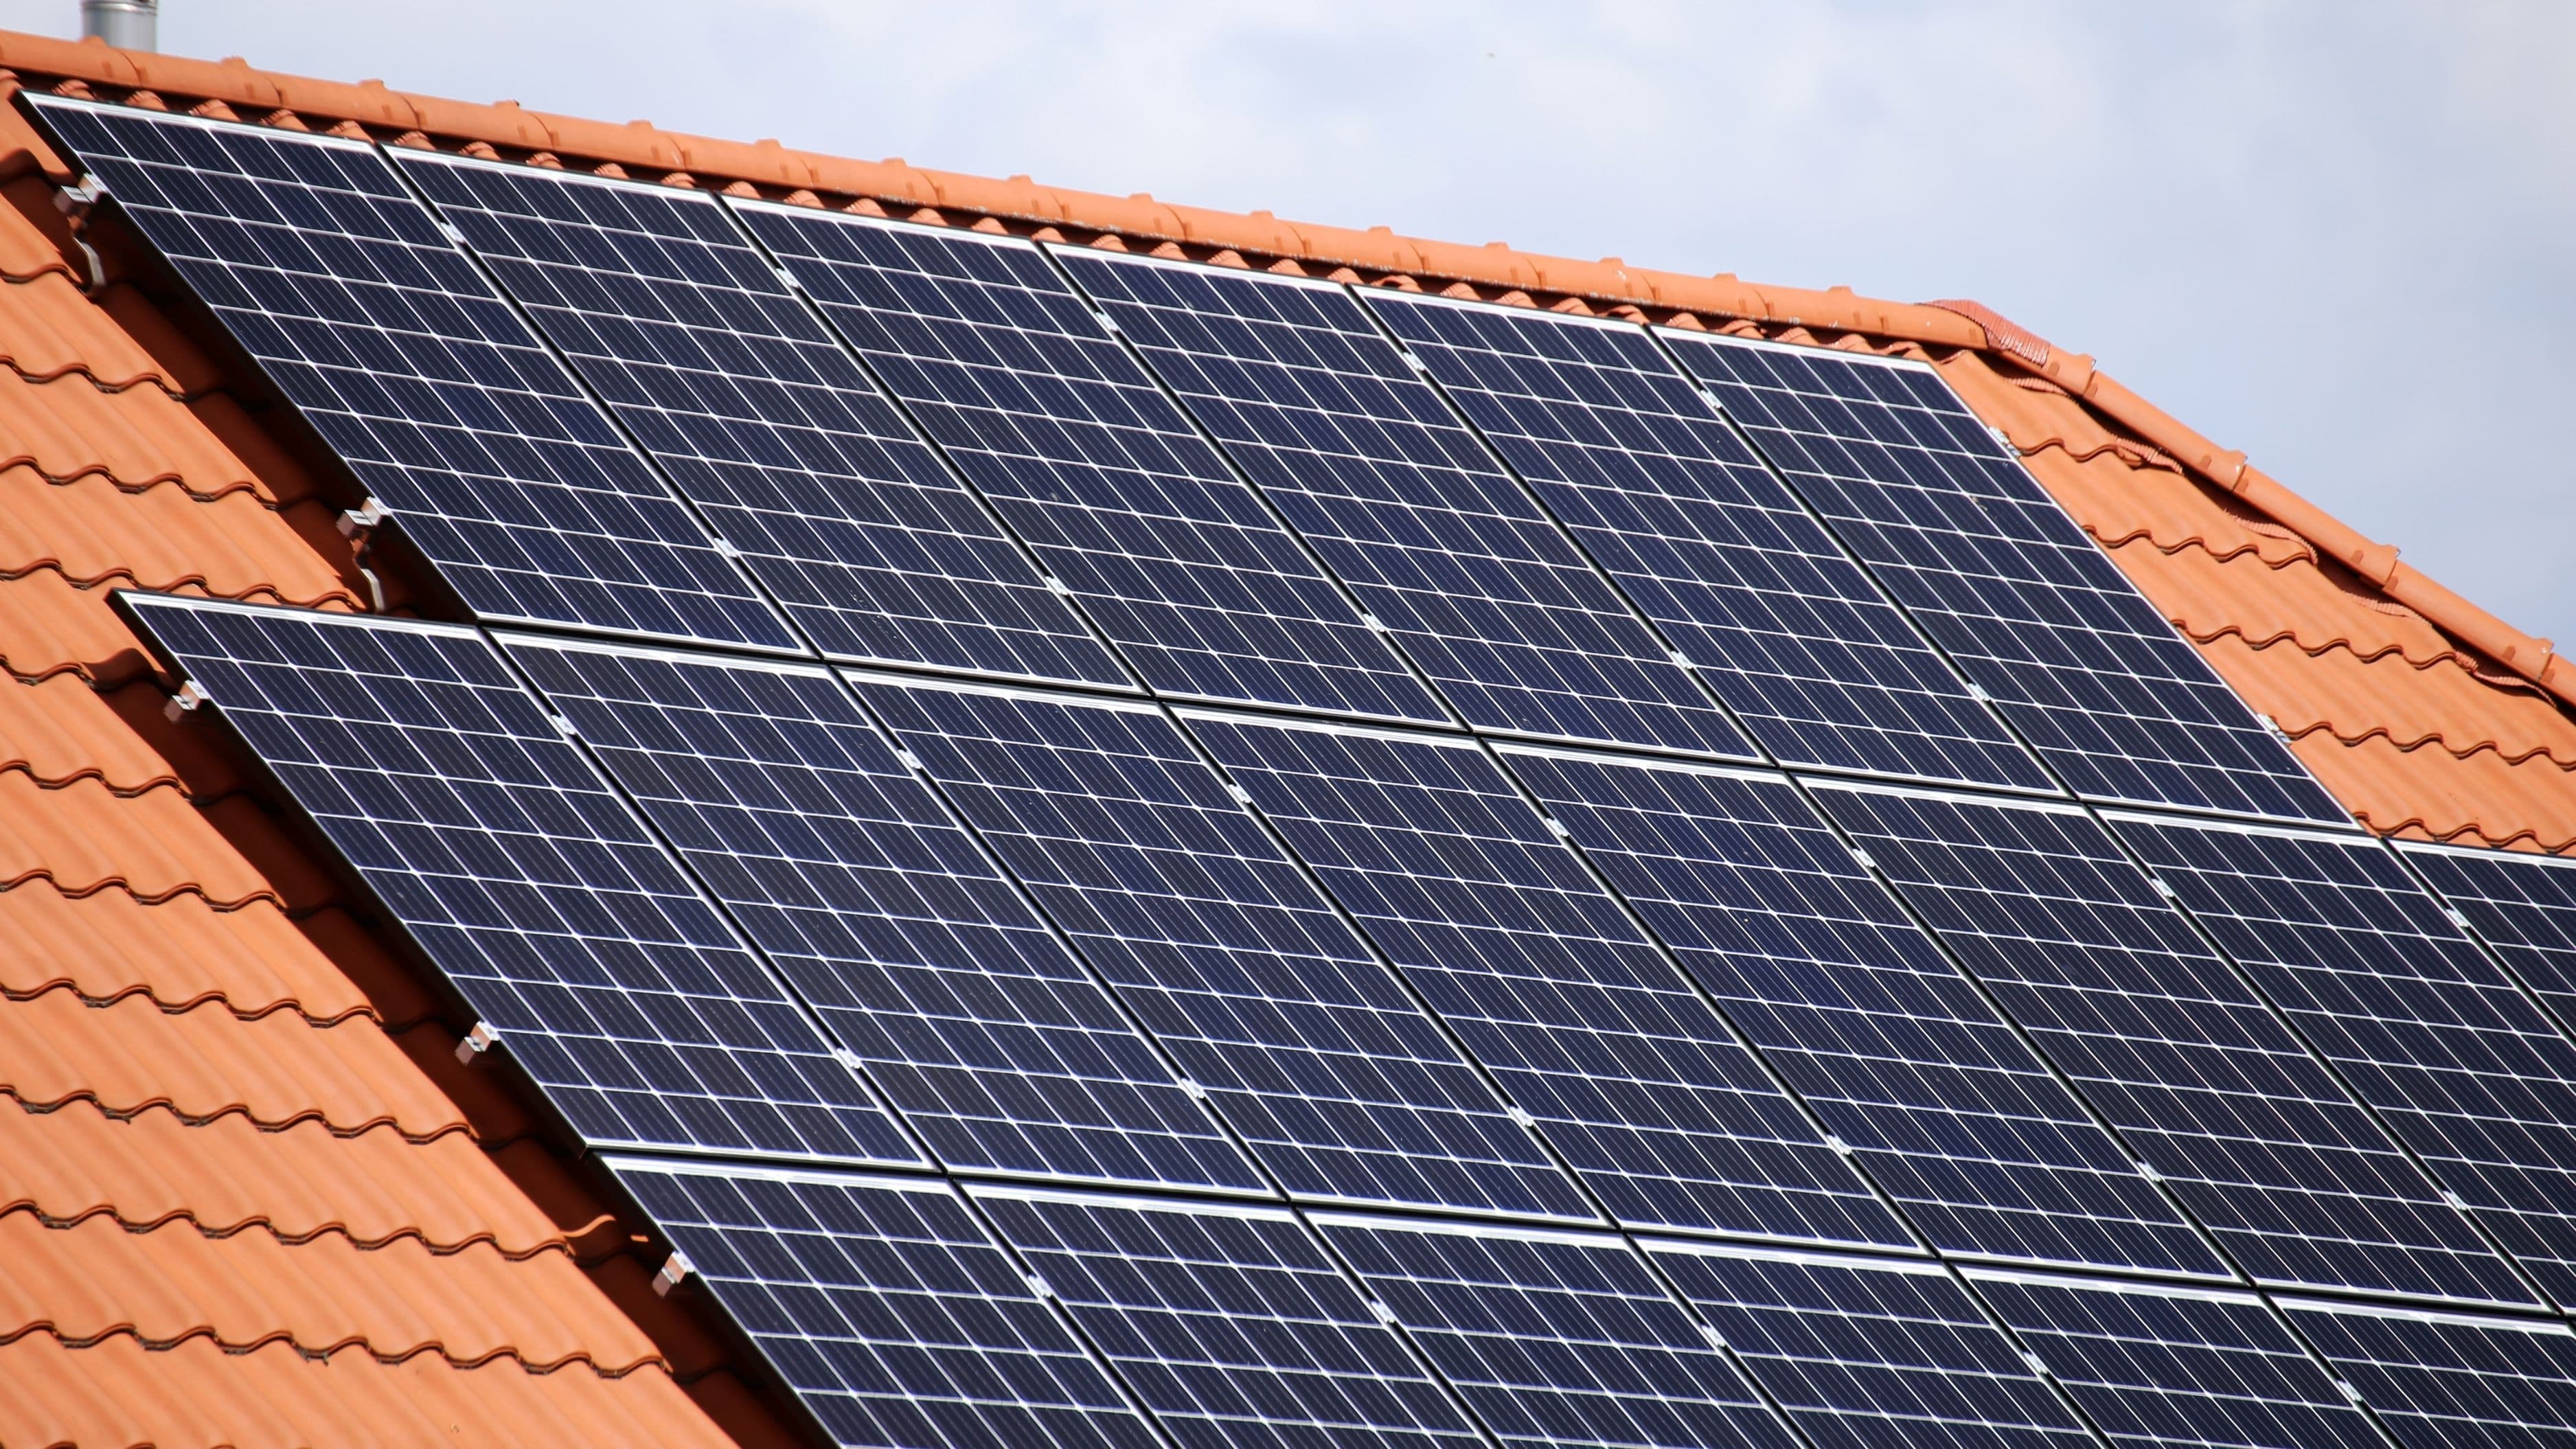
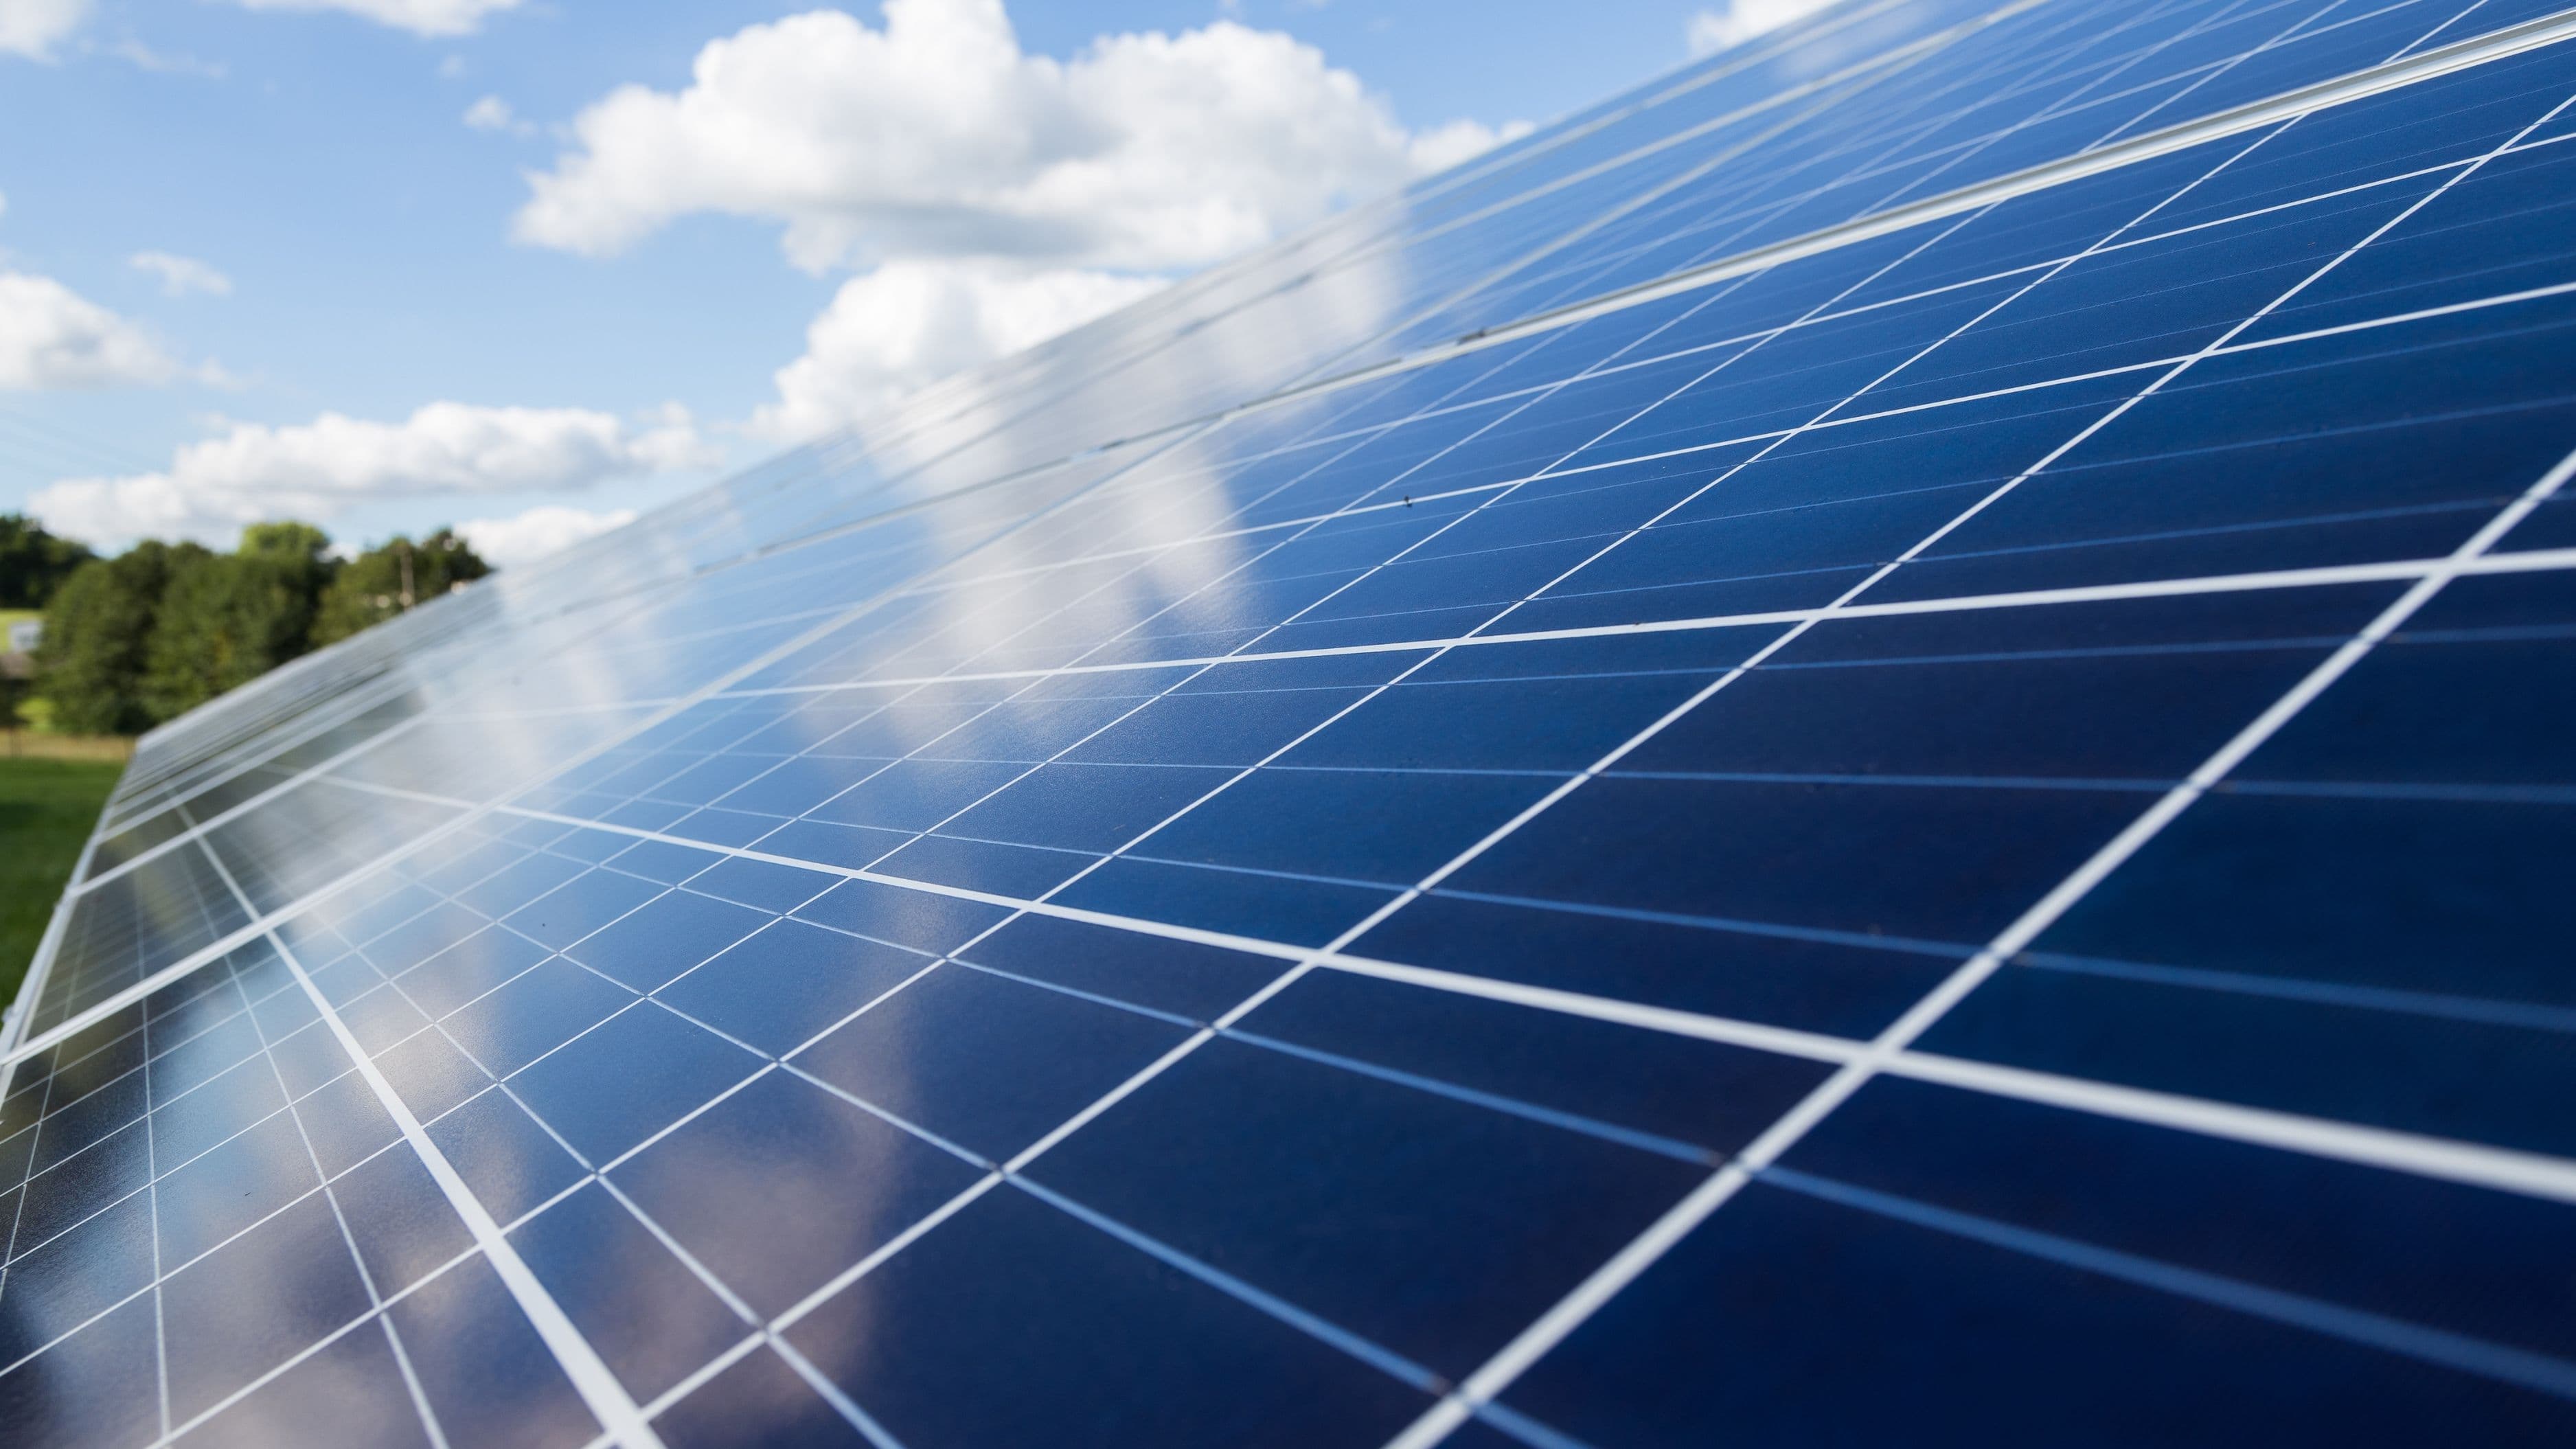
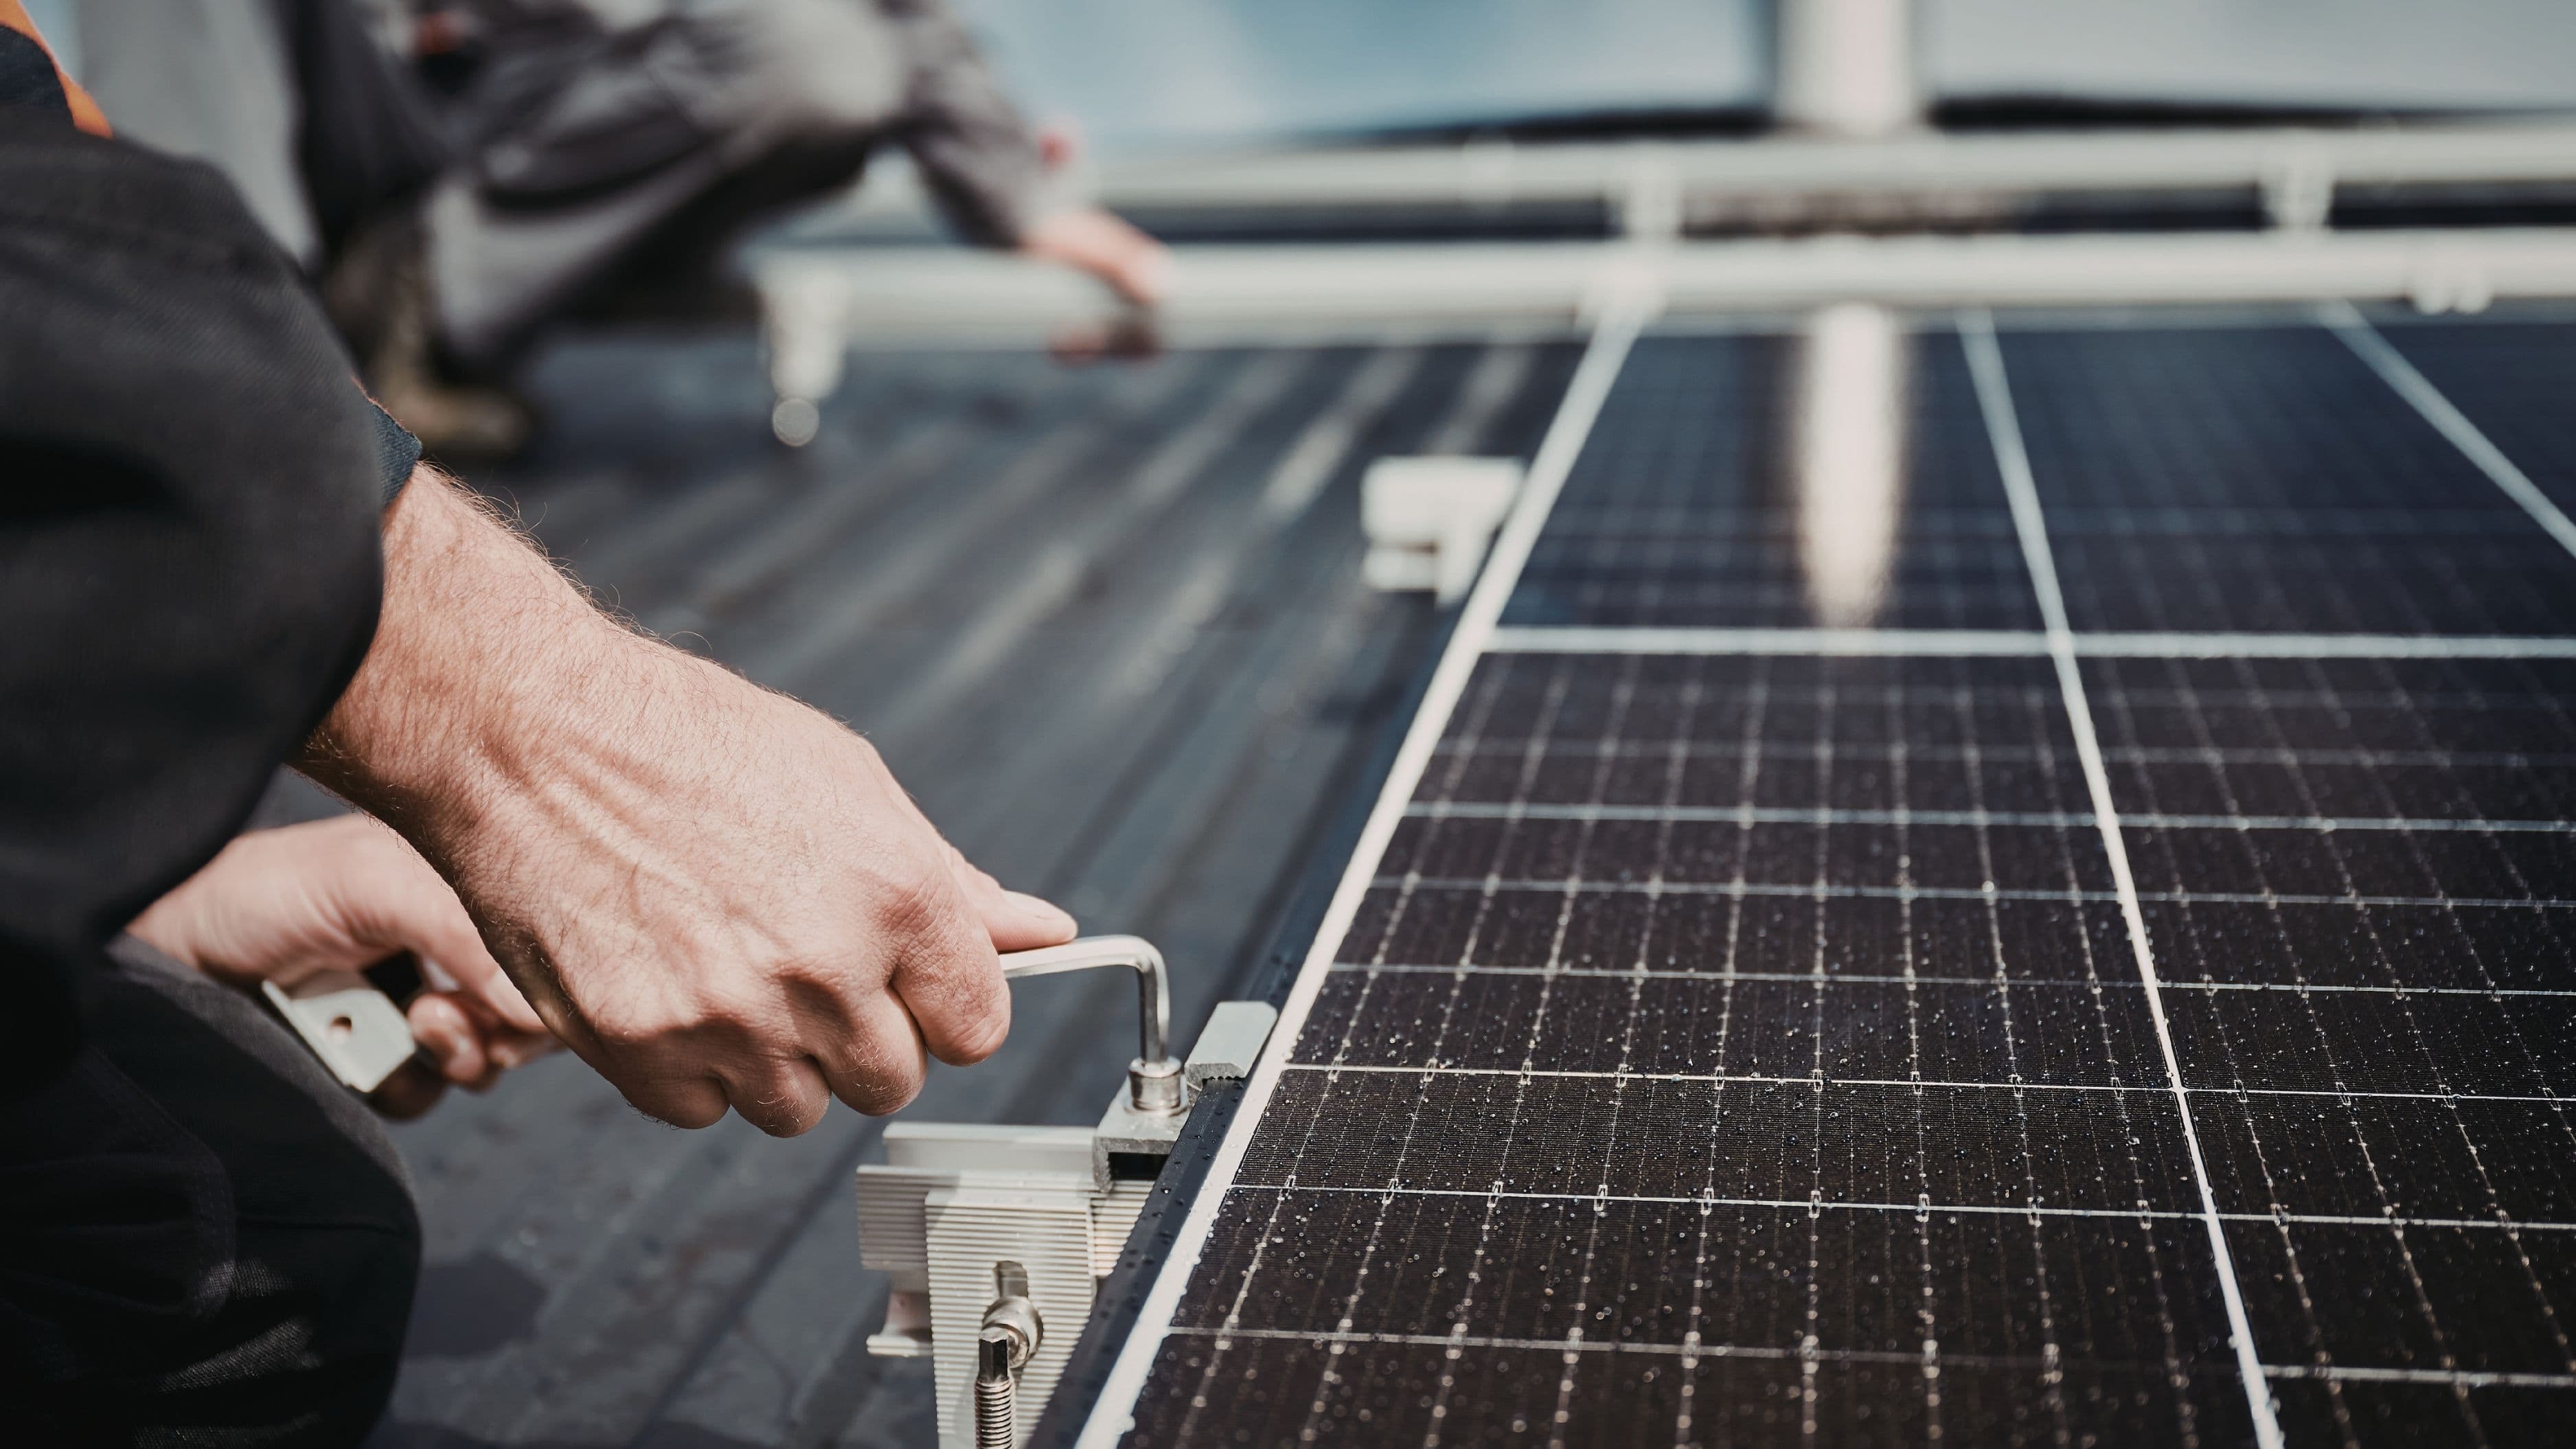
Will a metal roof prevent ice dams? Metal roofs shed snow more readily and are less prone to dams, but they don't fix the underlying attic heat loss. The insulation and ventilation work still matters.
How quickly can an ice dam cause damage? Faster than you'd think – water can find its way indoors within a day or two of a dam forming during a melt-freeze cycle. That's why addressing the attic before winter beats reacting mid-storm.
Do I need to do all the attic steps, or just one? Air sealing plus adequate insulation plus clear ventilation work as a system, and skipping one weakens the others. If you can only do one thing first, air sealing usually delivers the most benefit.
Is roof raking enough on its own? It helps in the moment but doesn't address the root cause. Treat it as a useful seasonal backup while you handle the attic improvements that actually prevent dams.
The Bottom Line
Ice dams feel like a roof problem, but they're really an attic problem in disguise – and that's good news, because the attic is where you can actually fix them affordably. Seal the air leaks, get your insulation up to standard, keep the soffit-to-ridge airflow clear, and keep a roof rake handy for big storms. Do that before the snow flies and you'll spend your winter watching snow melt off your roof the way it's supposed to, instead of watching a stain spread across your ceiling.
📚 Sources
U.S. Department of Energy – Where to Insulate in a Home: https://www.energy.gov/energysaver/where-insulate-home
U.S. Department of Energy – Recommended Home Insulation R-Values: https://www.energy.gov/energysaver/insulation
University of Minnesota Extension – Dealing With and Preventing Ice Dams: https://extension.umn.edu/protecting-home-cold/ice-dams
FEMA – Snow Load Safety and Ice Dam Guidance: https://www.fema.gov/sites/default/files/2020-07/snowload_homeowner.pdf
U.S. Department of Energy – Attic Air Sealing Guide: https://www.energy.gov/energysaver/air-sealing-your-home
🔍 Explore Related Topics