Share:

Loading...
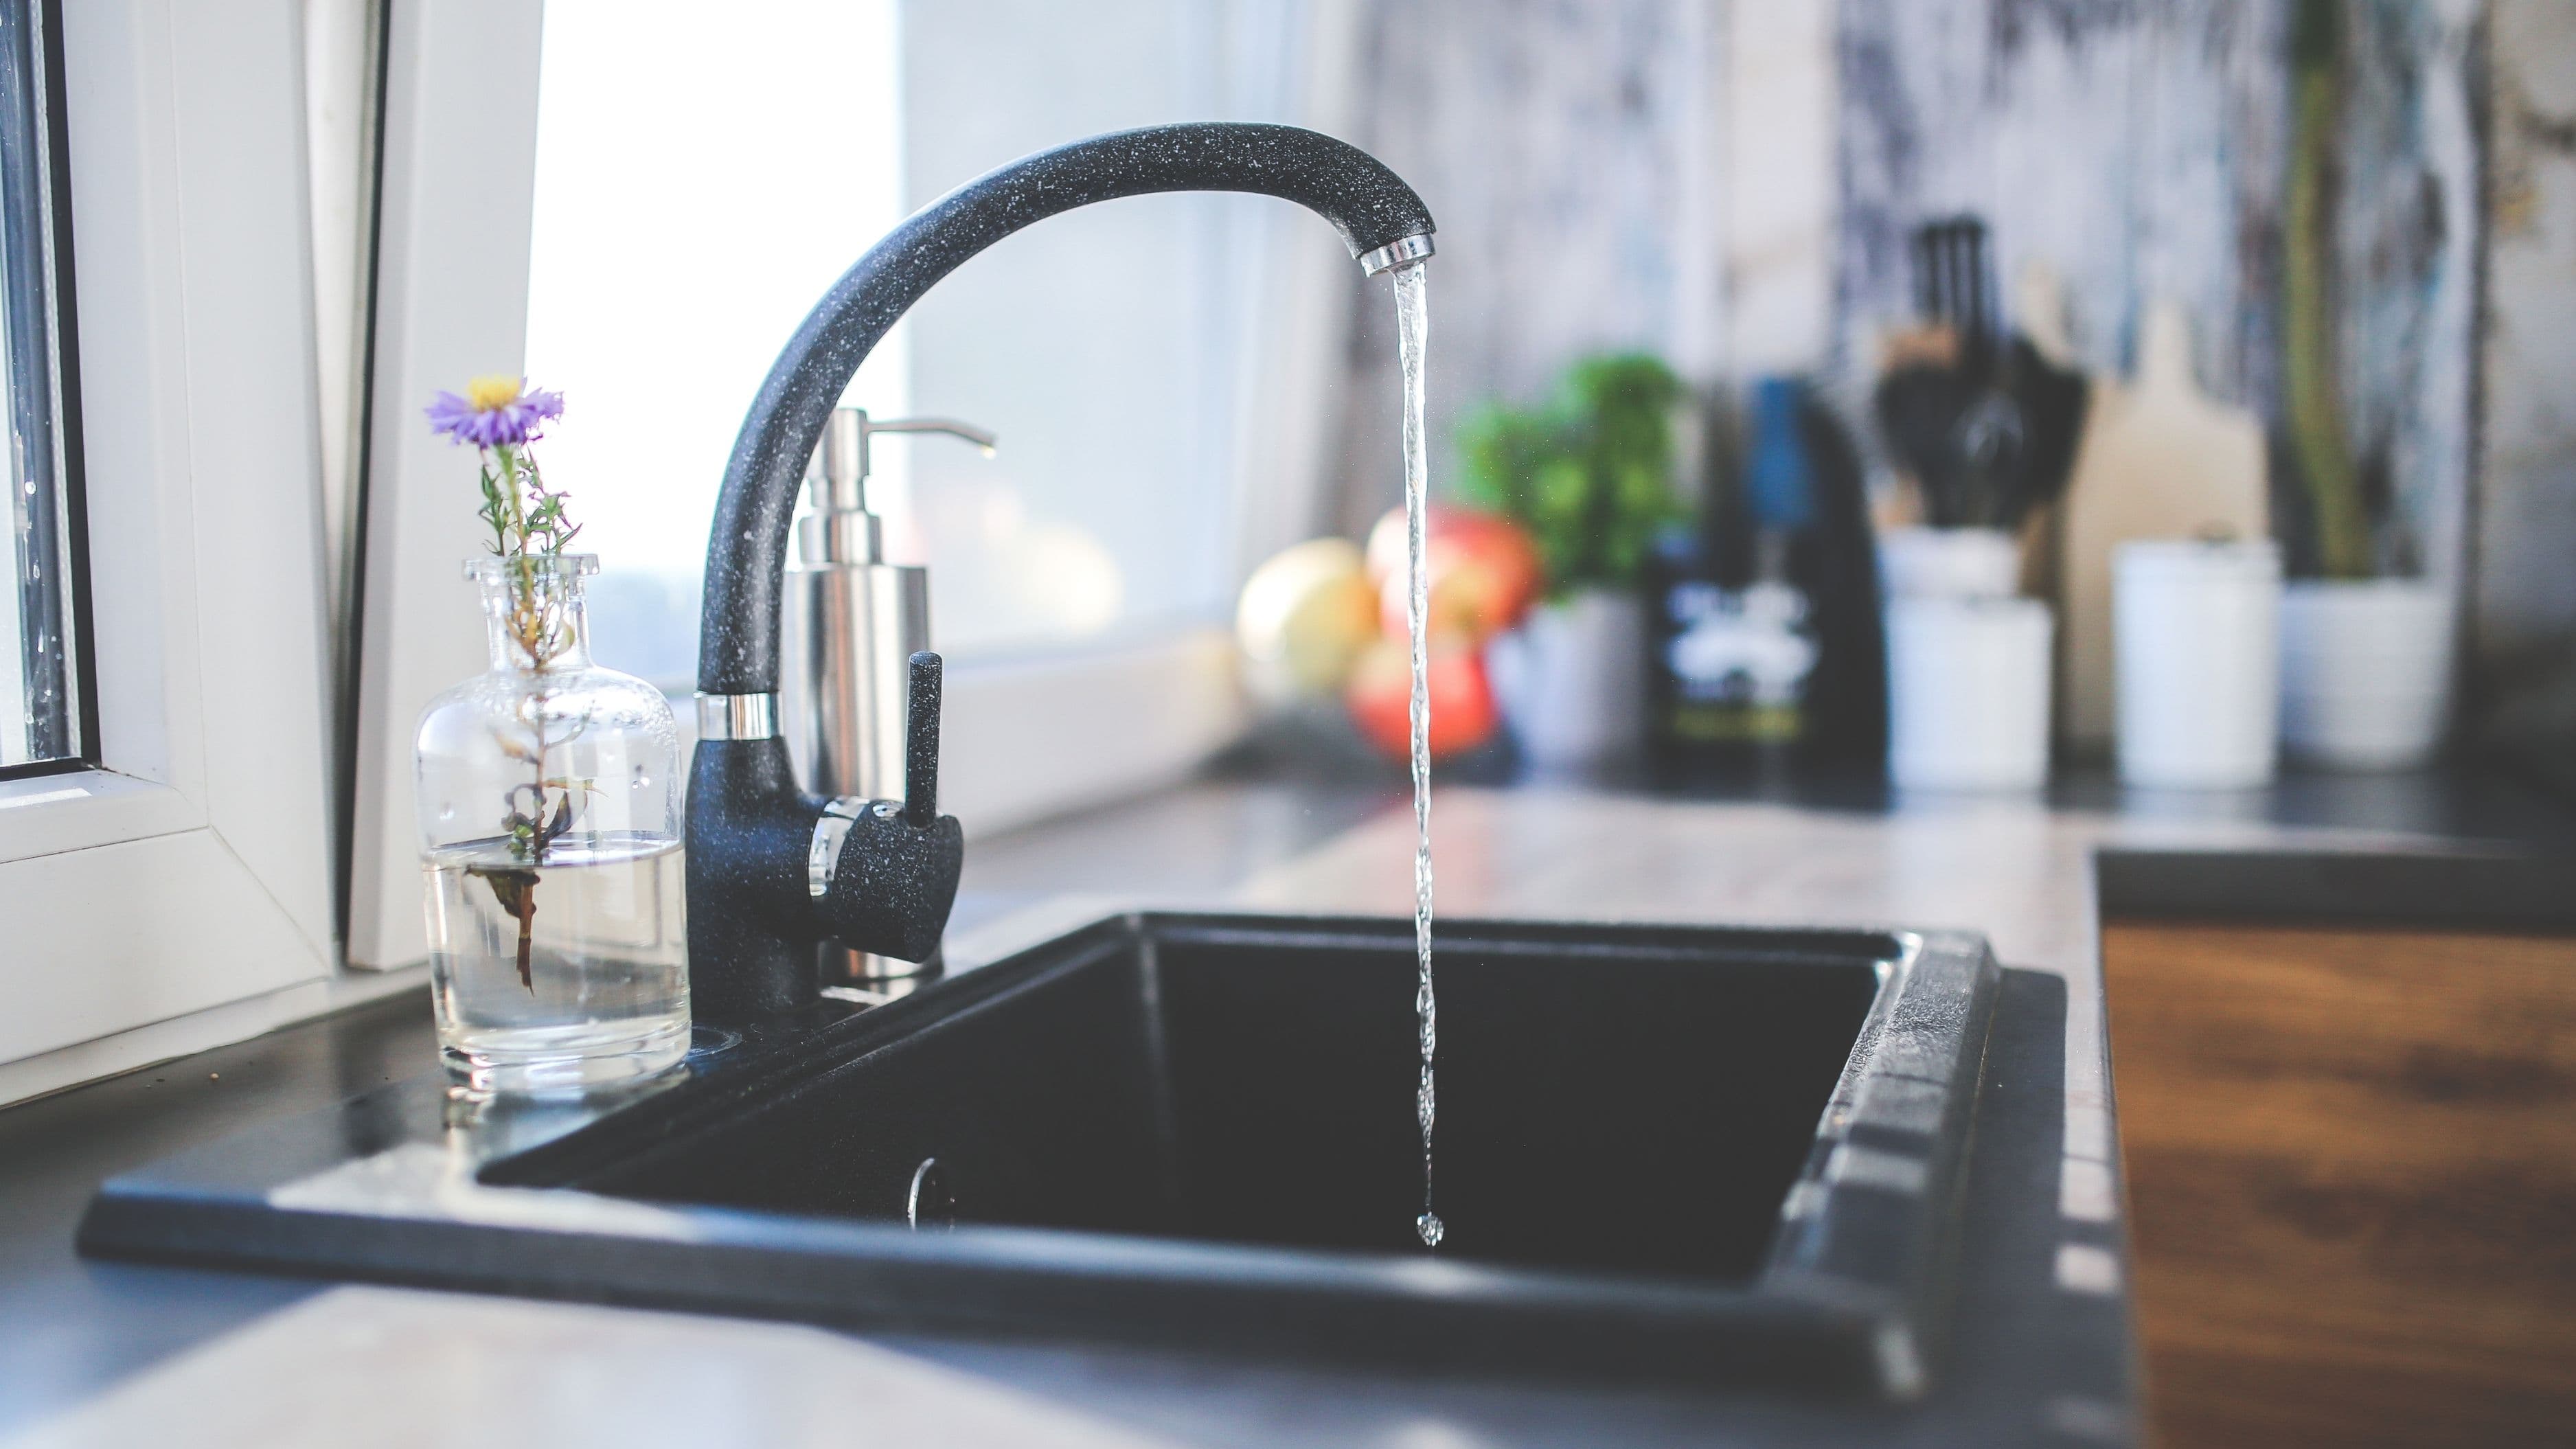
Did you know that water damage and freezing account for nearly 29% of all homeowners insurance claims, costing an average of $11,650 per incident? That's not just a number—it's your vacation fund, your emergency savings, or several months of mortgage payments swirling down the drain. The real kicker? Most insurance companies will drop your coverage or jack up your premiums after just one or two water damage claims. But here's the good news: the majority of water disasters don't happen because of dramatic floods or burst pipes during Arctic freezes. They happen slowly, quietly, in the shadows of your home while you're living your life. And most of them? Completely preventable with fixes so simple you'll wonder why you didn't do them sooner.
Let's talk about protecting both your home and that precious insurance coverage you're paying for every month.
Those rubber hoses snaking behind your washing machine are basically ticking time bombs. Standard rubber hoses typically last about five years, but most people never think about them until water is gushing across their laundry room floor. Take five minutes right now to inspect yours—look for cracks, bulges, or any brittleness in the rubber.
Replace standard rubber hoses with stainless steel braided ones, which cost around $20-30 at any hardware store. These reinforced hoses can withstand significantly more pressure and won't crack over time. While you're back there, make sure there's at least four inches between the hose connection and the wall to prevent kinking, which weakens the hose over time and creates a failure point.
Here's a pro move: turn off the water supply valves to your washing machine when you're going on vacation or won't be using it for an extended period. It takes ten seconds and eliminates any risk of a catastrophic leak while you're away posting beach photos.
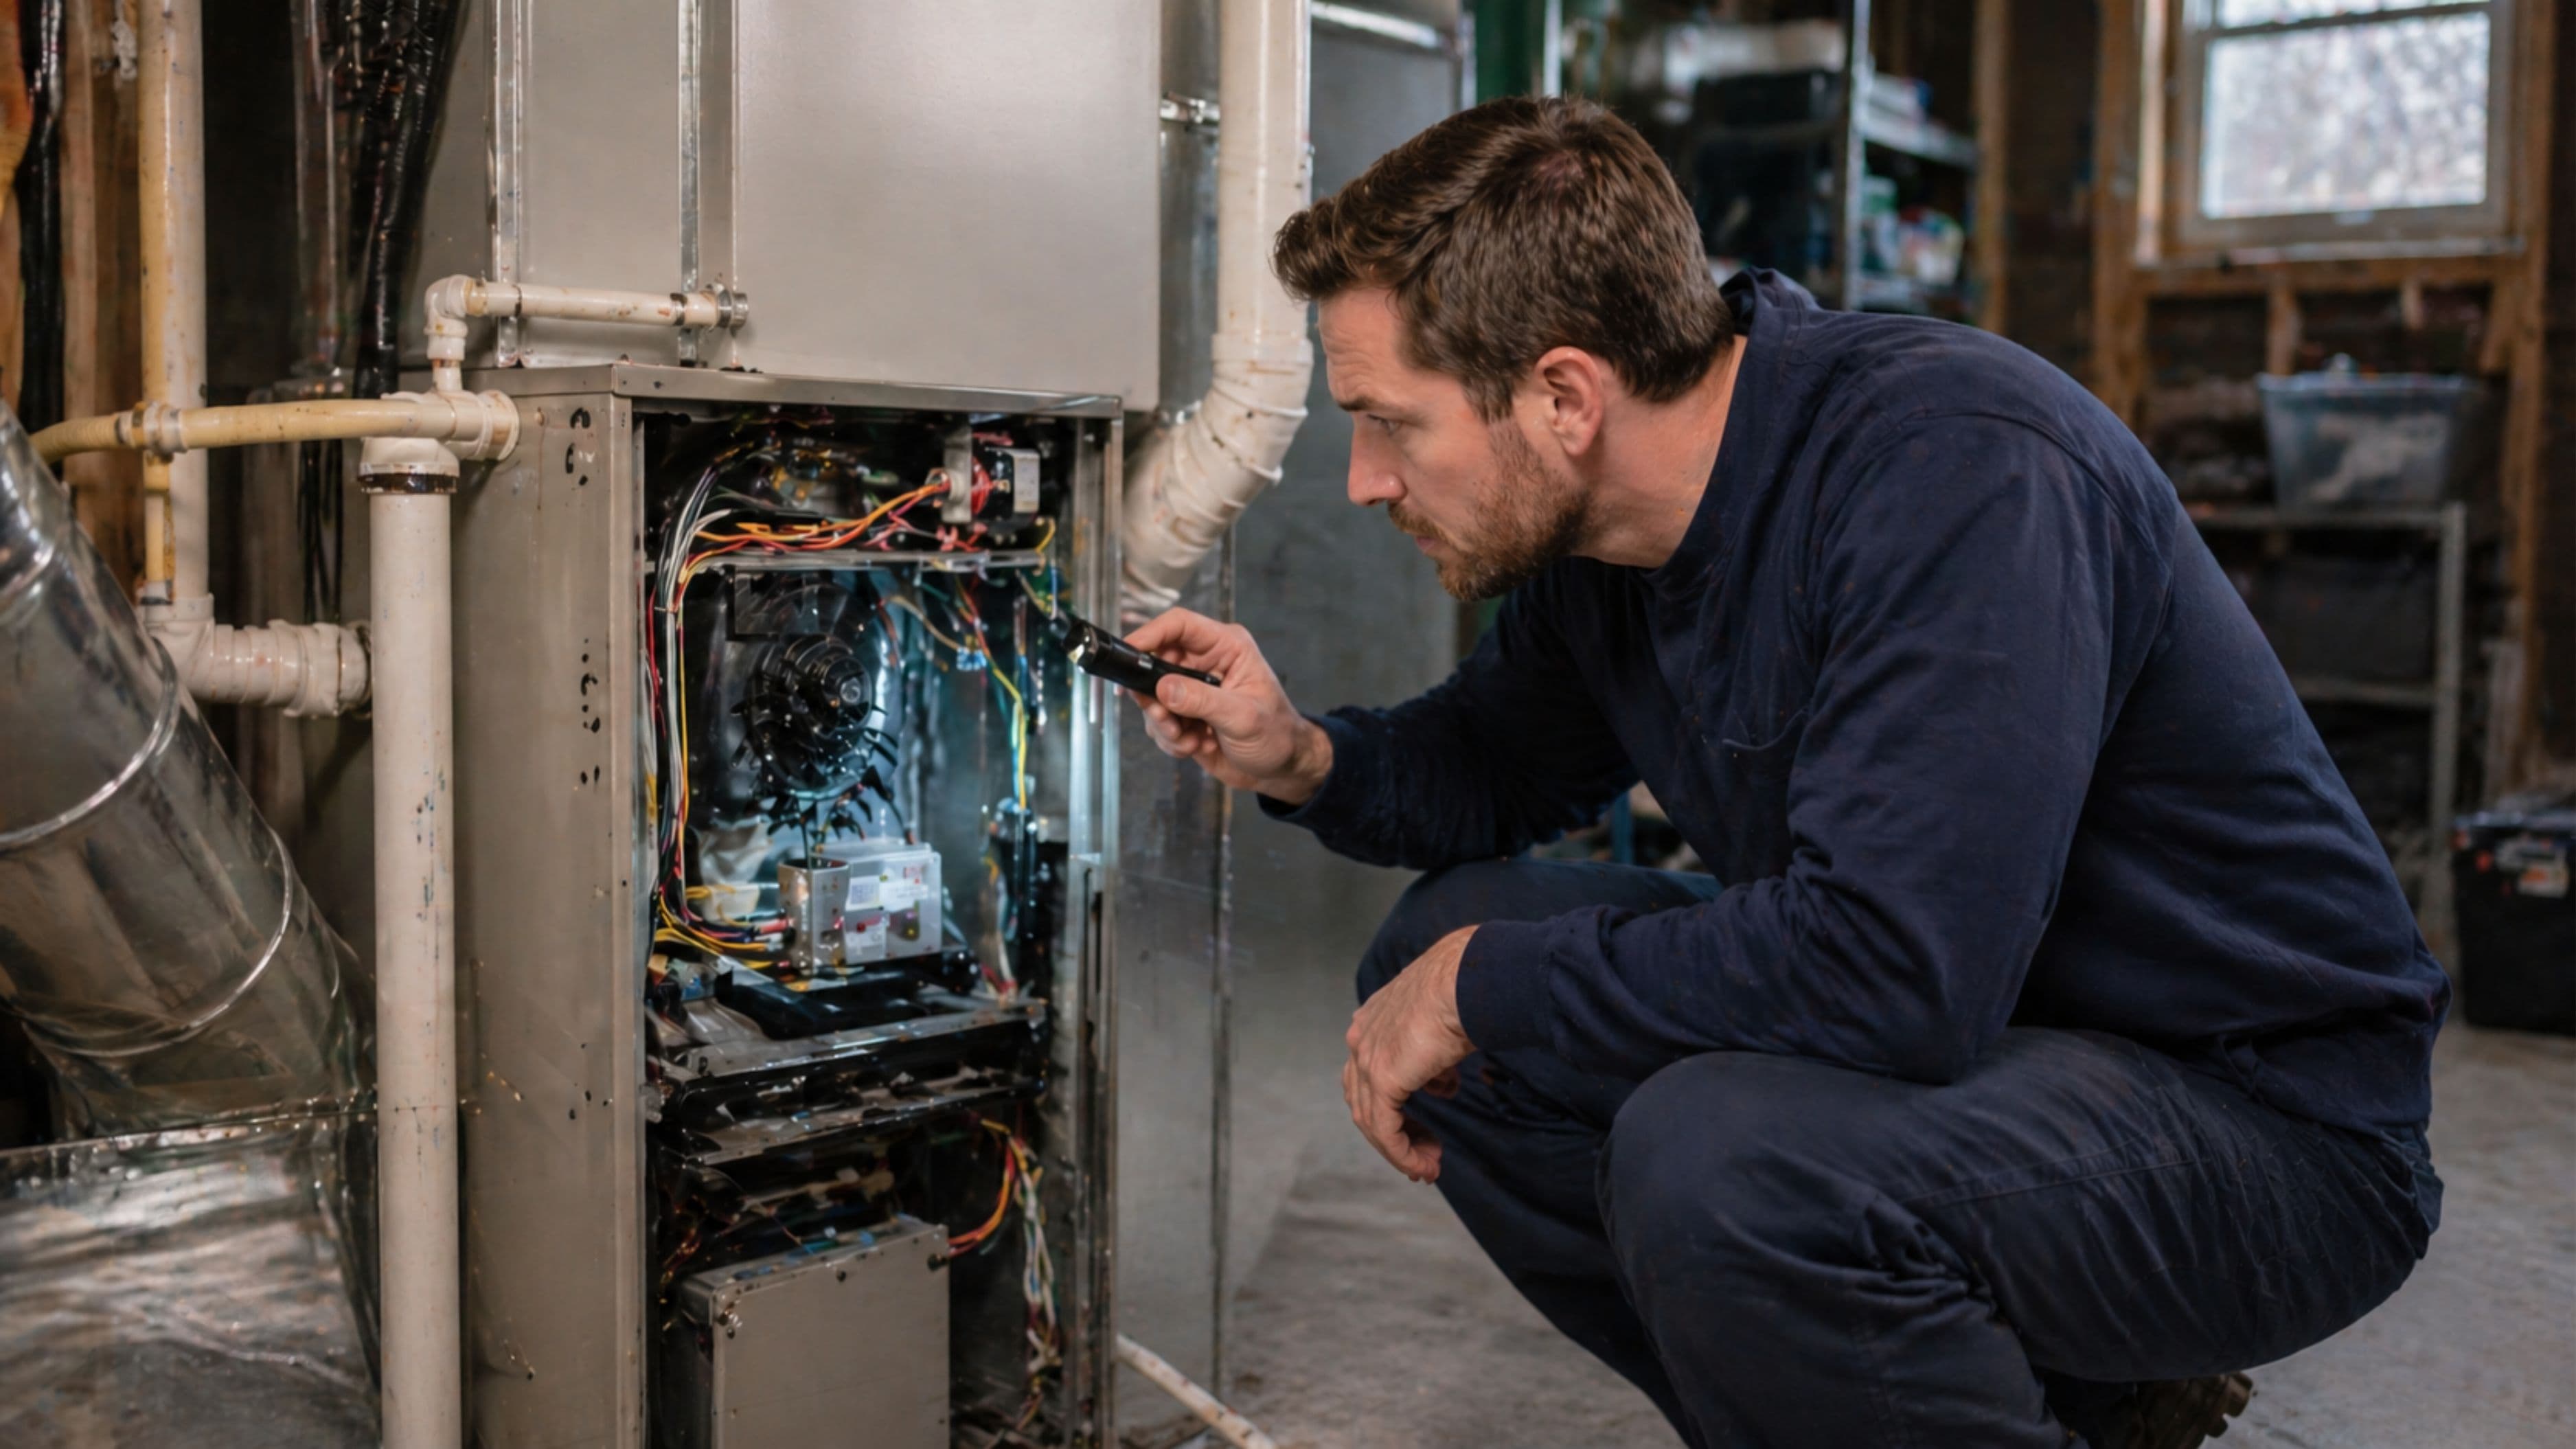
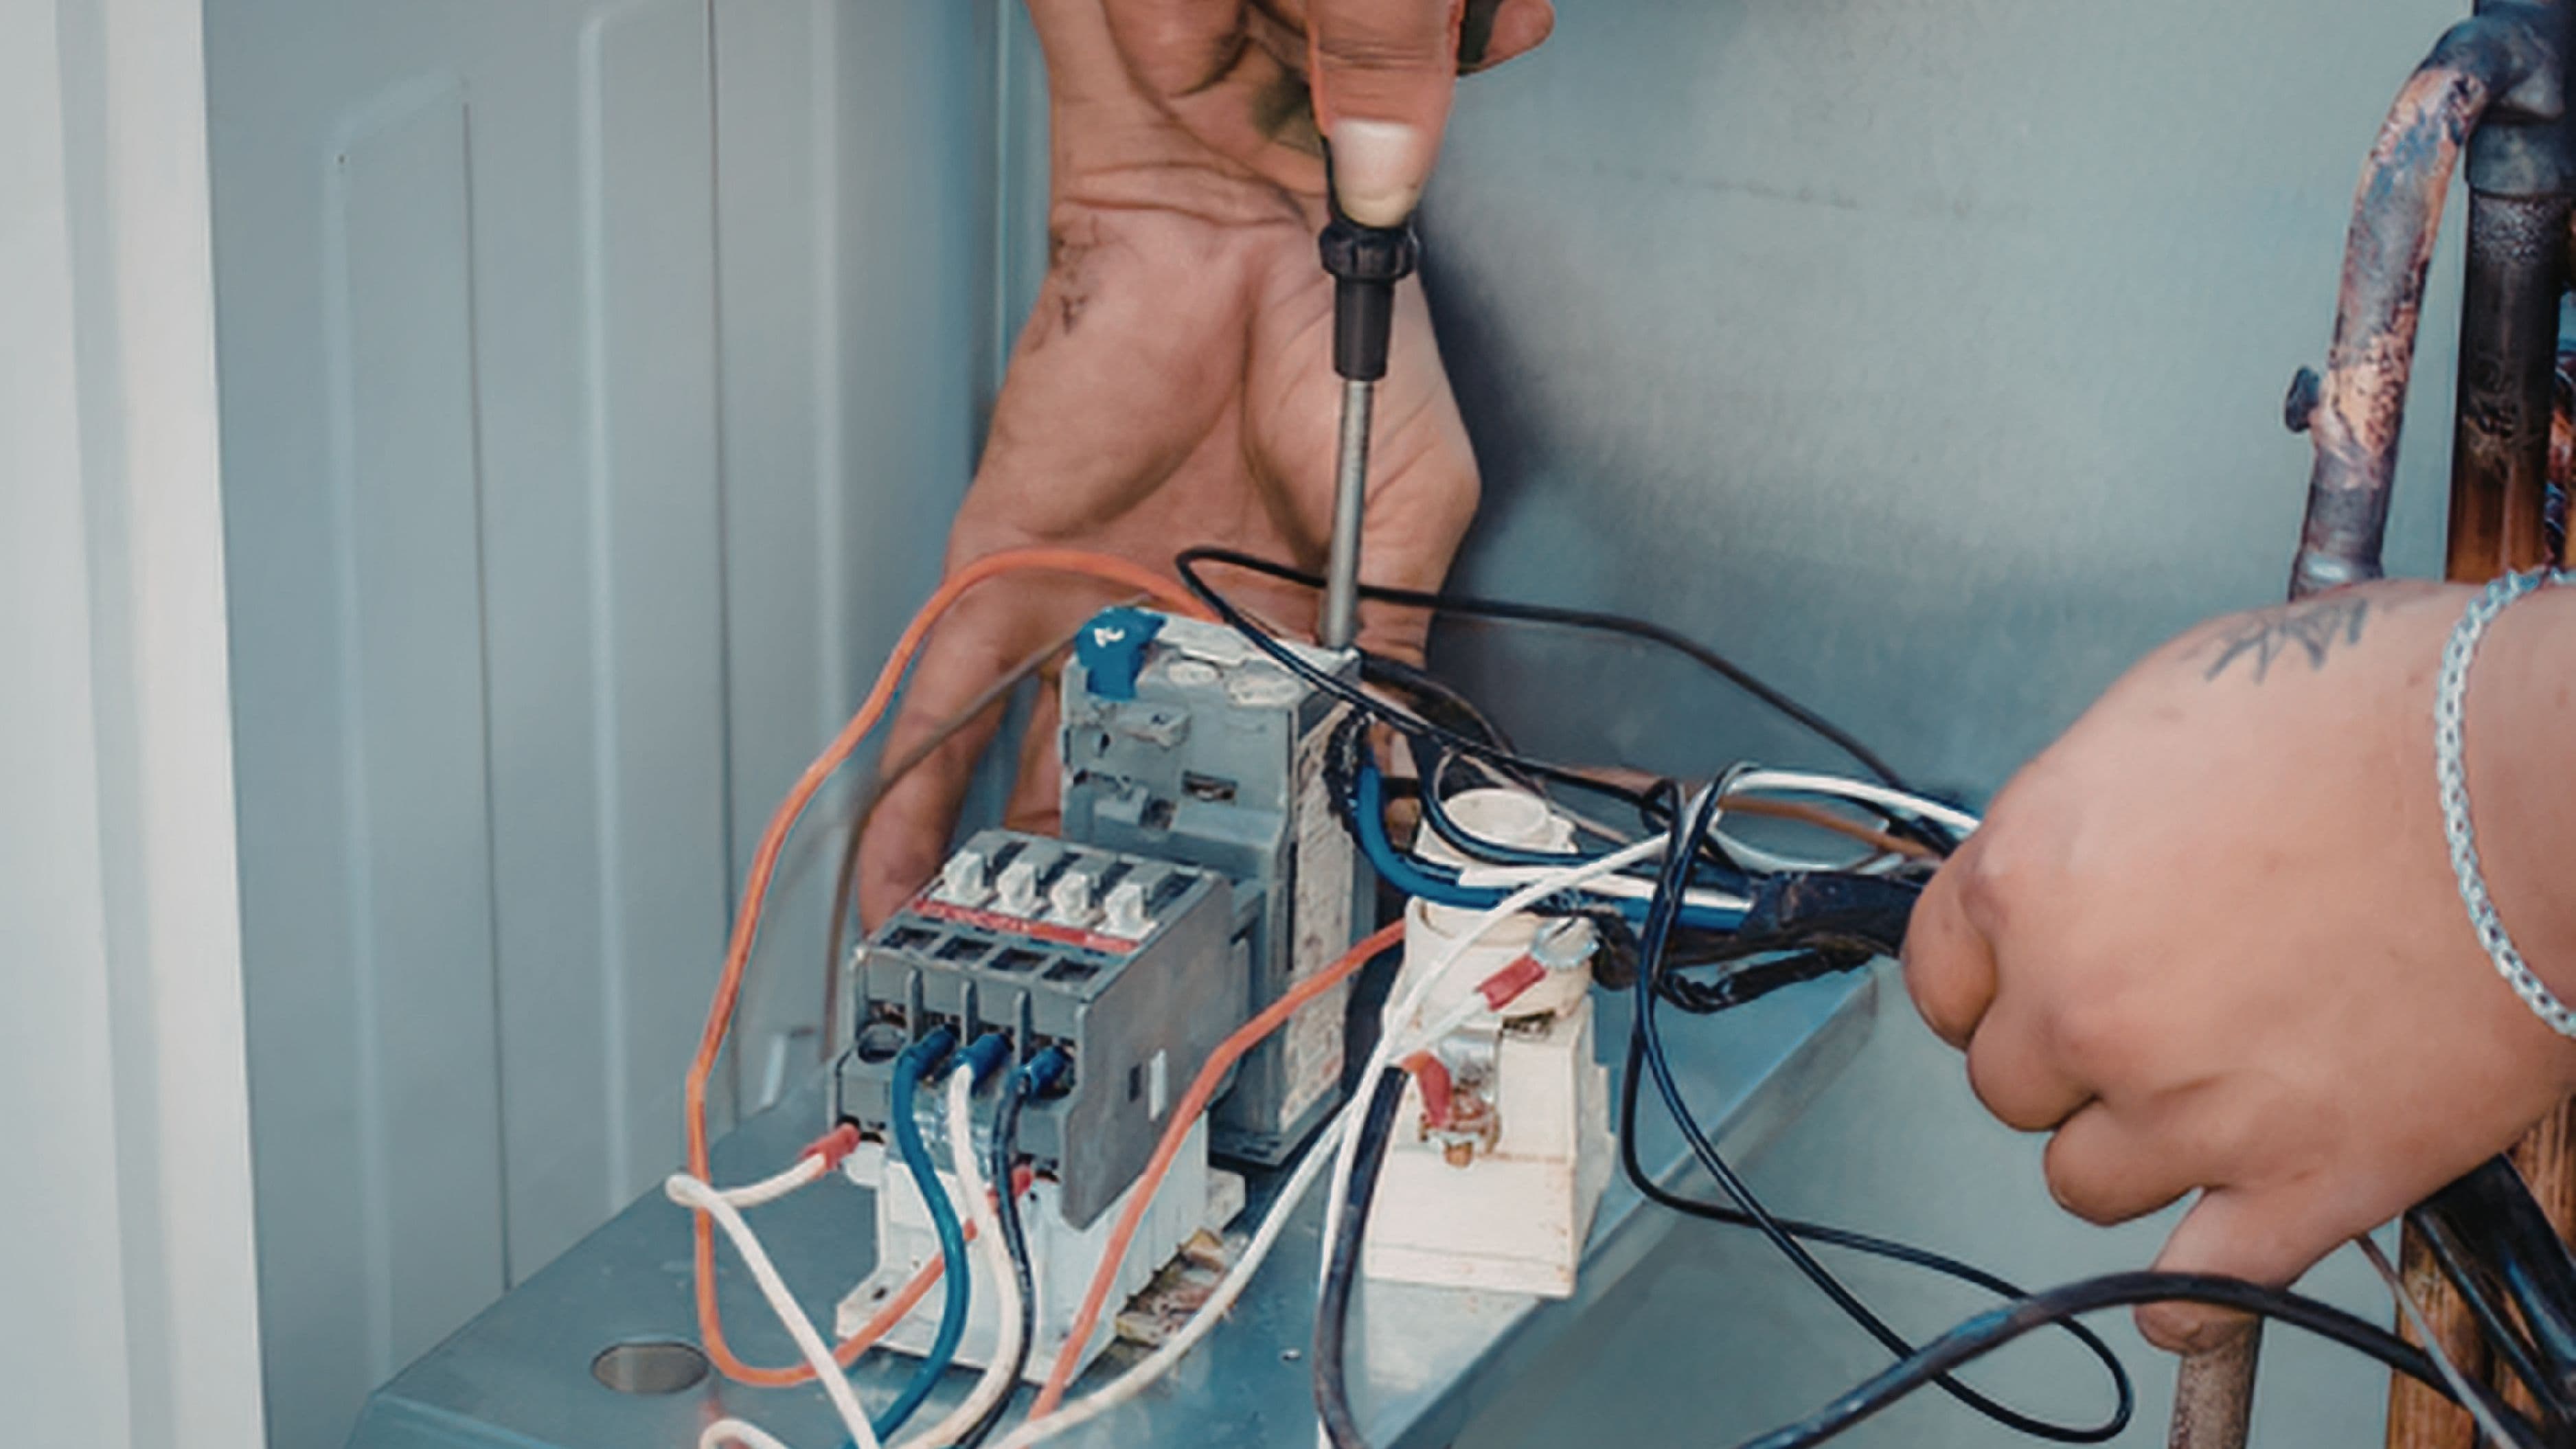
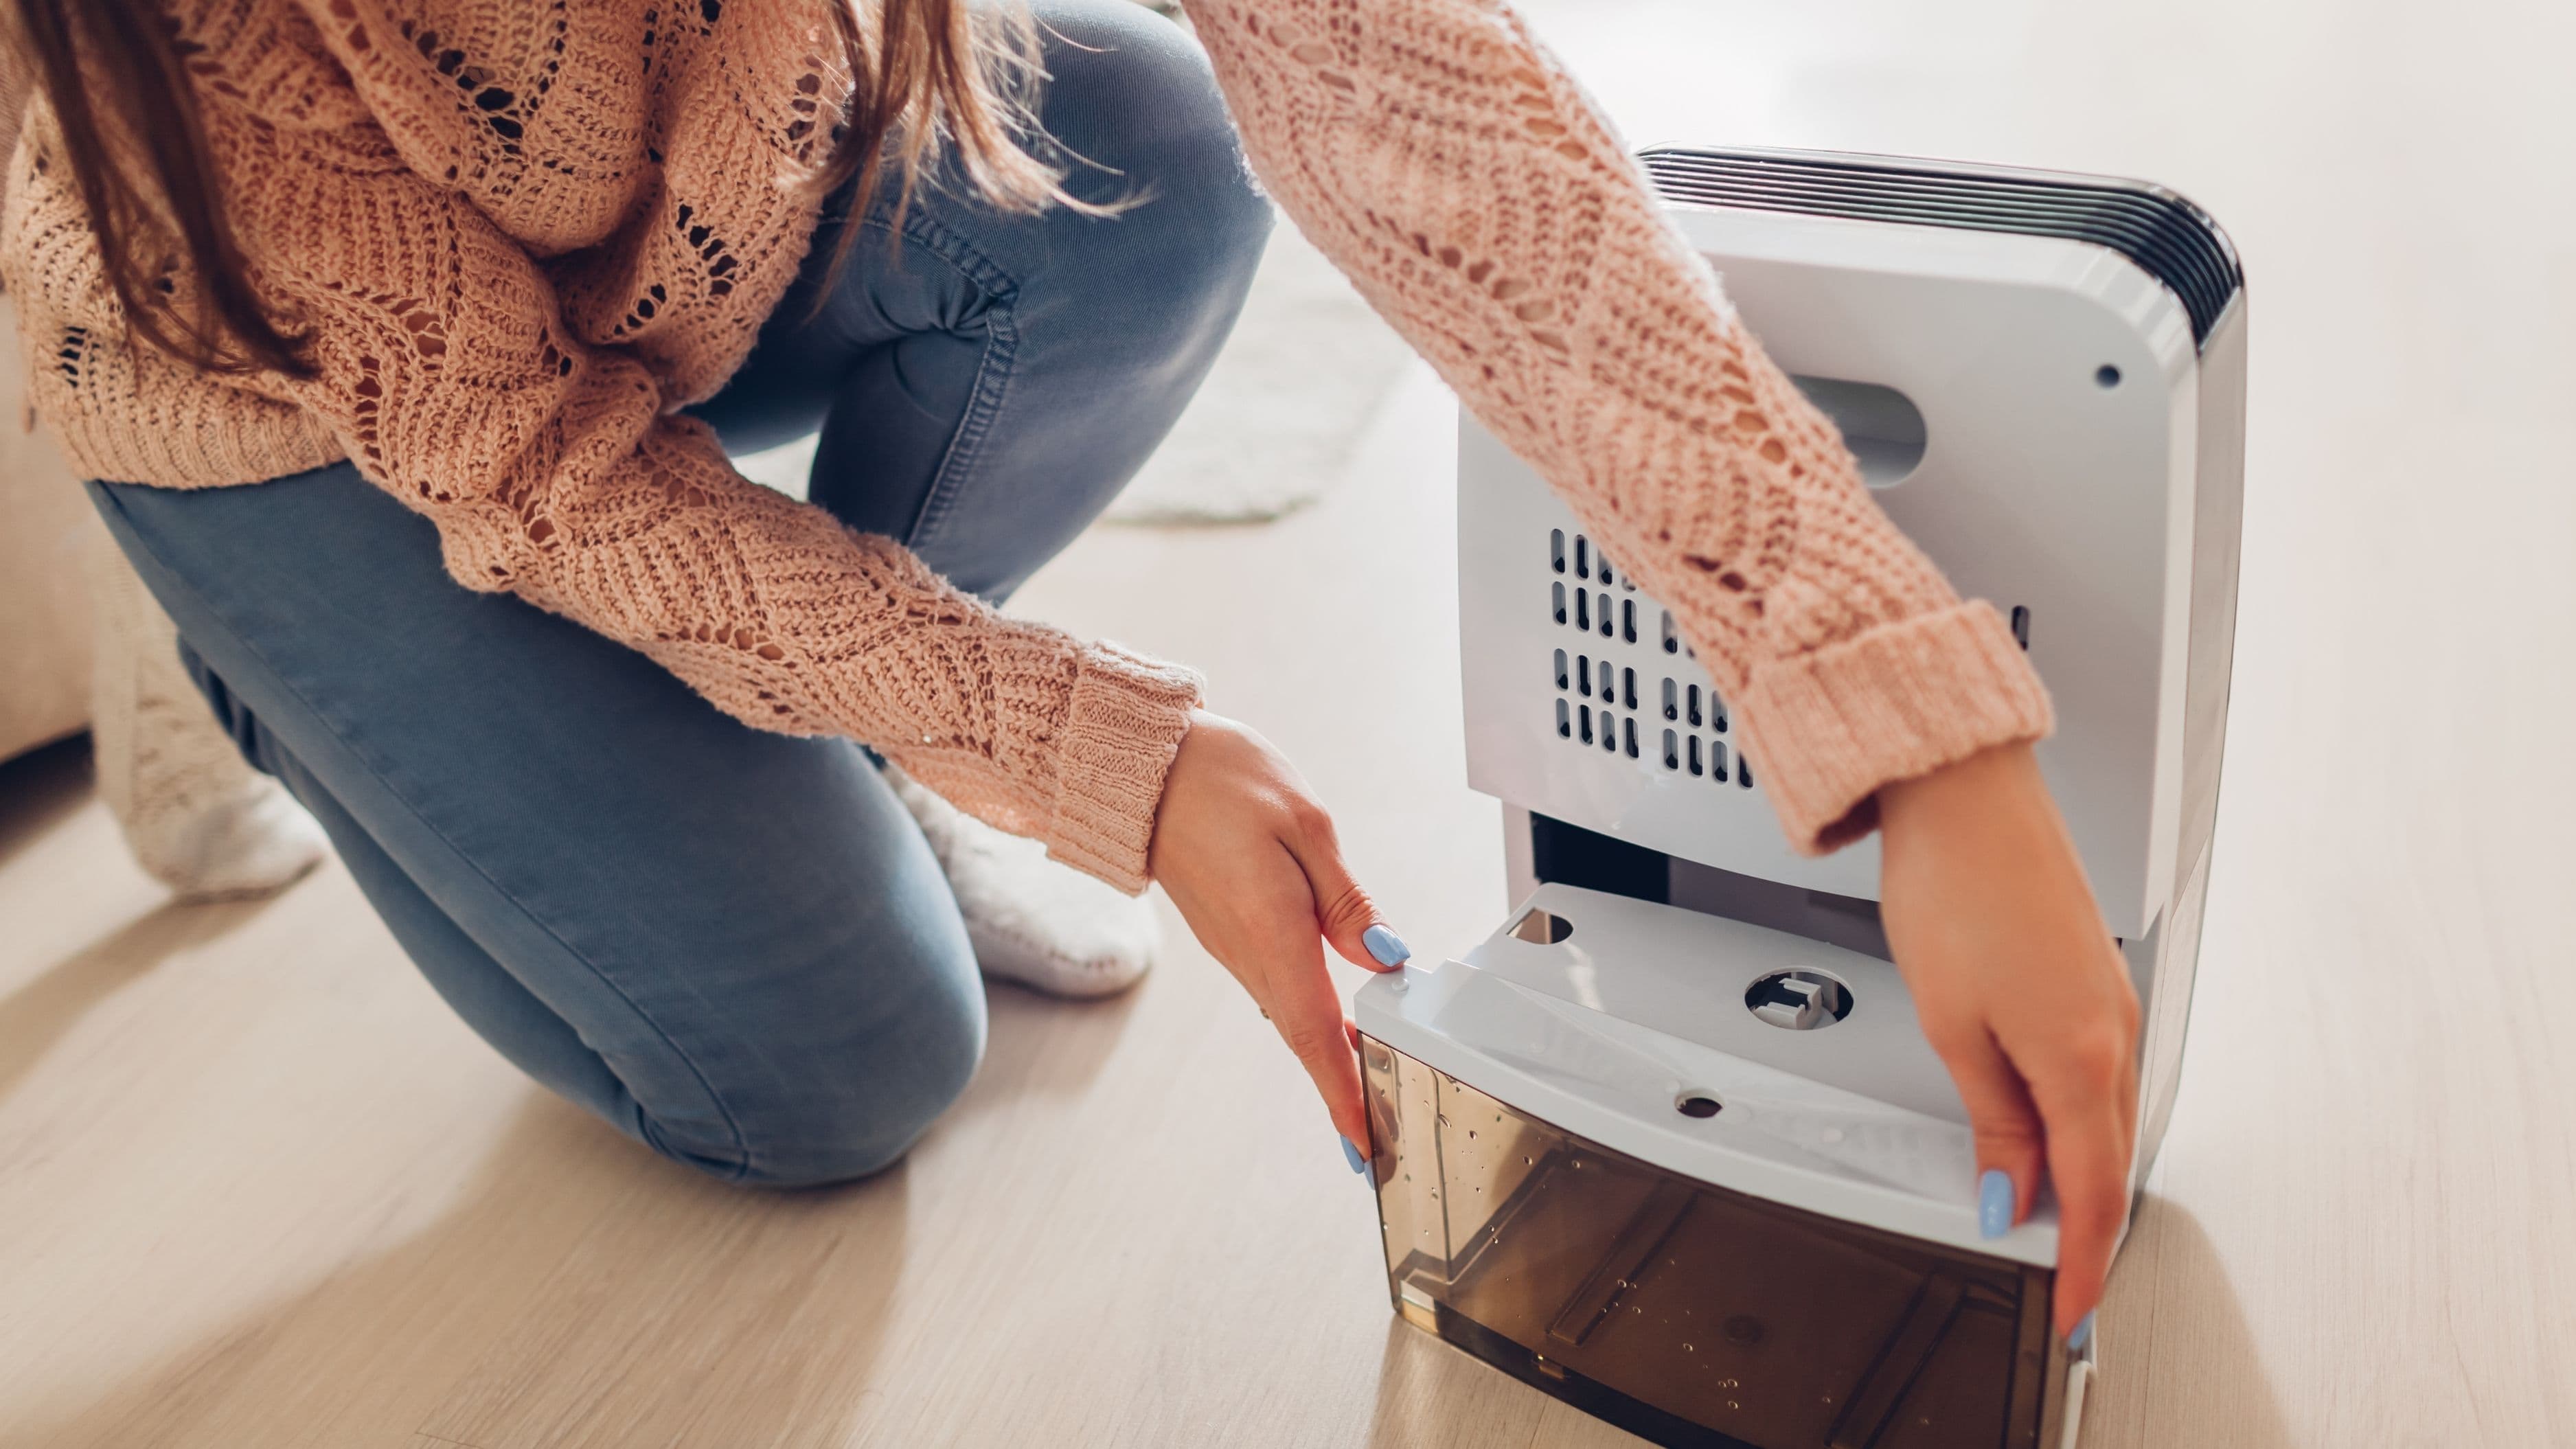
Your water heater sits in the basement or garage, quietly doing its job, and you probably haven't looked at it since you moved in. That neglect could cost you thousands. Water heaters typically last 8-12 years, but they give you warning signs before they fail completely.
Check the base of your water heater for moisture, rust, or small puddles—these indicate your tank is corroding from the inside. Look at the temperature and pressure relief valve (that pipe sticking out the side with a little lever) and make sure it's not dripping or showing signs of corrosion. Test it once a year by lifting the lever slightly to let some water discharge—if nothing comes out, the valve might be stuck and needs replacement.
Install a water heater pan underneath your unit if you don't already have one, especially if your water heater sits on an upper floor or in a finished space. These catch-pans cost about $30-50 and can save you from tens of thousands in water damage. Connect a drain line from the pan to a floor drain or outdoors, so if your heater does leak, the water has somewhere to go besides into your drywall.
I know, I know—cleaning gutters ranks somewhere between doing taxes and going to the dentist on the fun scale. But clogged gutters are one of the sneakiest causes of water damage, and insurance companies absolutely will investigate whether negligent maintenance contributed to your claim.
When gutters overflow, water cascades down your exterior walls, seeps into your foundation, and finds every crack and crevice leading into your basement or crawl space. This creates the perfect environment for mold growth, foundation cracks, and structural damage. Clean your gutters at least twice a year—once in late spring after trees finish dropping seeds and debris, and again in late fall after leaves drop.
While you're up there, check that downspouts direct water at least six feet away from your foundation. If they don't, add downspout extensions—they're cheap, easy to install, and create a crucial barrier between your home and water intrusion. Consider installing gutter guards if you have a lot of trees nearby; they'll reduce your cleaning frequency and provide better protection year-round.
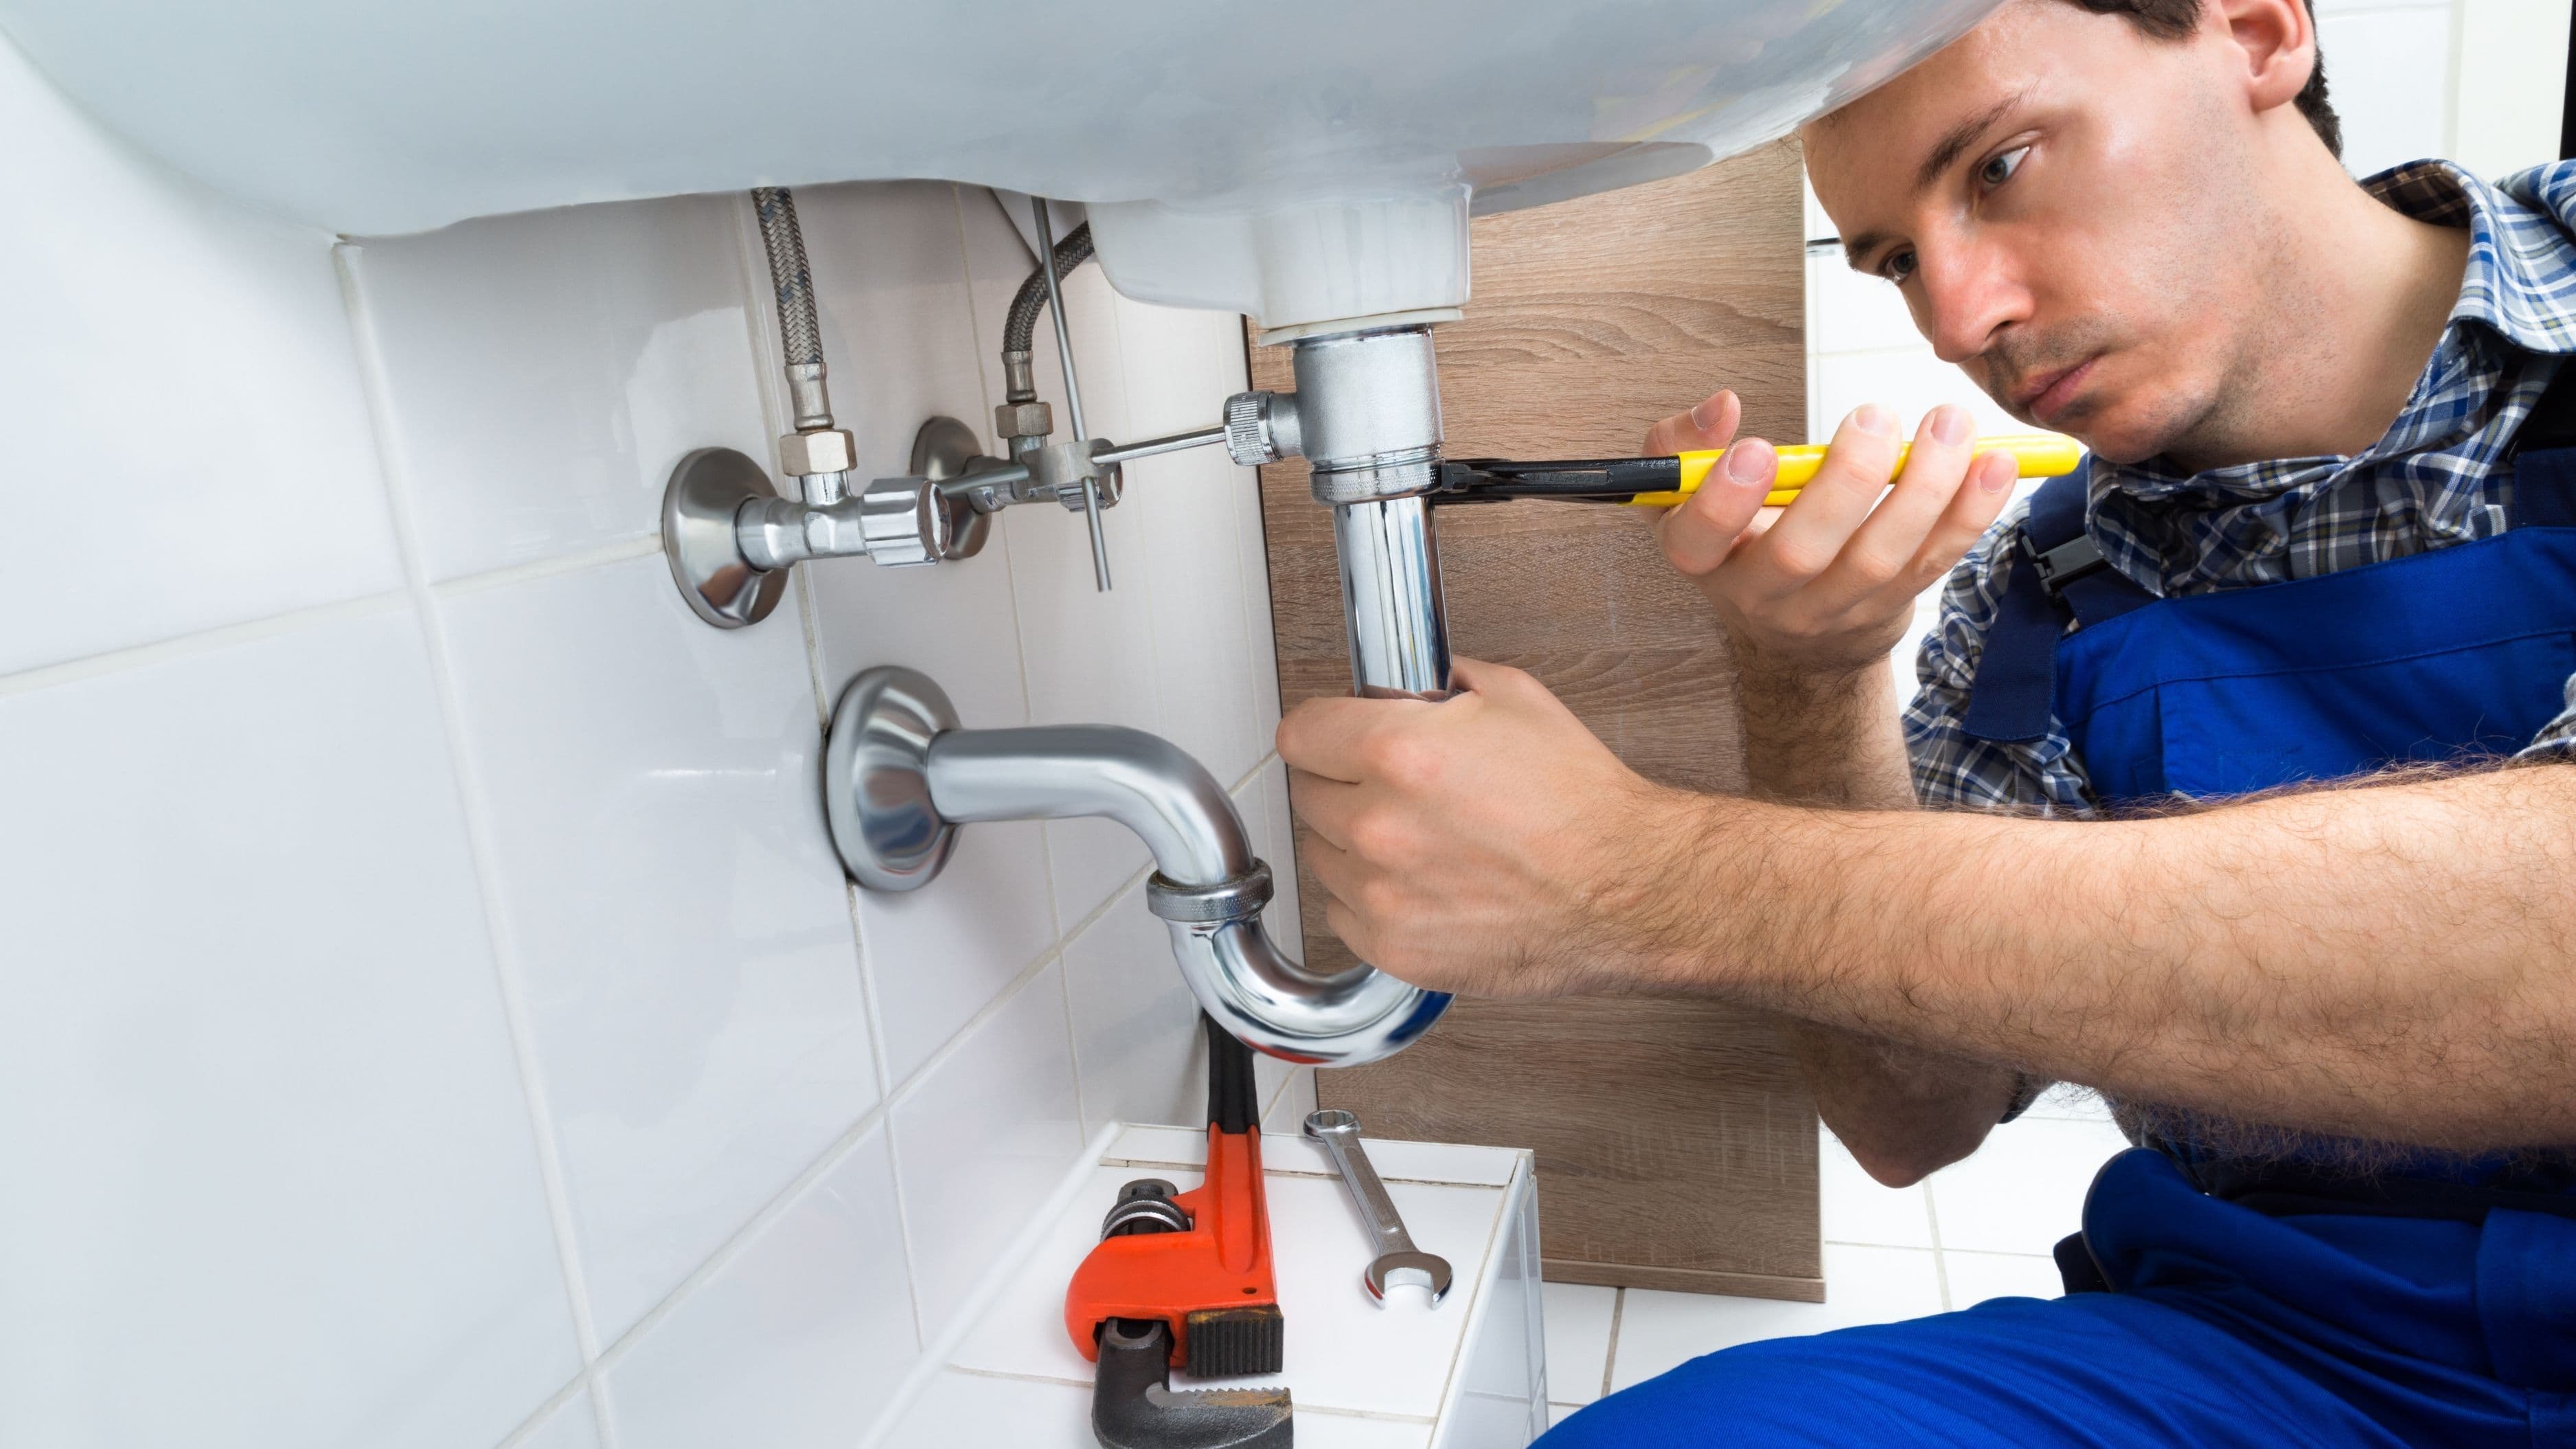
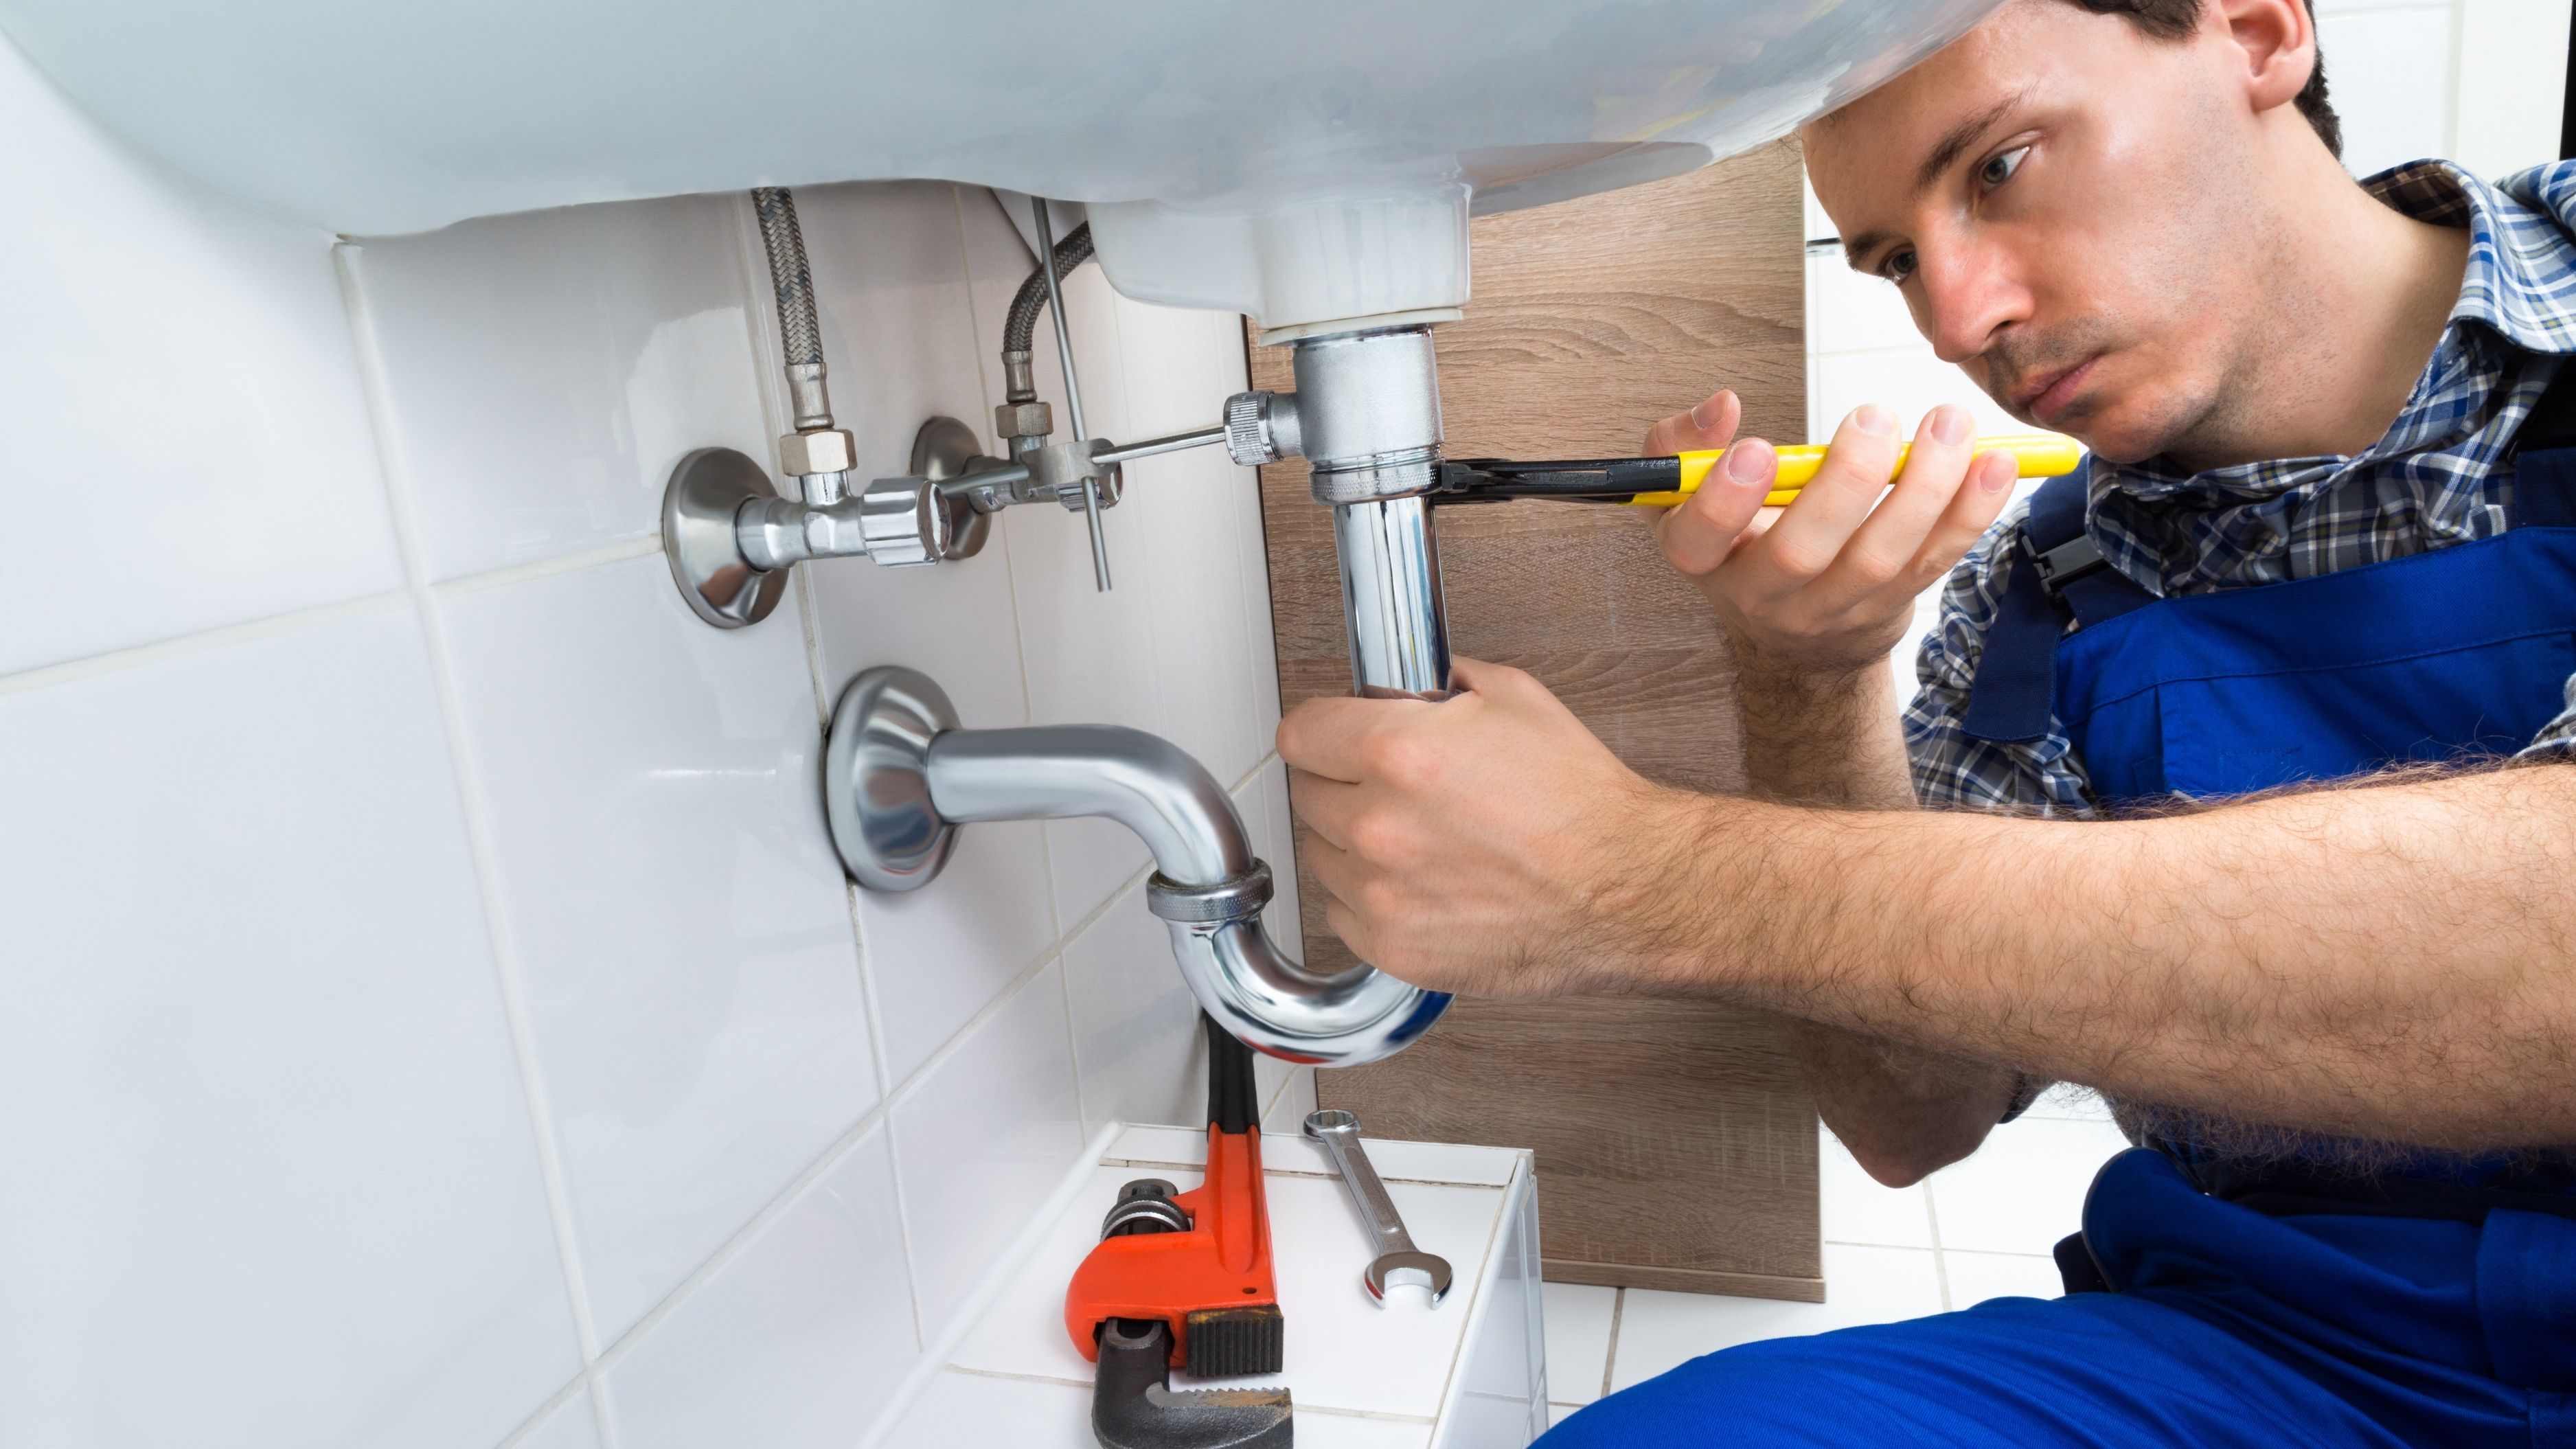
Quick quiz: you wake up at 2 AM to the sound of rushing water. Do you know exactly where your main water shutoff valve is located and how to turn it off in the dark? If you hesitated, you're not alone—but you need to fix that immediately.
Locate your main shutoff valve (it's typically where the water line enters your house, often in the basement, crawl space, or near the water heater) and make sure everyone in your household knows where it is. Put a bright tag on it, take a photo, save it in your phone, and practice turning it off. Some valves require turning clockwise, others need multiple rotations, and older valves can be stiff or stuck.
Test your shutoff valve once a year to make sure it actually works—valves that haven't been turned in years can corrode in place, rendering them useless during an emergency. If your valve is difficult to turn or doesn't fully stop water flow, call a plumber to replace it before you need it in a crisis.
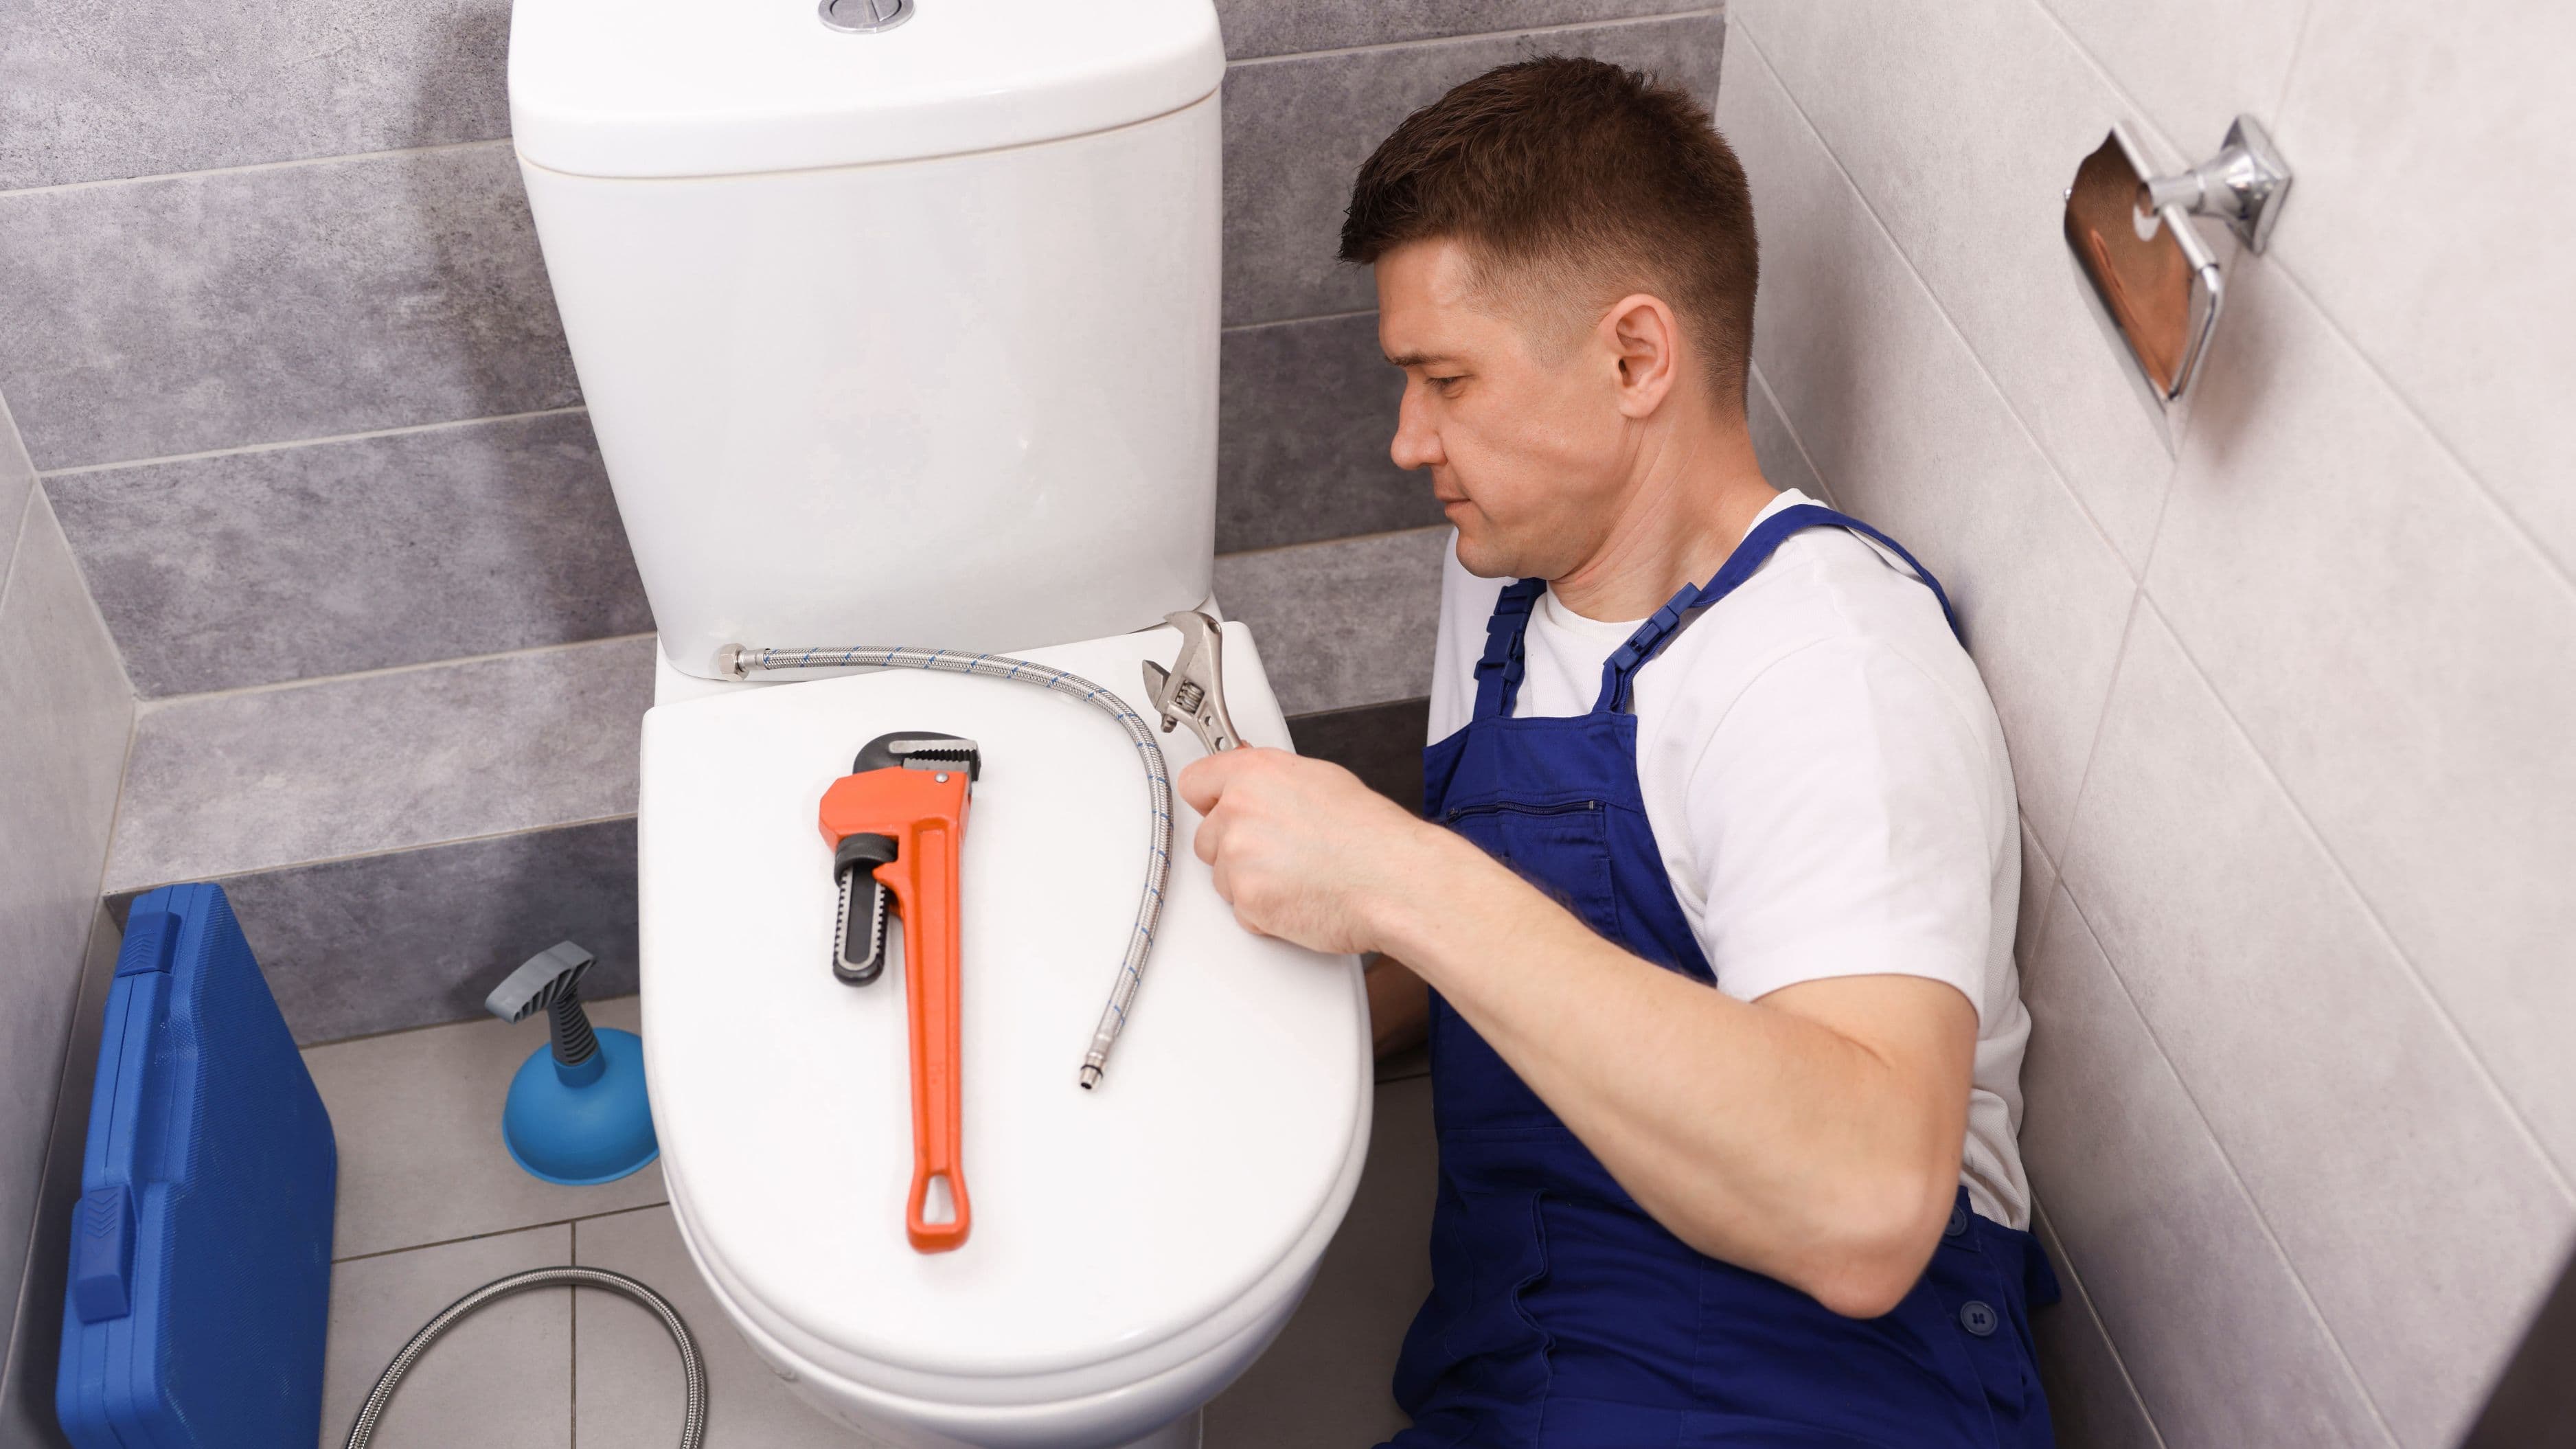
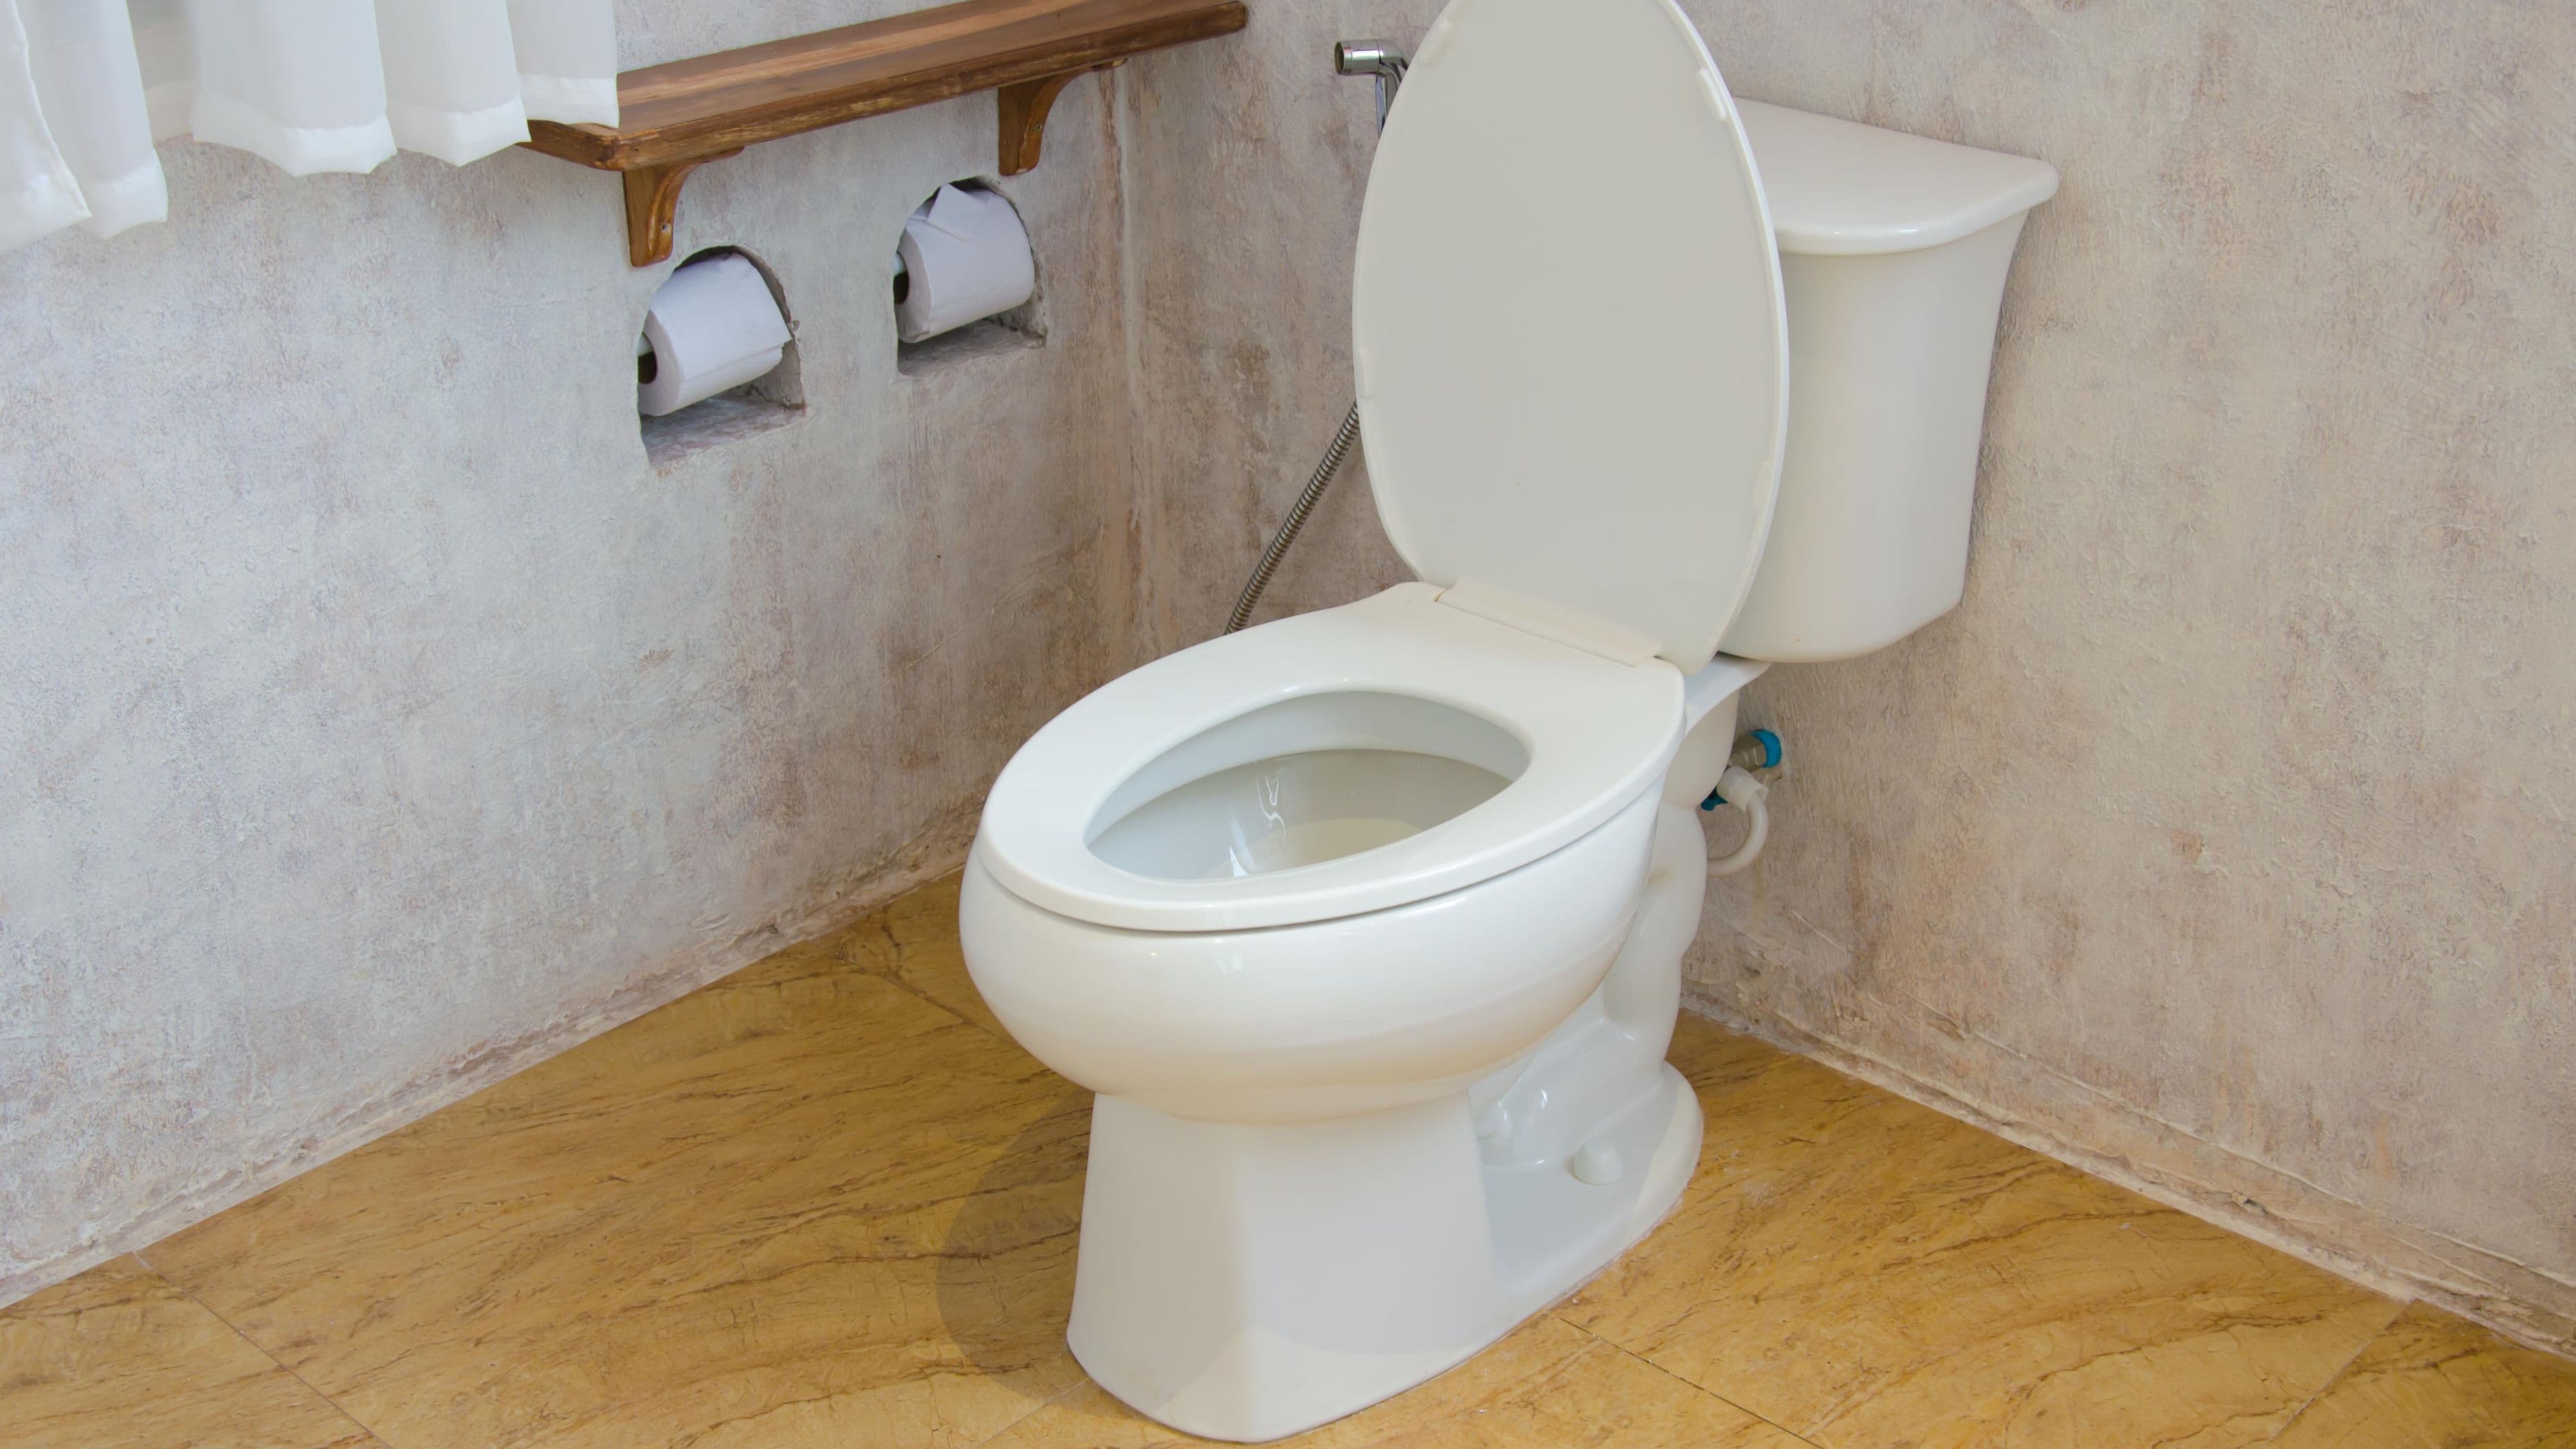
Toilets cause more water damage than most people realize, and the damage often happens gradually without obvious signs. A running toilet might seem like a minor annoyance, but it indicates a failing flapper valve or fill valve that could escalate into a real problem.
Check for leaks by putting a few drops of food coloring in the tank (not the bowl) and waiting 15 minutes without flushing. If color appears in the bowl, you've got a leak. Replace the flapper valve—it costs about $5 and takes ten minutes to install. While you're investigating, inspect the wax ring seal where the toilet meets the floor. If you notice water, soft flooring, or a rocking toilet, that seal needs replacement.
Install water-sensing alarms near all your toilets, especially if you have bathrooms on upper floors. These little devices cost $10-20 each, run on batteries, and will shriek loudly if they detect moisture. That early warning can be the difference between grabbing a towel and calling your insurance company.
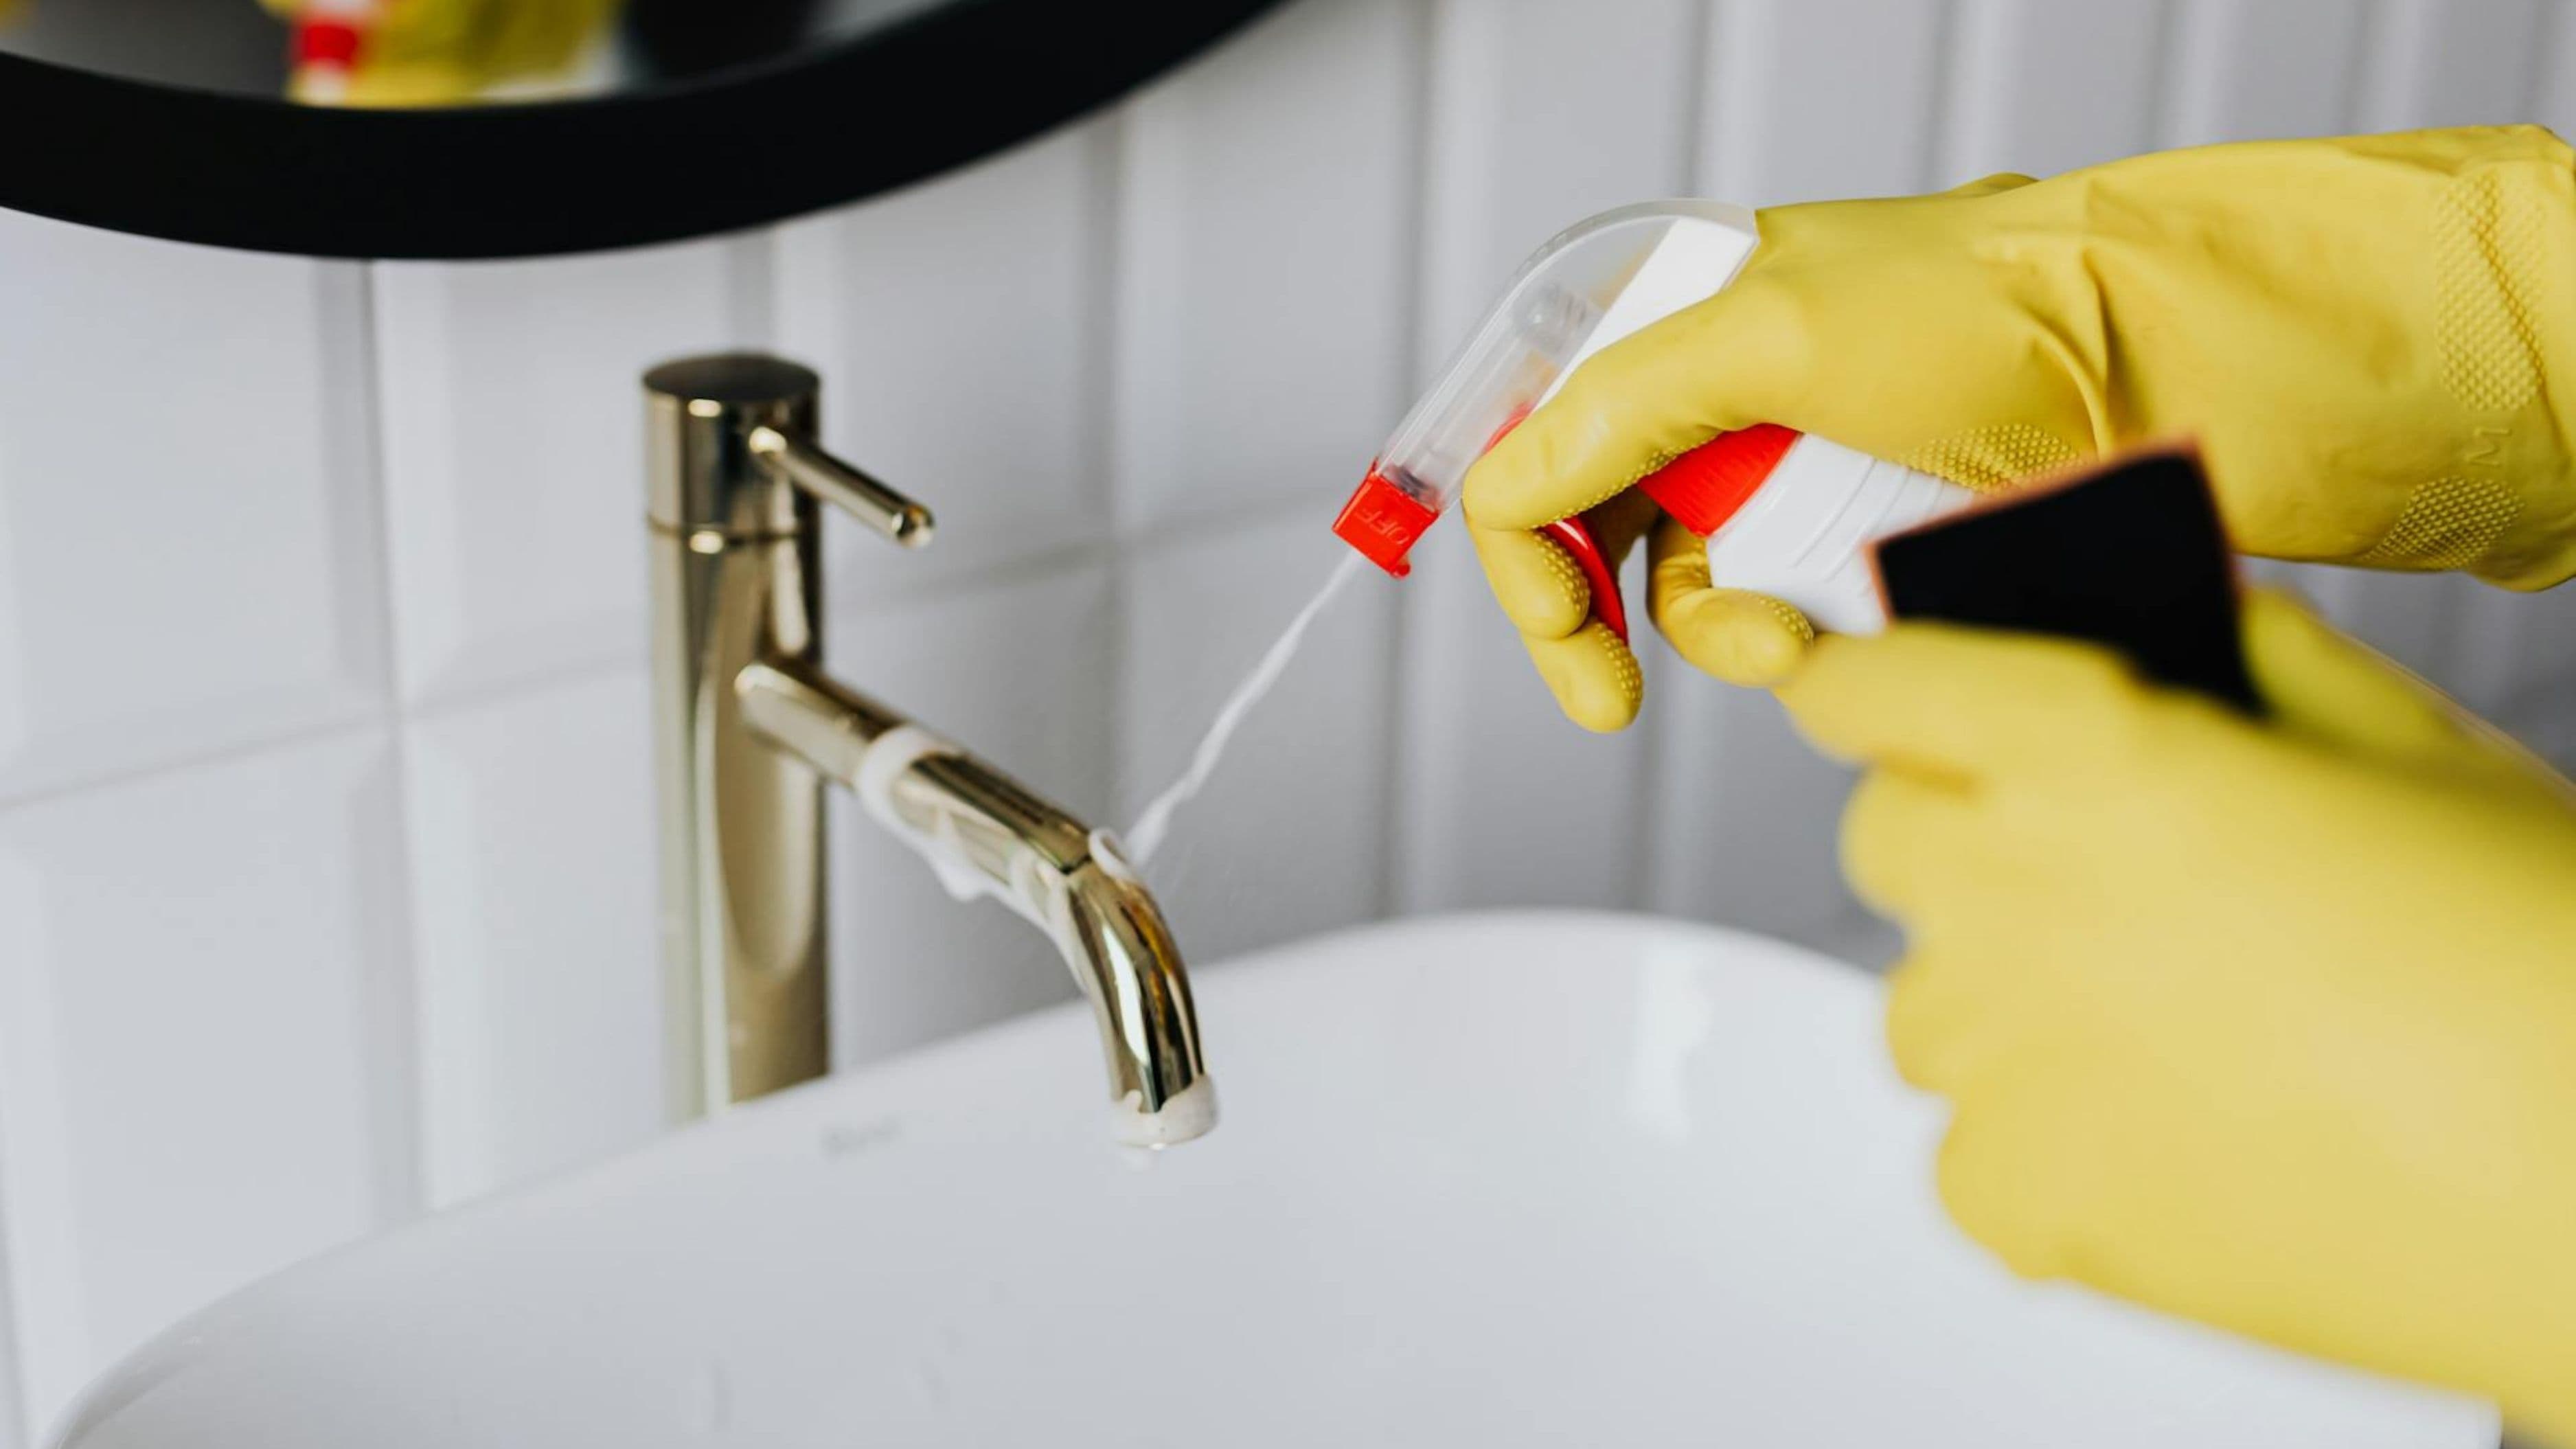
Bathroom water damage is insidious because it happens behind walls where you can't see it until the damage is extensive. Every time you shower, water is looking for ways to escape—through cracked caulking, loose tiles, or compromised grout.
Inspect the caulk around your tub and shower enclosure every six months. If you see gaps, cracks, discoloration, or mildew, it's time to recaulk. Remove the old caulk completely (this is crucial—new caulk won't adhere properly over old), clean the surface thoroughly, and apply fresh silicone caulk. This $5 tube of caulk protects against thousands in hidden water damage.
Check your grout lines between tiles for cracks or missing sections. Grout is porous and needs to be sealed every year or two to prevent water penetration. You can buy grout sealer at any hardware store for about $10-15, and application involves nothing more complicated than wiping it on with a small sponge. Pay special attention to areas where water hits directly, like the back wall of your shower.
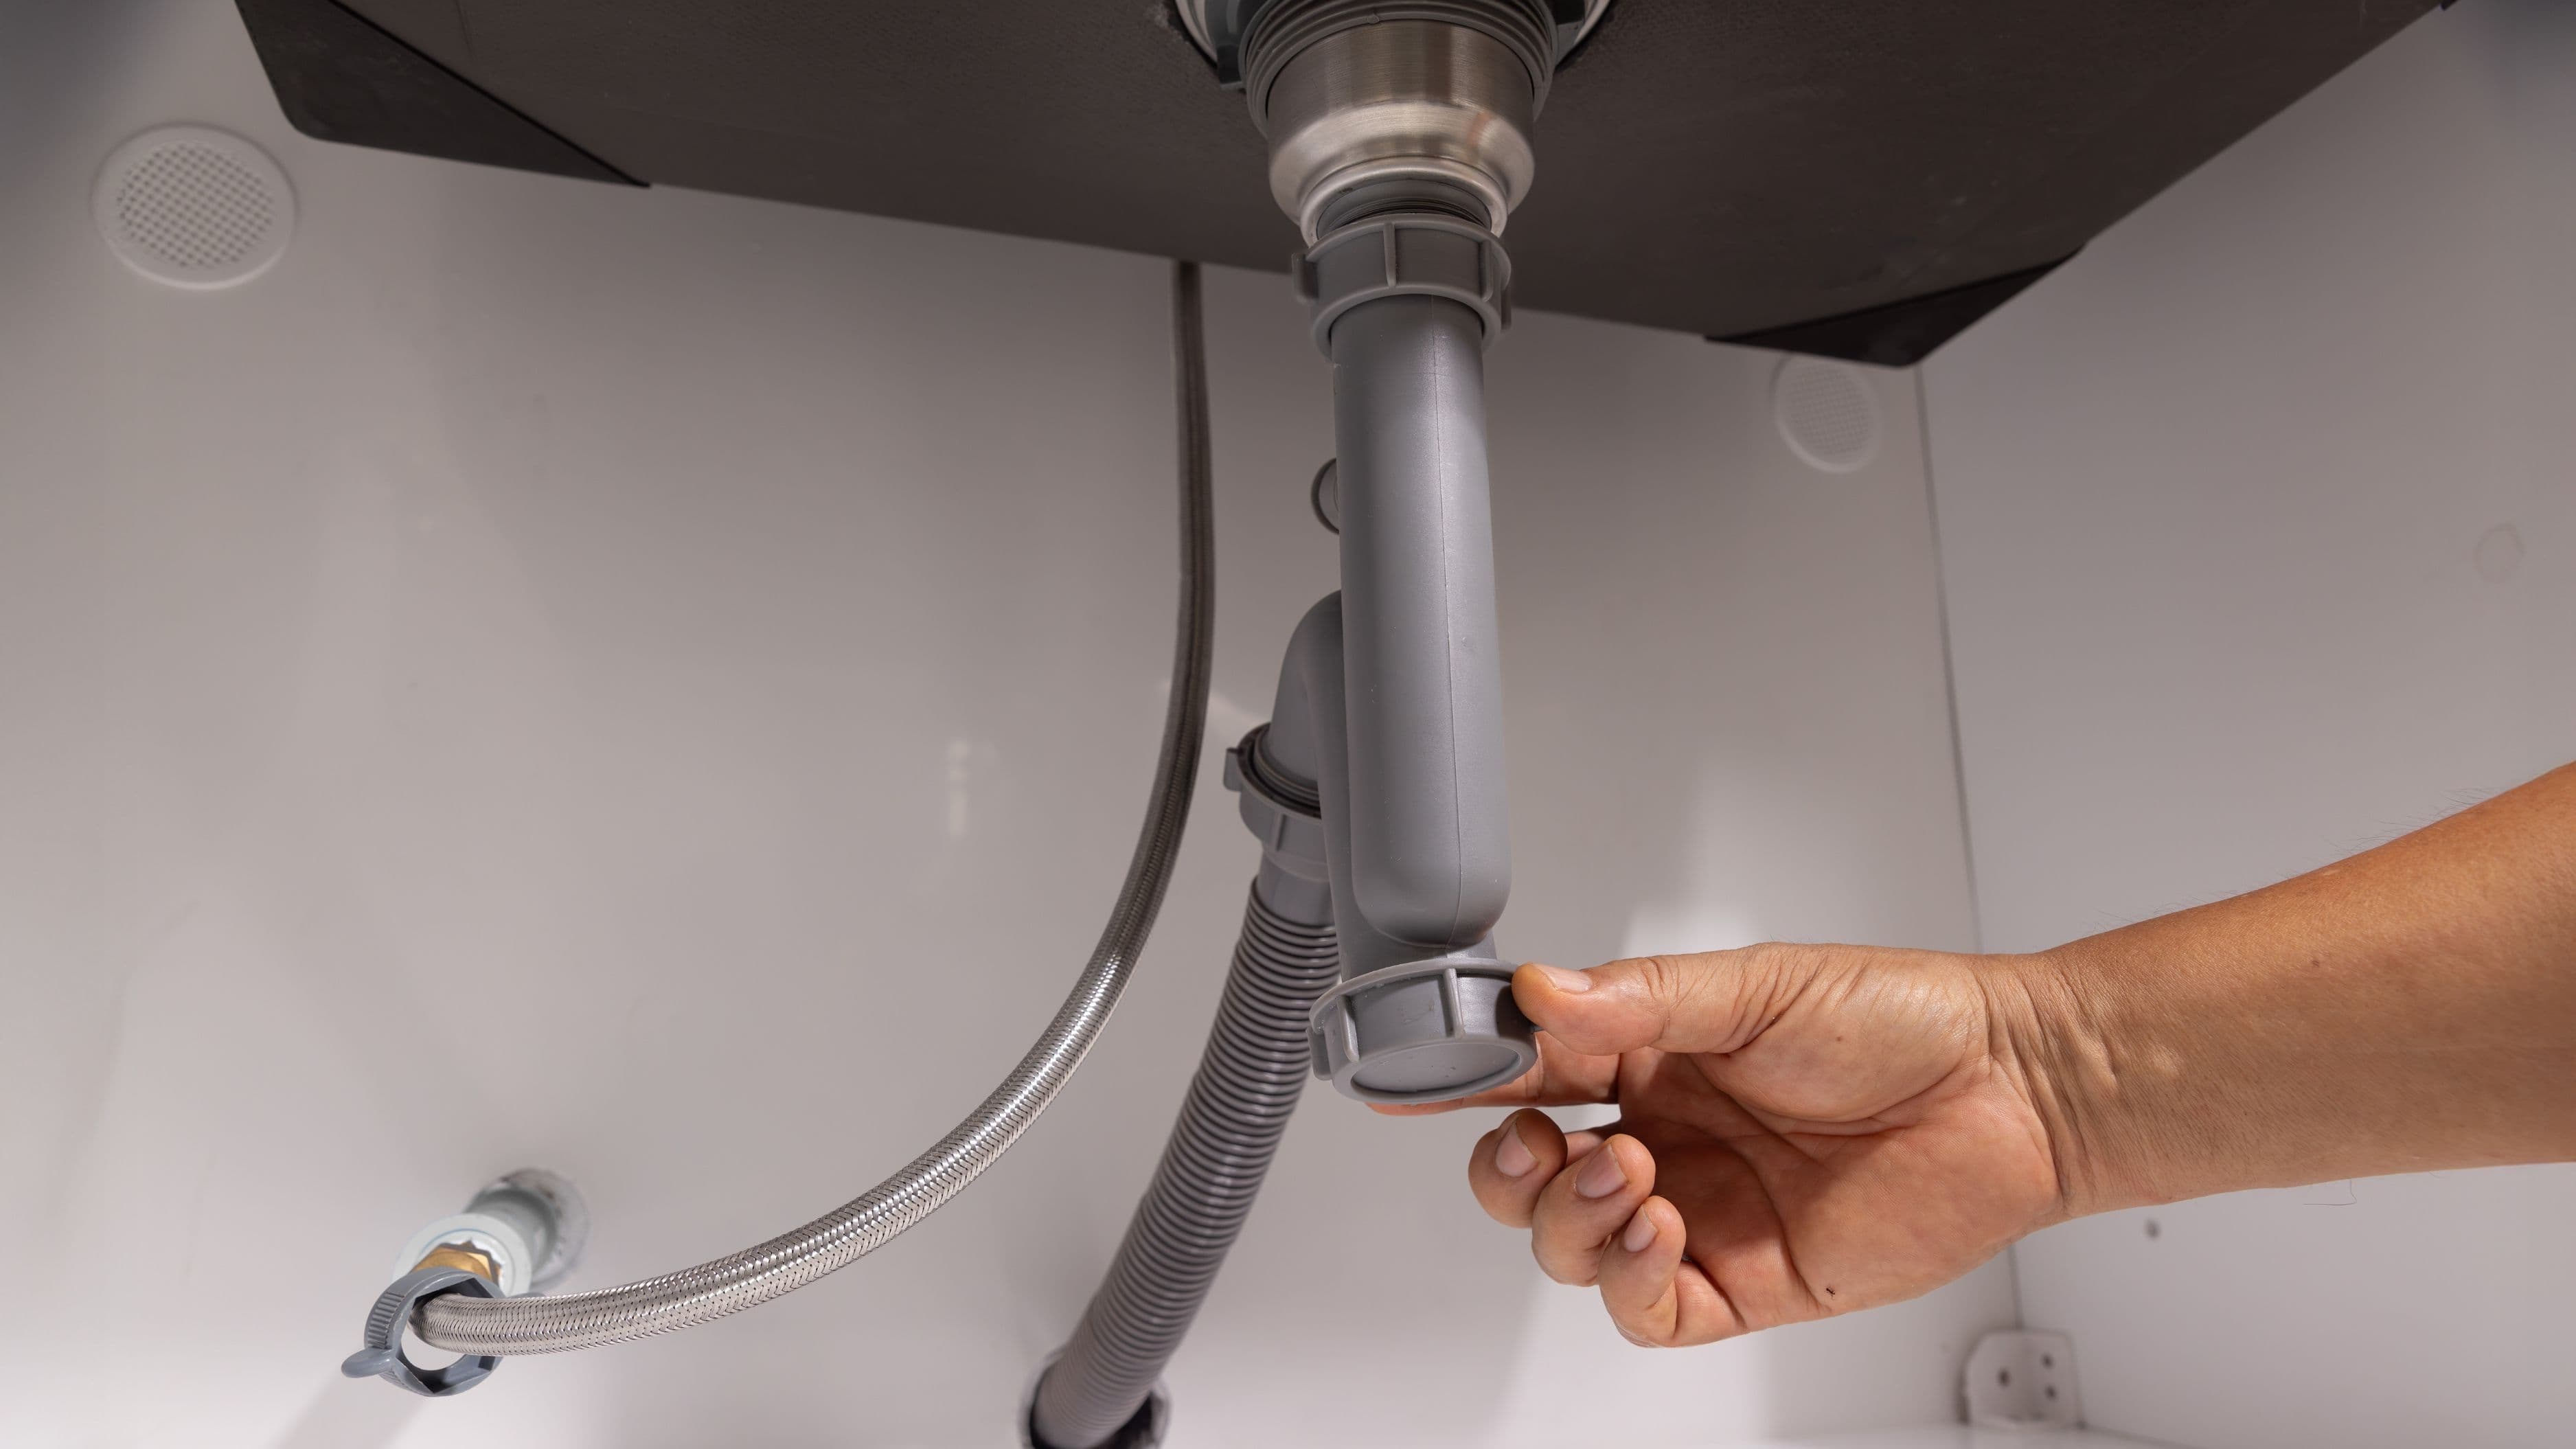
If your refrigerator has an ice maker or water dispenser, it has a water supply line that's easy to forget about until it fails. These thin plastic or copper tubes connect your fridge to your home's water supply, usually running behind or under the appliance where you never see them.
Pull your fridge out (carefully—don't scratch your floors) and inspect the water line for kinks, cracks, or brittleness. Plastic lines become brittle over time and should be replaced every 5-7 years. Upgrade to a braided stainless steel line if you haven't already—they're more durable and less likely to burst. Check the connection points at both ends for moisture or mineral deposits, which indicate slow leaks.
Install a shutoff valve specifically for your refrigerator's water line if you don't have one. This allows you to turn off water to the fridge for repairs or when you go on vacation without shutting off water to your entire house. It's a small addition that gives you major control.
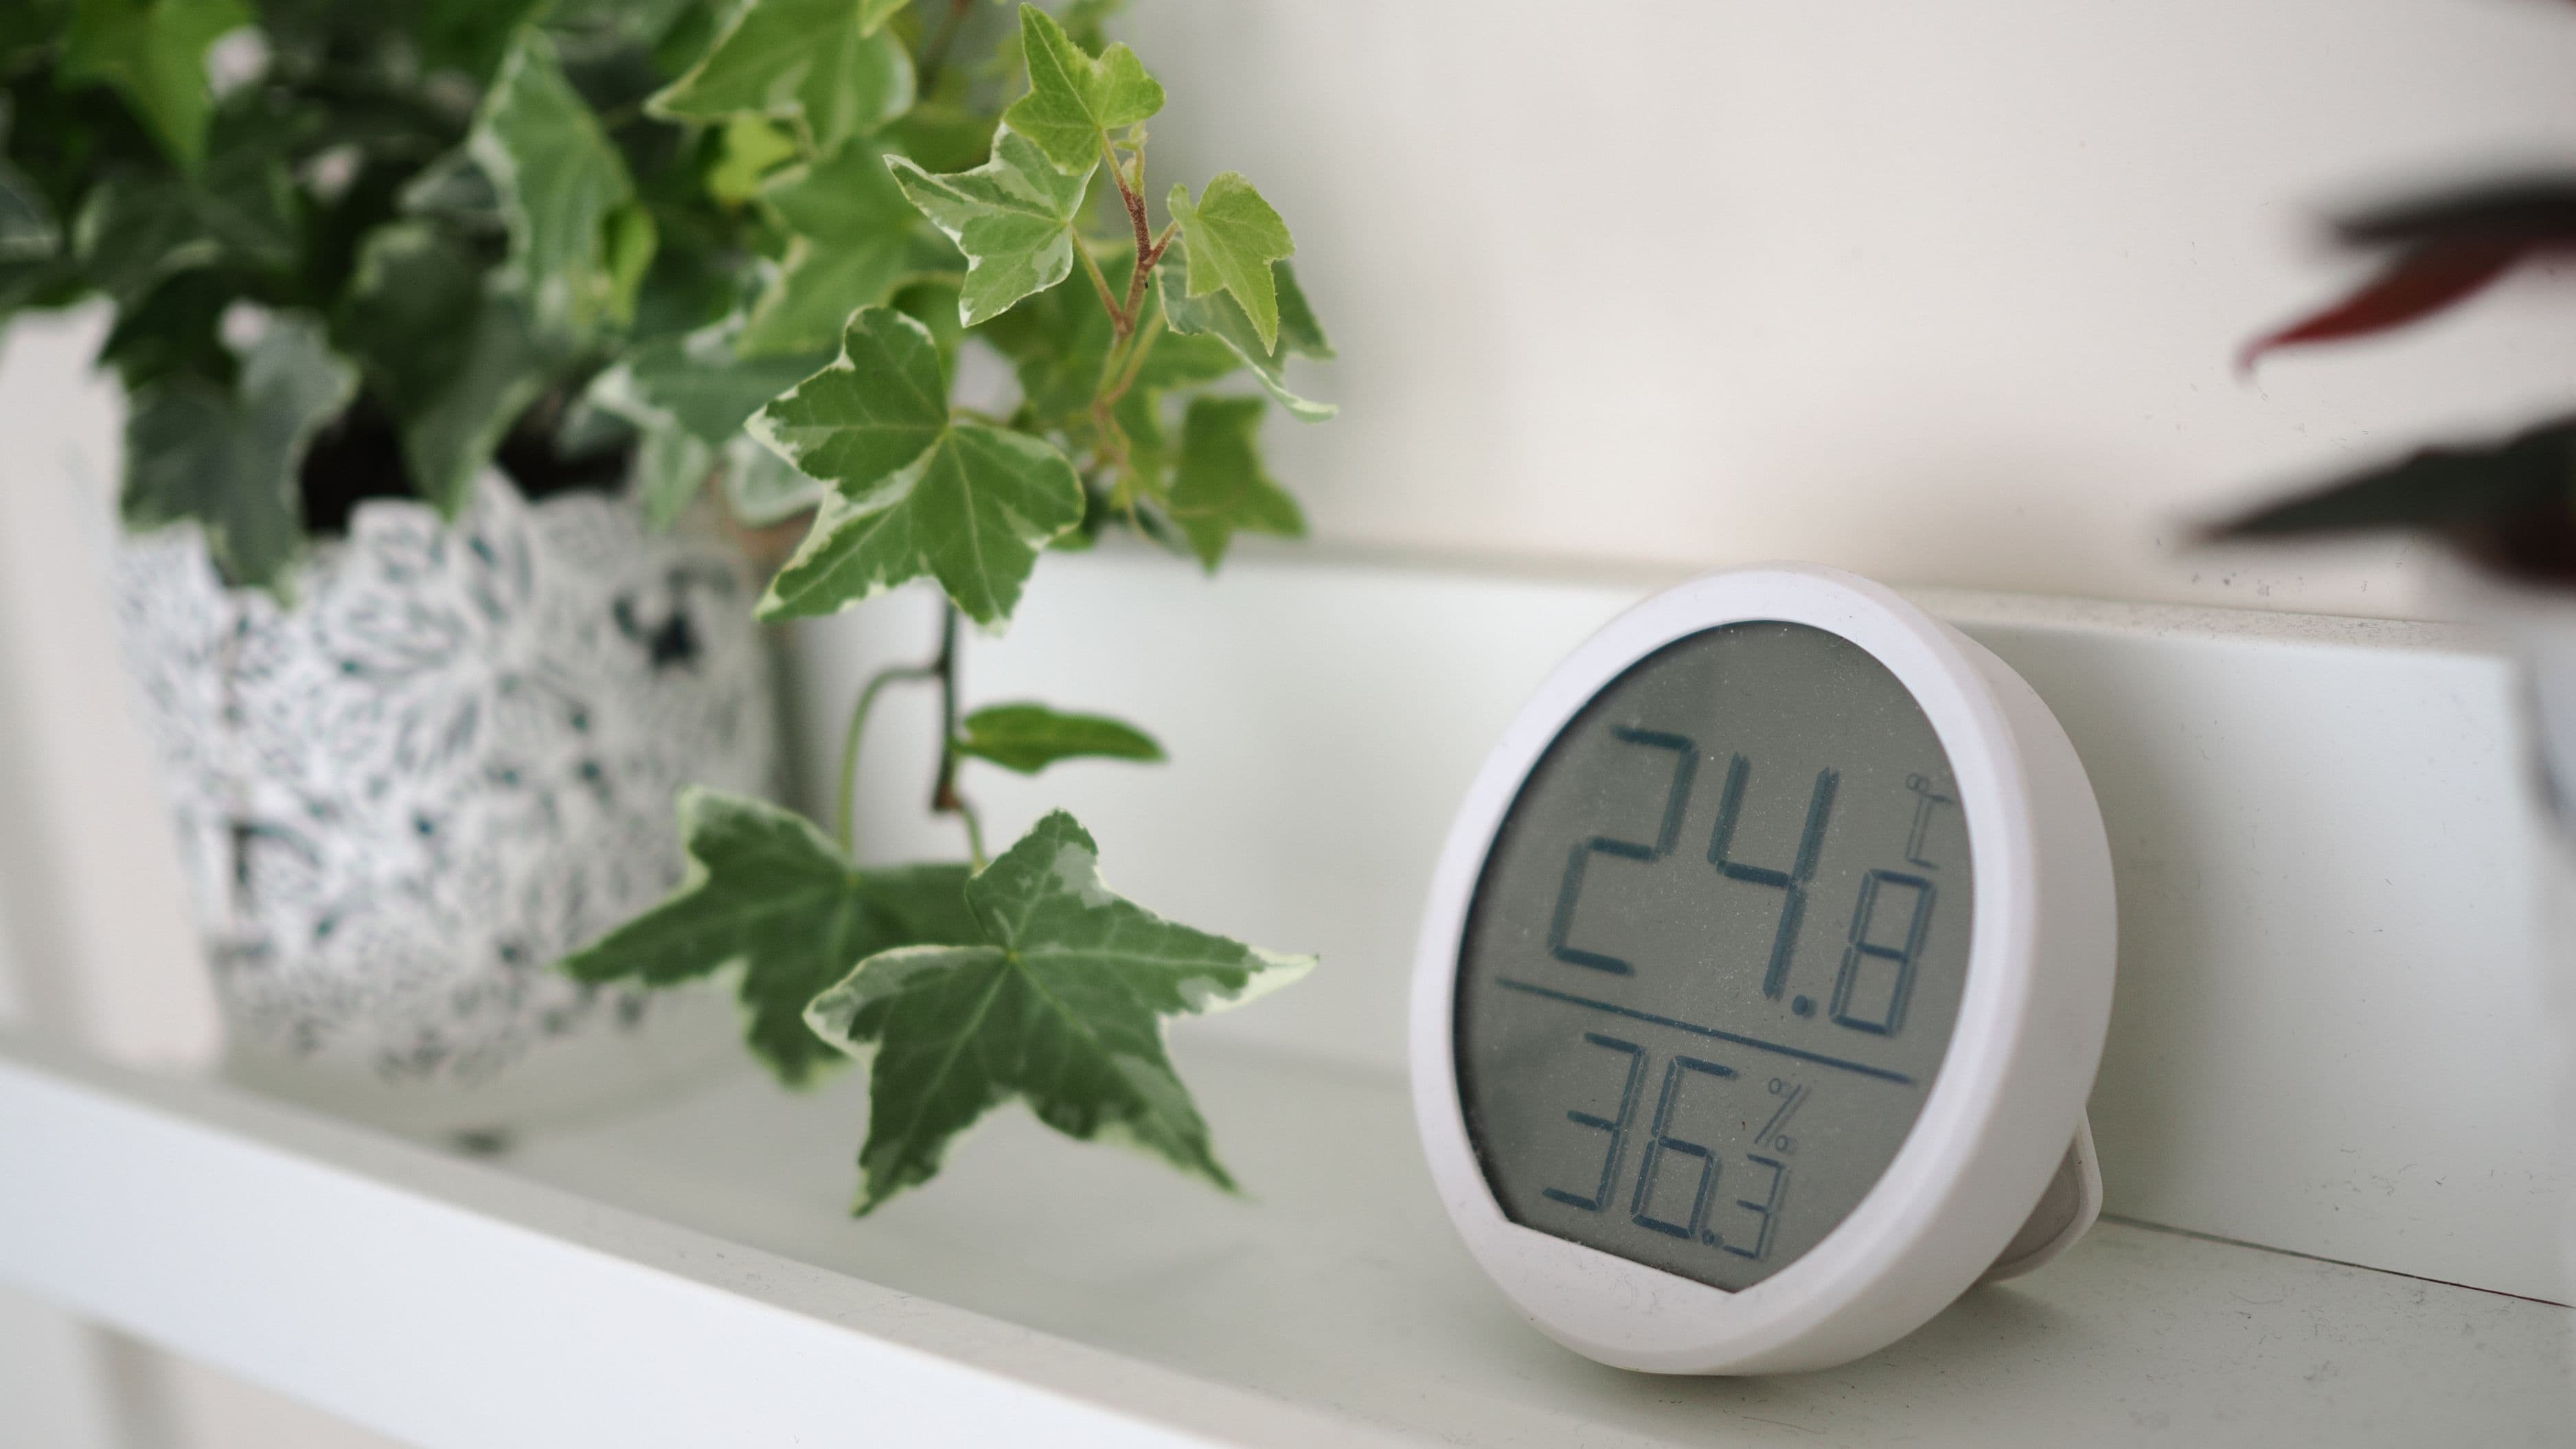
Your water bill is an early warning system that most people ignore until it's too late. A sudden increase in your water usage without explanation almost always indicates a leak somewhere in your system—either inside your home or in the underground pipes leading to your house.
Compare each bill to the same month from previous years to account for seasonal variations in usage. If you notice your bill creeping up steadily or spiking suddenly, start investigating immediately. Check all visible pipes, look for wet spots on walls and ceilings, and listen for the sound of running water when everything is turned off.
Try the meter test: turn off all water-using appliances and fixtures in your home, then check your water meter. If the meter is still moving, you've got a leak somewhere. This detective work can help you catch problems before they become insurance claims.
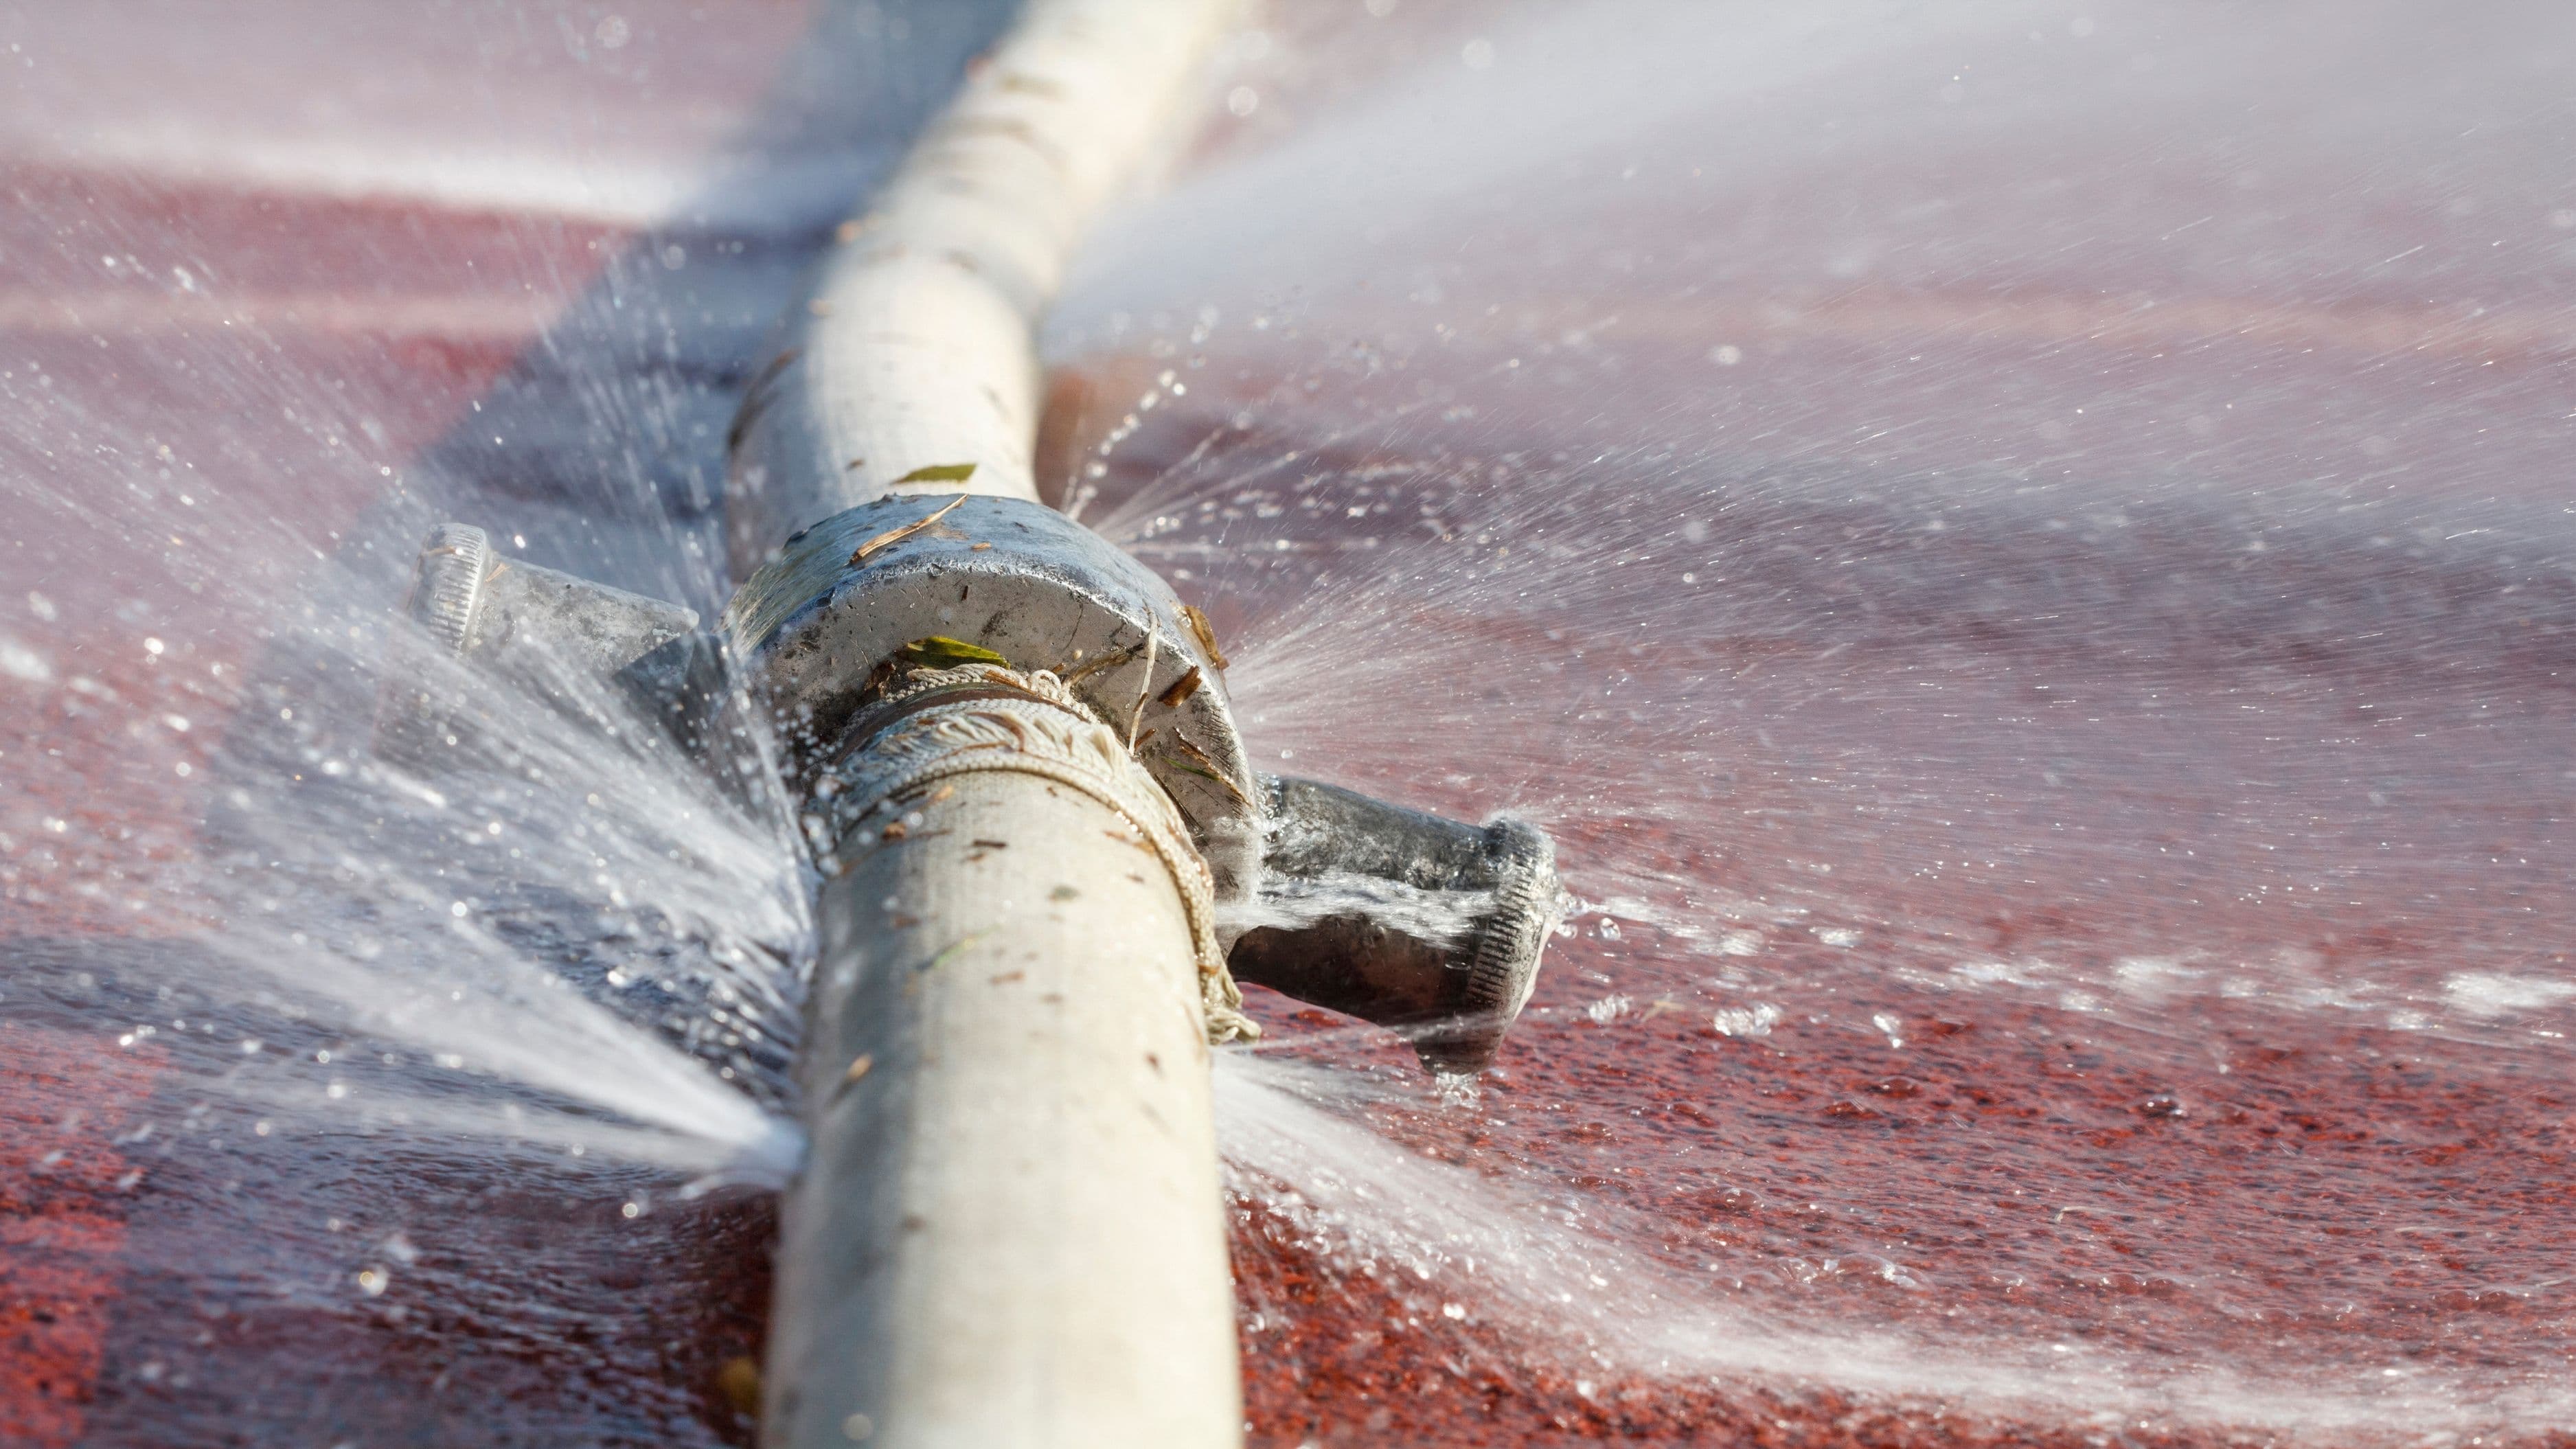
Frozen pipes are a nightmare scenario that can cause catastrophic damage when they burst and thaw. Water expands when it freezes, creating immense pressure inside your pipes that eventually causes them to rupture. When they thaw, water pours freely into your walls, ceilings, and floors.
Identify all exposed pipes in unheated areas—basements, crawl spaces, attics, and exterior walls. Wrap them with foam pipe insulation, which costs about $1-2 per six-foot section at any hardware store. Pay special attention to pipes near exterior walls, in unheated garages, or in any area where cold air can reach them. Even in moderate climates, one unexpected freeze can cause damage.
During winter cold snaps, let faucets drip slightly—moving water is much harder to freeze than standing water. Open cabinet doors under sinks to allow warm air to circulate around pipes. These simple habits have saved countless homeowners from five-figure insurance claims.
Here's the truth: most water damage happens because of neglect, not bad luck. You don't need to be a DIY expert or spend every weekend maintaining your house—you just need a system that keeps you on track with basic preventive tasks.
Create a simple spreadsheet or use a calendar app to schedule quarterly walk-throughs of your home specifically looking for water-related issues. Spring: check outdoor faucets and sprinkler systems. Summer: inspect your roof and gutters. Fall: prepare pipes for winter and check weather-stripping. Winter: monitor for ice dams and frozen pipes. This seasonal approach breaks down maintenance into manageable chunks.
Document everything with photos and dates. If you ever need to file an insurance claim, this record demonstrates you maintained your home responsibly. More importantly, regular inspections help you catch small problems before they become major disasters. Insurance companies love customers who practice preventive maintenance—some even offer discounts for installing water monitoring systems or taking preventive measures.
Water damage prevention isn't about paranoia—it's about respecting the powerful force of water and acknowledging that your home's systems need attention. Every time you spend fifteen minutes checking hoses, clearing gutters, or inspecting caulk, you're not just protecting your physical home. You're protecting your financial security, your insurance coverage, and your peace of mind.
The homeowners who never file water damage claims aren't luckier than everyone else—they're just more proactive. They understand that an ounce of prevention really does equal a pound of cure, especially when that "cure" costs tens of thousands of dollars and potentially eliminates your insurance coverage. Start with just one task from this list today. Check those washing machine hoses, locate your shutoff valve, or schedule a gutter cleaning. Small actions compound into major protection, and your future self—the one not dealing with insurance adjusters and water damage remediation—will thank you for the effort.
What's the one water-related task in your home that you've been putting off, and what would it feel like to finally cross it off your list?
Insurance Information Institute. (2024). Facts + Statistics: Homeowners and renters insurance.
Federal Emergency Management Agency (FEMA). (2023). Protecting Your Home from Water Damage.
American Society of Home Inspectors. (2024). Water Heater Maintenance Guidelines.