
Tools and Materials Needed
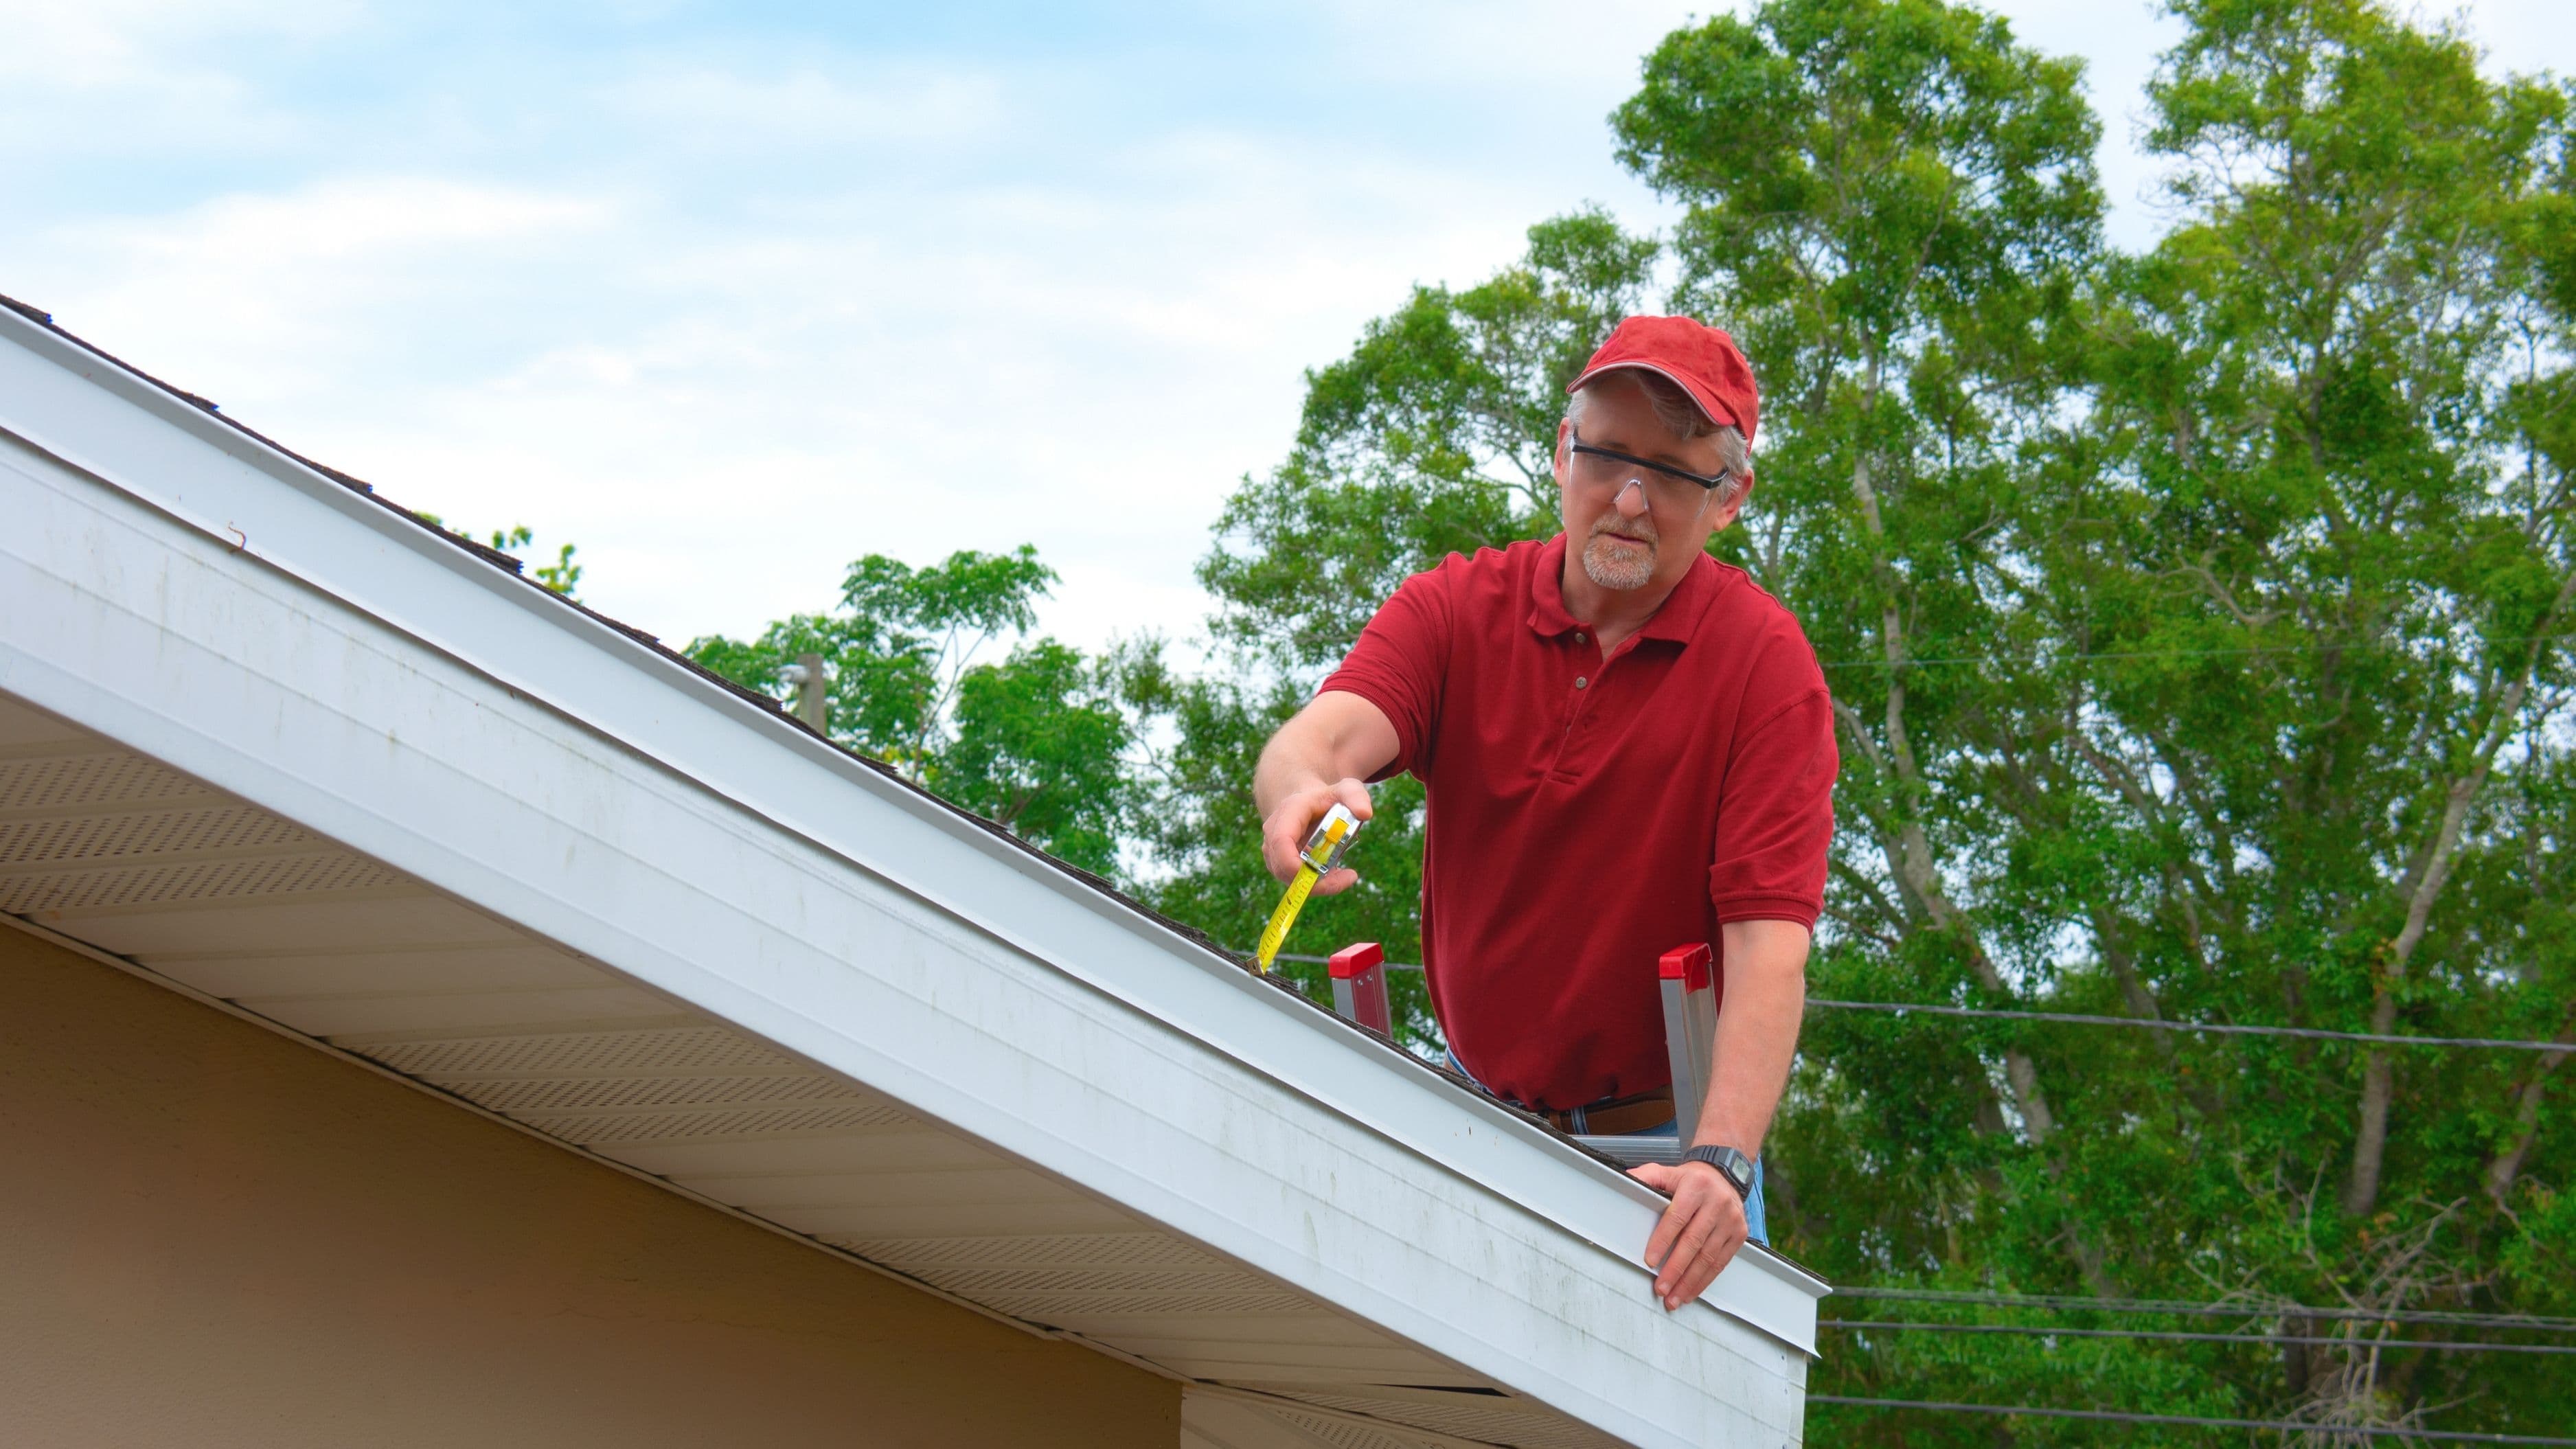
You'll need a ladder tall enough to safely reach the affected section, a drill or screwdriver, downspout brackets or straps (matching your existing hardware if possible), self-tapping screws or rivets, a level, and work gloves. If the original brackets are damaged or badly rusted, pick up replacements at any hardware store, they're inexpensive and universal enough to fit most standard downspout widths.
Step-by-Step Process
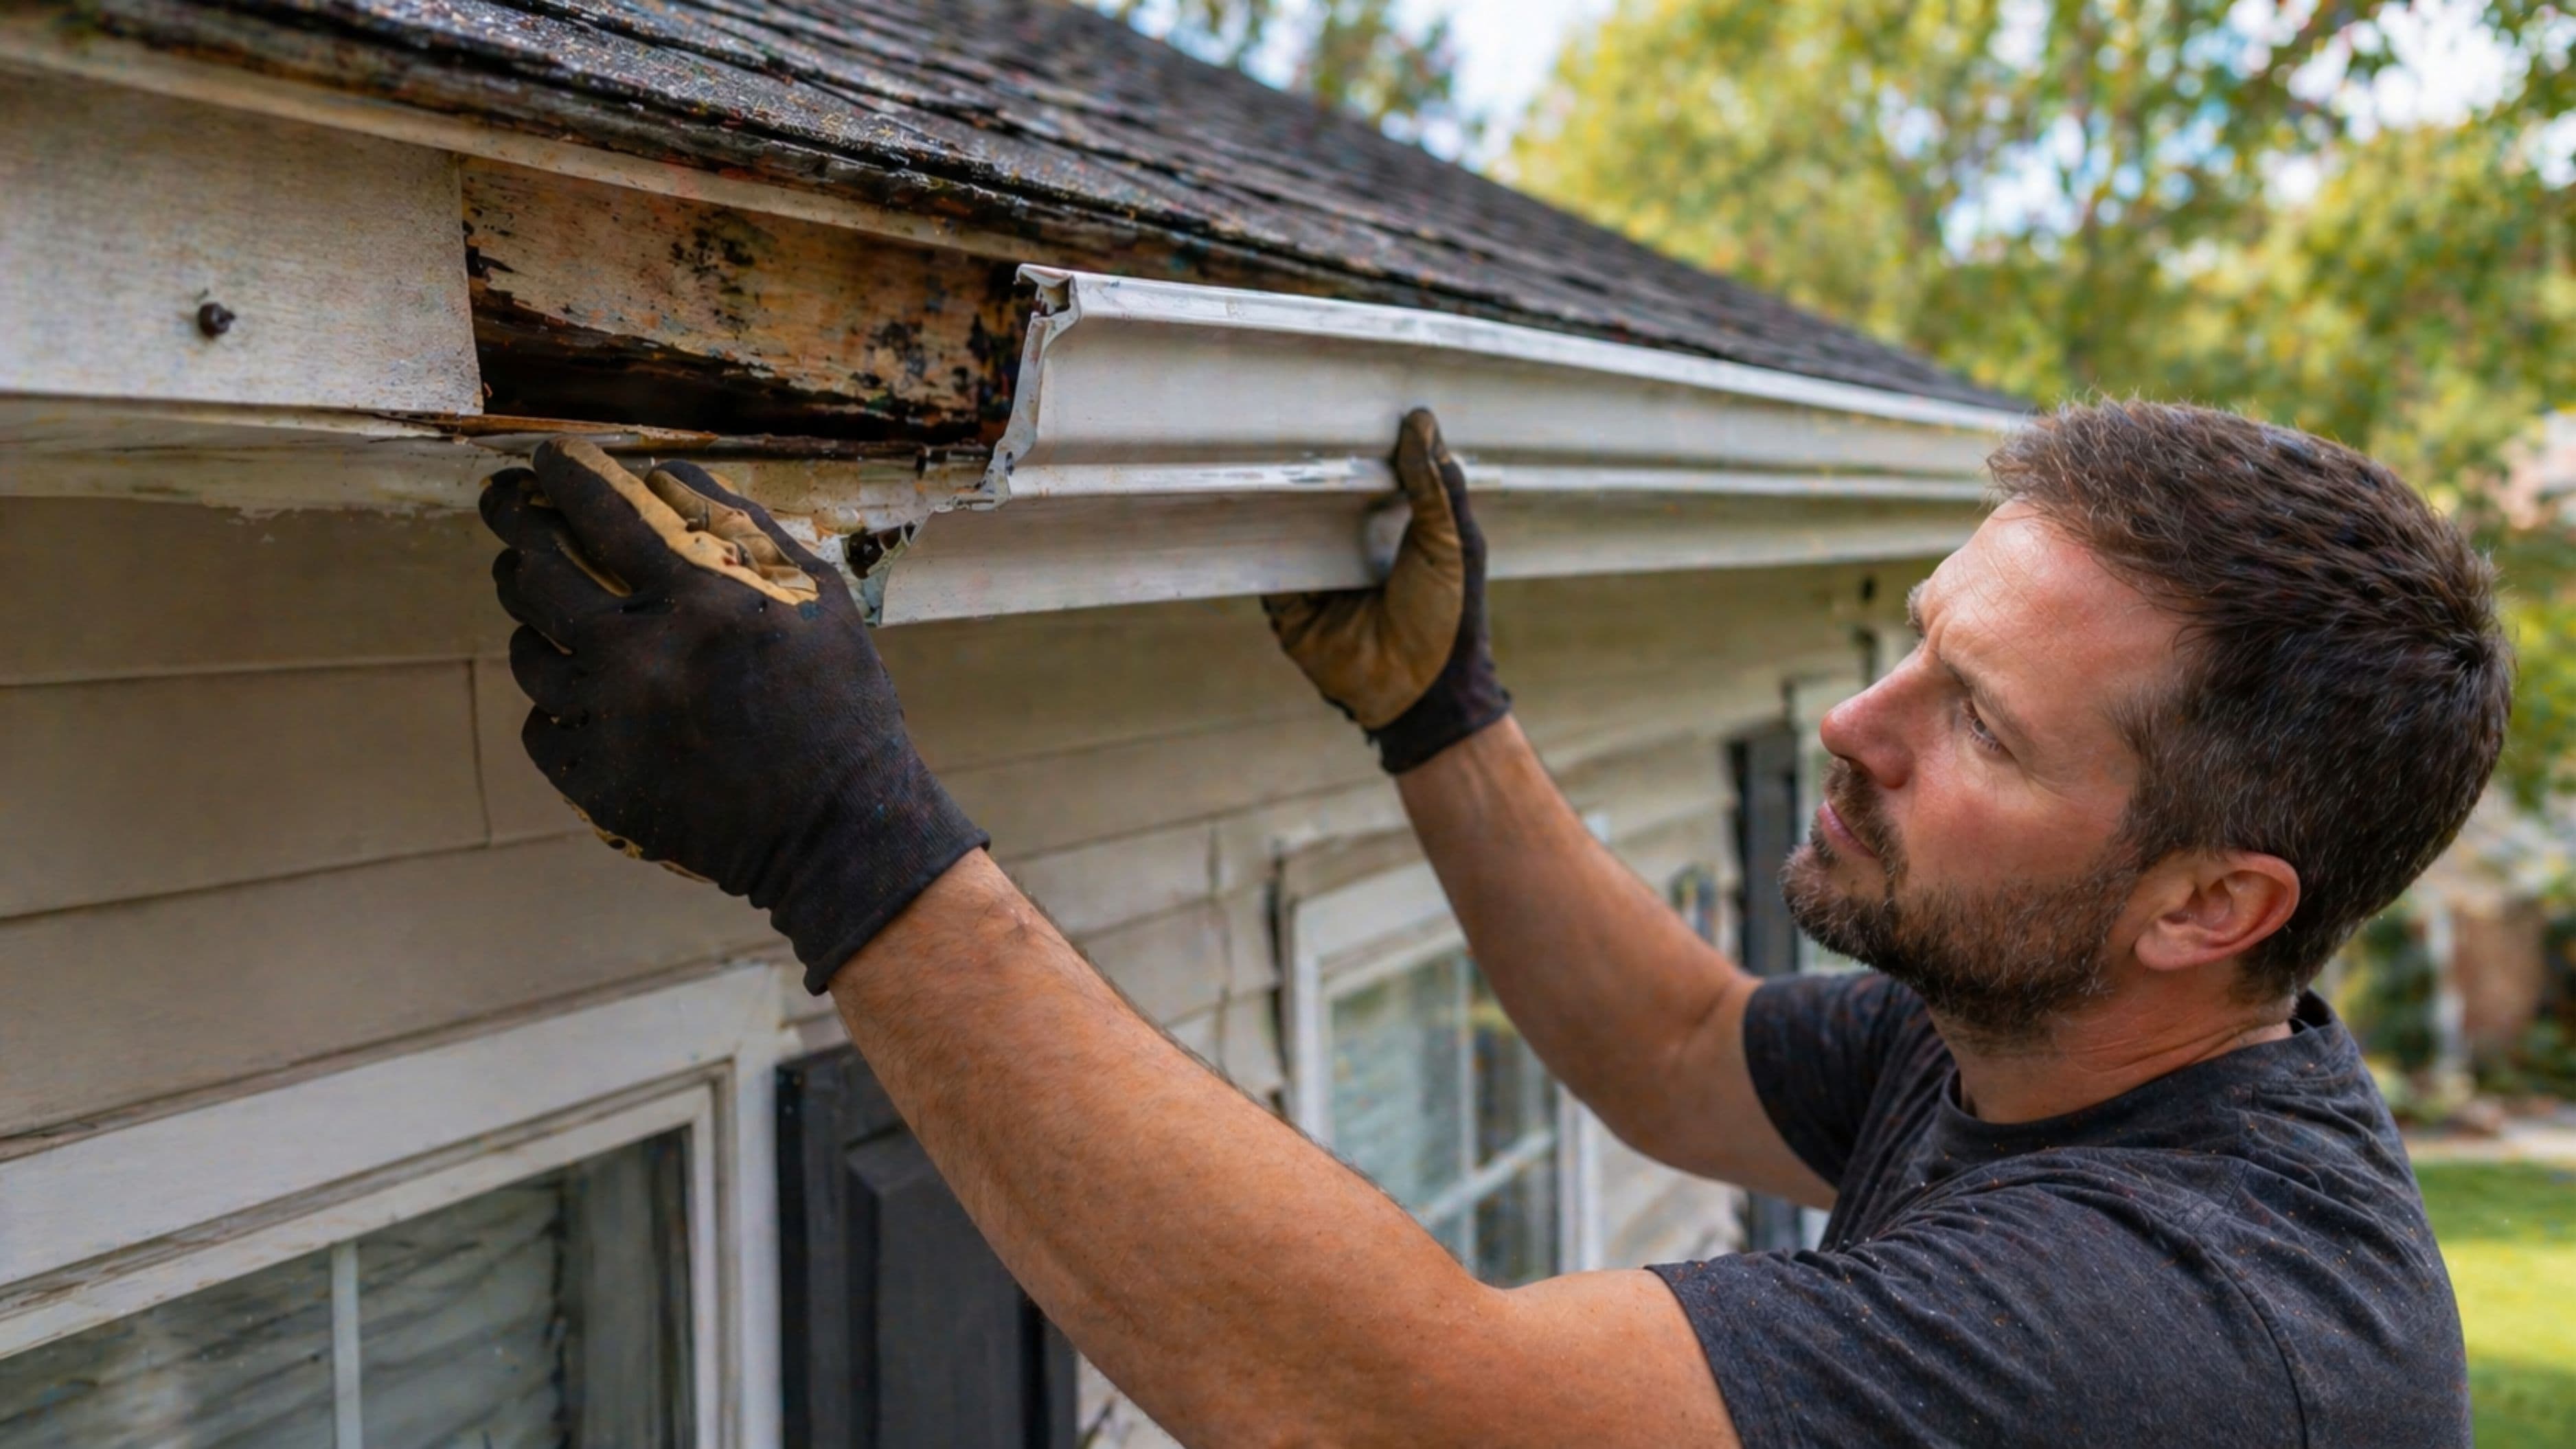
Step 1: Inspect the downspout and the wall surface. Before reattaching anything, check whether the downspout itself is dented, cracked, or corroded at the point where it pulled free. Also check the wall or fascia where the brackets were originally mounted, since repeated pulling can sometimes leave the mounting surface soft or damaged, which affects where you'll want to place new hardware.
Step 2: Remove any damaged or bent brackets. If the existing brackets are bent out of shape or the screws have stripped their holes, remove them completely rather than trying to reuse compromised hardware. A bracket that's already failed once is likely to fail again under the same stress.
Step 3: Reposition the downspout against the wall. Hold the downspout back in its original vertical alignment, using a level to confirm it's running straight rather than at an angle. A downspout that's slightly crooked won't drain water as effectively and puts uneven stress on whatever bracket you install next.
Step 4: Mark new mounting points. If the original screw holes are stripped or damaged, mark new positions slightly offset from the old ones rather than reusing compromised holes, which won't hold a screw securely even with a fresh bracket.
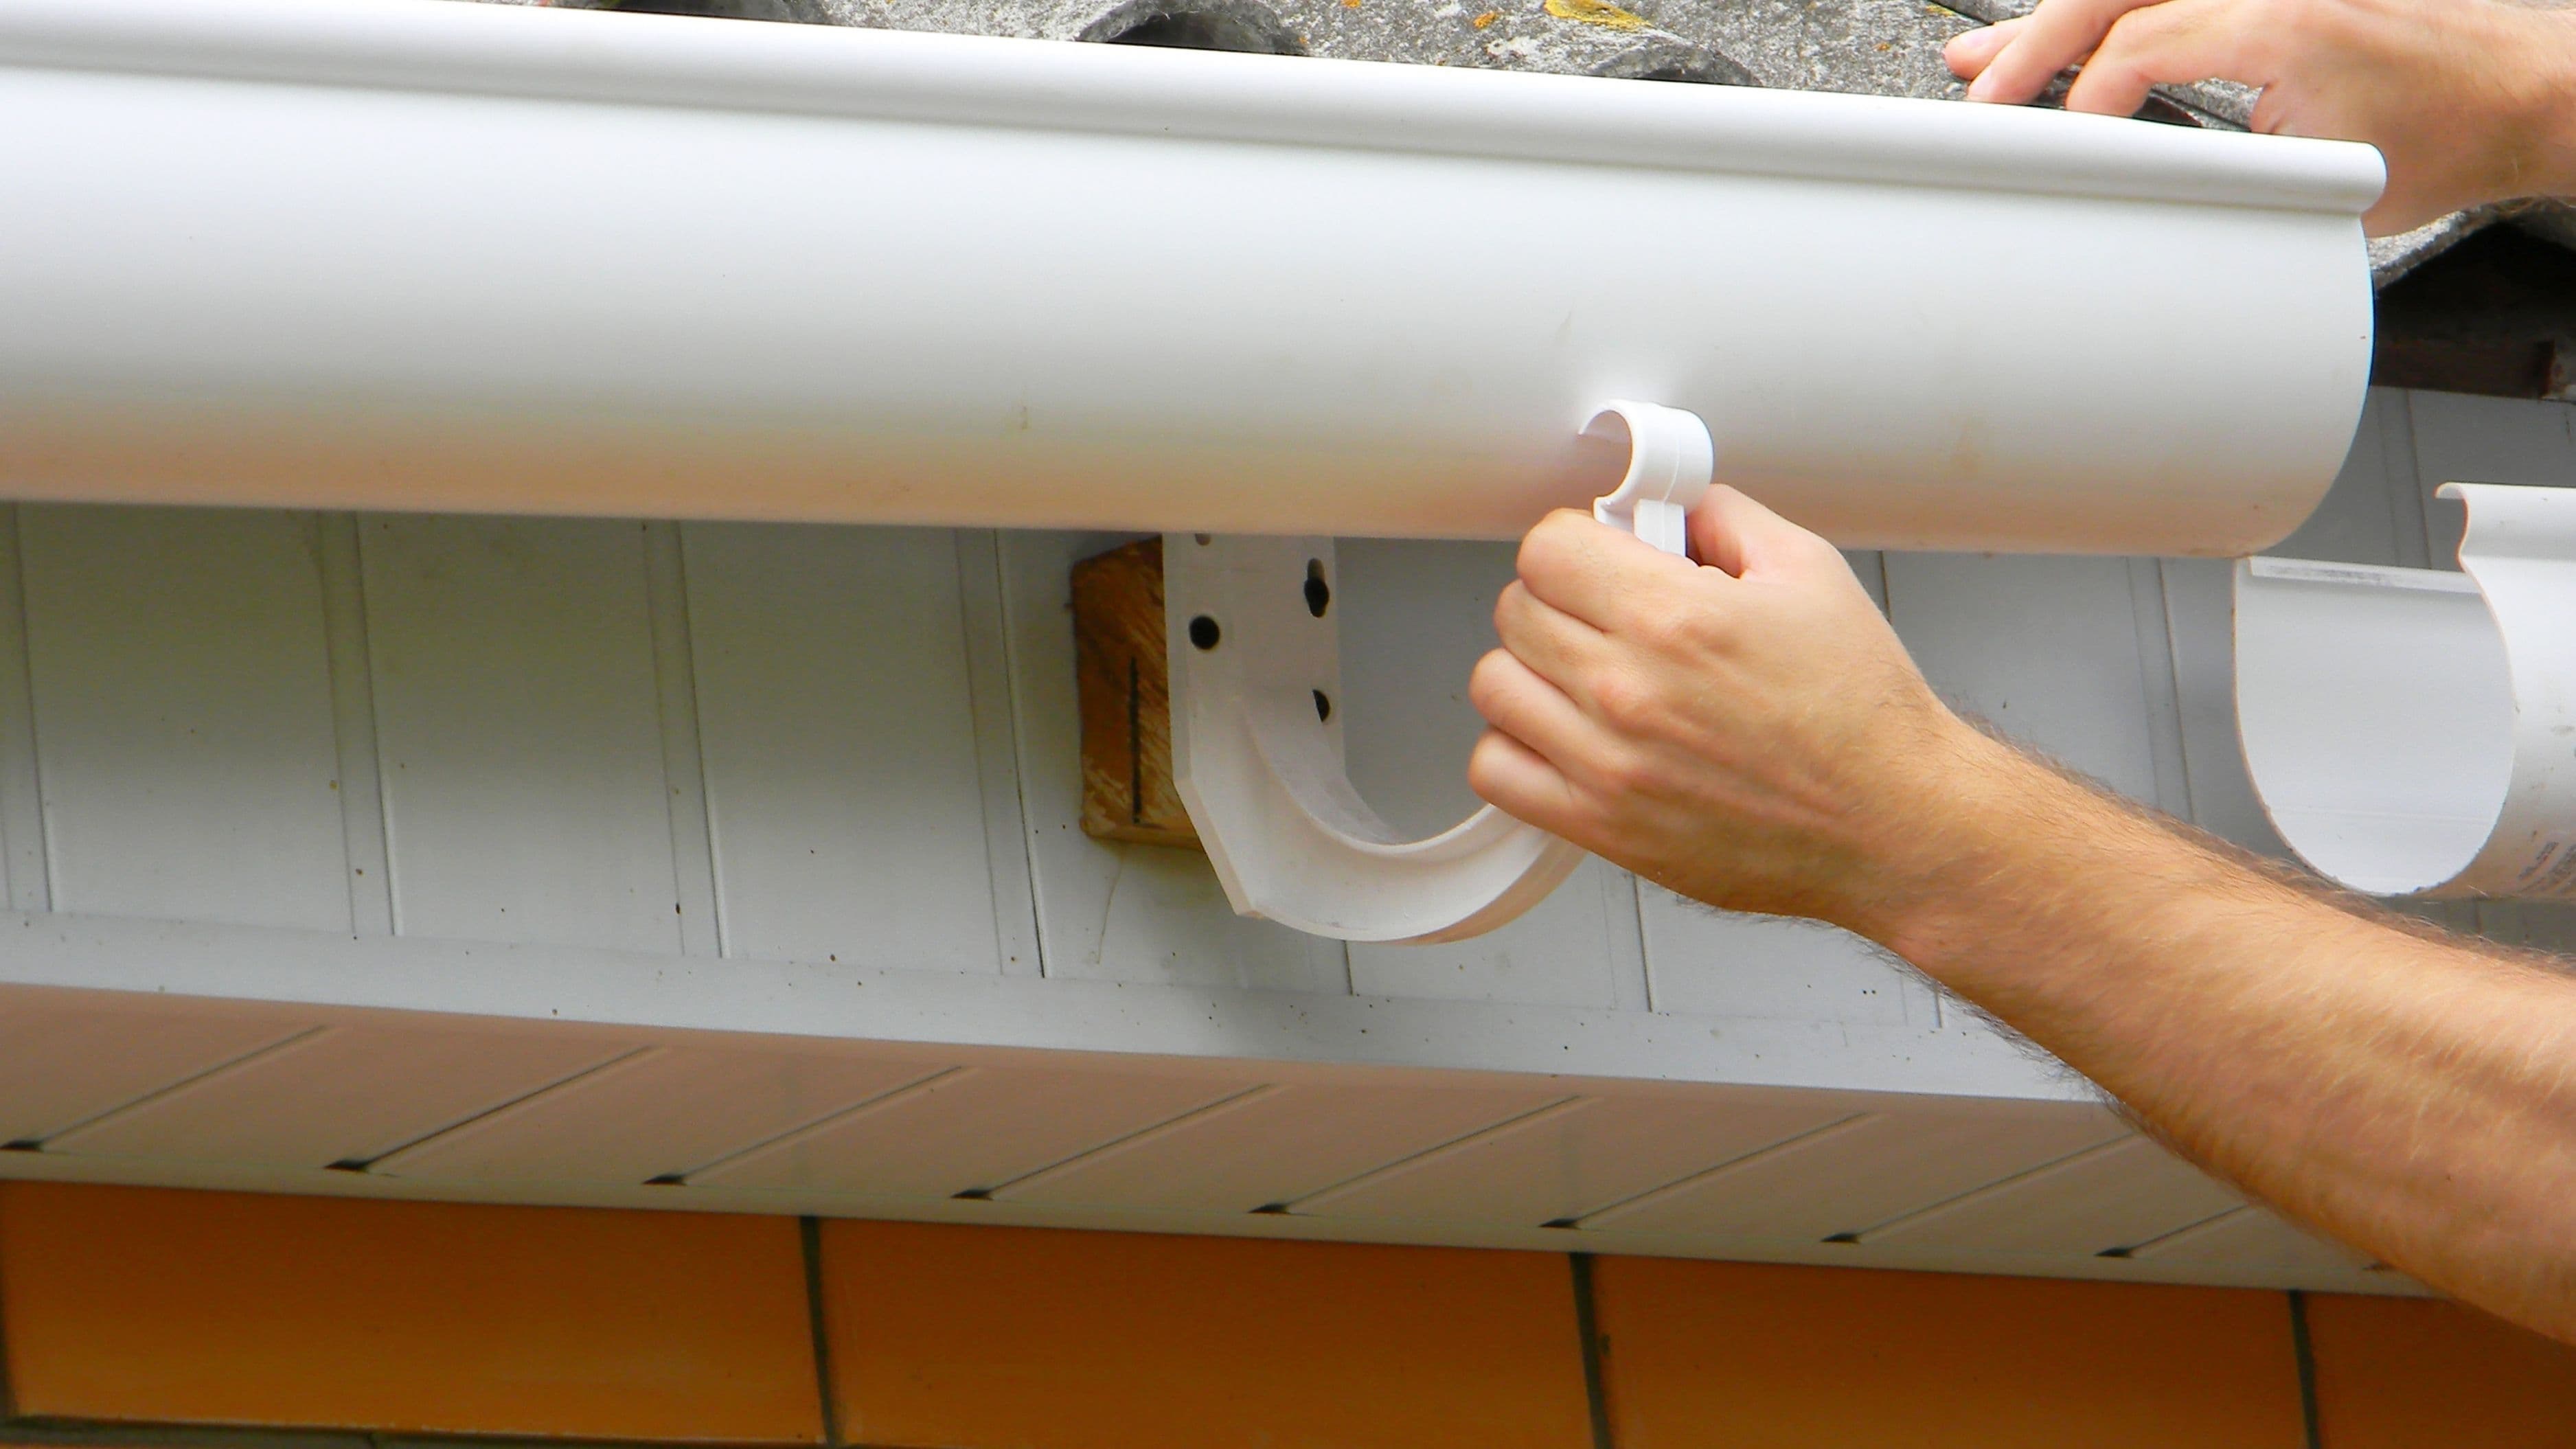
Step 5: Install new or existing brackets. Position the bracket around the downspout and against the wall, then drive self-tapping screws through the bracket into solid wall material, typically the fascia board or wall sheathing behind your siding. Make sure the screws bite into solid wood rather than just siding material, since siding alone won't hold long-term weight.
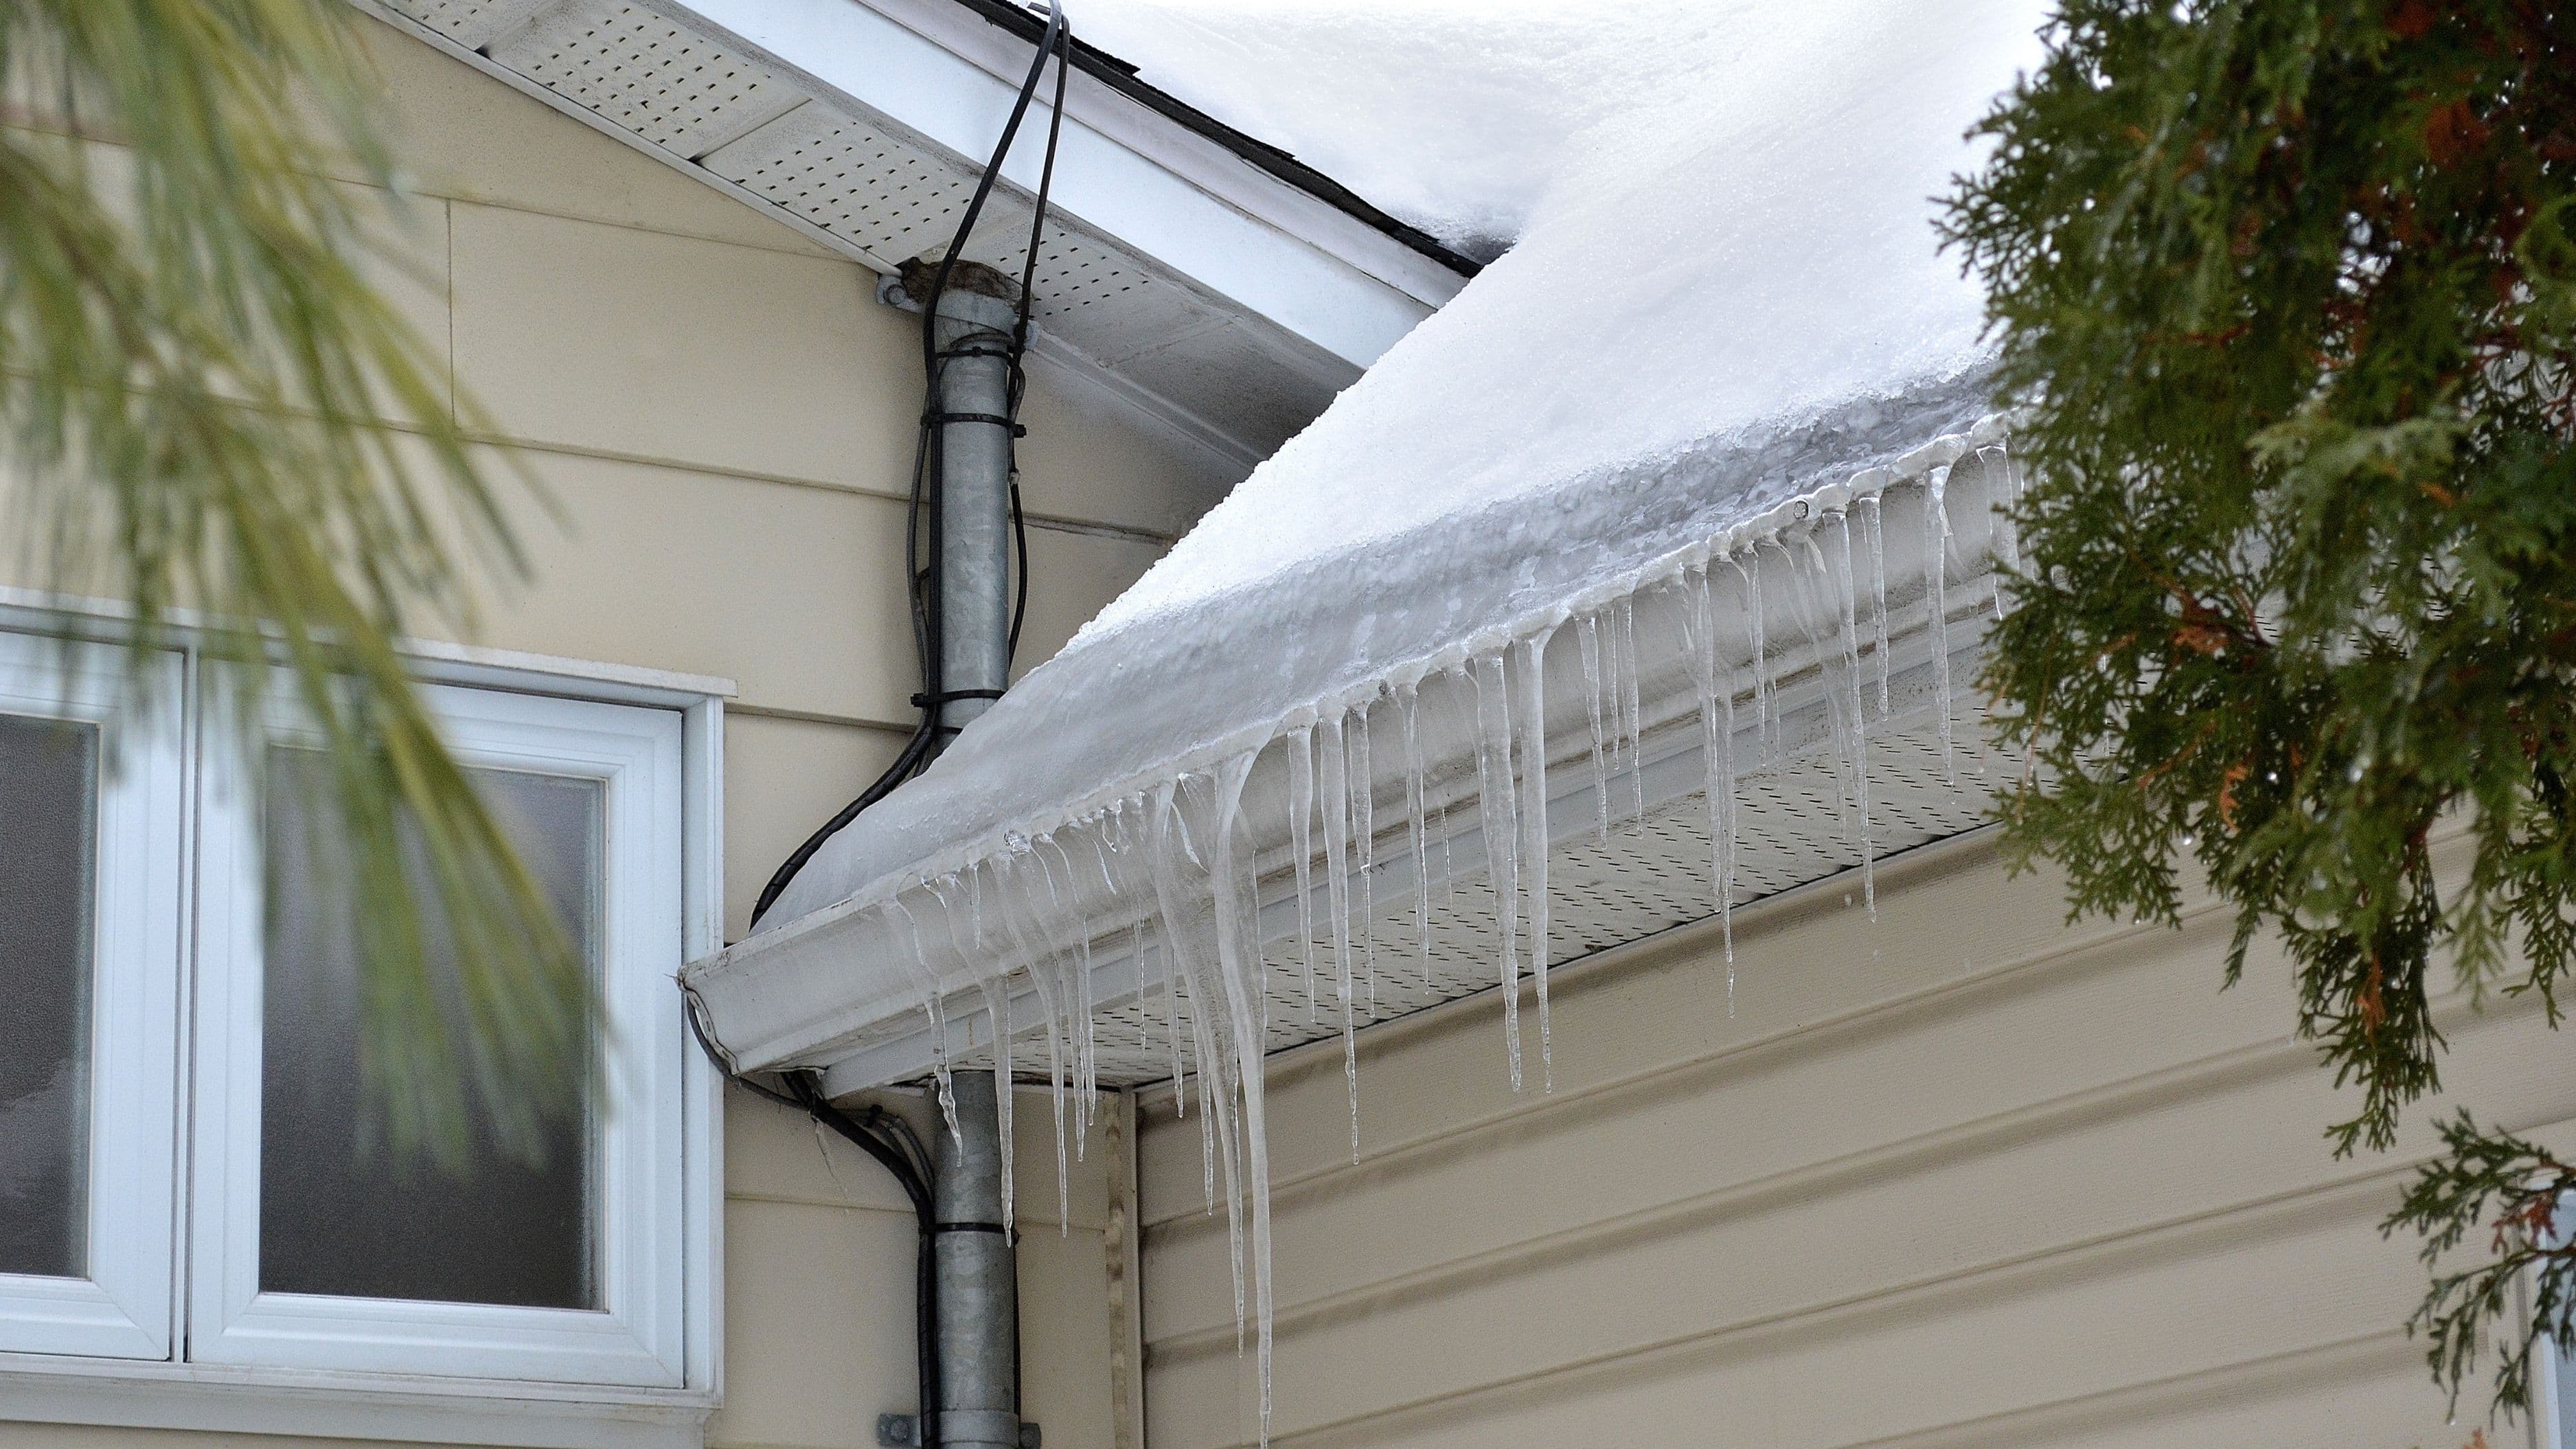
Step 6: Space brackets no more than six feet apart. If the downspout is a longer run and only had one or two brackets originally, this is a good opportunity to add an additional bracket for better long-term support, particularly in areas that get heavy wind or ice.
Step 7: Test the repair. Gently tug on the downspout at multiple points to confirm the brackets are holding firm, and run water through the gutter system if possible to confirm it's still draining correctly through the reattached section.
Safety Notes
Always use a stable ladder on level ground, and have someone hold the base if you're working above the first story. Avoid overreaching to either side while on the ladder, reposition it instead. If the fascia board behind your gutter feels soft or spongy when you drill into it, that's a sign of water damage that goes beyond this specific repair and should be addressed separately before remounting hardware into it.
Common Mistakes
The most common mistake is reusing stripped screw holes instead of relocating the mounting point slightly, which leads to the same failure happening again within a season. Another frequent issue is spacing brackets too far apart on longer downspout runs, which puts more stress on each individual bracket than it's designed to handle. Skipping the level check is another easy misstep, since a crooked downspout drains poorly and puts uneven pressure on the bracket over time.
When to Call a Professional
If the fascia board or wall structure behind the downspout shows signs of rot, soft spots, or water damage, that's worth having a professional assess before you remount anything, since the underlying structural issue needs addressing regardless of how well the downspout itself gets reattached. Similarly, if you're dealing with a second or third story downspout and don't have safe, stable access, it's worth hiring a professional with the right equipment rather than working at height without proper support.
FAQ
Why does my downspout keep pulling loose from the same spot? This is usually a sign that the mounting point isn't anchored into solid wood, or that brackets are spaced too far apart for the length of the run, both of which are worth correcting during the repair rather than just reattaching in the same spots.
Can I use the same screw holes if they're not stripped? Yes, if the holes are still tight and undamaged, reusing them is fine, though inspecting them closely before reinstalling is worth the extra minute.
How much does this repair typically cost if I do it myself? Replacement brackets and screws typically run under twenty dollars for a full section, making this one of the more affordable gutter repairs to handle without professional help.
Outro
A loose downspout is one of the more approachable exterior repairs a homeowner can tackle solo. Take the time to check for underlying damage before remounting, and this fix should hold solidly for years.
📚 Sources
"Gutter Maintenance and Repair Basics" – This Old House, thisoldhouse.com
"How to Prevent Fascia Board Damage" – Family Handyman, familyhandyman.com
"Ladder Safety Guidelines for Homeowners" – Occupational Safety and Health Administration, osha.gov