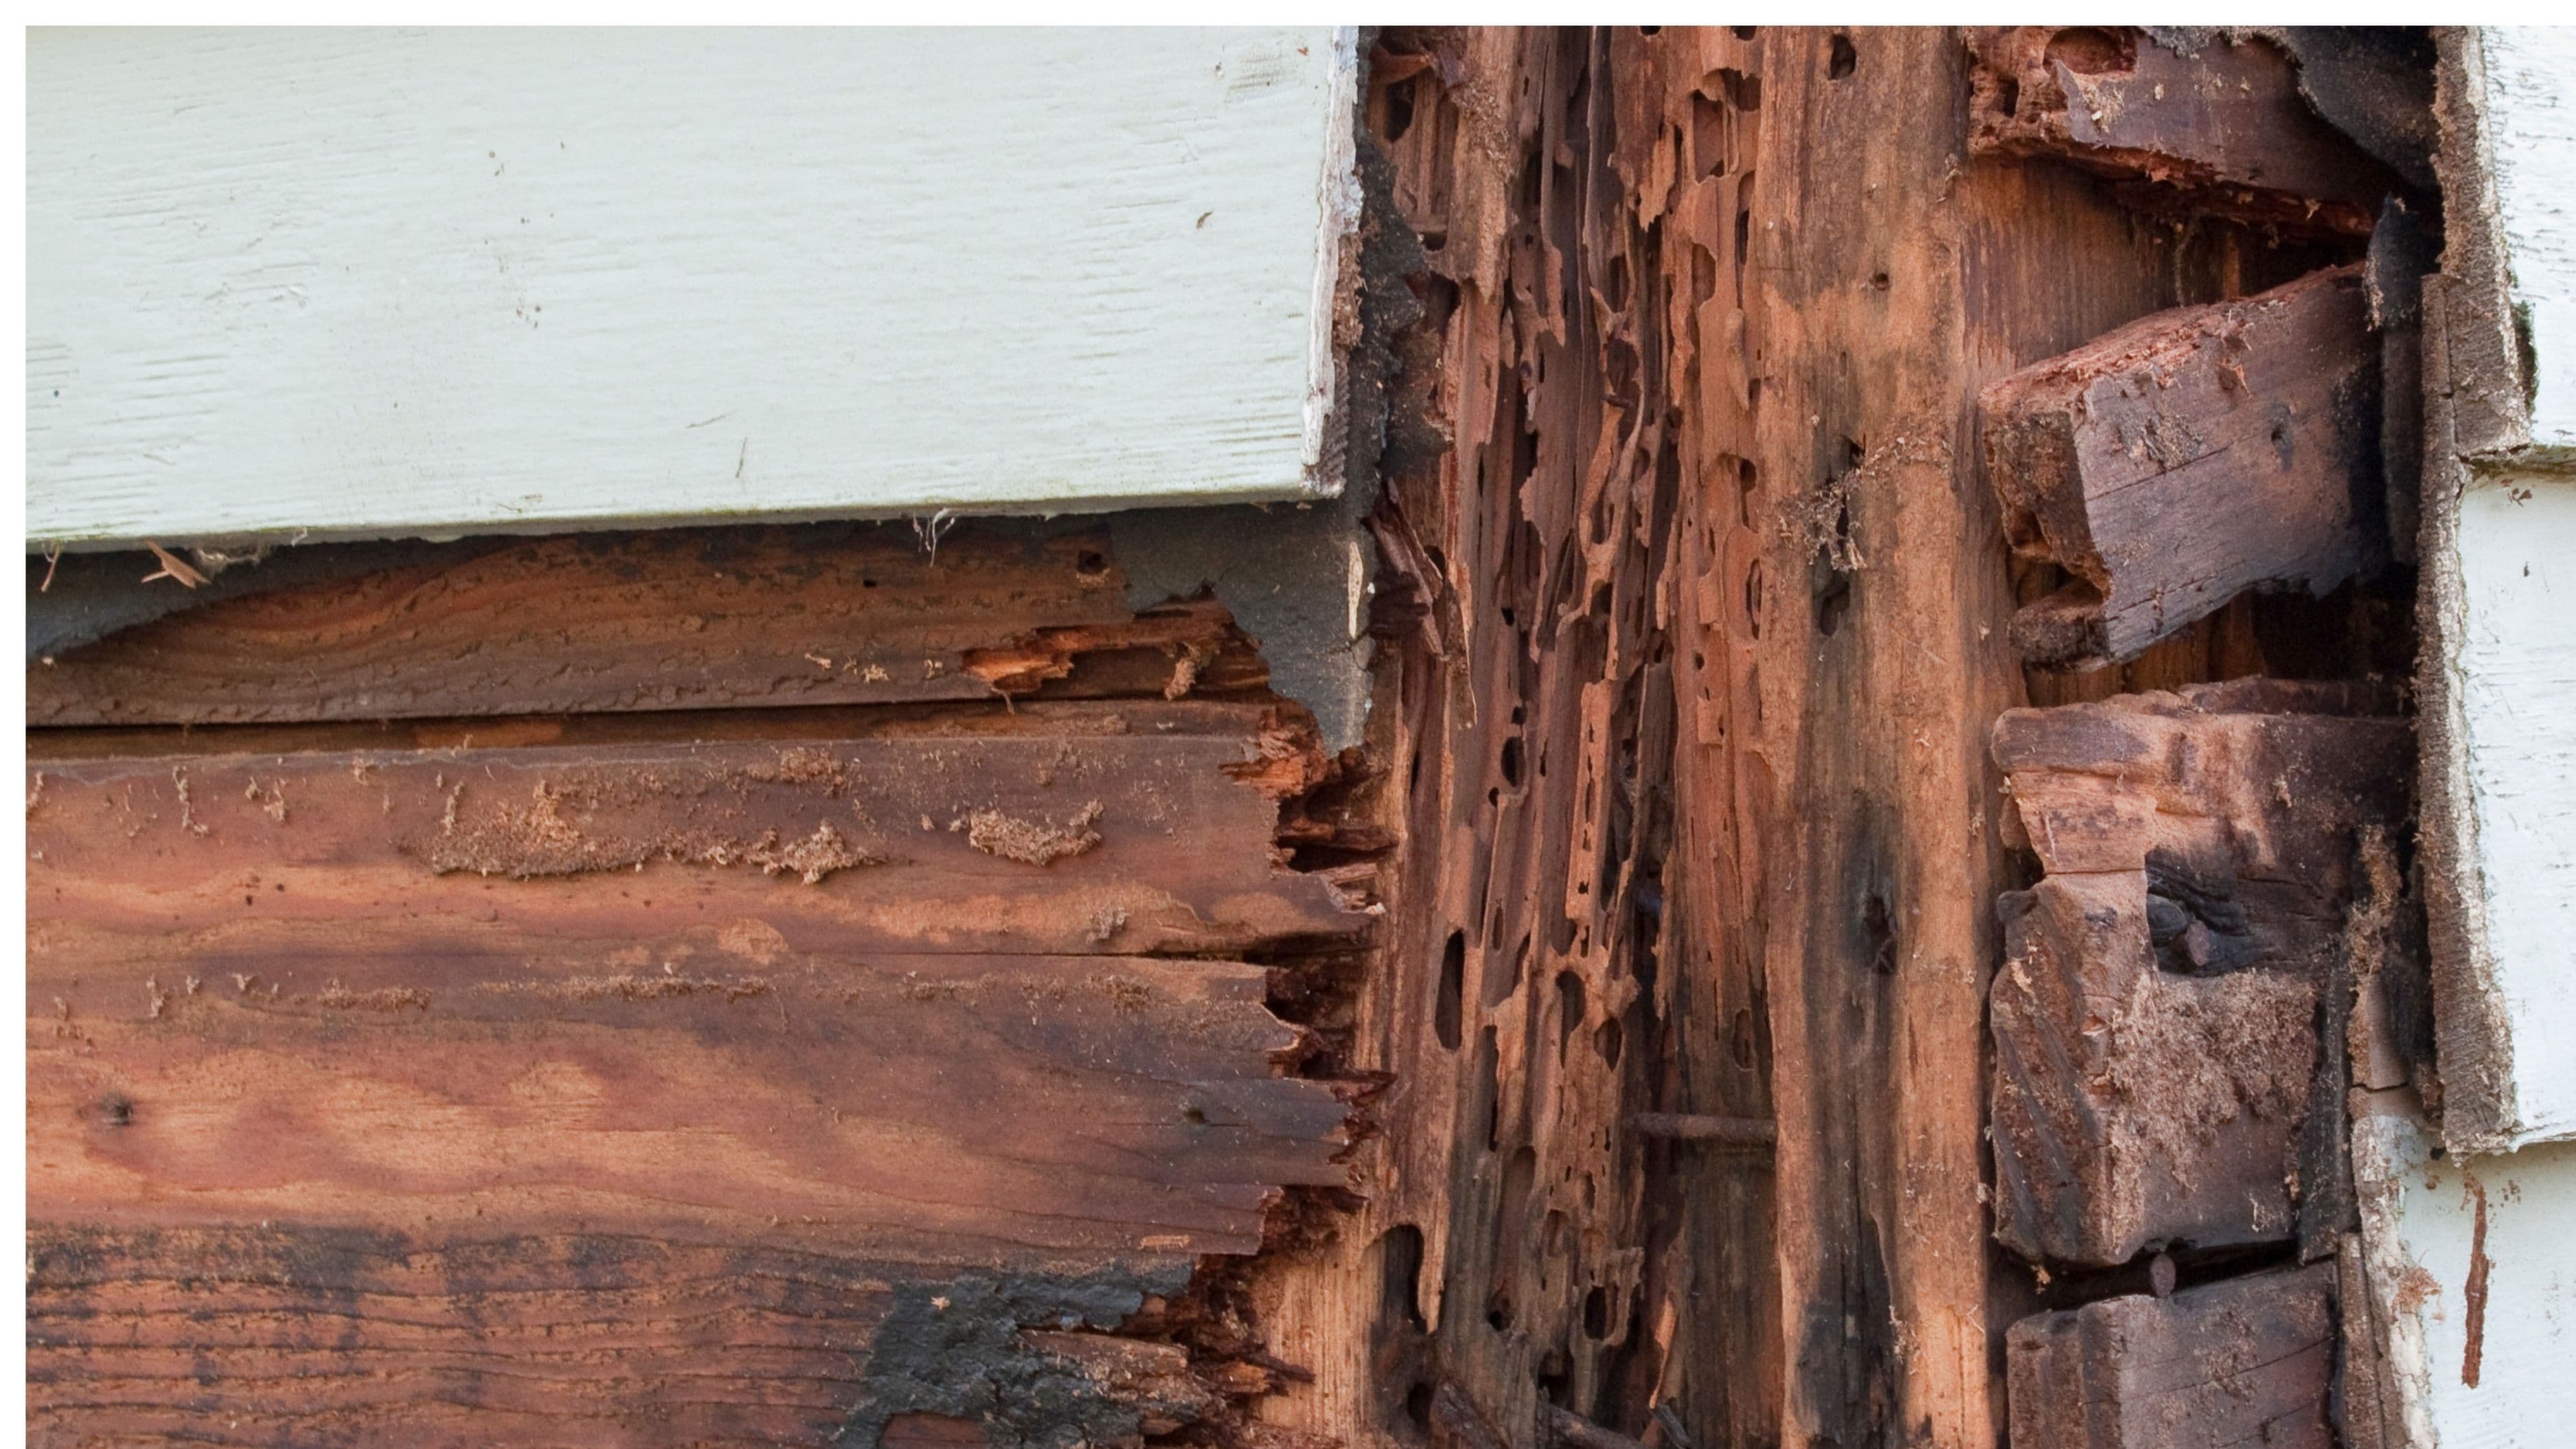
What Wood Rot Actually Is (and Why It Spreads)
Wood rot is caused by fungi that break down the cellulose and lignin in wood, essentially eating through its structural integrity. There are two main types: dry rot and wet rot. Despite the name, dry rot (caused by Serpula lacrymans and related fungi) actually requires moisture to start – it just has the ability to spread into drier wood once established, making it more destructive and harder to contain. Wet rot is more common and stays localized to areas of sustained moisture exposure, which makes it somewhat easier to manage if caught early.
Both types need moisture to thrive. Wood that stays wet – from poor drainage, leaking gutters, failing caulk, or ground contact – is where rot gets its foothold. Once the fungal growth is established, it spreads outward and inward through the wood fibers, weakening the structure from the inside out. This is why the surface appearance of rot often undersells how much damage is actually present underneath.
How to Assess the Damage Before Deciding
Before you can make the repair-or-replace call, you need to accurately assess how deep and how widespread the rot is. Grab a flathead screwdriver or an awl and probe the wood around the visible damage. Healthy wood resists the tool firmly. Rotted wood will feel soft, spongy, or crumbly, and the tool will sink in with little resistance. Work your way outward from the obvious damage in all directions – up, down, and to the sides – to map the true extent.
Pay attention to how deep the rot goes. Surface rot that only penetrates the outer ¼ inch or so is a very different situation from rot that goes halfway through the board or has compromised the core. Compress the wood with your fingers around the damaged area – if it gives or feels hollow, the rot is deeper than the surface. You're looking for where firm, solid wood begins again on all sides of the damage.
Also check the wood immediately adjacent to the visible rot. Discoloration, slight softness, or a musty smell can indicate early-stage rot that hasn't yet become visually obvious. The full scope of the damage matters when choosing your approach.
When Repair Makes Sense
Wood rot repair using a two-part epoxy filler system is a genuinely effective solution when the conditions are right. It's faster, less expensive, and less disruptive than full replacement – and when done correctly, the repaired area can outlast the surrounding wood because the cured epoxy is impervious to moisture and insects.
Repair is the right call when the rot is limited to less than roughly a third of the board's cross-section, when the wood is in a non-structural or lightly structural location (trim boards, window sills, door jambs, soffits, decorative fascia, porch railings), and when the surrounding wood is firm and solid. Surface and shallow rot on window and door trim is the classic repair candidate – these boards are relatively thin, they carry no significant load, and epoxy filler handles them very well. Deck surface boards with localized soft spots are also reasonable repair candidates if the rot hasn't penetrated deep and the joists beneath are solid.
The key advantage of epoxy repair is that it consolidates and hardens whatever softened wood fibers remain, filling voids completely and bonding firmly to the surrounding material. Products like PC-Rot Terminator (a liquid consolidant) combined with PC-Woody (a two-part filler) or the similar Abatron WoodEpox system are widely used for this purpose. The consolidant soaks into the damaged fibers and hardens them before the filler is applied, which gives the repair a solid mechanical base.
When Replacement Is the Right Move
Full board replacement becomes necessary when the rot is extensive, when the affected wood is structural, or when repair would leave too little sound material to make the fix durable. If more than a third to half of the board's cross-section is compromised, you're looking at a replacement – the remaining wood can't provide adequate backing for filler, and the structural integrity of the repair would be questionable.
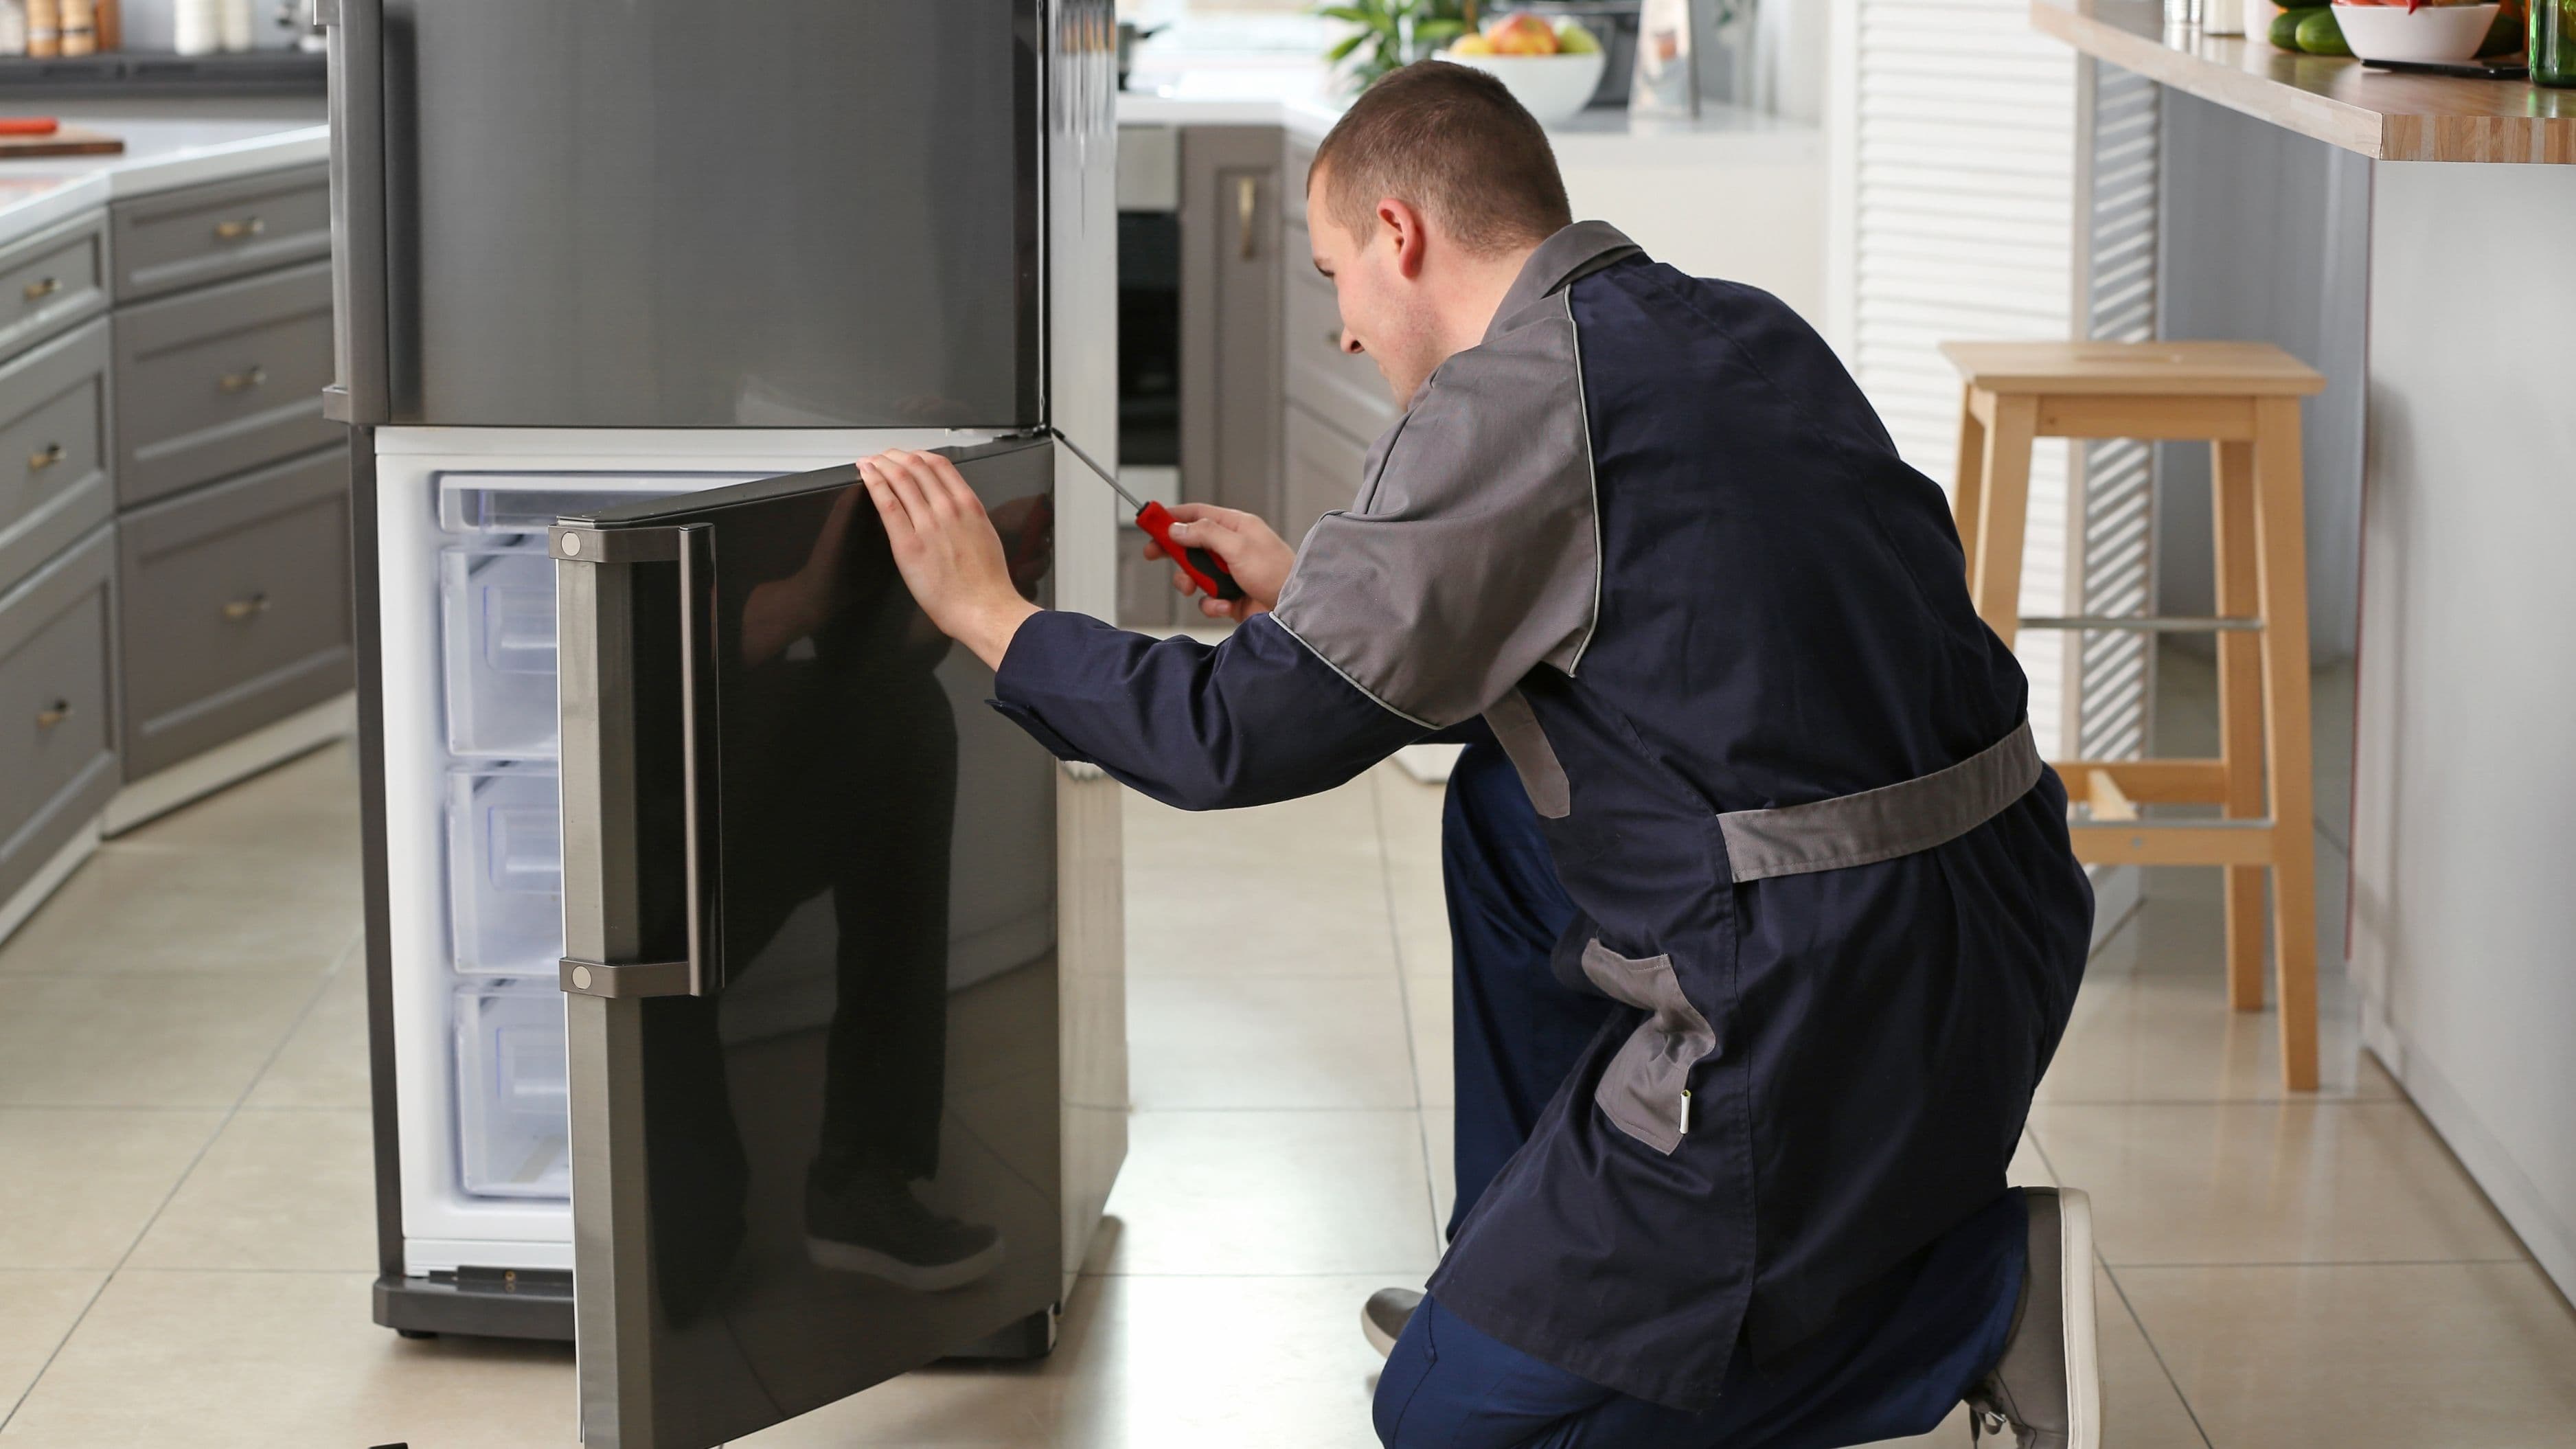
Structural members always require replacement rather than repair when rot is present. Floor joists, deck joists, support posts, rafters, load-bearing beams, and sill plates fall into this category. Epoxy filler adds volume but does not restore the load-carrying capacity of heavily rotted structural wood. If you're dealing with rot in any of these locations, don't patch it – replace it, and call a professional if you're uncertain about what's load-bearing and what isn't.
Through-rot is another clear replacement indicator. If you probe the board and find that the rot has penetrated all the way through the thickness of the board – or if large sections crumble away as you probe – there's not enough sound material left to support a filler repair. The same applies when rot is present across a long stretch of the board's length rather than isolated to a small area.
Finally, consider the location's moisture exposure going forward. If the underlying cause of the rot (a plumbing leak, failed flashing, grading that directs water toward the house) hasn't been addressed, even a well-executed repair won't last. In those cases, replacement with a more moisture-resistant material – composite, PVC trim, or pressure-treated lumber – may be the smarter long-term choice even if the damage technically falls within the "repairable" range.
How to Repair Wood Rot with Epoxy Filler
Difficulty: Beginner to intermediate
Estimated time: 2–4 hours (plus curing time)
Estimated cost: $30–$80 in materials depending on area size
What you'll need:
Epoxy consolidant (liquid, e.g., PC-Rot Terminator or Minwax High Performance Wood Hardener)
Two-part epoxy filler (e.g., PC-Woody, Abatron WoodEpox, or Bondo Wood Filler)
Putty knife or mixing stick
Chisel or screwdriver for removing loose material
Sandpaper (80-grit and 120-grit)
Primer and exterior paint
Step 1 – Remove all loose and soft material. Use a chisel, screwdriver, or stiff brush to remove every bit of soft, spongy, or crumbly wood from the damaged area. Don't try to preserve soft wood by leaving it in place – it needs to come out completely. The epoxy needs to bond to firm wood.
Step 2 – Let the wood dry if needed. Epoxy consolidants and fillers bond best to dry wood. If the area has been wet recently, give it time to dry thoroughly before proceeding – a day or two in good weather is usually enough for surface rot in exposed locations.
Step 3 – Apply the consolidant. Brush or pour the liquid consolidant generously into the excavated area and the surrounding wood, allowing it to soak into the fibers fully. It will look wet and amber-colored as it penetrates. Follow the manufacturer's cure time before applying filler – typically 1–4 hours depending on temperature.
Step 4 – Mix and apply the epoxy filler. Mix the two-part filler according to the instructions – working time is limited, typically 15–30 minutes, so mix only what you'll use immediately. Pack it firmly into the void, slightly overfilling to allow for sanding. Epoxy filler can be shaped and tooled while wet, so form it roughly to match the surrounding profile before it cures.
Step 5 – Shape and sand after curing. Once fully cured (usually several hours to overnight), sand the repair flush with the surrounding surface. Start with 80-grit to knock down the excess, then finish with 120-grit. The cured material cuts cleanly and holds detail well.
Step 6 – Prime and paint. Epoxy filler accepts paint and primer readily but should be topcoated, particularly in exterior applications, to protect it from UV degradation. Prime the repair area, feather the edges, and finish with exterior paint matching the surrounding surface.
How to Replace a Rotted Board
Difficulty: Beginner to intermediate (more physical, less fussy than repair)
Estimated time: 1–3 hours depending on location and fastener access
Estimated cost: Variable – material cost depends on board type and size
Step 1 – Source your replacement material. For structural applications, use pressure-treated lumber rated for the application (ground contact or above-ground as appropriate). For trim, consider whether composite or PVC trim board makes sense given the location's moisture exposure – these materials won't rot regardless of conditions and are available in profiles that match standard wood trim dimensions.
Step 2 – Remove the rotted board carefully. Use a pry bar to remove the damaged board, working gently to avoid damaging adjacent boards or the structure beneath. Extract all fasteners – screws pull cleanly; nails may need to be cut with an oscillating tool if they won't back out.
Step 3 – Inspect and treat what's underneath. Before installing the replacement, examine the framing or structure that the rotted board was attached to. Look for any signs of rot transfer to the substrate. If you find soft spots in structural members, address those before proceeding – this is the moment when a professional evaluation is worth having if you're uncertain about what you're looking at.
Step 4 – Cut and fit the replacement board. Cut the new board to match the removed piece. If the original was non-standard in profile (shaped trim, for instance), use it as a template. Test-fit before fastening.
Step 5 – Fasten, caulk, and finish. Secure the replacement board with exterior-grade fasteners appropriate for the material. Apply paintable exterior caulk at all joints and seams to prevent moisture entry. Prime all cut ends of wood (including pressure-treated) before installation if painting – end grain is the primary entry point for moisture. Finish with exterior paint or stain as appropriate.
The Root Cause: Fix It or You'll Be Back
Whichever approach you take, the repair or replacement only lasts if you address what caused the rot in the first place. Walk through the contributing factors: Is there a gutter that overflows or is missing a downspout extension? Is the grade of the soil sloping toward the foundation? Is there failed caulking around windows or doors that's allowing water intrusion? Is a sprinkler head hitting the wall repeatedly?
Fixing the rot without fixing the water source is a temporary solution. The fungi that caused the rot don't disappear – they're in the soil, in the air, and on surrounding surfaces. As long as sustained moisture returns to the area, they'll re-establish. Take the time to trace the moisture source and address it as part of the repair process, and the fix will actually hold.
Common Mistakes to Avoid
The most frequent error is underestimating the extent of the damage before starting a repair. Skipping the thorough probing assessment and assuming the visible surface is the full picture leads to either an incomplete repair (leaving active rot beneath the filler) or a surprise mid-job when the damage turns out to be much more extensive than it appeared. Assess fully before committing to an approach.
Don't apply epoxy filler over soft or wet wood. The filler won't bond properly to degraded wood fibers, and the repair will crack or fall out under seasonal movement. Consolidant first, always, and only on dry material.
Avoid painting rotted wood rather than repairing it. Fresh paint over a soft board might look fine for a season but doesn't stop the rot's progression – it just hides it while the damage continues underneath.
Finally, don't skip priming cut ends of replacement lumber, particularly at the bottom ends of vertical boards. End grain absorbs moisture far more readily than face grain, and unprimed end grain in a wet location will start the rot cycle over again within a few years.
When to Call a Professional
If you find rot in load-bearing structural members – floor joists, rim joists, posts, beams, or the sill plate sitting on the foundation – get a professional evaluation before proceeding. Structural rot repair and replacement requires accurately understanding load paths, temporary shoring, and often permits depending on scope. A skilled general contractor or structural carpenter can assess the situation quickly and tell you what's actually involved.
Similarly, if the rot appears to have spread into areas you can't directly access or inspect – inside a wall cavity, under a floor system, behind cladding – a professional assessment is worthwhile before opening things up speculatively. Finding the full extent of damage before starting remediation saves time and money.
FAQ
Can rotted wood be truly restored with epoxy filler?
In appropriate applications, yes. A properly executed epoxy repair – with all soft material removed, consolidant applied to the remaining wood, and high-quality two-part filler used to fill the void – produces a repair that is structurally solid for trim and light-duty applications. The cured epoxy is harder than the original wood and completely impervious to moisture. It won't rot again in the repaired area.
How do I know if wood rot has spread to framing behind trim boards?
After removing the trim, probe the framing immediately behind it with a screwdriver or awl. Firm resistance means the framing is sound. If the tool sinks in easily or you see visible discoloration, soft spots, or crumbling, the framing is affected. Don't reinstall trim over compromised framing – address the structural material first.
What's the difference between wood hardener and epoxy filler?
Wood hardener (consolidant) is a liquid that soaks into soft, degraded wood fibers and chemically hardens them, creating a solid base. Epoxy filler is a thick, putty-like two-part compound that fills the physical void left after removing soft material. They're used sequentially – hardener first to stabilize the remaining wood, then filler to restore the shape and surface. Using filler without hardener over soft wood results in a weak repair.
How long does an epoxy wood rot repair last?
Done correctly and painted to protect from UV, an epoxy repair on trim or non-structural wood can last 10–20 years or longer. The repair itself won't re-rot. What causes failure in the long term is typically paint failure allowing UV degradation of the epoxy surface, or new moisture intrusion from the original source not being fully addressed.
Is pressure-treated wood always the right choice for replacement lumber?
For structural applications and ground-contact or near-ground locations, yes. For above-grade trim work, PVC or composite trim board is often a better choice because it genuinely cannot rot and doesn't require the handling precautions that come with pressure-treated chemicals. Standard dimensional lumber with proper priming and painting is acceptable for trim in well-protected locations with good drainage.
📚 Sources
University of Minnesota Extension – Wood Rot in Homes: Causes and Prevention: https://extension.umn.edu/mold-and-moisture/wood-rot
US Forest Service – Wood Handbook: Wood as an Engineering Material, Chapter 14 (Biodeterioration): https://www.fpl.fs.usda.gov/documnts/fplgtr/fplgtr282.pdf
This Old House – How to Fix Wood Rot: https://www.thisoldhouse.com/carpentry/21015698/how-to-fix-wood-rot
Fine Homebuilding – Repairing Rotted Wood with Epoxy: https://www.finehomebuilding.com/2012/01/17/repairing-rotted-wood-with-epoxy
Bob Vila – How to Repair Rotted Wood: https://www.bobvila.com/articles/how-to-repair-rotted-wood/
EPA – Moisture and Mold Prevention and Control Tips: https://www.epa.gov/mold/moisture-and-mold-prevention-and-control-tips
🔍 Explore Related Topics