Here's exactly what's involved, what can go wrong, and when this job is better left to a licensed electrician.
Tools and Materials Needed
You'll need a non-contact voltage tester, a flathead and Phillips screwdriver, a new outlet matching your home's amperage (typically 15 or 20 amp), wire strippers if your existing wires need trimming, and electrical tape. A small flashlight or headlamp also helps, since you'll often be working in a dim corner with the power off. Expect to spend $1 to $3 for a basic outlet or $15 to $25 for a GFCI outlet, and the whole job typically takes 15 to 30 minutes once you've done it once or twice.
Step-by-Step Process
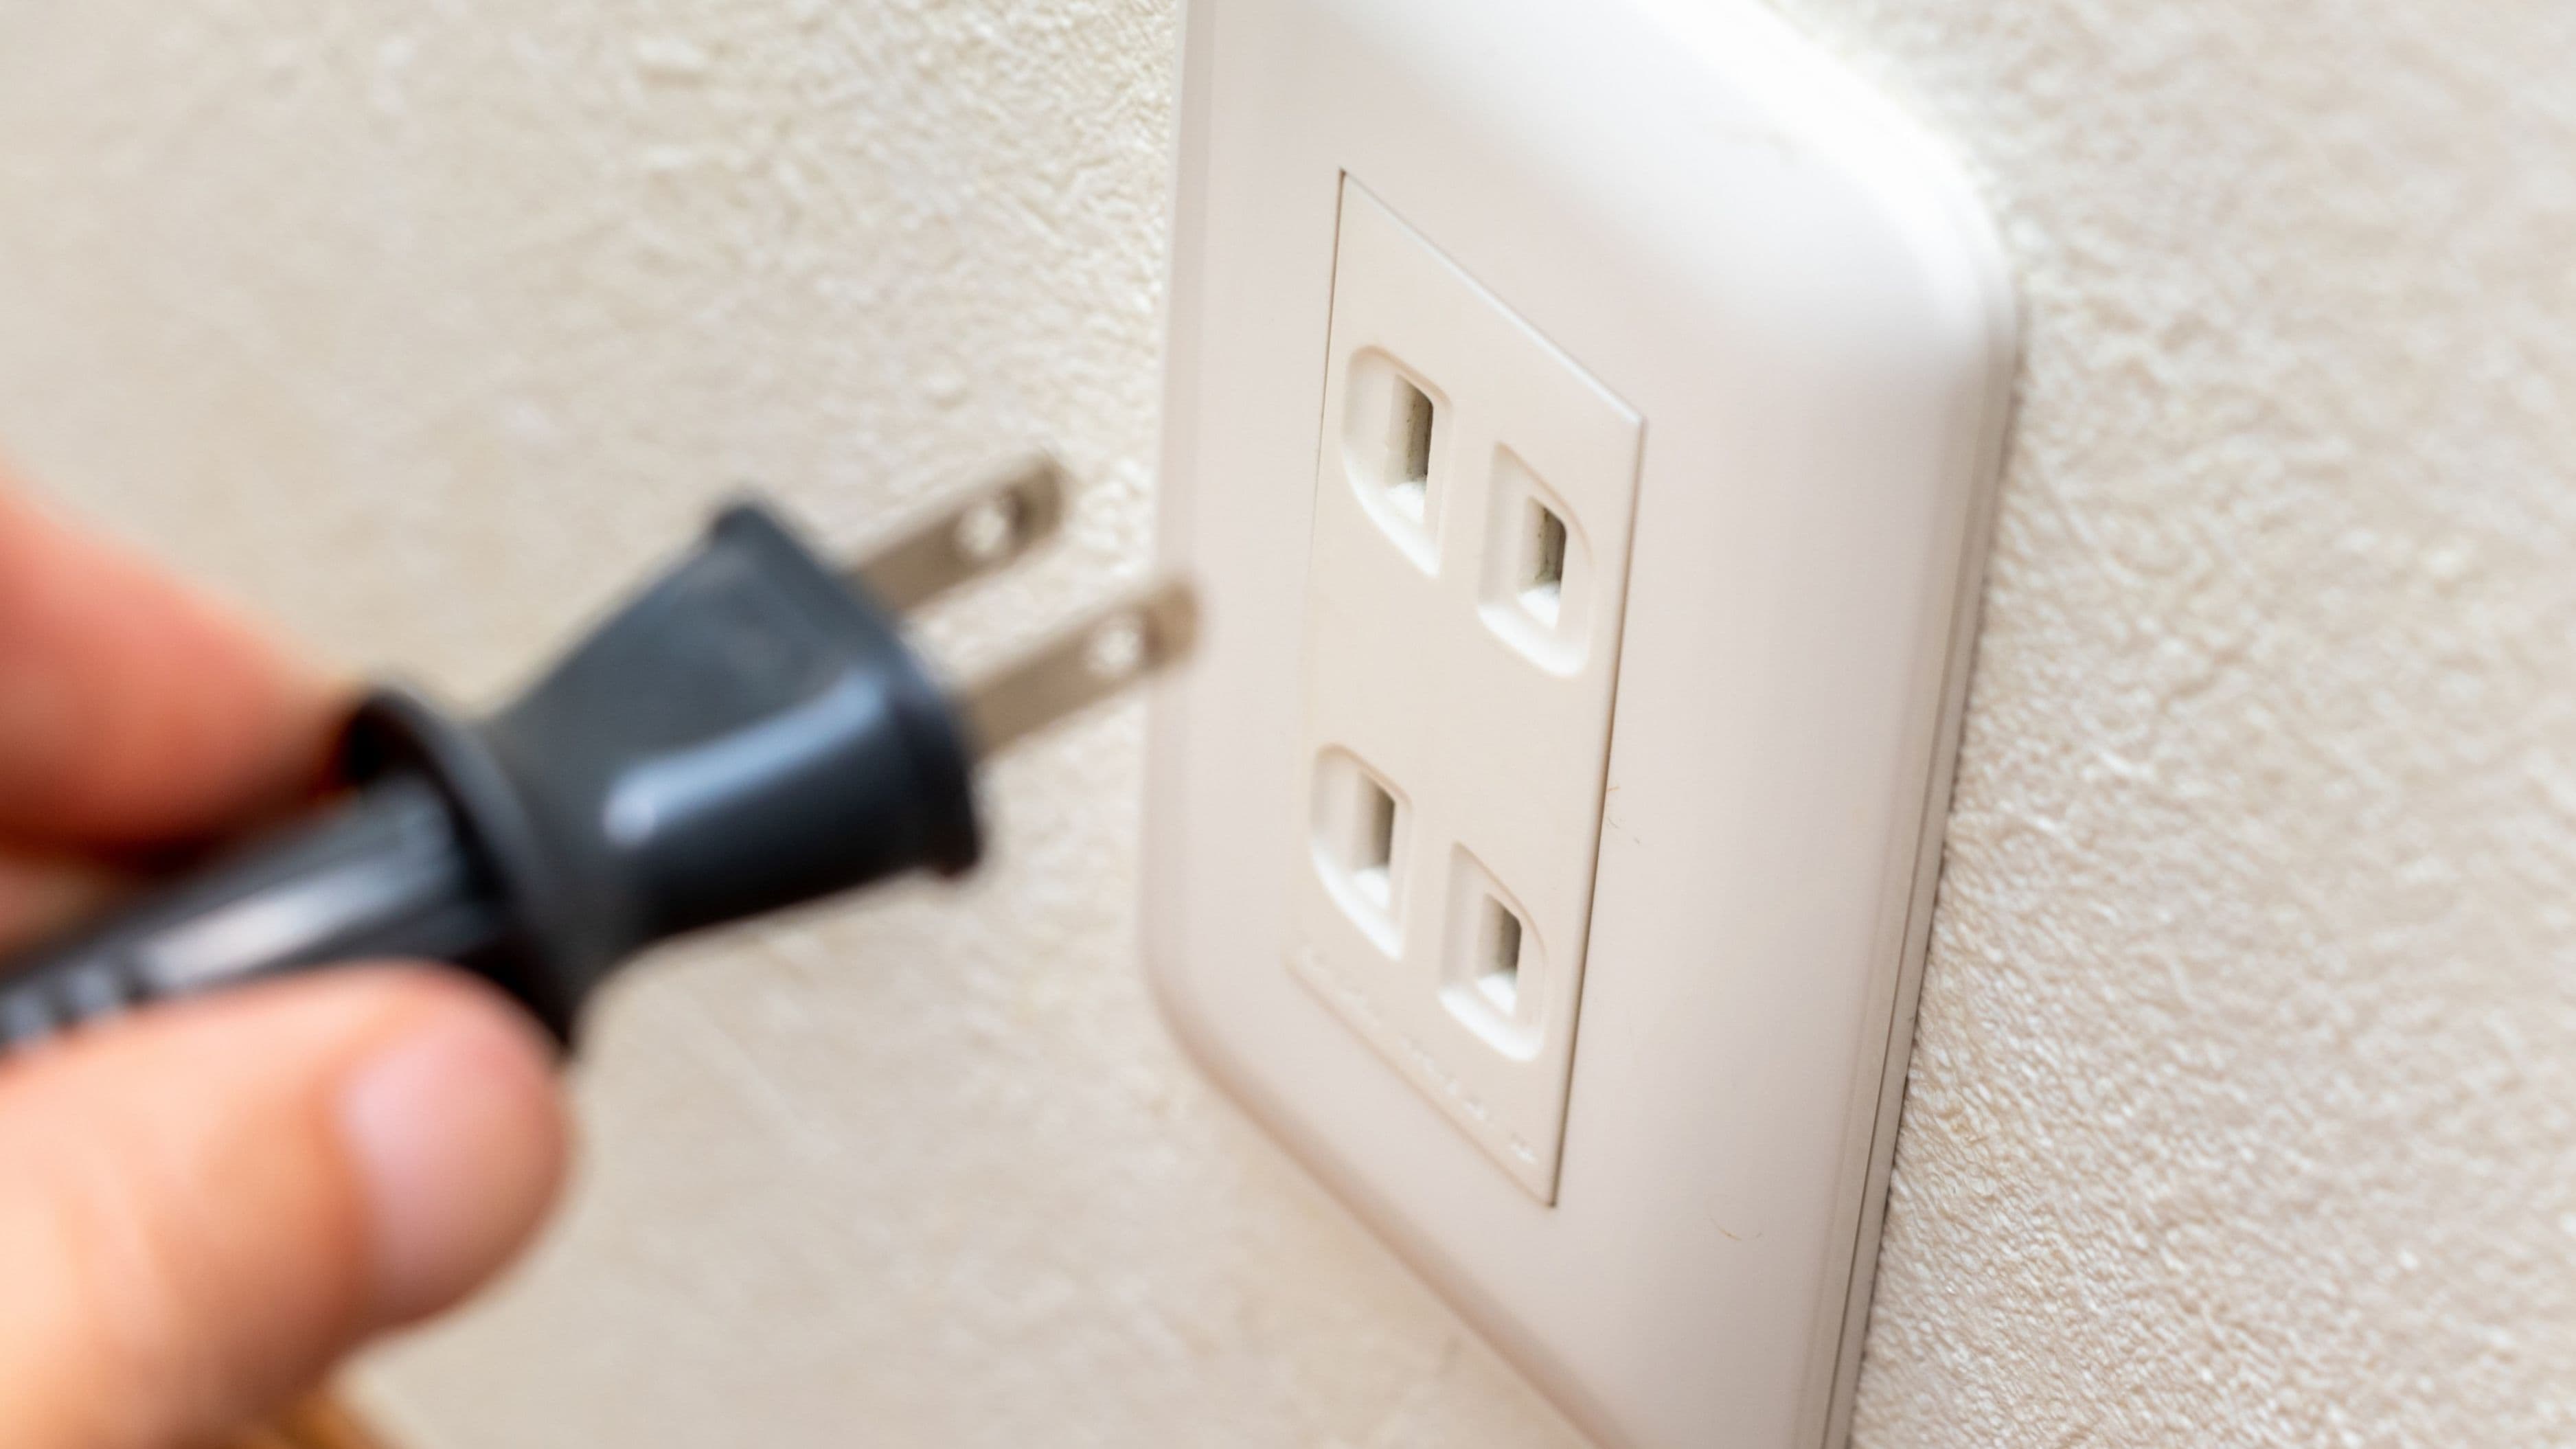
Turn off the power at the breaker, not just the wall switch. Find the correct breaker in your panel and flip it off, then confirm the outlet is dead using your voltage tester before touching any wires. This step is non-negotiable, and skipping it is where most DIY electrical injuries happen.
Remove the cover plate and unscrew the outlet from the box. Pull the outlet gently out of the wall box, being careful not to yank on the wires, and use your voltage tester again directly on the wire terminals to double-confirm there's no power present.
Note the wire positions before disconnecting anything. Take a photo with your phone or jot down which wire connects where – the black (hot) wire typically goes to the brass terminal, white (neutral) to the silver terminal, and bare copper or green to the ground terminal. This step saves you from guesswork when wiring the new outlet.
Disconnect the old outlet and connect the new one. Loosen the terminal screws or release the push-in connectors, remove the old outlet, and connect each wire to the matching terminal on the new outlet in the same configuration you noted. Tighten each screw firmly so the wire doesn't shift loose later.
Carefully tuck the wires back into the box and secure the new outlet. Fold the wires neatly so they're not pinched, screw the outlet back into the box, and attach the cover plate.
Restore power and test. Flip the breaker back on and test the outlet with a lamp, phone charger, or outlet tester to confirm it's working correctly.
Safety Notes
Always verify the power is off with a voltage tester rather than trusting the breaker label alone, since panels are sometimes mislabeled or wired unexpectedly over the years. Never work on an outlet with wet hands or while standing on a damp floor, and avoid this task entirely if you're not confident identifying hot, neutral, and ground wires correctly.
If you're replacing an outlet in a kitchen, bathroom, garage, or anywhere near water, it should be a GFCI (ground-fault circuit interrupter) outlet, which is required by code in these areas and provides critical shock protection. Standard outlets are not a safe substitute in these locations, even if that's what was originally installed.
Common Mistakes
Connecting wires to the wrong terminals is one of the most frequent errors, and it can cause anything from the outlet not working to a genuine fire hazard, so take the extra minute to confirm wire placement before moving on. Overtightening or stripping the terminal screws is another common issue, since a loose connection can overheat over time even if the outlet appears to work fine immediately after installation.
Forgetting to check for a "feed-through" wiring setup, where one outlet powers another down the line, can also cause confusion if you only see two wires when you expected more, or vice versa. If the wiring looks more complex than a simple single in-and-out connection, that's a sign to slow down and verify what you're looking at before proceeding.
When to Call a Pro Instead
If you open the outlet and find scorch marks, melted plastic, a burning smell, or aluminum wiring (common in homes built in the 1960s-70s), stop and call a licensed electrician. These signs point to problems beyond a simple swap, and aluminum wiring specifically requires special connectors and techniques that aren't standard DIY territory.
You should also call a professional if your panel isn't clearly labeled, if you're not fully confident identifying the wires, or if the outlet is part of a larger circuit issue like repeated breaker trips or flickering lights elsewhere in the house. Outlets in older homes with ungrounded two-wire systems, or any situation involving knob-and-tube wiring, also warrant professional evaluation rather than a straightforward DIY swap.
FAQ
Do I need an electrical permit to replace a single outlet? In most areas, simple like-for-like outlet replacement doesn't require a permit, but it's worth a quick check with your local building department if you're unsure, especially if you're changing the outlet type (like adding a GFCI where there wasn't one before).
How do I know if my outlet needs to be a GFCI? Any outlet within 6 feet of a water source, including kitchens, bathrooms, garages, and outdoor areas, should be GFCI-protected under most current electrical codes, even if the original outlet wasn't one.
What if the outlet still doesn't work after I replace it? This usually points to a tripped breaker, a loose connection elsewhere on the circuit, or a wiring issue further down the line, and if double-checking your connections doesn't resolve it, it's a good time to call an electrician rather than keep troubleshooting blind.
Is it dangerous to leave a broken or loose outlet unaddressed? Yes – a loose or damaged outlet can arc, overheat, or pose a shock risk, so it's worth addressing fairly promptly rather than leaving it as a "someday" project.
Replacing an outlet is one of the more beginner-friendly electrical tasks in a home, but it still carries real risk if the basic safety steps get skipped. Take your time, verify power is off before you touch anything, and don't hesitate to call a professional if anything about the wiring looks unfamiliar or off.
📚 Sources
National Fire Protection Association – Electrical Safety in the Home - https://www.nfpa.org/Public-Education/Fire-causes-and-risks/Top-fire-causes/Electrical
U.S. Consumer Product Safety Commission – GFCI Outlet Requirements - https://www.cpsc.gov/safety-education/safety-guides/electrical/gfci-fact-sheet
🔍 Explore Related Topics