The good news: this is one of the easiest plumbing repairs you can do. No special skills, no experience required. A new flapper costs $5–10 at any hardware store, and the whole job takes about 10 minutes. Here's exactly how to do it.
What You'll Need
That's it. No tools required.
A note on flapper sizing: Flappers are not all the same size. Most toilets use a standard 2-inch flapper, but some newer toilets (particularly water-saving models) use a 3-inch flapper. The easiest way to get the right one is to either bring the old flapper to the hardware store to match it, or look up your toilet's brand and model number (usually printed inside the tank on a sticker) and confirm the compatible flapper size before you go shopping. Universal flappers exist and work for many toilets, but an exact-match replacement is more reliable.
Step 1: Turn Off the Water Supply
Before you do anything else, find the shutoff valve – it's a small oval or football-shaped valve on the wall behind the toilet, close to the floor. Turn it clockwise until it stops. You'll feel resistance when it's fully closed. If the valve is very stiff and won't turn, don't force it. In that case, you can proceed without turning it off – the repair still works, it just gets a little splashier.
Once the valve is closed, flush the toilet once. This drains most of the water from the tank and gives you a clear, mostly dry workspace.
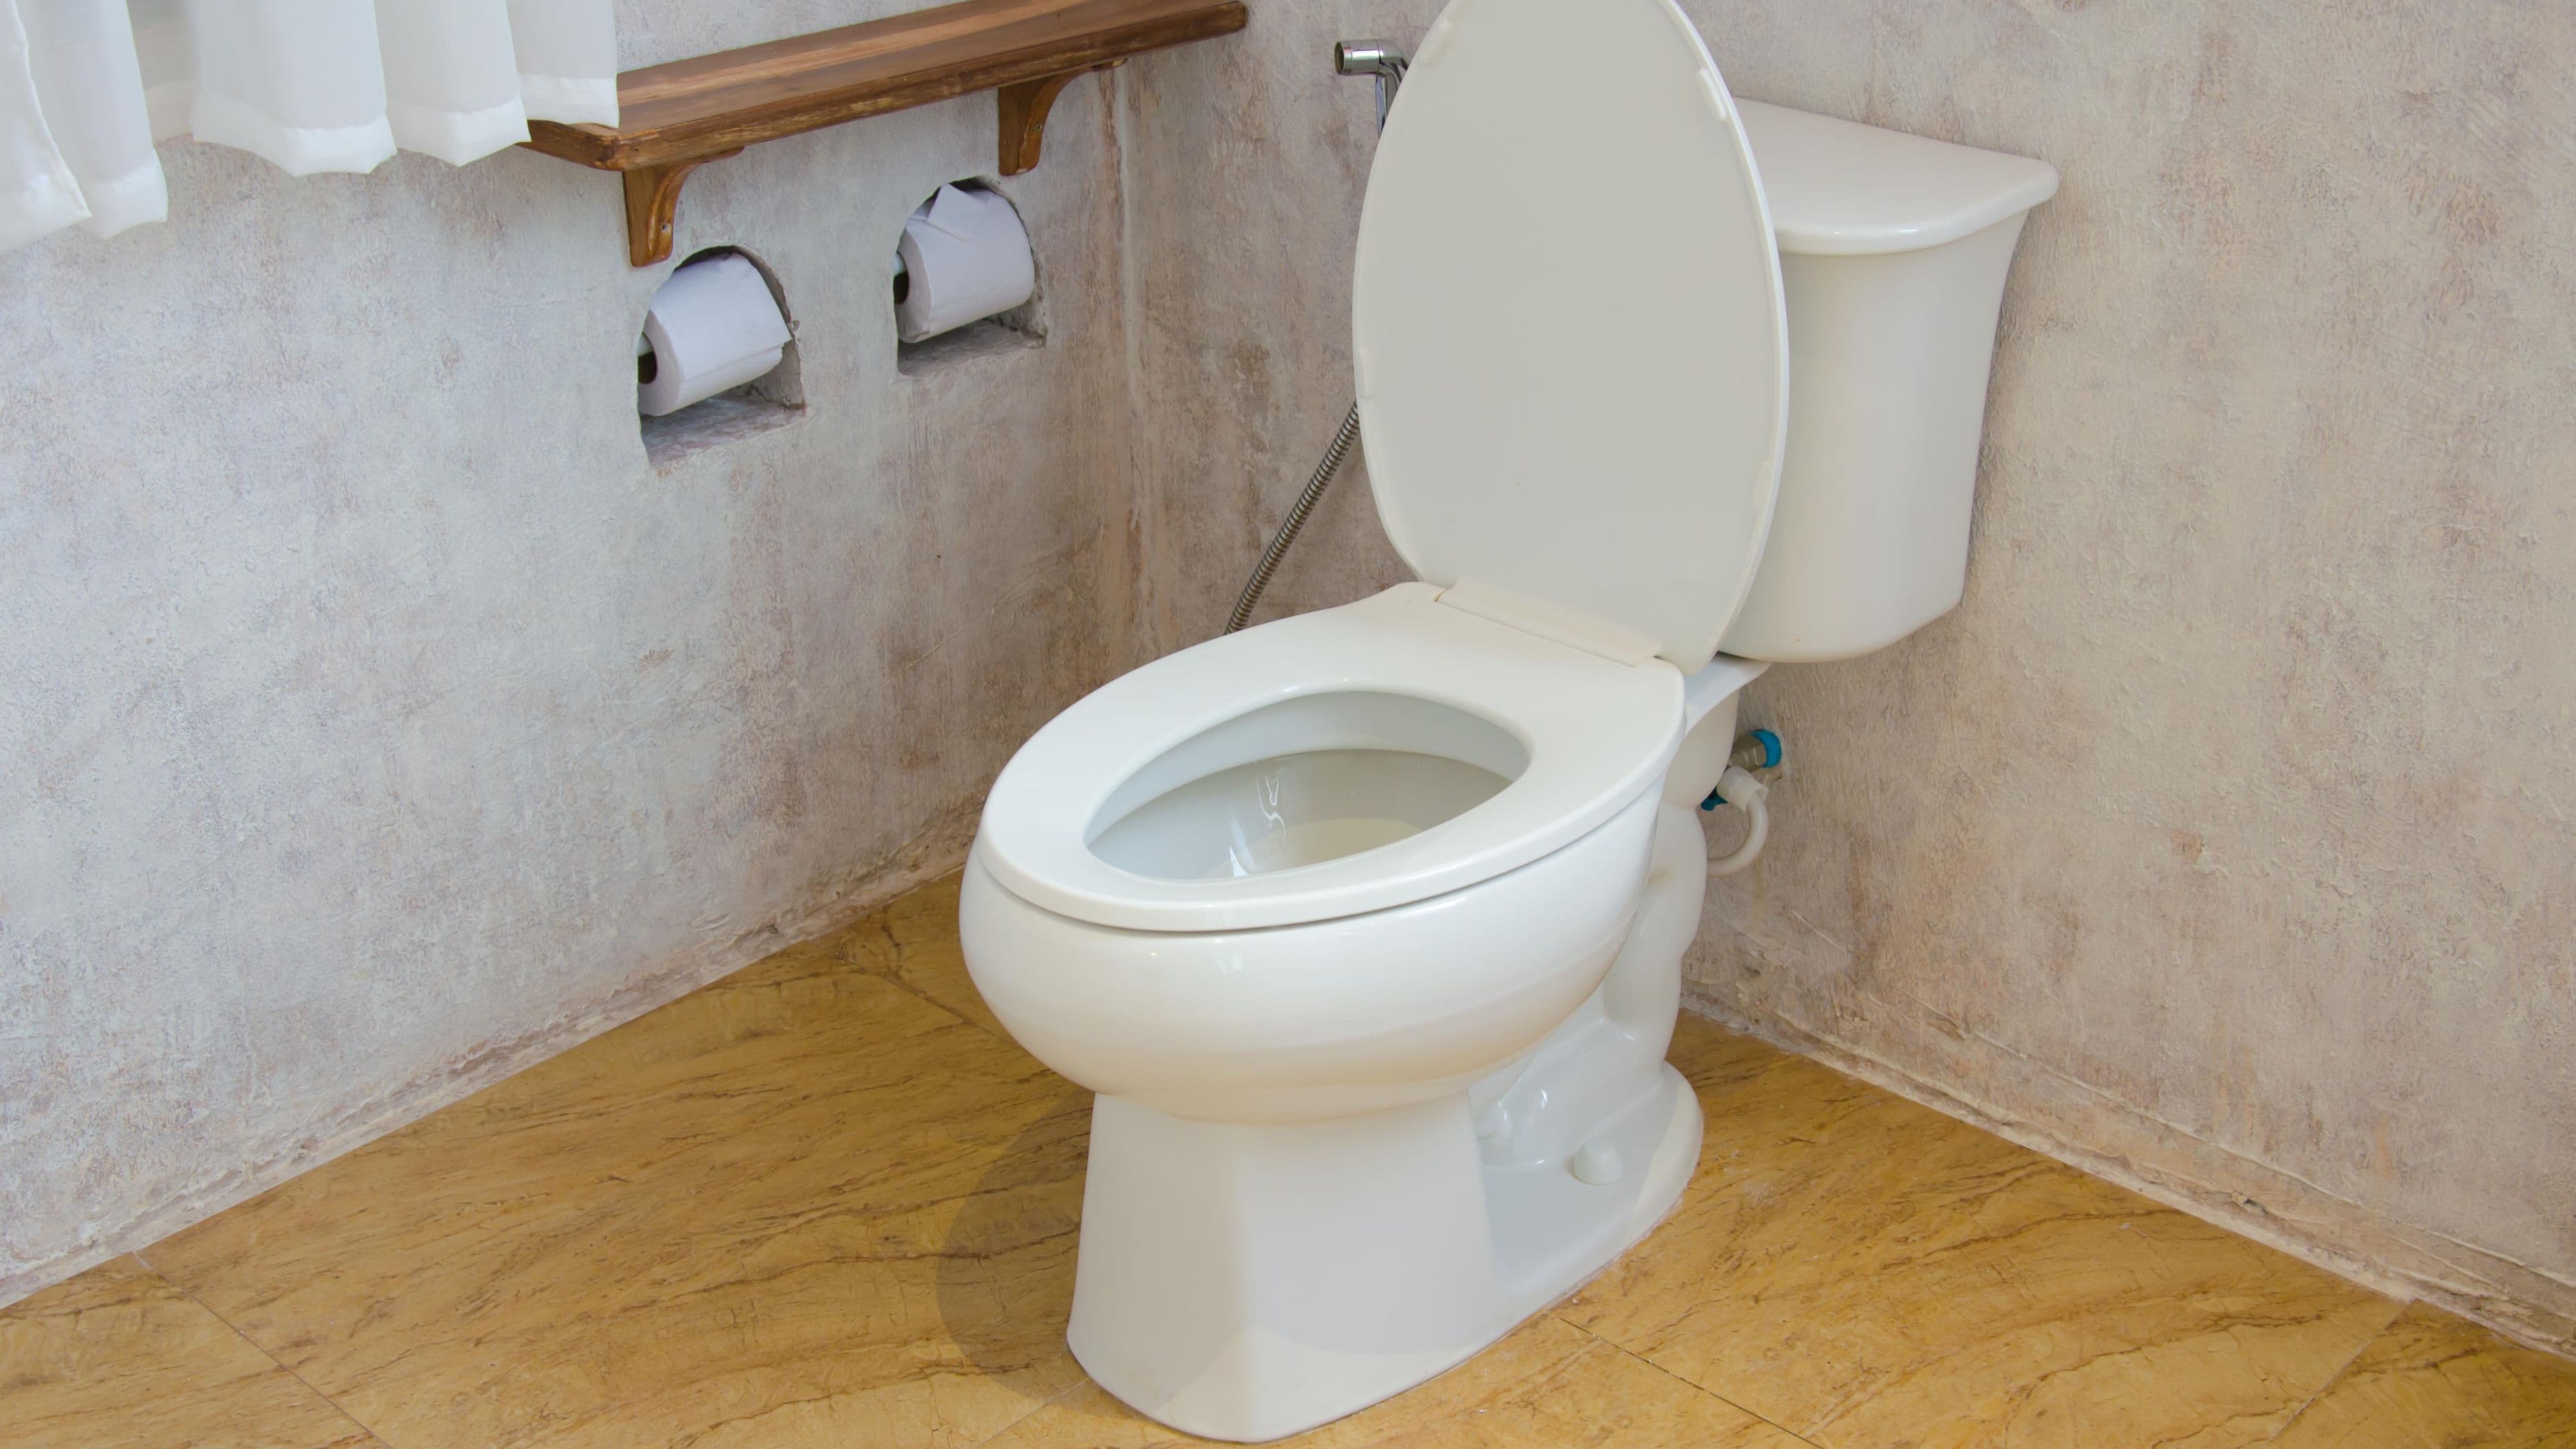
Step 2: Remove the Tank Lid
Lift the lid straight up off the tank and set it somewhere safe – on a folded towel on the floor works well. Tank lids are ceramic and they break easily if dropped, so don't set it on the edge of anything or prop it at an angle.
With the lid off, take a look at the inside of the tank. You'll see the flapper at the bottom – it's the rubber disc or dome-shaped piece connected to a chain that runs up to the flush handle lever. The chain is what lifts the flapper when you flush, allowing water to flow into the bowl.
Step 3: Unhook the Flapper Chain
The flapper chain clips onto the flush lever arm with a small clip or hook. Find where the chain connects to the arm and unhook it. Don't worry about remembering exactly which hole it was in – you'll adjust the chain length when you install the new flapper anyway.
Set the chain aside. At this point you're looking directly at the flapper itself, sitting on the flush valve seat at the bottom of the tank.
Step 4: Remove the Old Flapper
Most standard flappers have two "ears" or side tabs that hook onto pegs on either side of the overflow tube (the tall plastic tube in the center of the tank). To remove the flapper, simply pinch or flex each ear off its peg – one side at a time. The flapper will come free easily. Lift it out along with any remaining chain.
If your flapper has a different attachment – some slip on from the top of the overflow tube as a ring rather than using side pegs – just slide it up and off. Either way, it should come off without any force.
Dry your hands and take a look at the old flapper. You'll likely see the rubber is cracked, warped, minerally built-up, or just stiff and no longer pliable. That's what's causing the leak – the rubber has hardened enough that it can't form a proper seal anymore.
Step 5: Install the New Flapper
Take your new flapper and hook the two ears onto the pegs on either side of the overflow tube. Press each side on firmly until you feel it snap or seat into place. Give it a gentle tug to confirm it's secure. The flapper should sit flat and centered over the drain opening at the bottom of the tank.
Next, clip the chain to the flush lever arm. Aim for a chain length that has just a small amount of slack – about half an inch to one inch of play when the flapper is closed and seated. Too much slack means the flapper won't lift fully when you flush, giving you a weak flush. Too little slack means the chain will hold the flapper slightly open, and the toilet will keep running. Getting this right usually takes one adjustment after your first test flush.
Step 6: Turn the Water Back On and Test
Turn the shutoff valve back on by rotating it counterclockwise. The tank will begin to fill – this takes about a minute. While it's filling, watch the flapper and make sure it's sitting flat and not being pulled up by a chain that's too short.
Once the tank is full, flush the toilet and watch what happens. The flapper should lift completely during the flush, then fall back down and seal cleanly as the tank refills. Listen for about 30 seconds after the tank fills – if you hear silence, the job is done. If you still hear trickling, either the chain length needs adjustment (try giving it a little more slack) or the flapper isn't seated flat over the drain opening.
Put the tank lid back on and you're finished.
Common Mistakes to Avoid
Buying the wrong size flapper. A 2-inch flapper on a 3-inch seat won't seal properly, and you'll still have a running toilet. If you're not sure, bring the old one with you to the store or confirm your toilet model before buying.
Too little chain slack. This is the most common reason a new flapper doesn't solve the problem. If the chain is too tight, it holds the flapper slightly off the seat 24/7, and the toilet keeps running. Start with slightly more slack than you think you need, then adjust from there.
Not fully seating the flapper ears on the pegs. If one side isn't fully engaged, the flapper will sit at an angle and leak. Give both sides a firm press and tug to confirm they're locked on.
Ignoring a stiff shutoff valve. If the shutoff valve behind the toilet is hard to turn or won't move, don't force it – old valves can crack or break. Do the repair without turning it off (it's messier but doable), and add "replace shutoff valve" to your to-do list before it fails entirely.
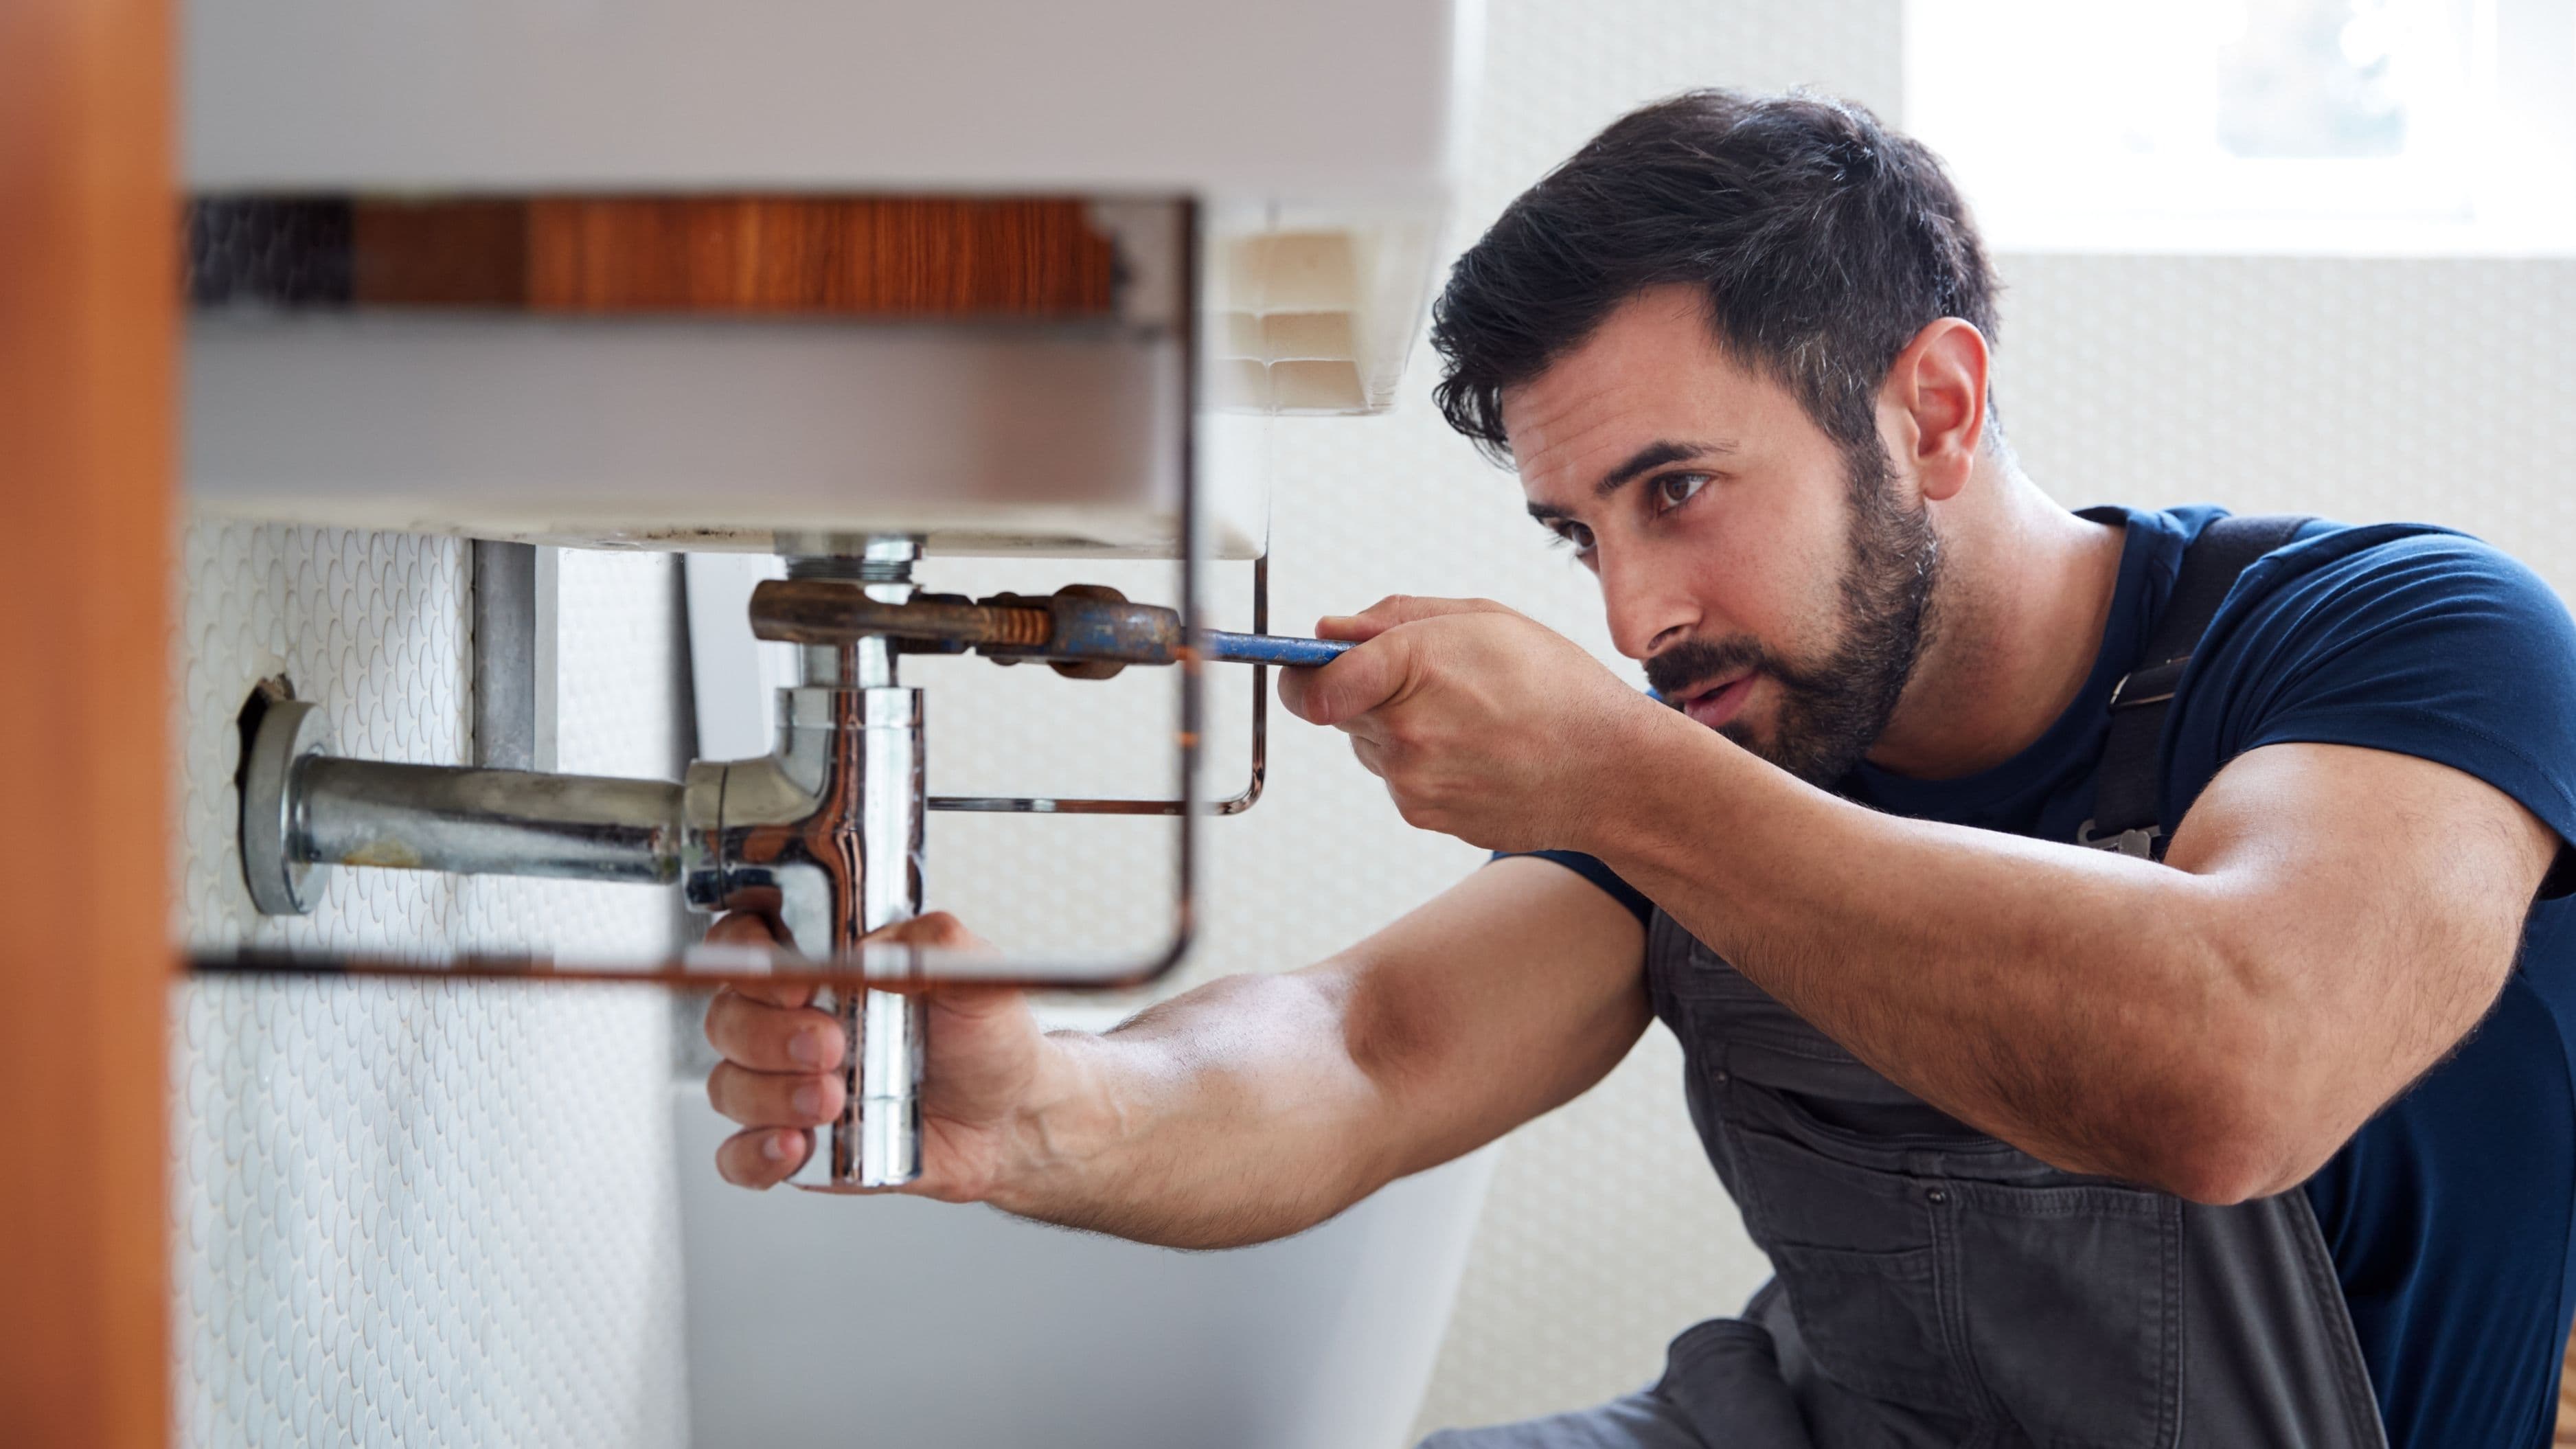
When to Call a Plumber
A toilet flapper replacement is firmly in DIY territory, and you don't need a plumber for this job. However, there are a few situations where a professional makes more sense:
If your toilet is still running after replacing the flapper, the problem may be with the fill valve (the mechanism that refills the tank) or the flush valve seat itself – a worn, warped, or corroded seat won't seal properly even with a brand-new flapper. Fill valve replacement is still a straightforward DIY job, but if you're not sure what you're looking at, a plumber can diagnose it quickly.
If the shutoff valve behind the toilet is seized, corroded, or visibly damaged, get it replaced by a plumber before it becomes an emergency. A failed shutoff valve with no way to turn off the water supply is a much bigger problem than a running toilet.
FAQ
How do I know if it's the flapper causing the running toilet, or something else? A quick test: add a few drops of food coloring to the tank (don't flush). Wait 10–15 minutes without flushing. If color appears in the bowl, your flapper isn't sealing and water is leaking through. If the bowl stays clear, the flapper is fine and the issue is likely with the fill valve instead.
How long do toilet flappers last? Most rubber flappers last four to five years under normal use. Hard water, chlorine tablets in the tank, and certain toilet cleaning products can degrade rubber faster. If you're replacing yours every one to two years, check whether you're using in-tank drop-in cleaners – many contain chemicals that shorten flapper life significantly.
Can I replace a toilet flapper without turning off the water? Yes. It's messier since the tank will be refilling as you work, but it's doable. Flush first to drain the tank, work quickly, and keep a rag or paper towels handy.
My toilet runs for a few seconds after flushing, then stops. Is that a flapper issue? Not necessarily. A brief run after flushing as the tank refills is normal. If it runs continuously or starts up intermittently on its own (called "phantom flushing"), that's the leak pattern caused by a worn flapper.
What's the difference between a flapper and a fill valve? The flapper controls water flow from the tank into the bowl. The fill valve controls water flow from the supply line into the tank. A bad flapper causes a continuous quiet leak into the bowl. A bad fill valve causes the tank to overfill and drain through the overflow tube. Both can cause a running toilet, but they're different parts with different fixes.
The Bottom Line
A worn toilet flapper is a small part that causes a surprisingly expensive problem – a running toilet can add $50–100 to your water bill over a month without you noticing. Replacing it takes 10 minutes, costs under $10, and requires zero plumbing experience. If your toilet has been making noise between flushes, this is the first thing to check. The food coloring test takes 15 minutes and tells you definitively whether the flapper is to blame before you spend a dollar on parts.
📚 Sources
EPA WaterSense – Fixing Leaks at Home: https://www.epa.gov/watersense/fix-a-leak-week
Family Handyman – How to Fix a Running Toilet: https://www.familyhandyman.com/project/how-to-fix-a-running-toilet/
This Old House – How to Replace a Toilet Flapper: https://www.thisoldhouse.com/plumbing/21015842/how-to-fix-a-running-toilet
American Water Works Association – Residential End Uses of Water: https://www.awwa.org/Portals/0/AWWA/ETS/Resources/WaterAuditSoftwareLeakDetection.pdf
Fluidmaster – Flapper Selection and Installation Guide: https://www.fluidmaster.com/resource-center/installation-instructions/
🔍 Explore Related Topics