


Tools and Materials Needed
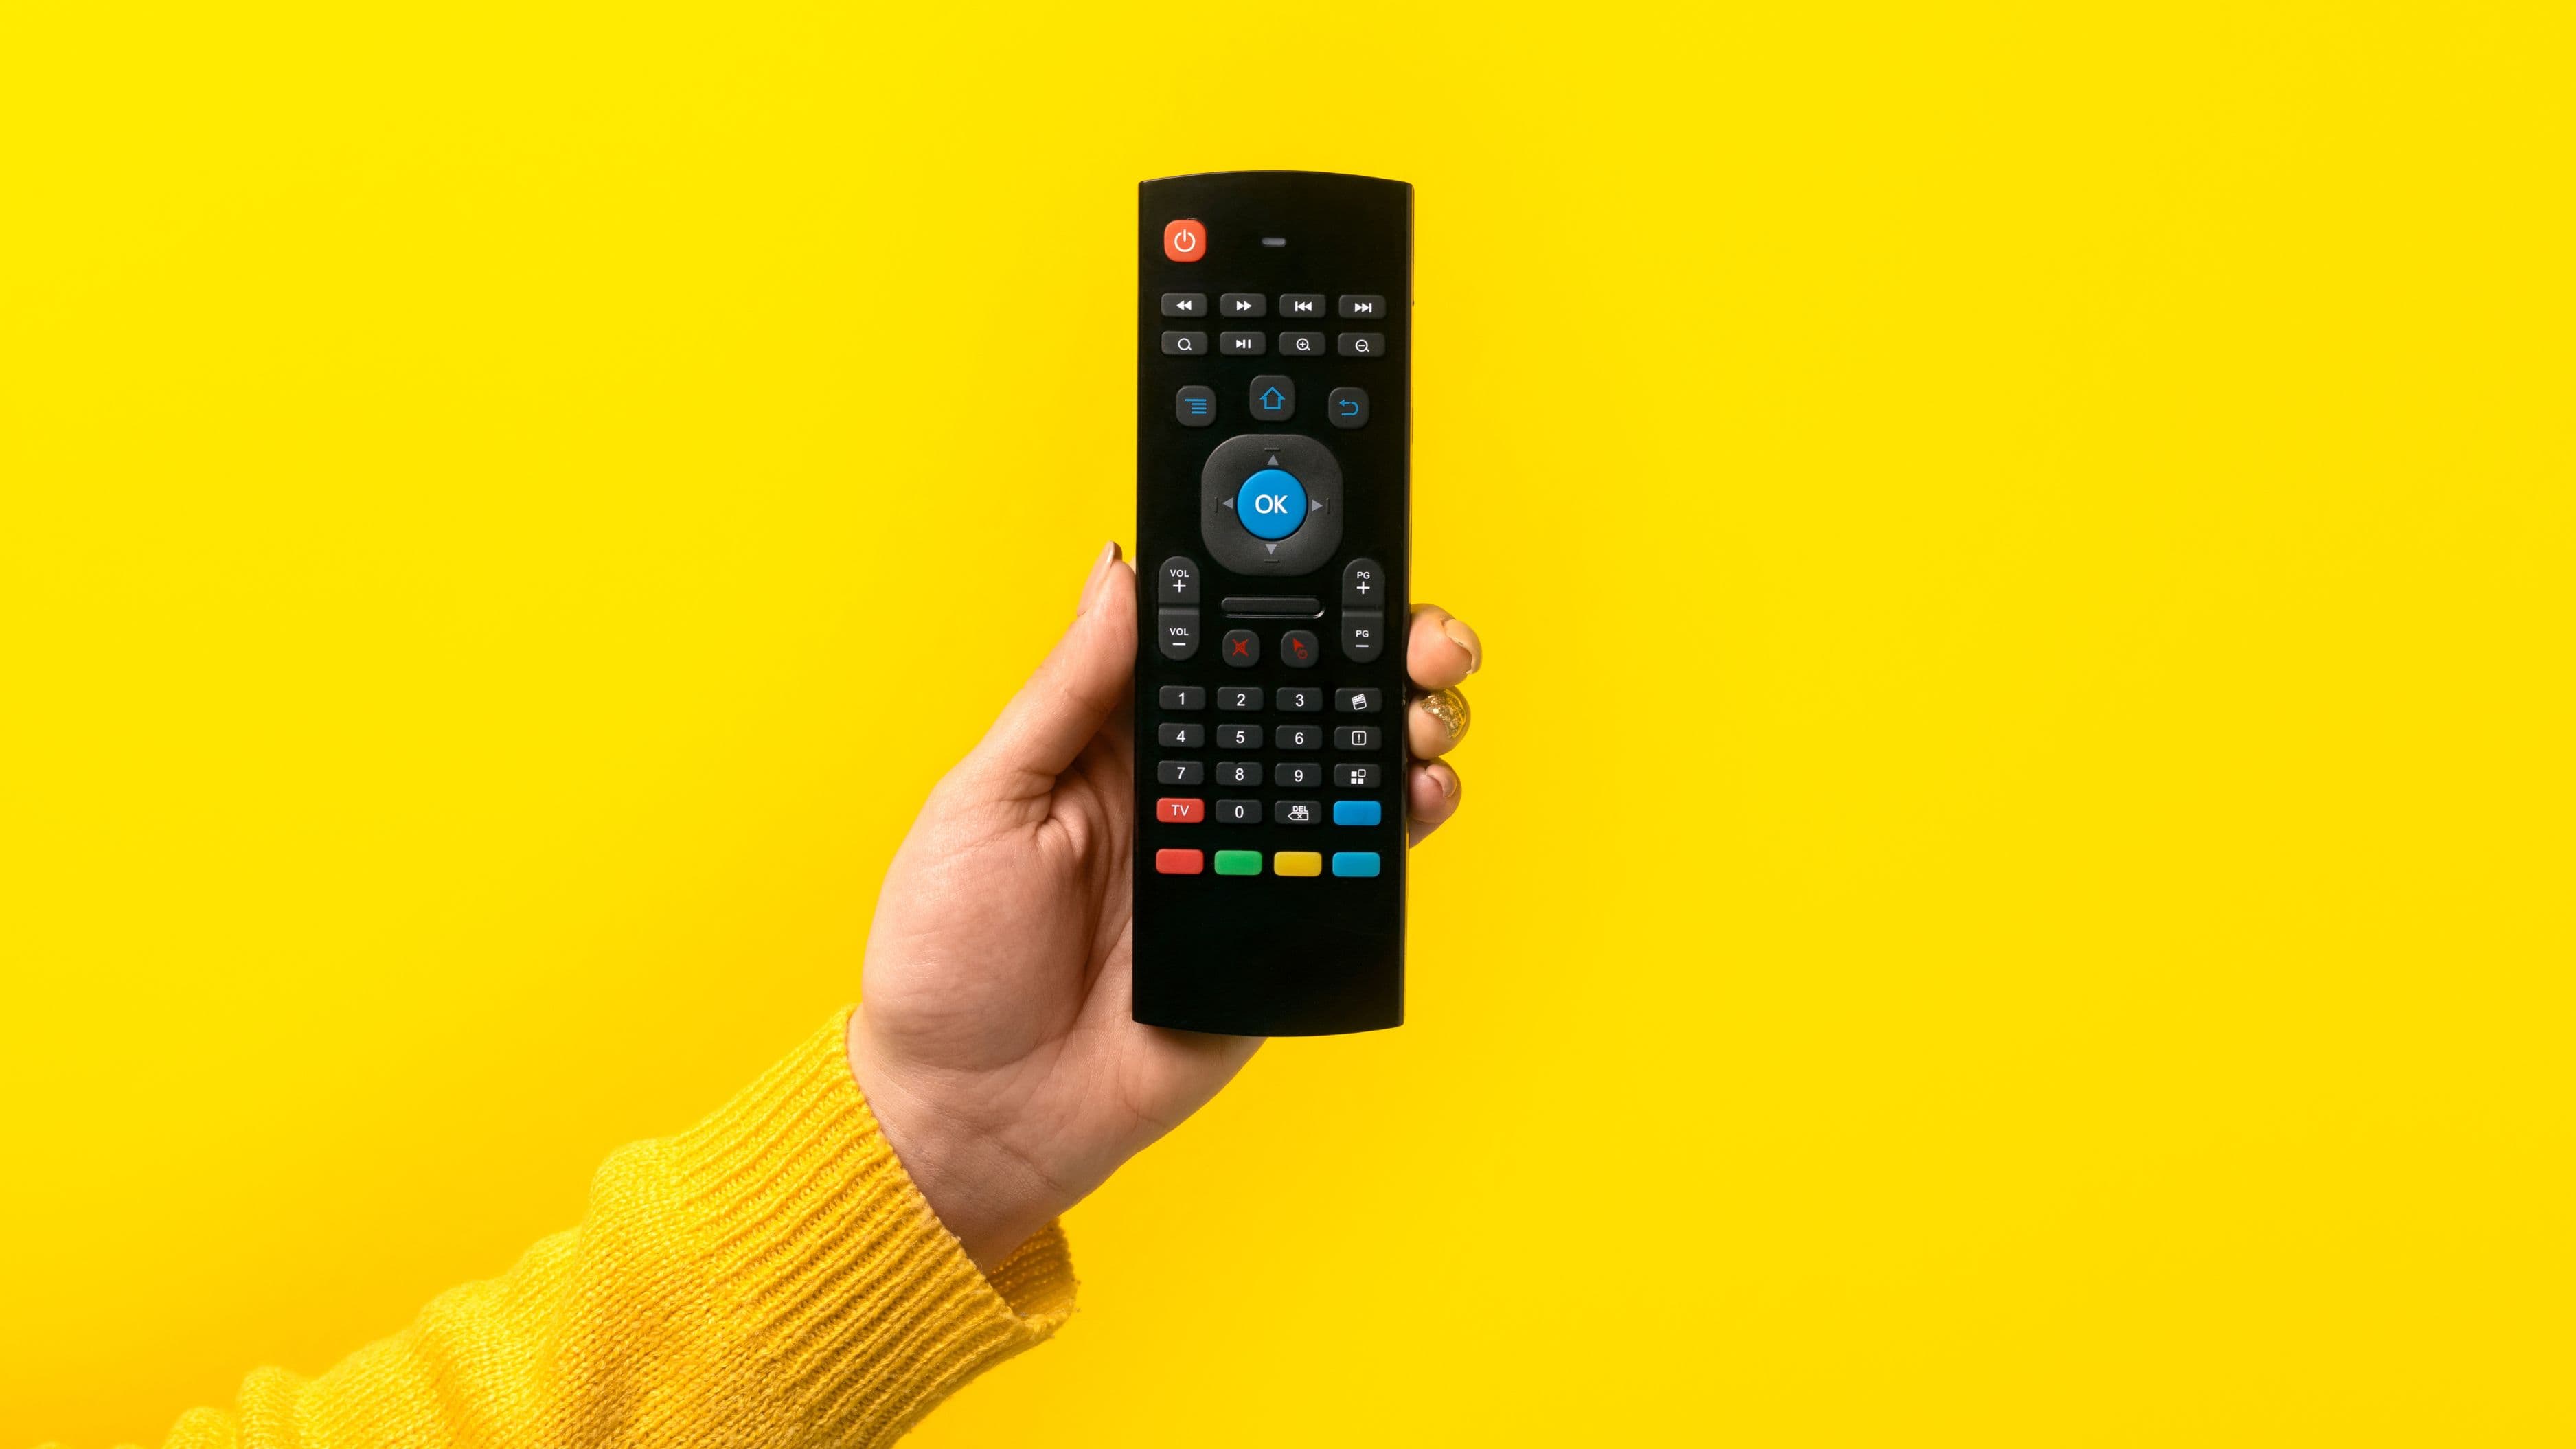
Most resets require nothing more than the remote itself and possibly a small pin or paperclip for models with a physical reset button. You'll also want the model numbers of the devices you plan to reprogram, your TV, cable box, soundbar, or streaming device, since you'll need these codes again after the reset. Keep the remote's original manual or a quick online search of your specific model handy, since reset procedures vary slightly between brands.
Step 1: Identify Your Remote's Reset Method
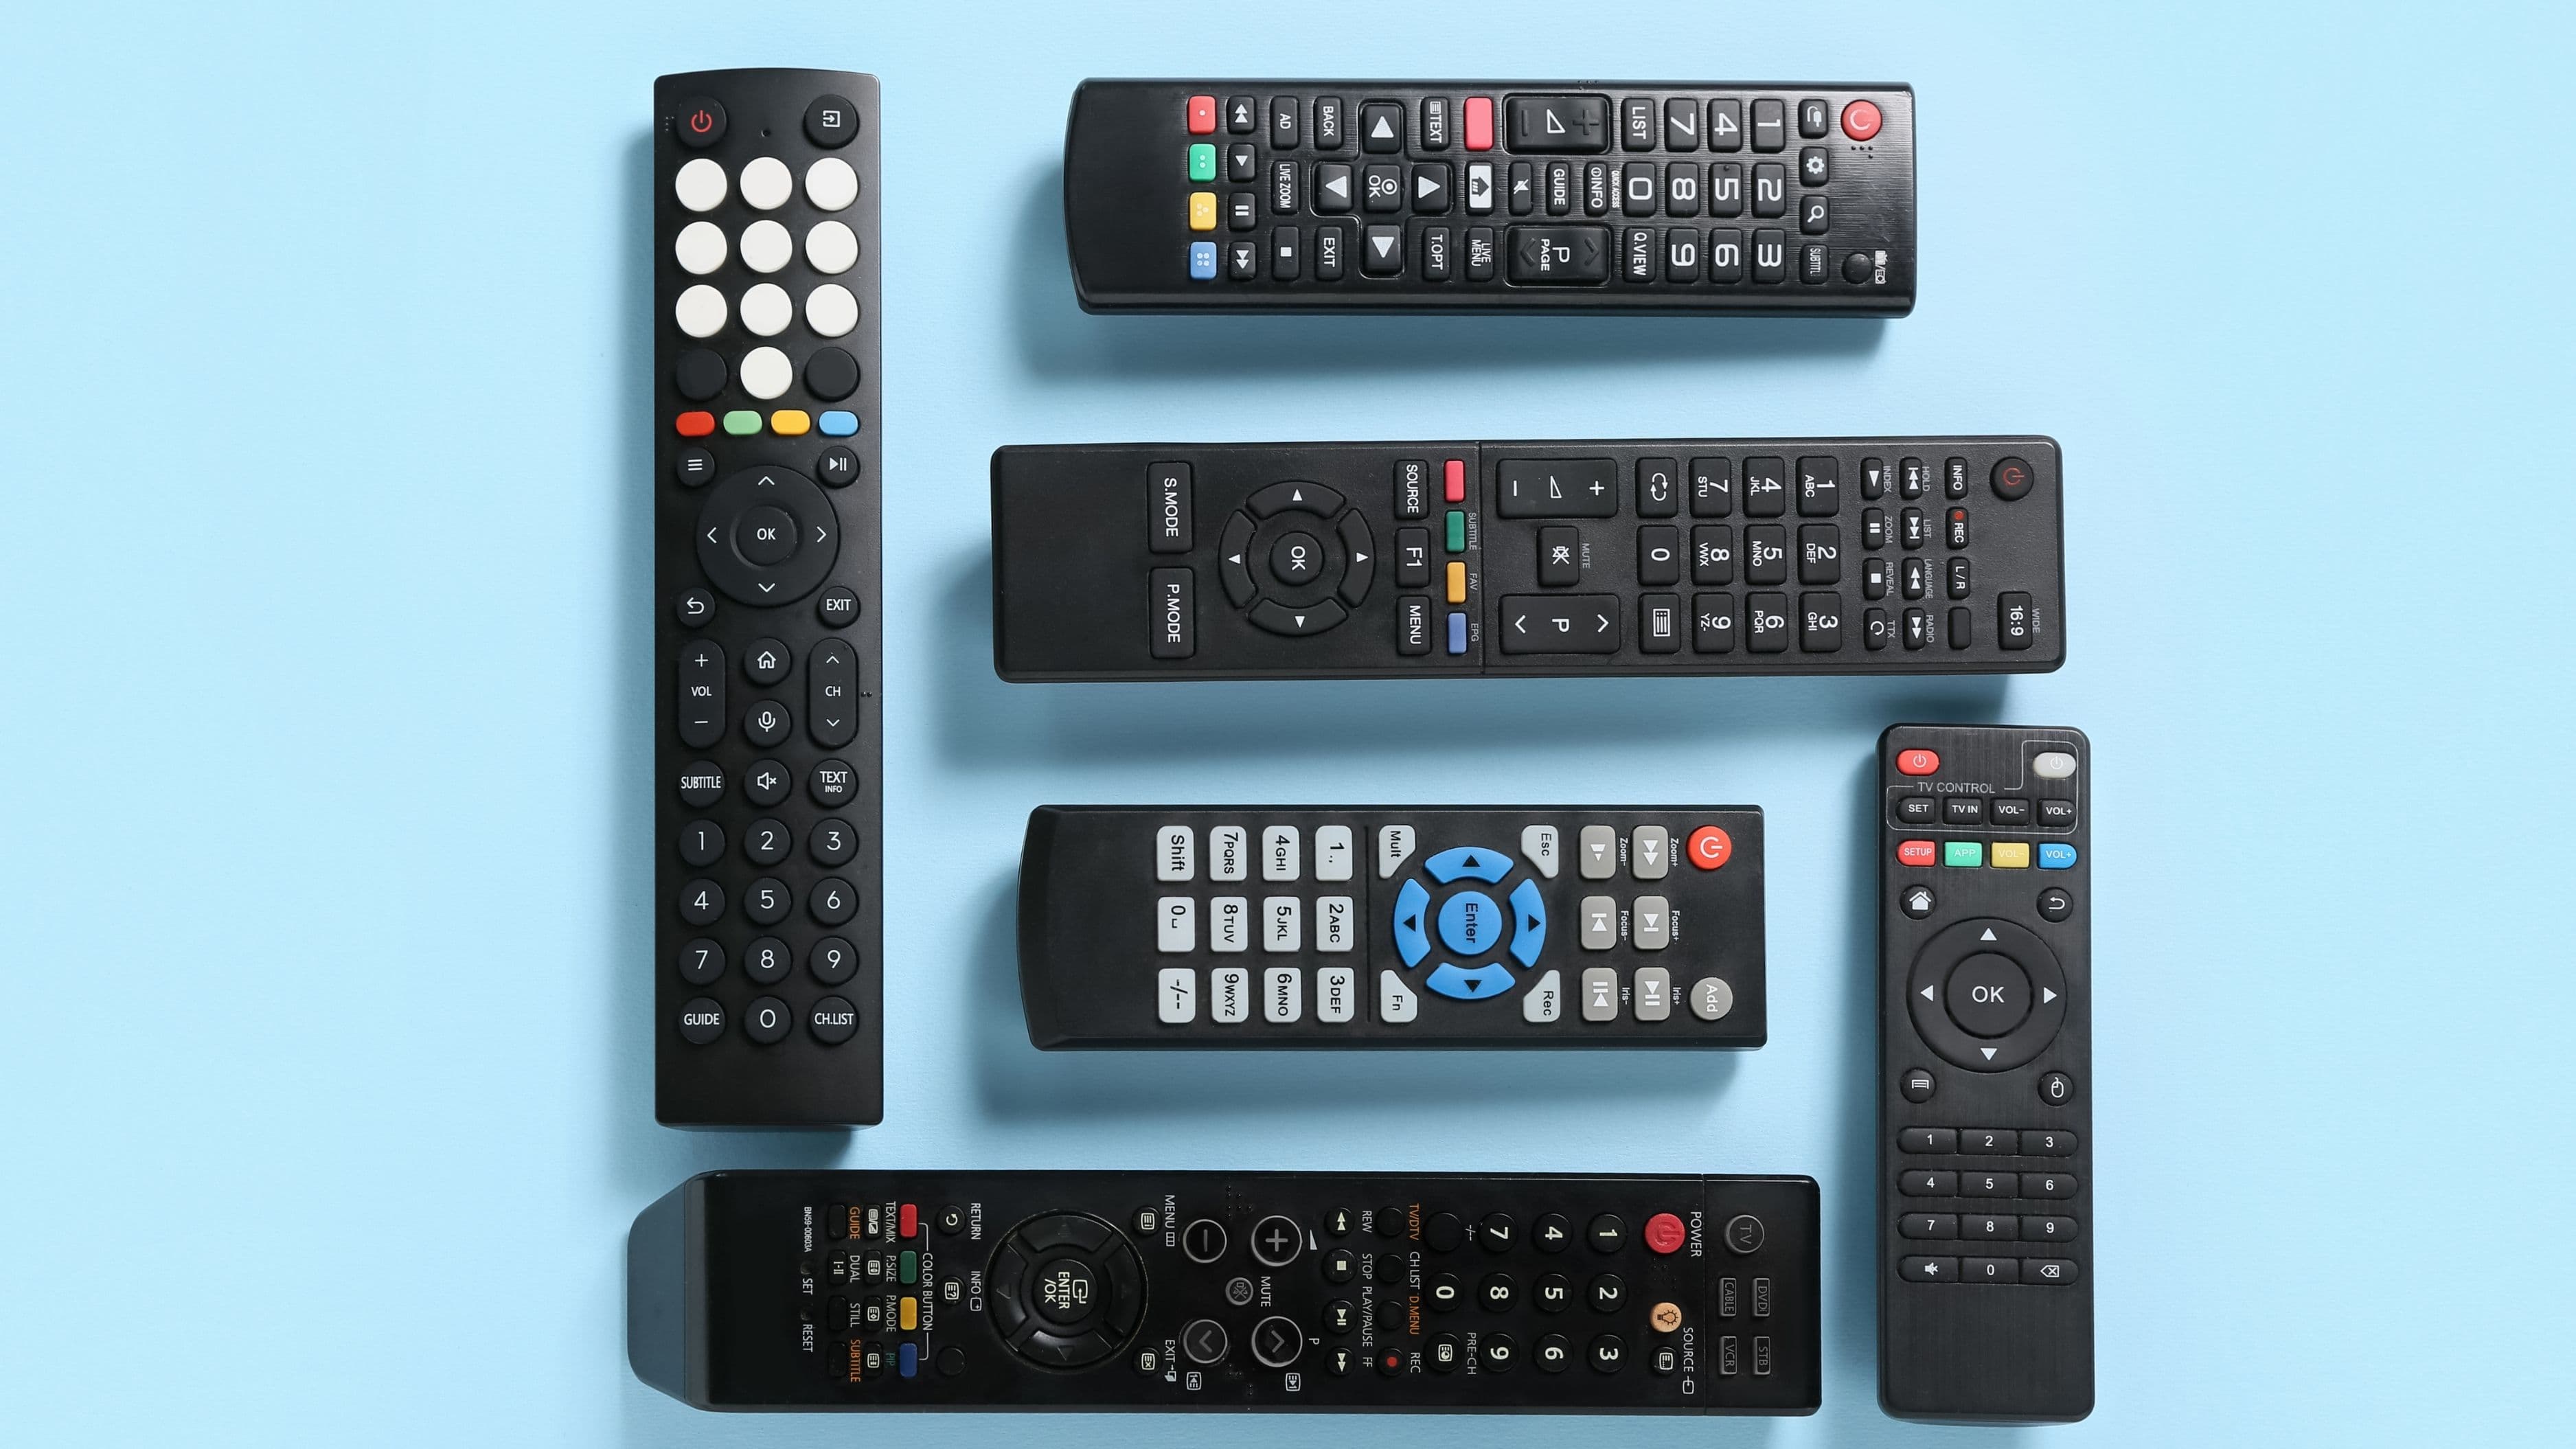
Universal remotes generally use one of three reset approaches: a dedicated reset button (often a small recessed hole), a specific button combination held down for several seconds, or a battery pull combined with holding a specific button. Check the underside or battery compartment of your remote for a small labeled reset button first, since this is the most common design on modern universal remotes.
Step 2: Remove the Batteries
Regardless of which reset method your remote uses, start by removing the batteries completely. This clears any temporary memory glitches and ensures the reset process starts from a fully powered-down state rather than fighting against whatever state the remote was previously stuck in.
Step 3: Perform the Reset Sequence
If your remote has a dedicated reset button, press it with a paperclip or pin for about five seconds while the batteries are still out, then reinsert the batteries. If your remote uses a button combination instead, common sequences involve holding the "Setup" and a specific device button together for five to ten seconds until an indicator light blinks twice, confirming the reset. Since exact combinations vary by brand and model, a quick search for your specific remote model plus "reset instructions" will get you the precise sequence if the built-in method isn't obvious.
Step 4: Reinsert Batteries and Confirm the Reset
Put the batteries back in and check for the indicator light behavior described in your remote's manual, usually a specific blink pattern confirms a successful reset. If nothing happens or the remote still behaves the same way it did before, double check you're using the correct button combination for your exact model, since remotes with similar names sometimes use different reset sequences.
Step 5: Reprogram Your Devices
Once reset, the remote no longer knows which devices it's controlling, so you'll need to reprogram it from scratch. Most universal remotes support either manual code entry, where you input a specific numeric code for your device brand from the included code list, or auto-search programming, where the remote cycles through codes automatically until your device responds to a test command like power off. Manual entry is faster if you know your device's code already, while auto-search is more reliable if you don't have the original documentation.
Step 6: Test Every Function Before Finishing
After programming each device, test more than just the power button. Check volume controls, channel or input switching, and any specific function buttons you use regularly, since some codes control basic functions correctly but miss more specialized ones. If certain buttons don't work correctly, try the next code option in the sequence for your device brand, since manufacturers often have multiple codes covering different product generations.
Common Mistakes to Avoid
Don't skip removing the batteries before attempting a button-combination reset, since a live battery can prevent the reset sequence from registering properly. Avoid guessing at codes randomly without checking your device's actual brand and model, since incorrect codes can create confusing partial functionality that's harder to troubleshoot than starting from a clean reset. And keep your remote's manual or a note of your reprogrammed codes somewhere accessible, future resets go much faster when you're not starting the research process from zero.
When to Call a Pro or Consider Replacement
If a full reset and reprogramming still doesn't resolve consistent malfunctioning, particularly with buttons not registering at all rather than controlling the wrong function, the remote's internal hardware may genuinely be failing rather than experiencing a software glitch. At that point, replacement is usually more cost-effective than professional repair for a consumer-grade universal remote, since these units are relatively inexpensive and repair labor typically exceeds replacement cost.
FAQ
Will resetting my universal remote erase all my saved settings permanently? Yes, that's the intended effect. You'll need to reprogram all connected devices afterward, so have your device codes or model numbers ready before starting.
How do I find the reset instructions for my specific remote model? Check the printed manual if you still have it, or search online using your remote's exact model number, usually printed on a small label inside the battery compartment, along with the word "reset."
My remote won't reset no matter what I try, what's next? Try a full battery removal for at least 60 seconds to ensure any residual charge clears completely, then attempt the reset sequence again. If it still doesn't respond, the remote's internal components may be failing and replacement is likely the more practical path.
📚 Sources
Logitech Harmony Remote Support – Reset Instructions: https://support.logi.com/hc/en-us
Consumer Reports – Universal Remote Buying and Troubleshooting Guide: https://www.consumerreports.org/electronics/