
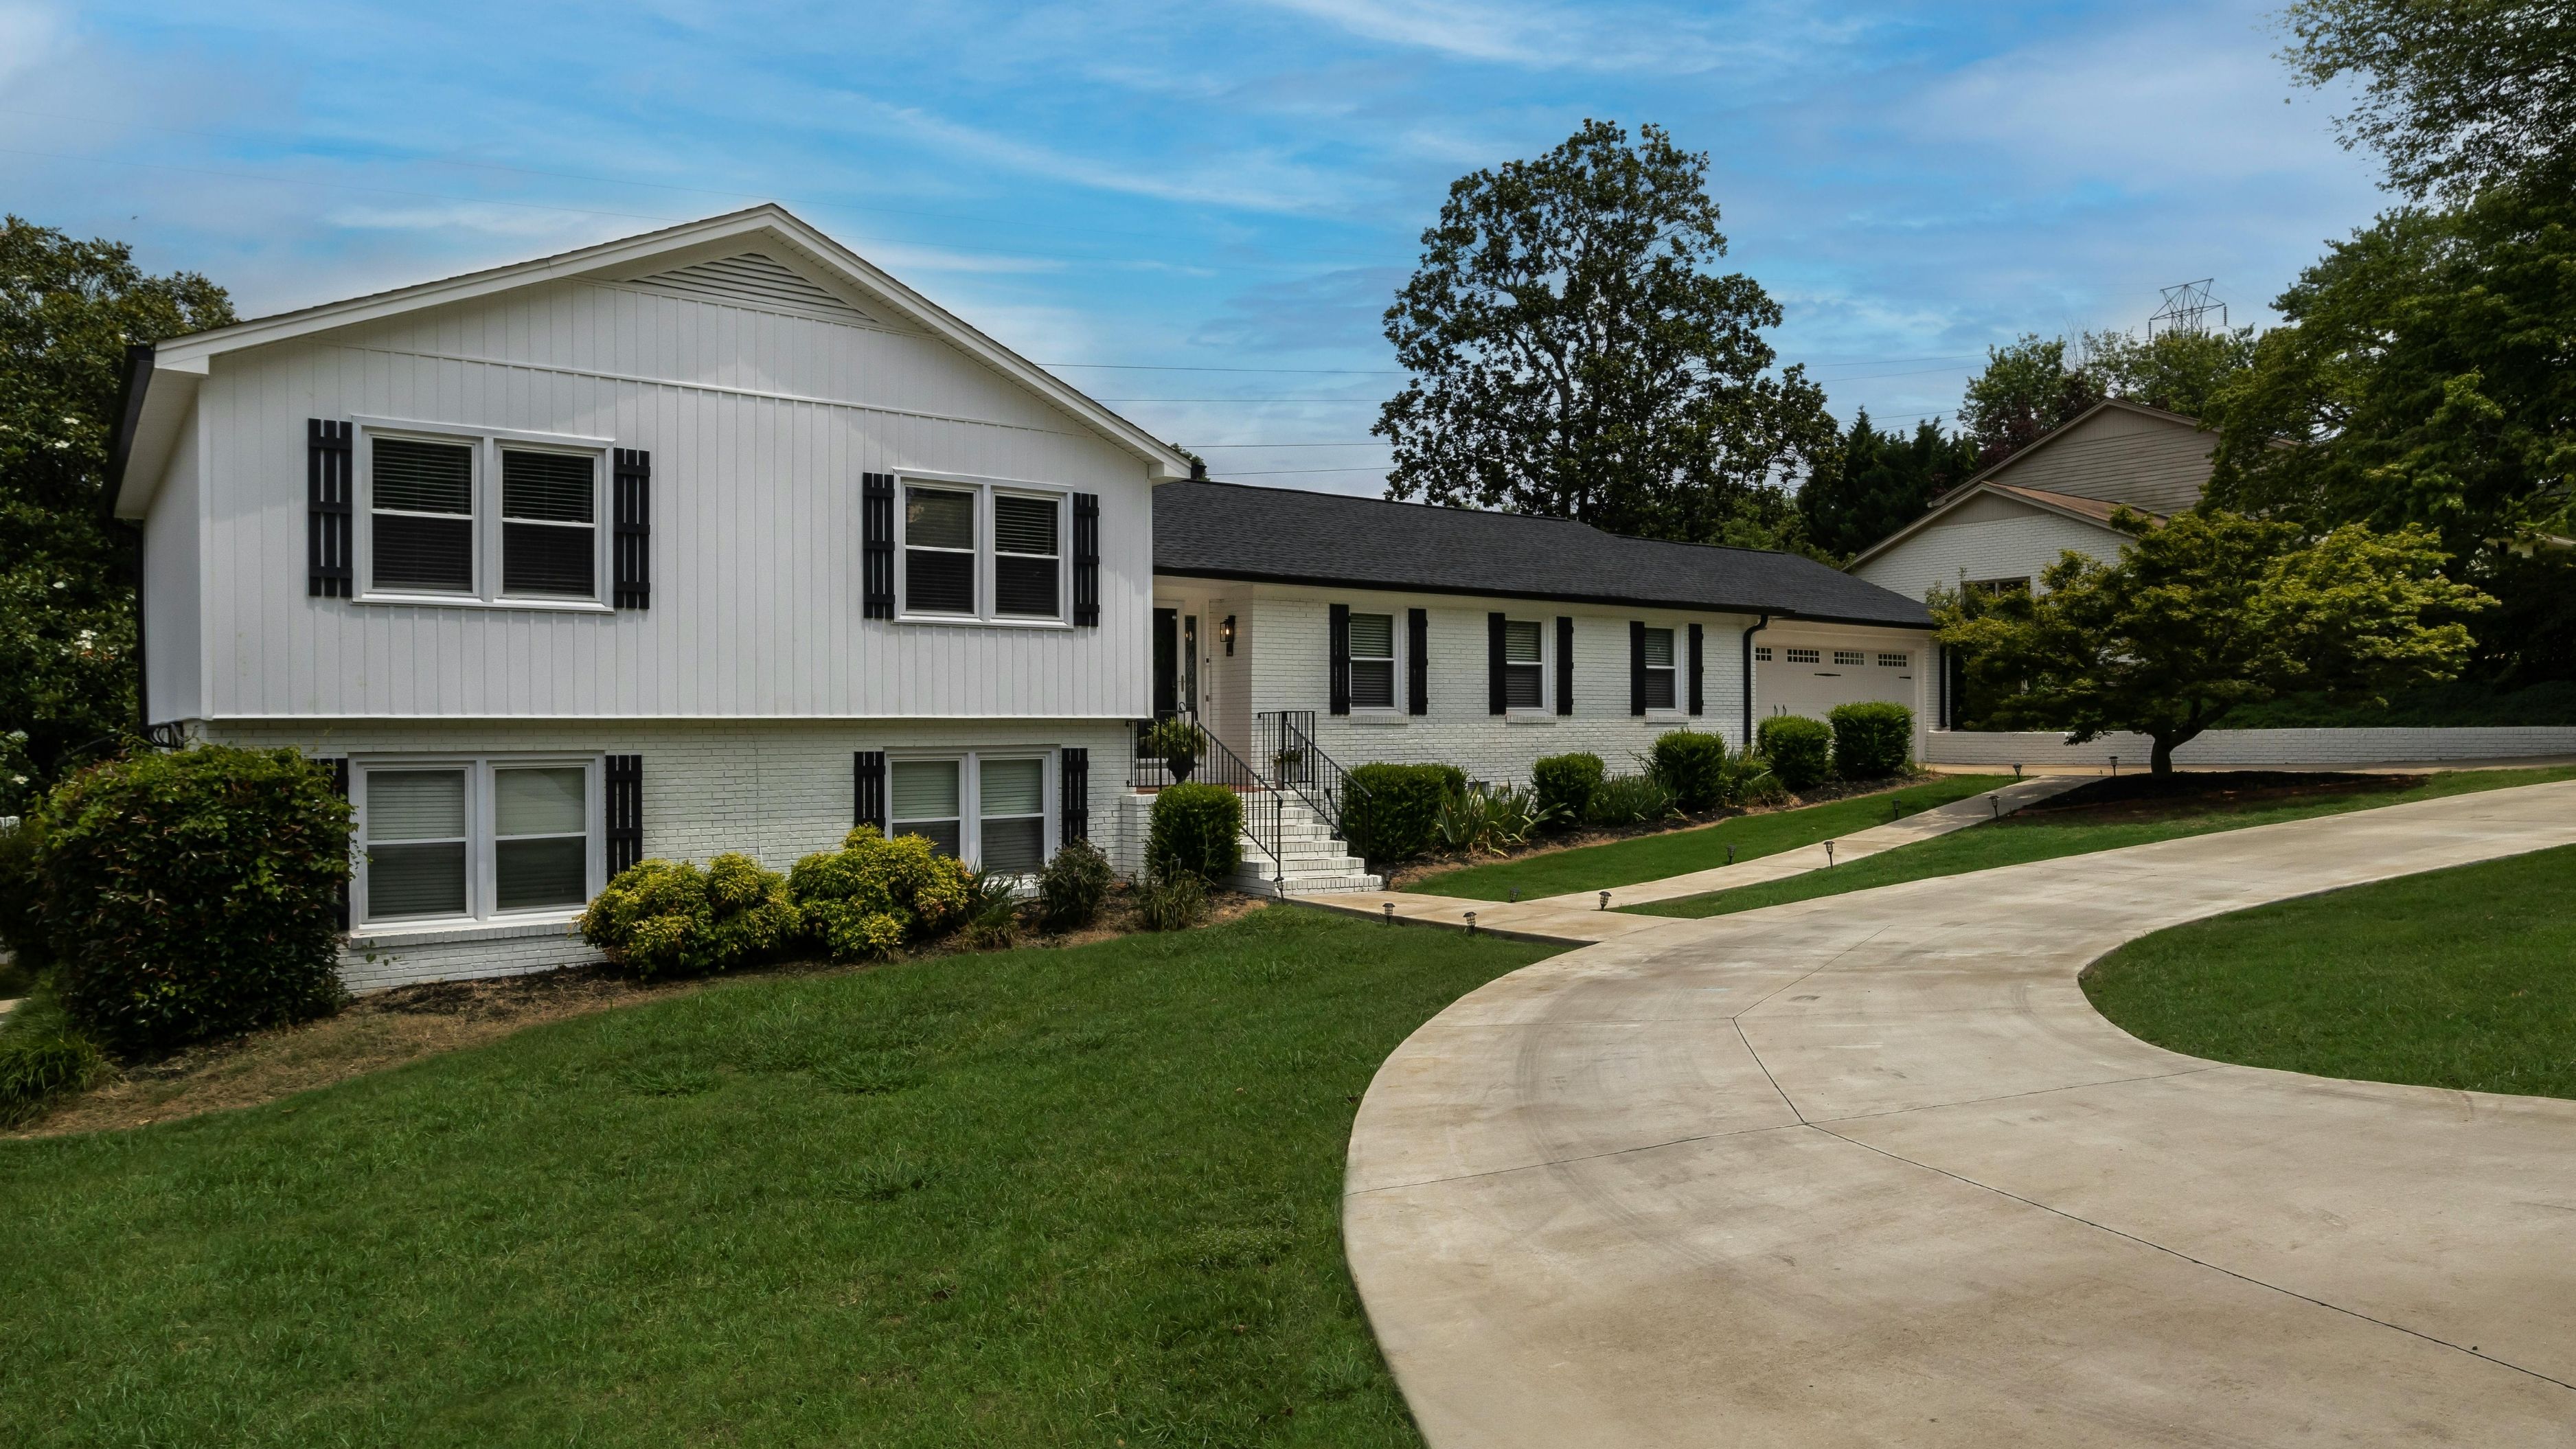
This guide walks you through the full process: assessing whether resurfacing is the right call, what you'll need, and how to do it step by step without making the common mistakes that cause resurfacing jobs to fail prematurely.
Is Resurfacing the Right Fix for Your Driveway?
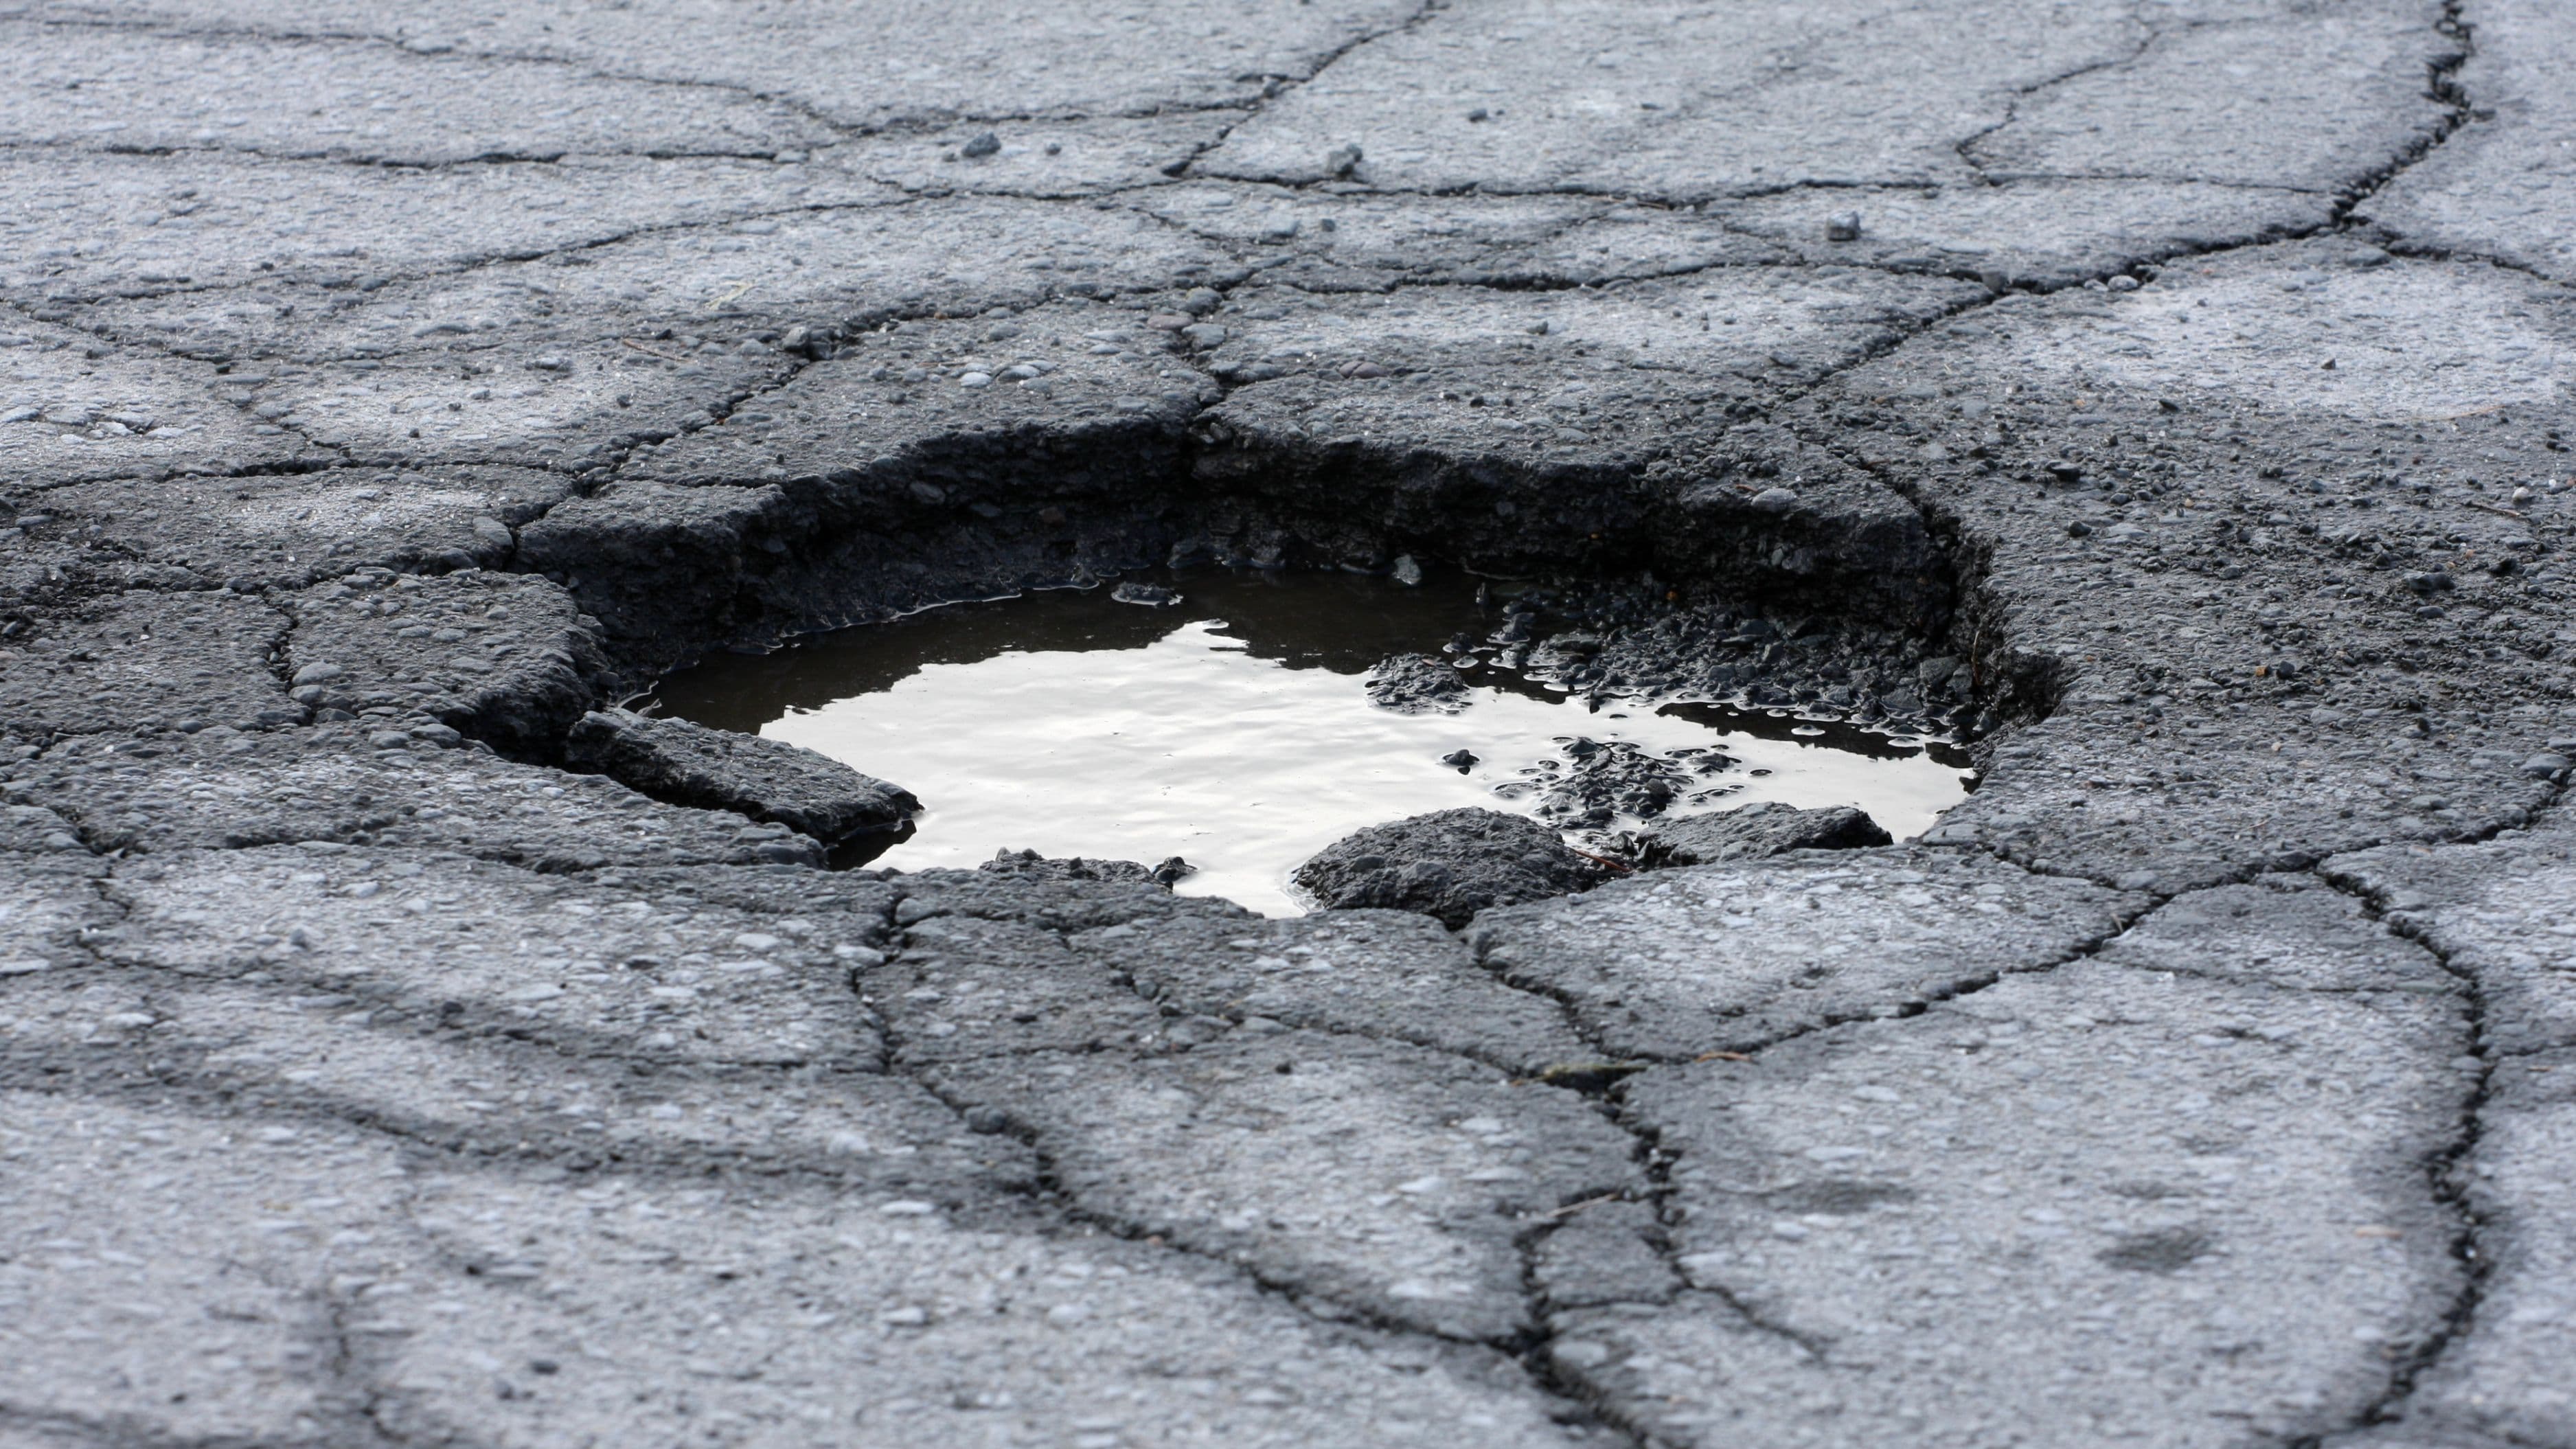
Before you buy anything, it's worth spending five minutes honestly assessing the condition of your concrete. Resurfacing works well for surface-level pitting, spalling (flaking or scaling), minor cracks, and general roughness. It bonds a thin layer of new concrete mix over the existing slab, giving it a fresh surface that's structurally solid and weather-resistant.
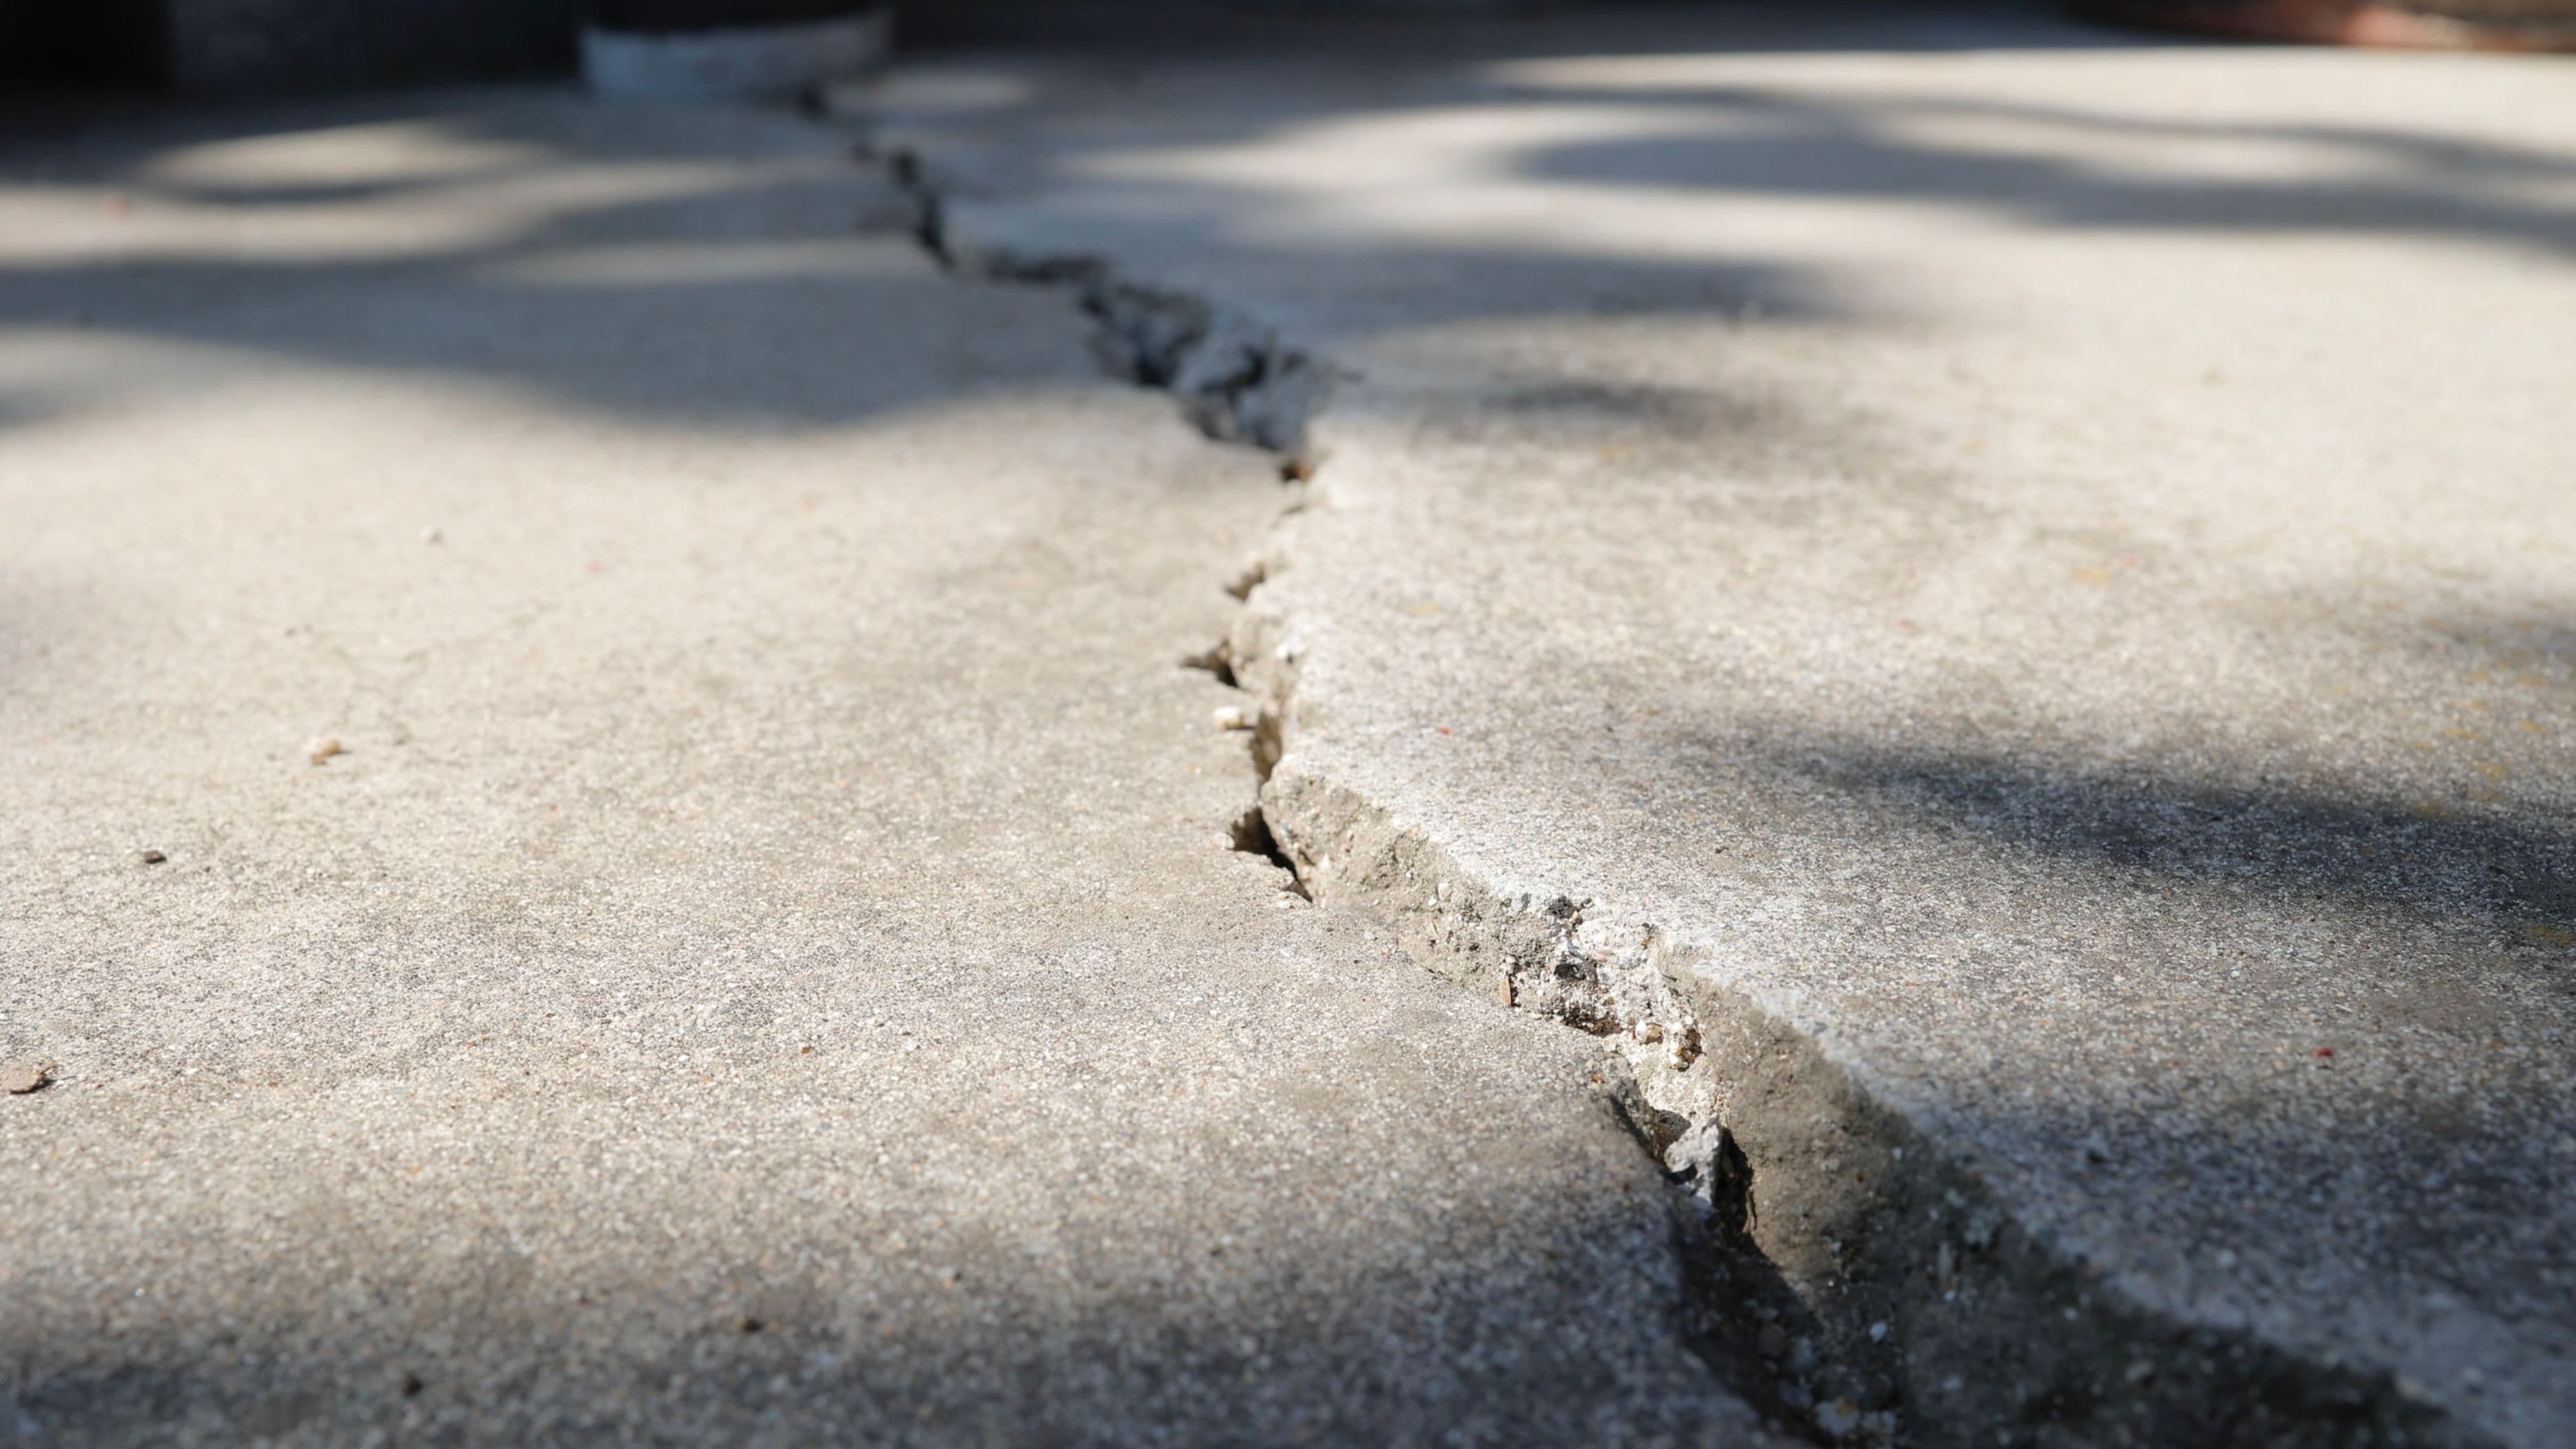
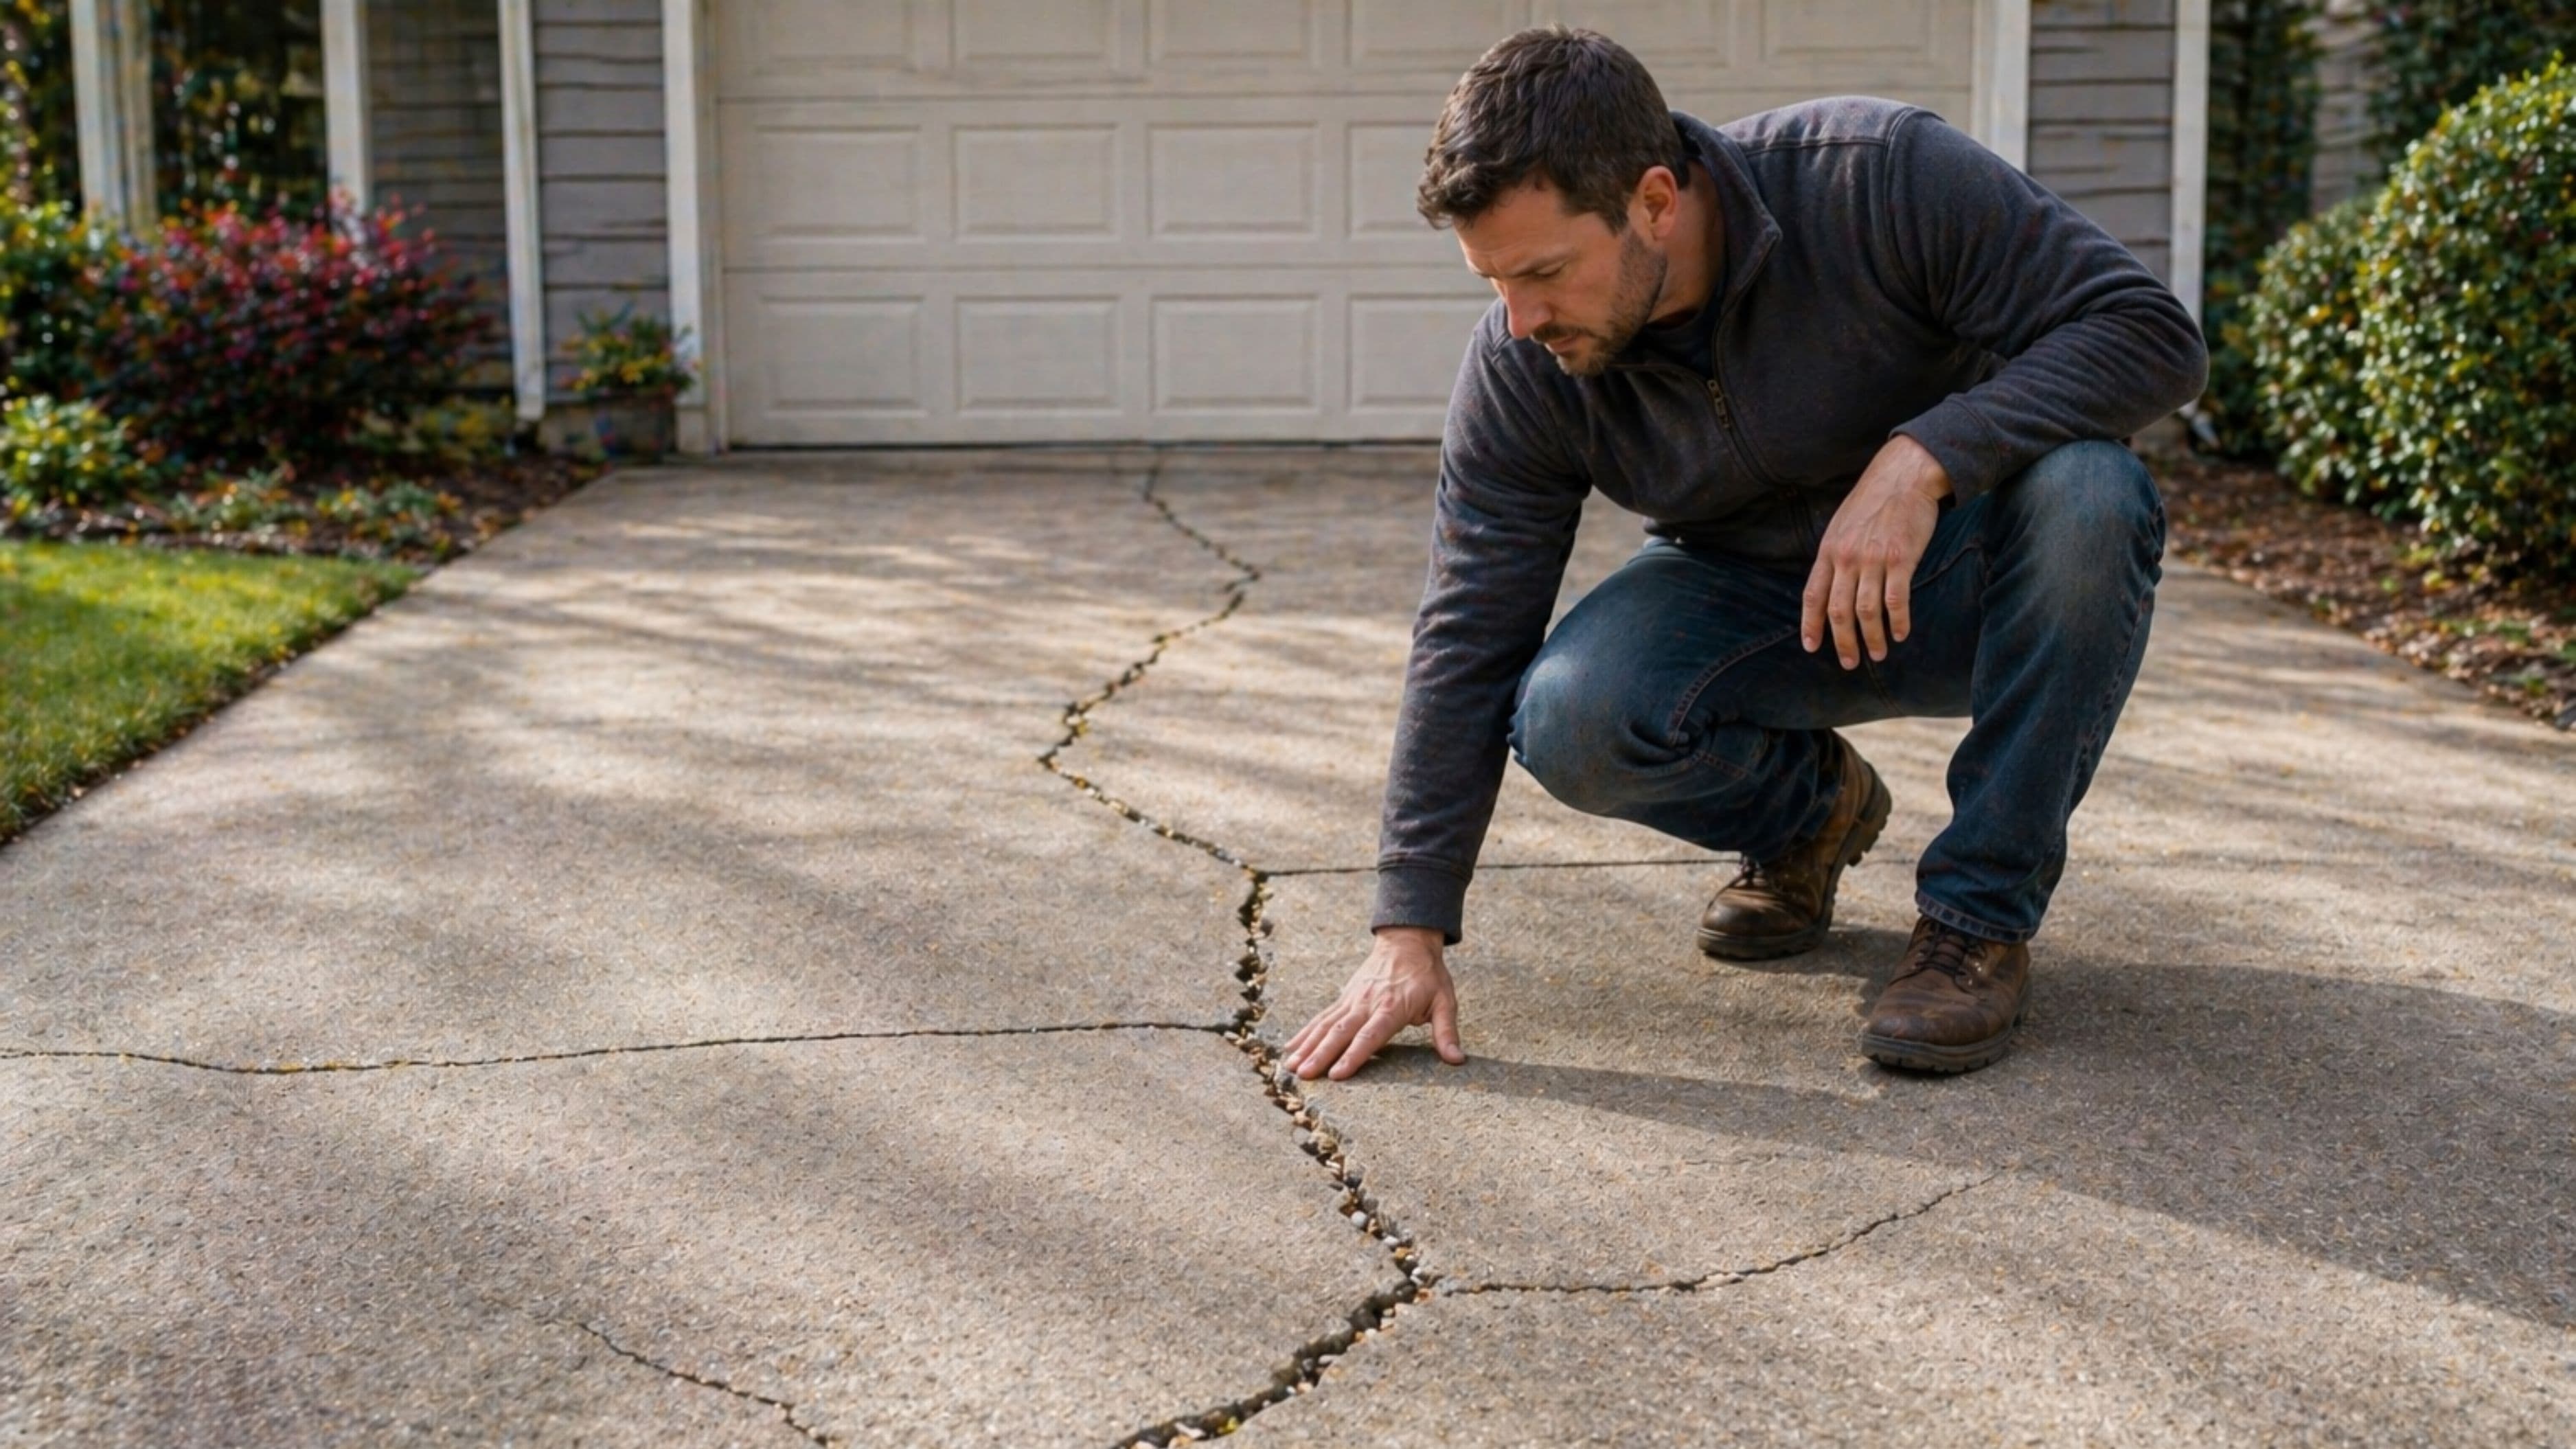
What resurfacing can't fix is structural damage. If your slab has deep cracks that run all the way through, large sections that have heaved or shifted due to soil movement, or areas where the concrete is crumbling from the bottom up, you're looking at a repair or replacement job that goes beyond resurfacing. Similarly, if the pitting is caused by ongoing water infiltration from below – rather than surface weathering – laying a new surface on top won't solve the underlying problem.
A good rule of thumb: if the damage is primarily cosmetic and the slab feels solid underfoot without any rocking or flexing, resurfacing is the right move. If sections shift when you walk on them or the slab is broken into multiple pieces, call a concrete contractor for an assessment first.
What You'll Need
Having everything on hand before you start saves significant time. Concrete resurfacer cures fast, and running to the hardware store mid-project can ruin a batch. Here's what to gather:
Materials:
Concrete resurfacer (Quikrete Concrete Resurfacer or equivalent) – plan on one 40-lb bag per 20–30 square feet of driveway at a 1/8-inch thickness
Concrete bonding agent (optional but recommended for older, smoother surfaces)
Concrete crack filler or hydraulic cement for any cracks wider than a hairline
Garden hose with adjustable nozzle
Pressure washer (rentable if you don't own one)
Concrete cleaner or degreaser (especially important if there are oil stains)
Tools:
Long-handled squeegee or concrete finishing broom
Bucket and paddle mixer attachment for a drill (or rent a mixing drill)
Stiff scrub brush
Rubber gloves, safety glasses, and knee pads
Painter's tape and plastic sheeting to protect garage doors, edging, or adjacent surfaces
A helper, ideally – resurfacing goes much smoother with two people
Cost estimate: For an average two-car driveway (roughly 400–600 square feet), expect to spend $150–$350 on materials depending on product choice and the condition of the surface. Renting a pressure washer runs $40–$80 for a half day. Full replacement of the same driveway by a contractor would typically run $3,000–$7,000 – so even a well-stocked resurfacing project represents substantial savings.
Step 1: Clear and Clean the Surface Thoroughly
This step is more important than most guides make it sound. Concrete resurfacer bonds chemically to the existing concrete, and that bond fails if there's any contamination between the two layers. Dirt, oil, moss, efflorescence (the white chalky mineral deposits), or flaking loose material will all prevent proper adhesion.
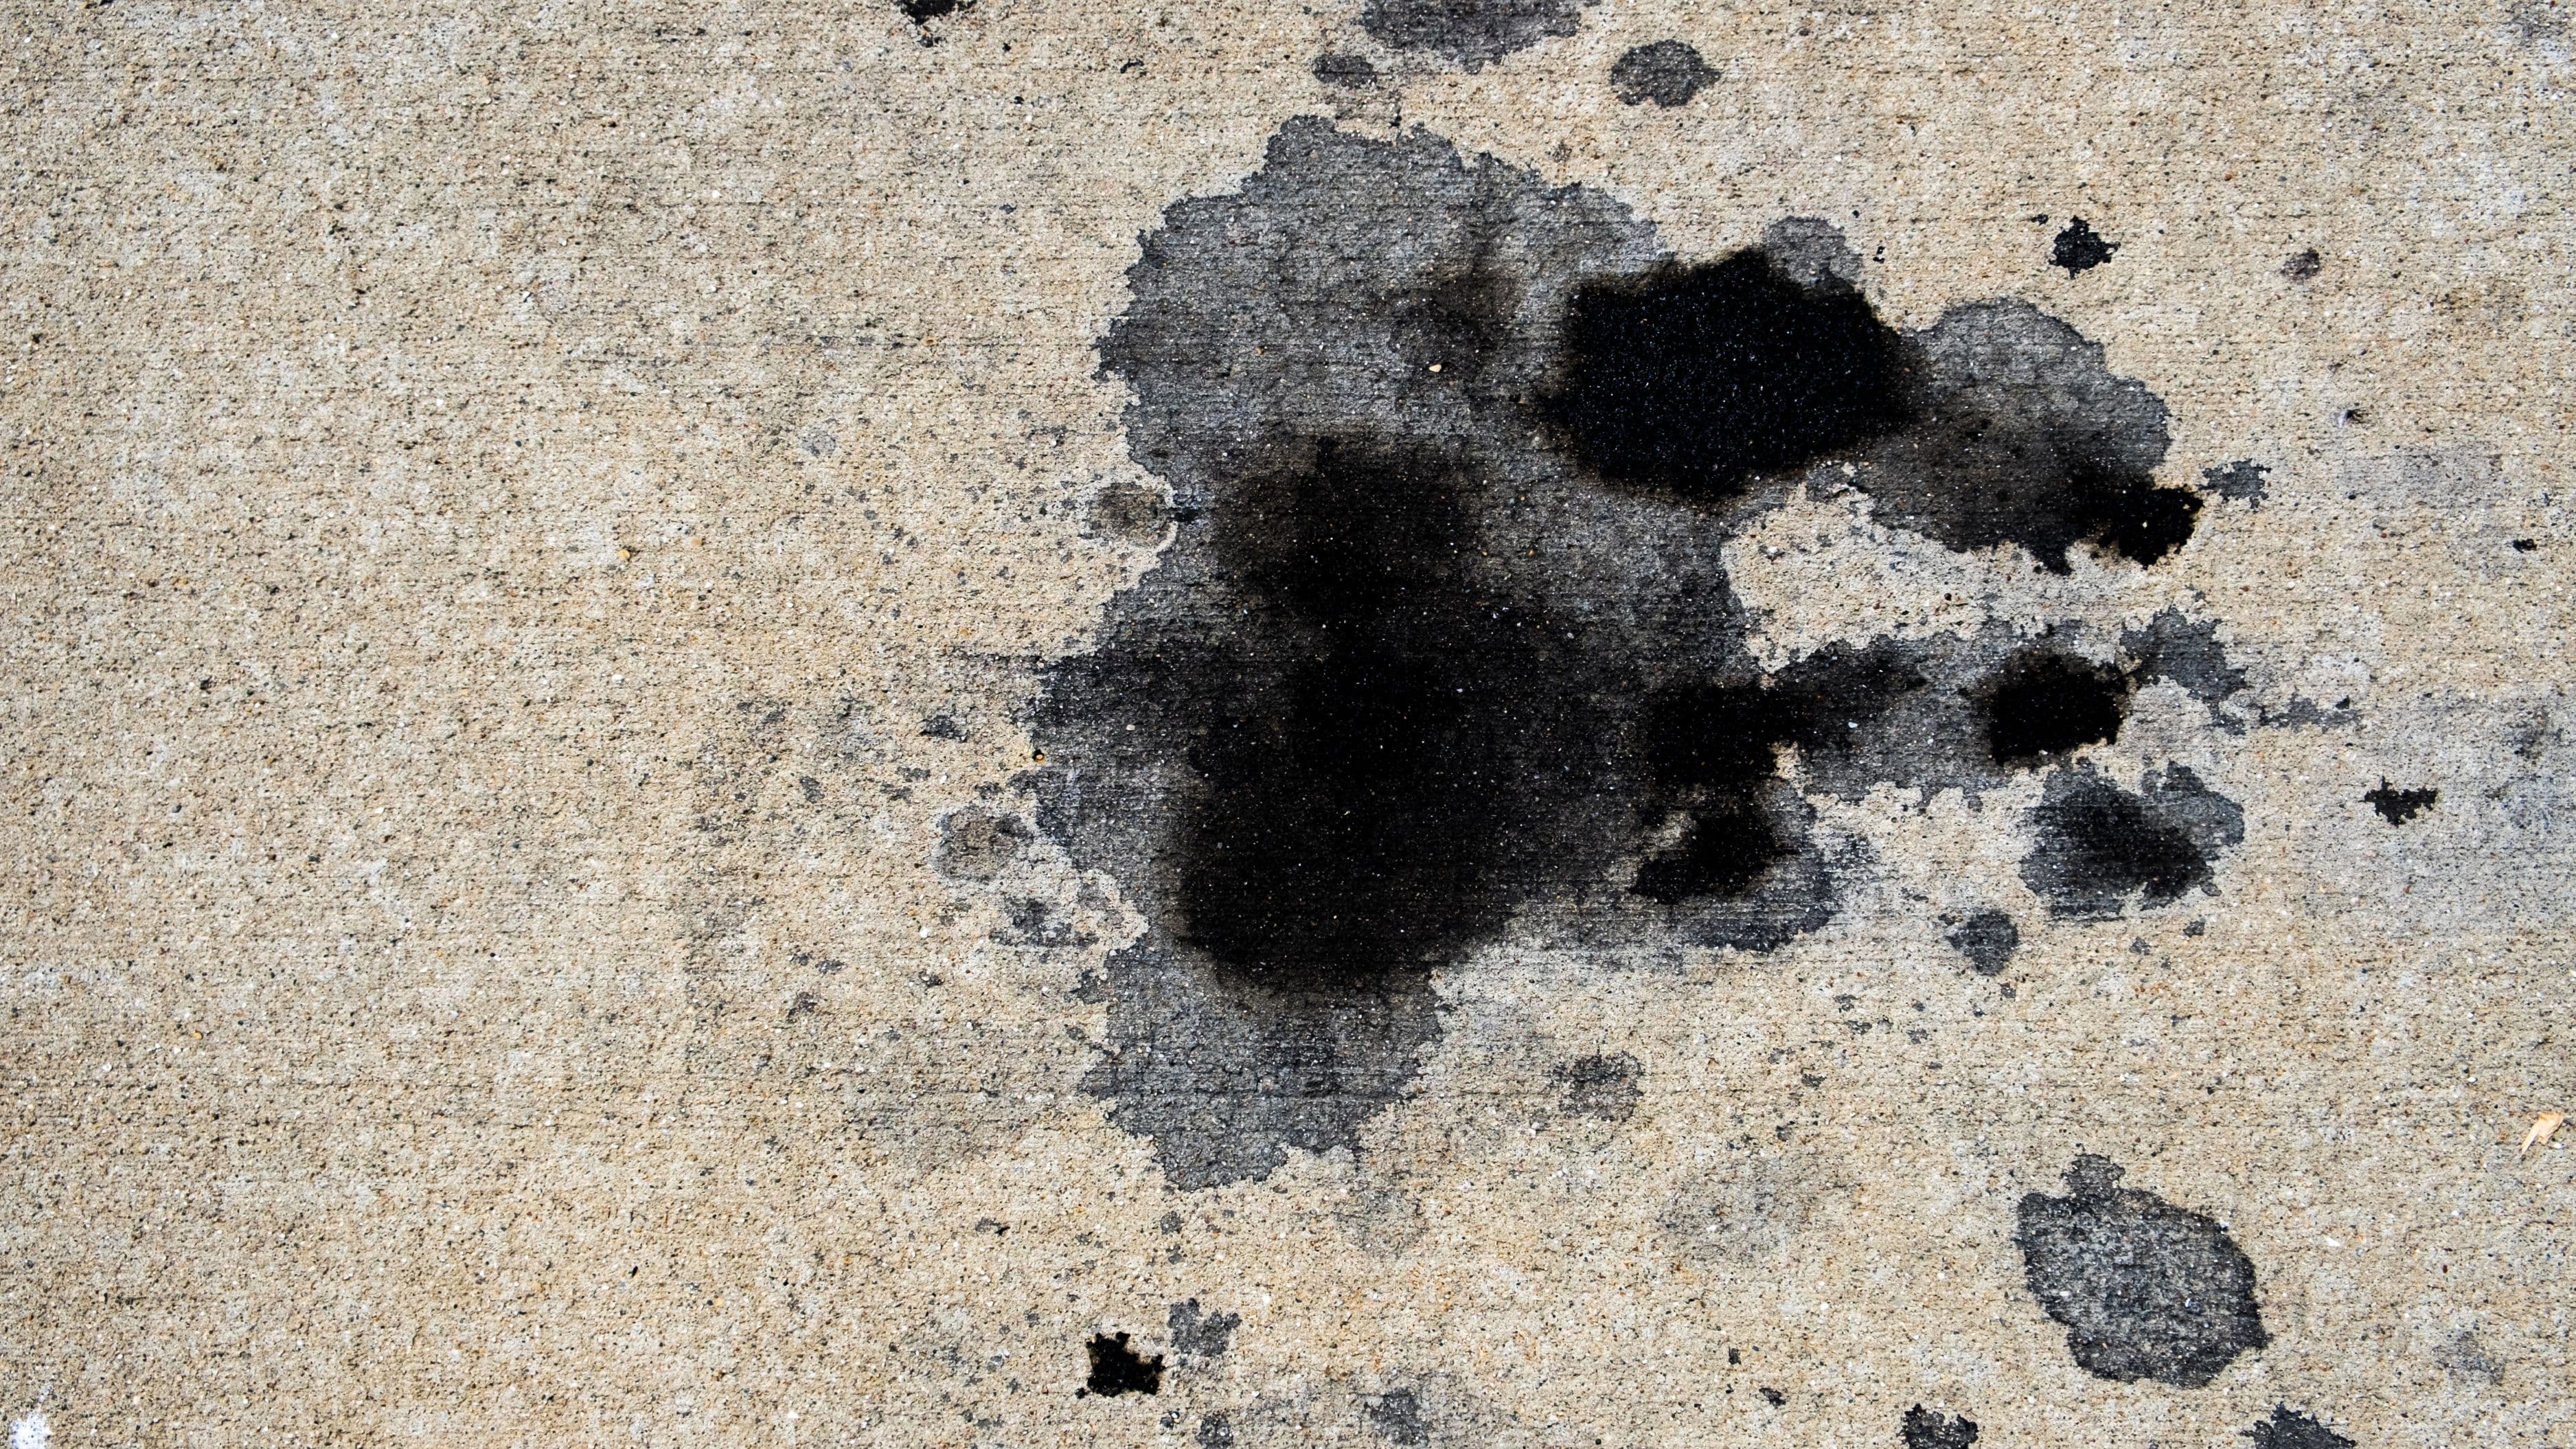
Start by removing everything from the driveway and sweeping away loose debris. Then degrease any oil stains with a concrete degreaser or a strong solution of trisodium phosphate (TSP) mixed with water. Apply it, scrub with a stiff brush, let it dwell for 10–15 minutes, and rinse thoroughly. Repeat if the stain is deep. Oil stains that aren't fully neutralized will bleed through the new surface over time.
Next, pressure wash the entire driveway at no less than 3,000 PSI. This removes embedded dirt, loose surface concrete, moss, and any remaining cleaning solution. Pay extra attention to the pitted areas – the goal is to expose clean, sound concrete with nothing sitting in those pits that could interfere with adhesion. After washing, allow the surface to dry completely – typically 24 hours in moderate weather, longer in humid conditions.
Step 2: Repair Cracks and Significant Pits
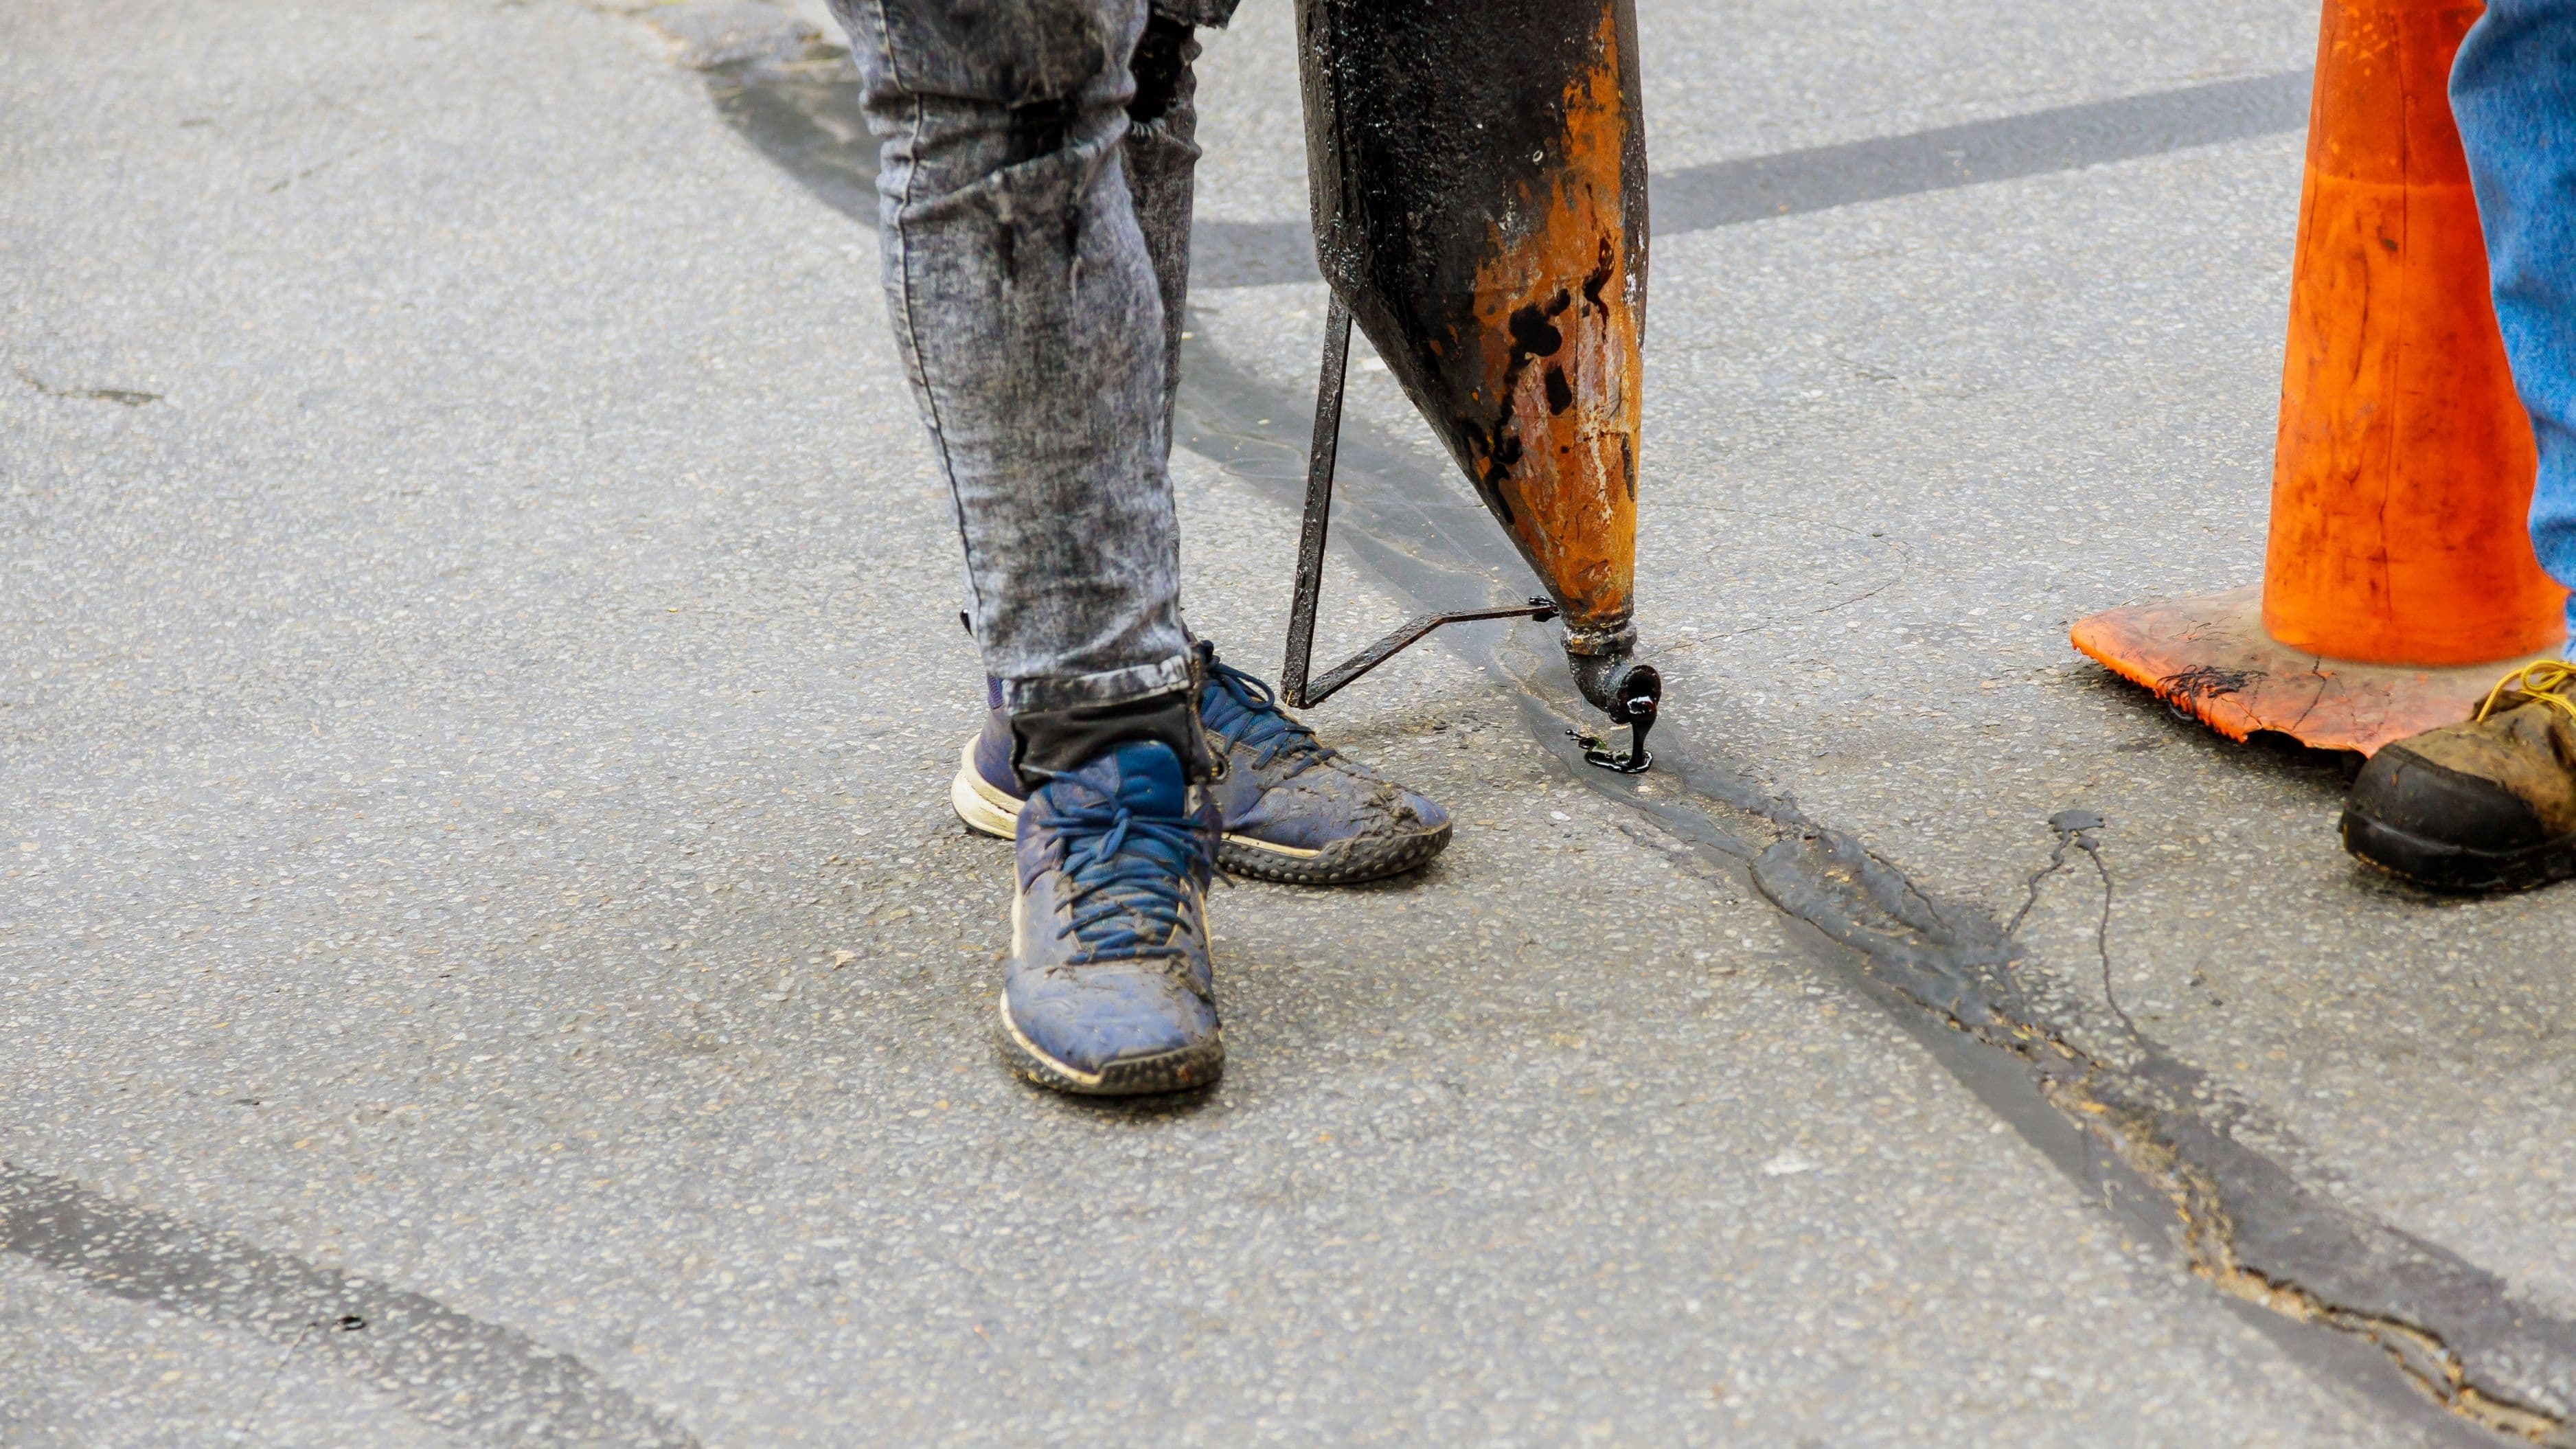
Concrete resurfacer is designed for thin applications and won't fill deep cracks or voids reliably. Any crack wider than about 1/8 inch needs to be addressed before you resurface over it.
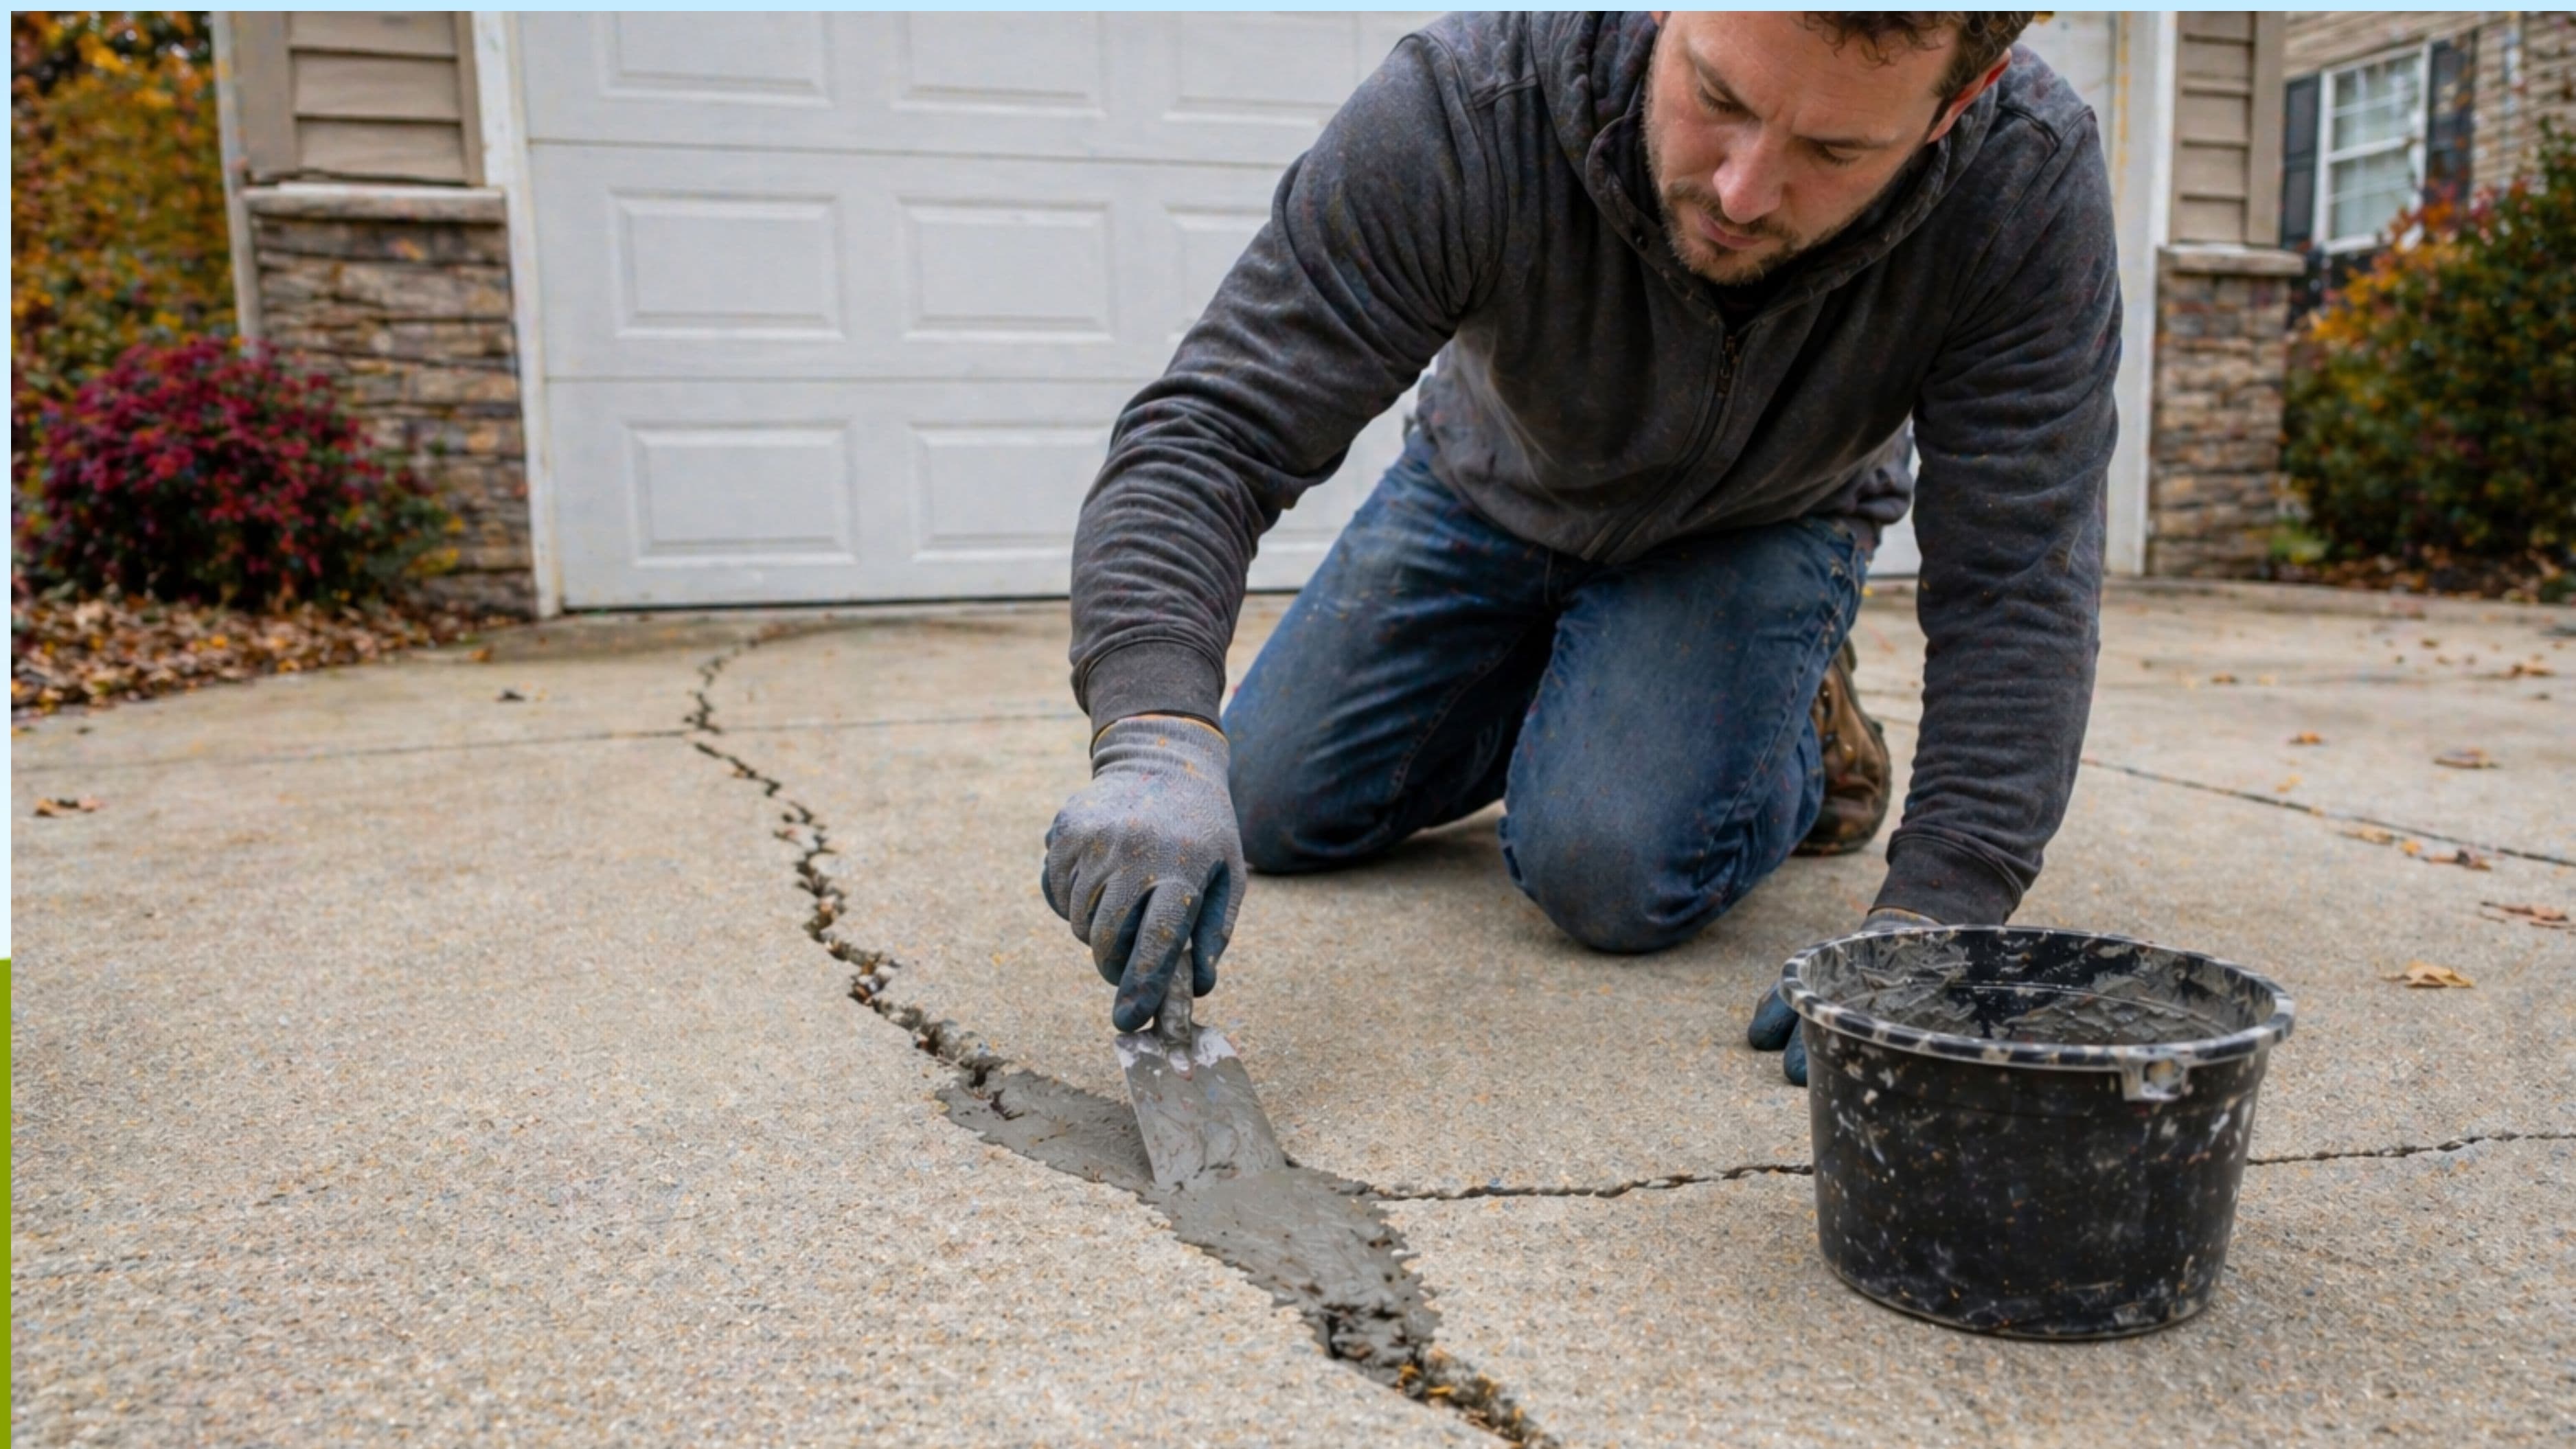
For narrow cracks (1/8 inch to about 1/2 inch wide), use a pourable concrete crack filler or a self-leveling polyurethane sealant. Pour it in, tool it smooth with a putty knife, and let it cure fully according to the manufacturer's directions. For wider cracks or deeper pits, use a vinyl concrete patcher or hydraulic cement, mixed to a stiff consistency and packed into the void. Feather the edges smooth so the repair doesn't create a bump under the resurfacer layer.
Give repairs at least 24 hours to cure before applying resurfacer over them. Rushing this step is one of the most common reasons resurfaced driveways develop bubbles, soft spots, or cracks in the same locations as before.
Step 3: Dampen the Surface
Immediately before applying resurfacer, wet down the entire driveway with a garden hose. You want the concrete damp – visibly wet but without any standing water puddled on the surface. This is called a saturated surface dry (SSD) condition, and it matters because dry concrete will pull moisture out of the resurfacer mix too quickly, preventing it from bonding and curing properly.
On hot sunny days, the surface can dry out faster than you can work, so dampen it in sections as you go. If you're working in direct sun above 90°F, early morning or late afternoon is a much better time to work – heat accelerates curing and reduces your working window significantly.
Step 4: Mix and Apply the Resurfacer
This is where speed and efficiency matter. Concrete resurfacer typically has a working window of about 30 minutes after mixing, less in hot weather. Mix only what you can apply in that time – for most solo workers, that means one bag at a time.
Mix the resurfacer according to package directions, usually combining the powder with water in a bucket using a paddle mixer until you reach a lump-free, pourable consistency similar to thin pancake batter. Don't overwater it – a mix that's too wet won't achieve the rated strength and can crack during curing.
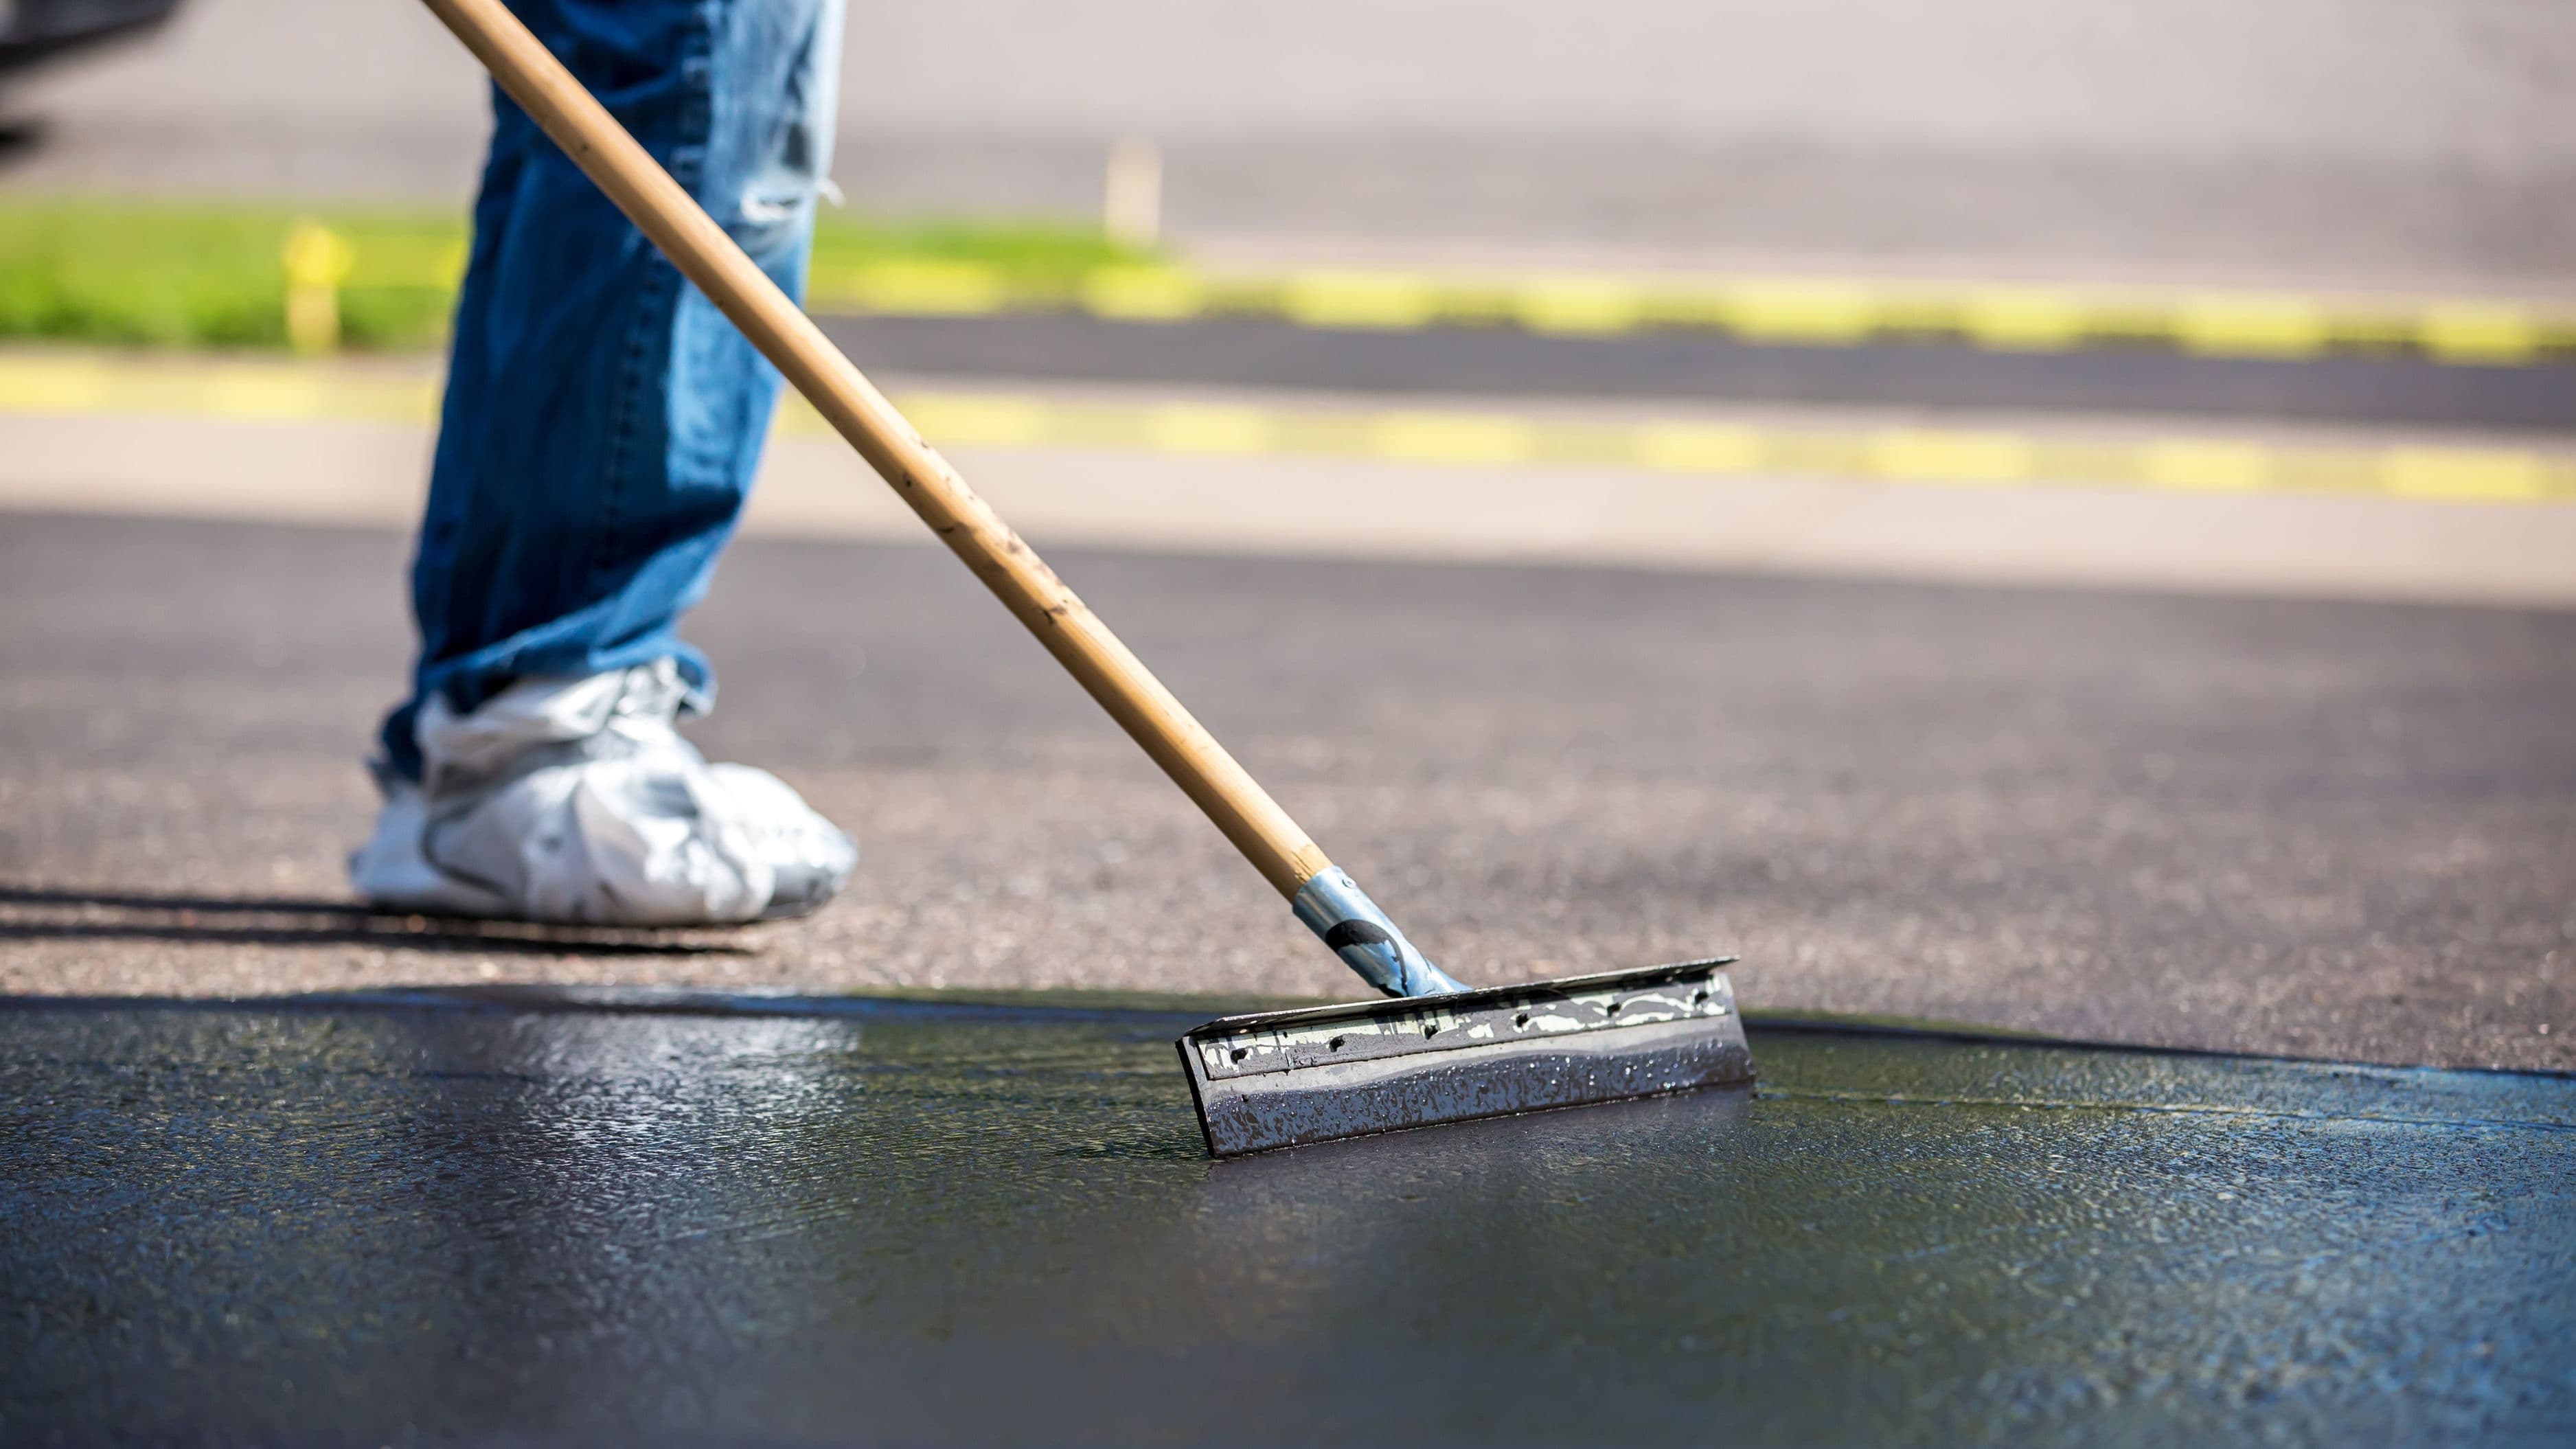
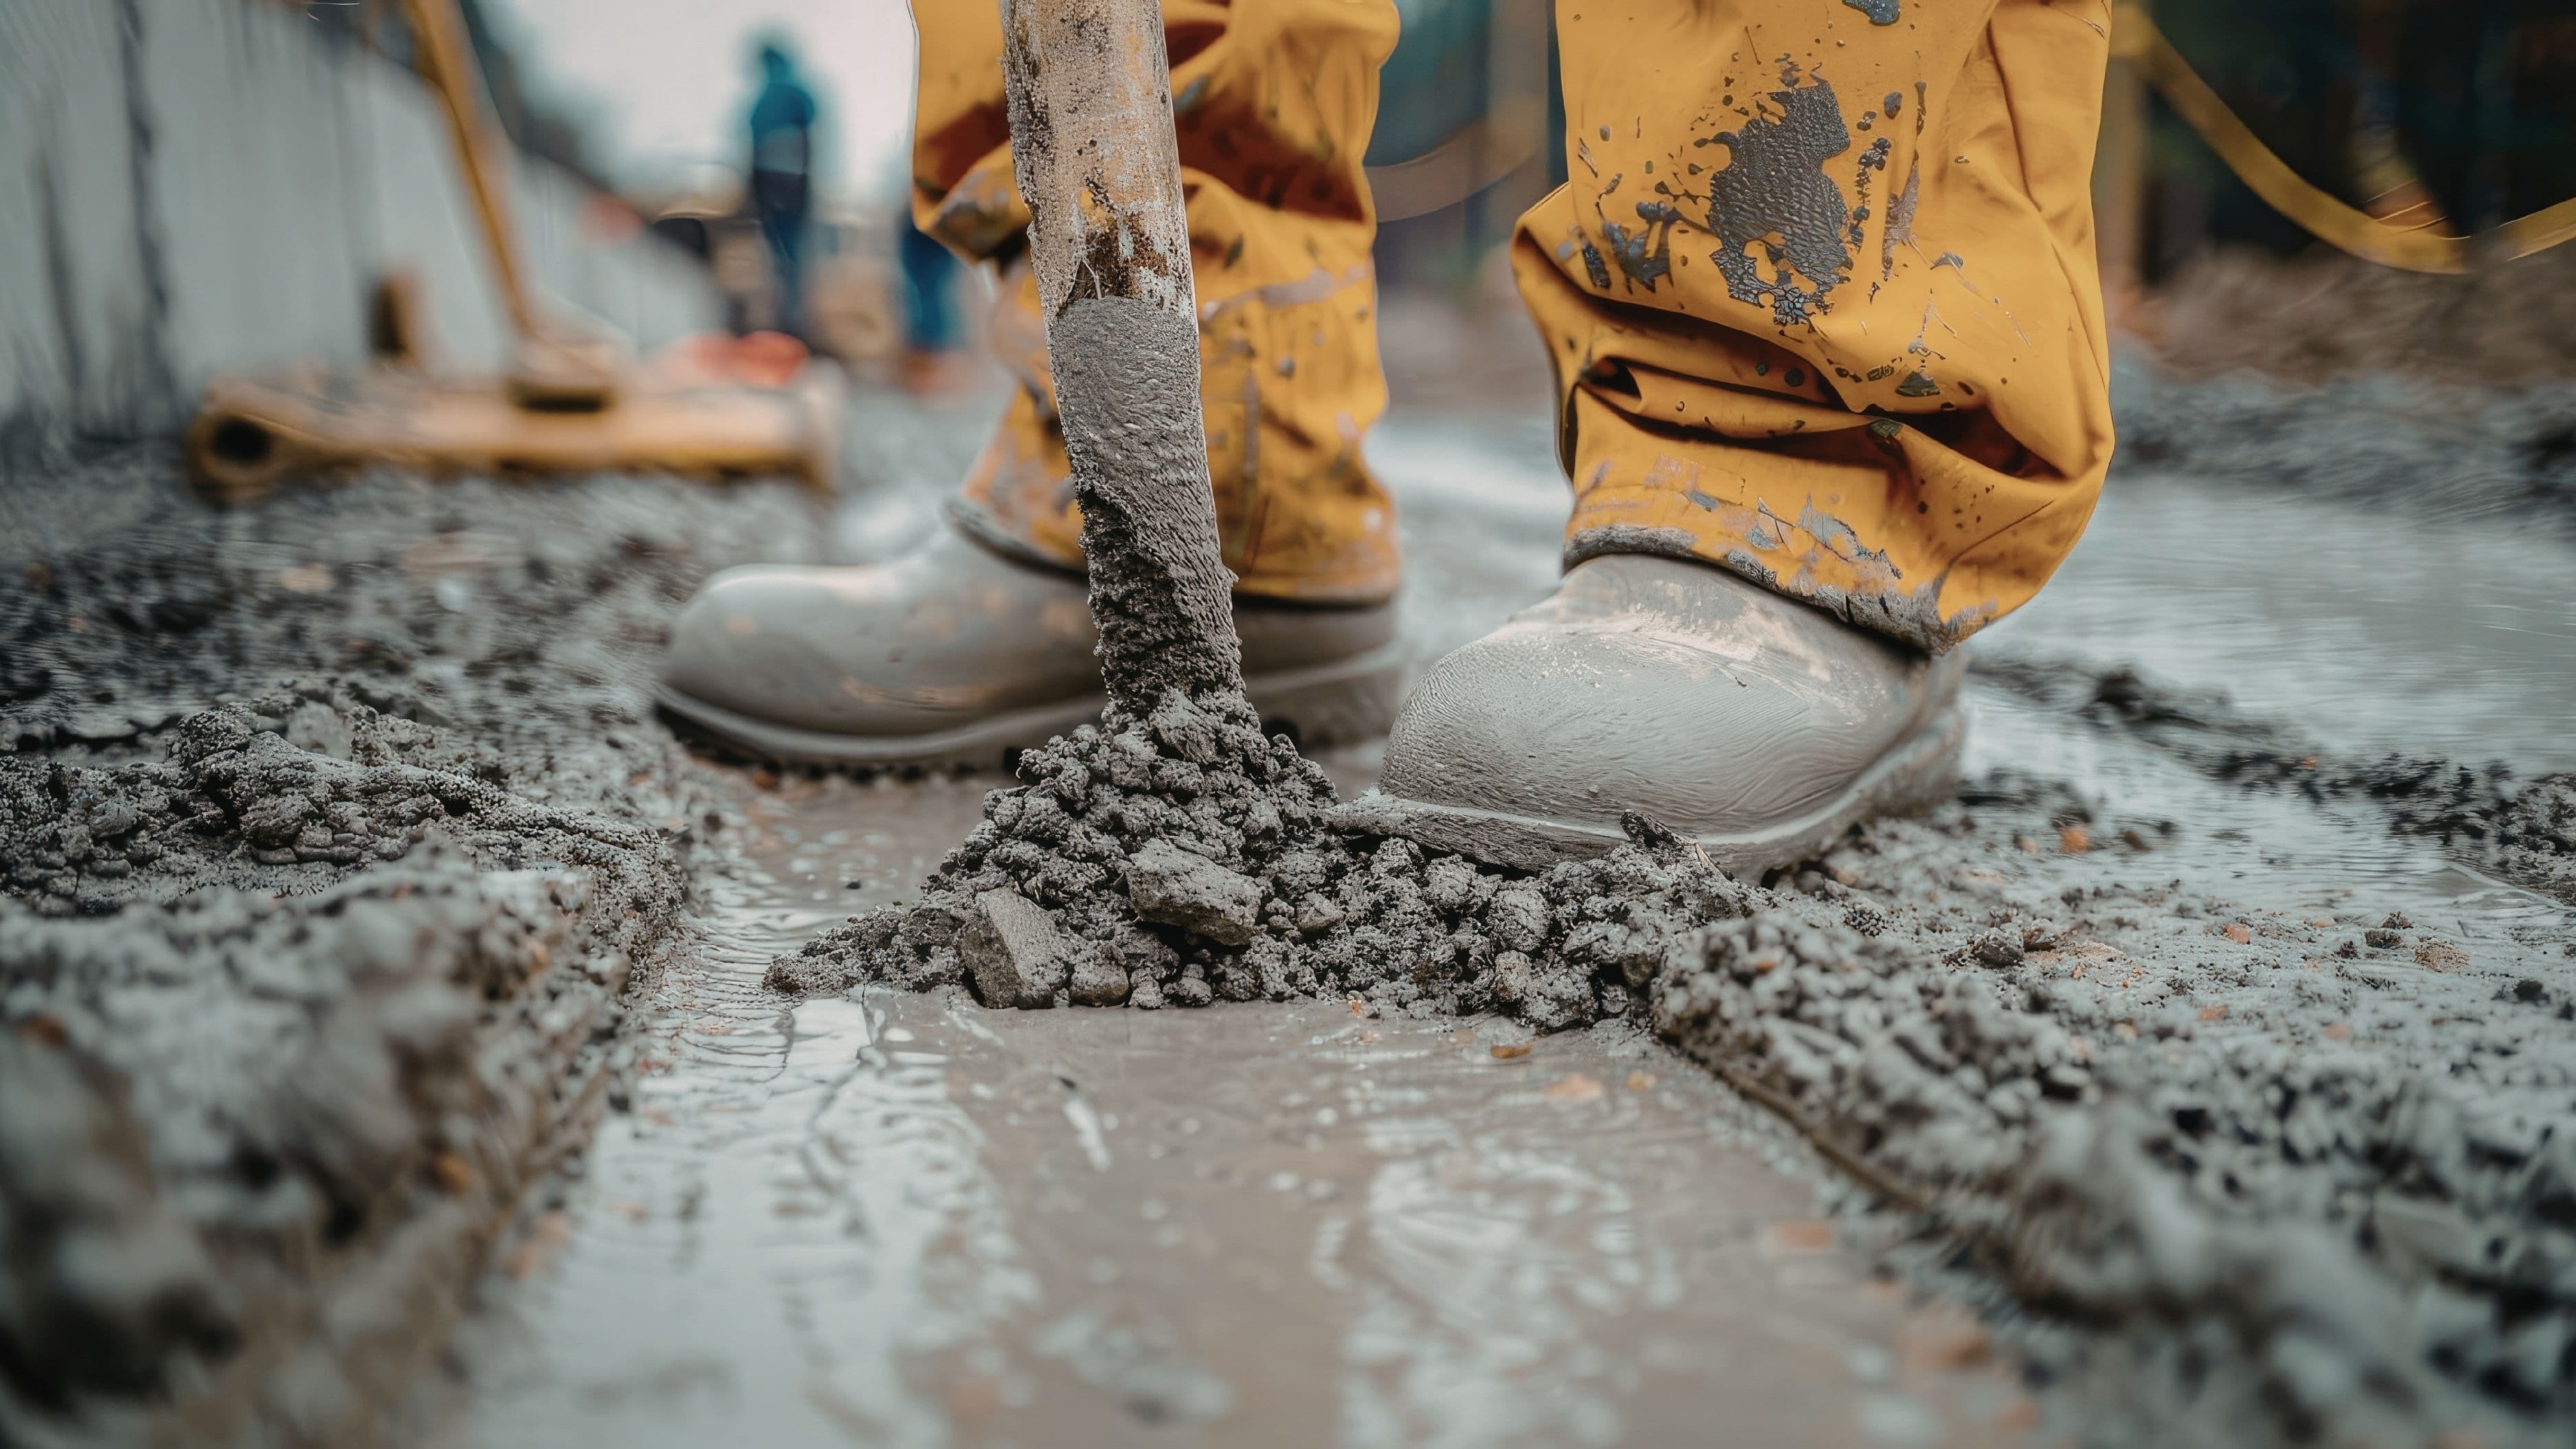
Pour the mixed resurfacer onto the driveway and spread it immediately using a long-handled squeegee, working it into the pits and across the surface in smooth, overlapping strokes. Aim for a consistent thickness of about 1/8 to 1/4 inch across the surface. Work in manageable sections – typically 10 to 20 feet at a time – rather than trying to coat the whole driveway at once.
If a second person is available, the most efficient workflow is one person mixing and pouring while the other spreads and finishes. This keeps the process moving without any section sitting too long before being spread.
Step 5: Texture the Surface Before It Sets
Plain resurfacer left to dry with a smooth finish will be dangerously slippery when wet. Before the surface firms up – usually within 5 minutes of application – use a concrete finishing broom to drag a light texture across it. A single, consistent pass in one direction is enough to create adequate traction without looking rough or uneven.
Work the broom quickly and evenly, maintaining consistent pressure. Don't go back over areas that have already started to set – dragging a broom over partially cured resurfacer tears the surface. If you notice any area starting to stiffen before you've broomed it, leave it and address the next section while it's still workable.
Step 6: Cure and Protect the New Surface
Once the resurfacer is applied and textured, it needs time to cure before any traffic – foot or vehicle – goes over it. Walking on it too soon leaves impressions; driving on it before it's fully cured can cause delamination or cracking under load.
In moderate temperatures (60–80°F), the resurfacer is typically ready for foot traffic after 6–8 hours and vehicle traffic after 24 hours. In cooler weather or shade, extend both windows. In hot weather, mist the surface lightly with water two or three times in the first few hours to slow the cure and prevent surface cracking from moisture loss.
For maximum longevity, apply a concrete sealer 24–48 hours after the resurfacer has fully cured. A penetrating silane-siloxane sealer or an acrylic concrete sealer provides protection from water infiltration, freeze-thaw damage, and future staining. This is an optional step, but it extends the life of your resurfacing job significantly – especially in climates with harsh winters or regular freeze-thaw cycles.
Common Mistakes to Avoid
Skipping the cleaning step is the single most common reason resurfacing jobs fail early. If you apply resurfacer over a dirty or oily surface, it will lift and peel within months. No amount of product quality makes up for inadequate surface prep.
Mixing too much at once leads to wasted material and rushed application. Resurfacer that sits in the bucket too long starts to stiffen and can't be thinned back with water without compromising its strength. Smaller, more manageable batches are always the right call.
Working in the wrong conditions shortens your working window to the point where quality suffers. Avoid direct sun on hot days, and don't apply resurfacer when rain is in the forecast within 24 hours or when temperatures are expected to drop below 50°F overnight. Cold temperatures slow curing and can cause the surface to freeze before it's set, leading to crumbling.
Applying resurfacer too thick is another common error. These products are designed for thin overlays – going beyond 1/4 inch in a single application increases the risk of cracking during curing. If your surface needs more than 1/4 inch of buildup, use a vinyl concrete patcher to build up deep areas first, let it cure, then apply the resurfacer layer over a flat base.
When to Call a Pro
Resurfacing is a solid DIY project for most homeowners, but there are situations where professional help is the smarter move. If your driveway has widespread cracking across more than 25–30% of the surface, underlying structural issues are likely and a professional assessment is warranted before you invest in resurfacing. If sections of the slab have settled unevenly – creating lips or significant height differences between panels – that's a drainage and subbase problem that resurfacing won't solve. And if the concrete is more than 30–40 years old and showing deep scaling across the entire surface, replacement may actually be more cost-effective than repeated resurfacing attempts.
For everything in between – moderate surface pitting, general weathering, and areas of light spalling – this is a weekend project that delivers a noticeably better driveway without the cost and disruption of replacement.
FAQ
How long does a resurfaced driveway last? With proper prep and a sealer applied afterward, a resurfaced driveway typically lasts 8–15 years before needing another application. Driveways in northern climates with frequent freeze-thaw cycles may need attention sooner. Resealing every 2–3 years extends the surface life significantly.
Can I resurface over old sealant? Not reliably. Most concrete resurfacers won't bond to a previously sealed surface. You'll need to strip the old sealer using a chemical sealer remover and pressure washing before resurfacing. Check the label of your specific product – some formulations include bonding agents that improve adhesion over lightly sealed surfaces, but full sealer removal is still the safer route.
What if it rains before the resurfacer cures? Light rain within the first few hours can cause surface blemishes, pitting, or wash-out if it hits before the surface has firmed up. Heavy rain can ruin the job entirely. If unexpected rain is coming, cover the freshly resurfaced sections with plastic sheeting weighted at the edges and remove it once the surface is firm enough to handle contact (usually 4–6 hours after application).
Do I need special equipment to pressure wash the driveway? A residential pressure washer with at least 3,000 PSI is appropriate for concrete prep. If you don't own one, most tool rental shops have them available for $40–$80 per half day, which is well worth the cost given how much proper cleaning affects the final result.
Can I resurface just part of the driveway, or does it need to be the whole surface? You can spot-resurface specific problem areas, but the patched sections will look different from the surrounding concrete – at least initially. If appearance matters, resurfacing the entire driveway produces a uniform result. For purely functional repairs in low-visibility areas, spot resurfacing works fine.
Is concrete resurfacer the same as concrete sealer? No – they're different products with different functions. Resurfacer is a structural overlay that fills pits and creates a new wear surface. Sealer is a topcoat that protects the surface from water and staining. You apply resurfacer first, let it cure, then apply sealer on top for protection.
📚 Sources
Quikrete – Concrete Resurfacer Product Guide and Application Instructions: https://www.quikrete.com/pdfs/data_sheet-concrete_resurfacer_1131.pdf
Portland Cement Association – Resurfacing Concrete Flatwork: https://www.cement.org/docs/default-source/fc_concrete_technology/is570.pdf
This Old House – How to Resurface a Concrete Driveway: https://www.thisoldhouse.com/driveways/21018008/how-to-resurface-a-concrete-driveway
University of Minnesota Extension – Concrete Driveways: Causes of Damage and Repair Options: https://extension.umn.edu/concrete-and-masonry/concrete-driveways
Family Handyman – How to Repair and Resurface a Concrete Driveway: https://www.familyhandyman.com/project/how-to-repair-resurface-concrete-driveway/