The good news is that chimney leaks follow a short list of predictable causes, and once you know what to look for, diagnosing yours is fairly straightforward. Some fixes are weekend-DIY; others are best left to a pro. Here's how to figure out what's going on and what to do about it.
First, What Flashing Actually Is
Flashing is the system of thin metal pieces – usually aluminum, galvanized steel, or copper – that seals the joint where your chimney meets the roof. It's not one piece but several working together, and understanding the parts helps you pinpoint the problem.
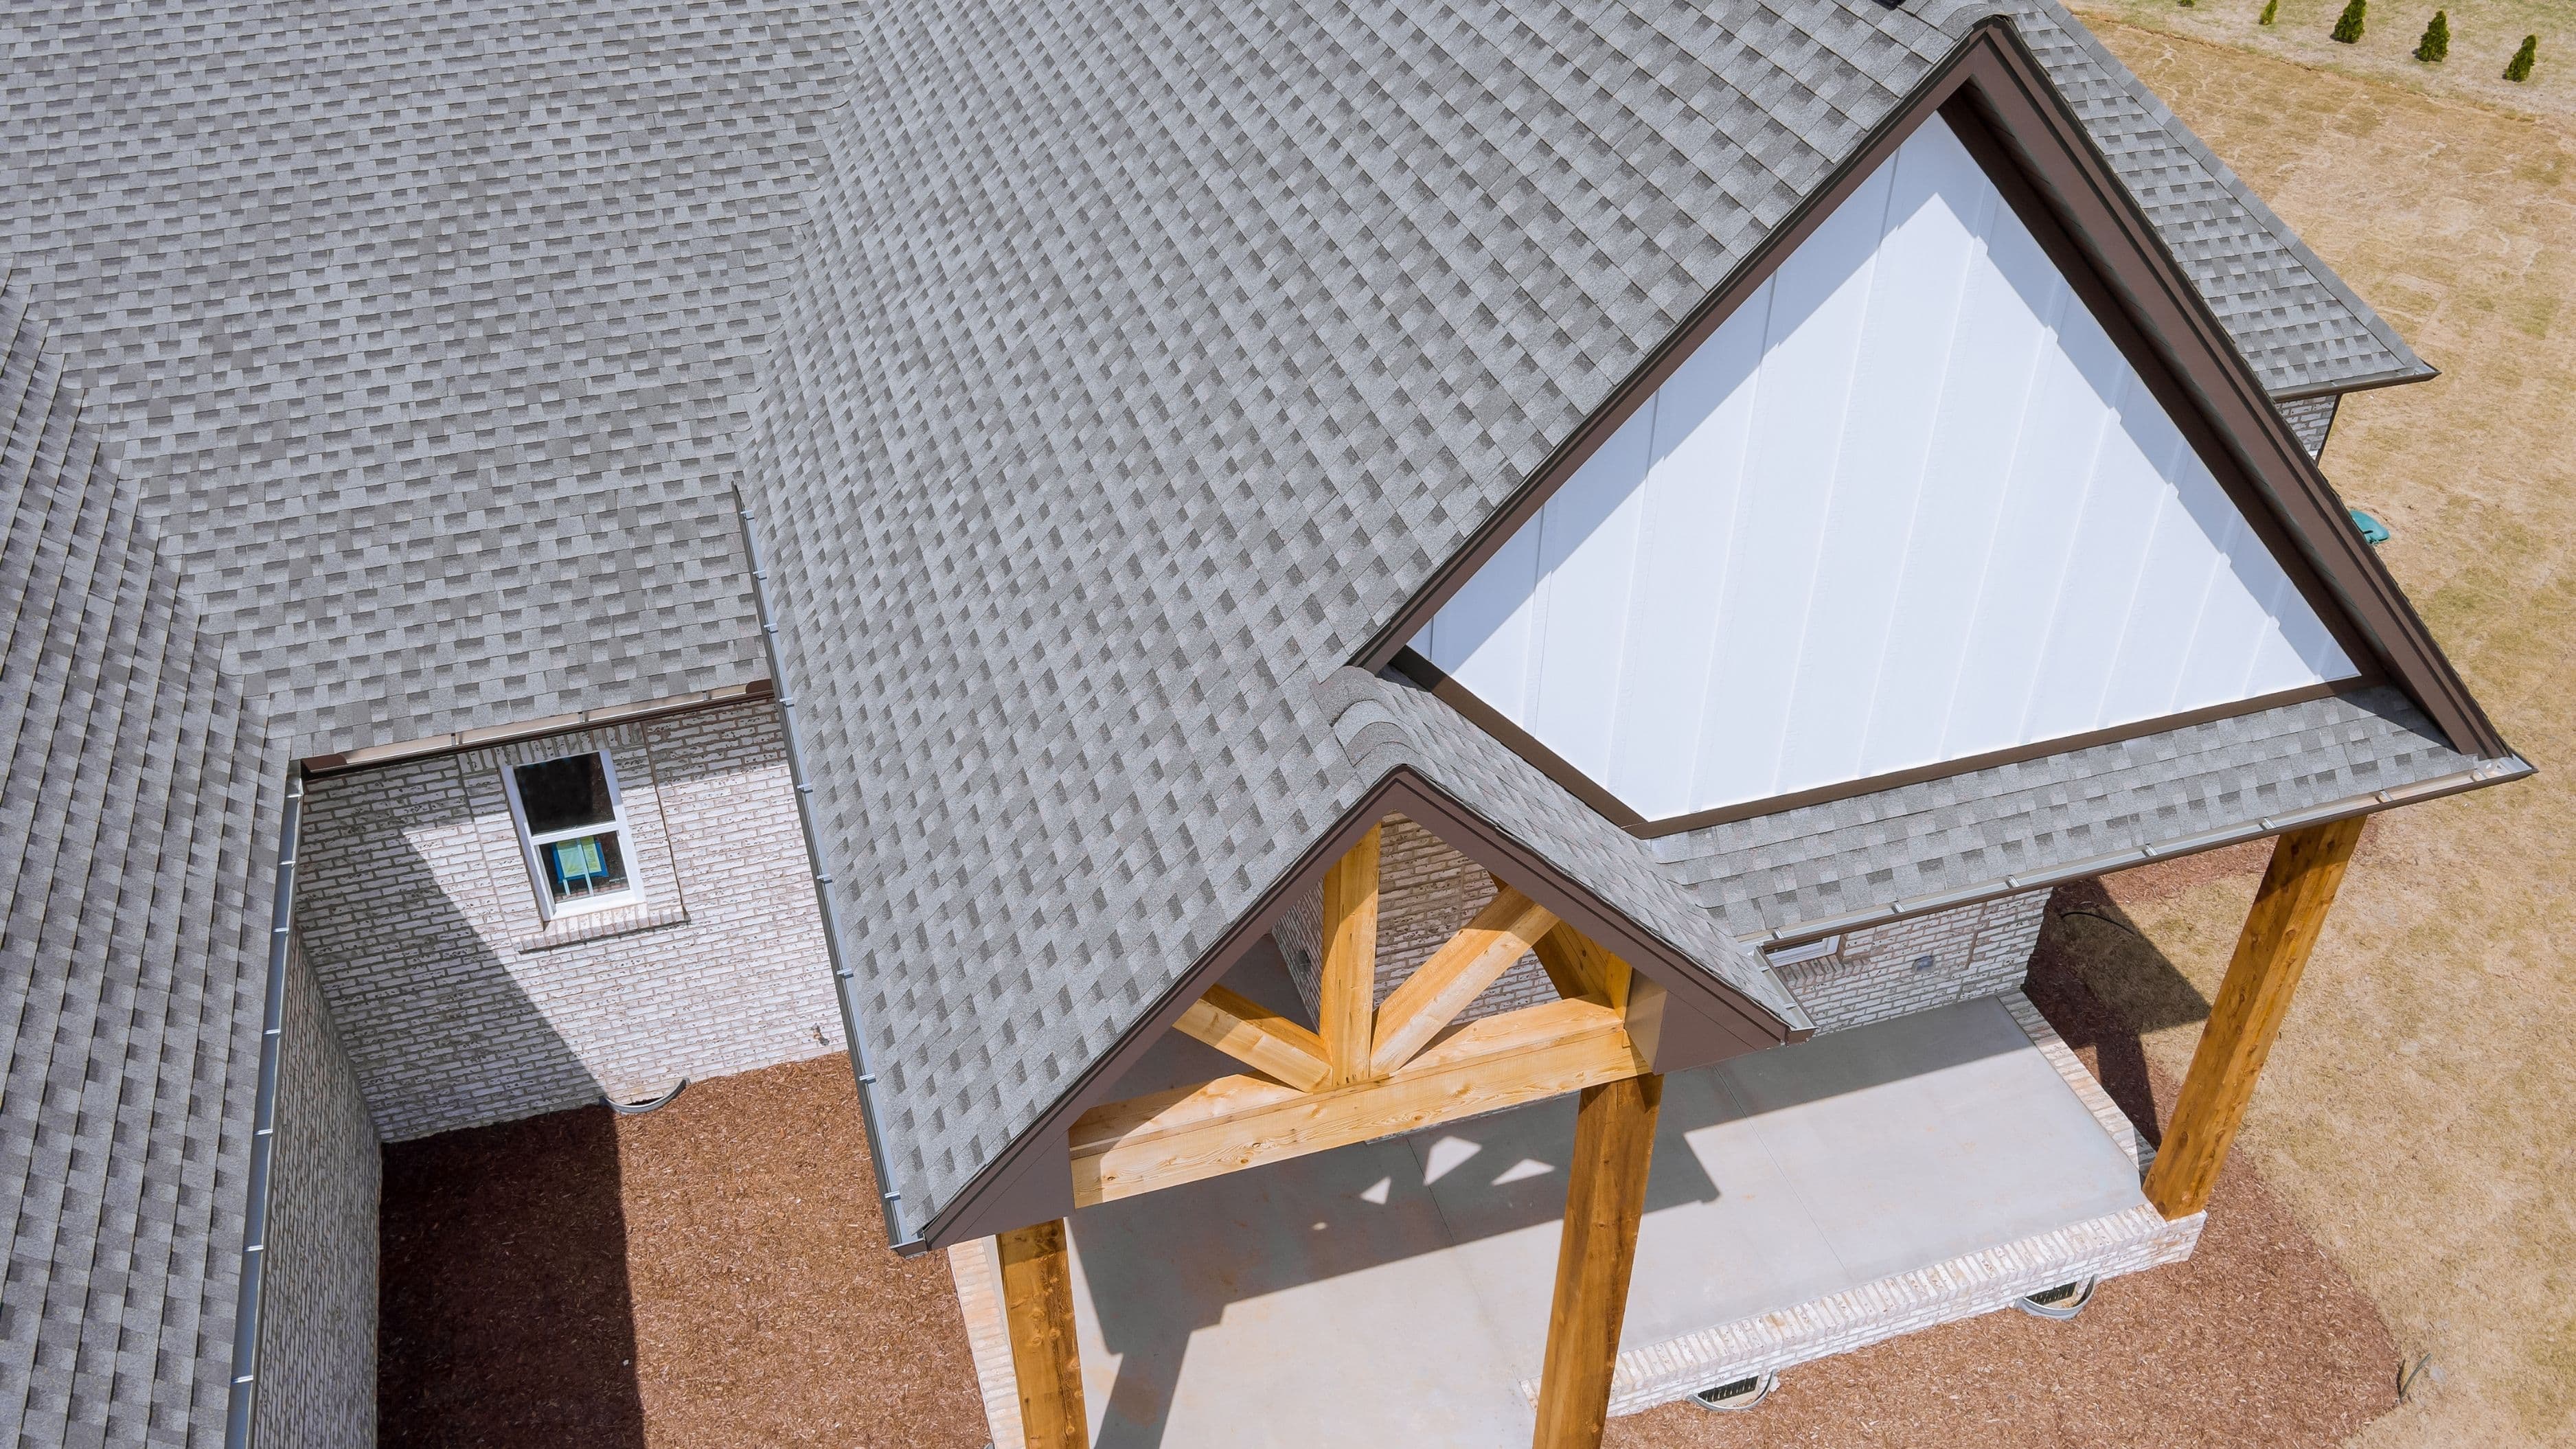
The base or step flashing tucks under the shingles and runs up the sides of the chimney in overlapping pieces. The counter flashing (or cap flashing) is embedded into the chimney's mortar joints and laps down over the step flashing to shed water away from the seam. Where the chimney sits on a slope, a small peaked structure called a cricket or saddle diverts water around the upper side so it doesn't pool. When any of these fail, water finds the gap and follows it inside – often appearing several feet from the actual entry point, which is part of what makes chimney leaks confusing.
The Most Common Causes, and How to Spot Each One
Cause 1: Failed or cracked sealant
The caulk or roofing sealant along the flashing edges and counter flashing dries out, cracks, and pulls away over years of sun and temperature swings. This is the most common chimney leak cause and the easiest to fix.
How to spot it: look closely at the line where the metal flashing meets the brick and where counter flashing tucks into the mortar. Cracked, crumbling, gray, or missing sealant is your answer. You may also see old "tar" patches from a previous quick fix that have since failed.
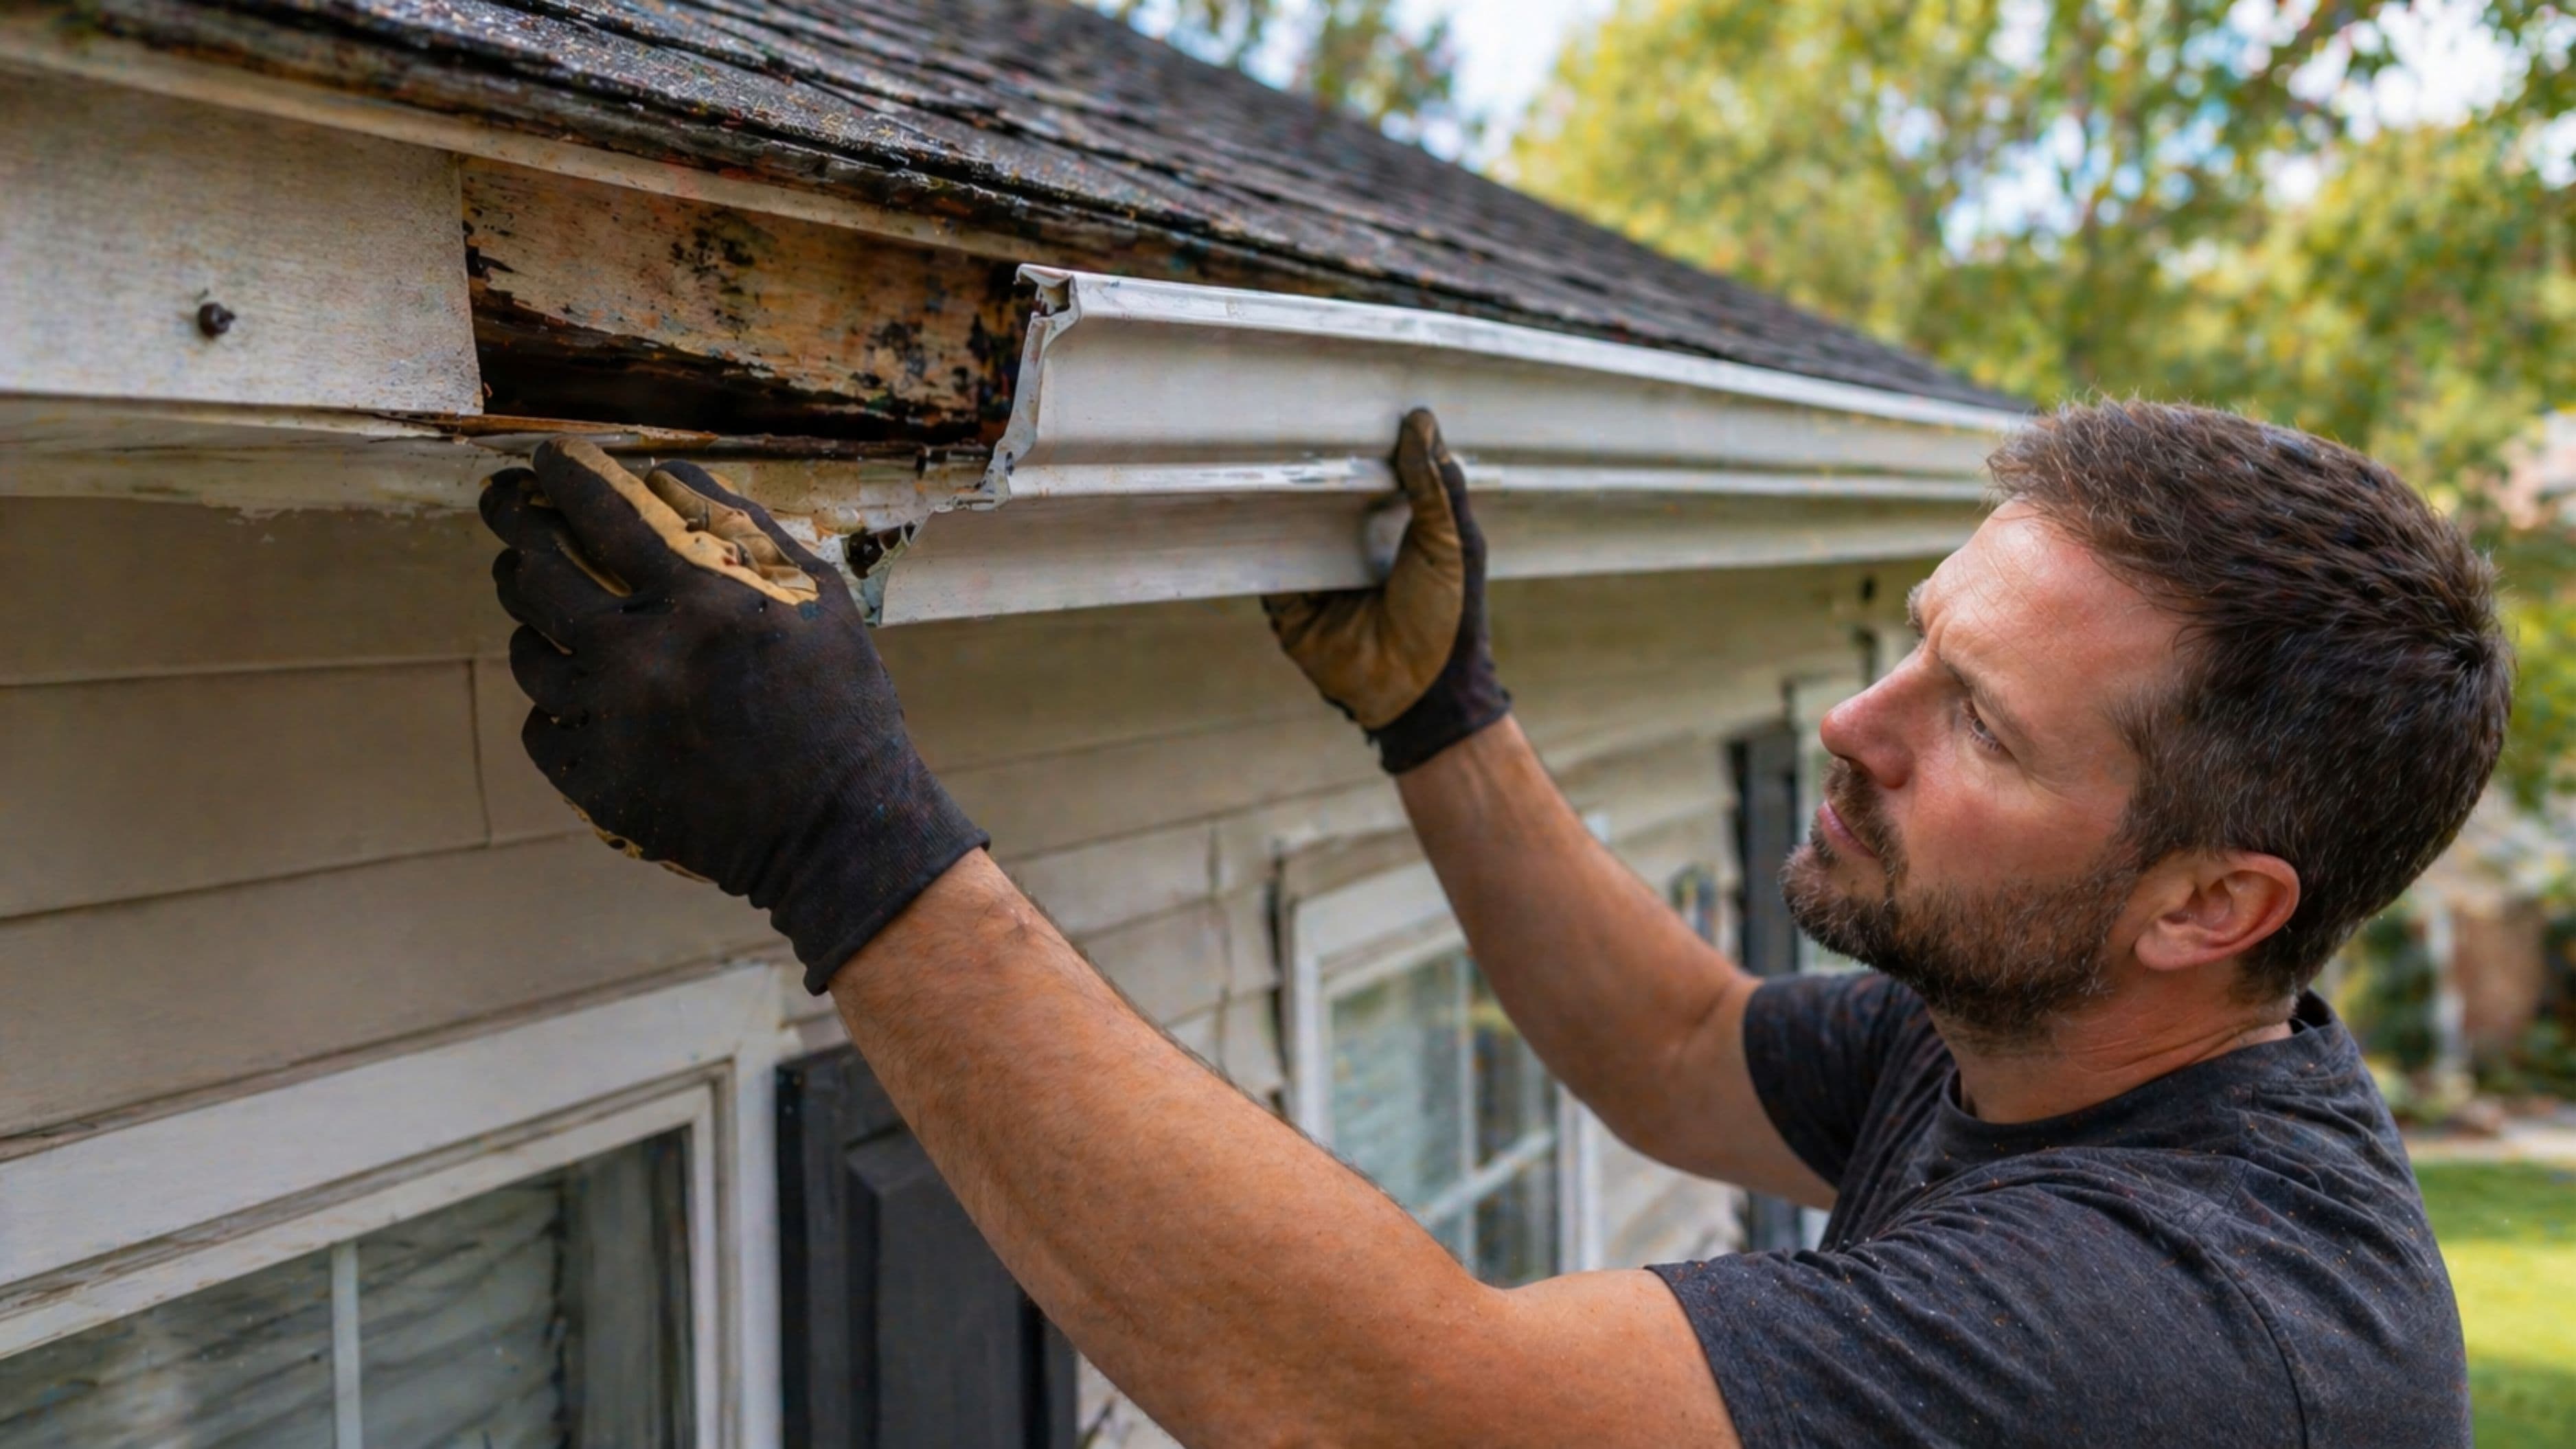
Cause 2: Rusted, bent, or damaged flashing
Older galvanized steel flashing rusts through eventually, and any flashing can get bent, lifted, or torn loose by wind, falling branches, or someone walking on the roof. Once there's a hole or a lifted edge, water pours straight in.
How to spot it: look for rust stains, holes, lifted or curled metal edges, or sections where the flashing has separated from the chimney or pulled out from under the shingles.
Cause 3: Deteriorated mortar joints holding the counter flashing
Counter flashing is usually set into a groove cut in the chimney's mortar joints. Over time that mortar crumbles, the flashing works loose, and the whole top seal fails even if the metal itself is fine.
How to spot it: check whether the counter flashing is still firmly bedded in the mortar or has pulled away, and look for crumbling, missing, or sandy mortar joints on the chimney itself.
Cause 4: Missing or poorly installed cricket
On wider chimneys, especially those low on a sloped roof, water and snow pile up on the uphill side. Without a cricket to divert it, that pooling water eventually beats the flashing. Many leaks here are actually installation problems that were there from day one.
How to spot it: look at the upper side of the chimney where it faces the roof peak. If there's no small diverter ridge and you see staining, debris buildup, or standing-water marks on that side, a missing or undersized cricket may be the culprit.
Cause 5: The leak isn't the flashing at all
Sometimes water near the chimney is coming from the chimney itself, not the flashing. A cracked chimney crown (the concrete cap on top), missing chimney cap, damaged brick or mortar absorbing water, or condensation inside the flue can all mimic a flashing leak.
How to spot it: if the flashing genuinely looks intact and well-sealed but you still get water, look up at the crown and brickwork, and note whether leaking correlates with rain (flashing/masonry) or with running the fireplace in cold weather (possible condensation).
How to Confirm the Source
Before fixing anything, confirm where the water is actually entering, because chimney-area leaks love to travel. Start in the attic on a dry day with a flashlight: look for water staining, damp insulation, or daylight around the chimney penetration, and trace stains upward to their highest point – water runs down, so the real entry is above the stain.
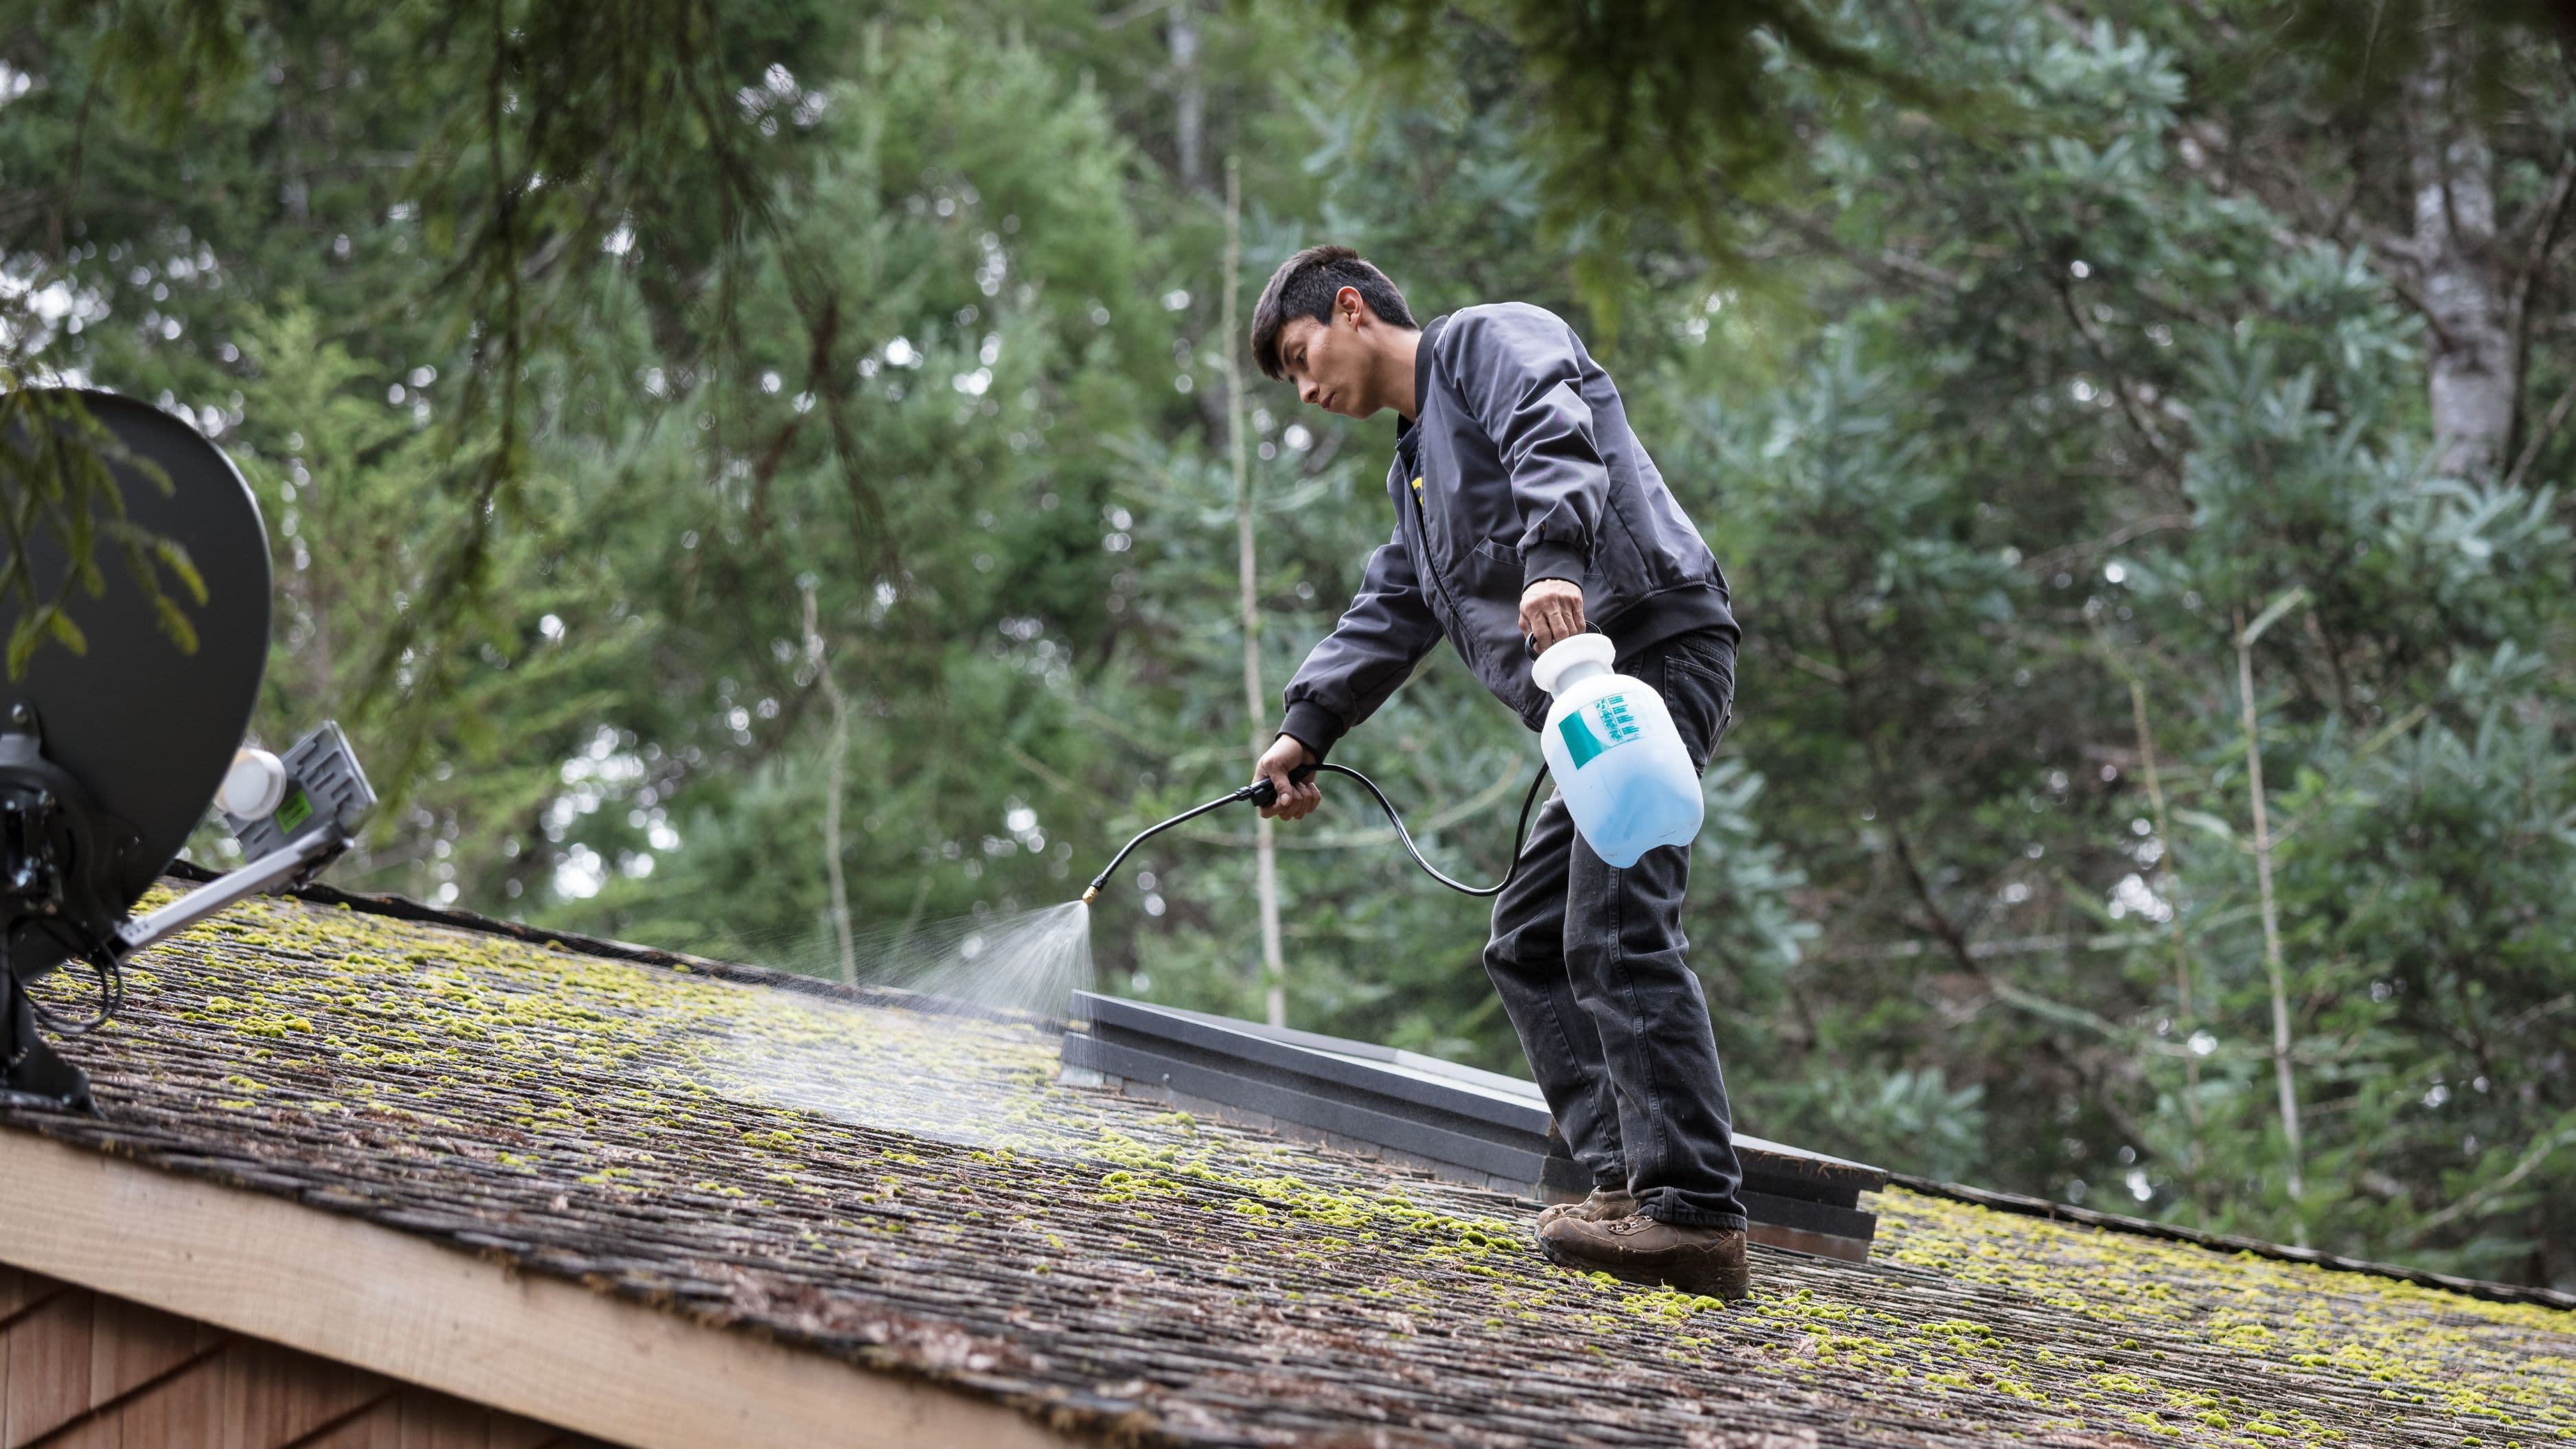
If you can't tell, a controlled hose test helps. With a helper watching inside the attic, run a garden hose on the roof starting low and working up the chimney in sections, spending several minutes on each area until water appears inside. This isolates the leak to a specific side or component rather than guessing.
What You Can Fix Yourself
If the cause is failed sealant (Cause 1), this is genuinely DIY-friendly. Clean the old, cracked sealant out of the joint, let the surface dry, and apply a quality flashing-specific sealant or polyurethane roof sealant rated for metal and masonry, tooling it into a smooth bead. Plan on about an hour and $10–20 in materials. Choose a dry, mild day so the sealant cures properly.
Small mortar gaps around counter flashing can sometimes be re-sealed or re-bedded with masonry caulk or mortar repair as a reasonable intermediate fix. And re-securing a single lifted flashing edge with the right fasteners and sealant is within reach for a confident DIYer.
Difficulty for these: low to moderate. The honest catch is that all of it requires safe roof access, which for many homes is the real limiting factor.
What to Leave to a Pro
Some of these jobs aren't worth the risk or really need the right skills. Replacing rusted-through or badly damaged flashing means removing shingles and weaving in new metal correctly so it sheds water – done wrong, you create new leaks. Installing a cricket is a fabrication-and-flashing job for a roofer. Re-bedding counter flashing into freshly cut mortar joints (proper "reglet" work) is masonry-meets-roofing skill. And anything involving the chimney crown, brick repointing, or interior flue condensation belongs to a roofer or chimney professional.
A pro flashing repair or replacement commonly runs a few hundred dollars; crickets and masonry work cost more. That's still far cheaper than the rotted decking, ruined insulation, and ceiling repairs an ignored leak produces over a winter.
Safety Notes
The biggest risk here isn't the repair – it's the roof. Don't go up on a steep, wet, or high roof, and never work alone up there. Use a stable ladder set on firm ground, have someone spotting you, and wear shoes with real grip. If your roof is steep or you're more than a single story up and the idea makes you uneasy, that instinct is correct – hire it out.
Work only in dry, calm weather, keep clear of any nearby power lines running to the house, and never put weight on flashing or shingles you already suspect are compromised. No repair is worth a fall.
What to Avoid
The number-one mistake is the "bucket of tar" fix – slathering roofing cement or tar over the whole flashing area. It looks like a solution for a season, then cracks, traps water underneath, and makes the eventual proper repair messier and more expensive. Use the right sealant in the right joint instead of burying everything.
Another common error is sealing over the symptom without finding the source, so the water simply finds the next gap and you're back to staring at the ceiling after the next storm. Confirm the entry point first. Finally, don't ignore a small chimney leak hoping it'll dry out – chimney leaks rot roof decking and framing quietly, and a $20 sealant job postponed becomes a four-figure structural repair.
When to Call a Pro
Call a professional if you see active dripping during rain and interior damage, if the flashing or mortar is clearly deteriorated rather than just needing a sealant touch-up, if your roof is steep or multi-story, or if you've sealed the obvious spots and the leak persists – that last one usually means the problem is the flashing system, the cricket, or the masonry, not the caulk. A roofer or chimney specialist can also assess the crown and brickwork in the same visit, which is worth it since chimney problems tend to travel together.
FAQ
Can I just caulk the chimney flashing to stop the leak? If the cause is dried-out, cracked sealant and the flashing itself is sound, yes – fresh flashing sealant in the proper joint is a legitimate fix. If the metal is rusted through or the mortar holding the counter flashing has failed, caulk is only a short-term patch.
Why does the leak appear far from the chimney? Water enters at the flashing, then runs along rafters or the underside of the roof deck before dripping down, so the ceiling stain can be feet away from the actual entry. Always trace stains to their highest point in the attic.
How long does chimney flashing last? Quality flashing can last 20–30 years or more, but the sealant around it typically needs attention every 5–10 years. Mortar joints and aging galvanized flashing are the parts that tend to fail first.
Is a chimney leak an emergency? Active dripping into the house should be addressed quickly because water damage compounds fast, but you generally have time to do it safely and correctly rather than rushing onto a wet roof in a storm. Catch the worst of it with interior containment, then fix it properly when conditions allow.
Could the water be condensation instead of a leak? Possibly, especially if you notice moisture mainly when running the fireplace in cold weather rather than during rain. Flue condensation is a different problem that a chimney professional should evaluate.
The Bottom Line
A leak around the chimney almost always traces back to the flashing system – usually failed sealant, damaged metal, or crumbling mortar – though the chimney's own crown and brickwork can be the hidden cause. Start by confirming where the water actually enters, handle a simple sealant fix yourself if the flashing is otherwise sound, and hand off flashing replacement, cricket installation, and masonry work to a pro. Catch it early and it's a cheap afternoon; ignore it and a chimney leak will quietly do far more damage than its size suggests.
📚 Sources
This Old House – How to Fix a Roof Leak Around a Chimney: https://www.thisoldhouse.com/roofing/21015057/how-to-fix-a-roof-leak
Chimney Safety Institute of America – Water and Your Chimney: https://www.csia.org/homeowner-resources/
Family Handyman – How to Find and Repair Roof Leaks: https://www.familyhandyman.com/project/how-to-find-and-repair-roof-leaks/
InterNACHI – Roof Flashing Inspection Guide: https://www.nachi.org/roof-flashing.htm
🔍 Explore Related Topics