
The good news is that not all curling shingles mean it's time for a full roof replacement. Depending on the cause and how widespread the problem is, you may be able to handle the fix yourself for minimal cost. This guide walks through why shingles curl, what each type of curling tells you, and what you can actually do about it.
Two Types of Curling: Cupping vs. Clawing
Not all curling looks the same, and the difference matters because each type points to a different cause.
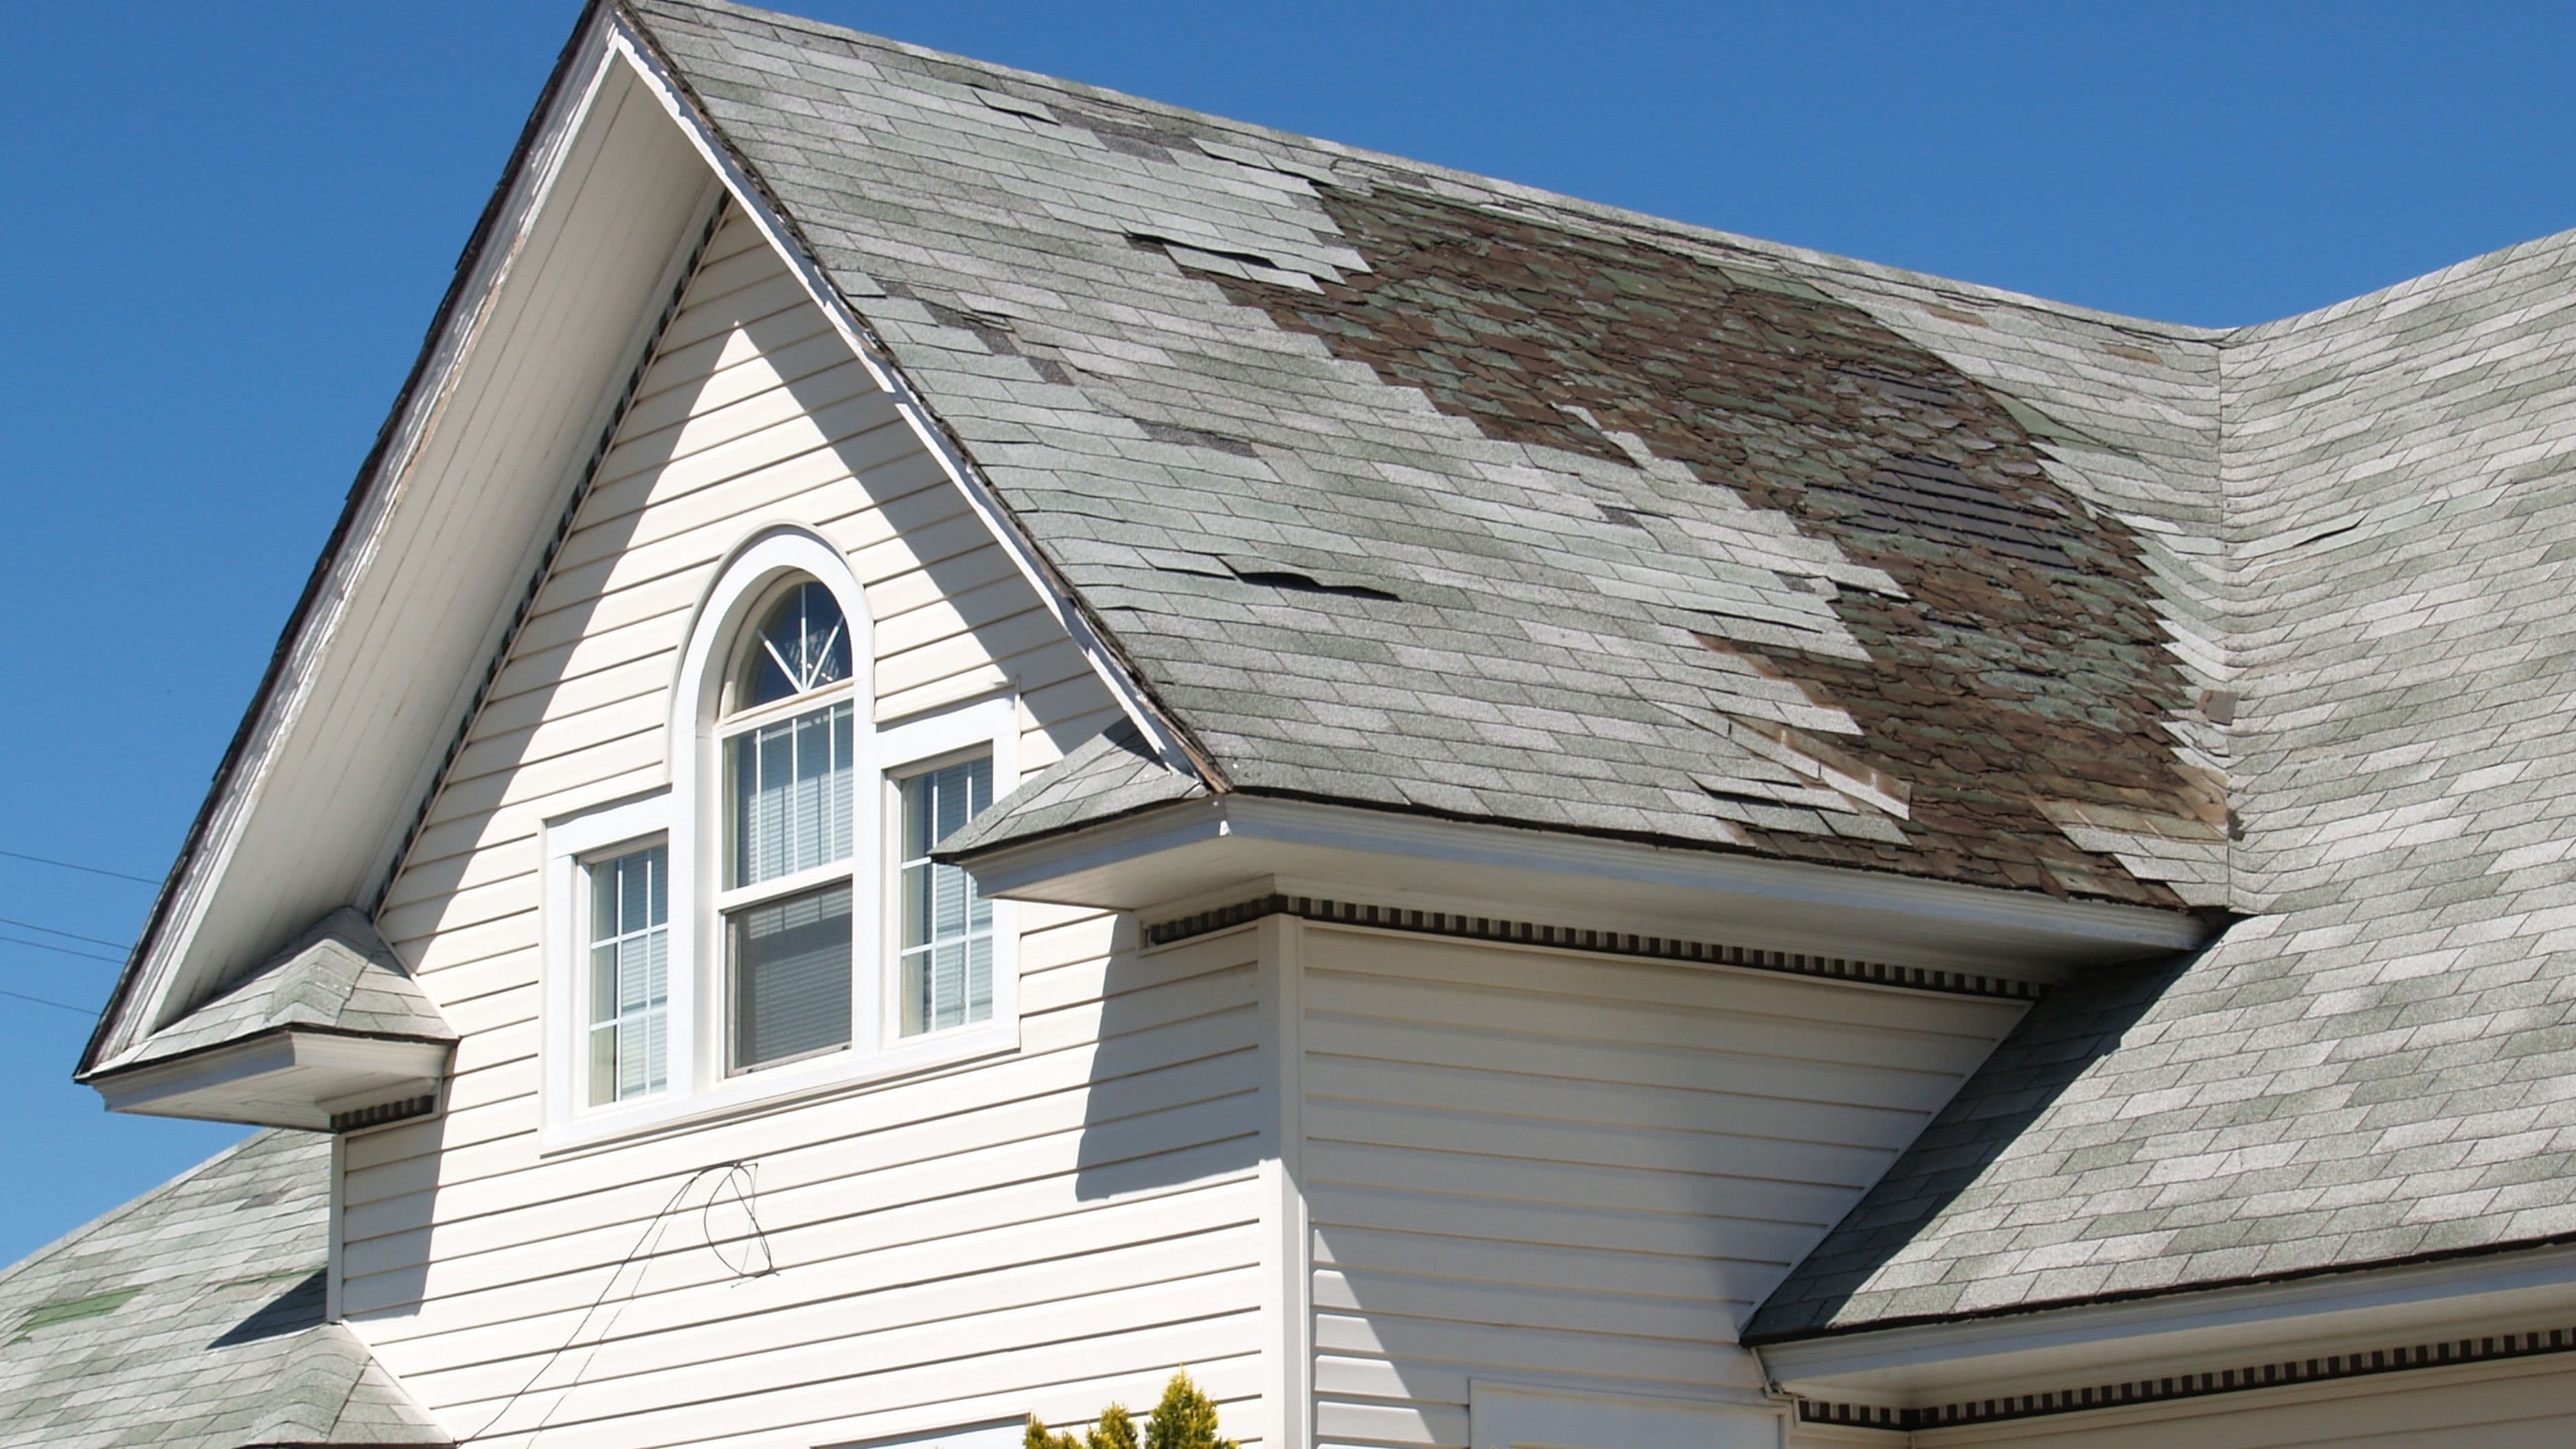
Cupping is when the edges of the shingle turn upward while the middle stays relatively flat – like the shingle is forming a shallow bowl. This is typically caused by moisture imbalance: the bottom of the shingle absorbs moisture and expands while the top dries out and contracts, forcing the edges up. It's very common in aging shingles and in roofs with ventilation problems.
Clawing is the opposite – the edges stay flat or curl slightly downward while the middle of the shingle bows upward. This is usually a sign of inadequate bonding between the shingle layers, often related to manufacturing defects, age, or installation issues like insufficient nailing.
Both types compromise the roof's ability to shed water. A cupped shingle creates gaps where water can work its way underneath. A clawing shingle breaks the overlapping seal between courses and leaves the top edge of the shingle below exposed to direct water intrusion. Neither is an emergency the day you notice it, but both are on a timer.
Cause 1: Age and Normal Weathering
What's happening: Asphalt shingles have a finite lifespan – typically 20–30 years for standard three-tab shingles and 25–50 years for architectural (dimensional) shingles, depending on quality and climate. As shingles age, the asphalt binder that holds the granules and gives the shingle flexibility dries out and becomes brittle. The fiberglass or organic mat beneath begins to lose its ability to hold its shape under temperature cycles, and curling is often one of the first visible results.
How to assess it: If your roof is within 5–10 years of its expected lifespan and curling is widespread across multiple slopes, you're looking at end-of-life behavior rather than a fixable problem. Check for additional signs: granule loss in the gutters, dark patches where granules have worn through, or visible cracking alongside the curling.
The fix: Widespread curling on an aging roof is a replacement indicator, not a repair situation. Applying roofing cement to flatten individual shingles buys a little time but doesn't reverse underlying material degradation. If curling is limited to a few shingles on an otherwise sound roof, replacement of individual shingles is a reasonable repair – more on that process below.
Cause 2: Poor Attic Ventilation
What's happening: This is one of the most common causes of premature shingle curling, and it's fixable without touching the roof surface itself. When attic ventilation is inadequate, heat and moisture build up in the attic space. The underside of the roof deck stays consistently hot and damp, which transfers heat and moisture directly to the shingles above. This causes the fiberglass mat to distort and the asphalt to soften and lose shape. In winter, trapped moisture condenses and cycles between wet and dry, accelerating the same process from below.
How to assess it: Go into the attic on a hot day. If it feels noticeably hotter than the outside temperature and there's limited airflow from soffit and ridge vents, ventilation is likely the issue. Look for moisture staining on the underside of the roof decking or rafters, which confirms trapped moisture is a factor.
The fix: Improving attic ventilation is the underlying fix, and it can significantly slow or stop further curling on shingles that haven't yet reached the end of their useful life. The basic principle is balanced intake and exhaust: soffit vents at the eaves allow cool outside air in, while ridge vents or gable vents at the peak allow hot air to exit. The general rule is one square foot of net free ventilation area per 150 square feet of attic floor space (or 1:300 if a vapor barrier is present). Adding or clearing blocked soffit vents and ensuring the ridge vent is unobstructed by insulation are the two most common fixes, and both are DIY-manageable with basic tools.
Cause 3: Improper Installation
What's happening: Curling can appear on a relatively new roof if the shingles were installed incorrectly. The two most common installation errors are over-nailing and under-nailing. Over-nailing – driving nails too deep – breaks through the shingle mat and allows the shingle to move and distort over time. Under-nailing – not using enough nails or placing them incorrectly – leaves shingles insufficiently secured, allowing them to lift and warp. Nailing through the adhesive strip rather than through the designated nailing zone is another frequent error that compromises the shingle's bond.
Improper installation can also result from shingles being applied over an uneven or rotted deck, which causes movement in the substrate that translates to deformation above.
How to assess it: If curling appears within the first few years of a new roof installation, installation error is the most likely cause. Look for inconsistent nail placement patterns visible at the edges of lifted shingles, and check whether curling is concentrated in specific areas rather than distributed evenly.
The fix: If the roof is under a workmanship warranty, document the problem with photographs and contact the installer before attempting any repair yourself. Doing repairs yourself may void warranty coverage. If the warranty period has passed or no warranty exists, individual shingle replacement (covered below) combined with correcting any deck issues is the appropriate approach.
Cause 4: Moisture in the Shingles or Deck
What's happening: Shingles that were installed while wet, stored improperly before installation, or laid over a damp deck can curl as they dry unevenly after installation. Similarly, if the roof deck beneath the shingles has absorbed moisture through a leak or condensation over time, the expansion and contraction of the wet wood directly distorts the shingles nailed to it.
How to assess it: Check the attic for signs of active or historical leaks – water staining, soft spots in the decking, or daylight visible through gaps. Soft or spongy areas felt through the decking from above (careful probing in the attic) indicate deck damage.
The fix: If the deck is damaged, it needs to be repaired or replaced before new shingles will lie flat. Surface-only repairs on top of compromised decking don't hold. For localized deck damage, sistering new lumber to damaged rafters and replacing the affected sheathing is a manageable DIY project with basic framing skills. Widespread deck damage warrants professional assessment.
How to Fix Individual Curled Shingles
If curling is isolated to a handful of shingles on a roof that's otherwise in good condition, you can often fix them without a full replacement. This repair works best when shingles are still relatively flexible – cold, brittle shingles crack easily when pressed flat.
What you'll need:
Roofing cement (also called plastic roof cement or asphalt roof cement)
Caulk gun
Roofing nails (1¼-inch or 1½-inch galvanized)
Flat pry bar
Hammer
Work gloves and rubber-soled shoes
Step 1 – Choose your working conditions carefully. Warm, dry weather is essential. Shingles become workable at temperatures above 50°F and are easiest to flatten when warm. Never work on a wet roof. Early morning or late afternoon on a clear day is ideal.
Step 2 – Assess the shingle before committing. Try gently pressing the curled edge flat with your hand. If it cracks or fractures rather than flexing, it's too brittle to repair and needs to be replaced instead. If it flexes without cracking, proceed.
Step 3 – Apply roofing cement. Using a caulk gun, apply a bead of roofing cement under the curled portion of the shingle – about ¼ inch from the edge. You don't need a large amount; a ⅜-inch bead along the curled section is sufficient.
Step 4 – Press the shingle flat and secure it. Press the curled section firmly down onto the cement. Hold it in place for 30–45 seconds to allow initial adhesion. For shingles that resist lying flat, place a brick or heavy object on the repair for several hours while the cement sets. On particularly stubborn curls, drive a roofing nail through the corner of the shingle at the edge of the lift – then apply a dab of roofing cement over the nail head to seal it.
Step 5 – Check neighboring shingles. Curling rarely happens in complete isolation. Inspect the shingles immediately above and below the repaired one for signs of lifting or compromised adhesive strips.
When to Replace Rather Than Repair
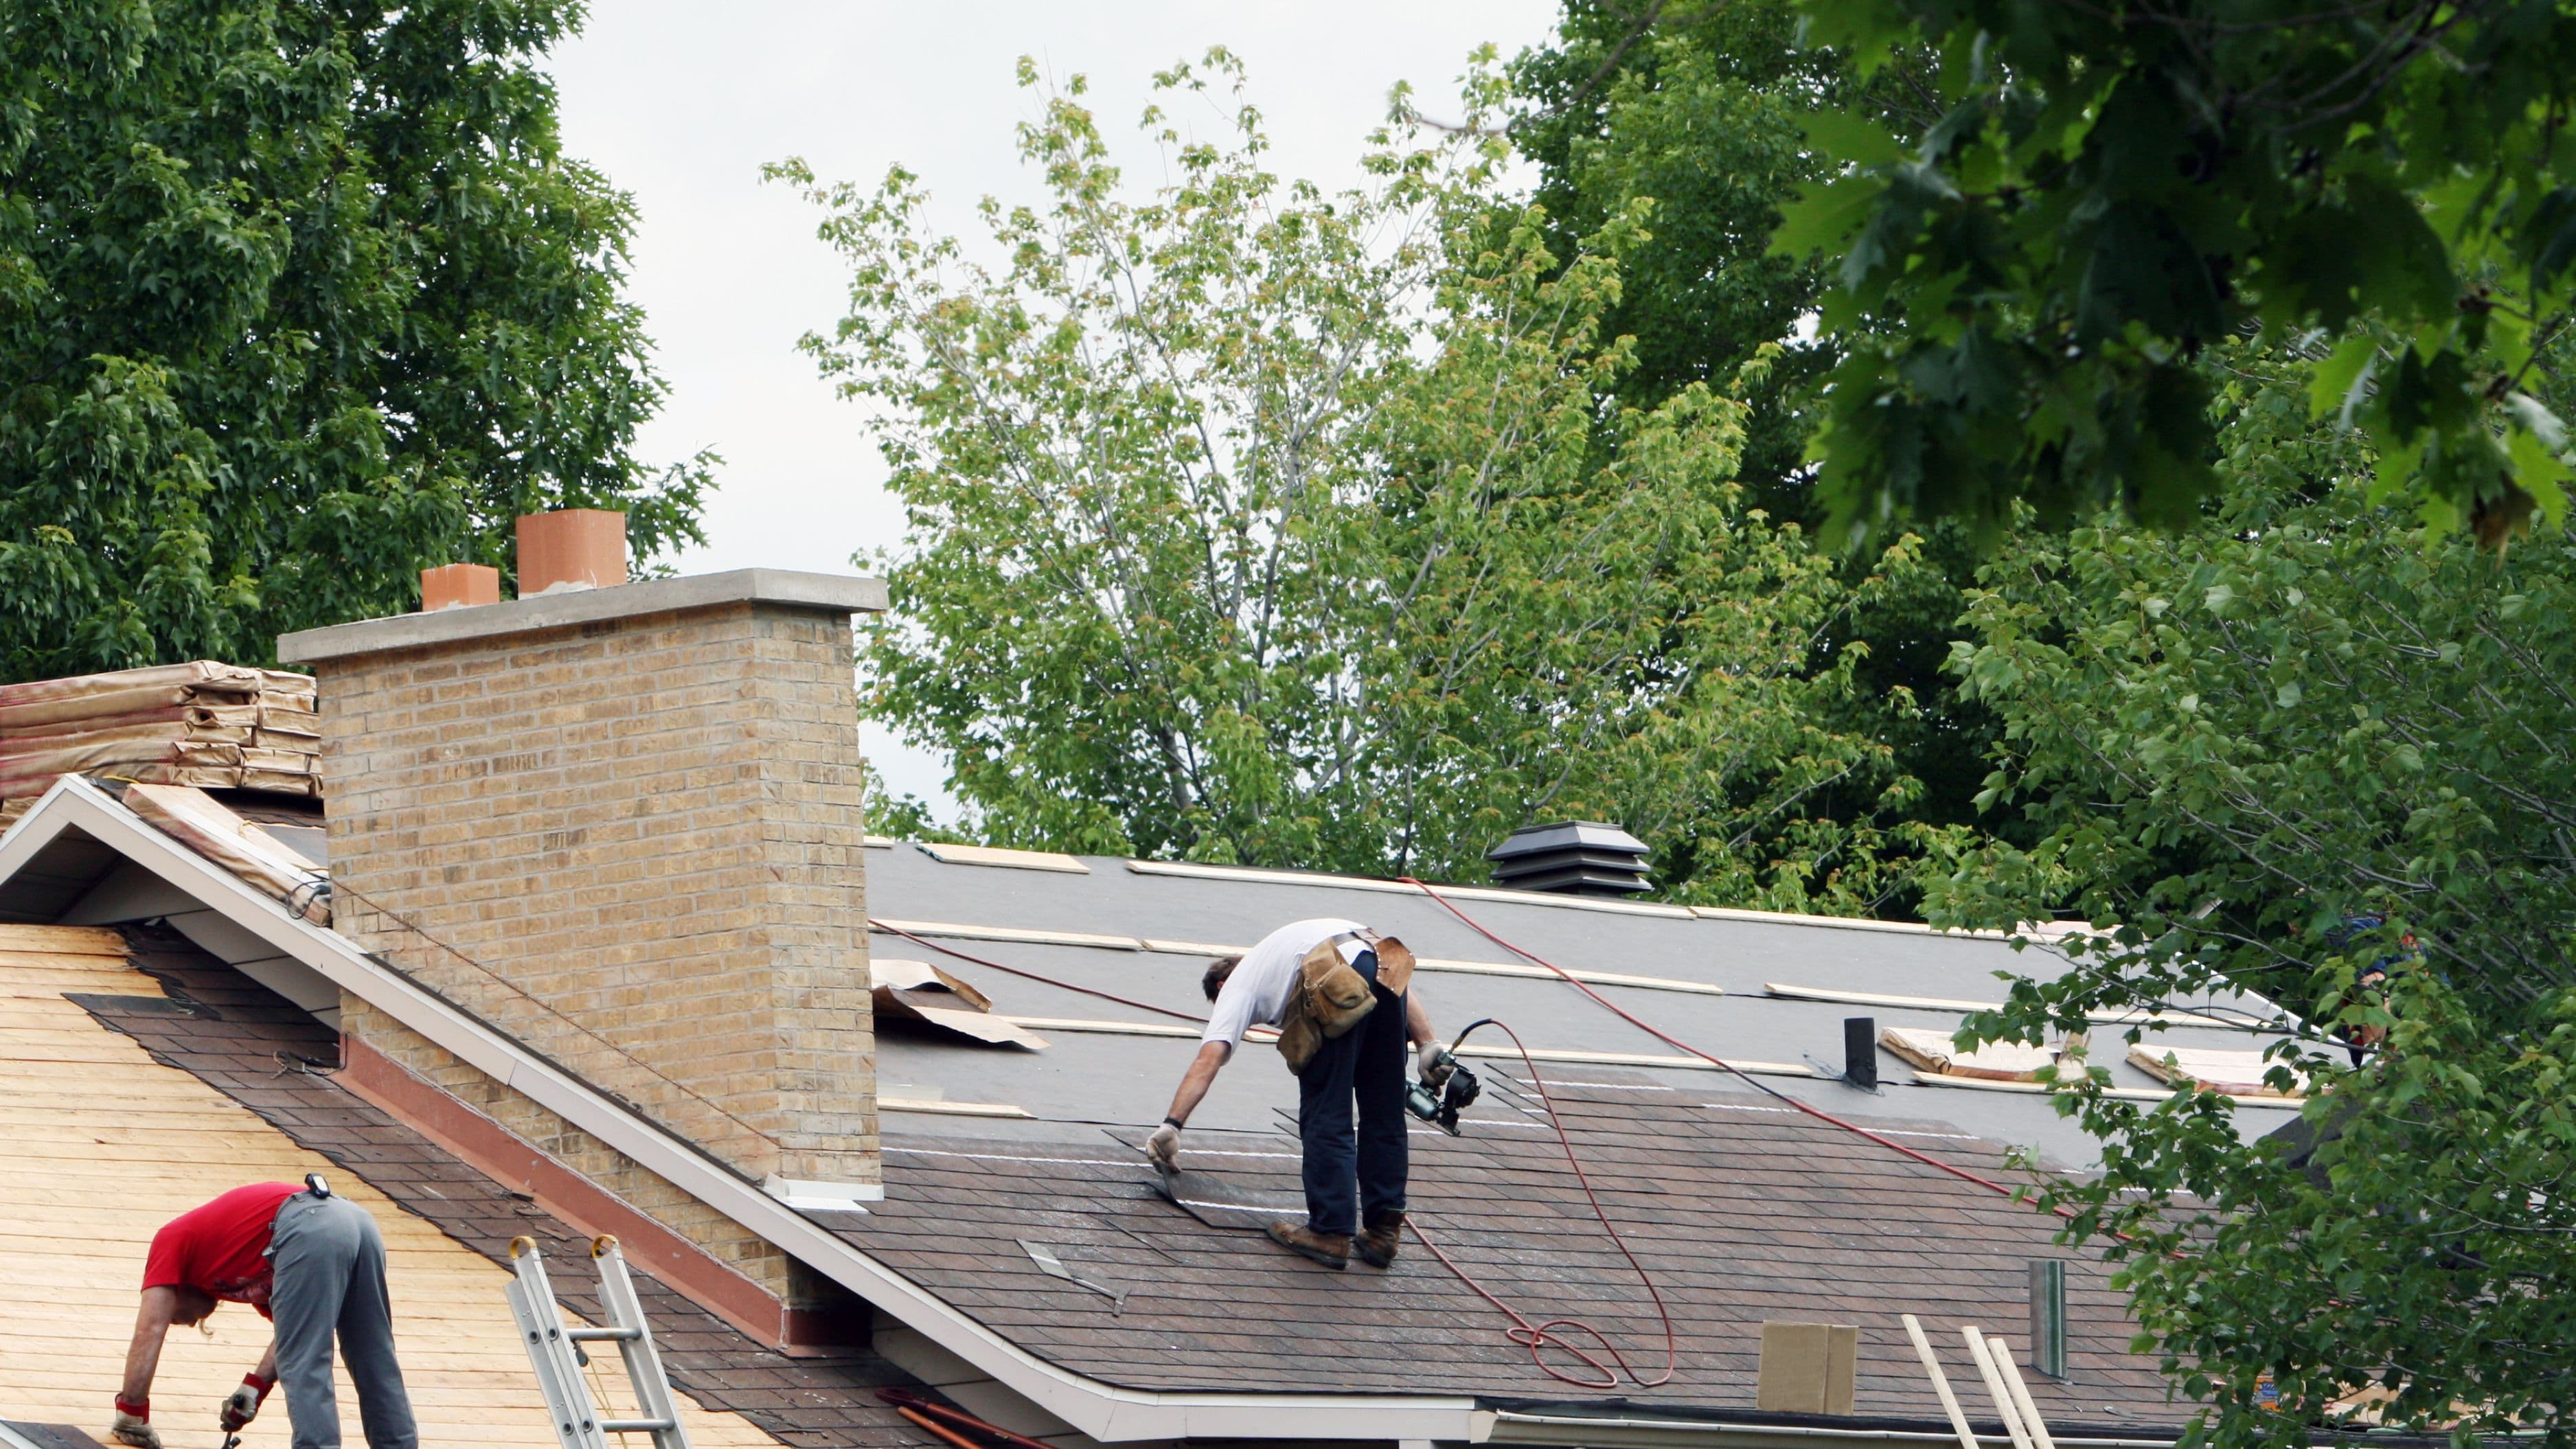
Individual shingle replacement makes sense when a repair won't hold or when a specific shingle is damaged beyond the point of reuse. Replacing a shingle involves carefully lifting the edges of the shingles above it, removing the nails holding the damaged shingle in place with a flat bar, sliding the new shingle into position, renailing it in the correct nail zone, and re-sealing the overlapping shingles above with roofing cement. It's a manageable DIY job on low-slope sections of a single-story home; on steep pitches or upper stories, the fall risk is significant enough to warrant calling a professional.
When to Call a Professional
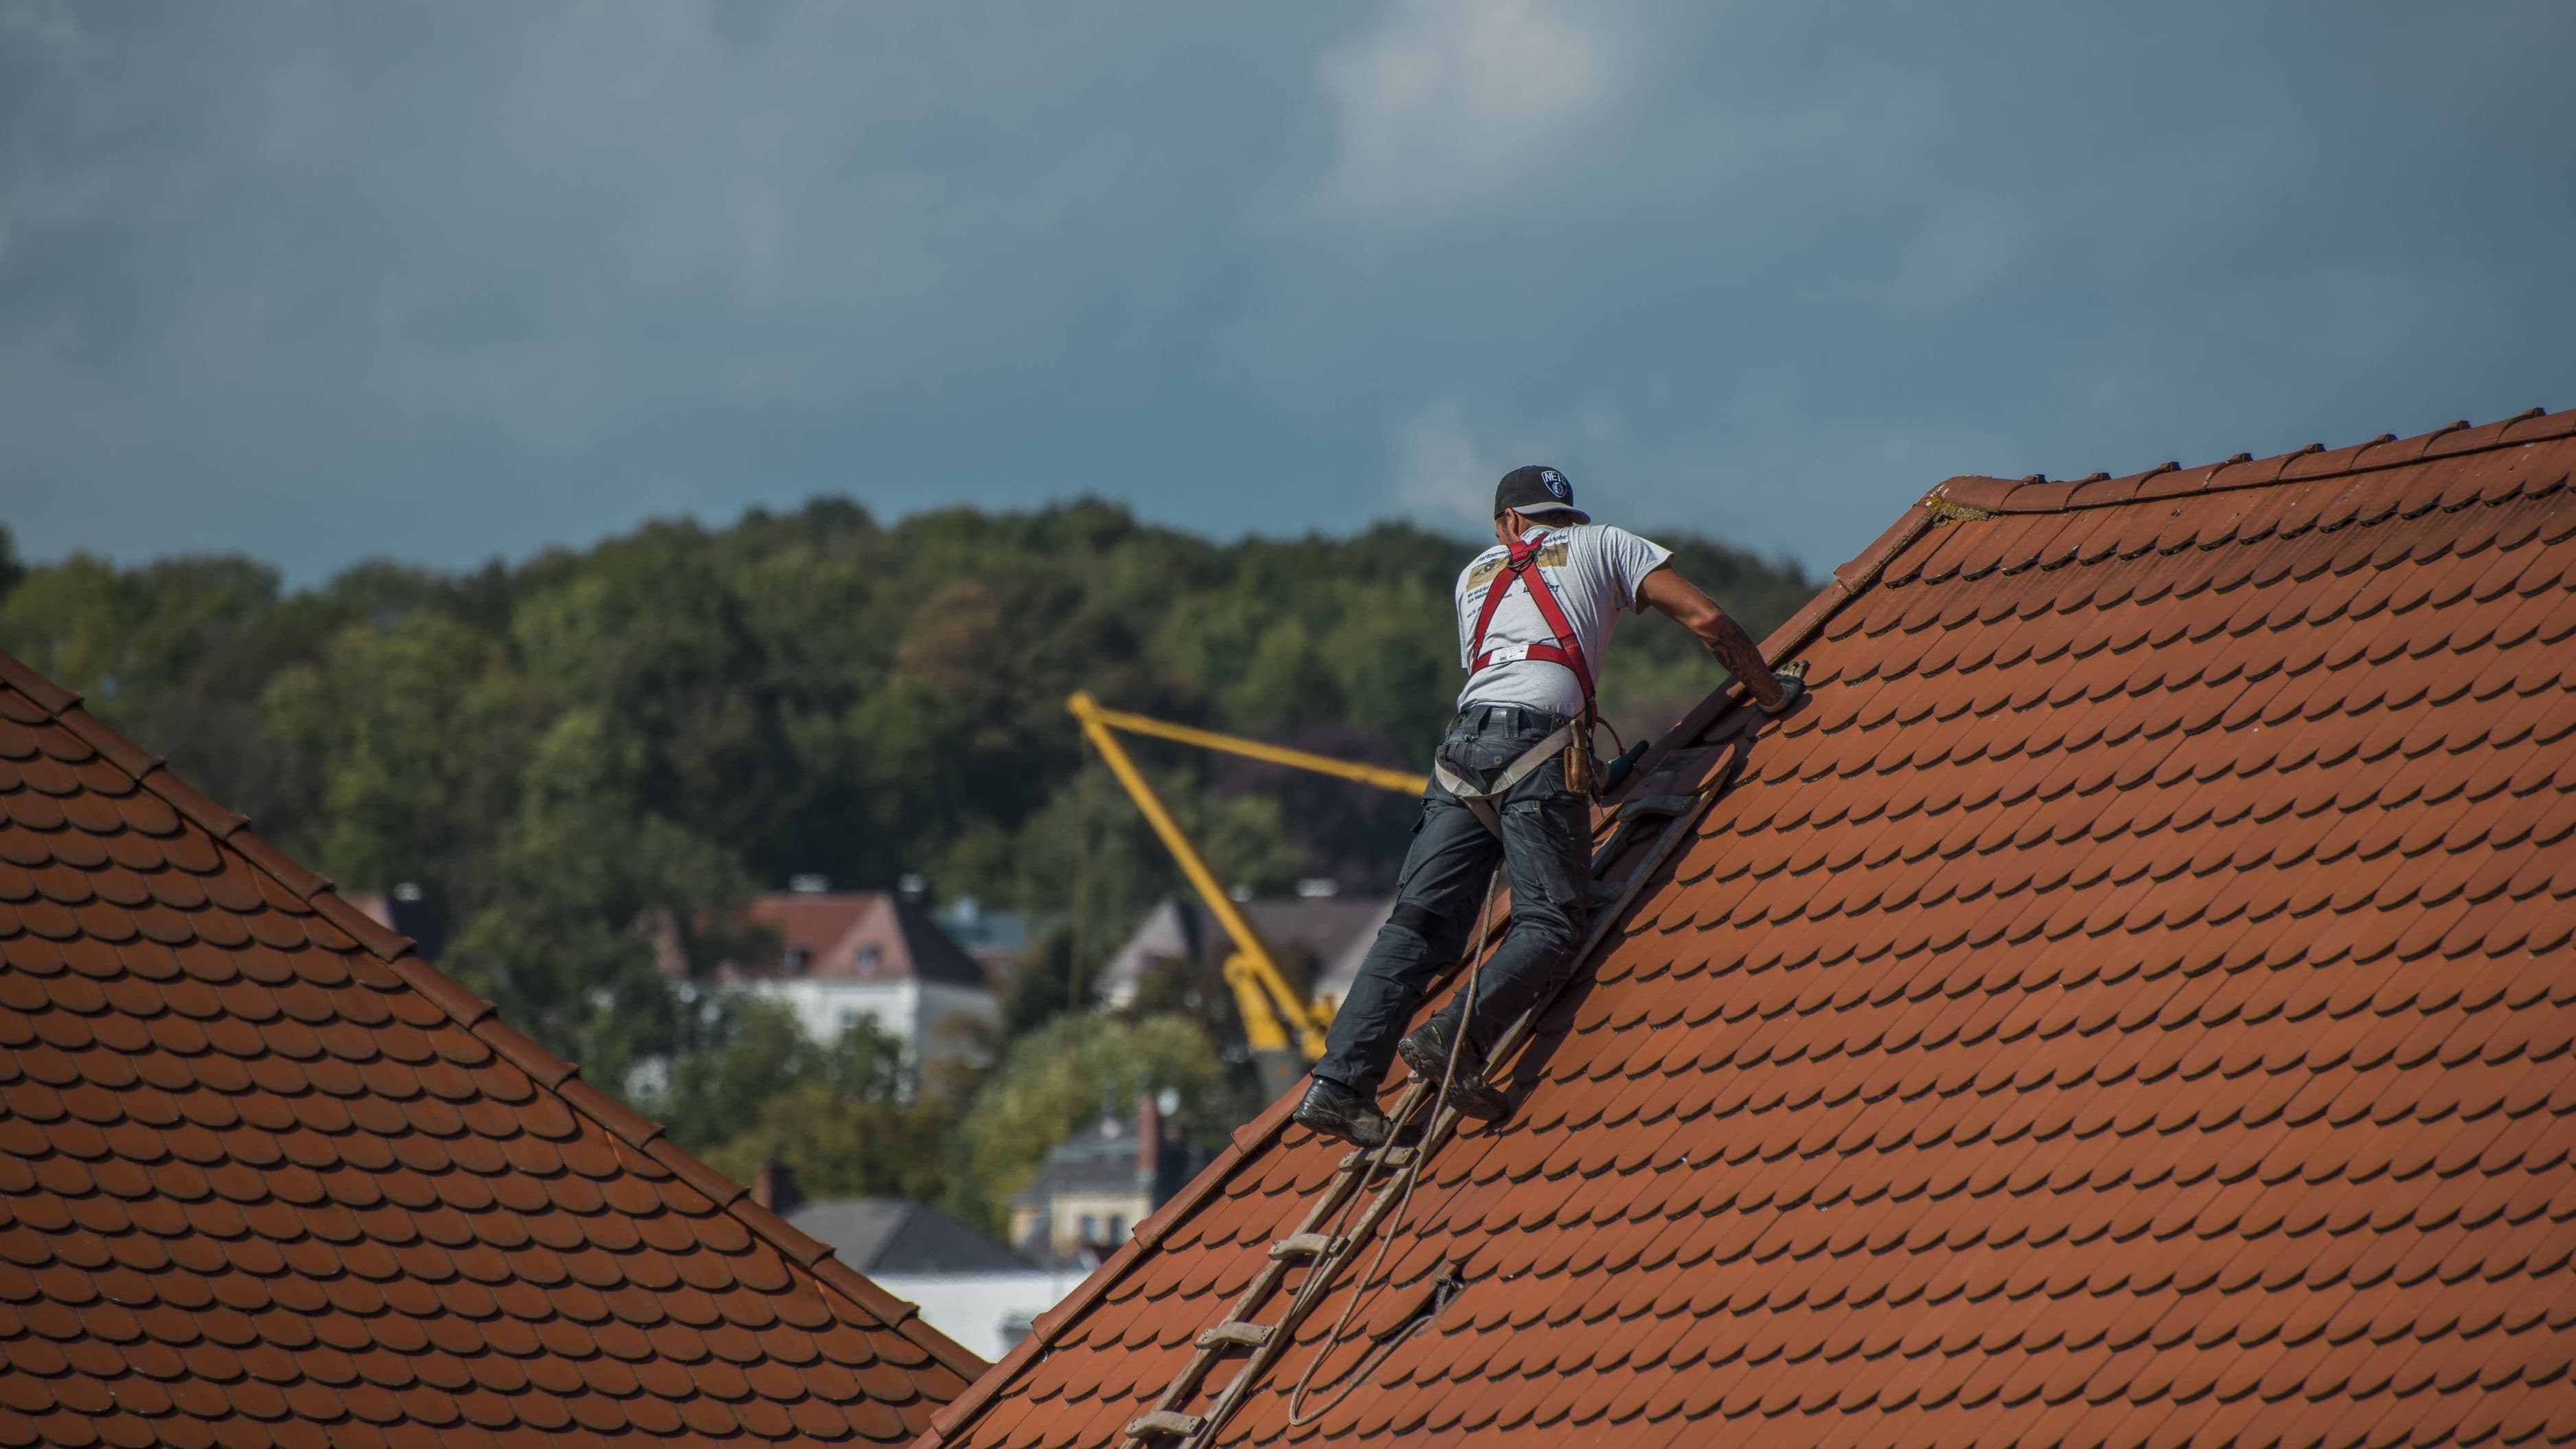
Call a roofer when curling is widespread across more than a quarter to a third of the roof surface, when you can see daylight through gaps in the shingles from the attic, when there's evidence of active water intrusion inside the home, or when the roof deck itself is soft or damaged. Also call a professional any time the work requires working at height on a steep pitch or multi-story roofline – falls from roofs are among the most common serious home repair accidents, and the savings from DIY aren't worth that risk.
Get two or three estimates before committing to a full roof replacement, and ask each contractor specifically whether repair or partial re-roofing might be sufficient. Not every roofer will volunteer that information, but some will.
Safety Notes
Never walk on a roof without rubber-soled shoes that provide grip. Wet or moss-covered shingles are extremely slippery. Use a properly rated extension ladder with standoff stabilizers, and have someone present when you're working at height. On roofs with pitches steeper than 6:12 (a rise of six inches per horizontal foot), roof jacks – temporary metal brackets nailed to the roof deck – provide a secure platform to stand on. For most homeowners, anything above a two-story roofline or steeper than moderate pitch is best left to a professional.
FAQ
Can I fix curled shingles in cold weather? It's not ideal. Cold shingles are brittle and crack easily when bent. If you need to make an emergency repair in cold weather, warm the shingle gently with a heat gun on its lowest setting before pressing it flat – but work carefully and don't overheat. Roofing cement also sets more slowly below 50°F.
How long does roofing cement last on a repaired shingle? A properly applied roofing cement repair typically holds 3–7 years under normal conditions. It's a legitimate repair, not just a stopgap, on shingles that still have usable life in them. It won't outlast a full shingle replacement.
Will curled shingles cause leaks right away? Not necessarily immediately, but the risk increases meaningfully. Cupped shingles allow wind to get underneath and lift them further. Both cupping and clawing create pathways for water to work under the shingles during rain, especially wind-driven rain. The longer curling goes unaddressed, the more likely a leak becomes.
How can I tell if my roof needs to be fully replaced? Signs that point toward full replacement rather than repair: curling present across multiple slopes, significant granule loss throughout, shingles that crack when pressed, a roof at or past its expected age, evidence of widespread moisture in the attic, or multiple layers of shingles already on the roof (most building codes limit this to two layers).
Is it okay to put new shingles over old curled ones? No. Installing new shingles over curled ones creates an uneven surface that prevents proper sealing and can shorten the lifespan of the new shingles. If re-roofing, the old shingles should come off first – or at minimum the curled areas need to be removed and the deck surface leveled.
Curled shingles are your roof telling you something is off. Whether that something is age, ventilation, installation, or moisture, you now know how to read the signal and what to do about it. Catch it early, fix what's fixable, and you'll likely get several more good years out of a roof that might otherwise have sent you into a much bigger repair.
📚 Sources
This Old House – How to repair roof shingles: https://www.thisoldhouse.com/roofing/21015085/how-to-repair-roof-shingles
National Roofing Contractors Association – Residential roofing basics: https://www.nrca.net/roofing-knowledge/11/residential-roofing
U.S. Department of Energy – Residential roofing and attic ventilation: https://www.energy.gov/energysaver/radiant-barriers
International Association of Certified Home Inspectors – Asphalt shingle inspection: https://www.nachi.org/asphalt-shingles.htm
Family Handyman – How to repair a roof: https://www.familyhandyman.com/project/how-to-repair-a-roof/