
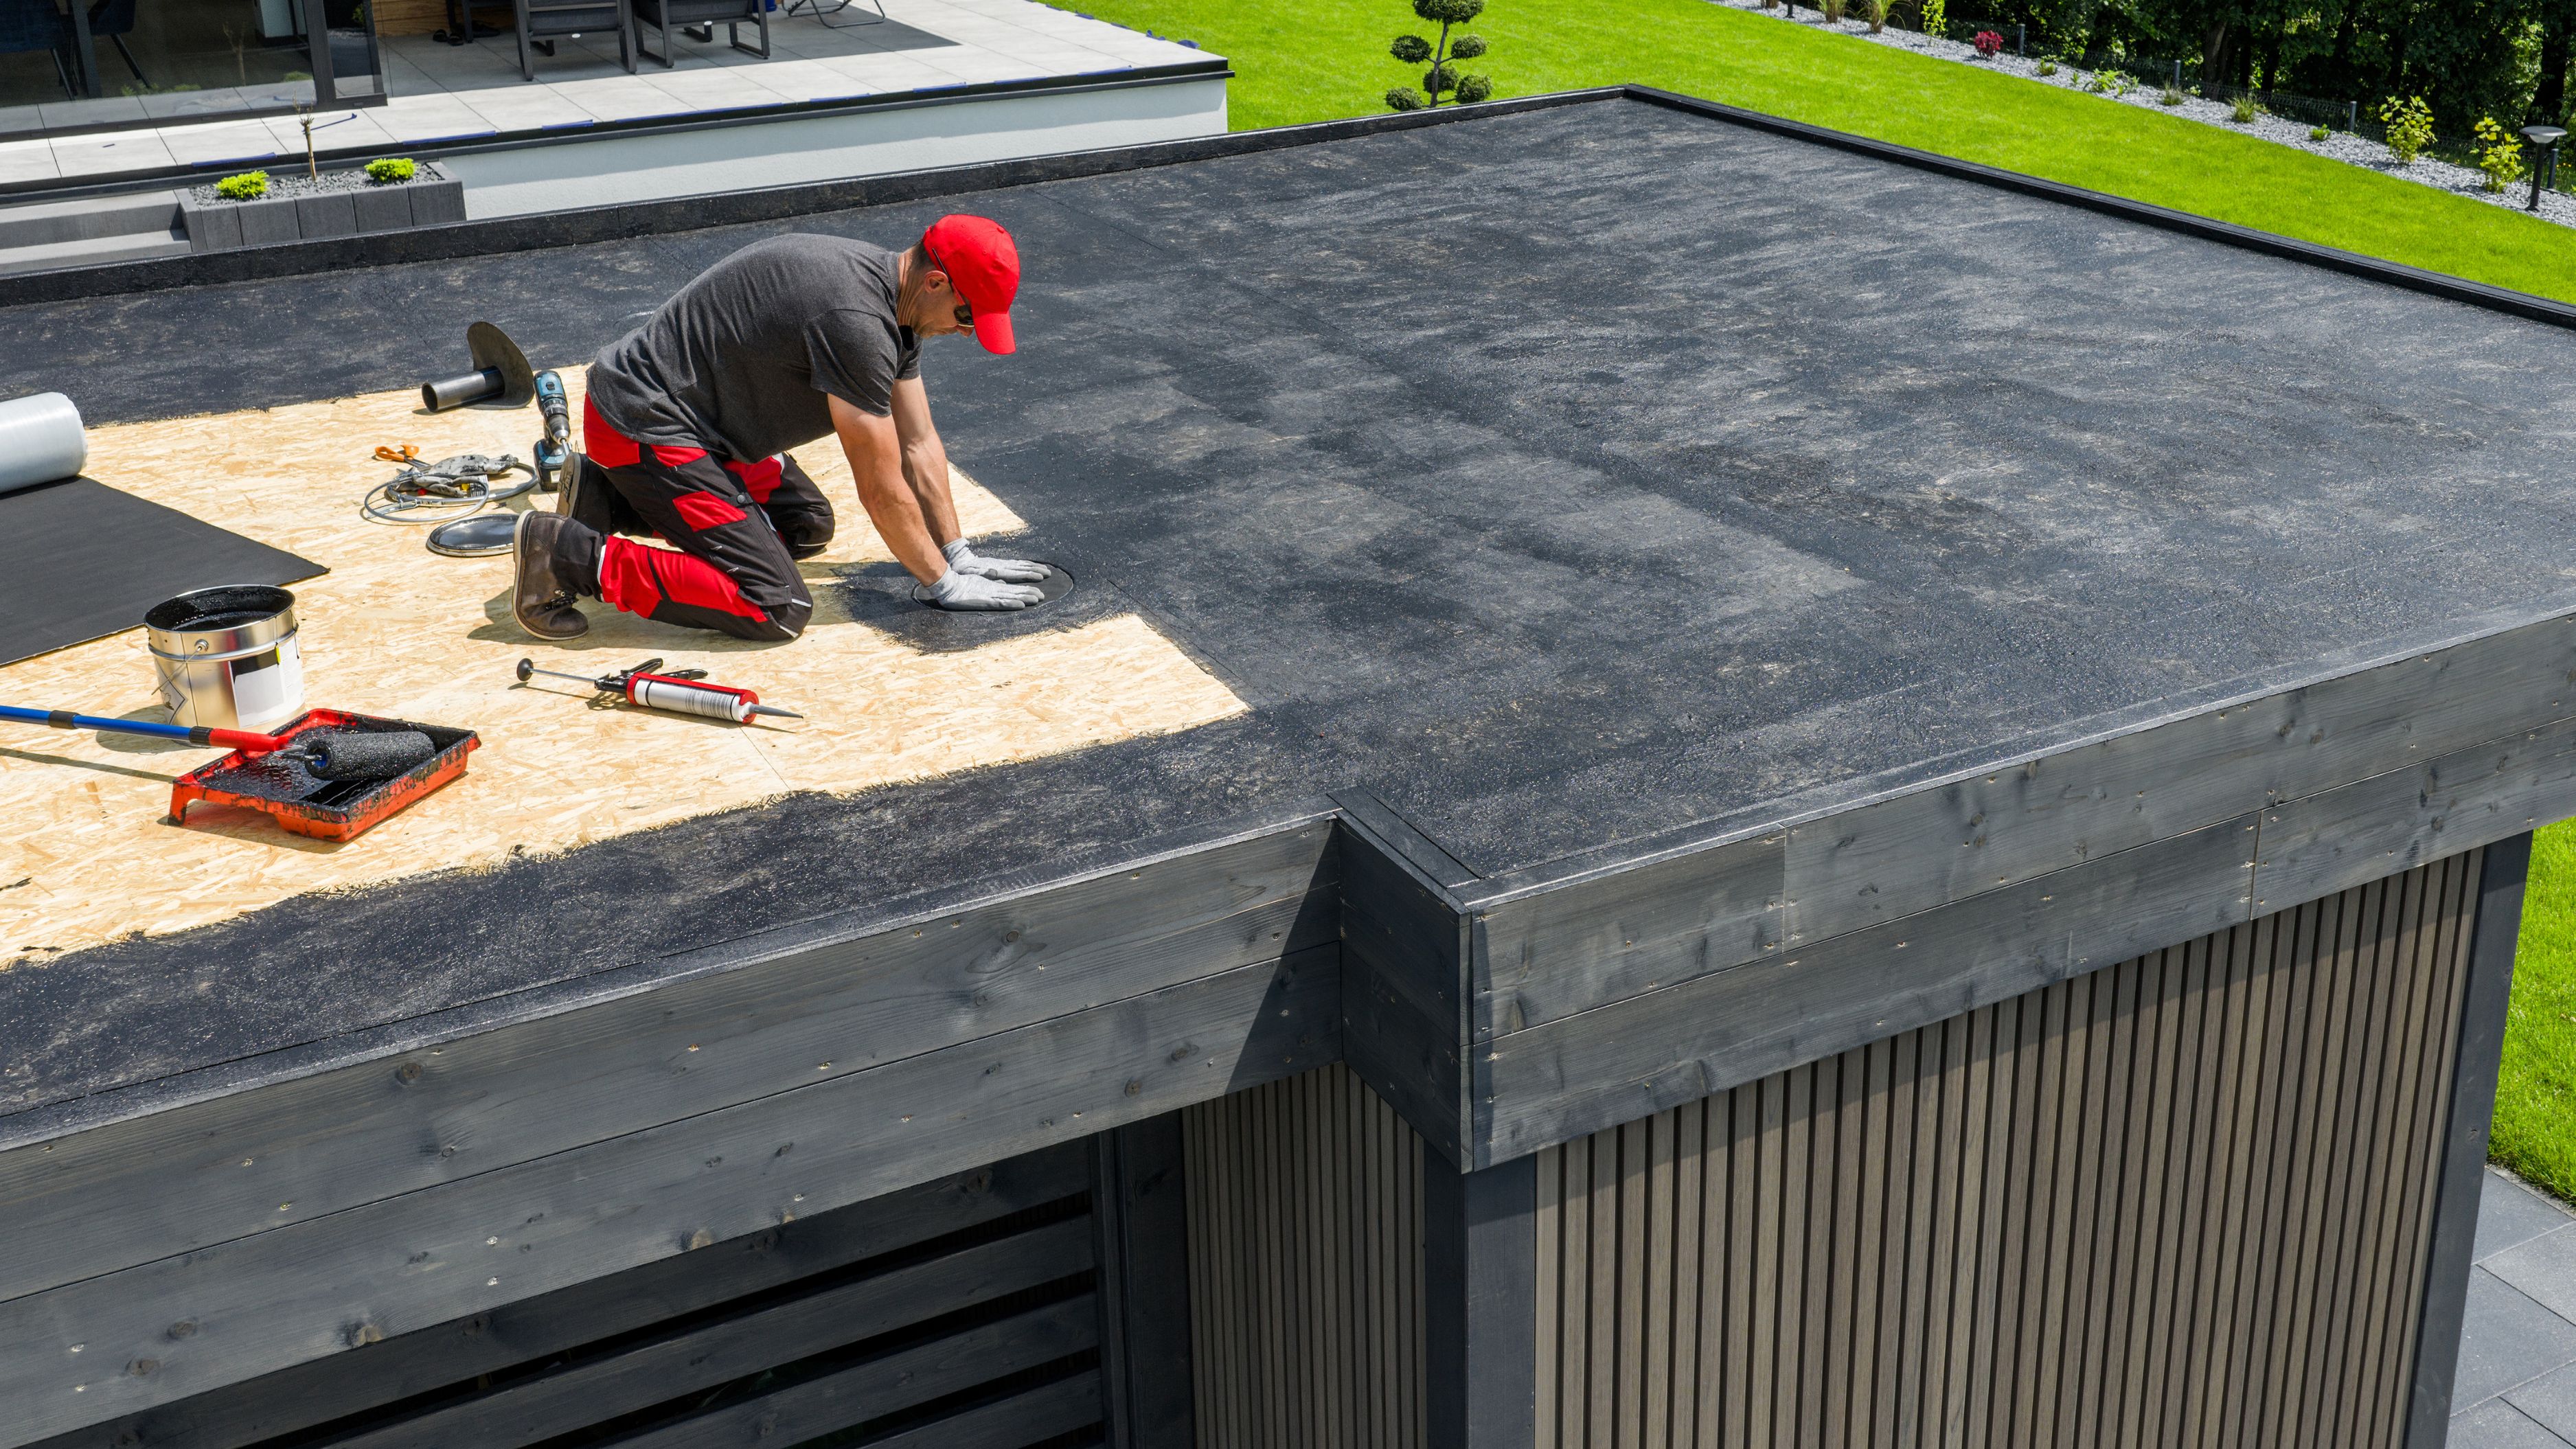
Tools and Materials Needed
Wire brush or stiff broom
Utility knife
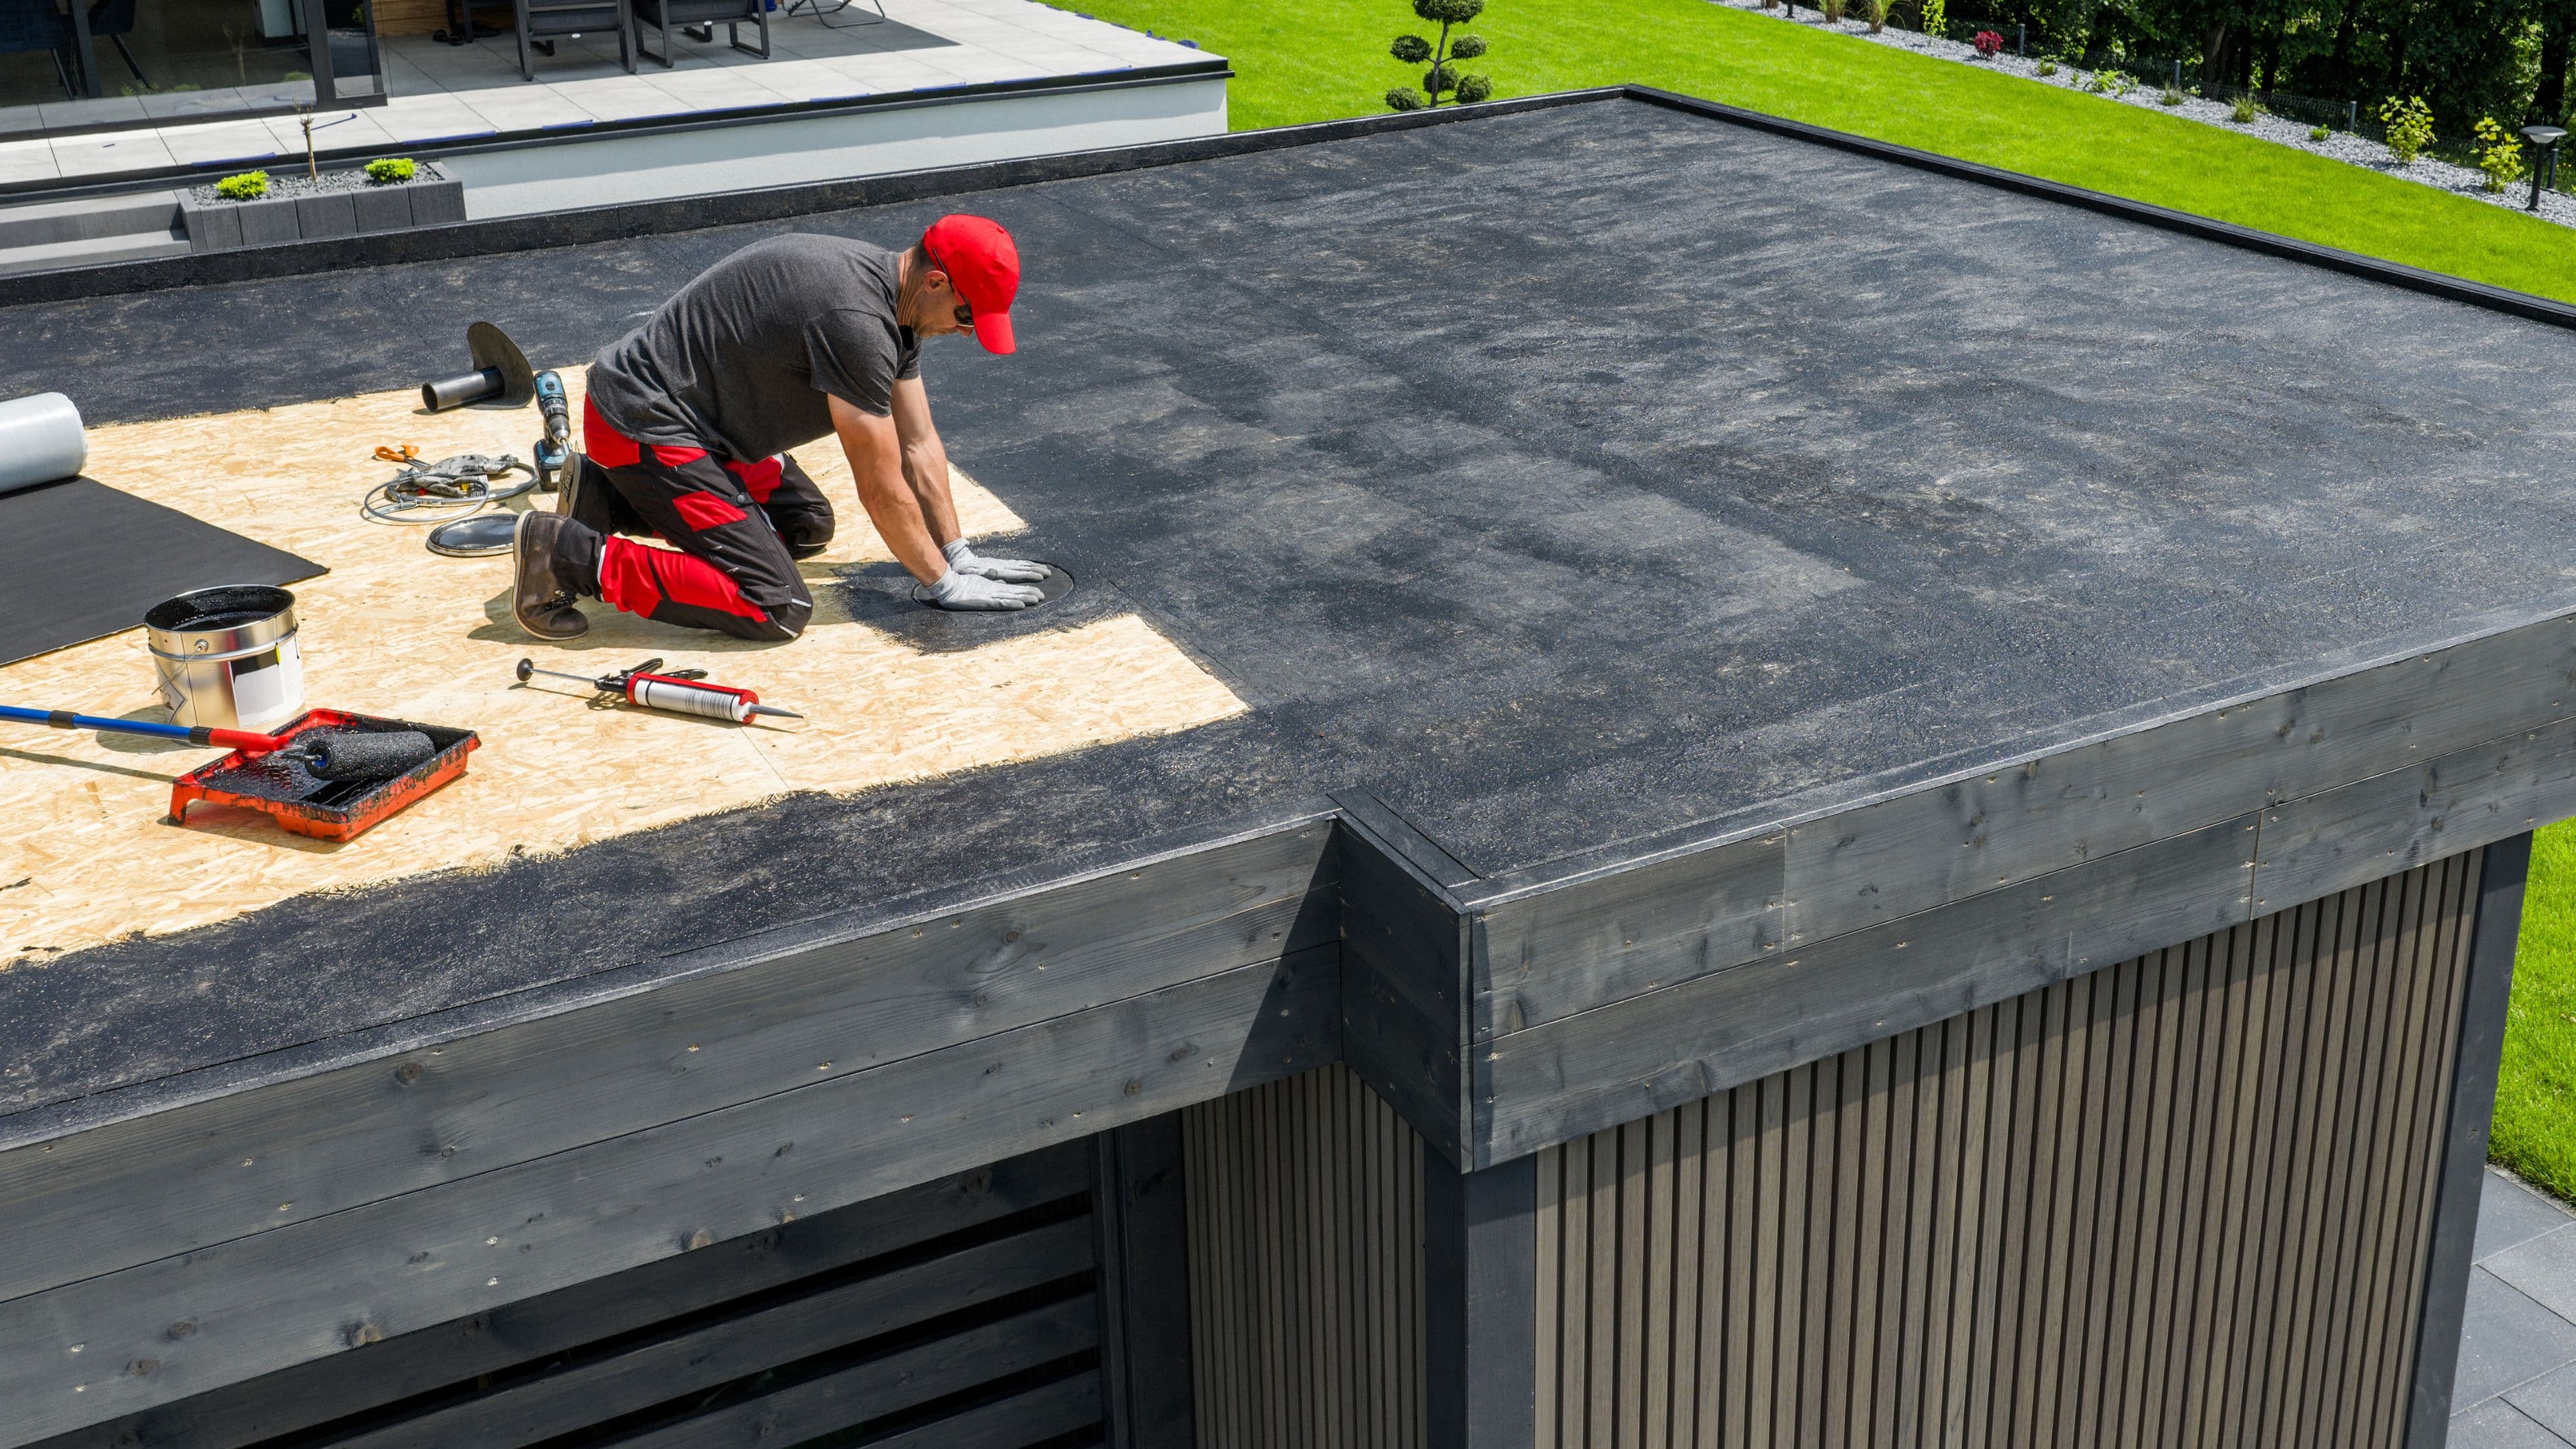
Roofing cement or flat roof sealant (rated for your roof type)
Roofing tape or fiberglass mesh (for larger cracks)
Caulking gun (if using cartridge-based sealant)
Putty knife or trowel
Work gloves and non-slip shoes
Most of these materials are available at any hardware store, and you don't need anything specialized unless your roof has an unusual membrane type, in which case it's worth asking a store associate to match the sealant to your specific roofing material.
Step-by-Step Process
1. Choose a dry, mild day. Roofing sealant needs the surface to be completely dry and the temperature to be above roughly 45°F to cure properly, so check the forecast and pick a stretch of a few dry days before starting.
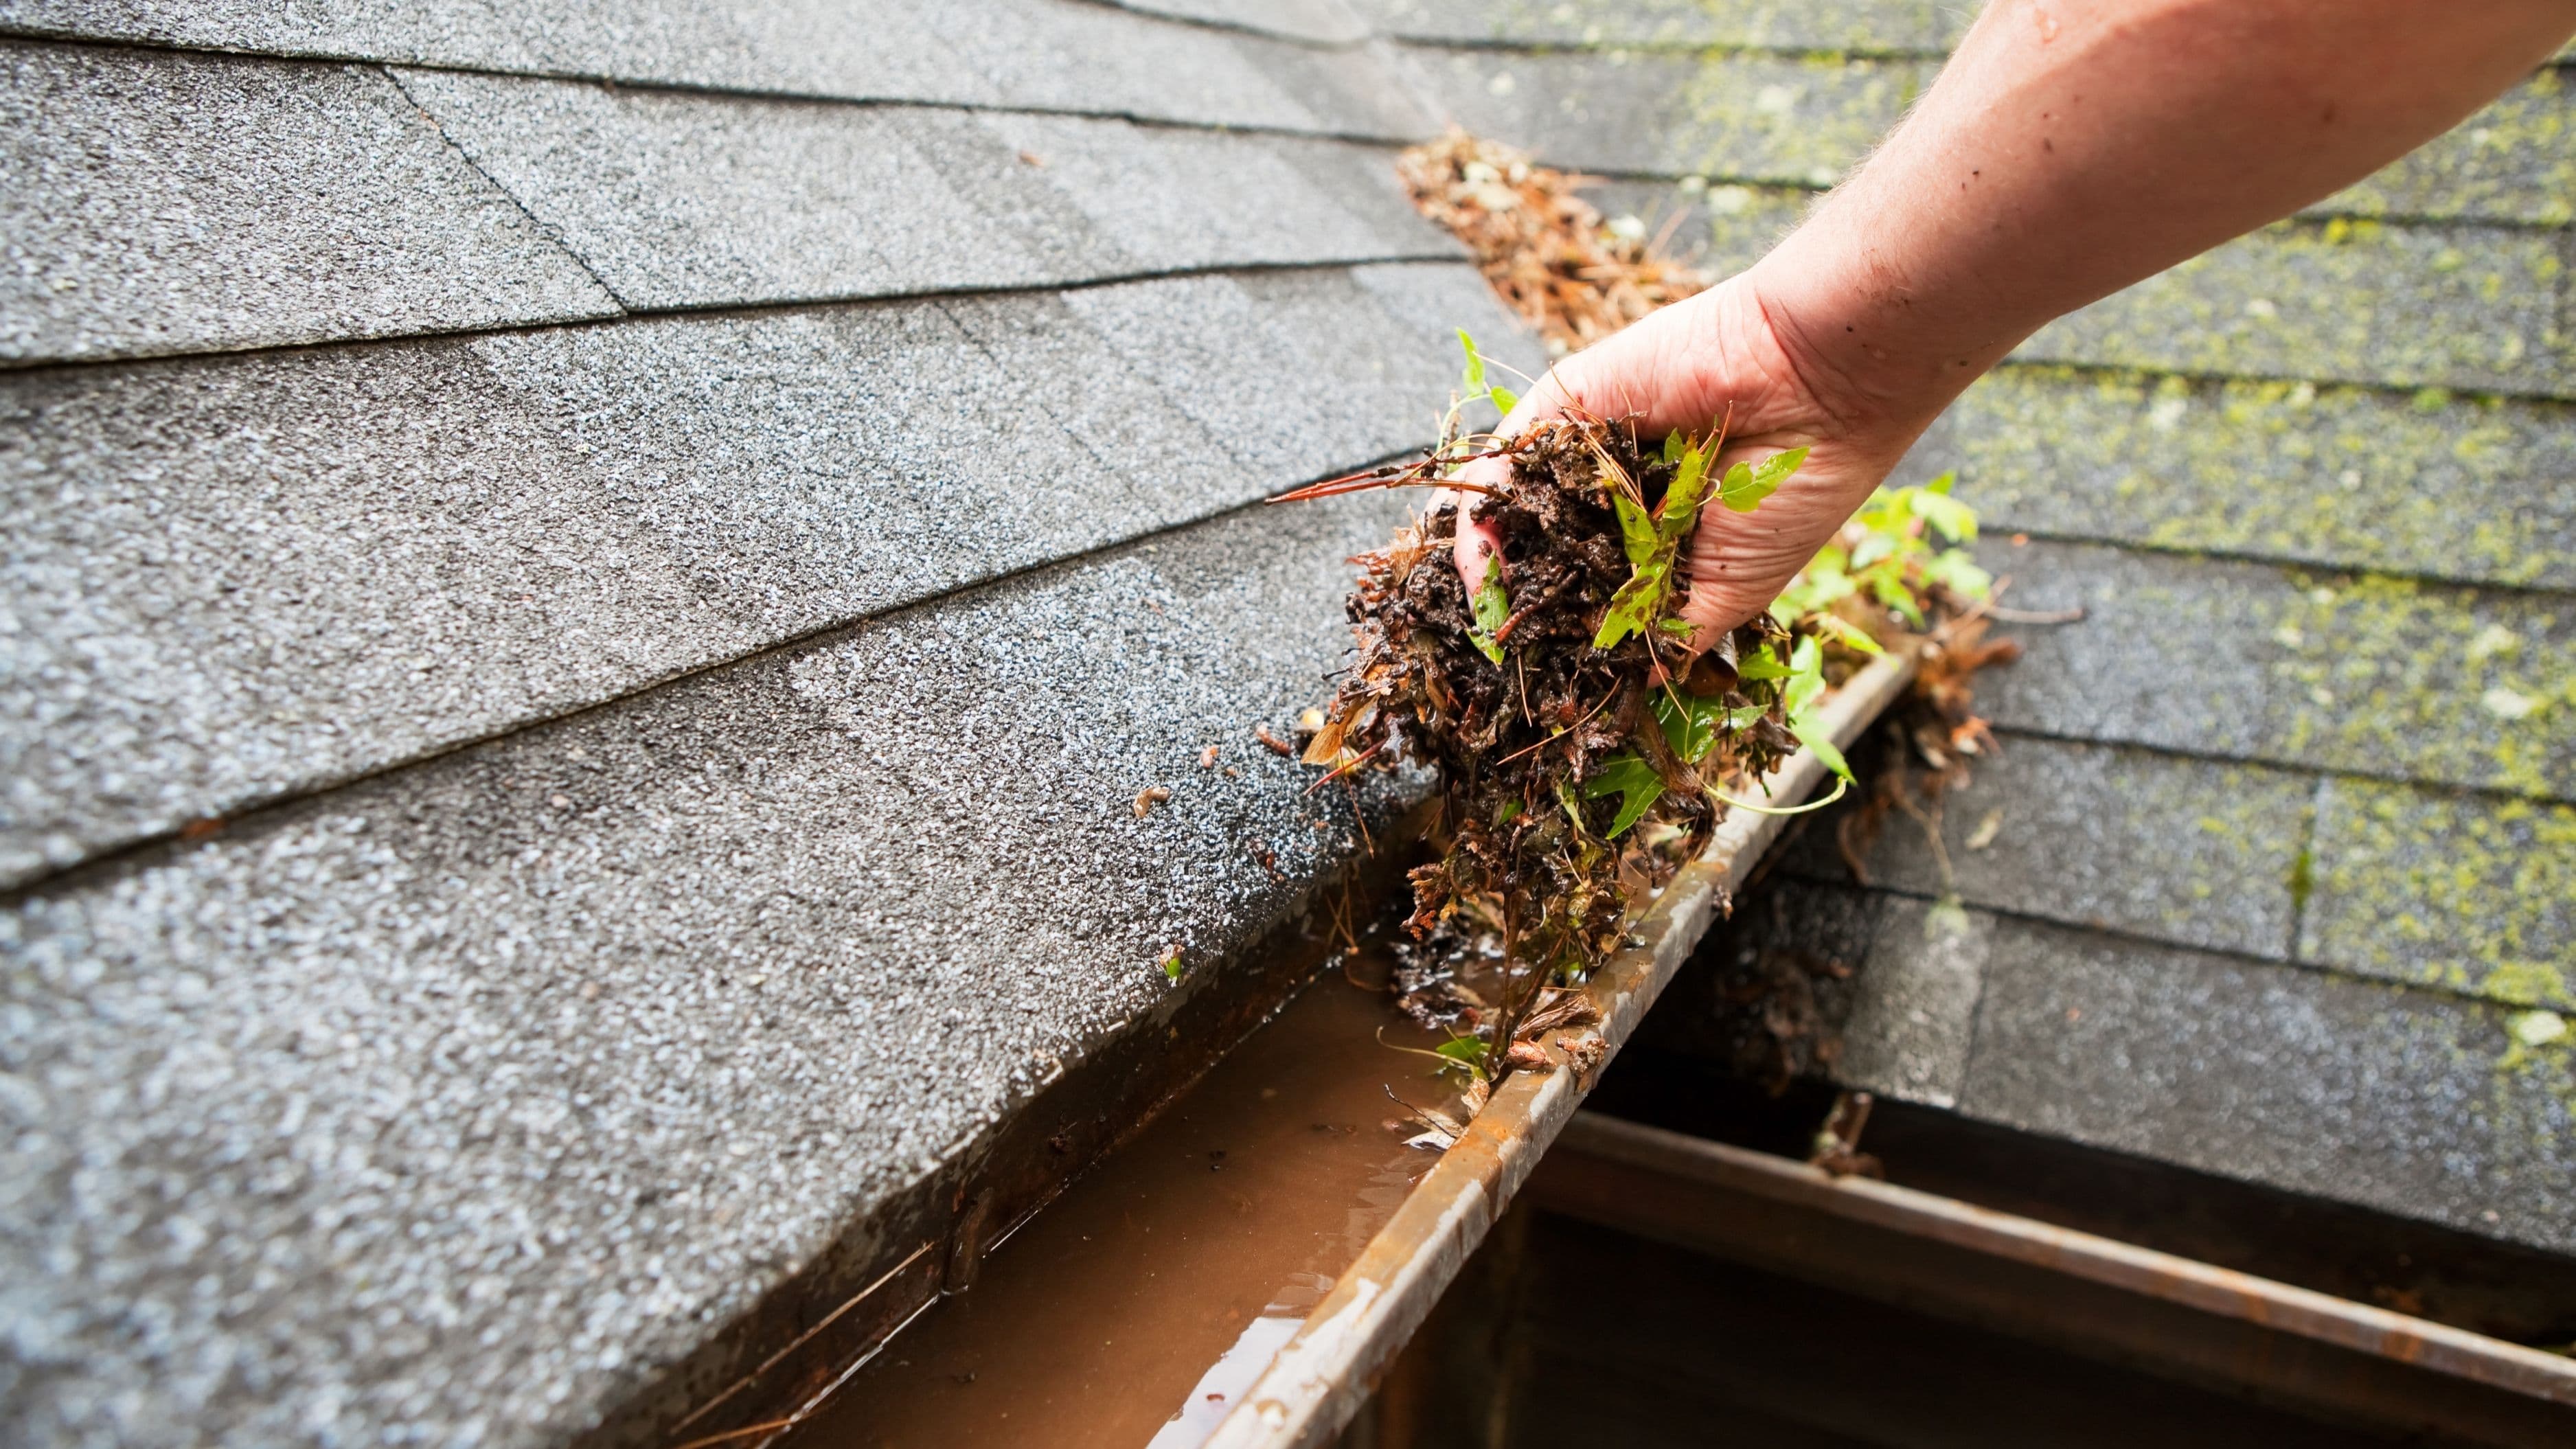
2. Clean the crack and surrounding area. Use a wire brush or stiff broom to clear away debris, loose granules, and dirt from the crack and at least six inches around it. Any grit left in the crack will prevent the sealant from bonding properly, which is one of the most common reasons these repairs fail early.
3. Widen hairline cracks slightly. For very fine cracks, running a utility knife lightly along the crack to widen it slightly can actually help, since it gives the sealant more surface area to grip rather than sitting on top of an ultra-thin gap.
4. Apply roofing cement into the crack. Using a putty knife or trowel, press roofing cement firmly into the crack, making sure it's fully filled rather than just covered on the surface. For cracks wider than about a quarter inch, press fiberglass mesh or roofing tape into the cement first, then apply a second layer of cement over the top to fully encase it.
5. Feather the edges. Smooth the cement outward from the crack so there's no hard ridge where it meets the surrounding roof – a feathered edge sheds water more effectively than a thick, abrupt lump of sealant.
6. Let it cure fully before exposure to rain or heavy foot traffic. Most roofing cements need 24 to 48 hours to cure properly, and rushing this step is one of the more common ways an otherwise correct repair fails prematurely.
Safety Notes
Flat roofs can still have a slight pitch, and surfaces get slippery quickly when even lightly damp, so non-slip footwear and caution around the roof edges matter more than people expect. If your roof access requires a ladder, make sure it's secured and that someone knows you're up there, particularly if you're working alone. Avoid working on the roof if there's any wind advisory or if temperatures are near freezing, since both cold sealant and an icy surface increase the risk of a fall.
Common Mistakes to Avoid
Skipping the cleaning step is the most frequent reason these repairs fail within a season – sealant applied over dirt or granules doesn't bond properly and can peel away with the first freeze-thaw cycle. Applying sealant in cold or damp conditions is another common issue, since it often won't cure correctly and can crack again almost immediately.
It's also worth avoiding the temptation to use general-purpose caulk instead of roofing-specific cement or sealant – standard caulk isn't designed for the constant UV exposure and temperature swings a roof surface experiences, and it tends to fail much faster than roofing-rated products.
When to Call a Professional
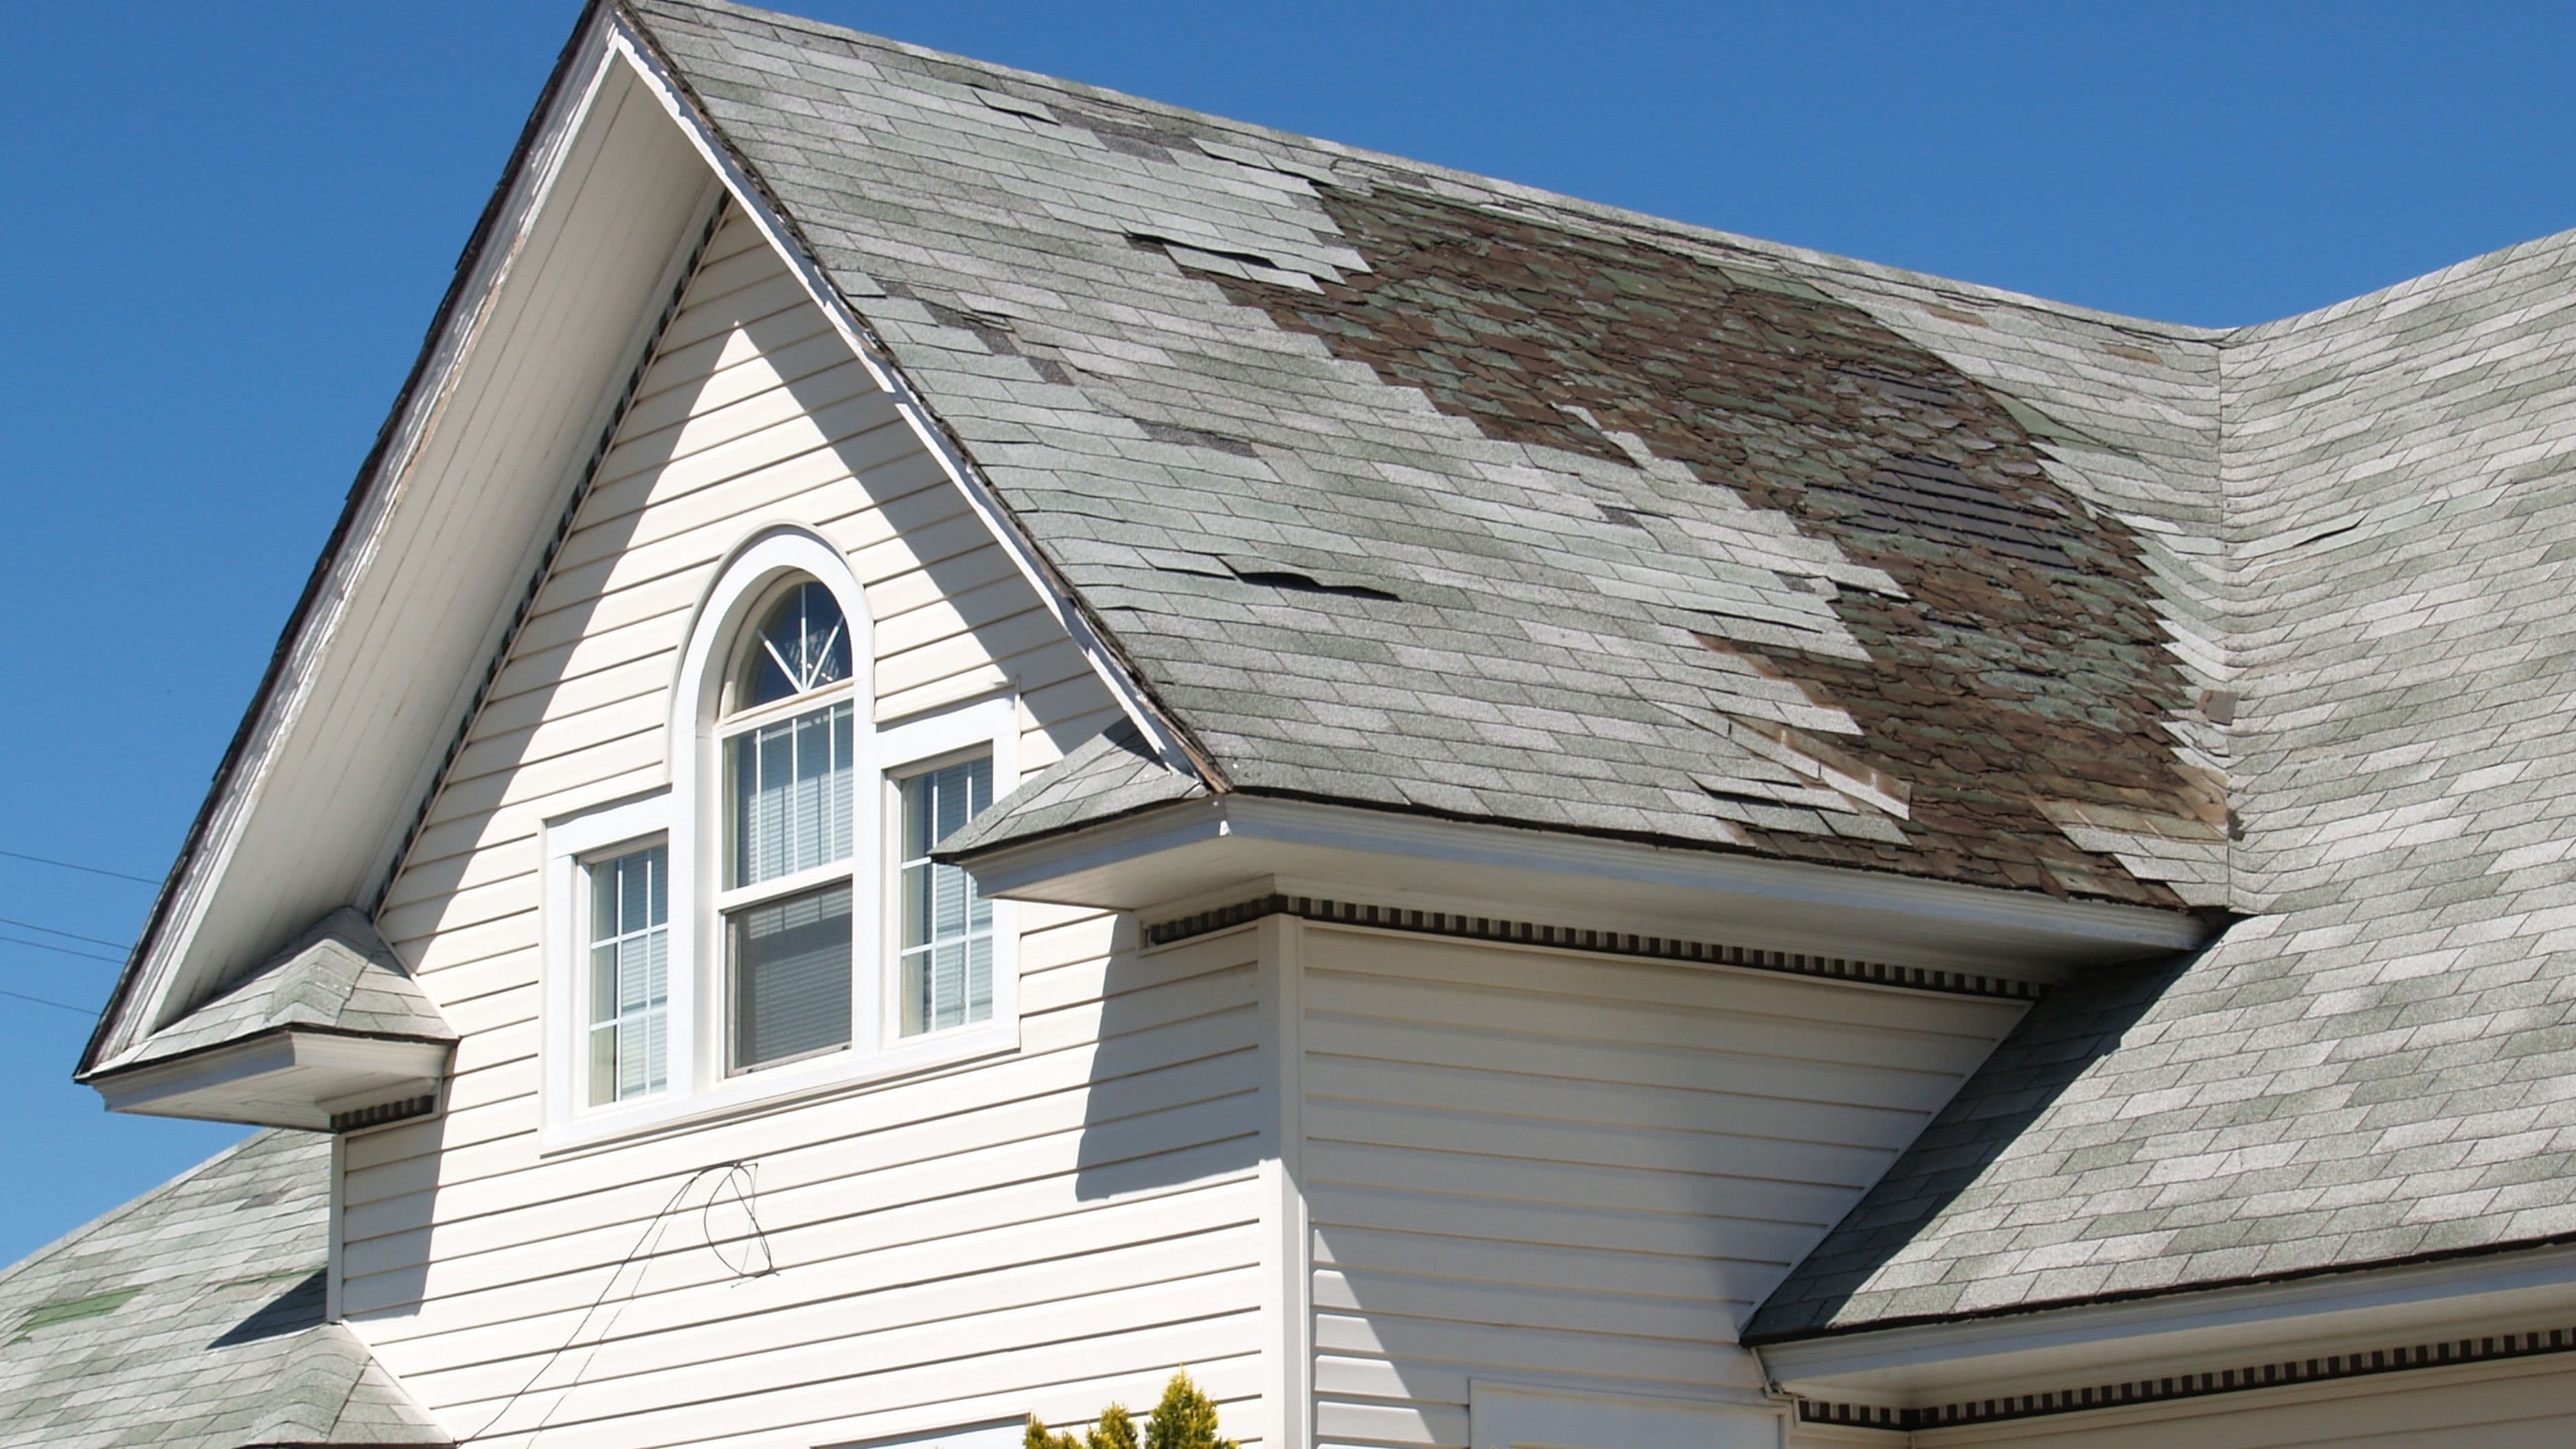
If the crack is part of a larger pattern of damage – multiple cracks, visible sagging, or signs of water staining on the ceiling below – this points to a more significant underlying issue that a surface-level seal won't fix. Similarly, if your flat roof is more than 15 to 20 years old, cracking may be a symptom of the membrane reaching the end of its usable life, in which case a professional inspection is a smarter first step than repeated patch repairs.
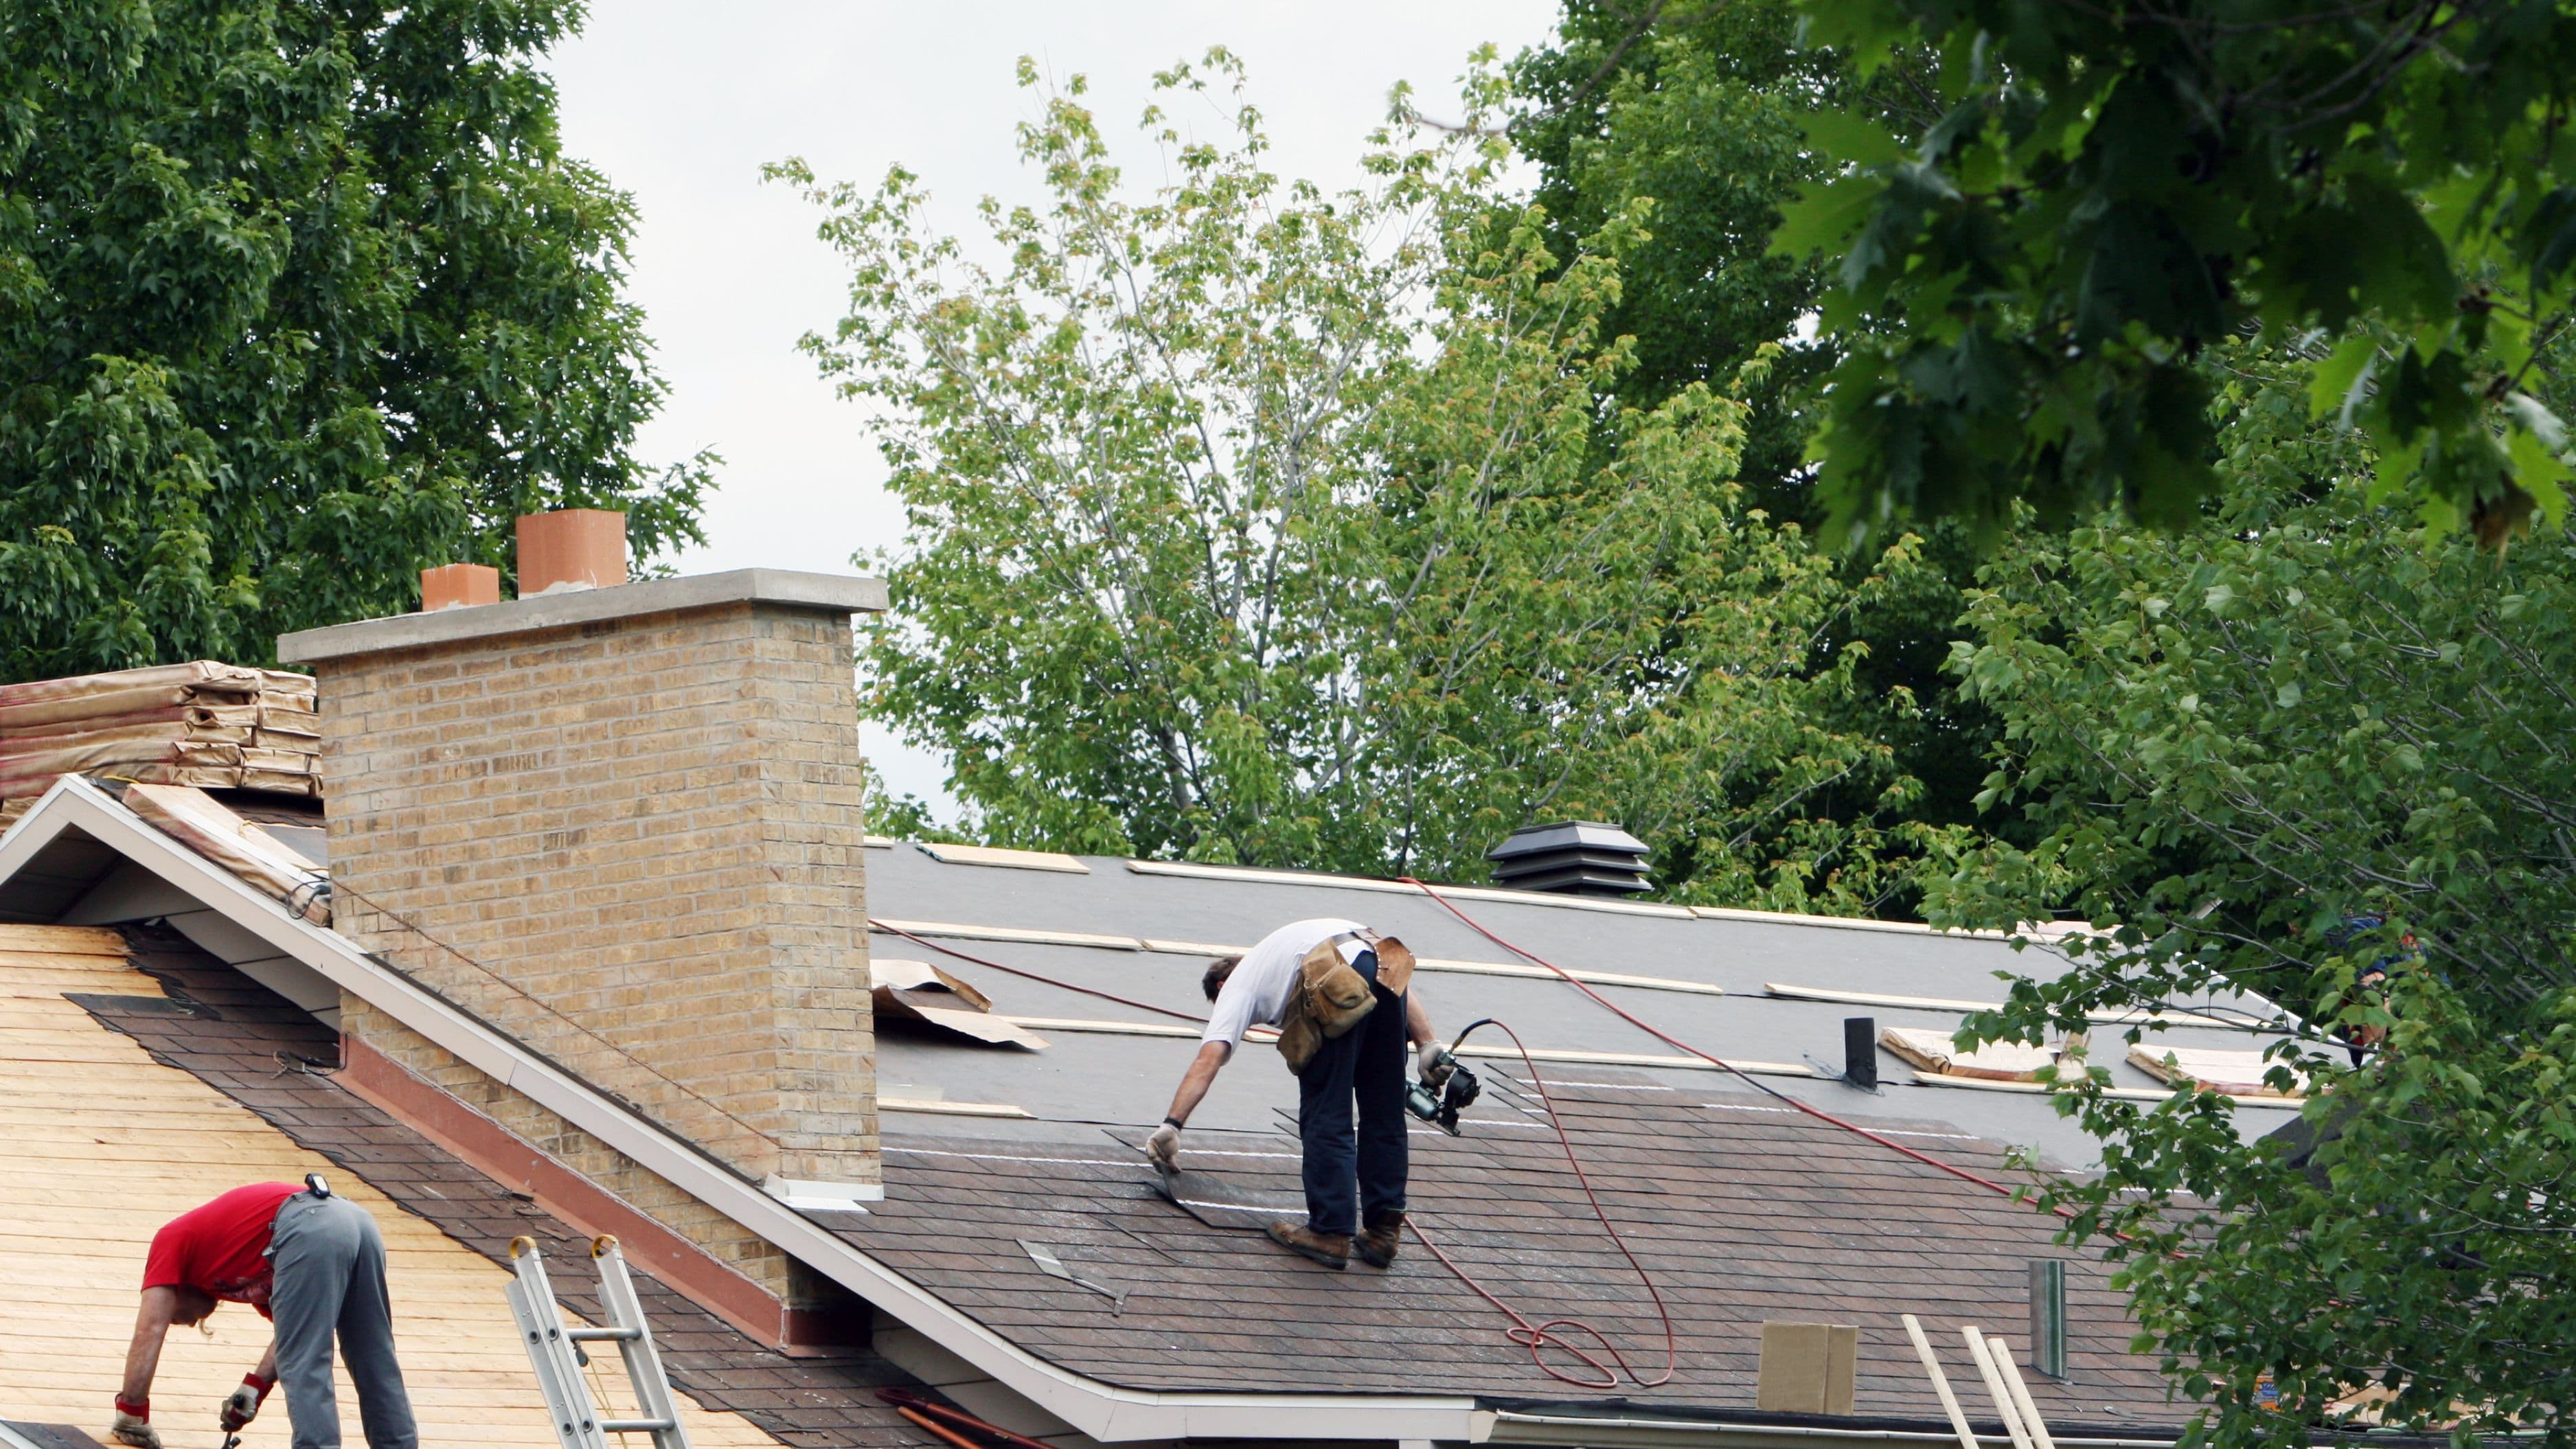
If you're not comfortable on a ladder or working at height, or if the roof has any structural give when walked on, it's worth calling a professional rather than risking a fall or making a repair on a roof that may need more extensive attention.
Realistic Expectations
A properly sealed crack using the right materials can reasonably be expected to hold for several years, particularly through a single winter season, assuming the underlying roof membrane is otherwise in decent condition. This is a repair that typically costs under $50 in materials and takes an hour or two of actual work, though the curing time means you'll want to plan the job with a few dry days in the forecast rather than doing it the day before a storm.
FAQ
How cold is too cold to seal a flat roof crack? Most roofing cements and sealants need temperatures above roughly 45°F to cure properly, so it's best to complete this repair before temperatures consistently drop below that threshold.
Can I seal a crack if it's slightly wet from recent rain? No, most sealants require a fully dry surface to bond correctly – wait at least 24 hours after rain, longer if the roof doesn't get direct sun exposure to dry.
How long does a roofing cement repair typically last? A properly applied repair on an otherwise healthy roof membrane can reasonably last several years, though it's not a permanent fix if the surrounding membrane is aging or has other underlying issues.