This guide walks you through the whole process – from planning your layout to choosing or building a bench, to organizing tools so everything stays accessible without turning into a cluttered mess.
Difficulty: Beginner to intermediate
Time: 1–2 weekends
Estimated cost: $100–$400 depending on whether you build or buy
Step 1: Measure Your Space and Set a Footprint
Before you buy anything or cut a single board, spend 20 minutes with a tape measure. You want to know your total wall lengths, the location of outlets and light fixtures, where your garage door tracks run, and how much clearance you need to comfortably open car doors if the garage is also used for parking.
A standard workbench is 24 inches deep and sits at 34–36 inches high – about counter height. For a small garage, that 24-inch depth is worth protecting; going deeper than that starts eating into floor space fast. Length is more flexible. A 6-foot bench is comfortable for most DIY work. An 8-foot bench gives you more surface but may require a corner placement or sacrificing some storage beneath.
The most space-efficient configuration in a small garage is a wall-mounted bench along one side wall, with the bench surface flush against the wall and nothing protruding into the center of the floor. If you have two usable walls, an L-shaped corner bench can dramatically increase surface area without adding much to your footprint.
Step 2: Decide – Build or Buy
Both options are legitimate, and the right choice depends on your budget, how much time you want to spend, and whether you want something custom-fit to your wall.
Building your own workbench from 2x4 lumber and plywood is the traditional choice, and it makes a lot of sense in a small garage because you can size it exactly to your available wall space. A basic DIY workbench using construction lumber and a 3/4-inch plywood top costs $80–$150 in materials and takes one full day to build. The result is a heavy, solid surface that's hard to beat for the price. The Family Handyman and This Old House both publish reliable free plans for beginner-level workbenches that use simple butt joints and basic fasteners – no advanced woodworking skills required.
Buying a pre-built workbench saves time and is a good option if you're not comfortable with a circular saw or just want something functional quickly. Adjustable-leg metal workbenches from brands like Husky, Kobalt, or Stanley can be had for $150–$350 and are available at most home improvement stores. These are solid choices for a small garage because many models fold flat against the wall when not in use, and modular versions let you start with a shorter bench and add on later.
Folding wall-mounted benches are worth knowing about if space is extremely tight. These mount to wall studs, fold down to a flat surface when you need to work, and fold up flush against the wall when you don't. At around $100–$200, they're the smallest-footprint option available and can free up significant floor space in a single-car garage that also needs to fit a car.
Step 3: Anchor the Bench to the Wall
Whether you build or buy, anchoring your workbench to the wall studs is one of the most important things you can do. An unanchored bench can shift, tip, or rack under lateral pressure – which happens more than you'd think when you're clamping something down or leaning into a piece you're working on.
Find your wall studs using a stud finder. In most garages, studs are on 16-inch centers, though some older garages use 24-inch spacing. Mark the stud locations clearly before you start. When securing the bench to the wall, use 3-inch lag screws or structural screws driven through the bench's back rail and into the studs. Two screws per stud location is the right approach. If your bench doesn't have a back rail – like some metal pre-built options – adding a 2x4 ledger board along the wall that the bench can be bolted to is a clean solution.
If you're mounting a folding workbench, the mounting hardware needs to hit at least two studs. The leverage these benches create when loaded is significant, and a mount held only by drywall anchors will fail under real use.
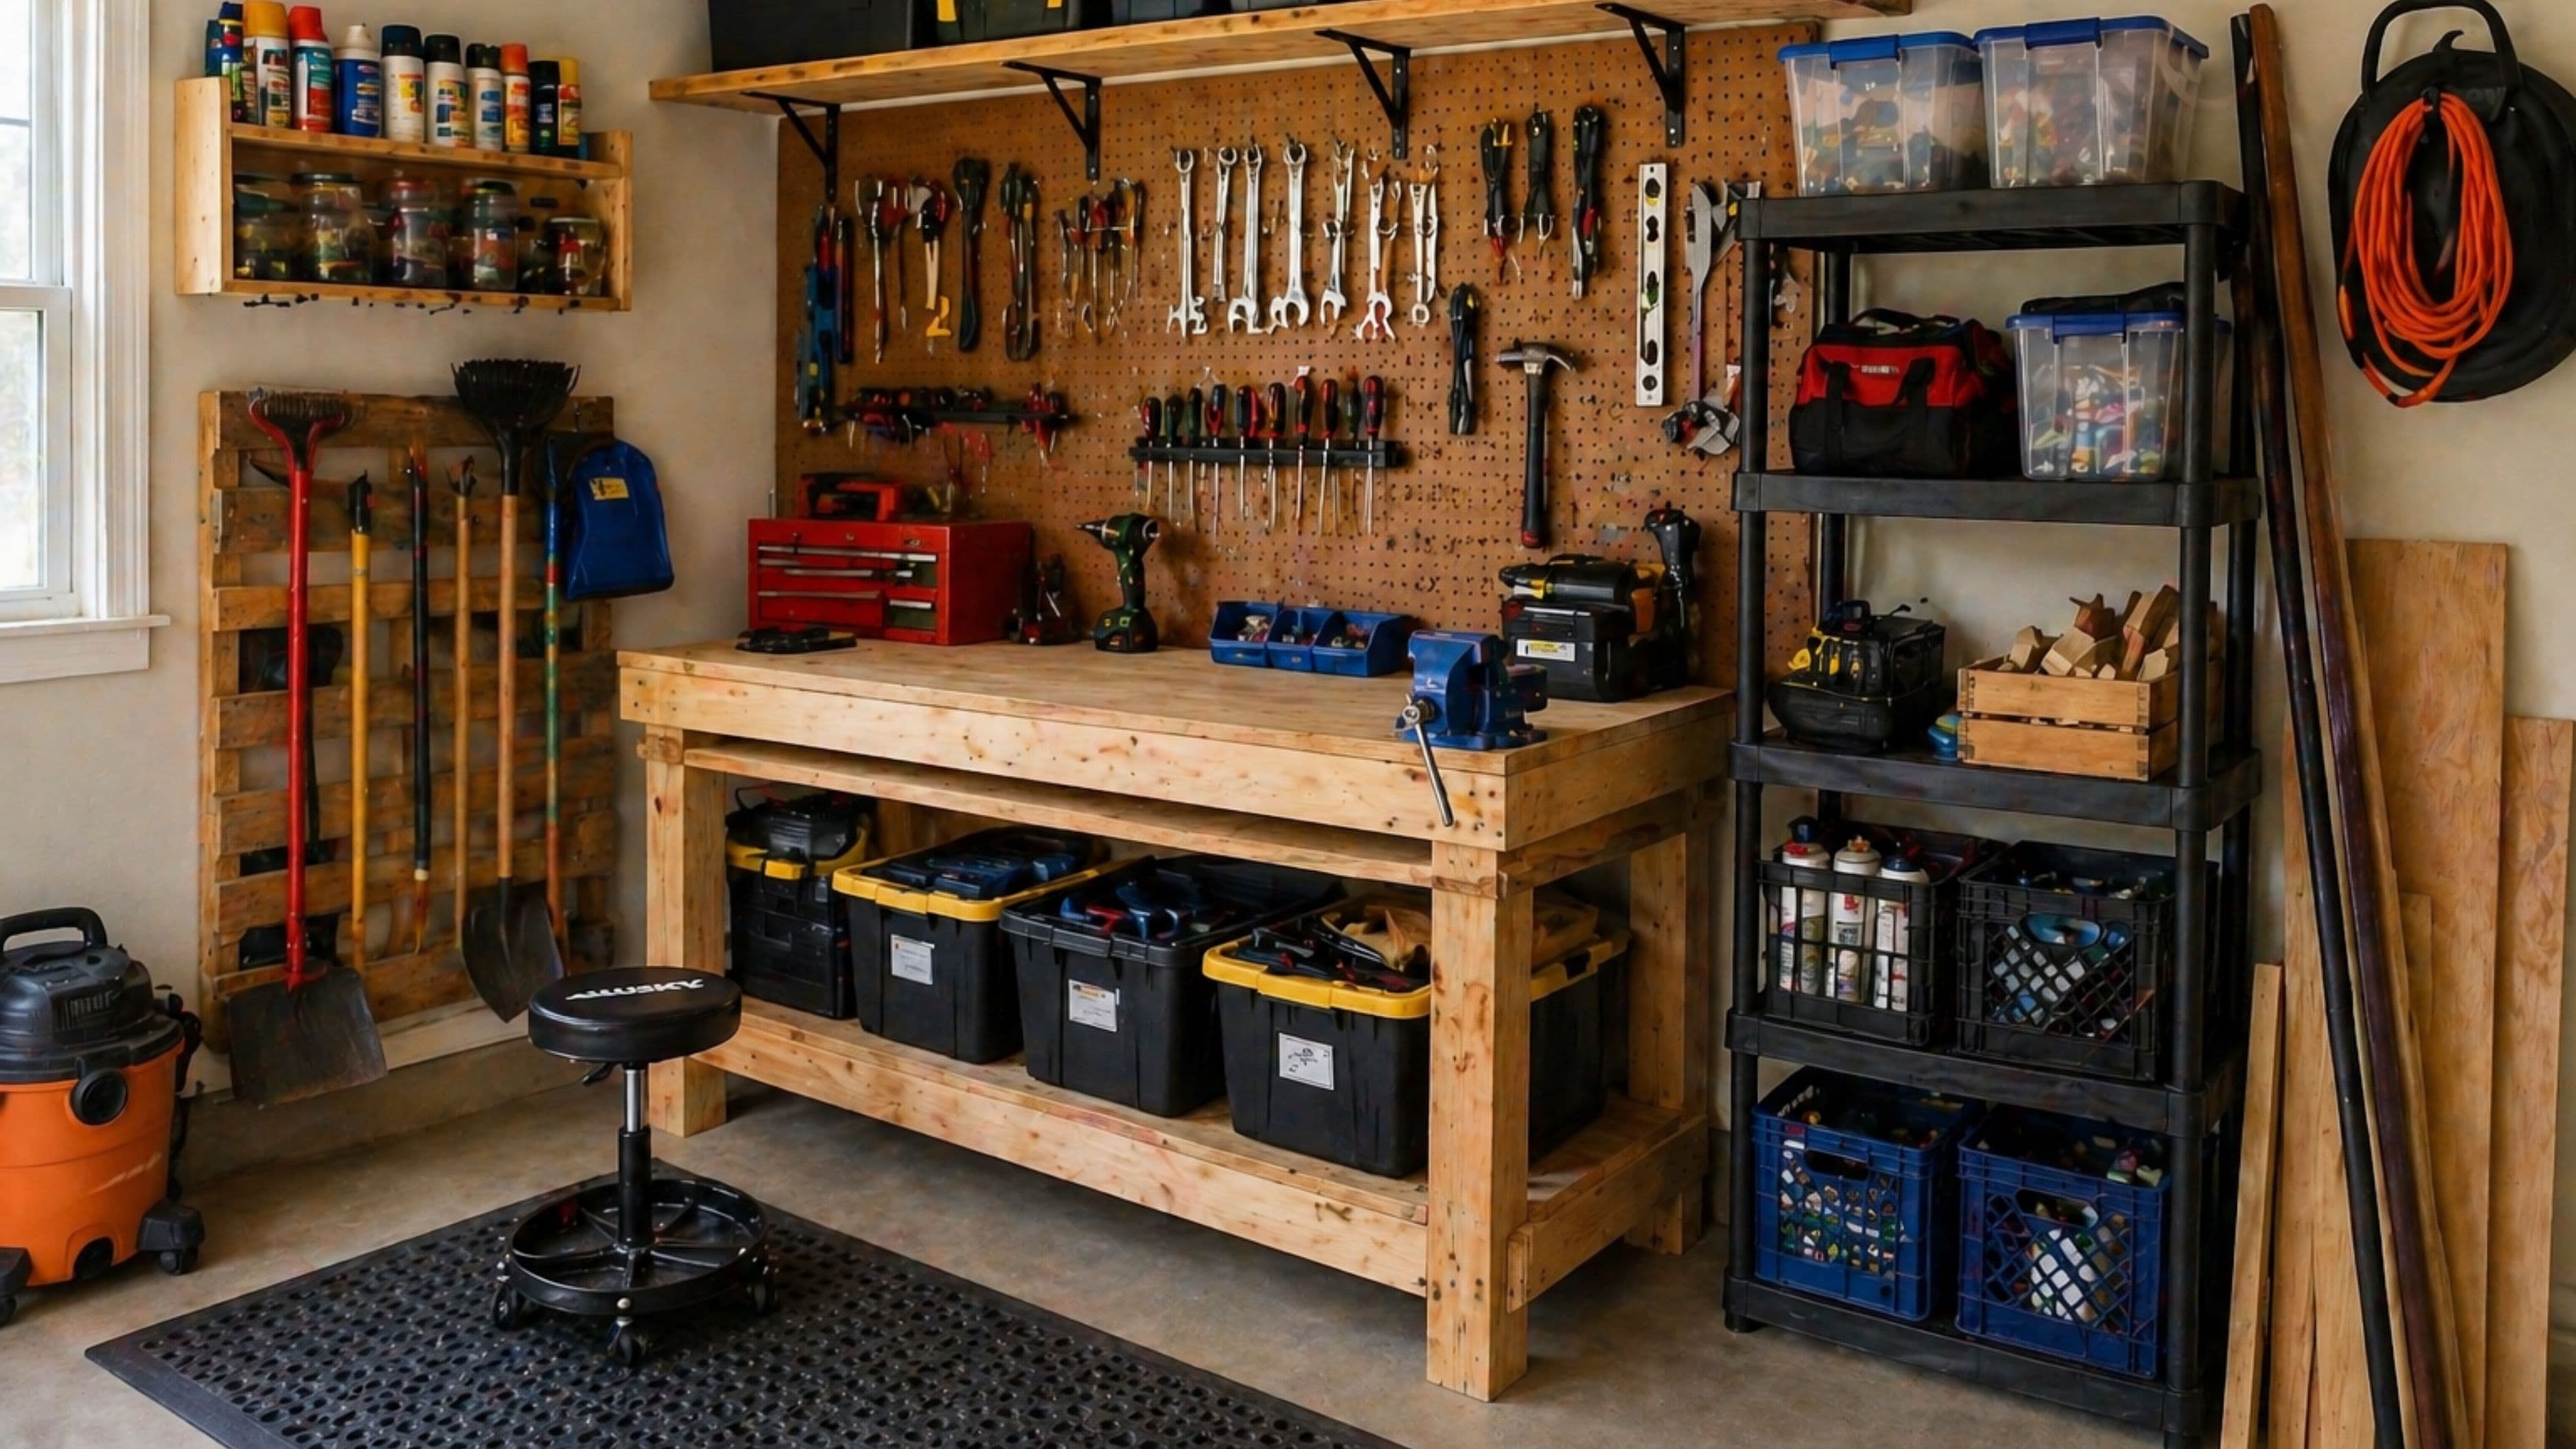
Step 4: Build Up, Not Out – Wall Storage Above the Bench
The wall above your workbench is the most valuable storage real estate in the garage, and most people underuse it. Getting your tools off the bench surface and onto the wall is what makes a small garage workspace actually functional day-to-day.
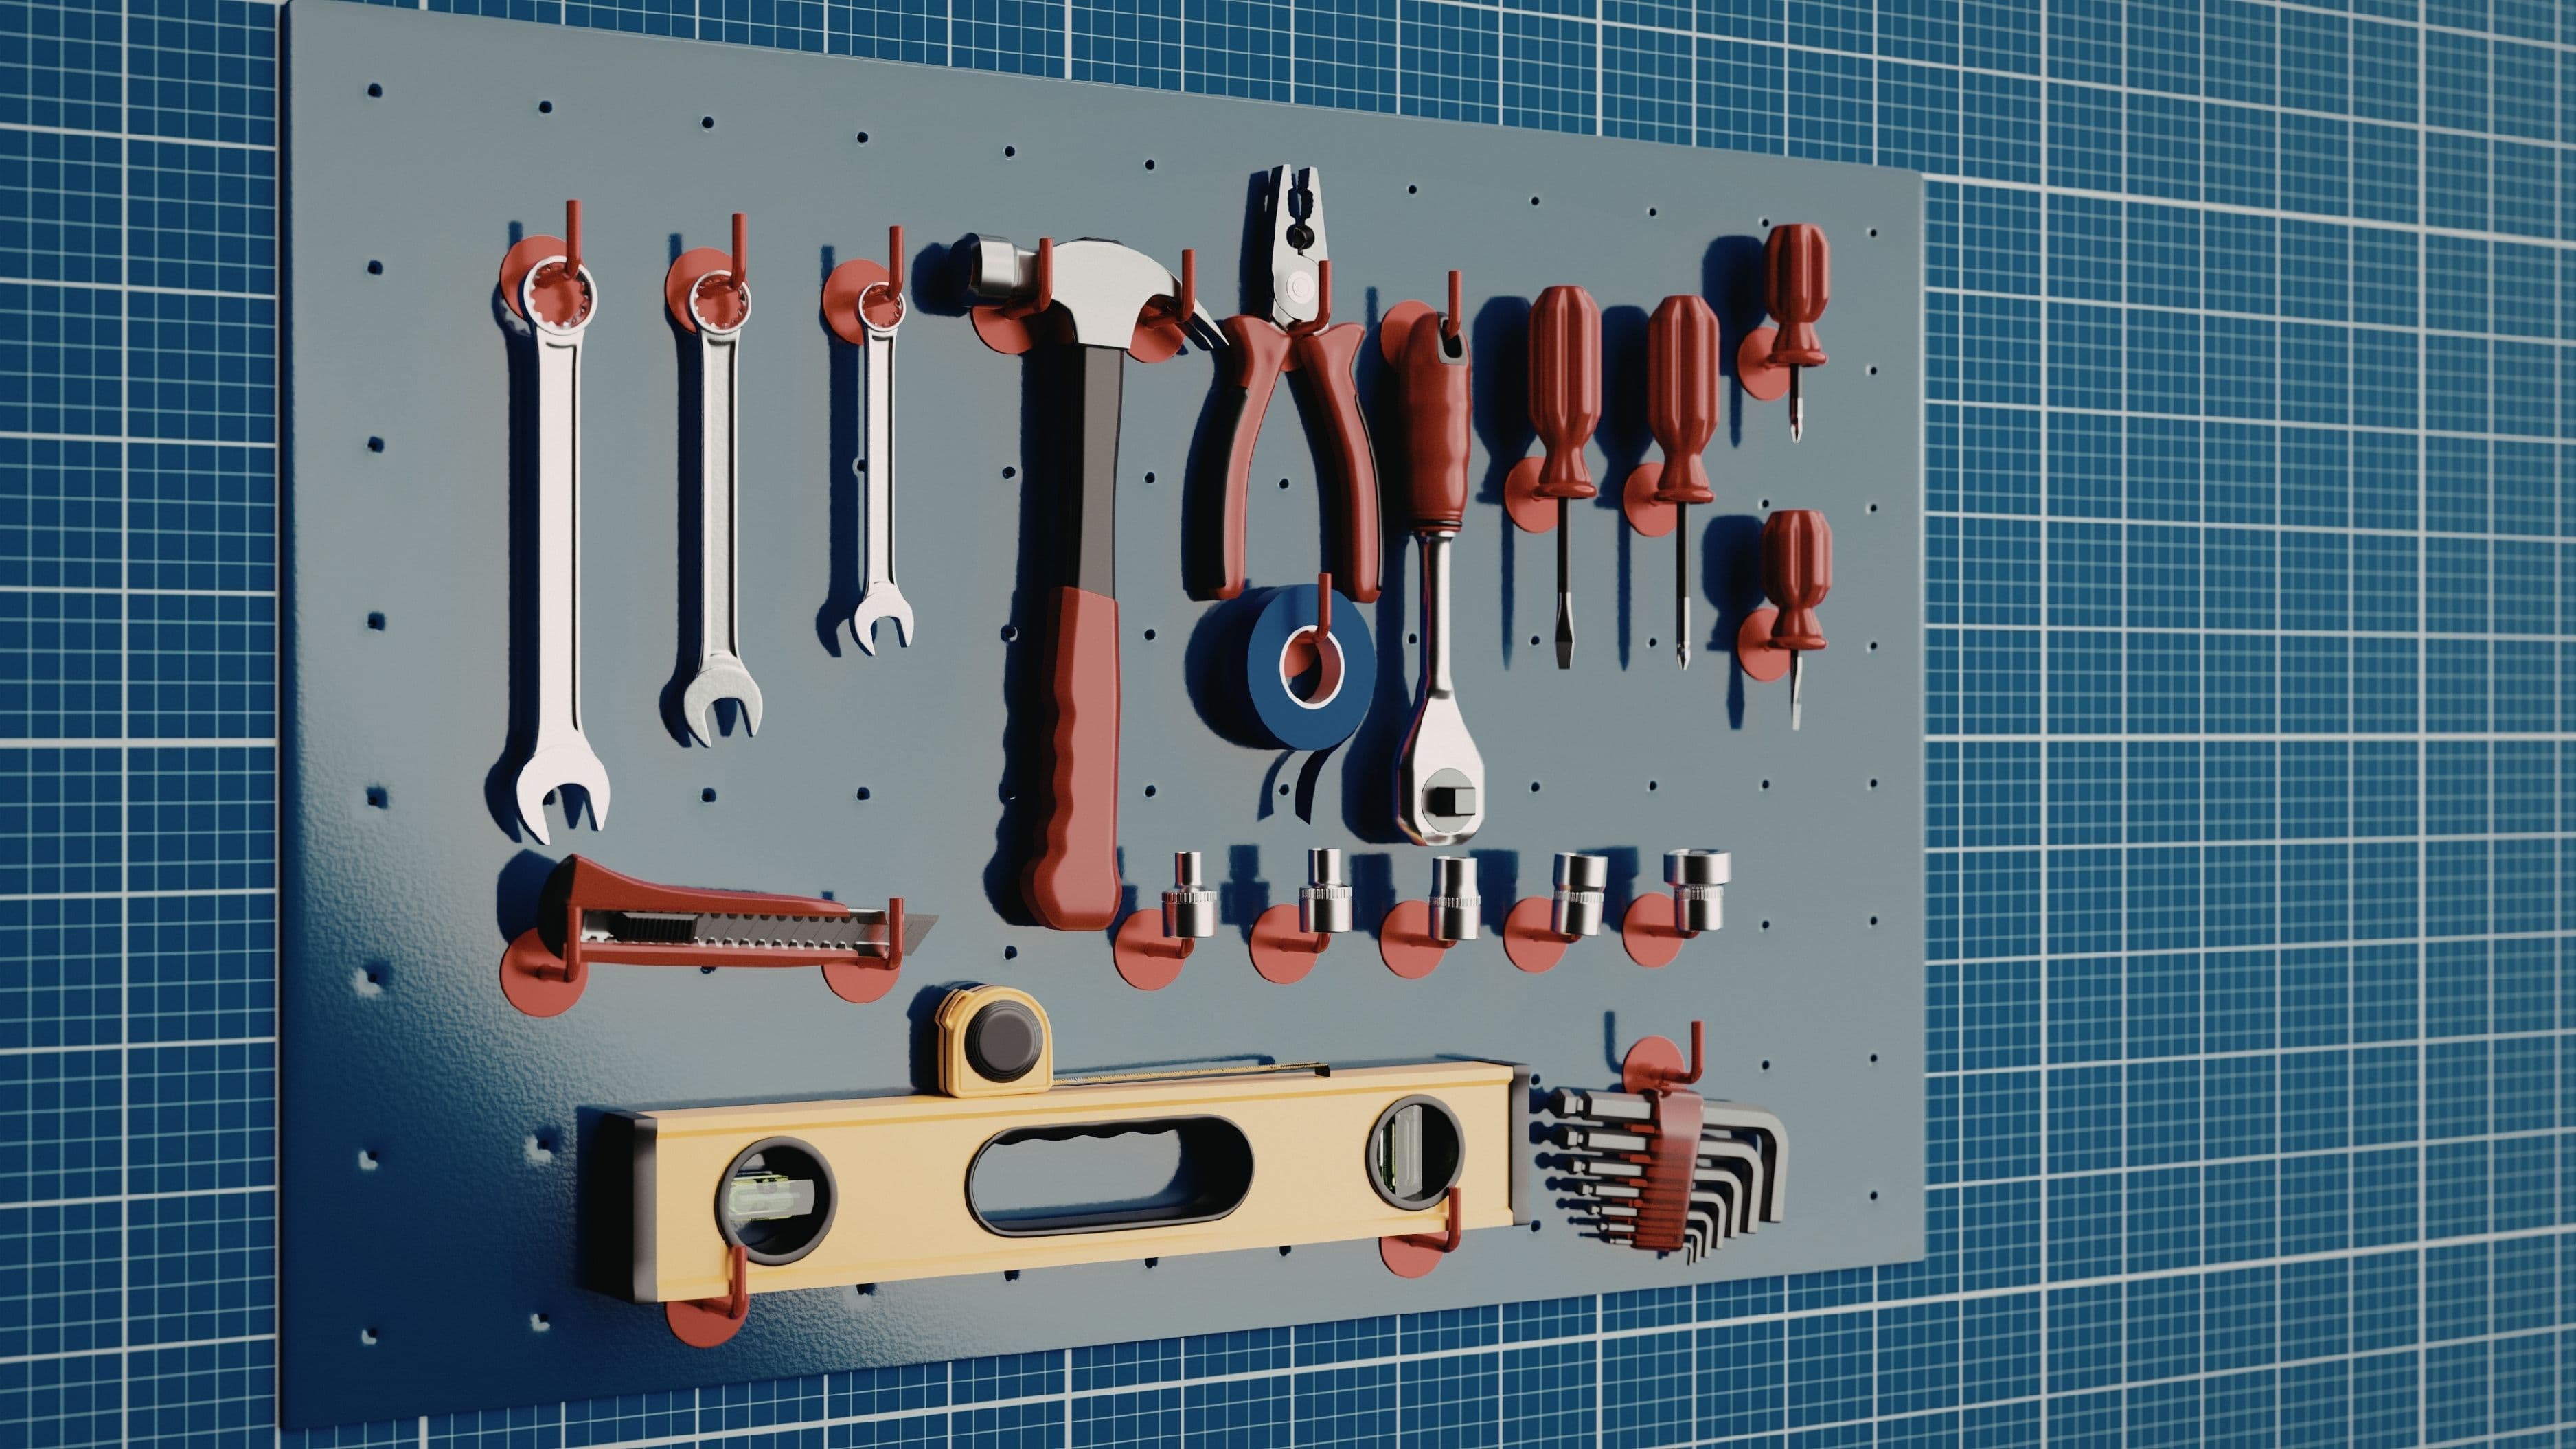
Pegboard is the classic solution for a reason. A 4x4 sheet of 1/4-inch pegboard mounted above the bench (leave 1 inch of air gap behind it using furring strips so the hooks have somewhere to go) can hold a significant collection of hand tools – hammers, screwdrivers, pliers, clamps, tape measures – in a way that's visible, accessible, and easy to rearrange. A 4x8 sheet runs about $25–$35 at any home center.
Wall-mounted shelves above the pegboard zone are useful for items you need regularly but don't want taking up bench space: paint cans, parts bins, hardware jars, spray lubricants. A few 10-inch deep shelves running the full length of the bench give you meaningful storage without projecting far into the space. Metal bracket shelves are fast to install and hold plenty of weight when driven into studs.
Magnetic tool strips are a useful alternative or complement to pegboard for metal tools like chisels, screwdrivers, and drill bits. A 24-inch magnetic strip runs $15–$25 and holds a surprising number of tools in minimal wall space.
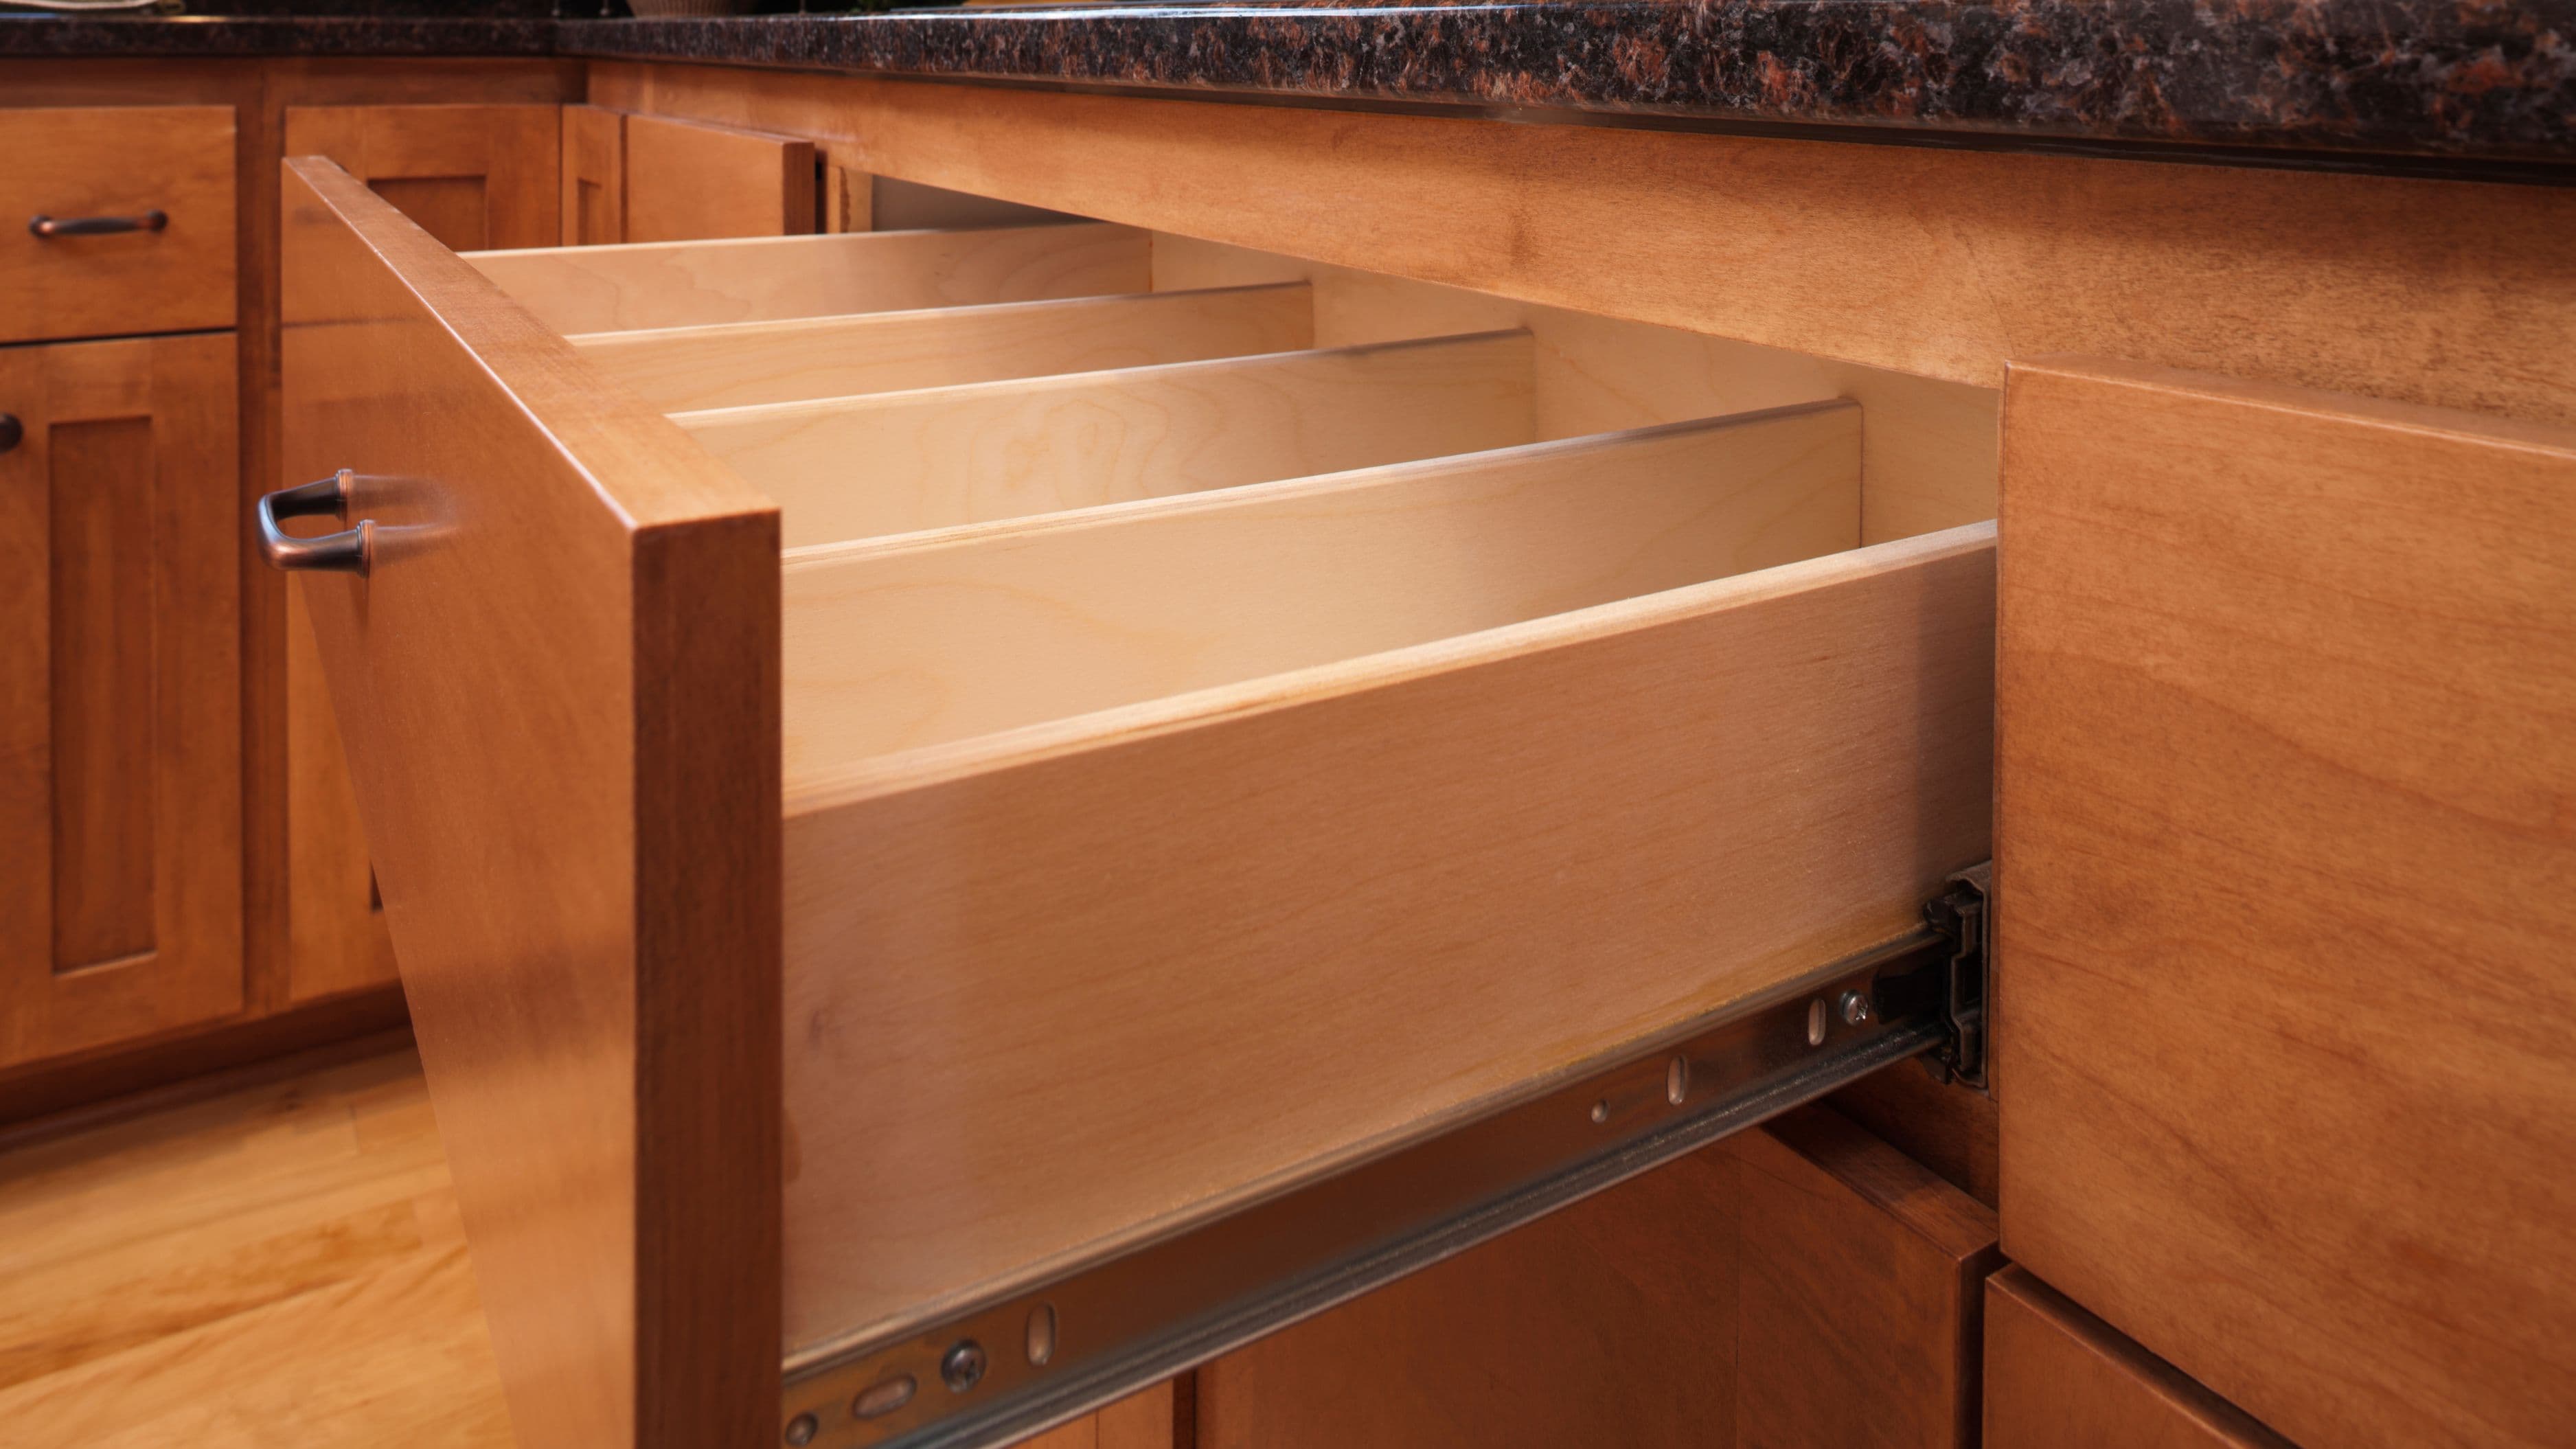
Step 5: Under-Bench Storage
The space beneath a workbench is often wasted, which is a shame in a small garage where every cubic foot counts. A few simple solutions make a big difference.
Rolling toolboxes or tool cabinets on wheels slide under a standard-height bench and roll out when you need them. This is probably the single most efficient storage solution for a small garage – you get a full cabinet of organized tools that stores out of the way and comes to wherever you're working.
If a rolling cabinet isn't in the budget, open shelving built into the bench frame during construction (or added afterward using simple lumber and plywood) works well for larger items: power tools, extension cords, hardware bins, a shop vac. Adding a simple sheet of 3/4-inch plywood as a lower shelf during bench construction adds maybe $20 to the cost and gives you a full shelf of storage.
One thing worth avoiding: using the under-bench space as a dumping ground for miscellaneous items. It fills up fast, becomes impossible to navigate, and eventually makes the whole workspace feel cluttered and frustrating to use. Assign each zone a category from the start and stick to it.
Step 6: Lighting and Power
This step gets skipped more often than it should, and it makes a bigger difference than almost anything else. Working in a poorly lit garage is frustrating and can be genuinely dangerous when you're using power tools.
The standard single-bulb ceiling fixture in most garages is not adequate work lighting. Adding a shop light directly above the bench – either a plug-in LED strip light or a hardwired fluorescent fixture – dramatically improves visibility right where you need it. A plug-in LED shop light (4-foot, 4000 lumens) costs $25–$40 and can be installed in minutes using a ceiling hook and a nearby outlet or extension cord.
For power, check what outlets you already have near your planned bench location. Most garages have at least one outlet on the wall, but having a single outlet right where you need it is more useful than three outlets across the room. A surface-mounted power strip screwed to the wall above the bench – or a dedicated outlet added by an electrician if none exists – gives you multiple points to plug in tools, a work light, and a phone charger without running extension cords across the floor. If you're adding an outlet, that's a job for a licensed electrician, not a DIY project.
Common Mistakes to Avoid
Building too big for the space. It's tempting to maximize bench size, but a bench that makes it hard to move around the garage, open car doors, or access other storage areas will frustrate you every day. Plan for circulation space first, then fit the bench into what's left.
Skipping the stud anchor. Even if the bench feels sturdy sitting on the floor, anchoring to the wall adds significant rigidity and prevents racking when you apply lateral force. Don't skip it.
No designated storage system from day one. A workbench without a plan for where tools live will become a catch-all surface within a week. Decide upfront where hand tools, power tools, hardware, and supplies go – even a rough system beats none at all.
Ignoring lighting. If you can't clearly see what you're working on, you'll make more mistakes and risk more injuries. Task lighting above the bench is not a luxury add-on.
Using untreated lumber for the bench top. A raw plywood top will absorb stains, swell with moisture, and splinter over time. A coat or two of polyurethane, linseed oil, or even exterior paint on the bench surface adds years of life to the top and makes cleanup much easier.
FAQ
What's the best height for a workbench? The general guideline is to set the bench height so the surface is at roughly wrist height when you're standing with your arms relaxed at your sides. For most adults, this lands between 34 and 36 inches. If you do a lot of fine detail work where you need to lean in close, a slightly lower bench around 32 inches can reduce back fatigue.
Can I build a workbench without power tools? Yes. A basic 2x4 workbench can be built entirely with a handsaw and a drill/driver. It takes more time than using a circular saw, but the construction is simple enough that hand tools handle it fine. A miter box helps for cleaner cuts if you don't have a power saw.
How do I protect the garage floor under the bench from oil and moisture? A rubber floor mat or interlocking foam tiles under and around the bench area does a good job of cushioning your feet during long work sessions and protecting the concrete from spills. For heavier moisture control, a concrete sealer applied to the floor before setting up the bench is worth the effort.
Do I need to reinforce the wall before mounting a heavy bench or pegboard? Not usually, as long as you're hitting studs. Standard 2x4 studs at 16-inch spacing can support significant loads when properly fastened. If your garage has unusual construction or you're dealing with a shared wall, checking with a contractor before mounting heavy loads is worth the peace of mind.
What's the minimum garage length needed for a workbench and a car? A standard car needs about 18–20 feet of length. Most single-car garages run 20–22 feet, which leaves 2–4 feet for a rear workbench. A 2-foot-deep bench in this configuration is tight but workable. A fold-down wall bench is the better solution if you're parking a truck or SUV.
Outro
A well-set-up workbench changes how you use your garage. You stop avoiding projects because there's nowhere to work, and you stop wasting time hunting for tools because everything has a place. Even in a small space, the right bench – sized correctly, anchored properly, lit well, and organized from day one – gives you a functional workshop that fits into the garage without taking it over. Start with the measurement step, build or buy to fit your actual space, and invest the extra hour in lighting and wall storage. That last part is what makes the difference between a bench you actually use and one that becomes a shelf.
📚 Sources
The Family Handyman – How to Build a Workbench: https://www.familyhandyman.com/project/how-to-build-a-workbench
This Old House – Workshop Workbench Plans: https://www.thisoldhouse.com/garages/21018224/workbench-plans
U.S. Department of Energy – Garage Safety and Organization Tips: https://www.energy.gov/energysaver/garages
OSHA – General Industry Standards for Lighting in Work Areas: https://www.osha.gov/laws-regs/regulations/standardnumber/1910/1910.303
🔍 Explore Related Topics