The Button That Won't Stay Put
Check the button before it falls off completely—if there's still thread attached, you're catching it early. Wind thread around the remaining strands to reinforce what's there, then knot it off on the inside. This two-minute fix can buy you weeks until you have time for a proper repair.
For buttons that have already abandoned ship, use dental floss instead of regular thread for heavy-use items like coats and jeans. The waxy coating helps it glide through fabric, and it's significantly stronger than standard thread. Match the color as close as you can, but remember that once the button is on, nobody's examining your stitching.
Thread your needle with about 18 inches of floss or thread, double it over, and tie a knot at the end. Push the needle up from the inside of the fabric where the button should sit, pull it through one hole in the button, then down through another hole and back through the fabric. Repeat this pattern four to six times, creating a solid anchor. Before your final stitch, wrap the thread several times around the stitches between the button and fabric to create a shank—this gives the button room to nestle into the buttonhole without pulling. Knot off on the inside, and you're done.
Hems That Have Given Up
A fallen hem screams neglect, but fixing it takes less time than your morning coffee routine. Iron-on hem tape is your secret weapon here—no sewing required. Fold the hem to the desired length, tuck the tape inside the fold, and press with a hot iron for about 10 seconds per section. The adhesive melts and bonds the fabric together, creating a hold that survives multiple washes.
For a more permanent solution, learn the blind stitch. This nearly invisible hand-sewing technique catches just a few threads of the outer fabric with each stitch, so the repair doesn't show from the outside. Fold the hem up to the desired length and pin it in place. Thread a needle with thread that matches your garment, knot the end, and hide your starting point inside the fold. Catch 2-3 threads from the outer fabric, then slide your needle through the folded hem edge about a quarter-inch over. Continue this pattern around the entire hem. The zigzag pattern distributes tension, preventing puckering.
Pants hems take the most abuse, especially at the back where they drag on the ground. Reinforce high-wear areas by double-stitching or using a slightly heavier thread. Check your hems every few months and catch problems before they cascade into bigger damage.
Small Tears Before They Become Gaping Holes
Address tiny tears the moment you spot them—fabric unravels exponentially faster once it starts. For small L-shaped or straight tears in woven fabric, a simple running stitch does the job. Thread your needle, knot the end, and start about a quarter-inch before the tear on the inside of the garment. Make small, even stitches perpendicular to the tear, pulling the edges together gently without bunching the fabric. Continue past the end of the tear by another quarter-inch to prevent it from spreading.
Knit fabrics like t-shirts require a different approach because they stretch. A standard stitch will just create more stress points. Instead, use a stretch stitch or fake it by creating tiny zigzags with your straight stitch. Work from the inside of the garment so your repair is less visible. For t-shirt armpits or other high-stretch areas, consider using clear elastic thread, which moves with the fabric and won't snap under tension.
Iron-on patches handle larger tears and add a style element. Denim patches on jeans can look intentional, especially if you embrace the visible-mending trend. Cut your patch to extend at least half an inch beyond the tear on all sides. Round the corners to prevent peeling. Position the patch on the inside of the garment with the adhesive side against the fabric, cover it with a pressing cloth, and apply firm pressure with a hot iron for 30-45 seconds. Let it cool completely before moving the garment—the adhesive needs time to set.
The Needle and Thread Starter Kit
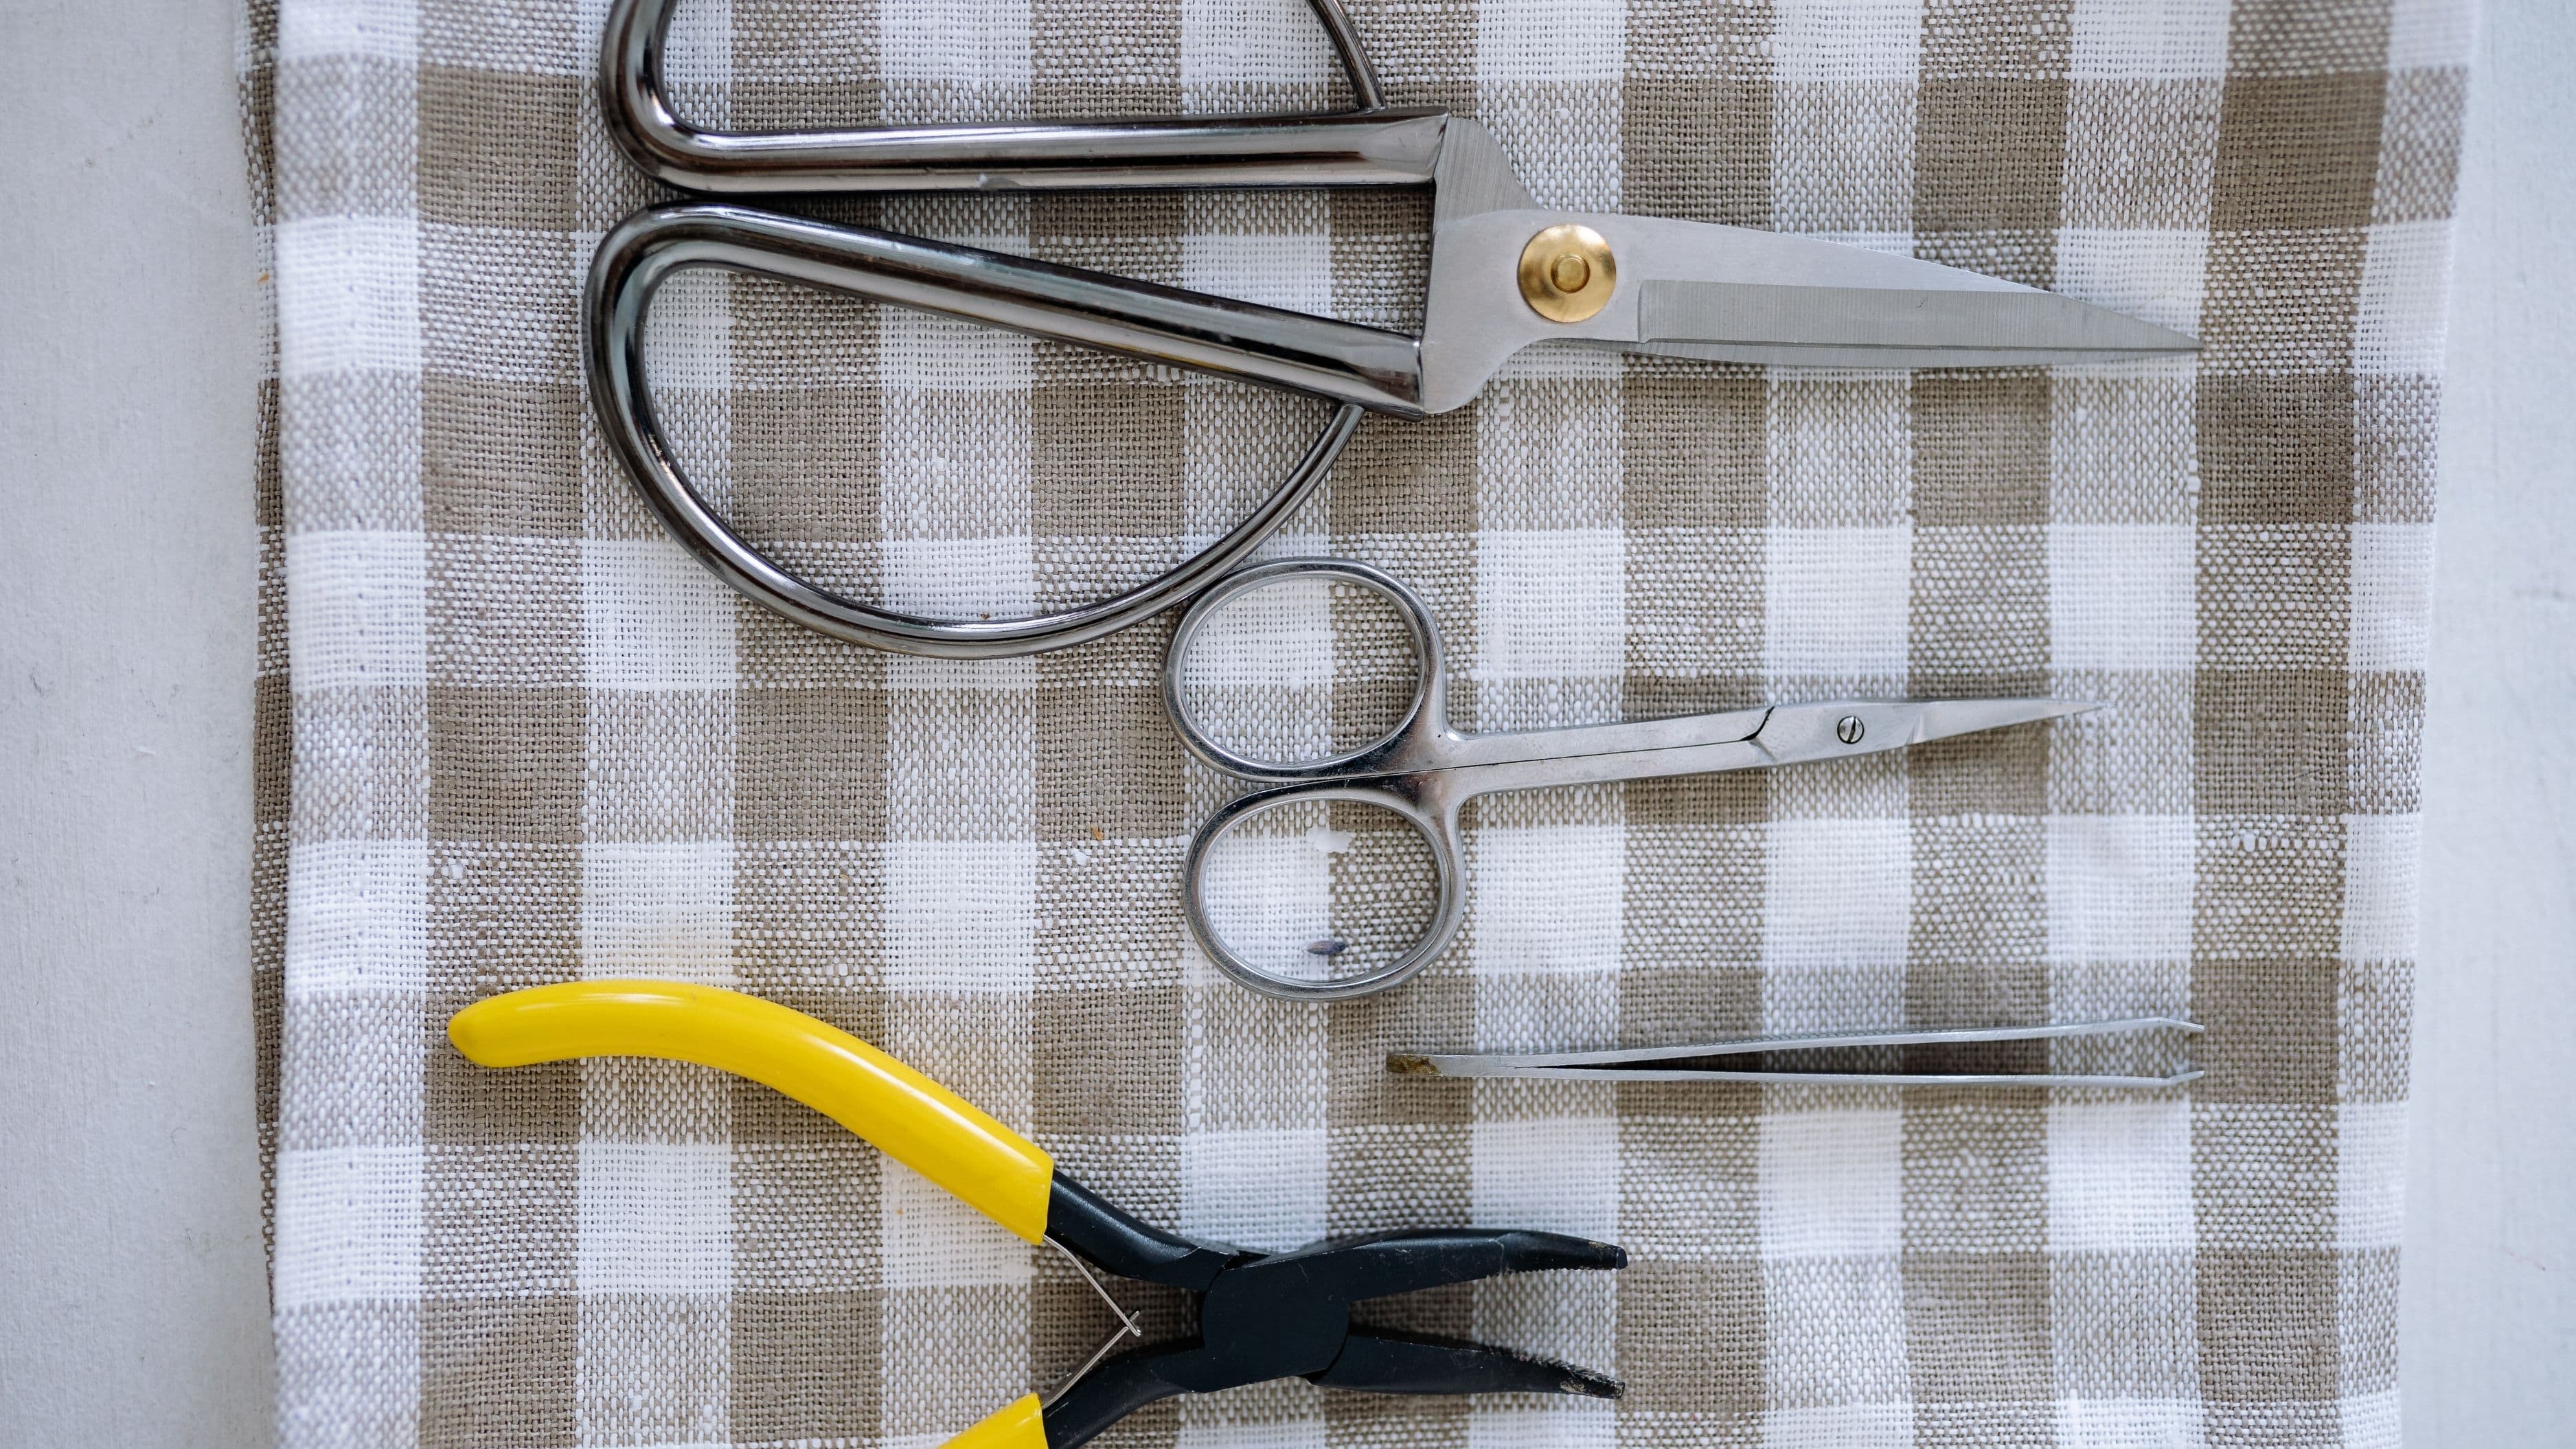
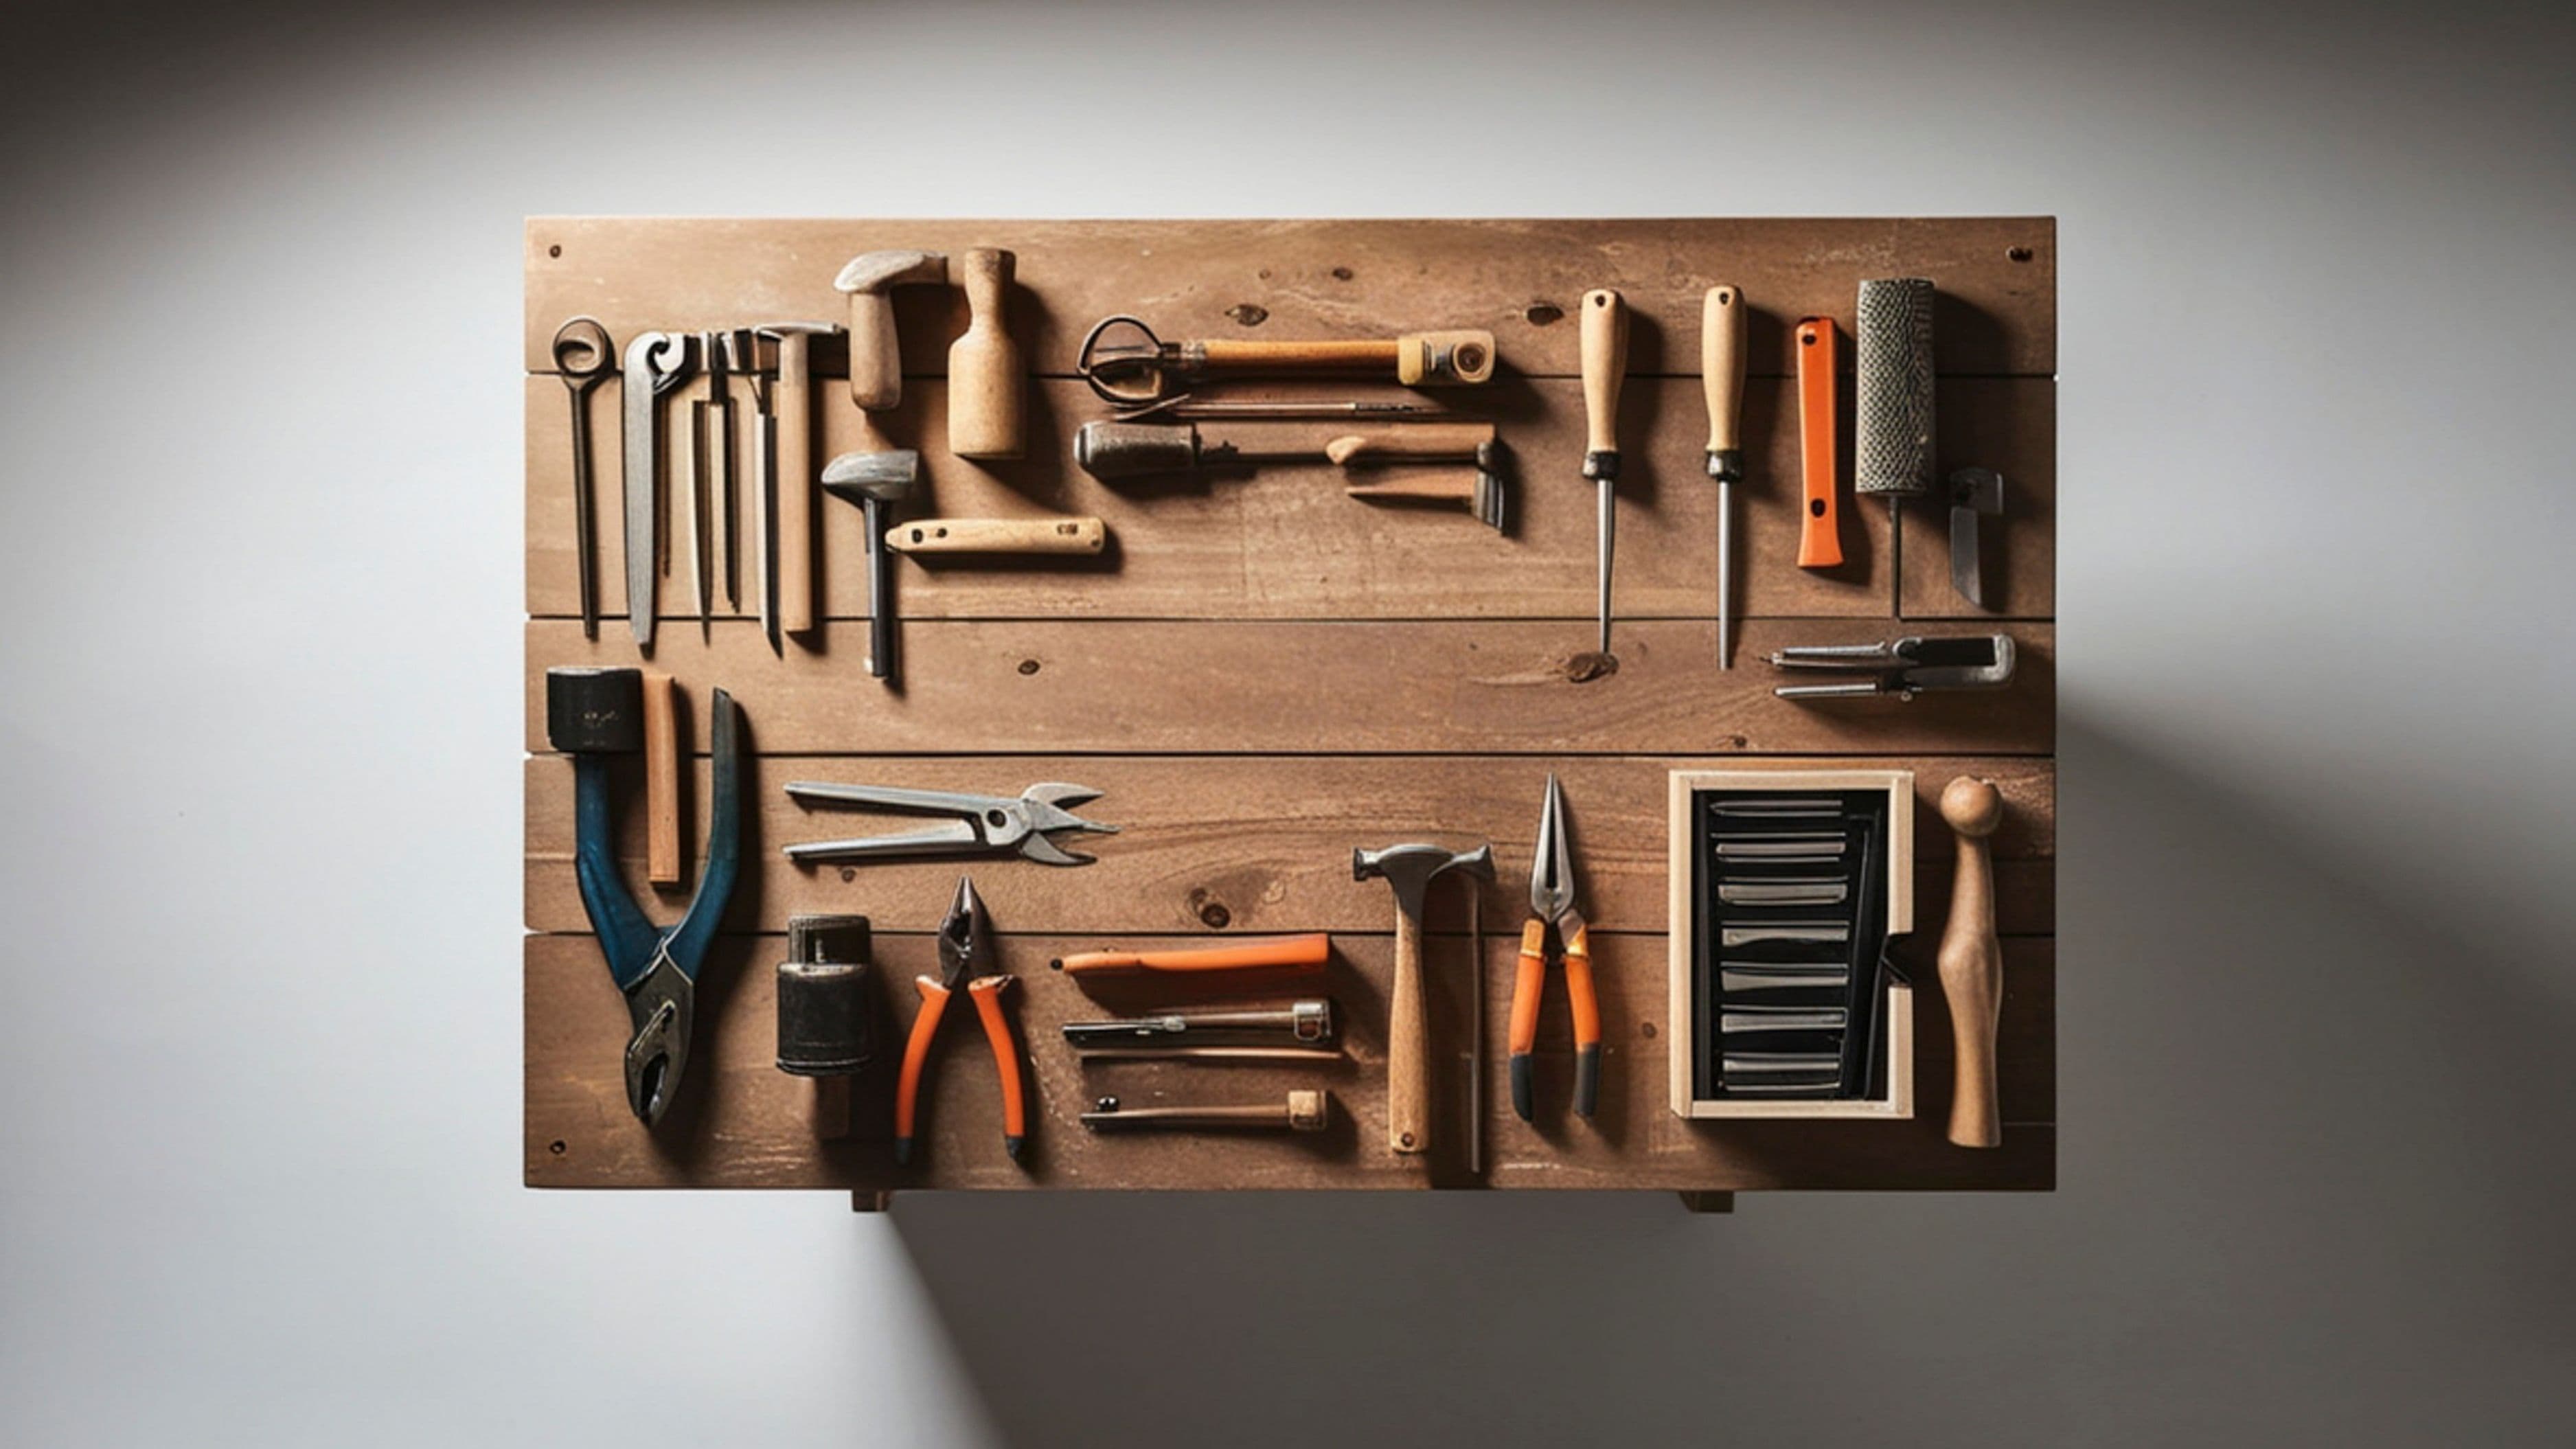
Stop at any drugstore and grab a basic sewing kit for under five dollars. You need needles in assorted sizes, thread in black, white, navy, and gray (these cover 80% of repairs), small scissors, and a handful of safety pins. Store everything in a small plastic container so it's ready when disaster strikes. Add a seam ripper—that tiny tool with the forked end—for removing old stitches without damaging fabric.
Invest ten dollars more in iron-on hem tape, a pack of assorted buttons, and a few iron-on patches in neutral colors. This supplies arsenal handles virtually every common clothing emergency. Keep your kit somewhere accessible, not buried in a closet, because you're much more likely to make a quick fix if your tools are within reach.
Thread your needle by cutting the thread at an angle—the sharp point slides through the eye more easily. When hand-sewing, use thread no longer than your arm span; anything longer tangles and frustrates. Wax your thread by running it across a candle or beeswax block to reduce tangling and strengthen the thread.
When Fabric Frays at the Edges
Raw edges unravel unless you stop them. Knit fabrics curl at cut edges but don't usually unravel, so a simple stitch along the edge holds them. Woven fabrics are the troublemakers—they shed threads like a dog sheds fur. Apply a thin line of clear nail polish or fabric glue along the raw edge to seal the threads together. Let it dry completely before wearing or washing.
For a cleaner finish, fold the raw edge under twice, creating a narrow hem, and stitch it down. This encases the fraying edge inside the fold. Pinking shears—scissors with zigzag edges—cut fabric in a way that naturally resists fraying. If you're cutting off damaged portions of a garment, use pinking shears and you'll automatically create a more stable edge.
Fabric edges inside seams can fray and weaken the entire seam over time. If you notice a seam starting to separate, restitch it before the whole thing comes apart. Turn the garment inside out so you can see the original stitching line, and sew as close to that line as possible. This maintains the garment's original fit and appearance.
The Psychology of Fixing Rather Than Tossing
Americans discard approximately 81 pounds of clothing per person annually, with much of it ending up in landfills. Research from the Journal of Consumer Research indicates that people who repair their possessions report higher satisfaction and stronger emotional connections to those items. There's genuine psychological reward in fixing something yourself—it transforms you from passive consumer to active problem-solver.
That sense of capability spills into other areas of life. Learning to repair clothing builds confidence that you can handle other small household fixes. The skills transfer: if you can sew a button, you can probably figure out how to tighten a loose door handle or replace a phone screen protector. Start with clothing repairs because the stakes are low and the wins are immediate.
Your Five-Minute Daily Check
Make clothing inspection part of your routine. While you're getting dressed, take five seconds to scan buttons, hems, and seams. Catch loose threads before they pull. Spot the beginning of a tear while it's still fixable with three stitches instead of thirty. This preventive mindset saves you money and extends the life of every piece you own.
Create a designated repair spot in your home—a basket or drawer where damaged items go instead of back into the closet. This prevents the "I'll fix it later" pile from mixing with wearable clothes. Once a week, grab an item from the repair basket and fix it while watching TV or listening to music. Most repairs take under ten minutes once you've started.
Keep a fabric shaver or sweater stone handy for removing pills and fuzz balls that make clothing look worn. Fresh-looking fabric encourages you to make other small repairs rather than writing the whole garment off as "done." Maintain your clothes like you maintain your car—small interventions prevent major breakdowns.
Pick one repair from this list and try it right now. That button that's been hanging by a thread? That hem you've been safety-pinning? Handle it today. Momentum starts small, but the confidence you build from one successful fix will carry you through dozens more. Your wardrobe—and your wallet—will thank you.
📚 Sources
1. Environmental Protection Agency. (2023). "Textiles: Material-Specific Data." EPA Sustainable Management of Food Program.
2. Roster, C. A., Ferrari, J. R., & Jurkat, M. P. (2016). "The dark side of home: Assessing possession 'clutter' on subjective well-being." Journal of Environmental Psychology, 46, 32-41.
🔍 Explore Related Topics