The good news is that most output loss is predictable and manageable. Some of it happens to every system regardless of how well it's maintained. The rest is largely preventable with basic upkeep and early attention to warning signs.
Natural Degradation: The Baseline You Can't Avoid
Every solar panel loses a small amount of efficiency every year, no exceptions. This is called light-induced degradation (LID) and long-term degradation, and it's built into the performance warranty that came with your system. Most quality residential panels degrade at a rate of 0.5% to 0.8% per year. That means after 20 years, a panel rated at 400 watts is typically producing somewhere around 330–360 watts under ideal conditions.
The causes are chemical and physical. Silicon cells in the panel react slowly to repeated light exposure and thermal cycling – the daily expansion and contraction from heating up in the sun and cooling down at night. Over years, this creates microscopic changes in the cell structure that reduce efficiency. It's the same kind of slow material fatigue that affects most things exposed to the elements over decades.
The key word here is "gradual." A slow, steady decline in line with the manufacturer's degradation rate is not a problem to fix – it's just physics. What you're watching for is output that drops faster than expected or drops suddenly, which points to something specific rather than natural aging.
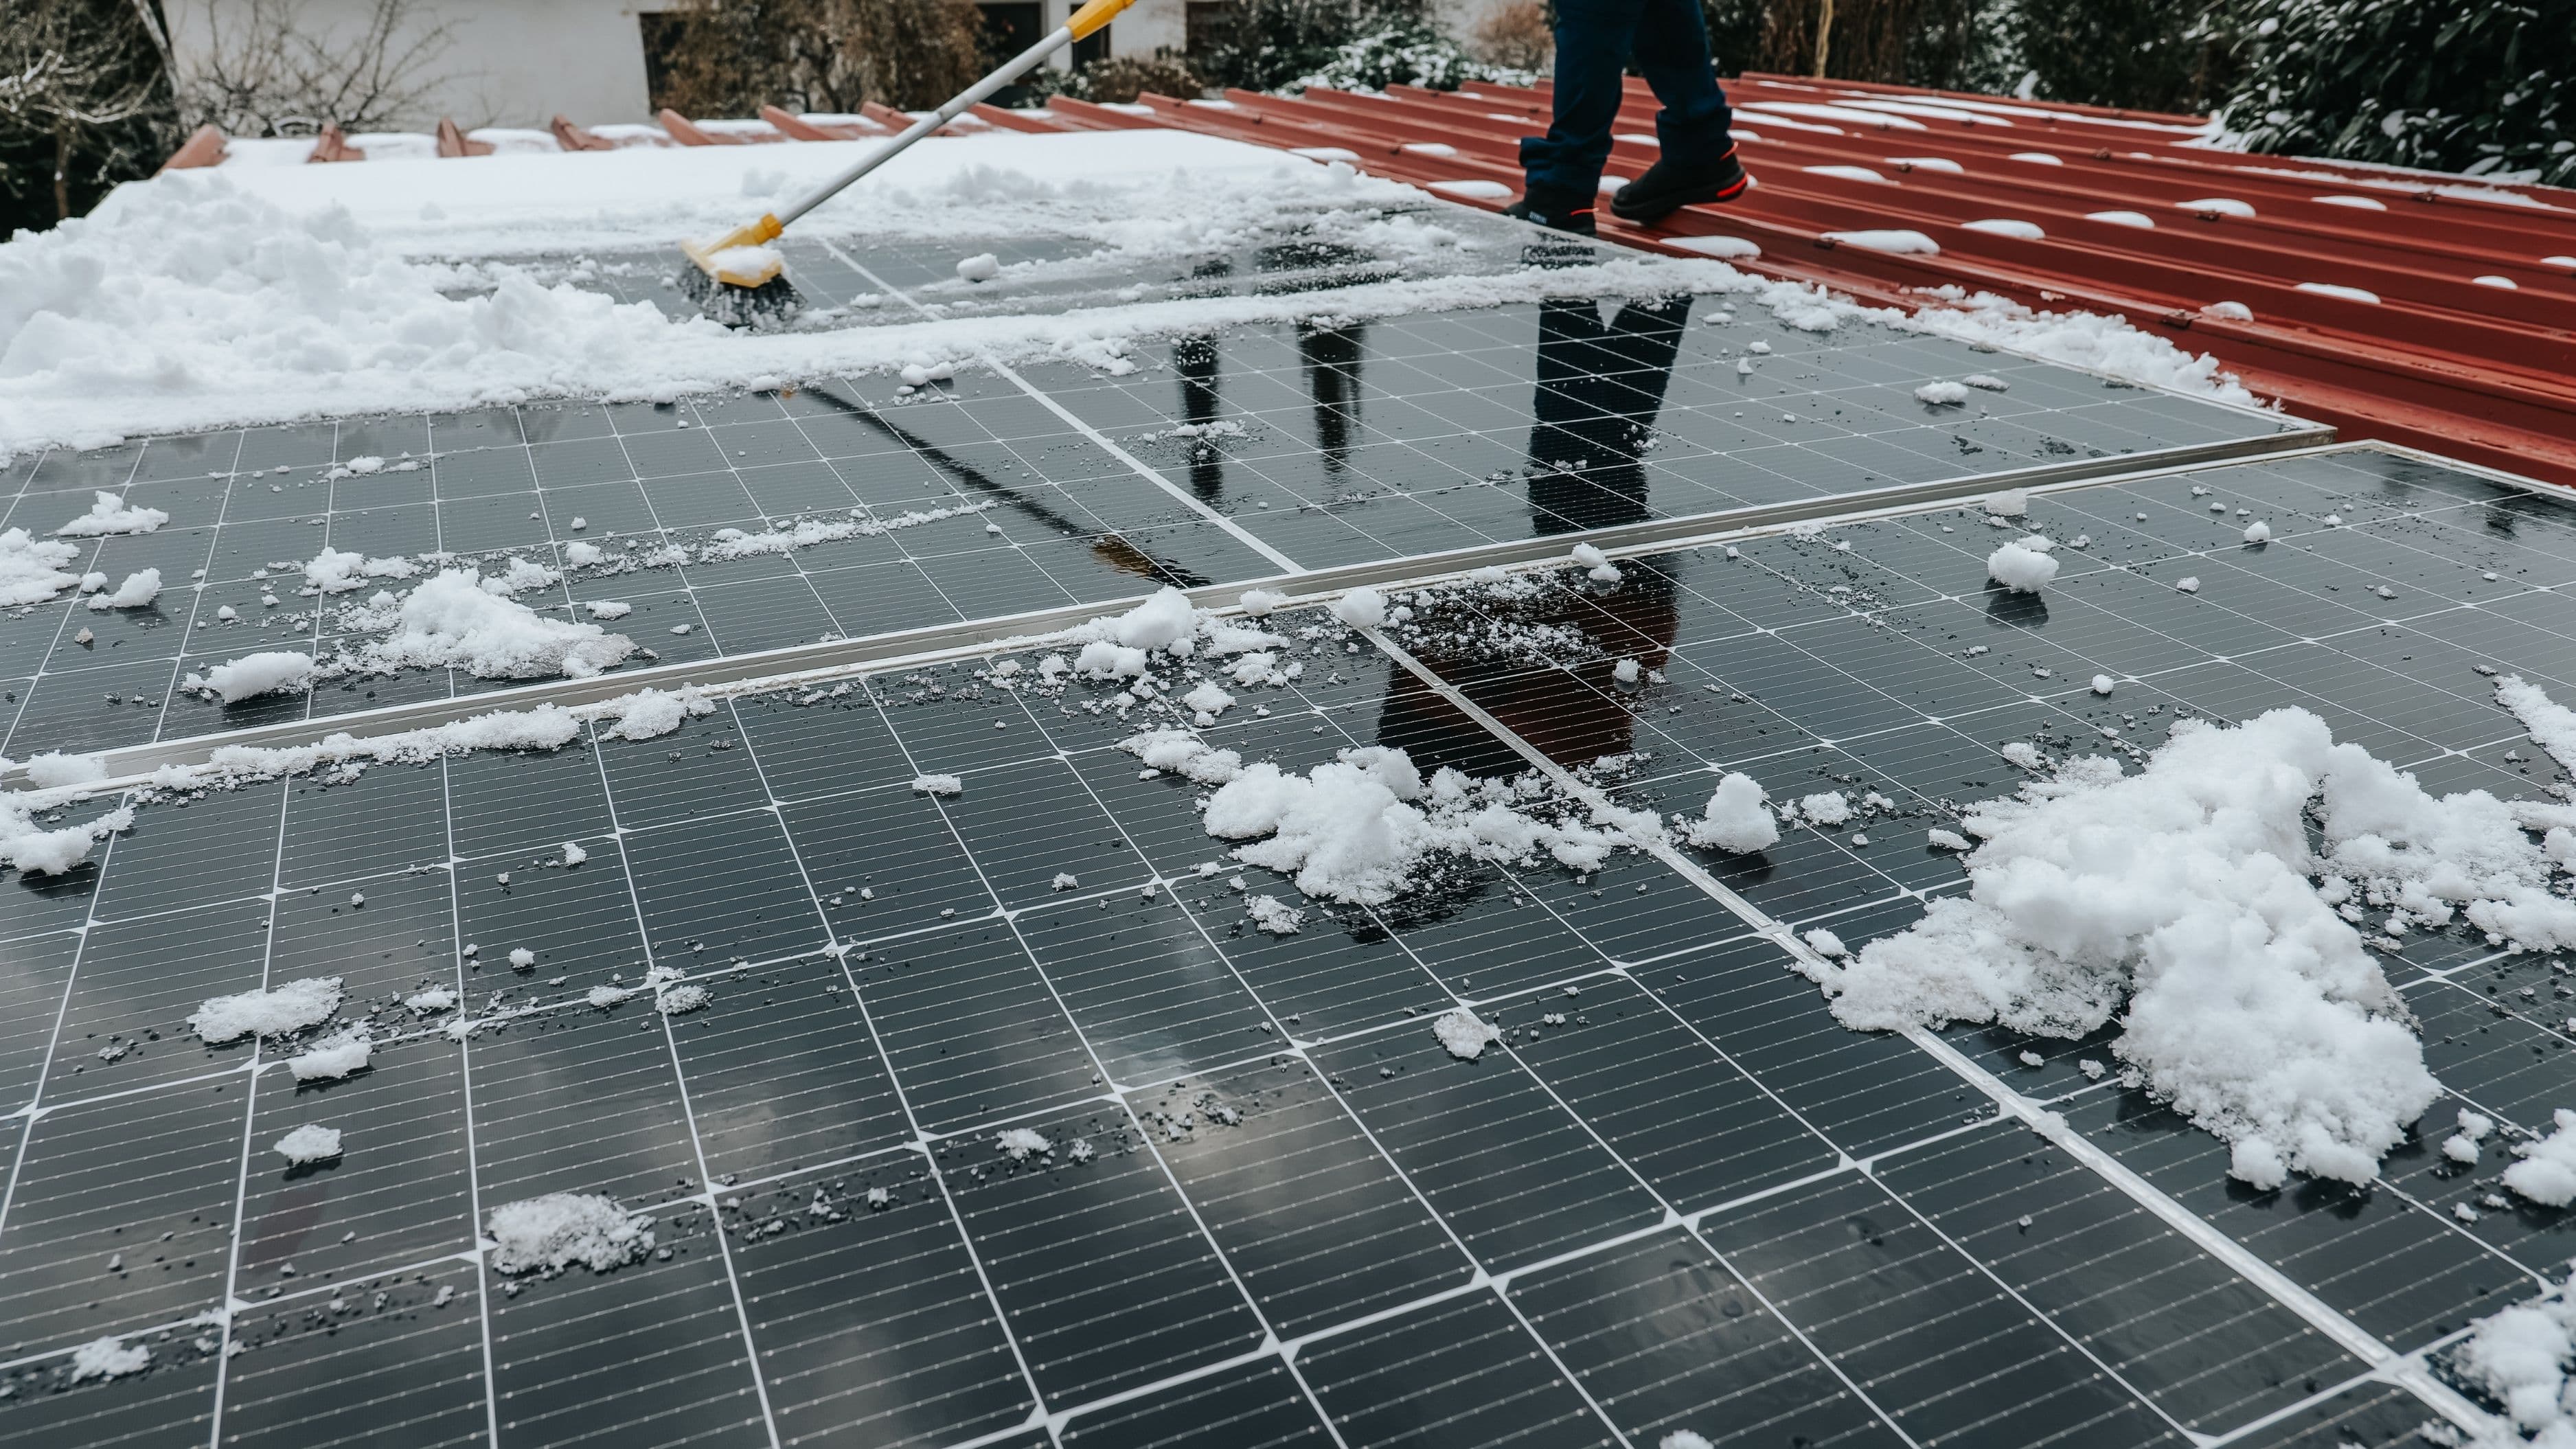
Soiling: The Most Common and Most Fixable Cause
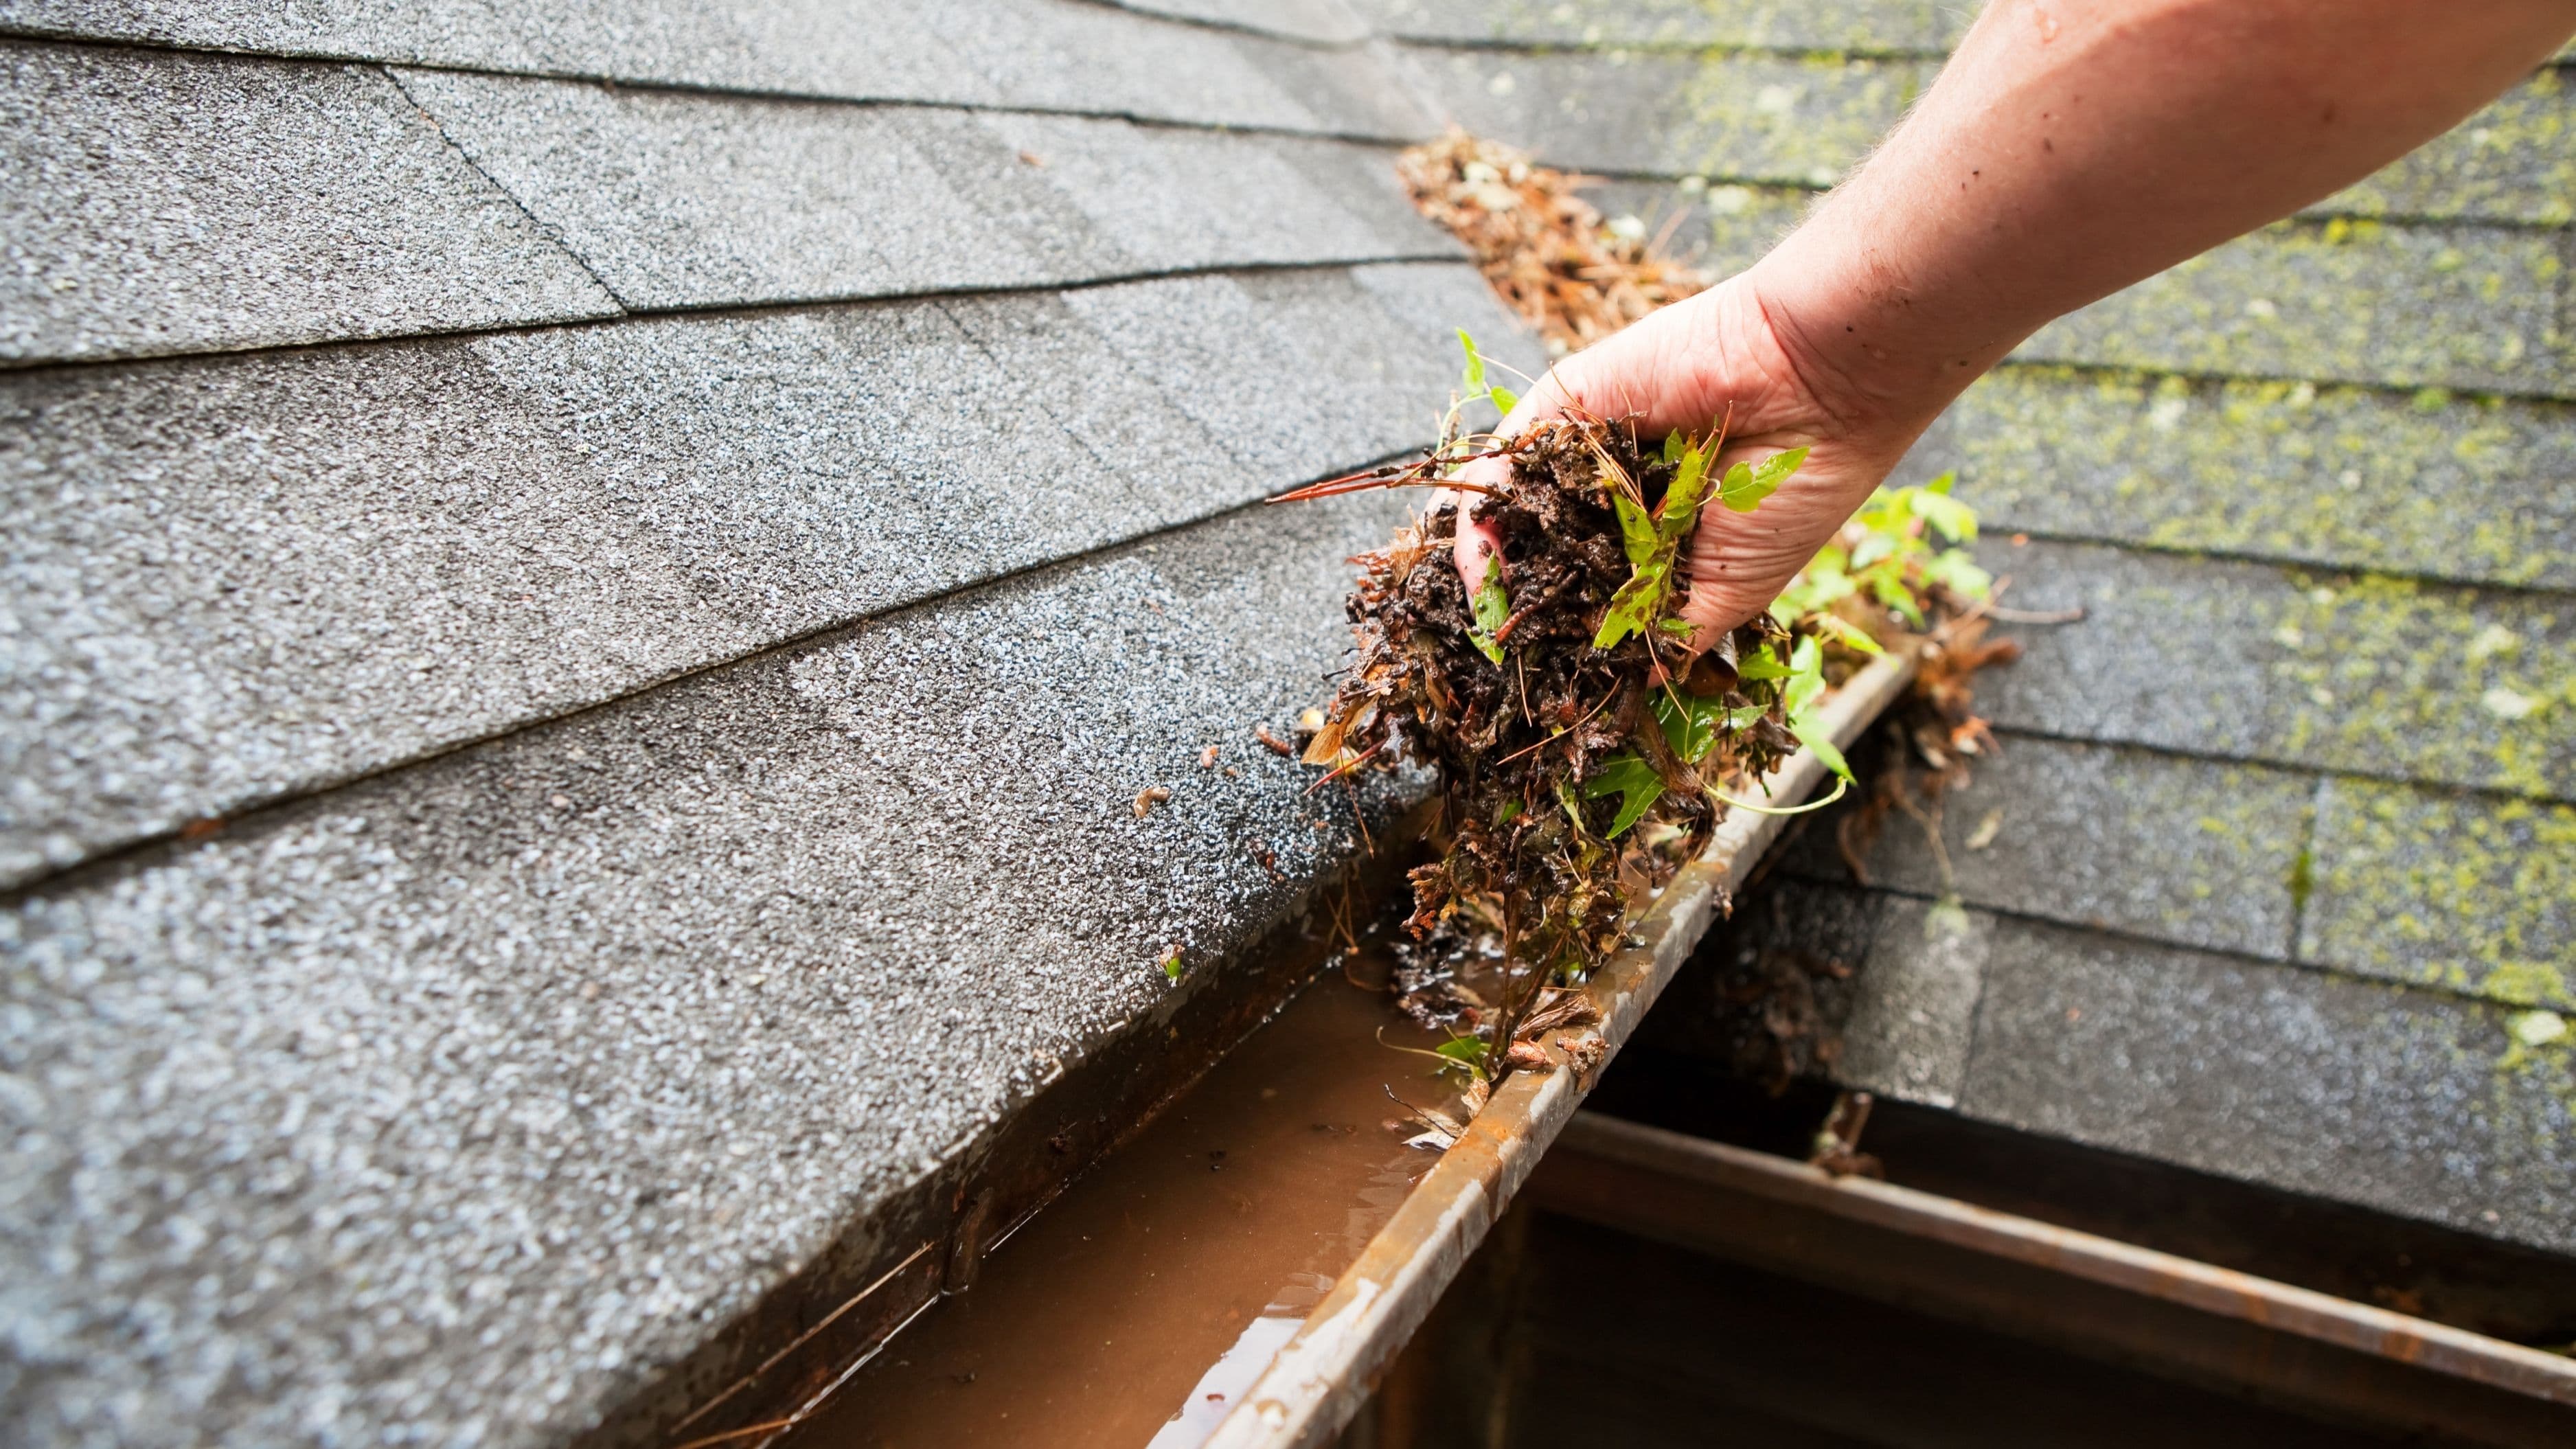
Dirt, dust, pollen, bird droppings, and leaf debris on the panel surface block incoming sunlight and reduce output. This is the single most common cause of output loss in residential systems, and also the easiest to address. Studies have estimated that soiling can reduce output by anywhere from 5% to 25% depending on local conditions, panel tilt, and how long since the last cleaning.
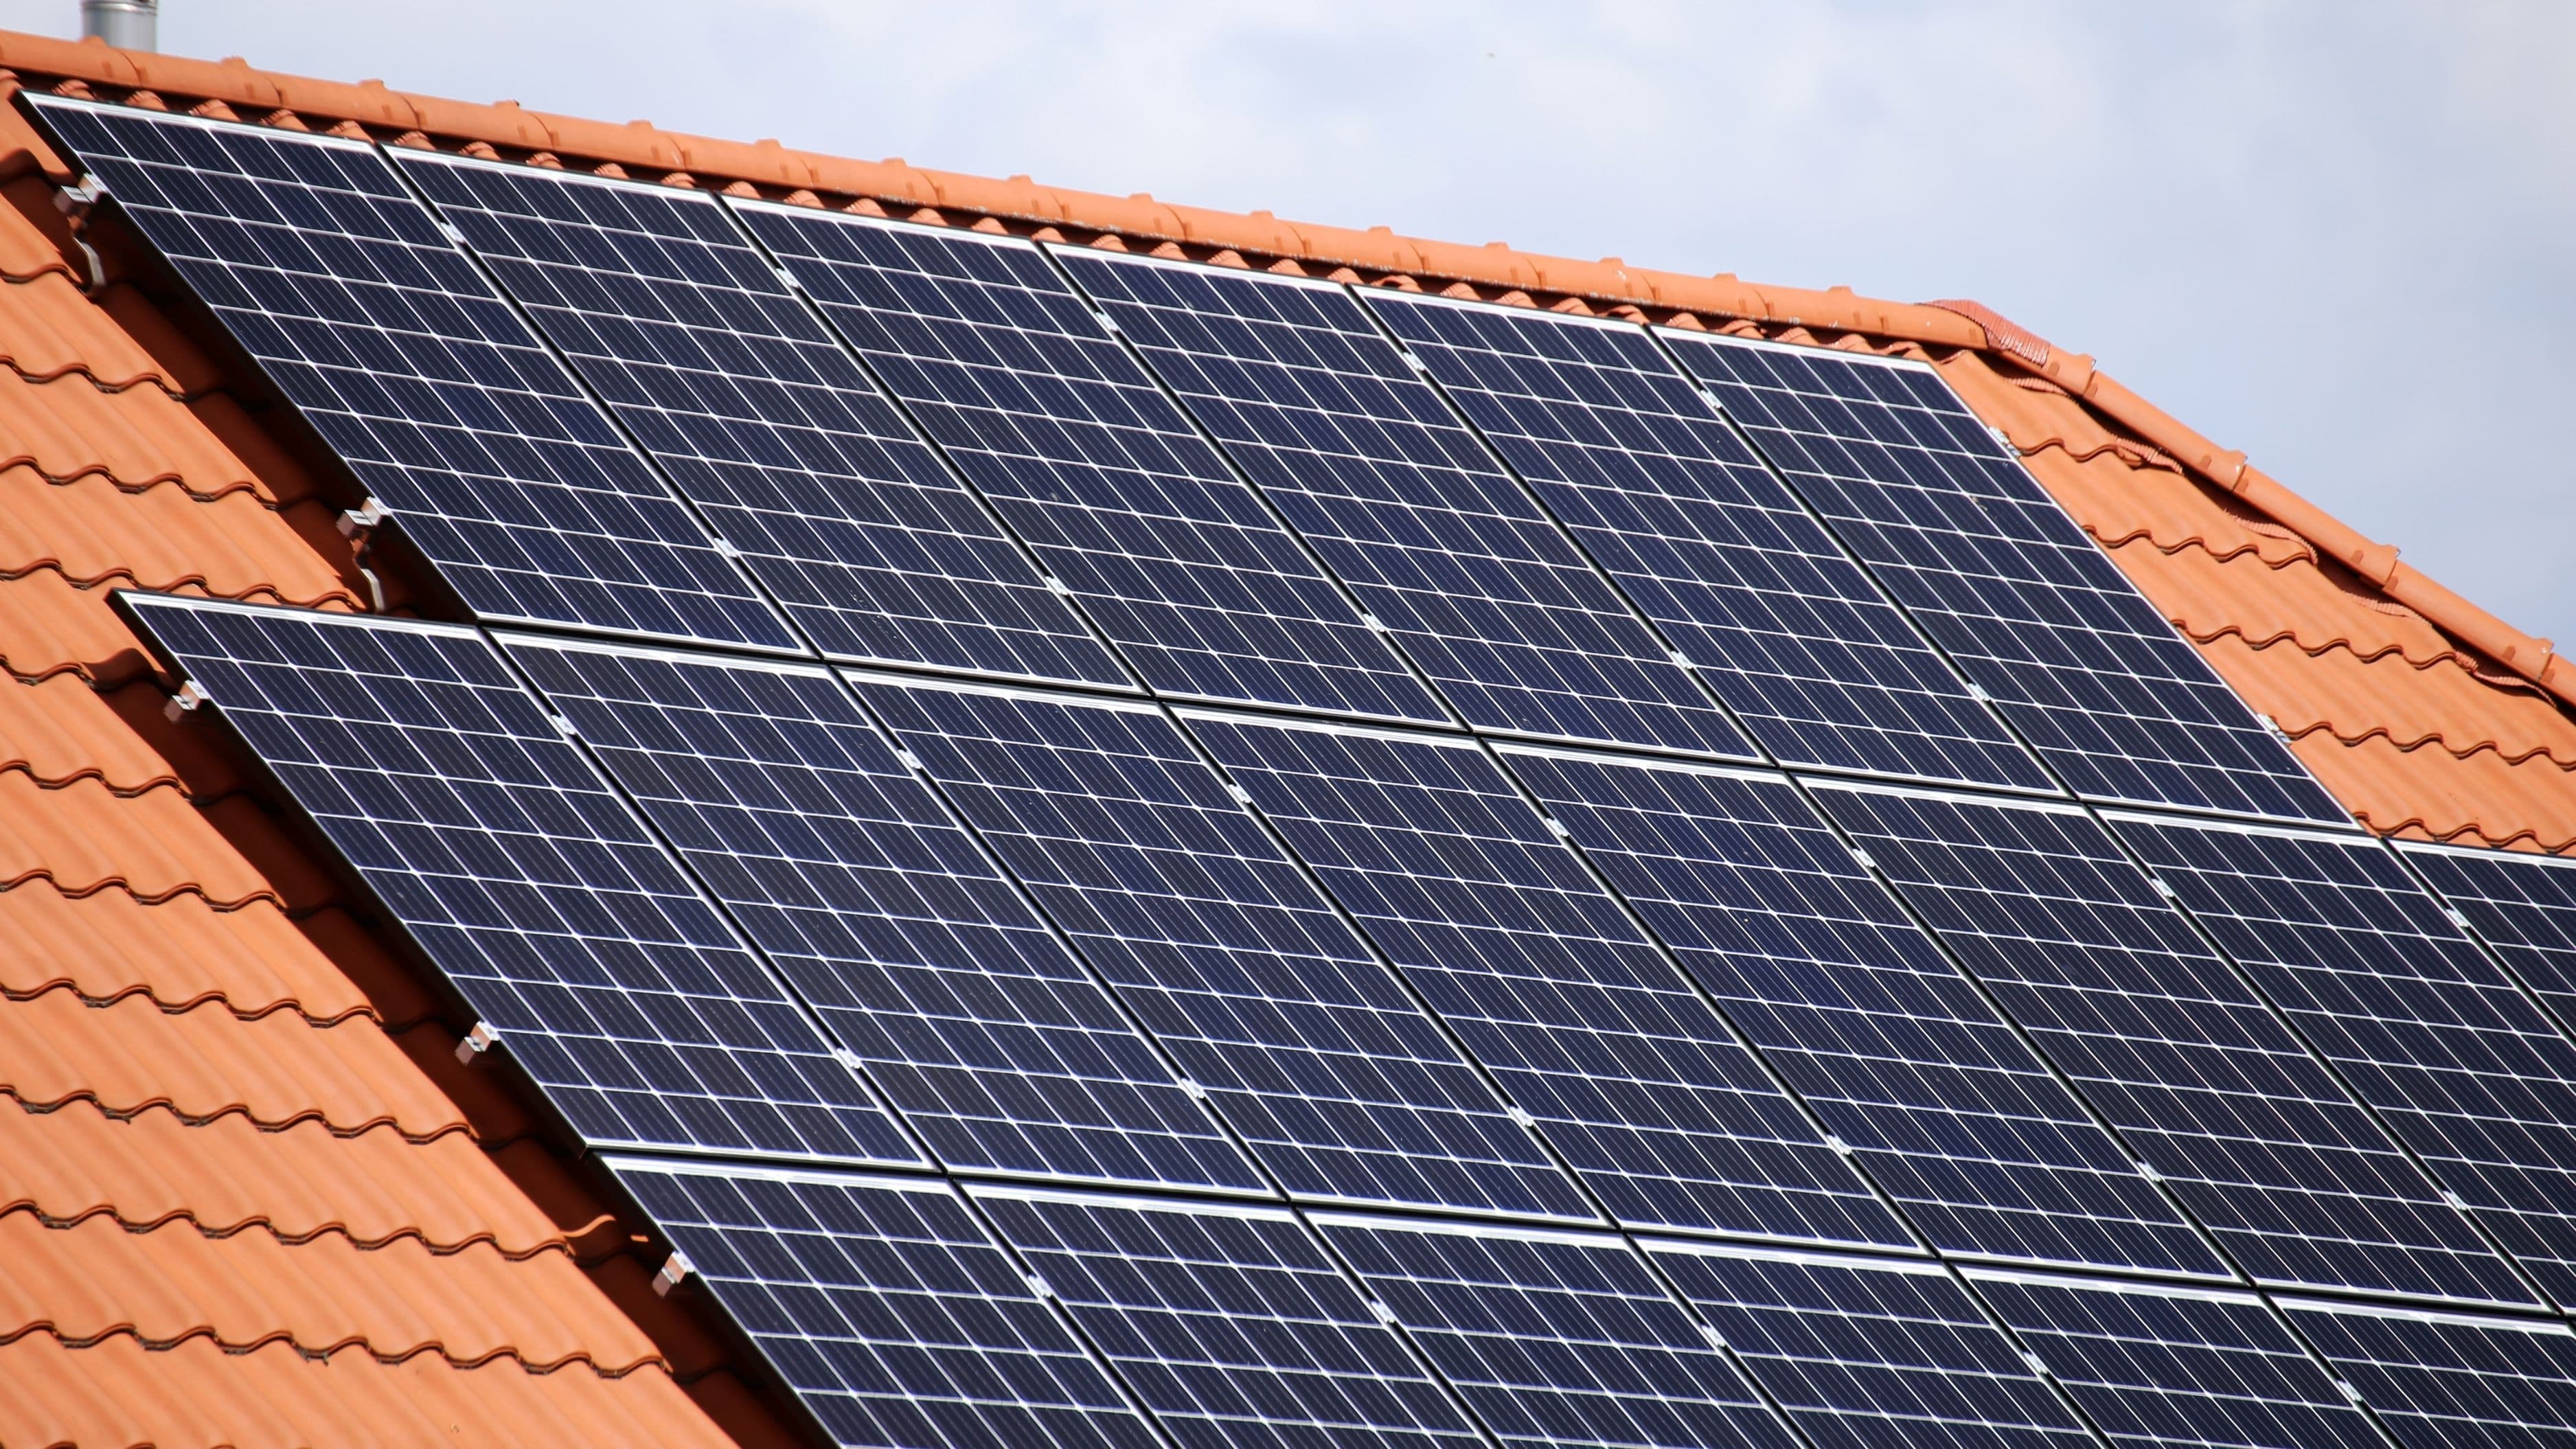
Flat or low-angle panels accumulate dirt much faster than steeply pitched ones because rain does a better job of cleaning panels that have enough angle for runoff. If your panels are mounted at a shallow angle, or if you live in a dry and dusty area, near agricultural fields, or in a neighborhood with heavy bird traffic, soiling is almost certainly a bigger factor than natural degradation.
Bird droppings deserve a specific mention because they're not just a nuisance – they're acidic and can etch the panel surface if left in place for a long time. A thick dropping concentrated in one spot also creates a "hot spot" where that portion of the cell is working harder than the rest, which accelerates local wear. Clean droppings off promptly rather than waiting for your scheduled maintenance window.
A simple test: if your output has been declining and you clean the panels and see an immediate jump back toward normal numbers, soiling was the culprit. If output stays low after a thorough cleaning, something else is going on.
Shading: The Silent Output Thief
Shading is a bigger problem than most homeowners realize, especially because it often develops slowly and goes unnoticed. A tree that wasn't blocking your panels when the system was installed in 2018 may have grown enough by now to cast a shadow across part of your array for several hours during peak sun. A new fence, a neighbor's addition, or even a satellite dish installed after your panels can create shading that wasn't a factor at installation.
What makes shading particularly damaging in many solar systems is the way panels are wired together in "strings." In a string inverter system, the lowest-performing panel in the string limits the output of every panel in that string – the electrical equivalent of a chain being only as strong as its weakest link. Even a small shadow on one panel can pull down the production of everything connected to it. Microinverters and DC optimizers handle shading much better because each panel operates more independently, but most older string inverter systems are vulnerable.
If you notice that output has declined and varies based on time of day or season in a way that doesn't match your historical data, shading is a strong suspect. An easy check: on a clear day, go outside during what should be your peak production hours (typically 10am–2pm) and look at whether any part of your array is in shadow.
Inverter Issues and Failures
The inverter converts the DC power your panels generate into the AC power your home uses. It's the component most likely to fail or underperform before the panels themselves, and inverter problems can cause dramatic output drops that look like panel issues until you dig deeper.
String inverters typically have a lifespan of 10–15 years, which means if your system is getting older, inverter replacement may be on the horizon. Microinverters and power optimizers tend to last longer – often 20–25 years – but individual units can still fail and take their panel offline.
Signs of inverter trouble include: the inverter display showing an error code or fault light, production monitoring showing specific panels or strings with zero or very low output, the inverter making unusual sounds (buzzing, clicking), or the unit running significantly hotter than usual. Many modern inverters will also send alerts to their companion apps when a fault is detected.
If your system is within warranty and the inverter appears to be the issue, contact your installer – inverter replacement is typically a professional job and may be covered. Outside warranty, inverter replacement costs range from a few hundred dollars for a microinverter swap to several thousand for a central string inverter.
Micro-Cracks in the Panels
Micro-cracks – tiny fractures in the silicon cells inside the panel – can develop from hail impact, heavy snow load, foot traffic on or near the panels, or just mechanical stress over time. They're often not visible to the naked eye or even from close inspection, but they reduce the effective cell area that can generate electricity.
Thermographic (infrared) imaging is the most reliable way to detect micro-cracks and hot spots in panels. Some professional inspection services use IR cameras to scan panels from the ground or from a drone, identifying cells that are running hotter than their neighbors – a reliable indicator of a damaged cell or connection. This is beyond DIY territory, but if you've ruled out soiling, shading, and inverter issues and still can't explain an output drop, a professional thermal inspection is the logical next step.
Minor micro-cracking may cause a noticeable but not dramatic drop in output and can be monitored over time. Severe cracking typically warrants panel replacement, especially if the affected panel is under warranty.
Connection and Wiring Degradation
The wiring, connectors, and junction boxes in your solar system are exposed to temperature cycling, UV exposure, moisture, and physical stress year after year. Over time, connections can oxidize, loosen, or degrade in ways that increase electrical resistance – which means less power making it from the panels to your inverter and into your home.
This type of degradation is slow, gradual, and difficult to detect without a professional inspection, because it doesn't show up as an obvious fault – it just shows up as slightly lower output over time that doesn't have a clear single cause. A qualified solar technician can use a clamp meter and voltage checks to test each part of the circuit for unexpected resistance or voltage drop.
Rodent damage is worth mentioning separately. Squirrels, rats, and other rodents sometimes chew through wiring under or between panels, creating shorts or open circuits that kill output entirely. If you have rodent activity around your home, check periodically whether the wiring beneath your panels is protected or showing signs of damage.
Temperature: The Counterintuitive Factor
Here's something many homeowners don't realize: solar panels are actually less efficient in hot weather than in cool weather, up to a point. Silicon cells have a negative temperature coefficient, meaning their output drops slightly as temperature increases above the rated test condition (usually 25°C/77°F). On a very hot summer day, your panels may produce noticeably less than on a cool, clear spring morning with identical sunlight.
This isn't a fault or a maintenance issue – it's a built-in characteristic of photovoltaic technology. But it's worth understanding because it explains why summer output can sometimes be disappointing compared to spring, even though summer has more daylight hours. Poor ventilation under the panels makes this worse, which is one reason proper clearance between the panels and the roof surface is important during installation.
If your panels are running significantly hotter than they should due to debris accumulation underneath, blocked airflow, or a mounting issue, addressing those factors can recover some of the temperature-related output loss.
How to Tell What's Actually Causing Your Drop
A systematic approach saves time and helps you avoid unnecessary service calls.
Start with the easy stuff: clean the panels thoroughly and check for visible debris or shading. If output recovers after cleaning, soiling was the problem. If it doesn't, check your inverter – look for fault codes, check the indicator lights, and review your monitoring app for panel-level data if your system supports it.
If specific panels or strings are showing significantly lower output than others, that points to either a panel defect, a micro-inverter or optimizer issue, or a wiring problem in that section of the array. If all panels are uniformly underperforming, the issue is more likely at the inverter level, a shading issue affecting the whole array, or system-wide soiling.
Compare your current production numbers against your historical data for the same time of year. Most monitoring software lets you pull up production history by month or year – a 10% drop from last year's summer average is meaningful; a 2% drop is within normal degradation range.
If basic troubleshooting doesn't identify a clear cause, a professional inspection is the right next step, especially if your system is more than five years old and you've never had a technician review it.
When to Call a Professional
Some output drops are worth investigating yourself. Others need a professional. Call a licensed solar technician or your original installer when:
Your output has dropped significantly – more than 20–25% from historical averages for the same time of year – and cleaning and inverter checks don't explain it.
Your inverter is showing persistent fault codes that don't clear after a reset, or the unit appears physically damaged or unusually hot.
You suspect micro-cracks or physical panel damage and want a thermal imaging inspection.
Wiring or connection issues are suspected and you want the system tested for resistance and voltage drop.
Your system is out of warranty and underperforming – a professional assessment can clarify whether the issue is worth repairing or whether component replacement makes more financial sense.
What to Expect Over Your System's Lifespan
A well-maintained residential solar system should hold above 80% of its original rated output at the 25-year mark, which is why most manufacturers offer performance warranties to that threshold. In practice, systems that receive regular cleaning, timely attention to shade management, and occasional professional inspections tend to outperform their warranted degradation curve rather than just meeting it.
The biggest output losses in poorly maintained systems come from preventable factors – soiling, unaddressed shading, and early inverter degradation – not from the inevitable natural aging of the silicon cells. Staying on top of the basics means getting more power out of your system for longer, which makes the original investment go further.
FAQ
How much output drop per year is normal for solar panels? Most quality residential panels degrade at 0.5%–0.8% per year under normal conditions. Anything significantly above 1% per year sustained over multiple years is worth investigating.
My monitoring app shows one panel producing much less than the others. What does that mean? In a system with microinverters or power optimizers, this usually points to either that specific panel having a defect (micro-cracks, soiling, shading), or the microinverter or optimizer for that panel failing. In a string inverter system, you typically can't see panel-level data – if you can, that means you have some form of panel-level electronics, and the diagnostic approach is the same.
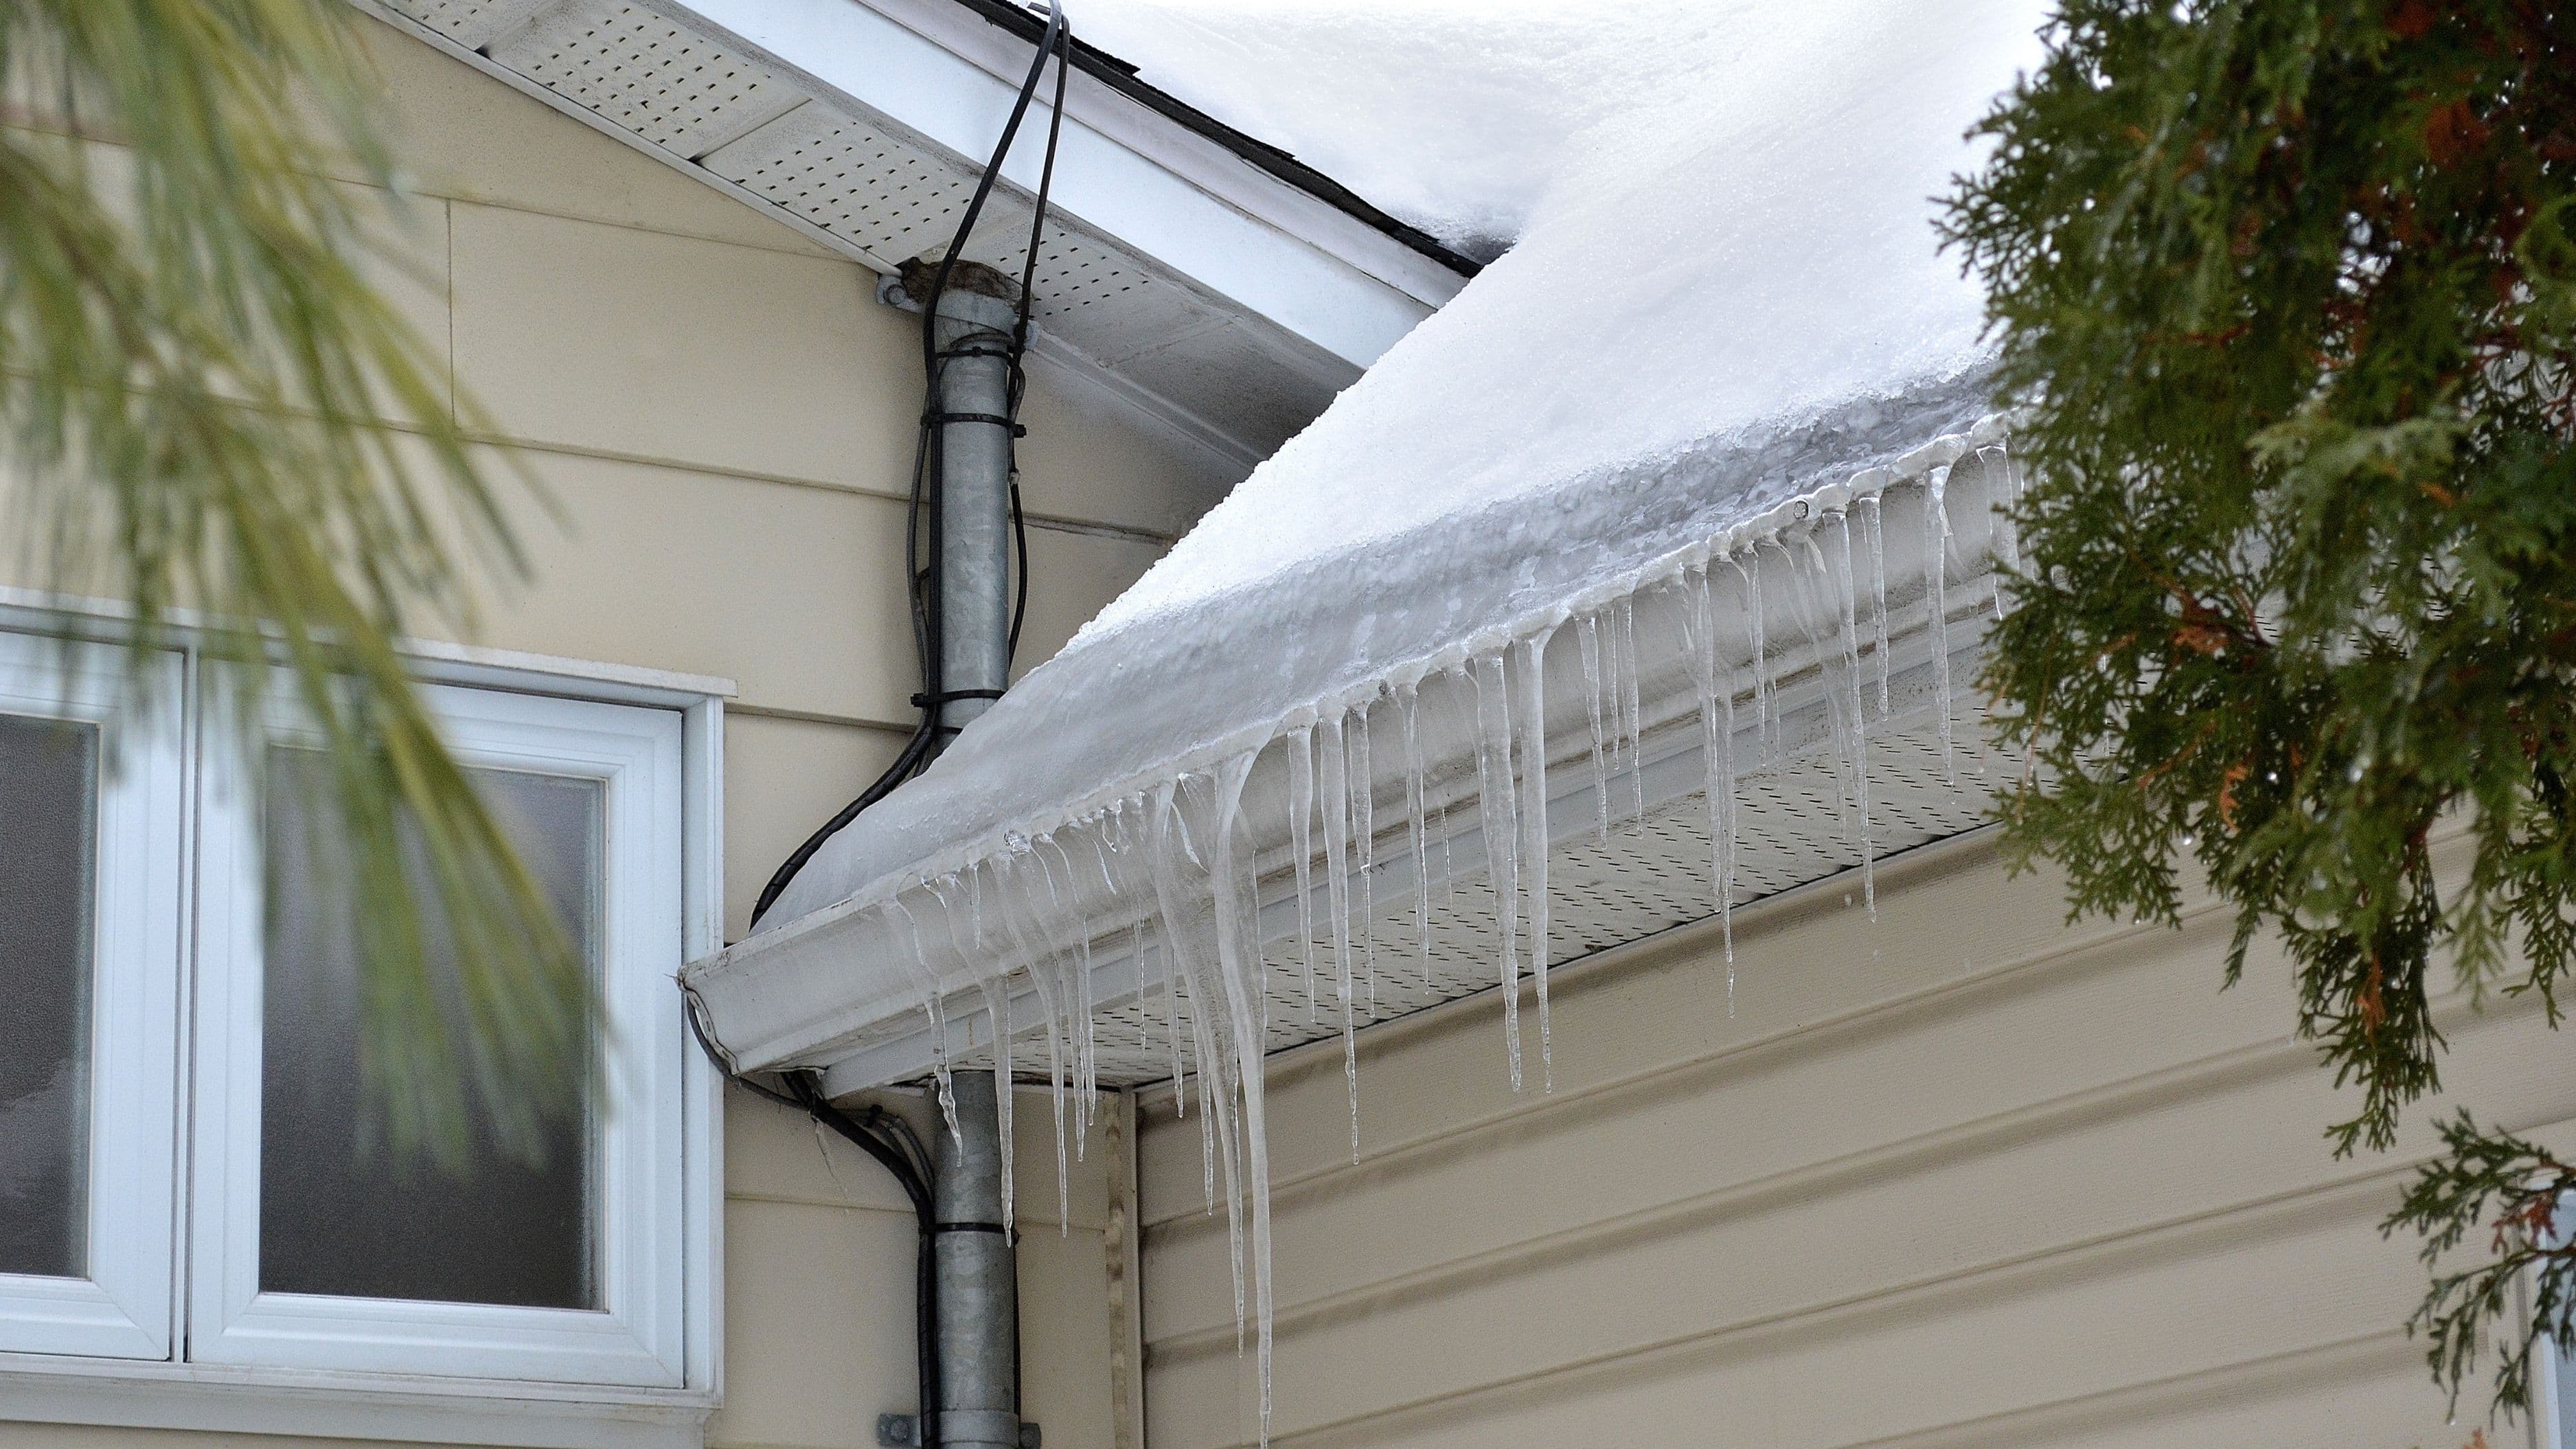
Does cold weather hurt solar panel output? Cold weather does not hurt output – in fact, cool, clear days often produce more than hot summer days because panels are more efficient at lower temperatures. Snow covering the panels will reduce output to near zero until it clears, but this is temporary.
Can I repair a cracked solar panel myself? Cracked solar panels are not DIY-repairable. Attempting to open or modify a panel voids the warranty and creates an electrical safety hazard. Damaged panels should be assessed and replaced by a qualified solar technician.
How much does a professional solar inspection cost? Costs vary by location and system size, but a basic professional inspection typically runs $150–$400. Thermal imaging inspections cost more – usually $300–$600 – but provide the most detailed view of panel-level performance and damage.
📚 Sources
Jordan, D.C. & Kurtz, S.R. – Photovoltaic Degradation Rates – An Analytical Review (National Renewable Energy Laboratory, 2012): https://www.nrel.gov/docs/fy12osti/51664.pdf
U.S. Department of Energy – Homeowner's Guide to Going Solar: https://www.energy.gov/eere/solar/homeowners-guide-going-solar
EnergySage – Why Is My Solar Output Lower Than Expected: https://news.energysage.com/solar-panel-output/
Solar Energy Industries Association – Solar Panel Maintenance: https://www.seia.org/initiatives/solar-basics
Lawrence Berkeley National Laboratory – Tracking the Sun: https://emp.lbl.gov/tracking-the-sun
🔍 Explore Related Topics