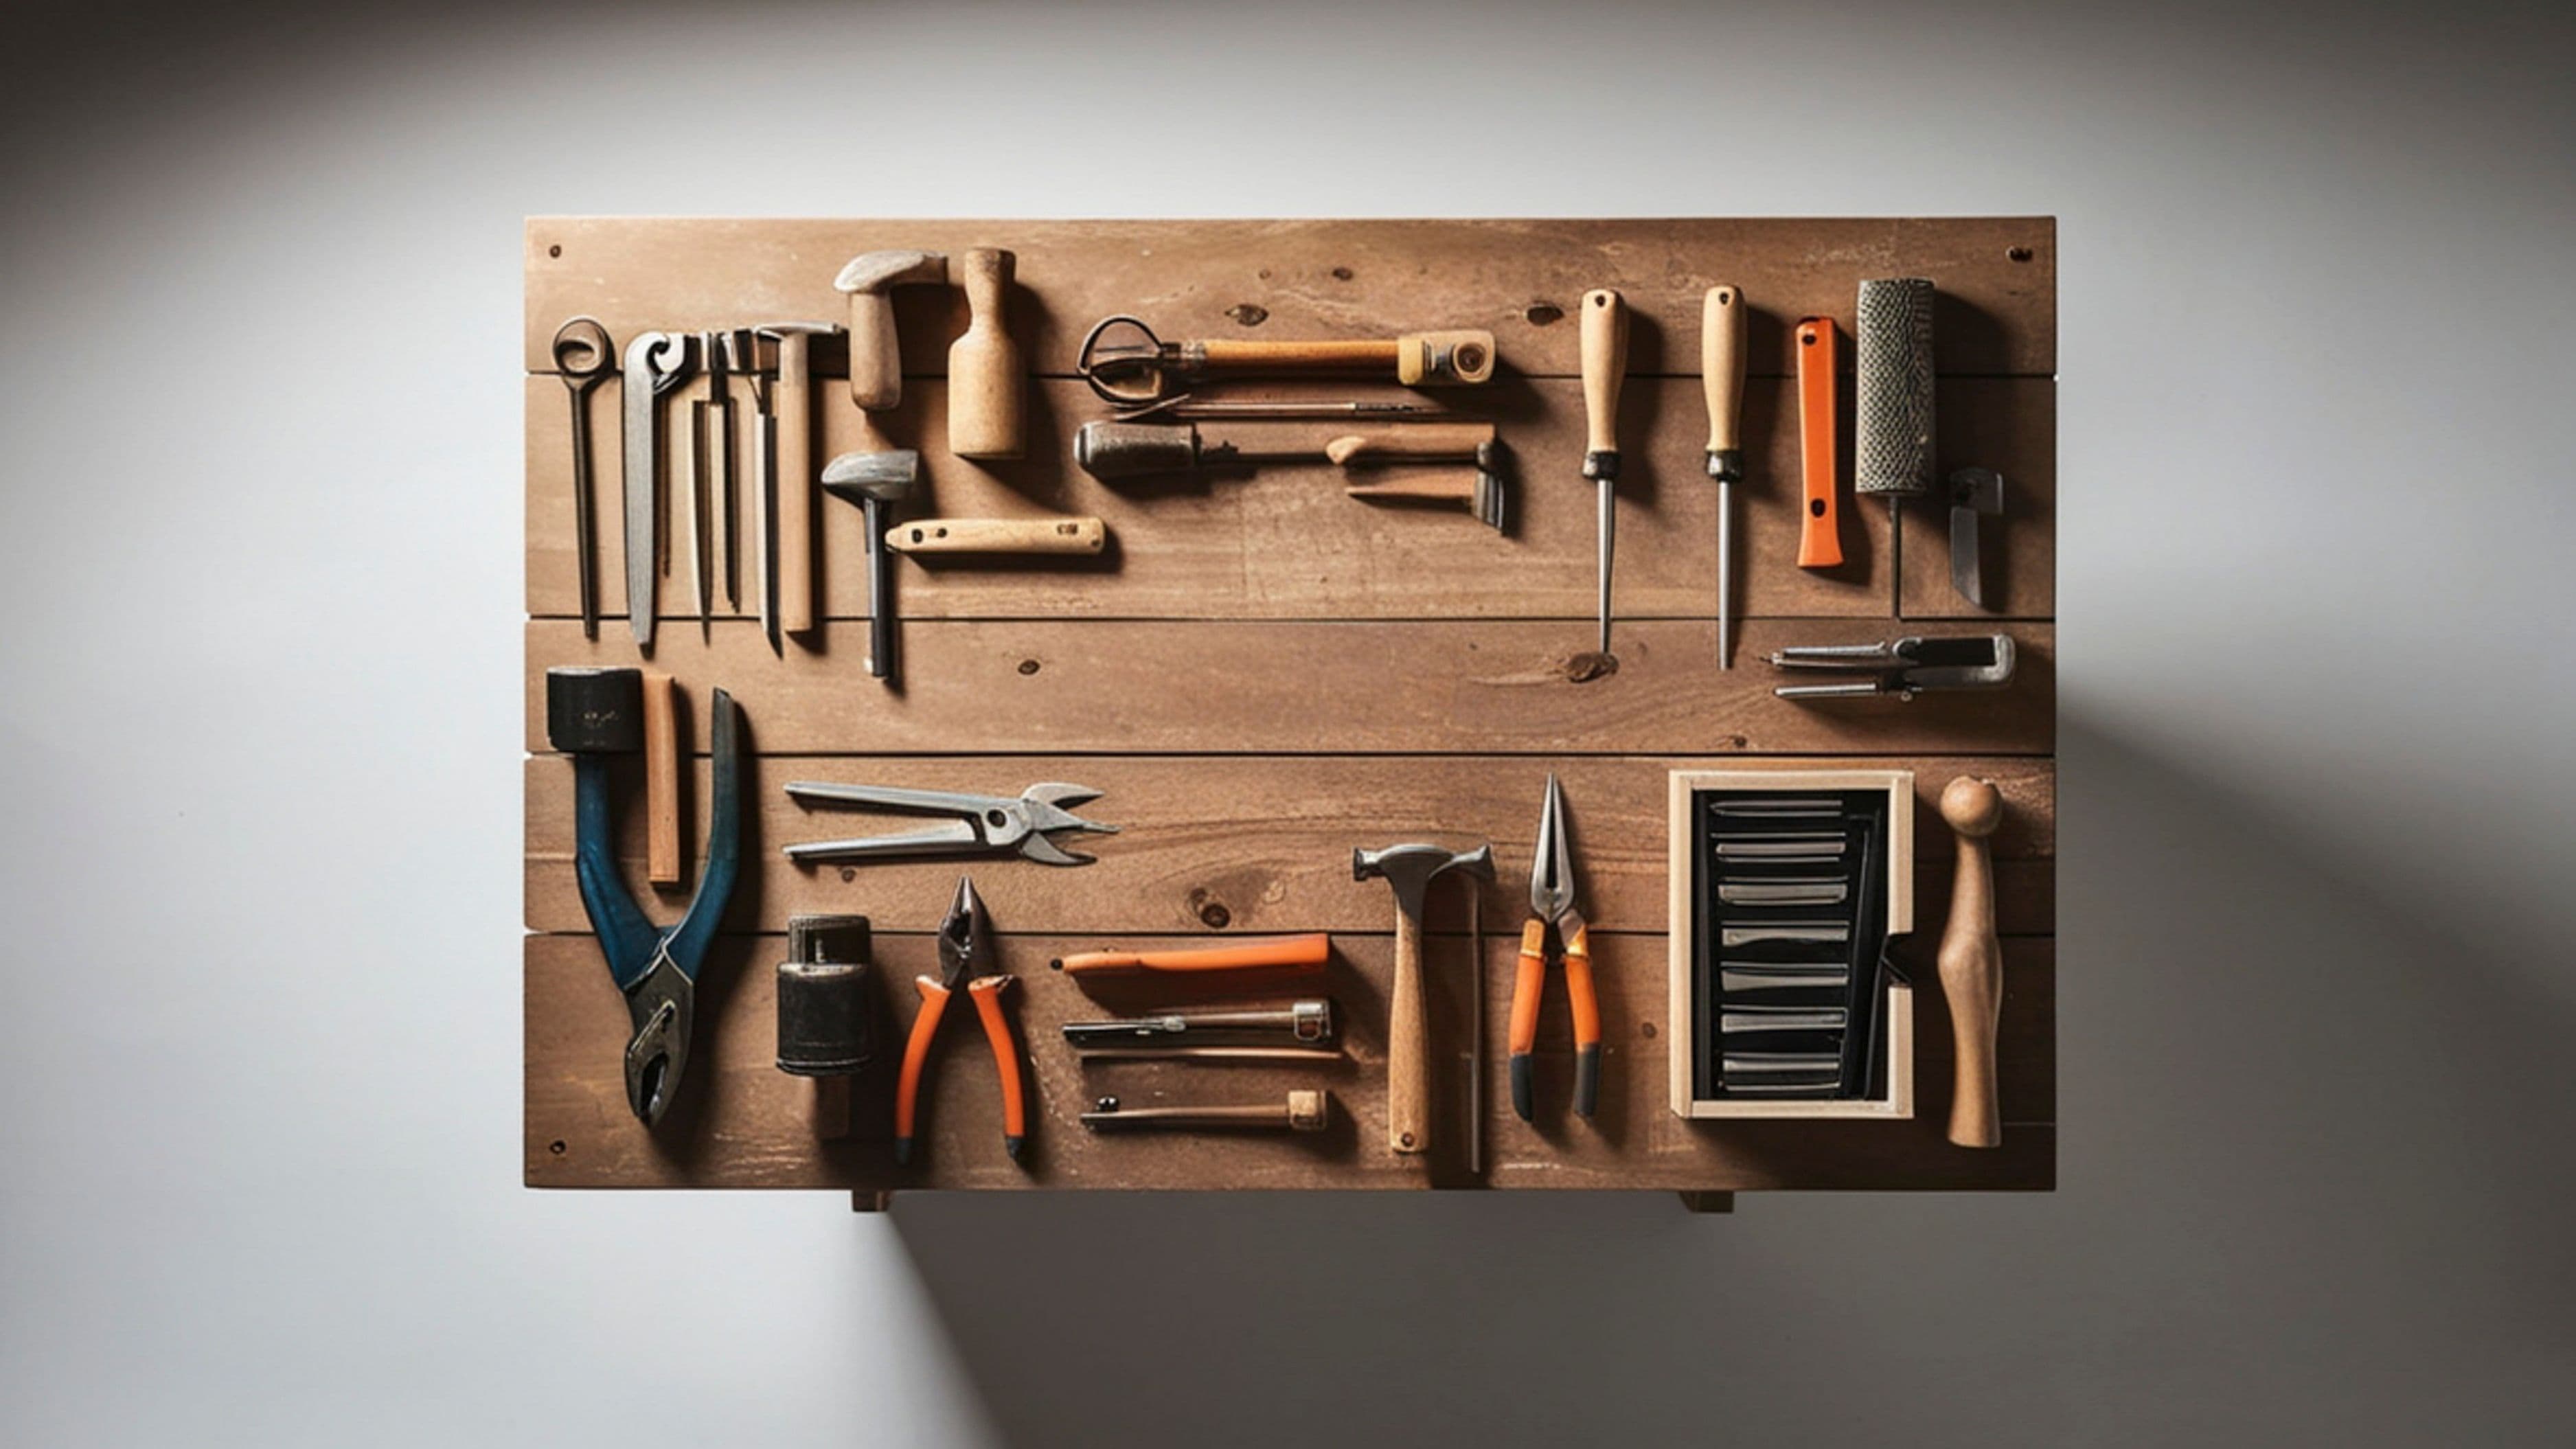
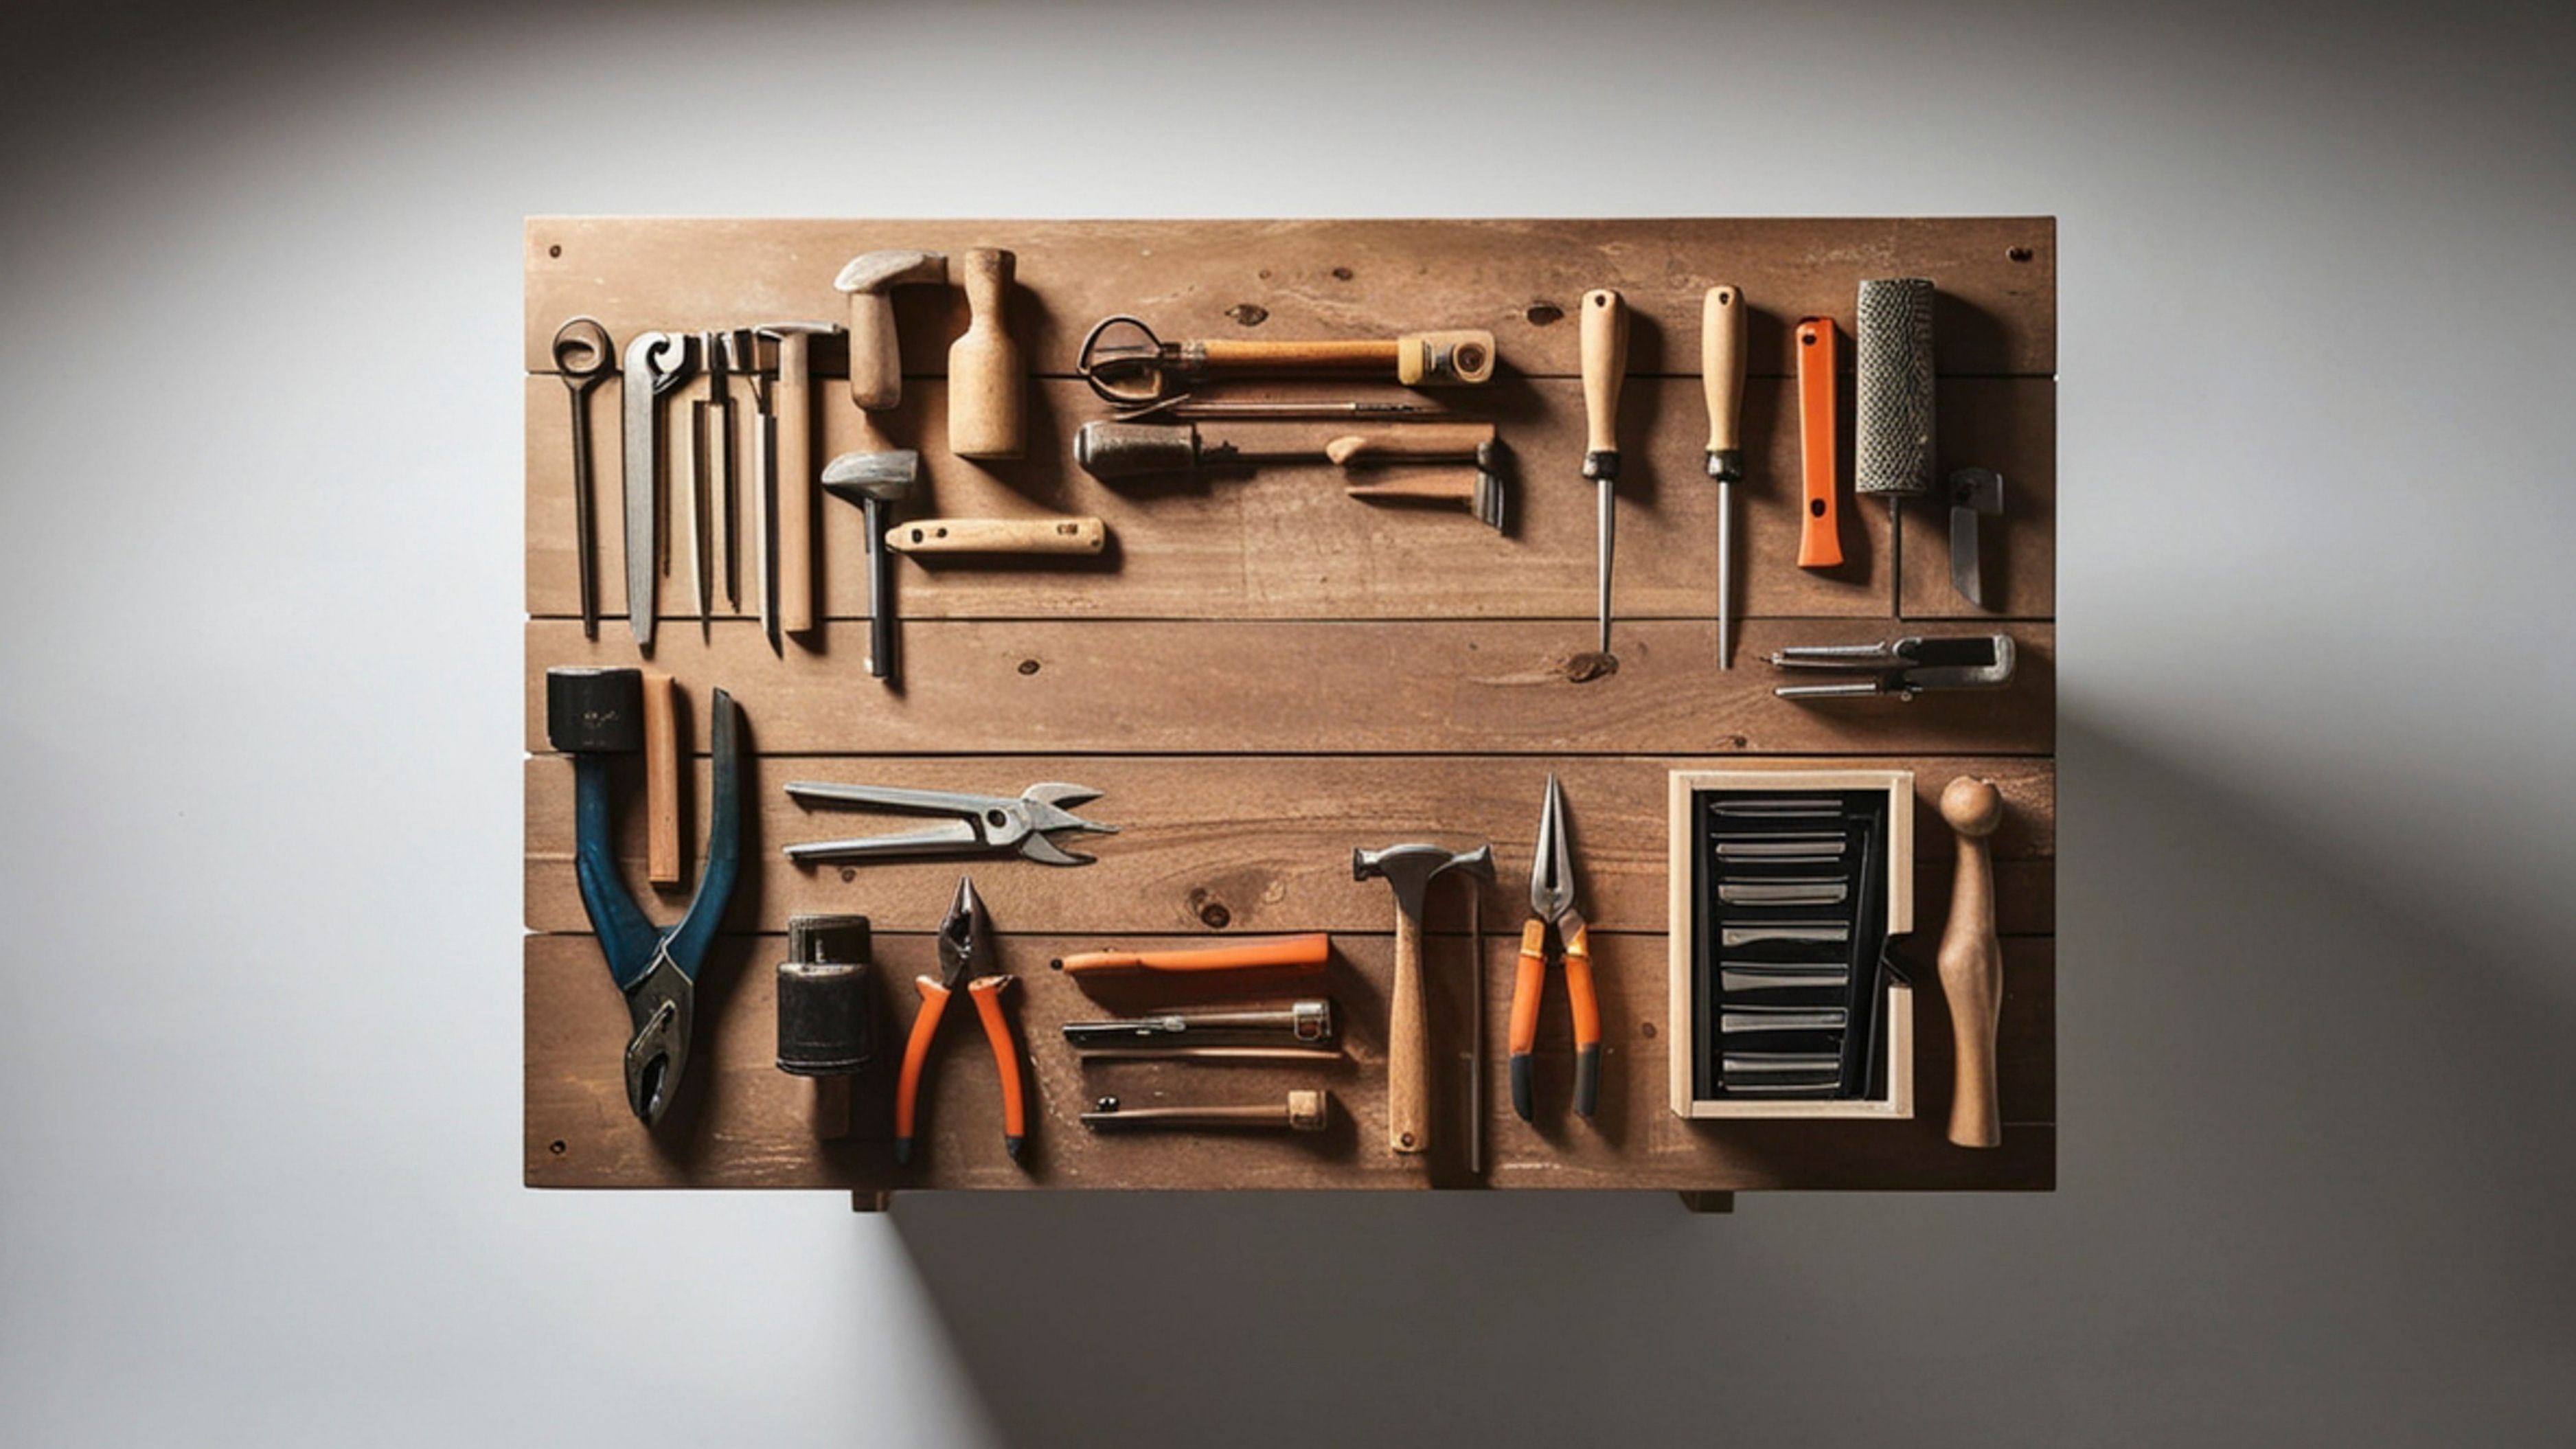
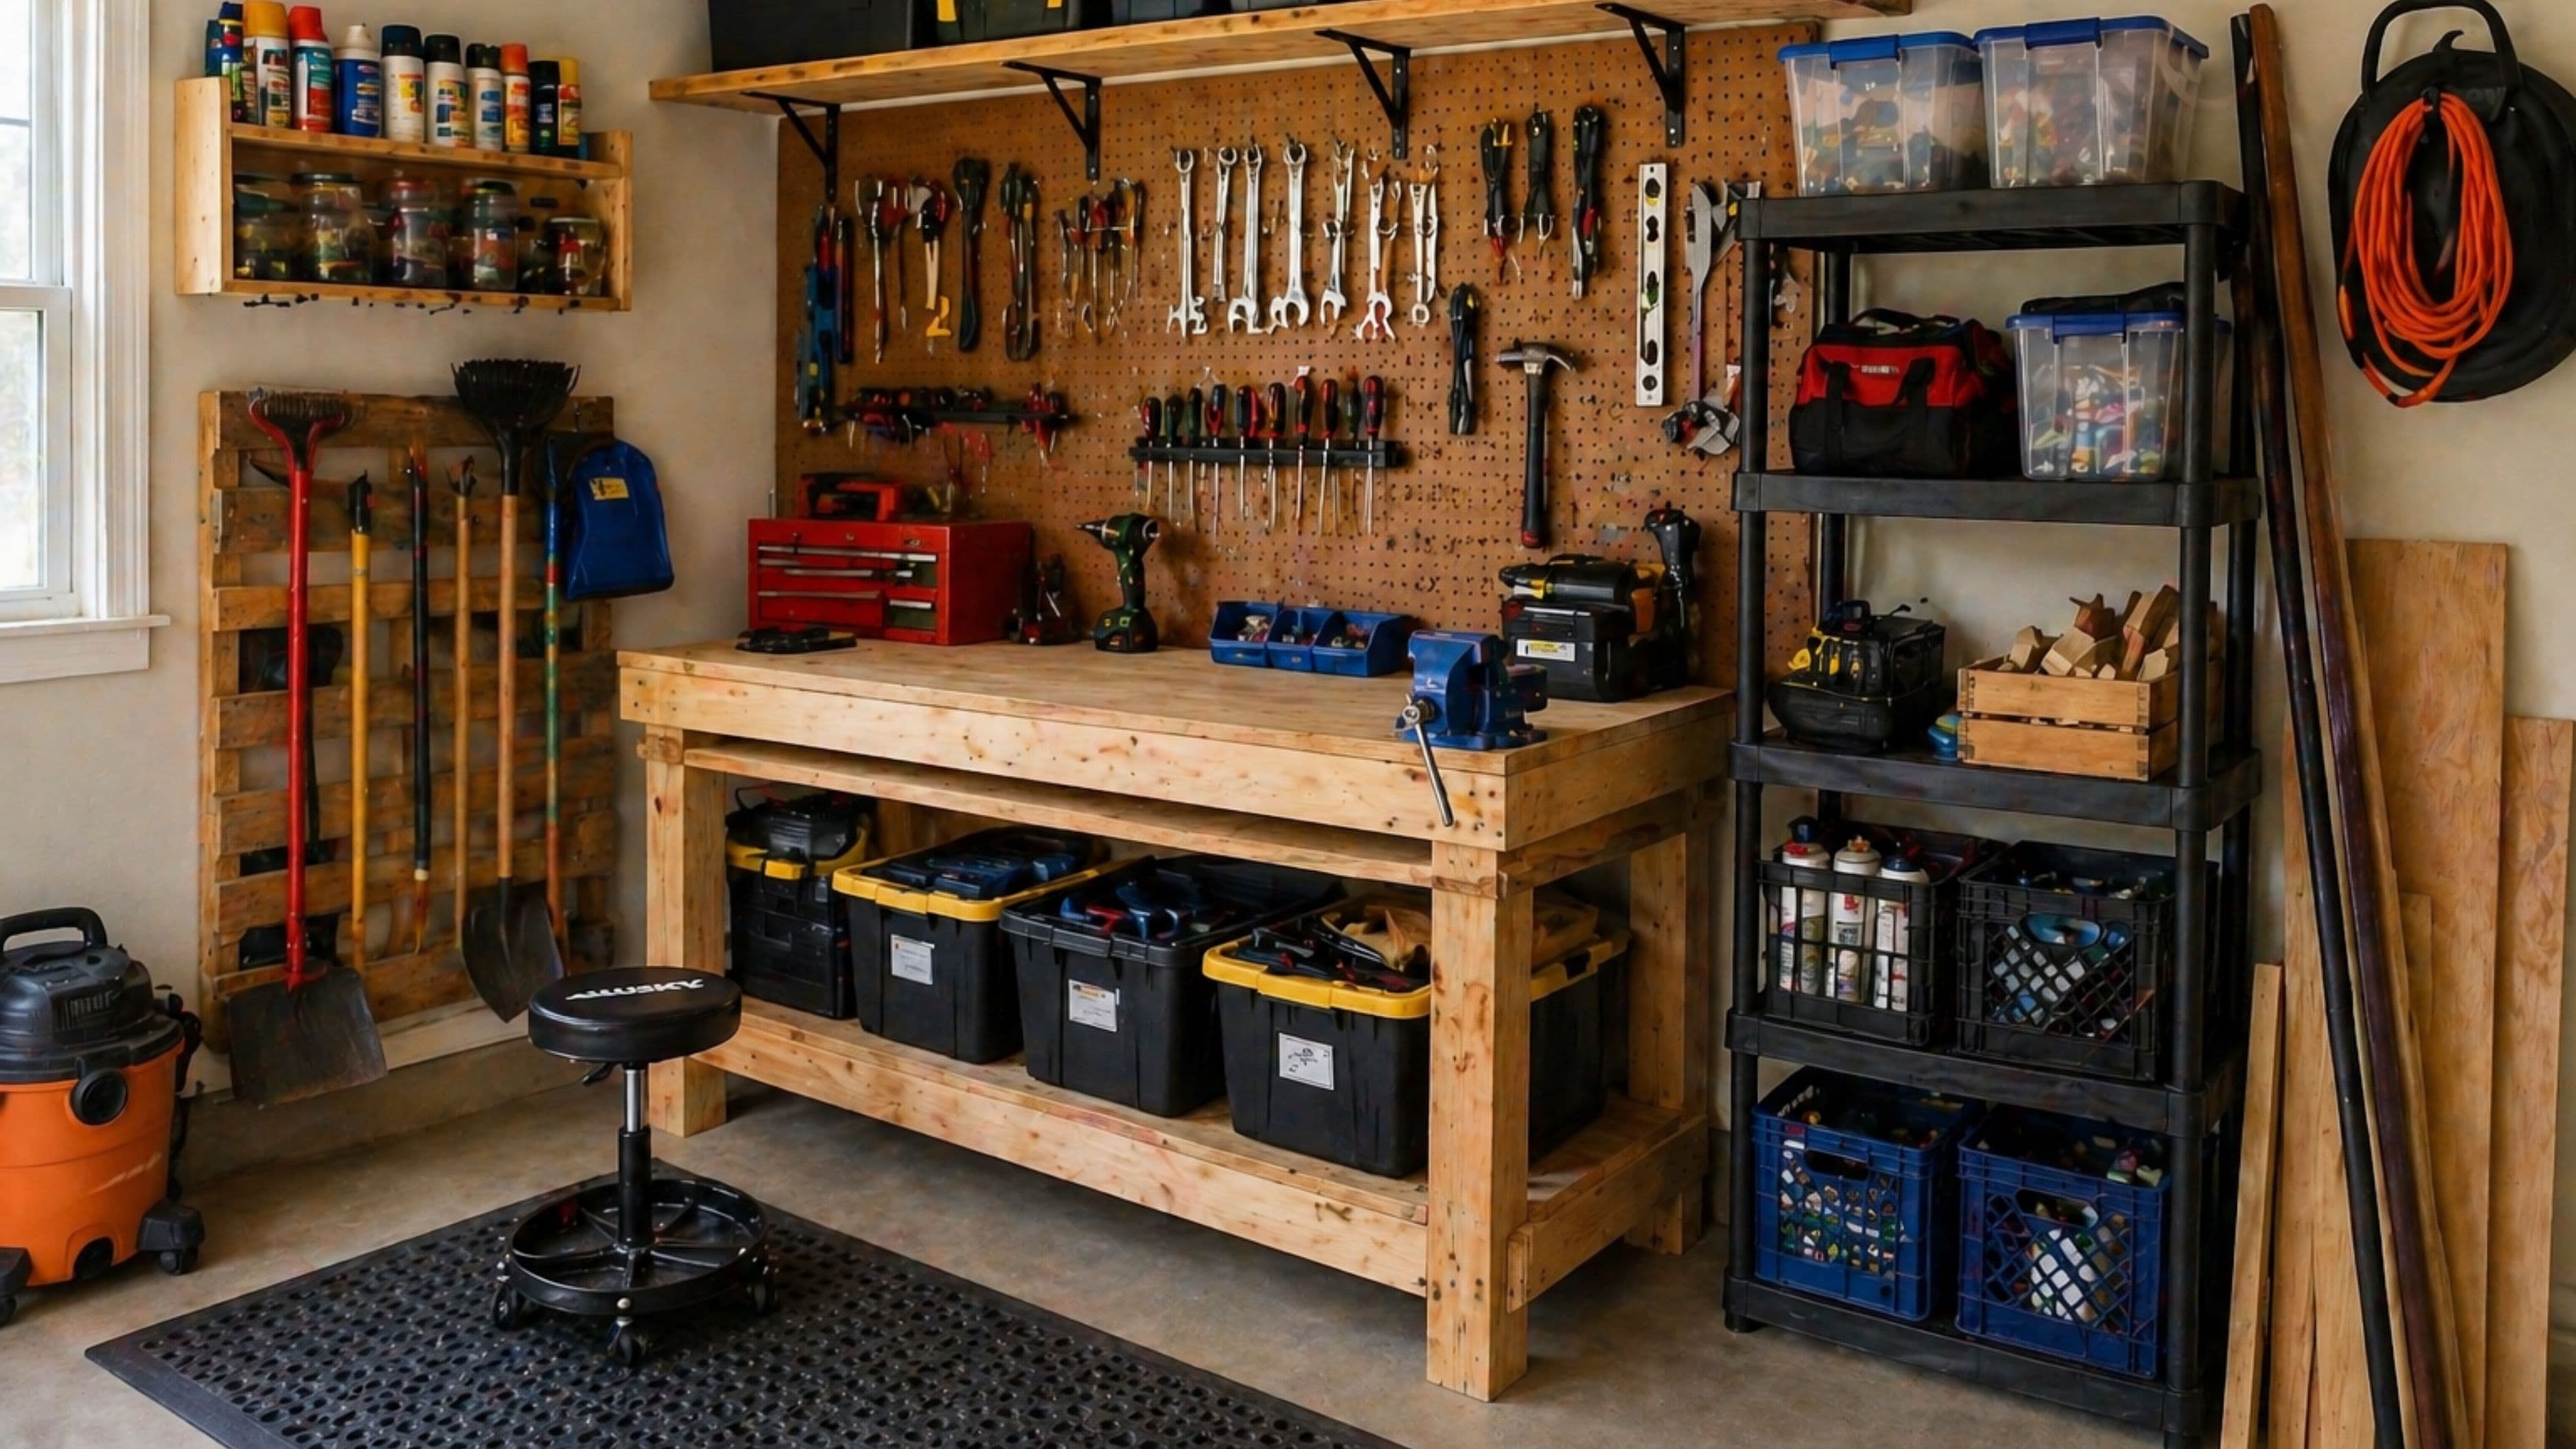
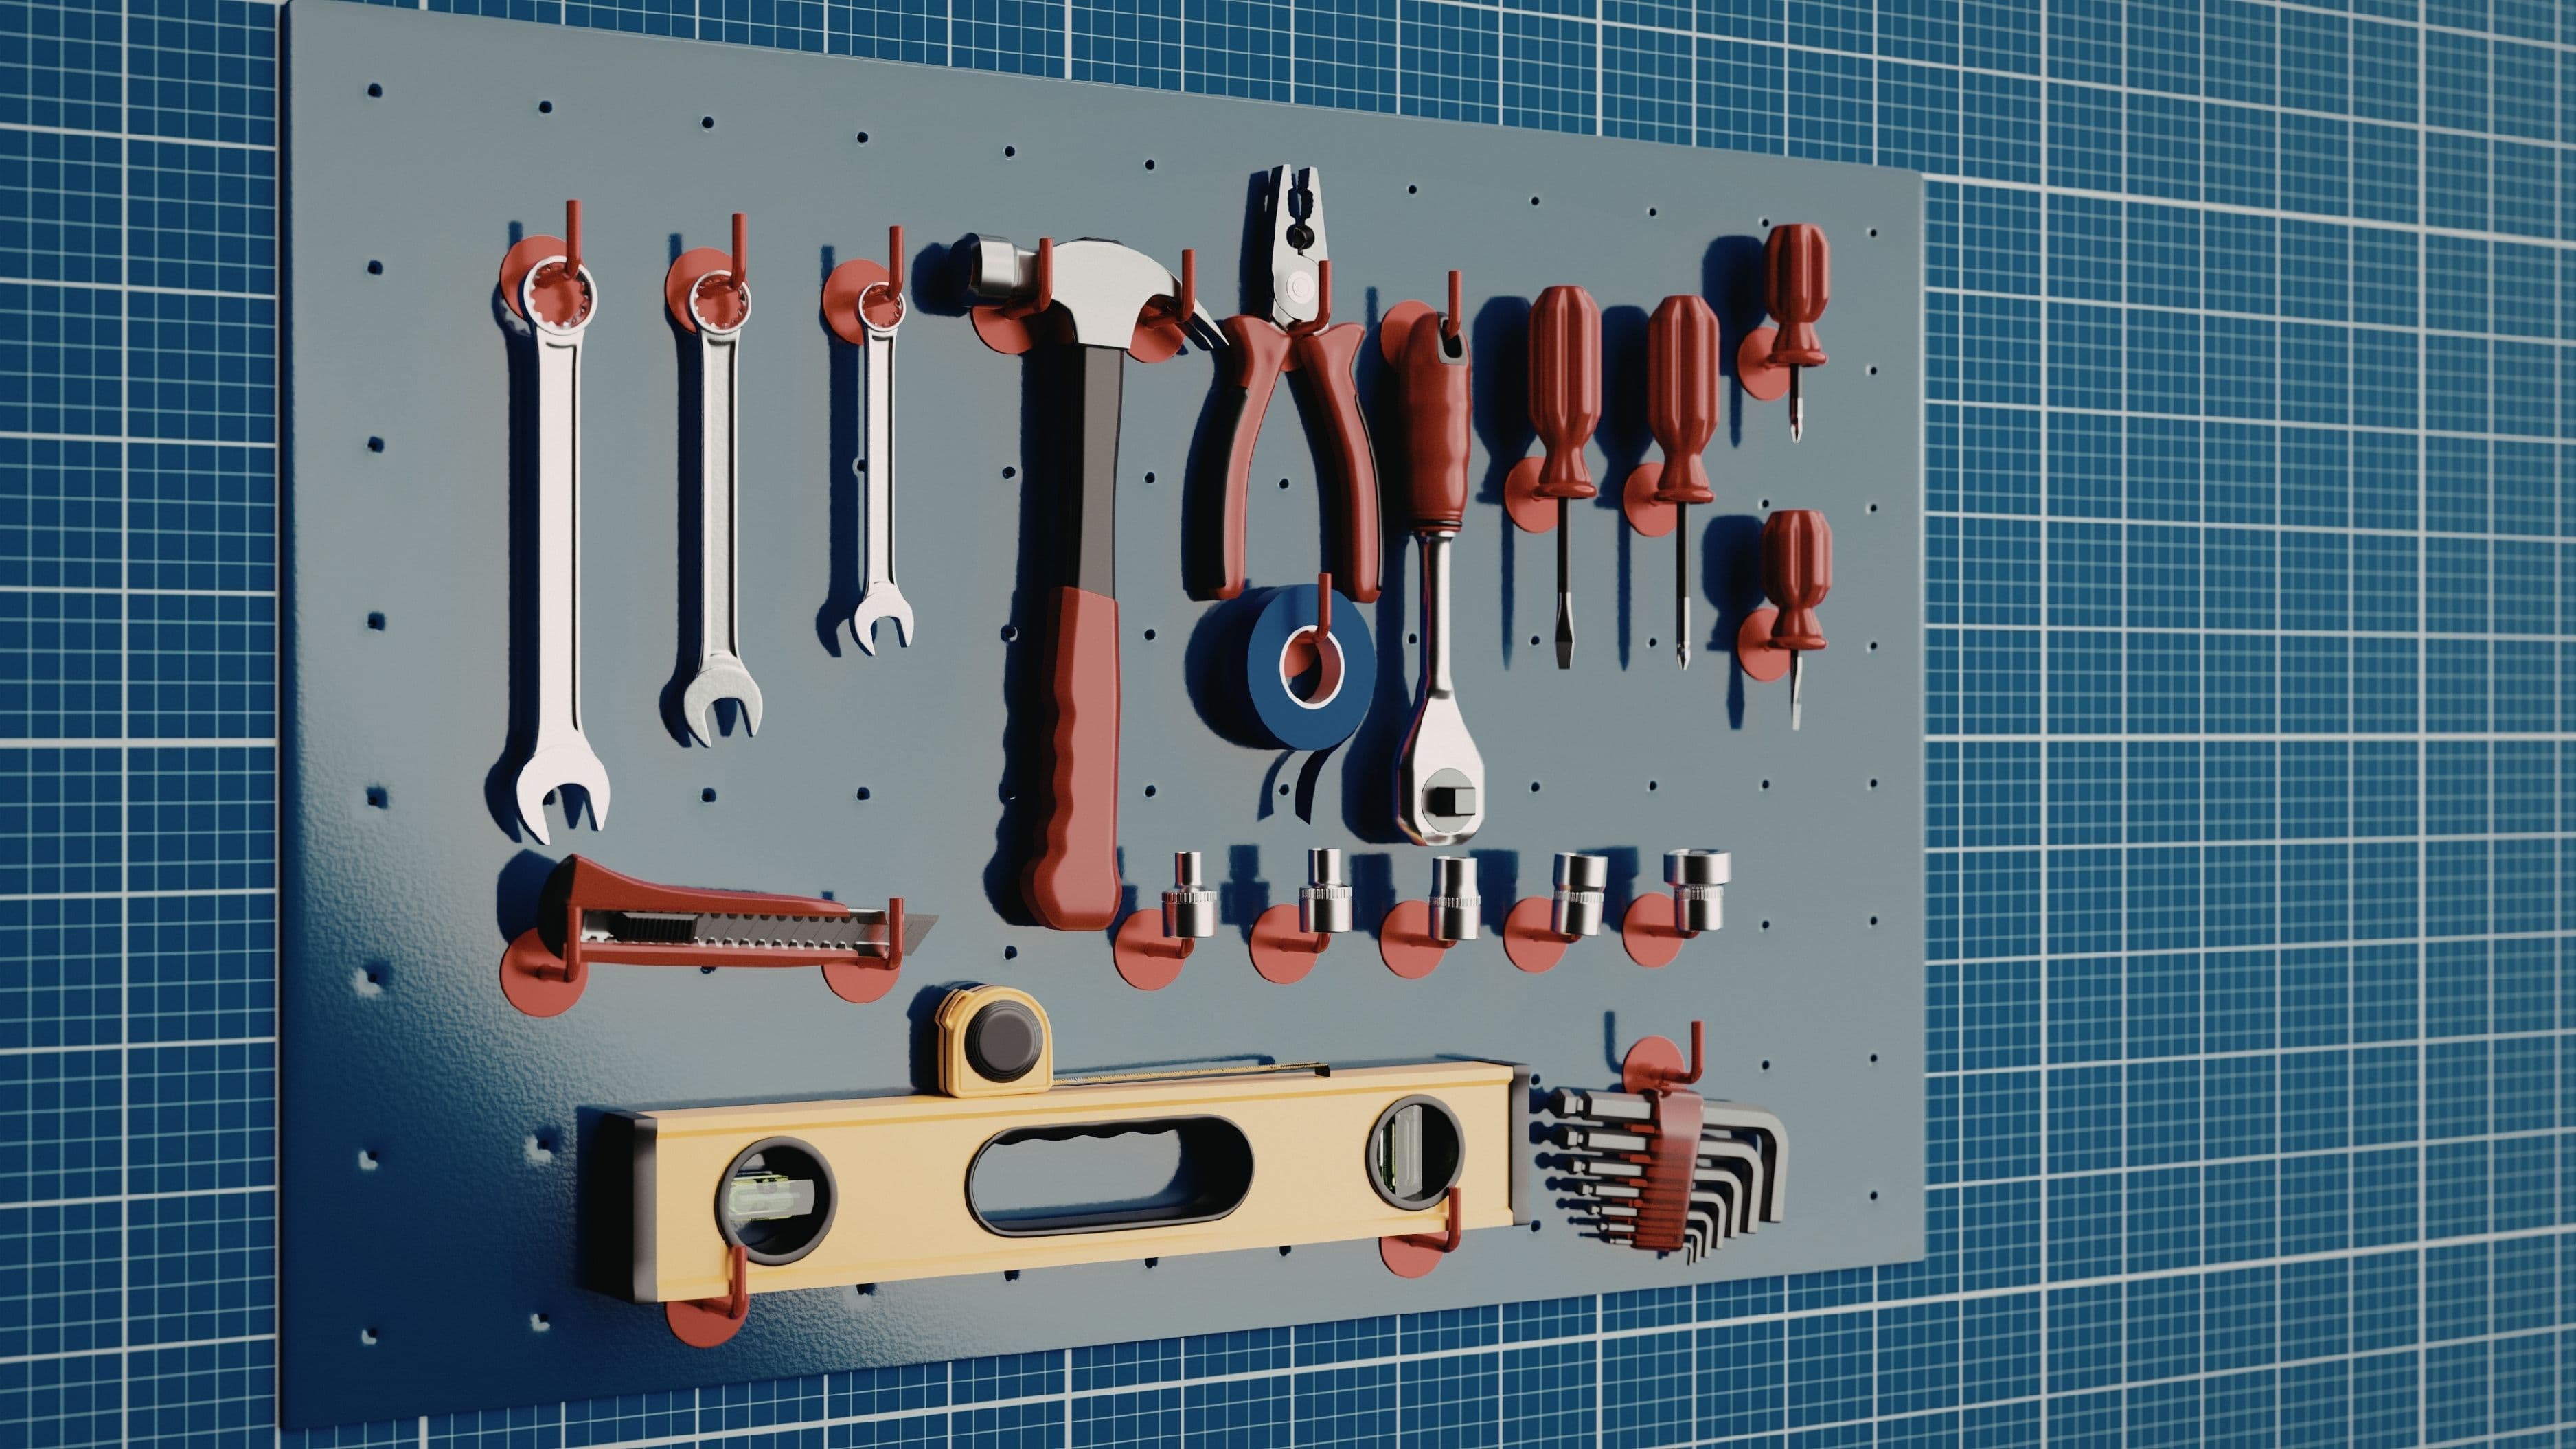
The concept is simple. Each tool gets its own dedicated spot on a wall-mounted board, with a painted or traced outline – the shadow – marking exactly where it lives. When a tool is in use, the empty outline tells you immediately. When something goes missing, it's obvious at a glance rather than after ten minutes of digging. It's a system borrowed from professional trades and lean manufacturing that translates surprisingly well to a home garage or workshop.
The Real Cost of a Toolbox
Before getting into why shadow boards work, it's worth being honest about what a toolbox actually costs you – not in dollars, but in time and frustration. The design of a traditional toolbox is optimised for portability and capacity, not for actually finding things quickly. Tools stack on top of each other. Small items sink to the bottom. Drawers fill up with loose hardware that migrates everywhere. Finding a specific tool during a job means either knowing exactly where you put it last time (unlikely if multiple people use the space) or systematically hunting through every drawer.
Most people underestimate how much time this costs across a year. If you spend five minutes hunting for a tool every time you start a repair or project – which is conservative – and you do twenty or thirty small jobs a year, that's hours of time spent not actually fixing anything. And that's before accounting for the psychological cost of frustration, which makes every job feel harder than it is before you've even started.
Toolboxes also have a natural tendency toward entropy. The more tools you own, the more crowded they get, and the harder it becomes to maintain any kind of order. A shadow board doesn't have this problem – it scales predictably, and every new tool you add gets a specific home.
What Makes a Shadow Board Work
The efficiency of a shadow board comes from one principle: visual inventory. When every tool has a defined, labelled place and the shape of that tool is permanently marked on the board, you can see your entire tool inventory at a glance from across the room. You know before you walk over whether the hammer is there. You know when you pick up the tape measure whether you need to put it back or not. There's no mental overhead – the board does the tracking for you.
This is the same logic that makes professional kitchens hang their knives on magnetic strips instead of storing them in blocks or drawers. Speed and certainty matter more than compactness. A chef who can see all their knives at once doesn't waste time selecting the right one. The same applies to a wrench set laid out by size on a shadow board – you grab the right size on the first try because you can see them all.
The second thing that makes shadow boards powerful is accountability. When a tool is missing from its spot, you know it immediately rather than discovering it mid-job. If you're working with a family member, partner, or anyone else who uses the same tools, the board creates a shared system that doesn't rely on everyone remembering to put things back in the right drawer. The outline says exactly where something goes – no interpretation needed.
Shadow Board vs Toolbox: The Honest Comparison
Shadow boards and toolboxes aren't really direct alternatives – they serve somewhat different purposes, and the honest answer is that most people end up using both. But understanding where each system excels helps you decide what to prioritise.
Toolbox advantages: Portable, self-contained, and great for jobs away from the workshop. If you regularly work on projects outside the garage – at a rental property, a friend's house, or a job site – a toolbox is essential. It protects tools from dust and the elements and keeps a curated kit together. For a set of tools you bring somewhere with you, a toolbox makes more sense than a board.
Shadow board advantages: Speed of access, visual inventory, and missing-tool detection at a glance. For the tools you use most often in your own space – your go-to hand tools, frequently used power tool batteries, measuring equipment – a shadow board dramatically reduces the time between deciding to do a job and having everything you need in hand. There's no lid to open, no drawer to rummage through, no mystery about whether the tool you need is there.
The practical split most people land on: A shadow board on the wall for the 20–30 tools you reach for most often, and a toolbox for the specialised stuff you pull out less frequently or need to transport. The board handles daily friction; the toolbox handles depth and portability.
How to Build a Basic Tool Shadow Board
If this is appealing – and it tends to be, once you've seen one in use – the good news is that a functional shadow board is a genuinely simple build. You don't need power tools or special materials to get started.
What you'll need:
A sheet of 1/4-inch or 1/2-inch plywood, MDF, or even a sheet of pegboard (3/4-inch plywood is unnecessary weight for a shadow board – you're not loading it heavily, just hanging tools)
A can of spray paint in a contrasting colour (dark board with light outlines, or vice versa – high contrast makes the shadows readable at a glance)
Wall anchors or screws sized for your wall type
Hooks, nails, or pegboard hardware depending on the tools you're hanging
A pencil and painter's tape
Difficulty: Beginner
Estimated time: 2–3 hours for a basic setup
Estimated cost: $30–$80 depending on board size and whether you buy new hardware
Step 1: Choose Your Tools
Before building, decide which tools will live on the board. Start with the 15–25 tools you reach for most often. Don't try to put every tool you own up there on the first pass – you can always add more later, and starting focused helps you build the habit of actually returning things to their spots.
Lay your selected tools out on the floor or a workbench in the rough arrangement you want on the board. Group by function if that helps – cutting tools together, measuring tools together, driving tools together – or just arrange by size. The grouping matters less than the habit of returning each tool to its own spot.
Step 2: Mount the Board
Cut or buy your board to the size that fits your wall space. Mount it securely – for a plywood or MDF board, locate studs and screw directly into them. For pegboard, use pegboard standoffs (small plastic spacers that hold the board 1/2 inch away from the wall, which allows the pegs to seat properly). A level is worth using here; a visibly tilted board will bother you every time you look at it.
Step 3: Arrange and Trace
With the board mounted, lay your tools against it and trace each outline with a pencil. For tools that hang (hammers, pliers, wrenches), place them in their hanging position before tracing. For tools that rest flat against the board (squares, levels), trace them lying flush. Take your time arranging before you commit to the pencil lines – it's easy to erase and reposition at this stage.
Once you're happy with the arrangement, install your hooks, nails, or pegboard hardware at the appropriate spots and hang each tool. Make sure the tool hangs or rests where you want the shadow to be.
Step 4: Paint the Shadows
Remove the tools. Apply painter's tape around the pencil outlines if you want clean edges, or freehand with spray paint if you're comfortable doing that. A quick pass of contrasting spray paint over each outline creates the shadow. Let it dry fully, pull the tape, and hang the tools back in position.
Some people prefer to paint the entire board one colour, let it dry, lay the tools in position, and spray a second contrasting colour over everything, then remove the tools to reveal the outlines. Both methods work – the second approach gives slightly fuzzier edges but is faster.
Step 5: Label If Needed
For tools that aren't immediately obvious from their shape – socket sizes, specific drill bit gauges – add a small label near the outline with a paint marker or label maker. This is especially useful for anyone else who uses the space and may not recognise every silhouette at a glance.
What to Avoid
Putting too many tools on the board at once. A cluttered shadow board defeats its own purpose. If the outlines are packed in so tightly that you're hunting to find a specific one, you've recreated the problem you were solving. Leave breathing room between tools – the visual clarity depends on being able to isolate each silhouette quickly.
Using low-contrast colours. A dark grey shadow on a medium grey board is nearly invisible in a dim garage. High contrast is the whole point. Black on white, dark green on pale yellow, navy on light grey – pick combinations that are readable in your actual lighting conditions.
Choosing a board material that's too flimsy. Thin cardboard or foam board will bow under the weight of even modest tools and won't hold hooks reliably. 1/4-inch plywood or MDF is the minimum for a functional board. Pegboard is a good alternative if you want flexibility to reposition hooks without repainting.
Skipping the mounting step and leaning the board against the wall. A shadow board only works consistently if it's fixed in place. If it can be moved or knocked over, the system breaks down. Mount it properly.
FAQ
Do I need to build the board myself, or can I buy one? Pre-made shadow board systems exist for specific tool sets, but they're expensive and often don't match your actual tool collection. Building your own is straightforward, cheaper, and produces a board designed around what you actually own rather than a generic assortment.
Can a shadow board work in a small space? Yes. Even a 2x4 foot board holds 15–20 hand tools comfortably. If wall space is limited, a shadow board on the inside of a cabinet door is a practical alternative for frequently used items like screwdrivers and pliers.
What's the best backing material for a shadow board? For a fixed wall-mounted board, 1/4-inch or 1/2-inch plywood is the most durable and easy to work with. MDF takes paint beautifully but is heavier and doesn't hold screws or nails as well at the edges. Pegboard works well if you want flexibility to reposition hooks without any repainting.
How do I handle tools that change (new tools, tools I sell or give away)? Sand or repaint over outdated shadows and add new ones as needed. Most people do a light refresh every couple of years as their tool collection evolves. This is much less work than it sounds – a quick sanding and a coat of base colour restores the area, and then you trace the new tool in the updated spot.
Is a shadow board worth it if I only have a small number of tools? Even with a modest tool collection, a shadow board saves you time if those tools are ones you use regularly. The fewer tools you have, the smaller and simpler the board – a beginner homeowner can build an effective board for under $30 with a small piece of pegboard and a handful of hooks.
A shadow board doesn't make your tools better – it just makes them findable. That's a smaller change than it sounds only until you've actually used one. Once every tool has a visible home and you can see at a glance what's there and what's missing, going back to rummaging through a toolbox feels like a step backward. It's one of those workshop upgrades that's so simple it's easy to overlook, and so useful that most people wonder why they waited.
📚 Sources
Family Handyman – Garage organisation tips and tool storage ideas: https://www.familyhandyman.com/list/best-garage-organization-tips/
This Old House – How to organise a garage workshop: https://www.thisoldhouse.com/garages/21017523/workshop-storage
Popular Mechanics – Best ways to organise your tools: https://www.popularmechanics.com/home/tools/tips/a17991/workshop-organization/
The Lean Way – 5S workplace organisation methodology: https://theleanway.net/The-Five-S-of-Lean
Bob Vila – How to mount a pegboard in a garage: https://www.bobvila.com/articles/how-to-install-pegboard/
🔍 Explore Related Topics