
Tools & Materials Needed
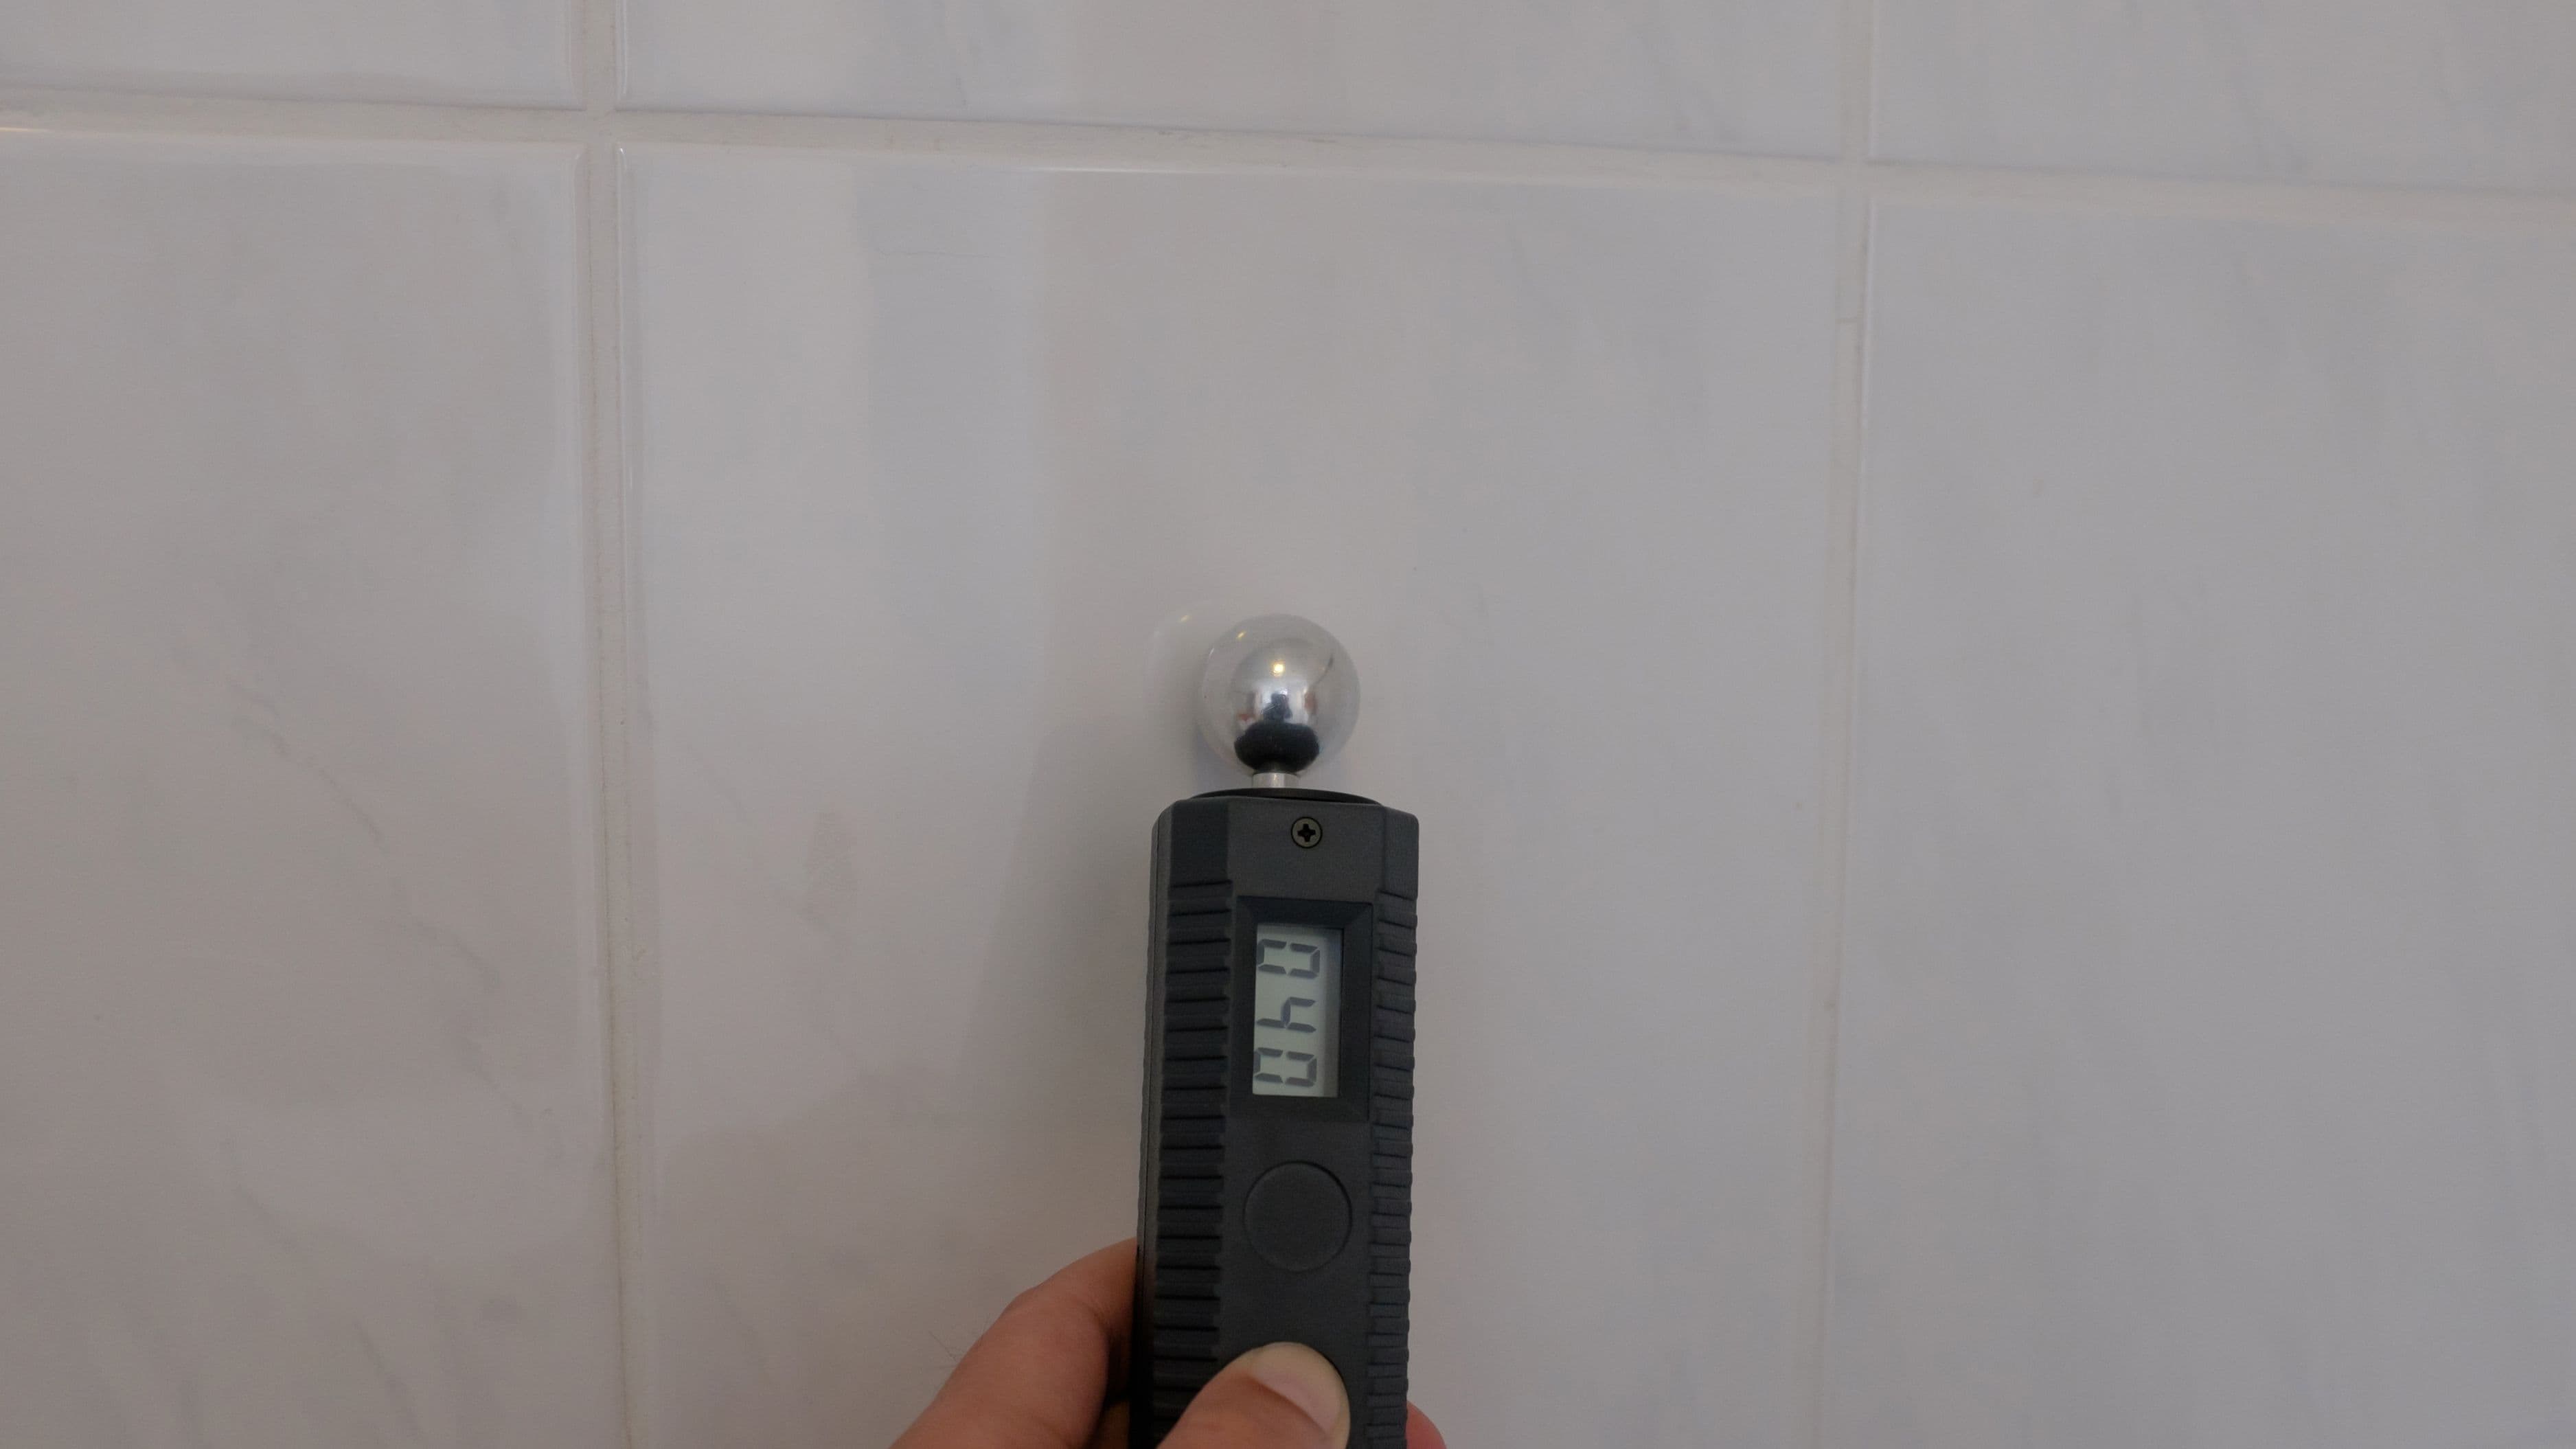
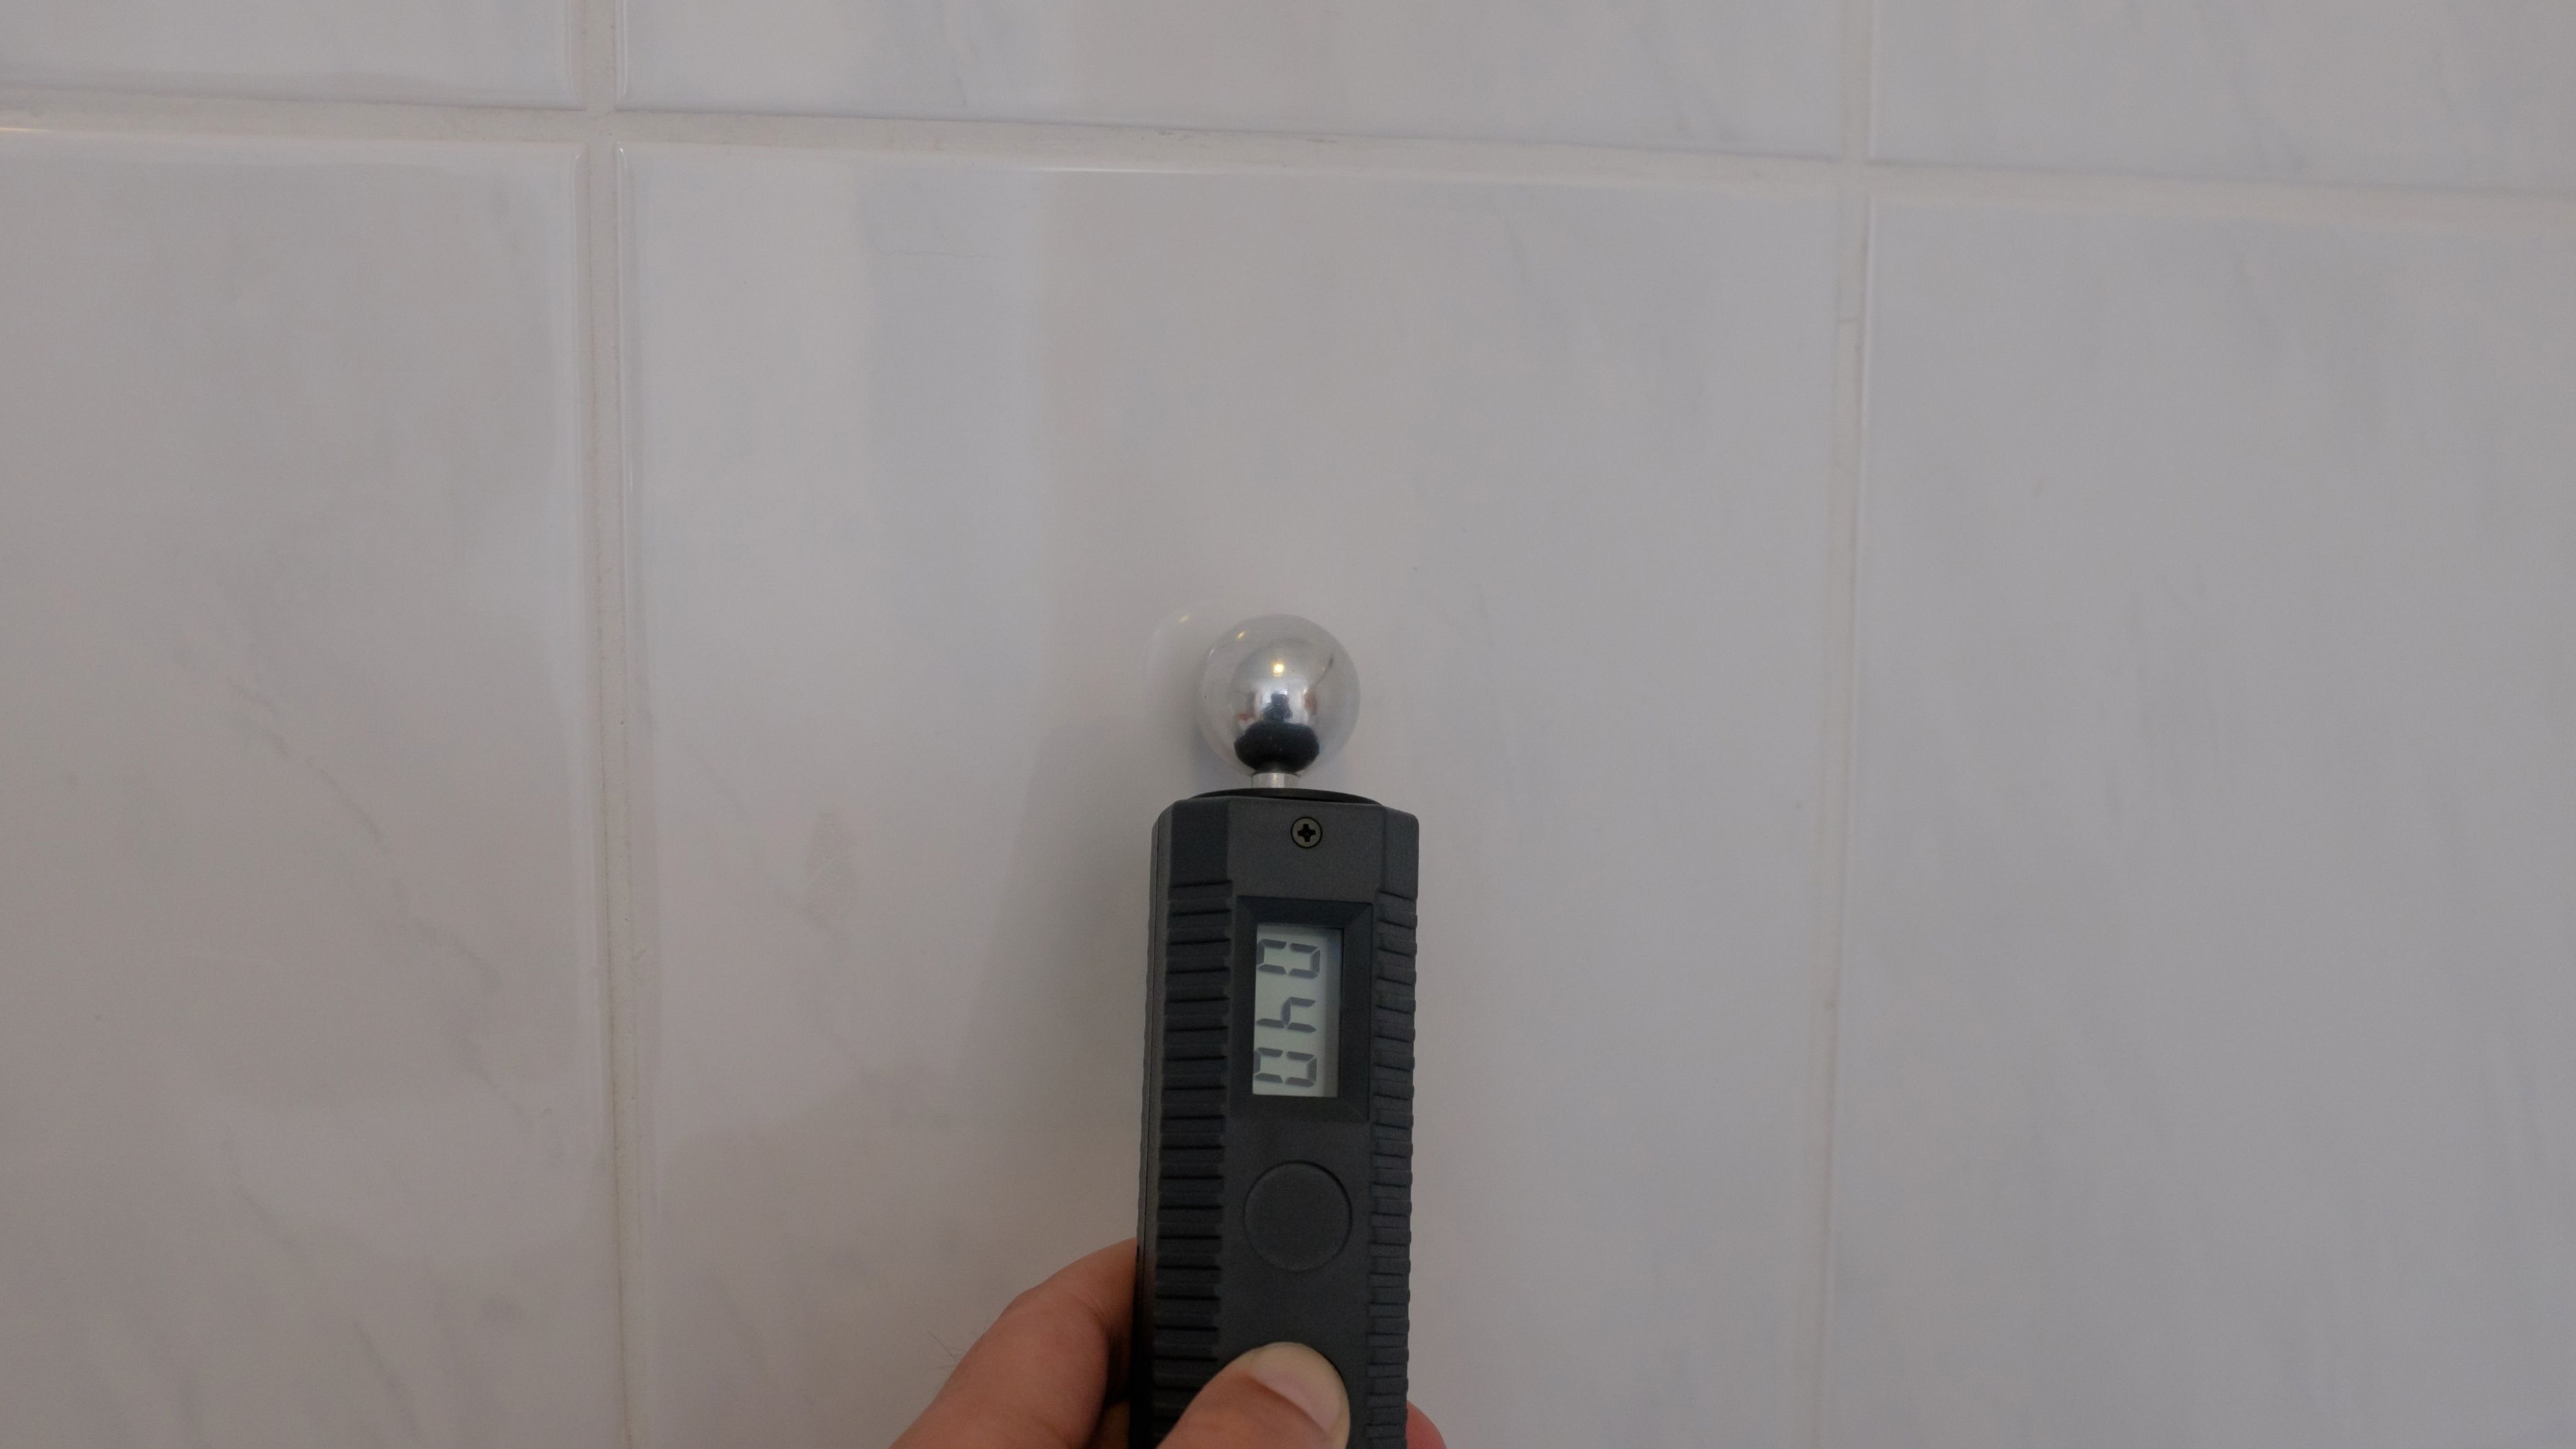
A pin-type or pinless moisture meter (pinless is better for finished walls you don't want to puncture)
A flashlight
Painter's tape (to mark areas of concern)
A notepad or your phone, for tracking readings by location
Optional: a second meter or reference material to compare "dry" baseline readings
Step-by-Step Process
Step 1: Understand the two types of meters before you buy or borrow one. Pin-type meters use two small probes that you press into the surface, measuring resistance between them to estimate moisture content, and they leave small puncture marks. Pinless meters use electromagnetic sensors pressed flat against the surface and don't damage anything, which makes them the better choice for finished drywall, painted trim, or flooring you want to keep intact. If you're checking a spot you don't mind marking, like exposed subfloor or framing during a renovation, pin-type meters tend to give more precise localized readings.
Step 2: Get a baseline reading from an area you're confident is dry. Before testing your suspected problem area, take a reading somewhere in the same room that has no history of leaks or moisture issues, ideally a similar material, like the same type of drywall or wood. This gives you a comparison point, since "normal" moisture content varies by material and even by climate, and a single reading in isolation doesn't tell you much without something to compare it against.
Step 3: Test the suspected area in a grid pattern, not just one spot. Moisture rarely sits in a single, isolated point. Move your meter across the wall or floor in a grid, roughly six inches apart, and jot down readings as you go. This helps you map the actual boundary of the damp area rather than just confirming a single high reading, which matters when you're deciding how much material eventually needs to be opened up or replaced.
Step 4: Check readings against general material benchmarks. For wood framing and subfloor, moisture content above 20% generally indicates a real risk of mold growth or rot, while readings under 16% are typically considered safe for most wood in a home environment. For drywall, there's no single universal number since pinless meters read relative moisture rather than an exact percentage, but a significant spike compared to your dry baseline reading in the same material is the signal to pay attention to, not a specific number in isolation.
Step 5: Follow the trail toward the source, not just the wettest point. Once you've mapped a damp area, look for a pattern that points toward its source, moisture that's worse near the floor might indicate a plumbing leak or foundation seepage, while dampness concentrated near a window or the ceiling more often points to a roof or window seal issue. Tracing the pattern saves you from cutting into drywall in the wrong spot.
Step 6: Mark and document what you find. Use painter's tape to outline the damp boundary directly on the wall, and take photos with your phone alongside written notes of the numeric readings. This documentation matters if you end up needing a contractor, insurance claim, or follow-up testing later, since it shows the moisture's extent and location clearly.
Safety Notes
If you find elevated moisture readings alongside visible mold, a musty smell, or any discoloration on drywall, avoid disturbing the area more than necessary until you've assessed the scope, since cutting into an actively moldy wall without proper protection can release spores into the air. A basic N95 mask and gloves are a reasonable minimum precaution if you need to open up a small section to investigate further. Also be cautious around any area near electrical outlets or wiring when a wall has confirmed elevated moisture, since water and old wiring is a legitimate shock and fire hazard, not just a repair inconvenience.
Common Mistakes
A common mistake is testing only the visibly discolored or stained spot and assuming that's the full extent of the problem, when moisture often travels further than the visible stain suggests, especially with pinless meters reading through several inches of material. Another mistake is comparing your readings to a "should be zero" expectation rather than a proper dry baseline from the same house and season, since normal ambient moisture varies by climate and time of year, and treating any nonzero reading as an emergency leads to unnecessary panic or unnecessary demolition. Skipping the grid pattern and only checking the most obvious spot is also common, and it tends to result in incomplete repairs where the underlying moisture source continues causing damage just outside the area that was addressed.
When to Call a Professional
If your moisture readings are elevated across a large area, if you find them behind multiple walls in different rooms, or if you can't identify an obvious source after checking the likely culprits, plumbing, roofing, window seals, and foundation grading, it's worth bringing in a professional leak detection service or a mold inspector rather than continuing to guess. Persistent moisture with no clear, findable source often points to a bigger structural or plumbing issue that requires specialized equipment like thermal imaging or in-wall camera inspection to properly locate.
FAQ
How much does a decent moisture meter cost? A reliable pinless moisture meter for home use typically runs between $30 and $80, while more precise combination pin and pinless models used by professionals can run higher.
Can I use a moisture meter on tile or concrete? Most consumer pinless meters are calibrated primarily for wood and drywall and give less reliable readings on dense materials like tile or concrete. Specialized concrete moisture meters exist for that specific use case if you're dealing with a slab foundation.
How often should I check for hidden moisture in my home? A general seasonal check, especially after heavy rain periods or right before winter, is reasonable for most homes, with more frequent checks if you've had a known leak or live in a particularly humid climate.
Outro
A moisture meter costs less than a single hour of a plumber's time and can catch problems months before they'd otherwise become visible or smell like a problem. If your home has had any past water event, a slow roof leak, an old appliance leak, a basement with occasional dampness, running a quick moisture check a couple of times a year is one of the cheapest preventive habits you can build into your home maintenance routine.
📚 Sources
U.S. Environmental Protection Agency – Mold Course for Environmental and Public Health Professionals. https://www.epa.gov/mold/mold-course
U.S. Department of Housing and Urban Development – Moisture Control Guidance. https://www.hud.gov/program_offices/healthy_homes